[Disclaimer: Finding Mandee is reader-supported, if you purchase through links on my site I may earn an affiliate commission at no additional cost to you. As an Amazon Associate, I earn from qualifying purchases.]
If you’ve been around this blog, then you know that I have wreaths for every holiday!
I have multiple to choose from for every season:
- spring (tulips or peonies)
- summer (American flag)
- fall (Halloween and Thanksgiving)
- winter (Christmas and Valentine’s Day)
Last year, during quarantine, I made a wood bead wreath and it turned out so good, that I had to have another one, but in the shape of a bunny.
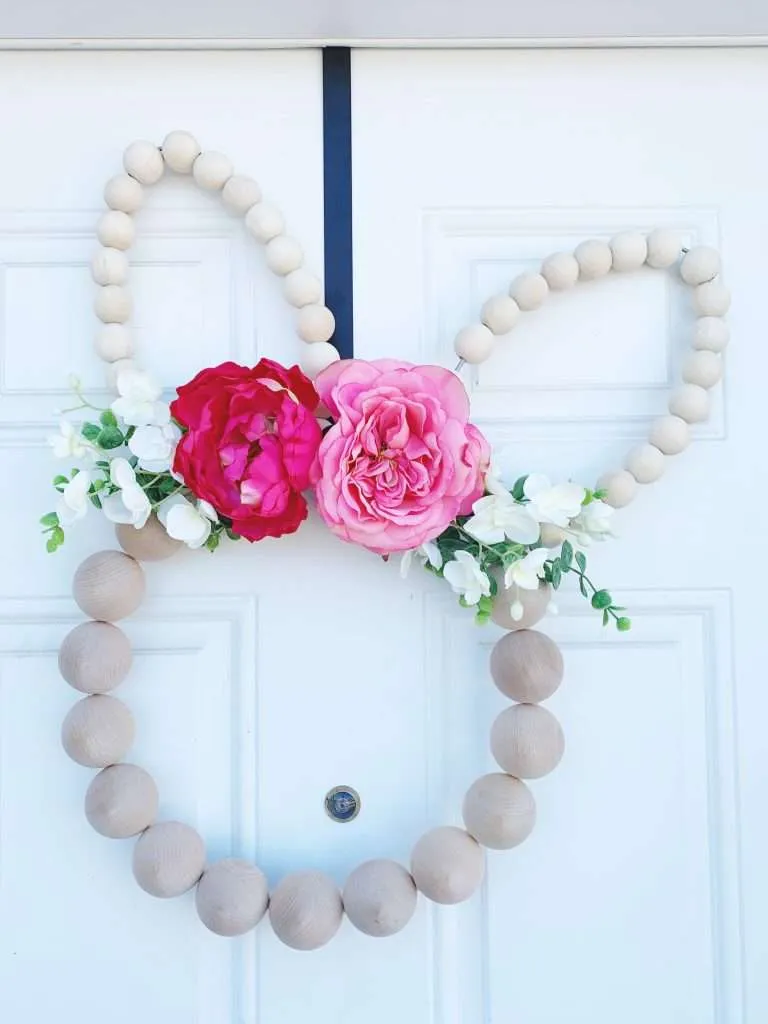
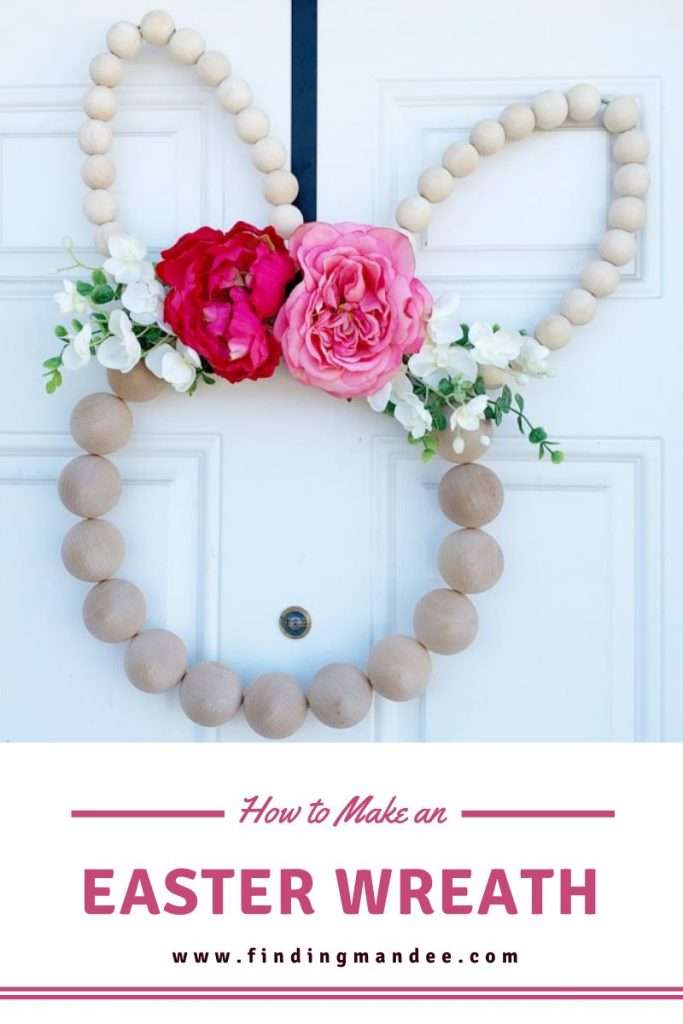
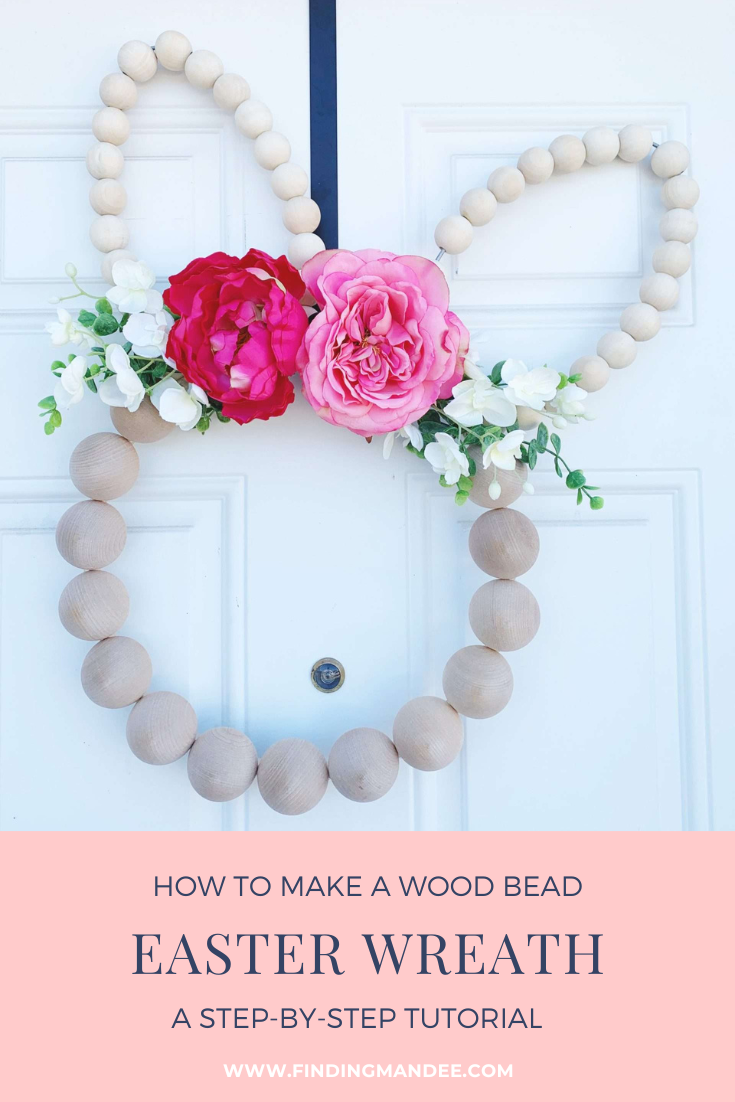
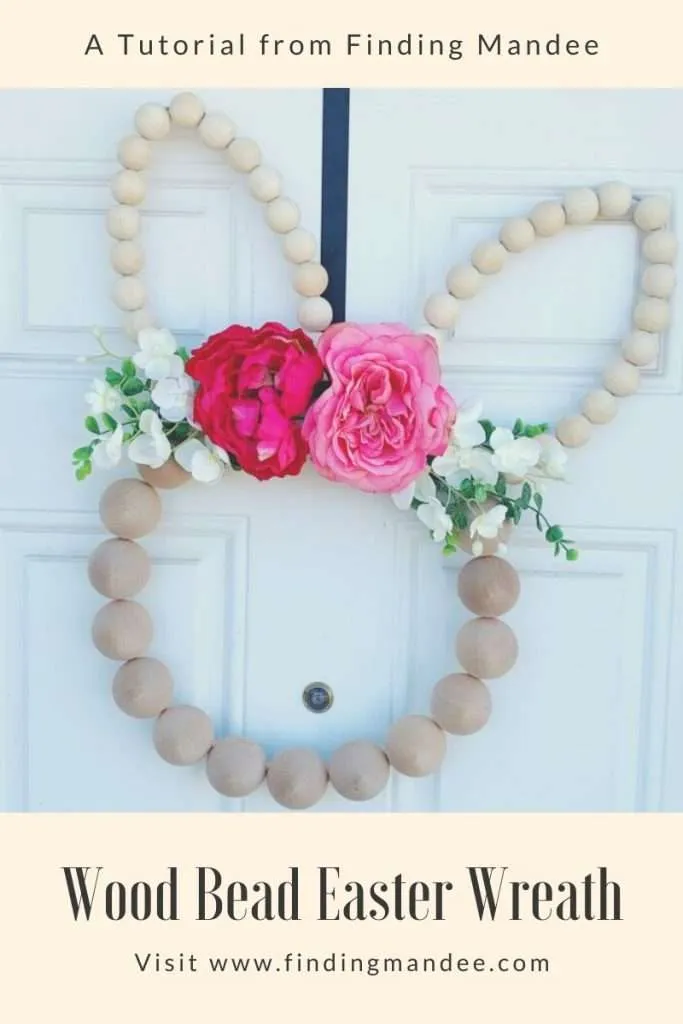
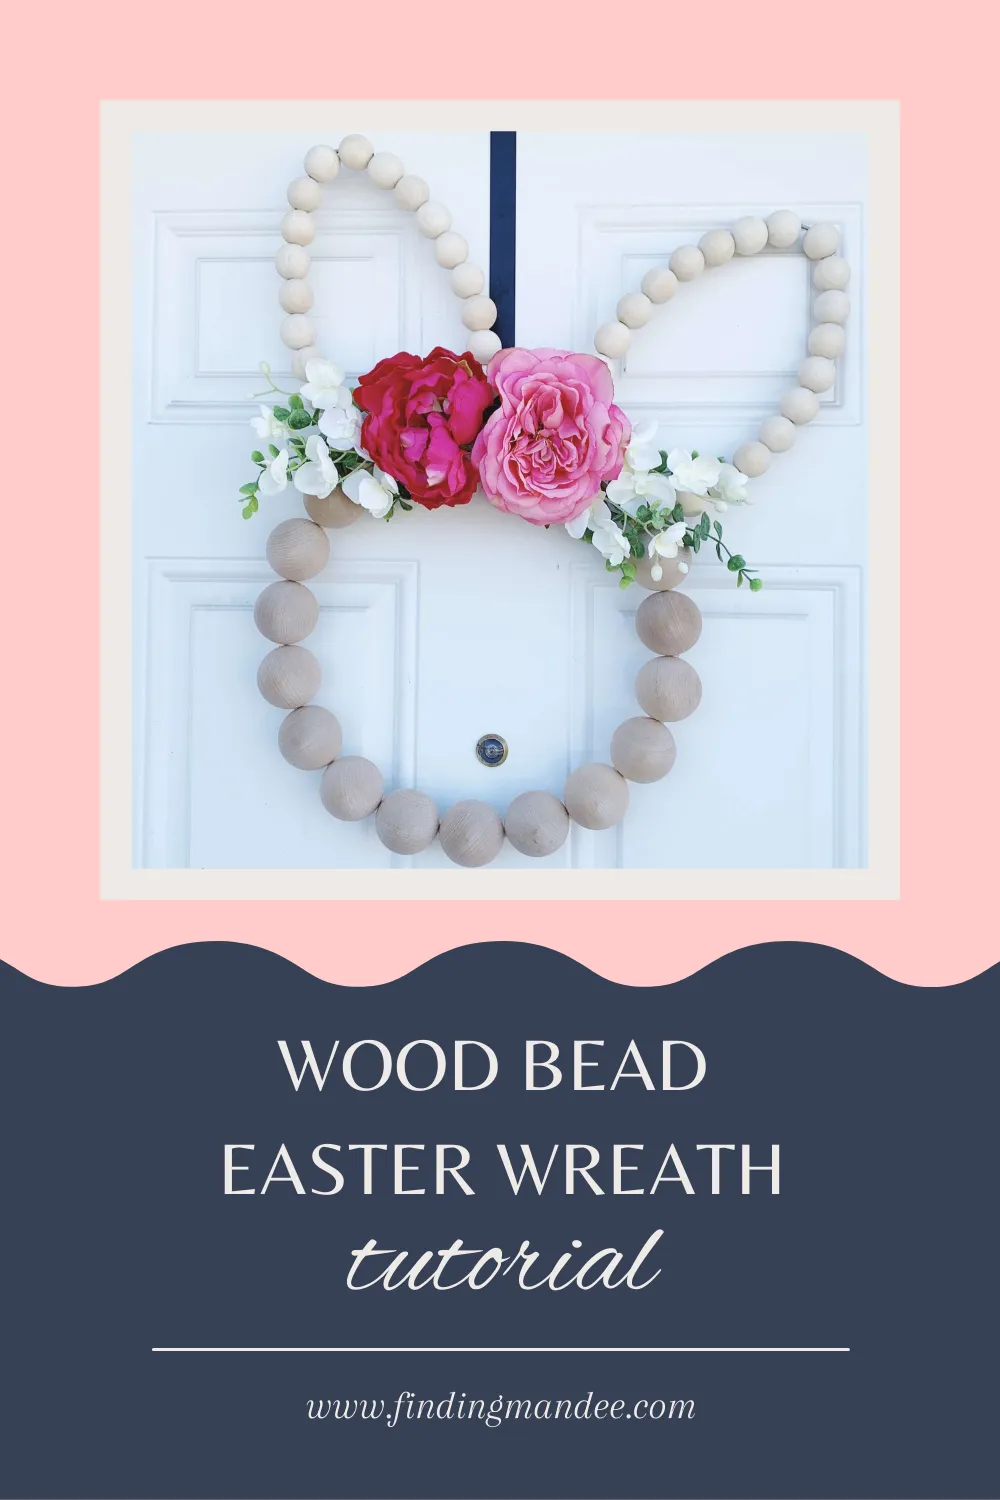
Here’s how I made this adorable wood bead Easter wreath!
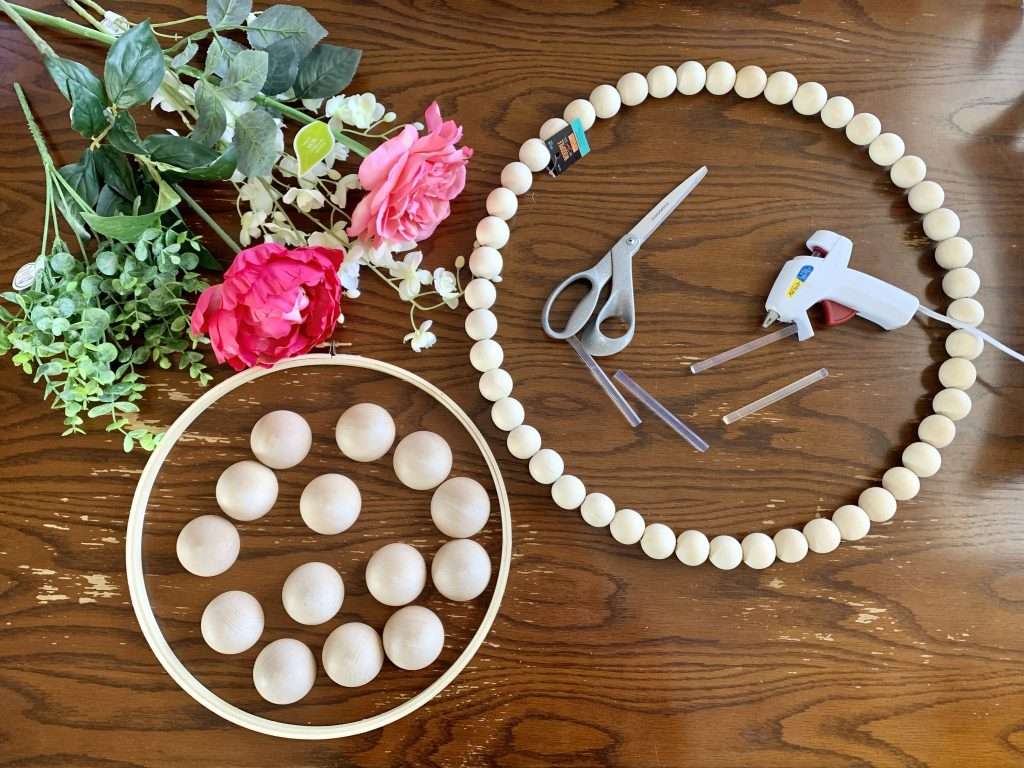
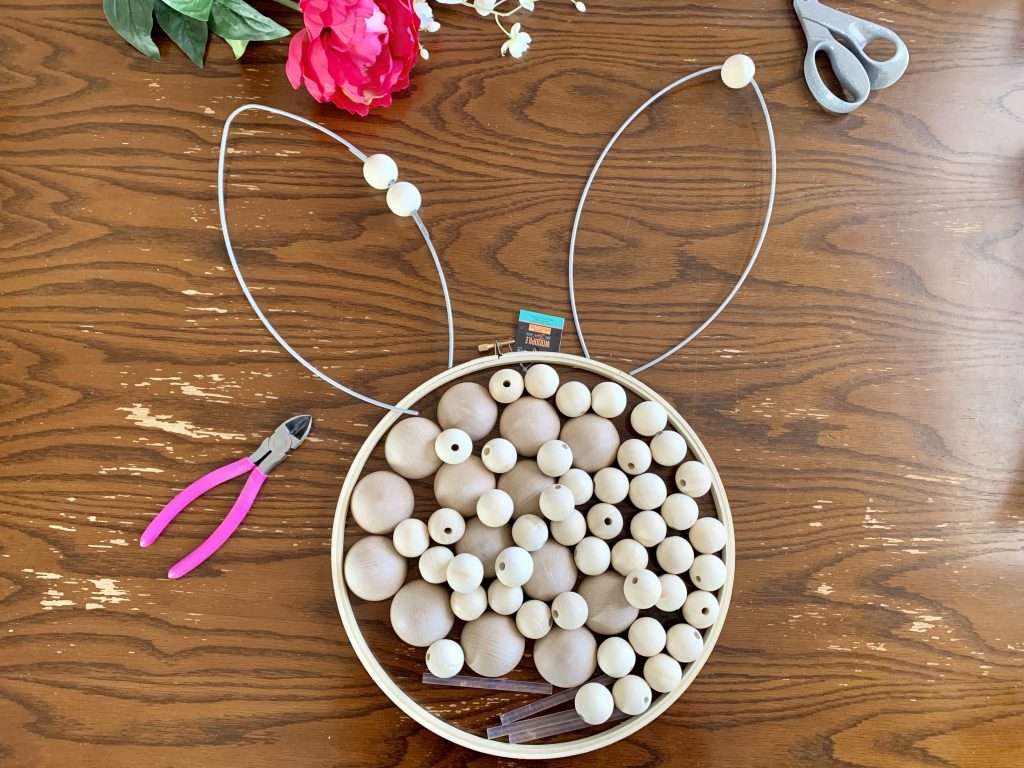
Step 1: Gather the Easter Wreath Supplies
For this wreath, you will need:
- 12″ embroidery hoop
- 18″ wood bead wreath with 1″ beads (or pack of 1″ wood beads)
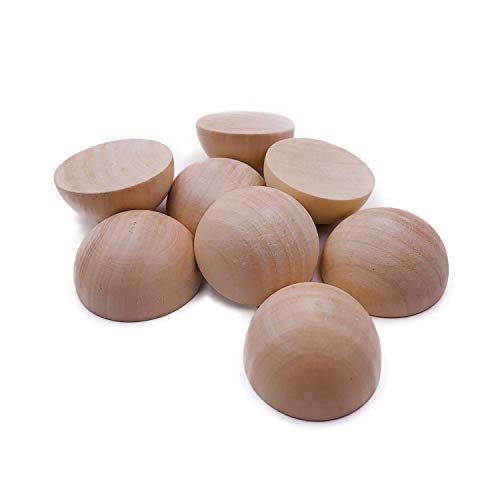
- 14 2″ split wood beads
- flowers & greenery
- scissors
- hot glue gun & glue sticks
- wire cutters (not pictured)
- drill & tiny drill bit (not pictured)
- pen or pencil (not pictured)
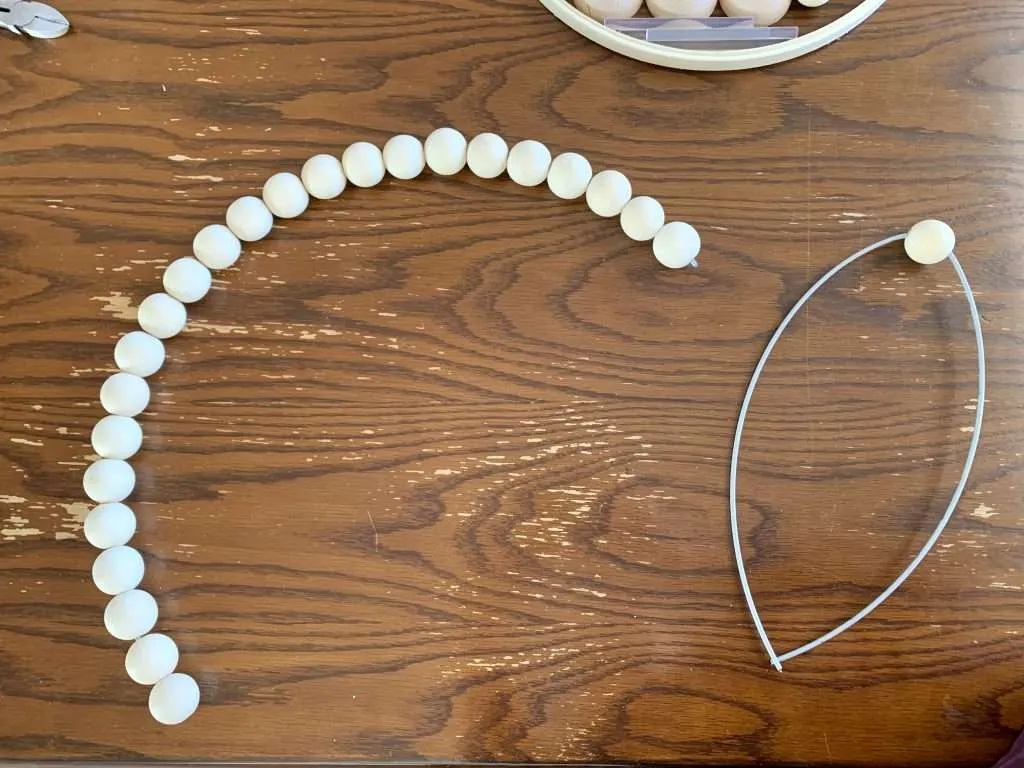
Step 2: Make the Ears
The first step to making your Easter wreath is to make the bunny’s ears.
Use your wire cutters to cut the 18″ wreath in half and remove the beads. Then bend the metal frame of the wreath halves into bunny ears.
Pro Tip: To make perfect bunny ear shapes, place one bead at the center of the half circle and bend the wire in half until the 2 ends meet.
After shaping the ears, lay them against the embroidery hoop to decide the placement.
Bend the base of the ears out a little wider to give them more stability. Then mark the placement of the ears on the embroidery hoop with your pencil.
Hobby Lobby Wood Bead Wreath – 18Mr. Pen- Wire Cutter, 6 Inch, Wire Cutters, Diagonal Wire Cutters, Flush Cutter, Nippers, Side Cutters, Flush Cutters, Diagonal Cutter, Cutting Pliers, Floral Wire Cutter, Wire Pliers


Step 3: Glue Down the Split Beads
While I already had the wreath lying flat, I glued down the split wood beads. Using hot glue, I attached the split beads to the edge of the embroidery hoop.
I left a large gap between the beads at the top of the wreath, but this will be filled with flowers later.

Unfinished Split Wood Balls 20 Pcs 2 Inch Diameters Half Wooden Balls Mini Hemisphere Half Craft Balls for DIY Projects Kids Arts and Craft SuppliesCaydo 12 Inch Embroidery Hoop Bamboo Circle Cross Stitch Hoop Ring for Art Craft Handy Sewing

Step 4: Attach the Ears
Attaching the ears to the embroidery hoop was the most frustrating and difficult part of the whole project.
In one video I found, the lady wrapped the wire she used around the base of her wreath. However, the wire that I was using from the wood bead wreath was much too thick and stiff to wrap around the embroidery hoop.
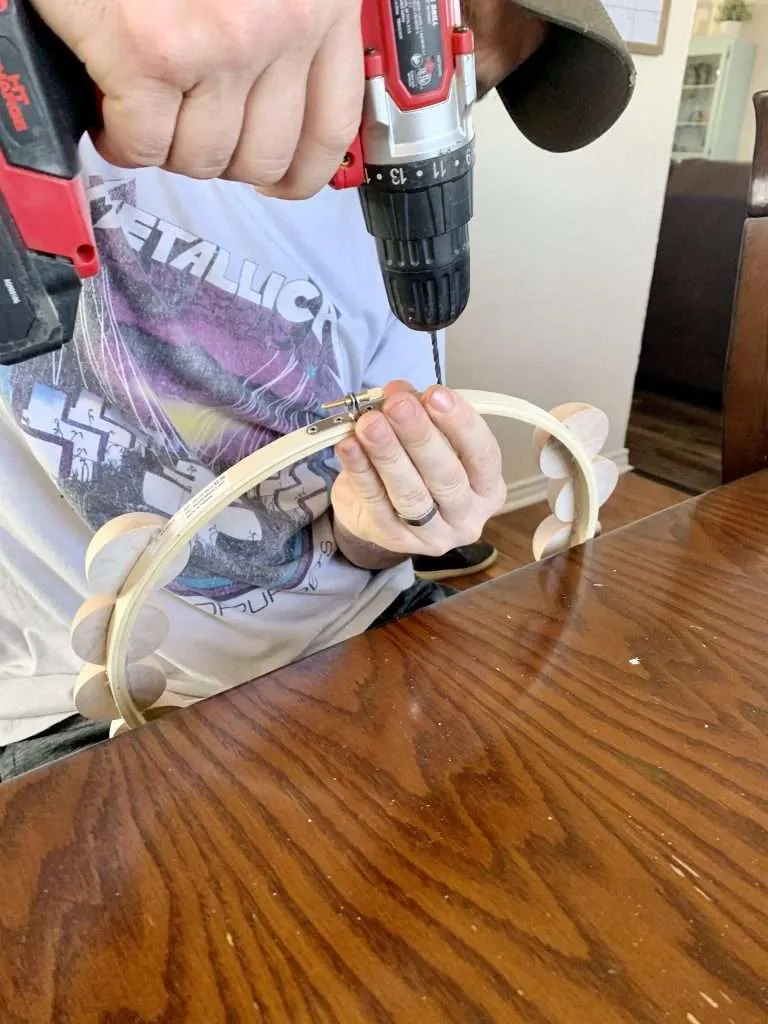
After watching me struggle, my husband decided to drill holes in the embroidery hoop using a tiny drill bit. The drill bit is roughly the same size as the wire used to make the ears.
If you don’t have a power tools, there are hand drills that are used in jewelry making that would also work for this!
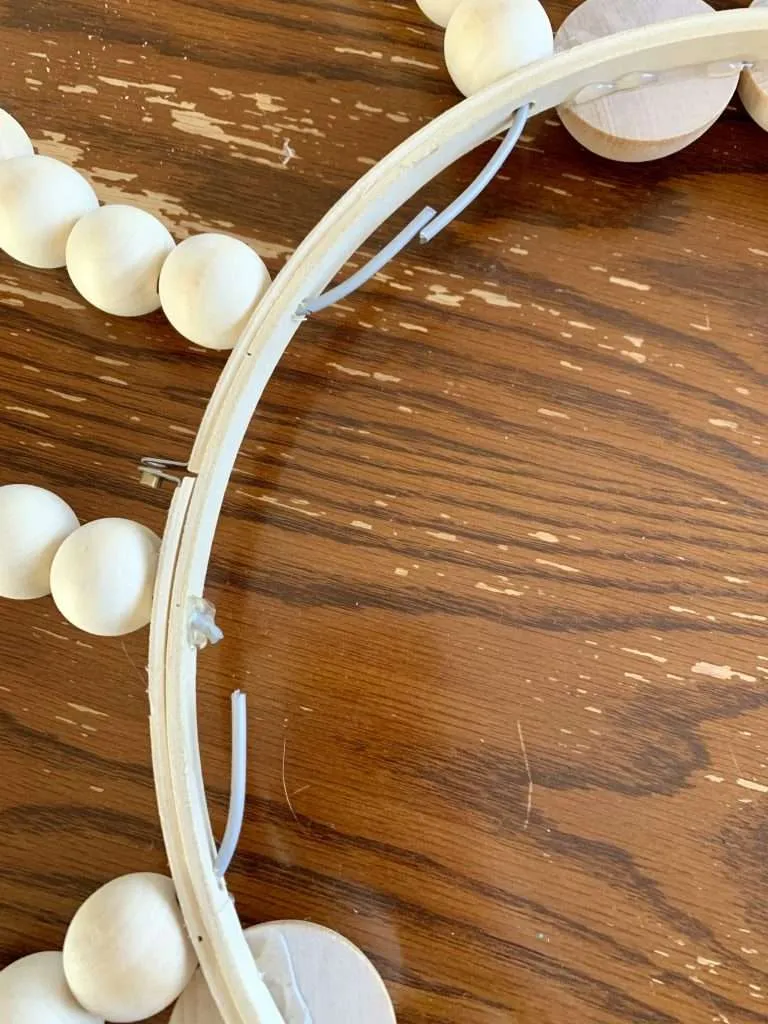
Once the holes were drilled, we pushed the ear wires through, bent the wire as close to the embroidery hoop as possible, and added hot glue to hold them in place.
CRAFT911 Hand Drill Bits Set – Pin Vise Hand Drill Manual, Small Micro Drill Bit Set | Jewelry Drill Kit, PCB Mini Drill Bits for Resin Beads Polymer Clay | DYI Jewelry Making Drill, Craft Drill BitLiumai Hot Glue Gun Kit with 30pcs Glue Sticks, Mini Hot Melt Glue Gun with Carrying Case for Crafts, School DIY Arts, and Home Repair (30Watts, Pink)


Step 5: Add the Flower Crown
Finally, it was time to add the bunny’s flower crown!
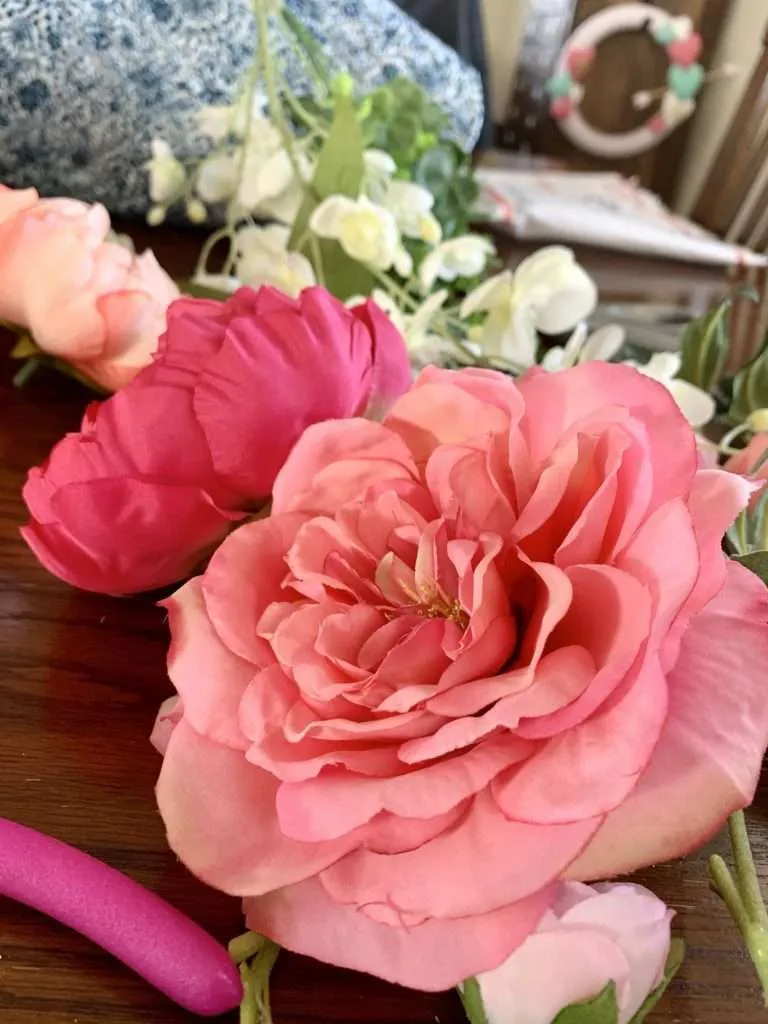
Cut or pull the flowers from their stems and separate the small stems of greenery from the bush.
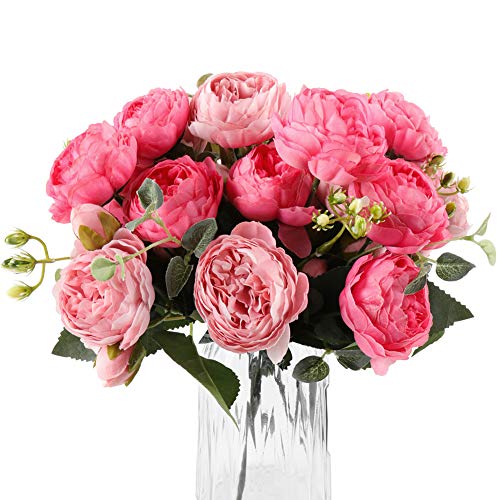
I used 2 large peonies in different shades of pink, small white flowers, and a bush of eucalyptus greenery.
Place your greenery first, then the white flowers, and follow with the peonies. Secure all of them to the exposed section of the embroidery hoop using hot glue.
DEEMEI Artificial Peony Flower Silk Peonies Bouquet 4 Bundles Fake Flowers Bulk for Home Wedding Party Decor (Rose Red+Pink)Rinlong 6Pcs Eucalyptus Artificial Greenery Fake Dusty Frosted Eucalyptus Stems Branches for Bouquet Filler Farmhouse Kitchen Hanging Planter Table Decor

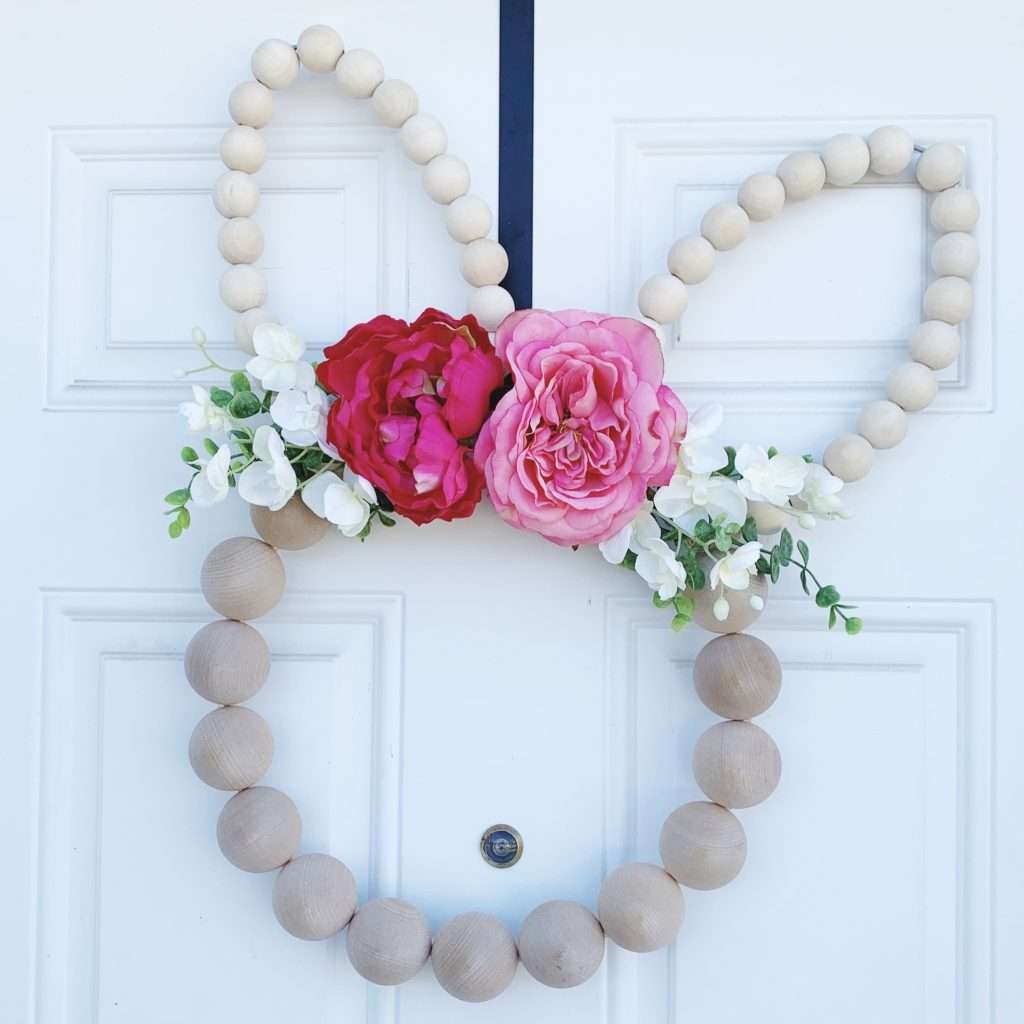
Step 6: Hang Up and Enjoy!
Once your bunny has its flower crown, the Easter wreath is complete.
It’s time to hang it on the front door!