[Disclaimer: Finding Mandee is reader-supported, if you purchase through links on my site I may earn an affiliate commission at no additional cost to you. As an Amazon Associate, I earn from qualifying purchases.]
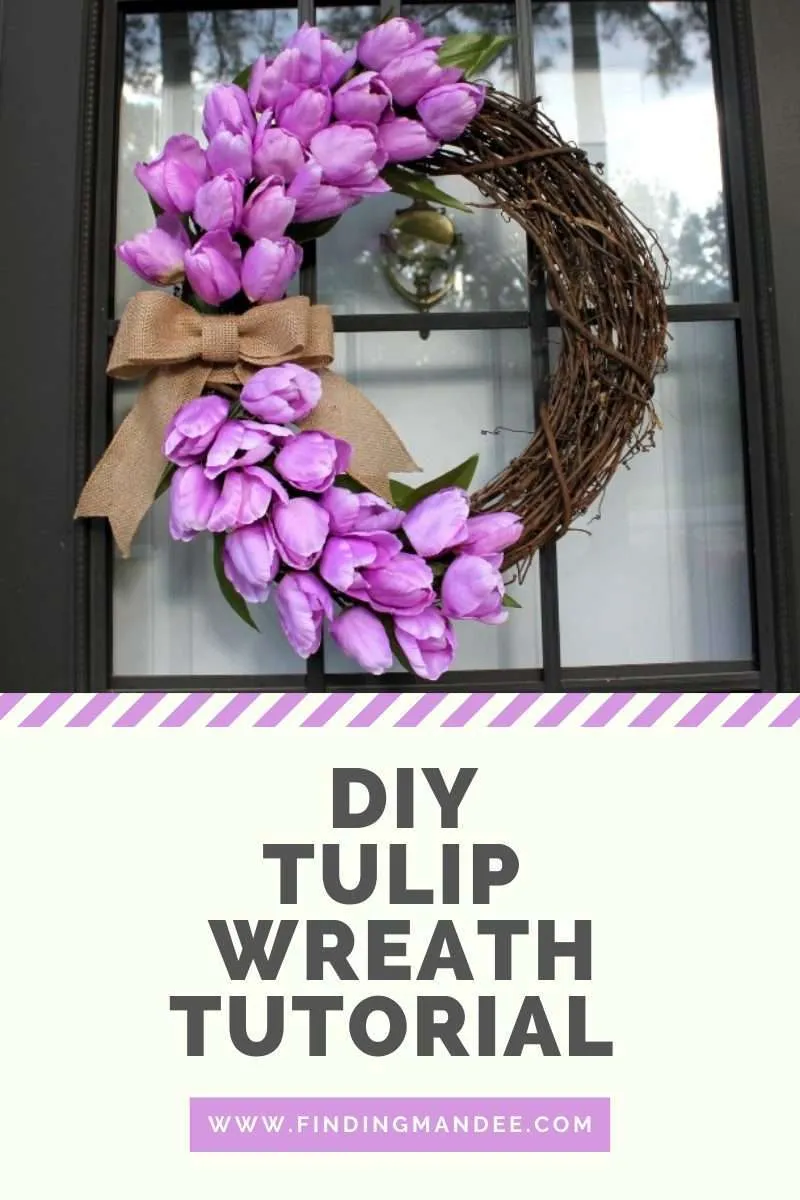
Spring is my favorite season and tulips are my favorite flower. So, when I found tulips on sale at Hobby Lobby, I knew they would make the perfect spring wreath for my front door.
Wreaths are some of my favorite DIY projects to do. Check out this gorgeous boxwood wreath or the spring wreath that I made using peonies.
I made the first spring wreath with yellow tulips and I was so impressed with how it turned out that I snapped this picture and posted it on Facebook.

My friends and family loved it! My mom called later that day to ask if I would make her one too.
This time I decided to take pictures of the process and post them here on the blog so that everyone could make one of these beautiful wreaths.
And the best part is that this spring project cost me less than $15!
How to Make a Spring Wreath
Step 1: Gather Your Supplies
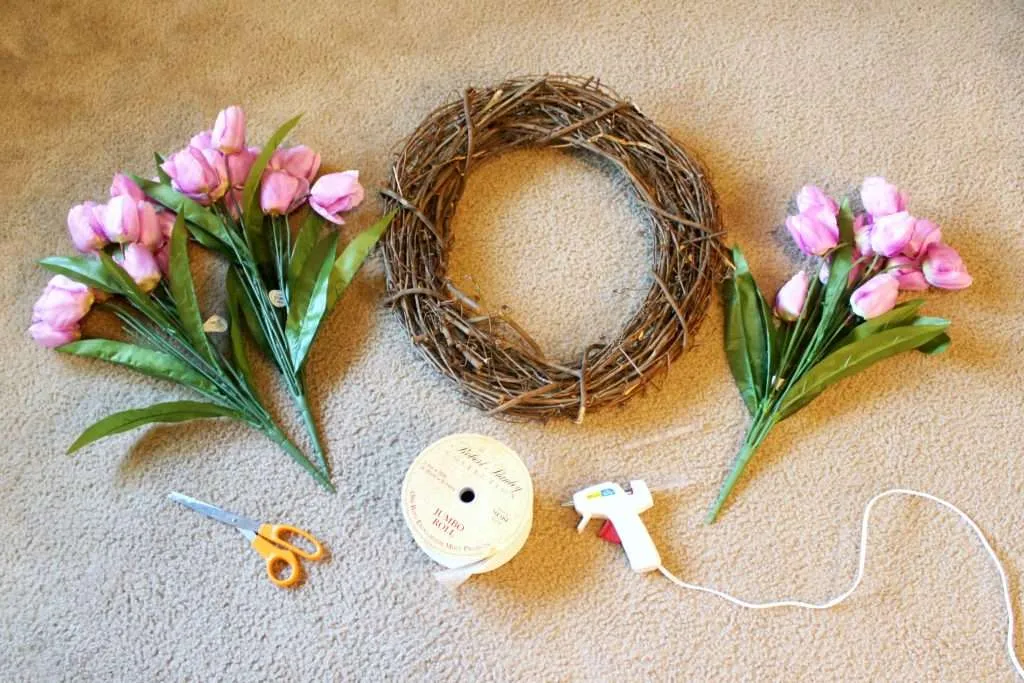
- 2 tulip bushes
- a grapevine wreath form
- scissors
- hot glue gun & glue sticks
- burlap ribbon
I bought these tulip bushes at Hobby Lobby. Normally, they are $7.99 each, but Hobby Lobby has a constantly rotating sale. Every other week flowers are 50% off. So, I bought both tulip bushes for $7.99.
I also bought the wreath form at Hobby Lobby for $4.99. Everything else I had on hand in my craft cabinet. In total, this wreath only cost me about $13.
C APPOK 30pcs Artificial Tulips Flowers Fake Latex Tulip Stems – Real Touch Faux Pink Tulips Flower for Easter Summer Wedding Bouquet Centerpiece Floral Arrangement Cemetery Table Decor18-20inch Large Natural Grapevine Wreath Rings Rattan Vine Branch Wreath Hoop for DIY Craft Wreath Christmas Easter Holiday Decoration Seasonal Decors (1pcs 50cm/18-20inch)


Step 2: Remove the Tulip Blooms

The next step is to remove the tulip stems from the bush. This is super easy and there is no cutting necessary. Simply pull the tulip blooms and the stems come right off.
If you buy a different kind of tulip bush that requires cutting, make sure that you leave 3-4 inches of stem on each bloom.
Step 3: Glue Ribbon Around Your Wreath
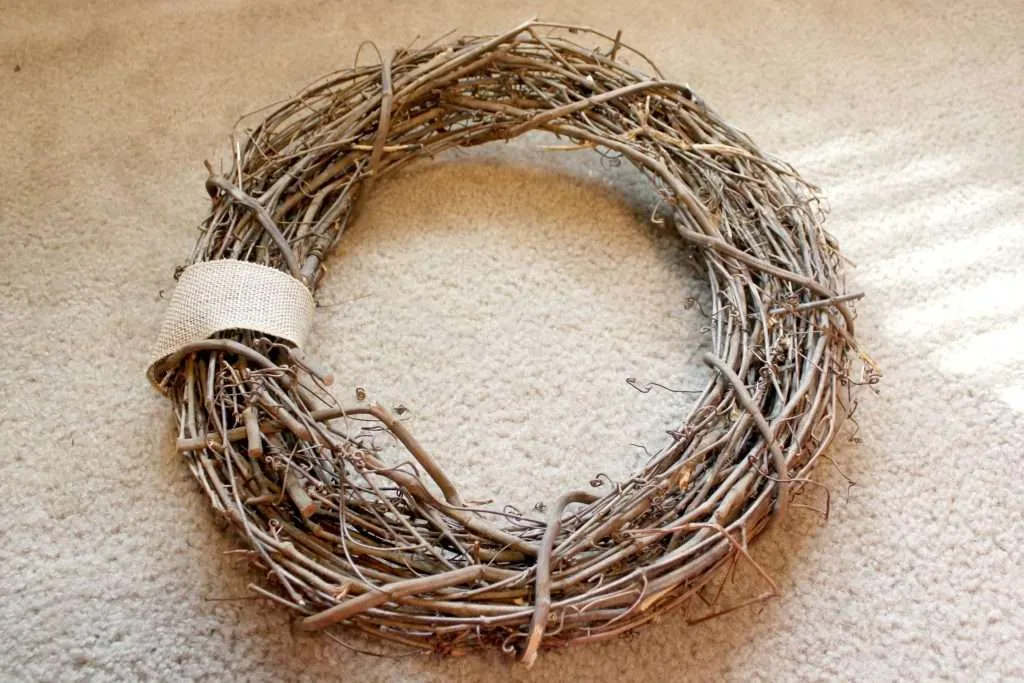
Cut a piece of burlap ribbon and glue it around the middle of the grapevine wreath form. This marks the spot where you will place the bow once the wreath is finished.
3 Rolls Christmas Burlap Jute Fabric Wired Ribbon 1/2/3 Inch by 10 Yards Jute Ribbon Linen Type Cloth for Arts Crafts Homemade DIY Projects, Event Decorations (Flaxen)Rocky Mountain Goods 7 Loop Burlap Bow – 12” x 18” Wired Burlap Hand Tie Bow for Wreath, Wedding, Crafts, Christmas Tree, Gifts, Tree Topper, Fall – Indoor/Outdoor Natural Burlap (1)


Step 4: Place Tulips on the Wreath
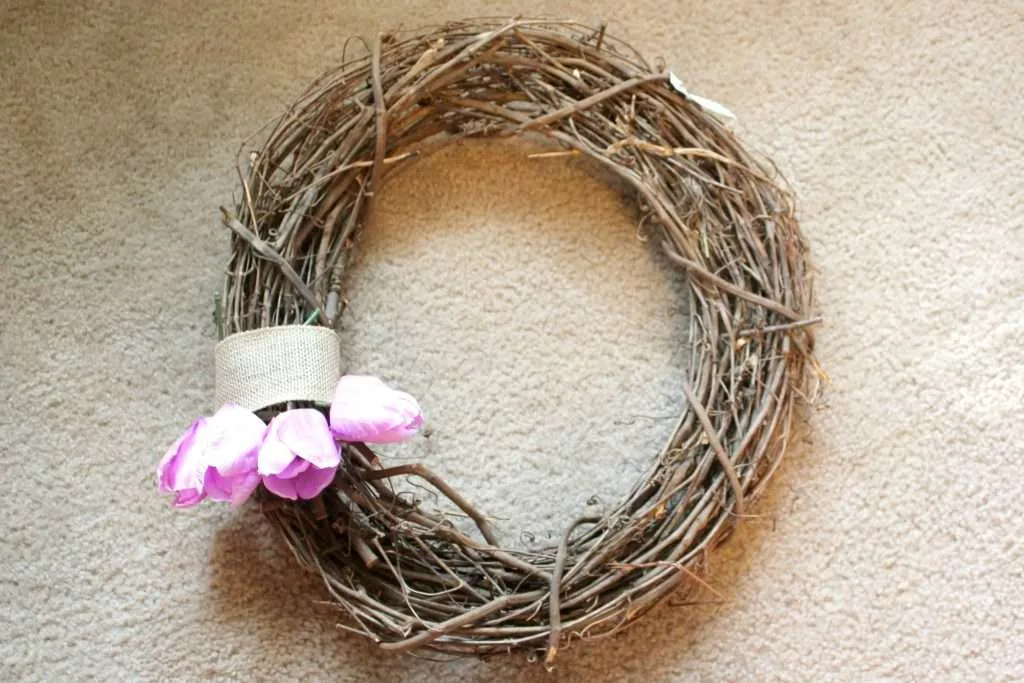
Next, begin placing tulips at the base of the ribbon, but DON’T glue them just yet! Push the stems of the tulips into the wreath form to temporarily hold them in place. Once you have them all arranged the way you like, then you can hot glue them in.

Continue placing the tulips halfway around the wreath. Make sure you bunch the tulips close together without leaving any big gaps in between. Also, the tulips should be facing the same direction.
Step 5: Glue the Stems

Once you have the flowers arranged correctly, remove each stem individually and glue it into place. I put hot glue at the very tip and along the edge of each stem before pushing it into the grapevine wreath.
After you have glued all of the tulips into place, pick up the wreath and give it a little shake to make sure that you didn’t miss any.
Step 6: Add Leaves and a Bow

Once you are done gluing all of the tulip stems into place, fill in any gaps with some of the leaves from the tulip bushes. Like the blooms, the leaves should slide right off.
For my wreath, I filled in a few gaps and also added some leaves to the edge of the tulips for a little more color.
After the gaps are filled, it’s time for the finishing touch…a bow. I chose wired burlap ribbon to make my bow, but you could use any kind you want.
Admittedly, I am not the best bow-maker out there. However, this YouTube video helped me make the bow that you see here. It was super quick and easy – even I couldn’t mess it up!
30pcs Real Touch Tulips PU Artificial Flowers, Fake Tulips Flowers for Arrangement Wedding Party Easter Spring Home Dining Room Office Decoration (Peach)BOMAROLAN Tulip Wreath 20 Inch for Front Door Summer Fall Large Wreaths Springtime All Year Around for Outdoor Door Indoor Wall Or Window Décor Festival Decoration


Step 7: Hang It Up

Ta-da, it’s finished!
Now, you have a gorgeous, tulip-filled spring wreath that is sure to make all of your neighbors jealous. Enjoy!