[Disclaimer: Finding Mandee is reader-supported, if you purchase through links on my site I may earn an affiliate commission at no additional cost to you. As an Amazon Associate, I earn from qualifying purchases.]
I’ve decided to change things up this year for fall!
Instead of using my usual Halloween decor, I’m going to try to stick to a theme. (Something that I’m really bad at.) My decor is a jumble of things that I’ve made or found on sale throughout the years. So, there’s no theme and no rhyme or reason to it…at all.
I’m going to try my hand at the neutral, boho style that is trendy right now, especially on Instagram. So naturally, I started with the a wreath for the front door.
This wreath is a copycat from Stephanie Hanna’s blog. I initially saw it on Facebook and fell in love with it. She posted a tutorial and I loosely followed it. Mine doesn’t look exactly like hers, but I have to give her credit for her immaculate style.
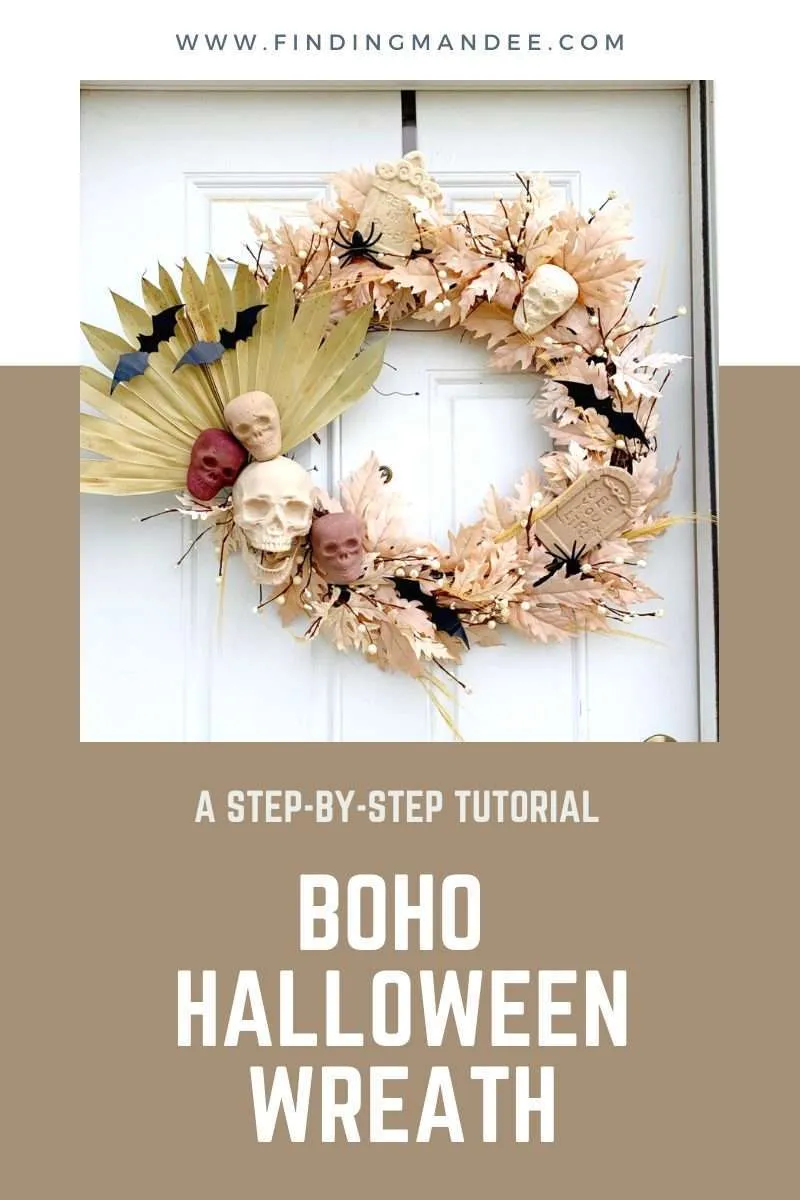
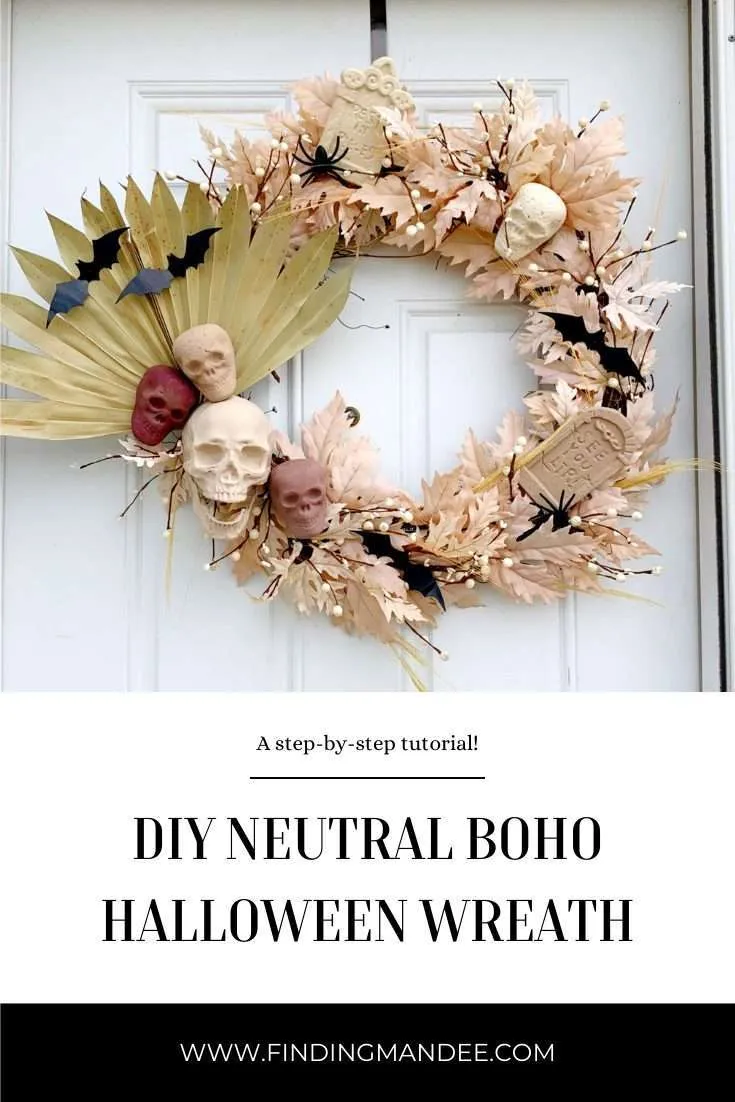
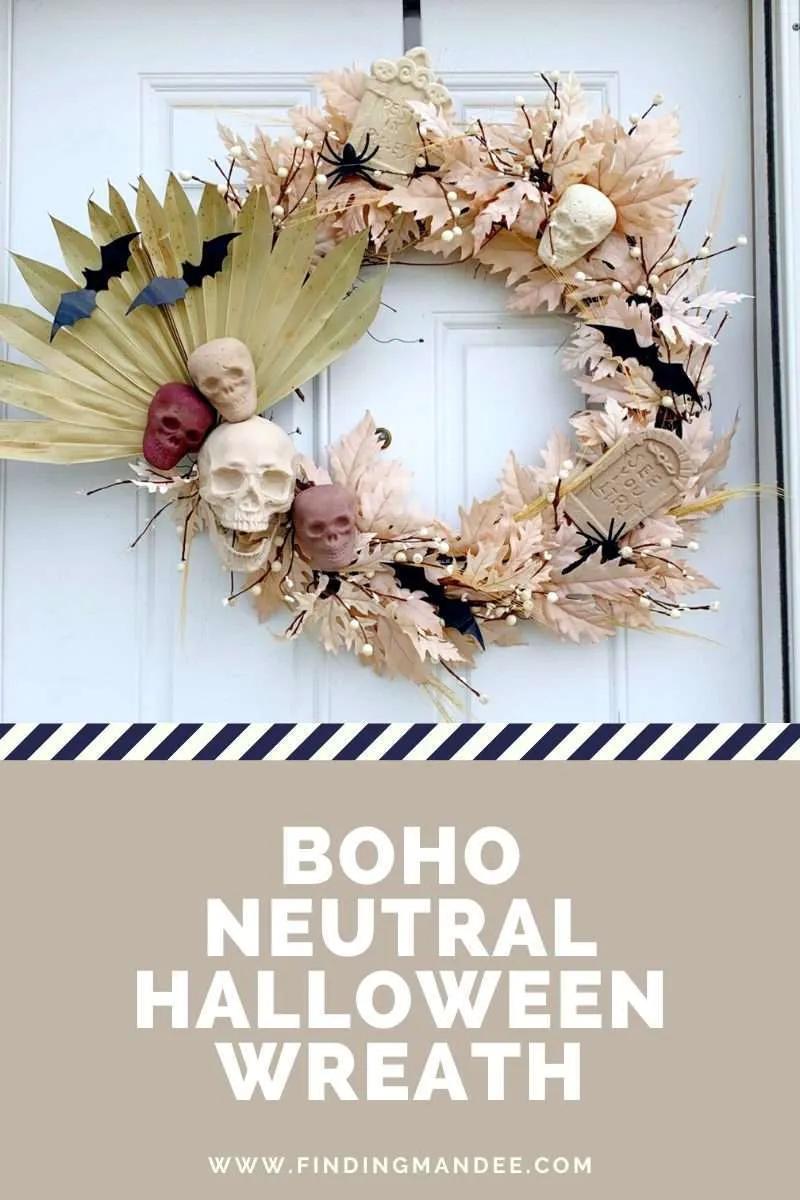
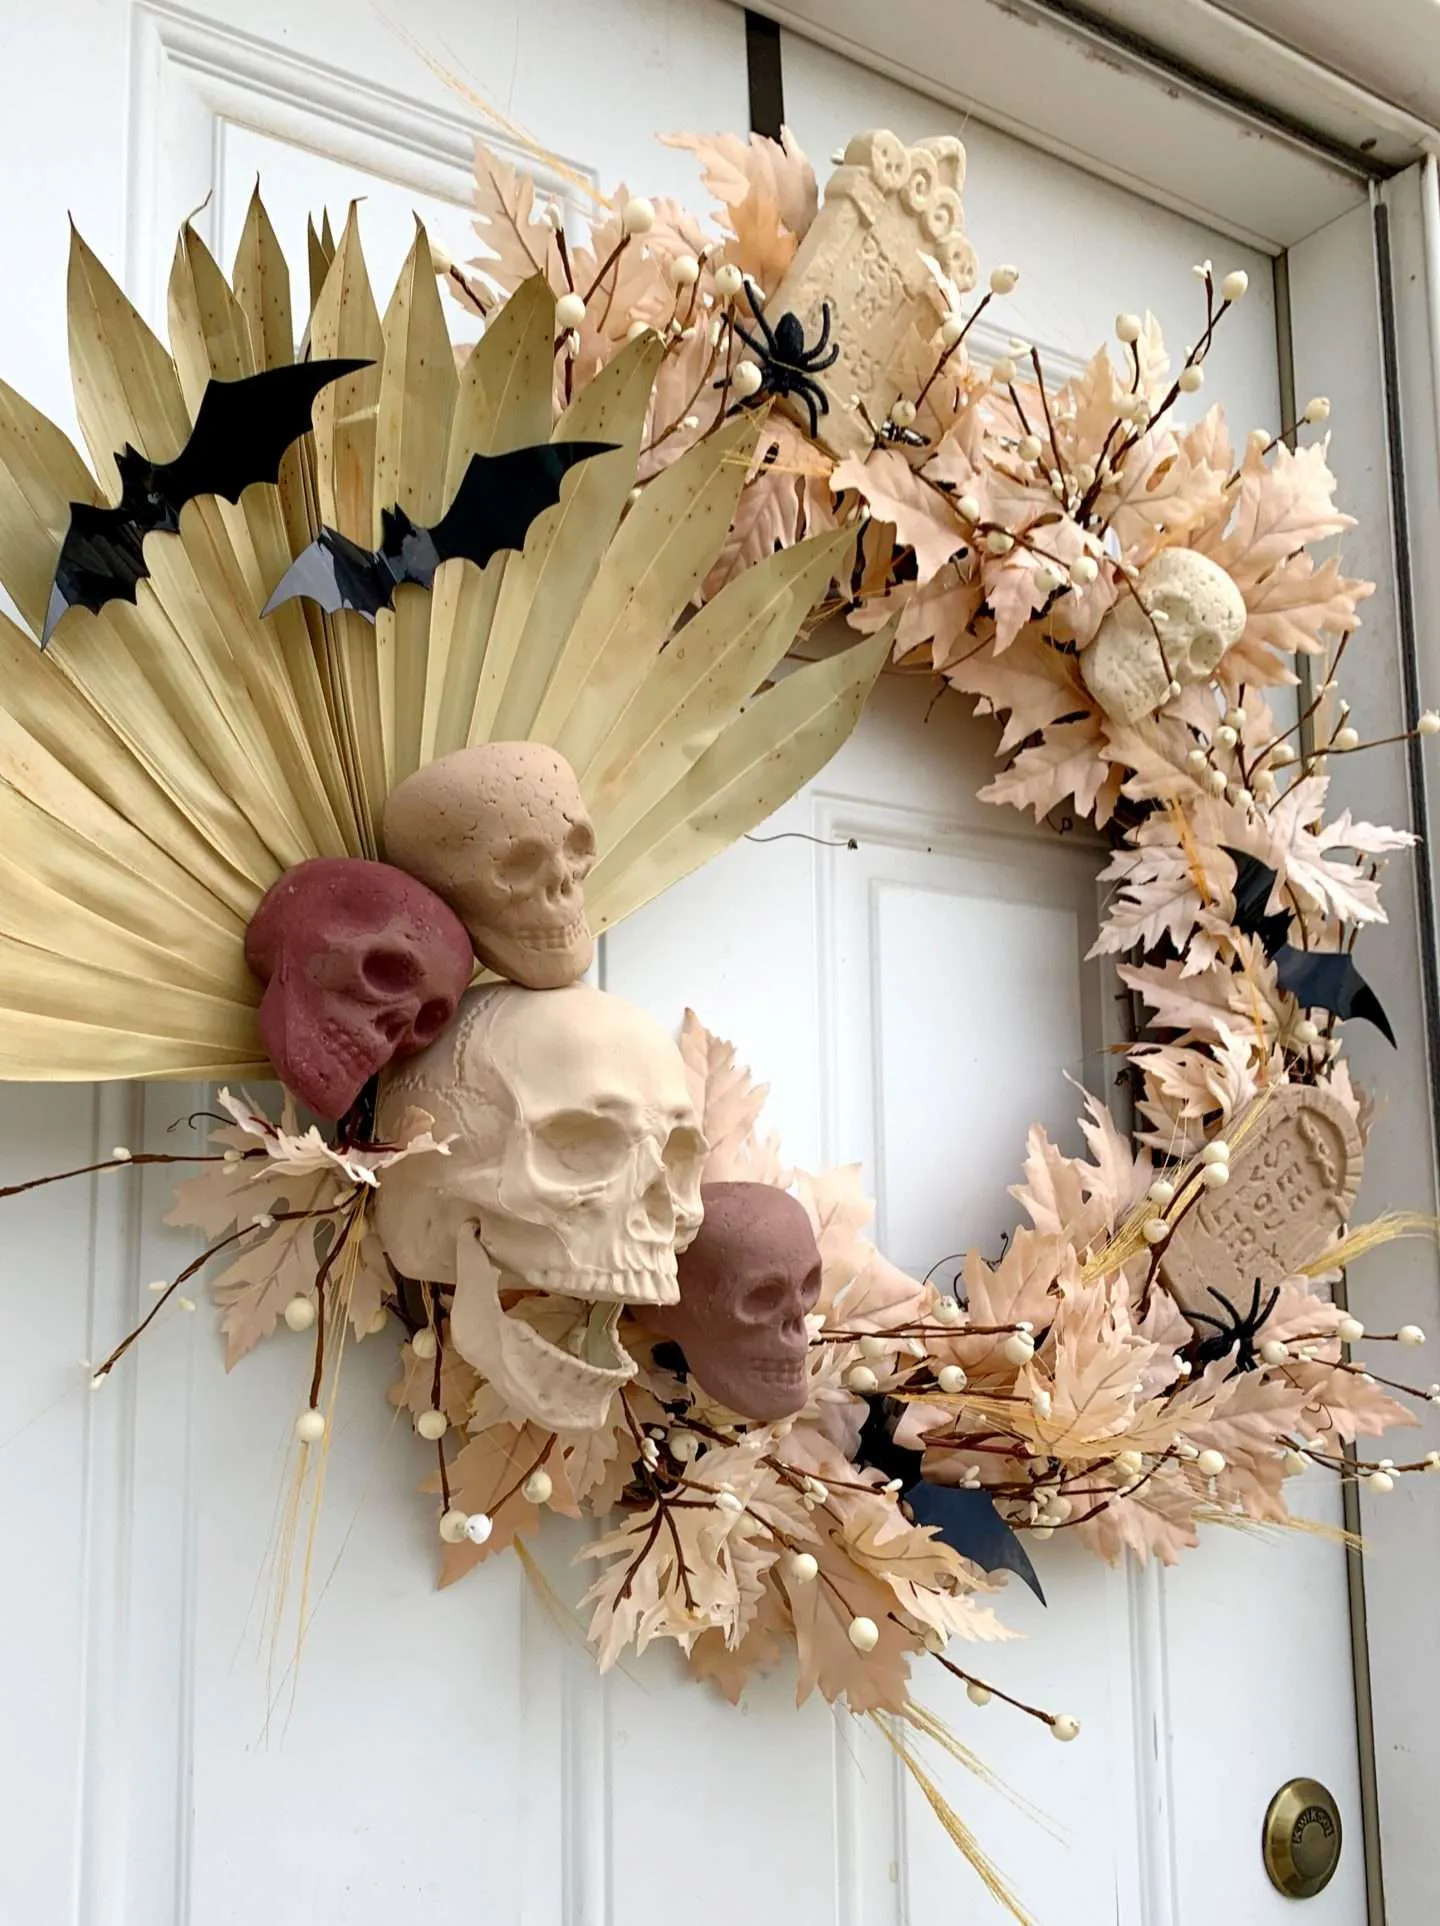
Here’s how I made this DIY Boho Halloween wreath!
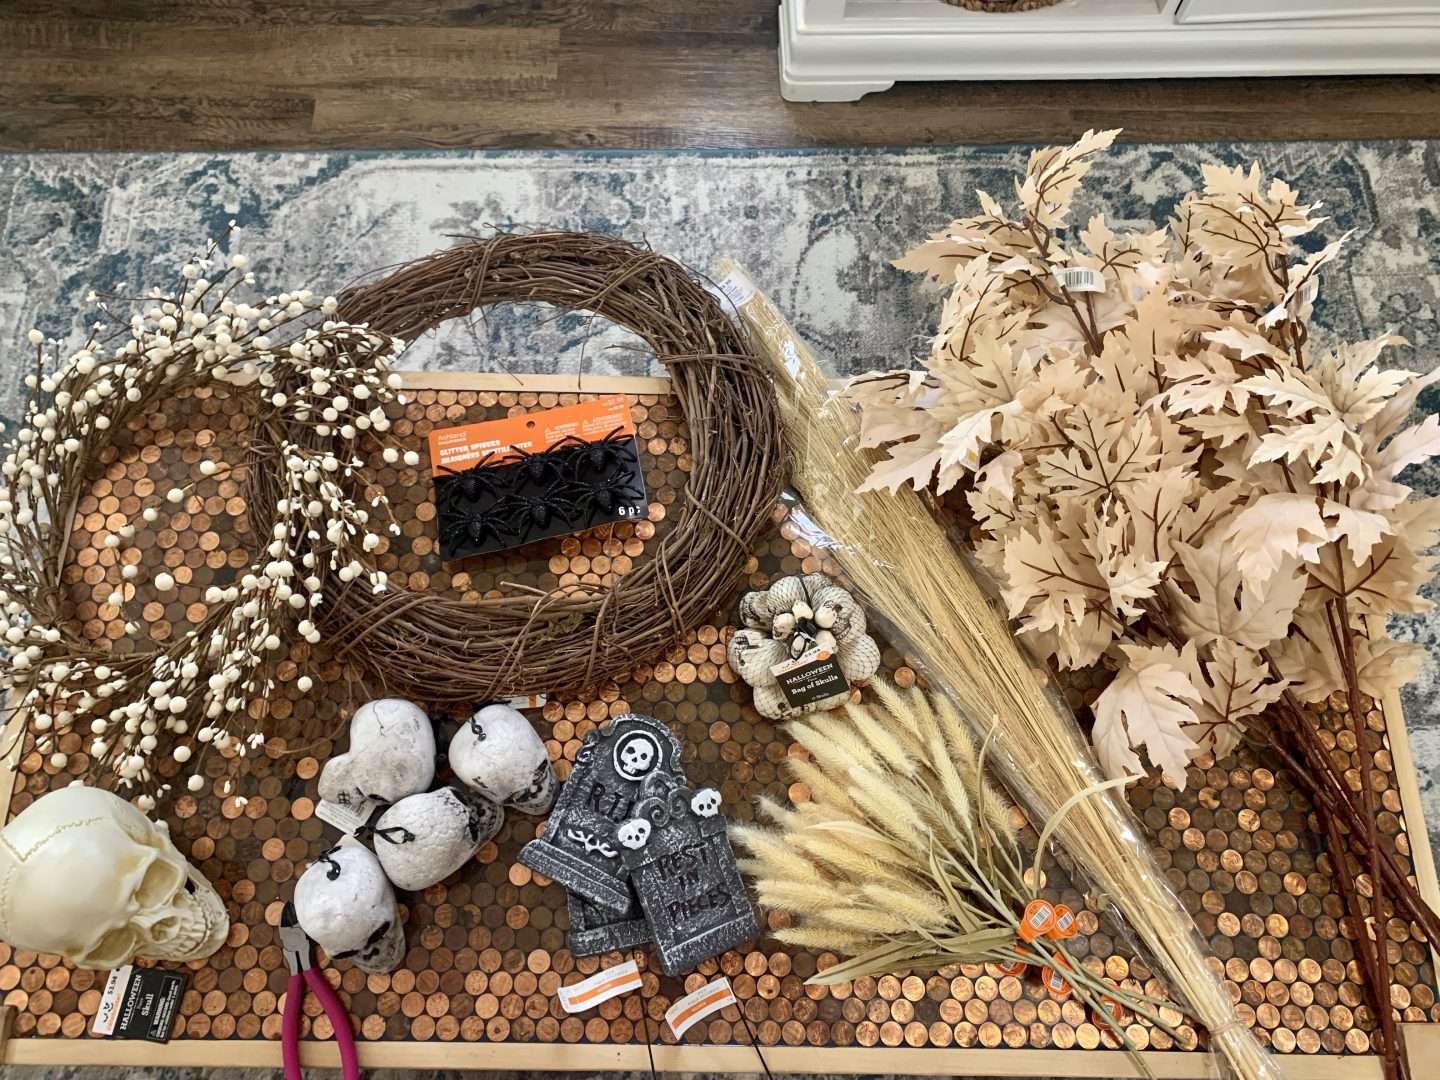
Get Your Supplies
I bought way too many supplies for this wreath and ended up using about half of what I bought. So, don’t go overboard in the craft store like I did!
- 24″ grapevine wreath form
- dried palm spear (large)
- large plastic skull
- 4 small styrofoam skulls
- 3 styrofoam tombstones
- 2 glitter spiders
- 4 flat plastic bats
- paint & paintbrush
- 2 large neutral colored fall leaf stems
- white berry stems or wreath
- dried grass
- knife or scissors
- wire cutters & floral wire
- hot glue gun & glue sticks
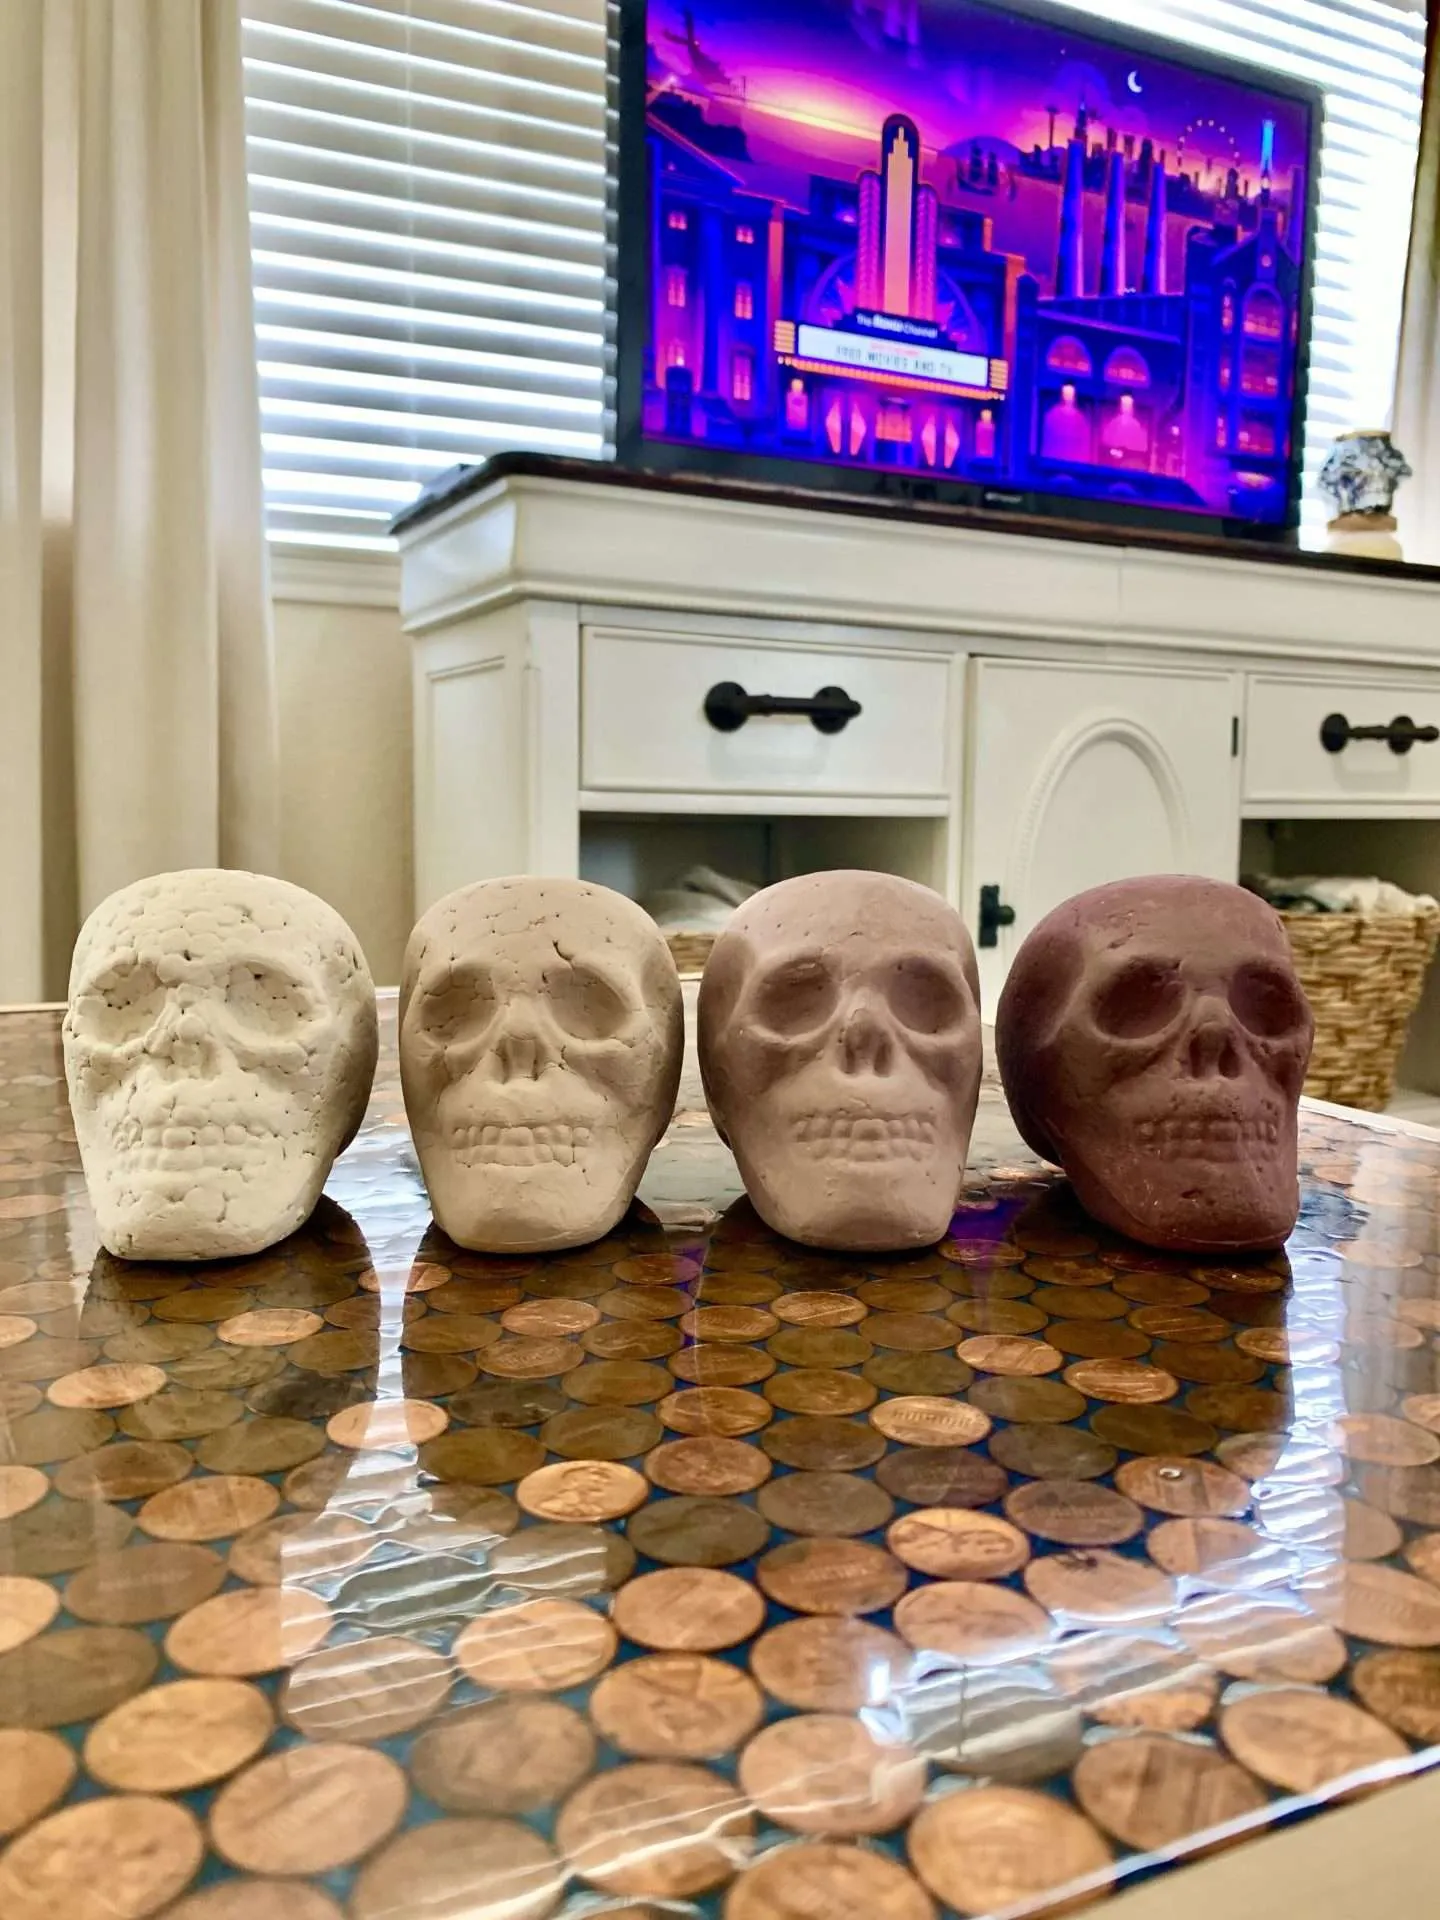
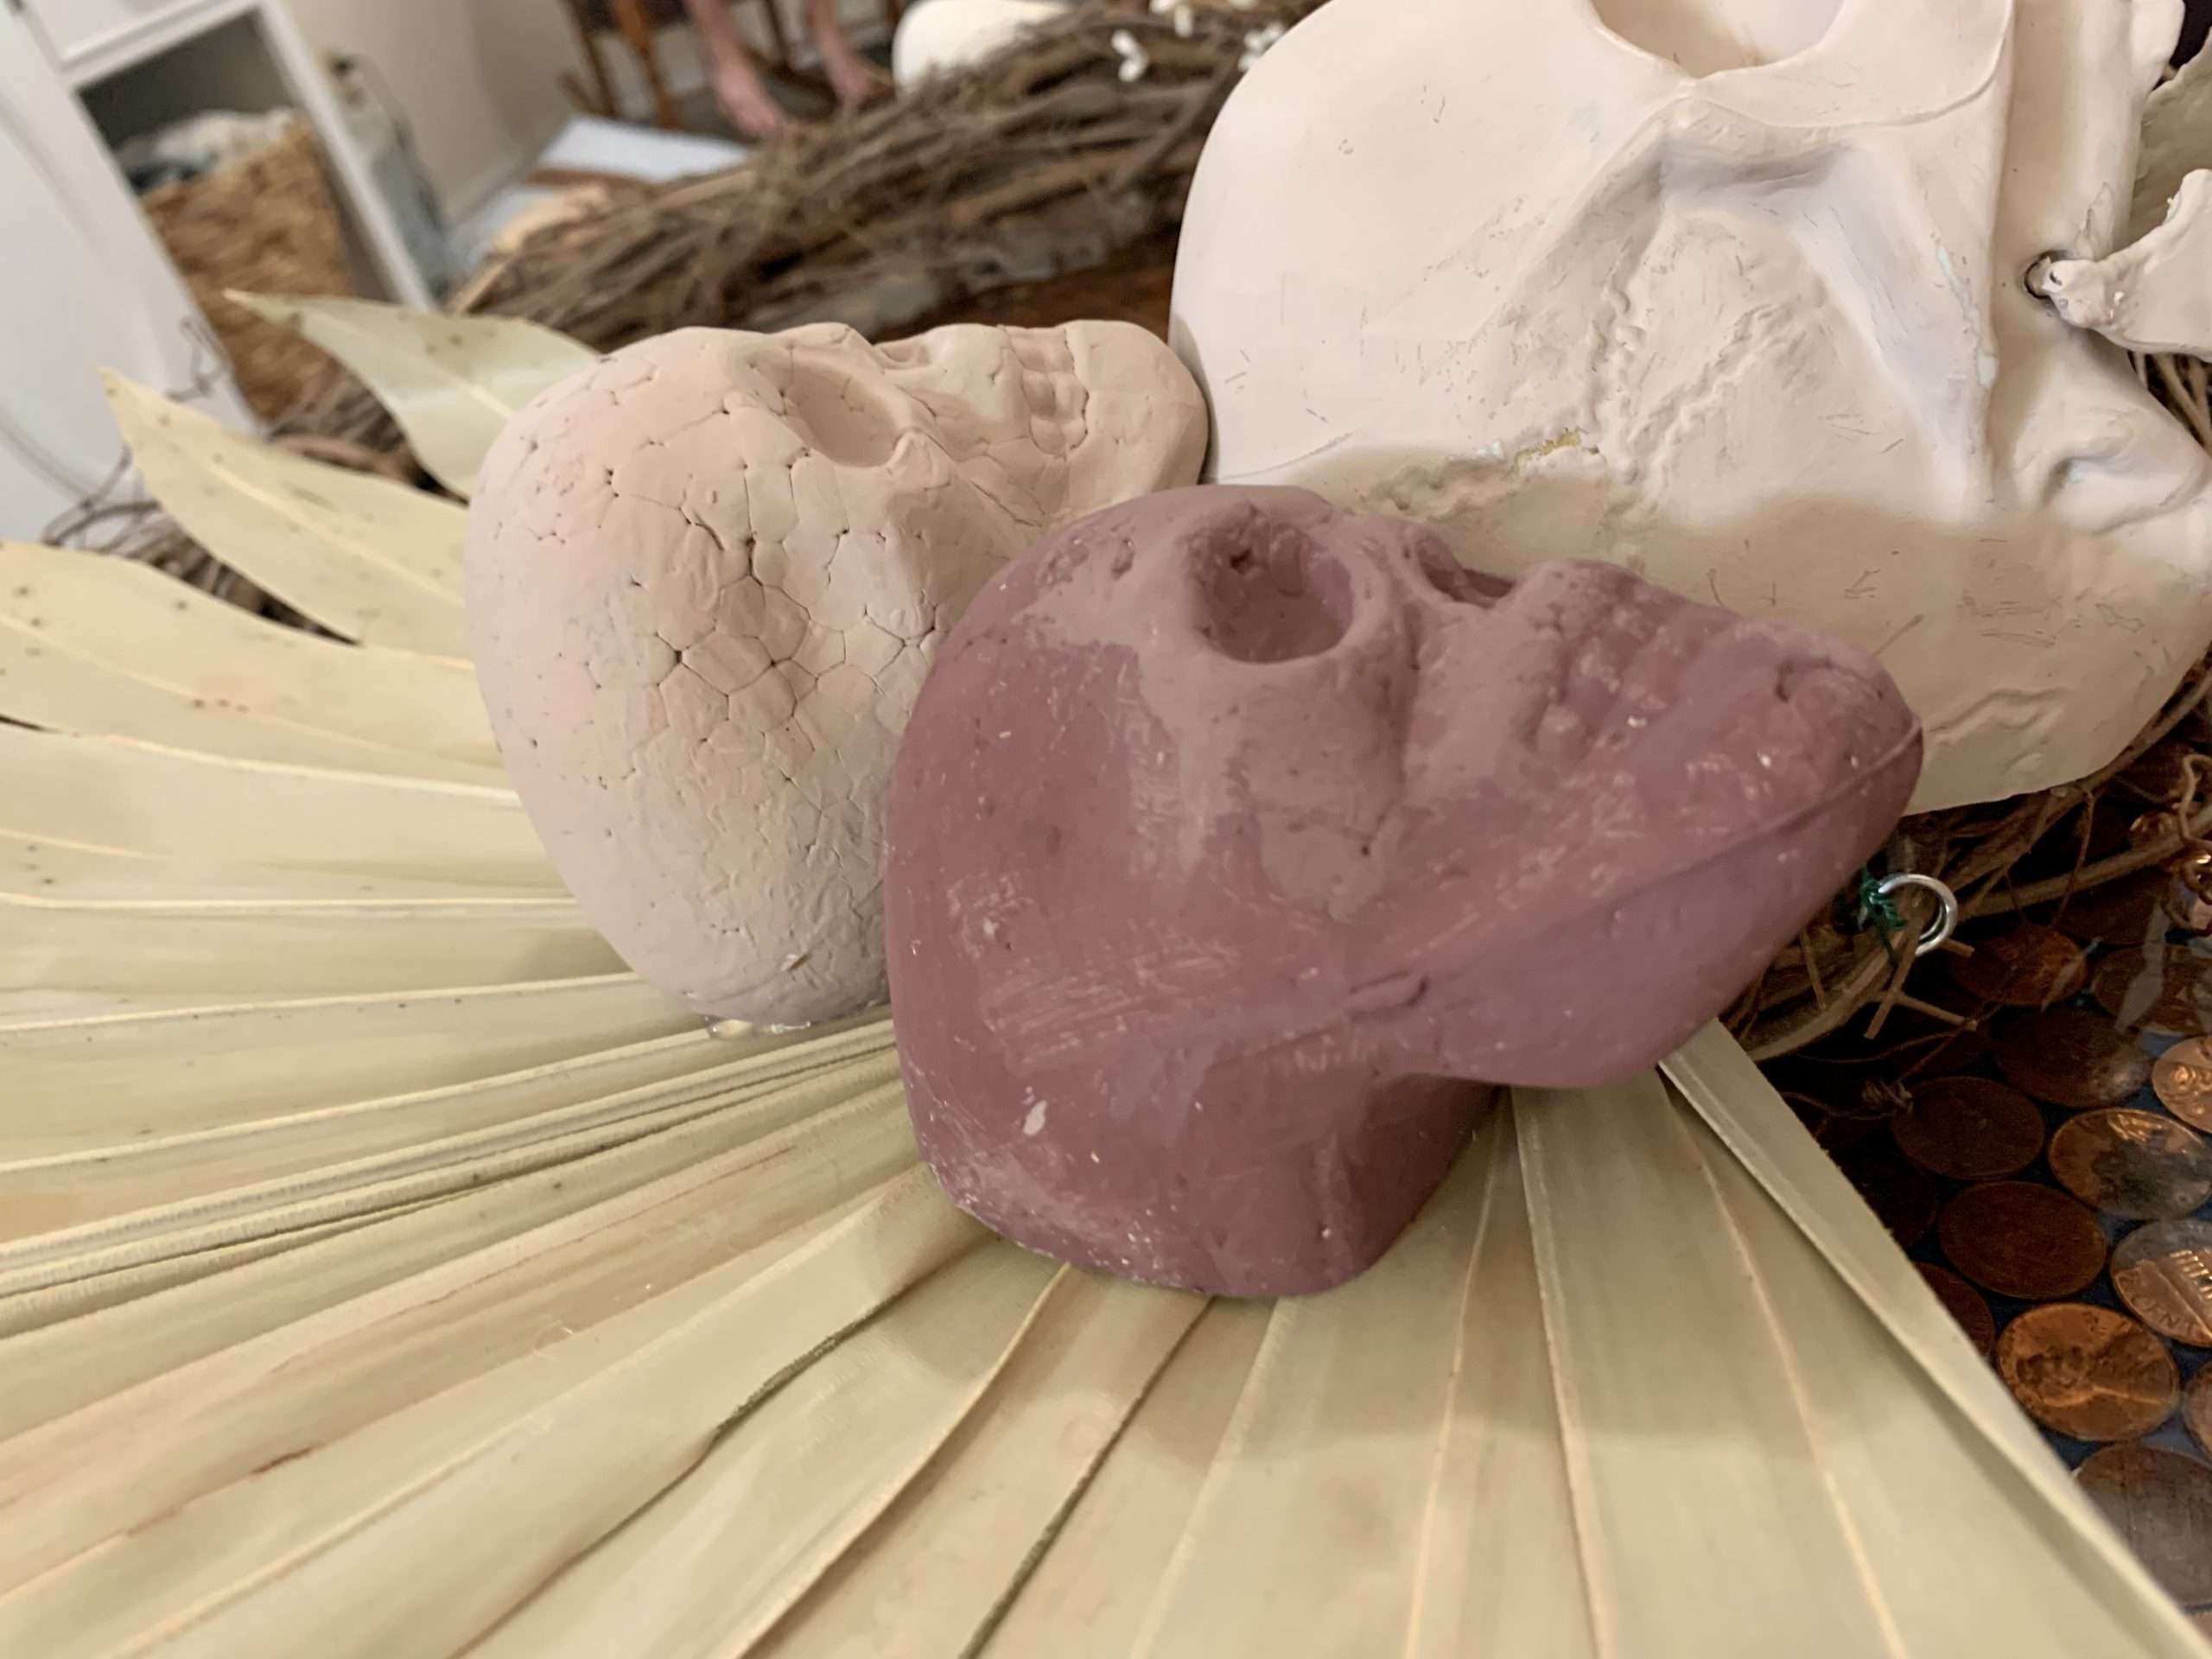
Step 1: Paint the Skulls & Tombstones
The first step to making this boho Halloween wreath was to paint the skulls and tombstones in neutral colors.
I found the skulls and tombstones at Joann’s. I recommend buying these in the store to make sure that they’re the right size. These were 3-4 inches tall and made of foam. The large skull was 5-6 inches tall and it was made of plastic.
The paint that I used was some that I already had on hand. I mixed each variation of brown a little darker than the last.
FolkArt Terra Cotta Acrylic Paint Set of 5, Essentials 2 fl oz Assorted Matte Finish Colors For Painting, Drawing & Art Supplies, DIY Arts And Crafts Acrylic Paint For Kids And Adults, 44506Fun Express Small Skulls for Halloween – Set of 3 – Use for Shrunken Heads and Scary Home Decor


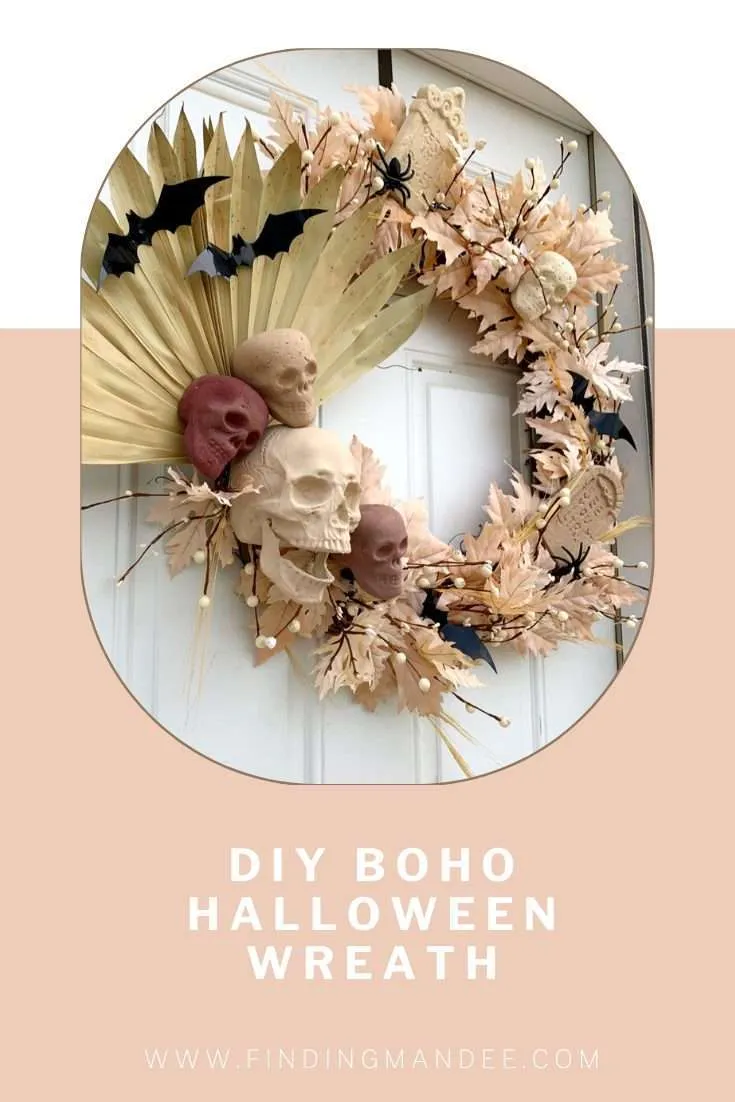
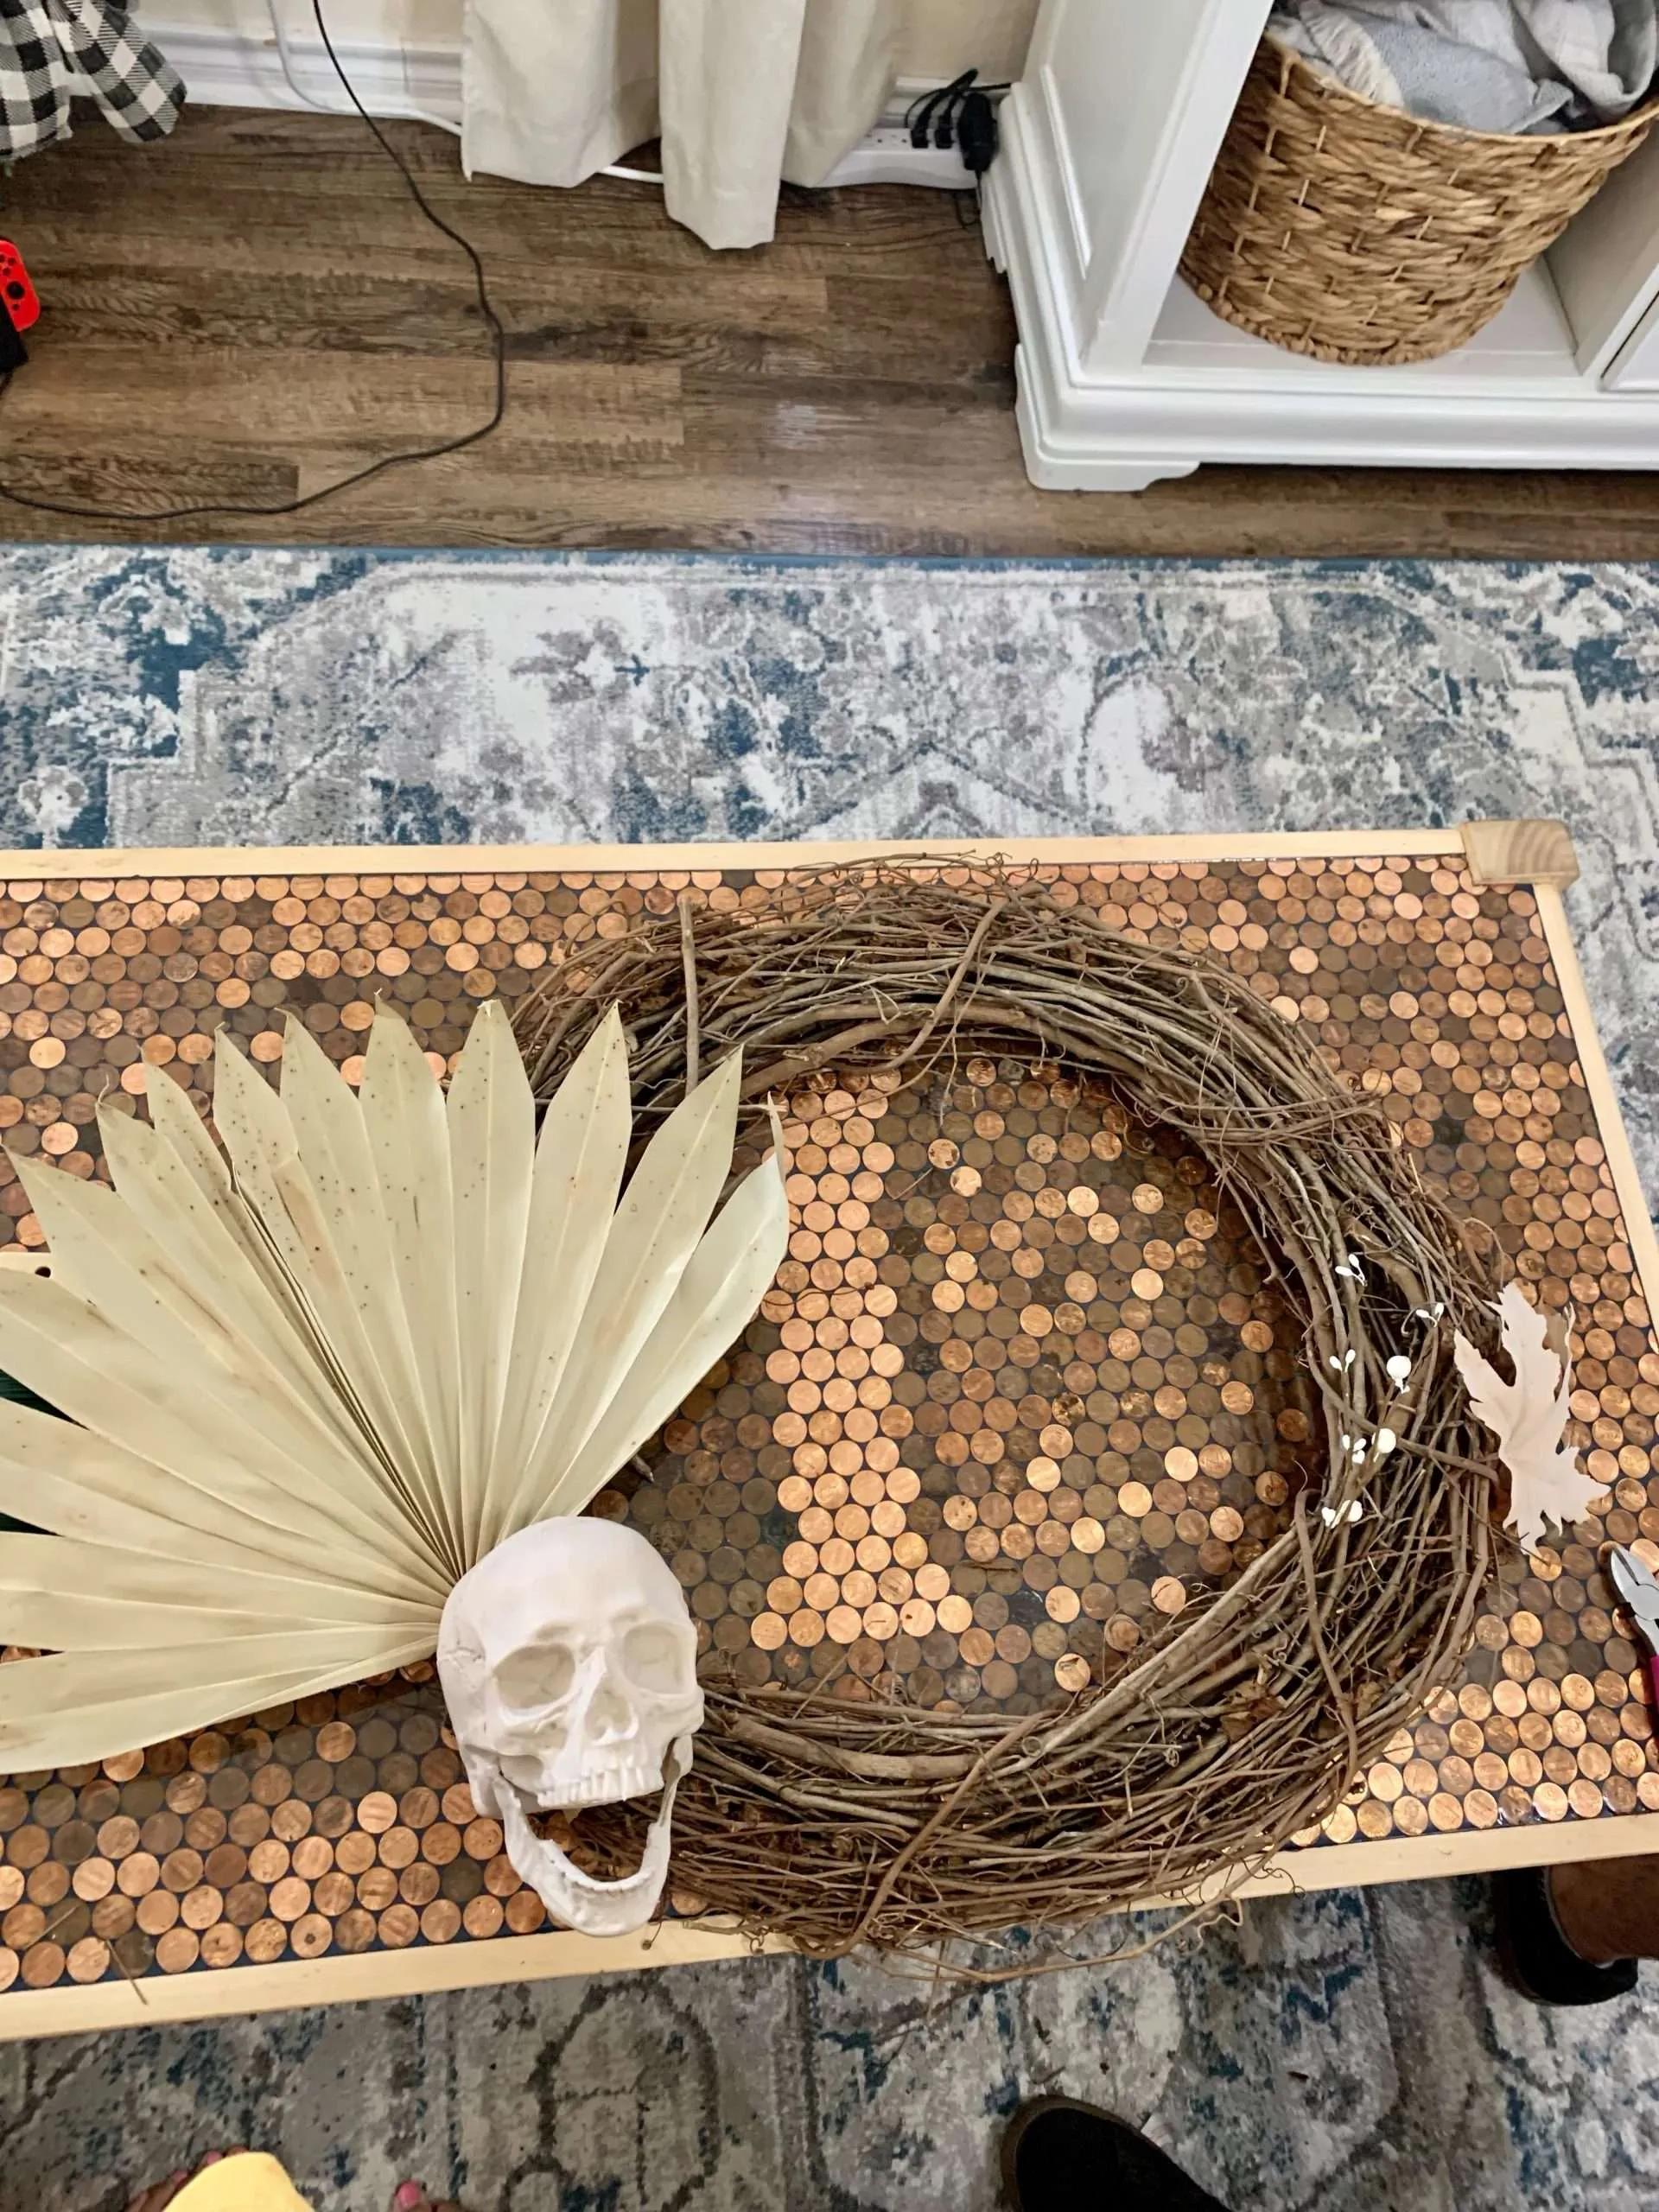
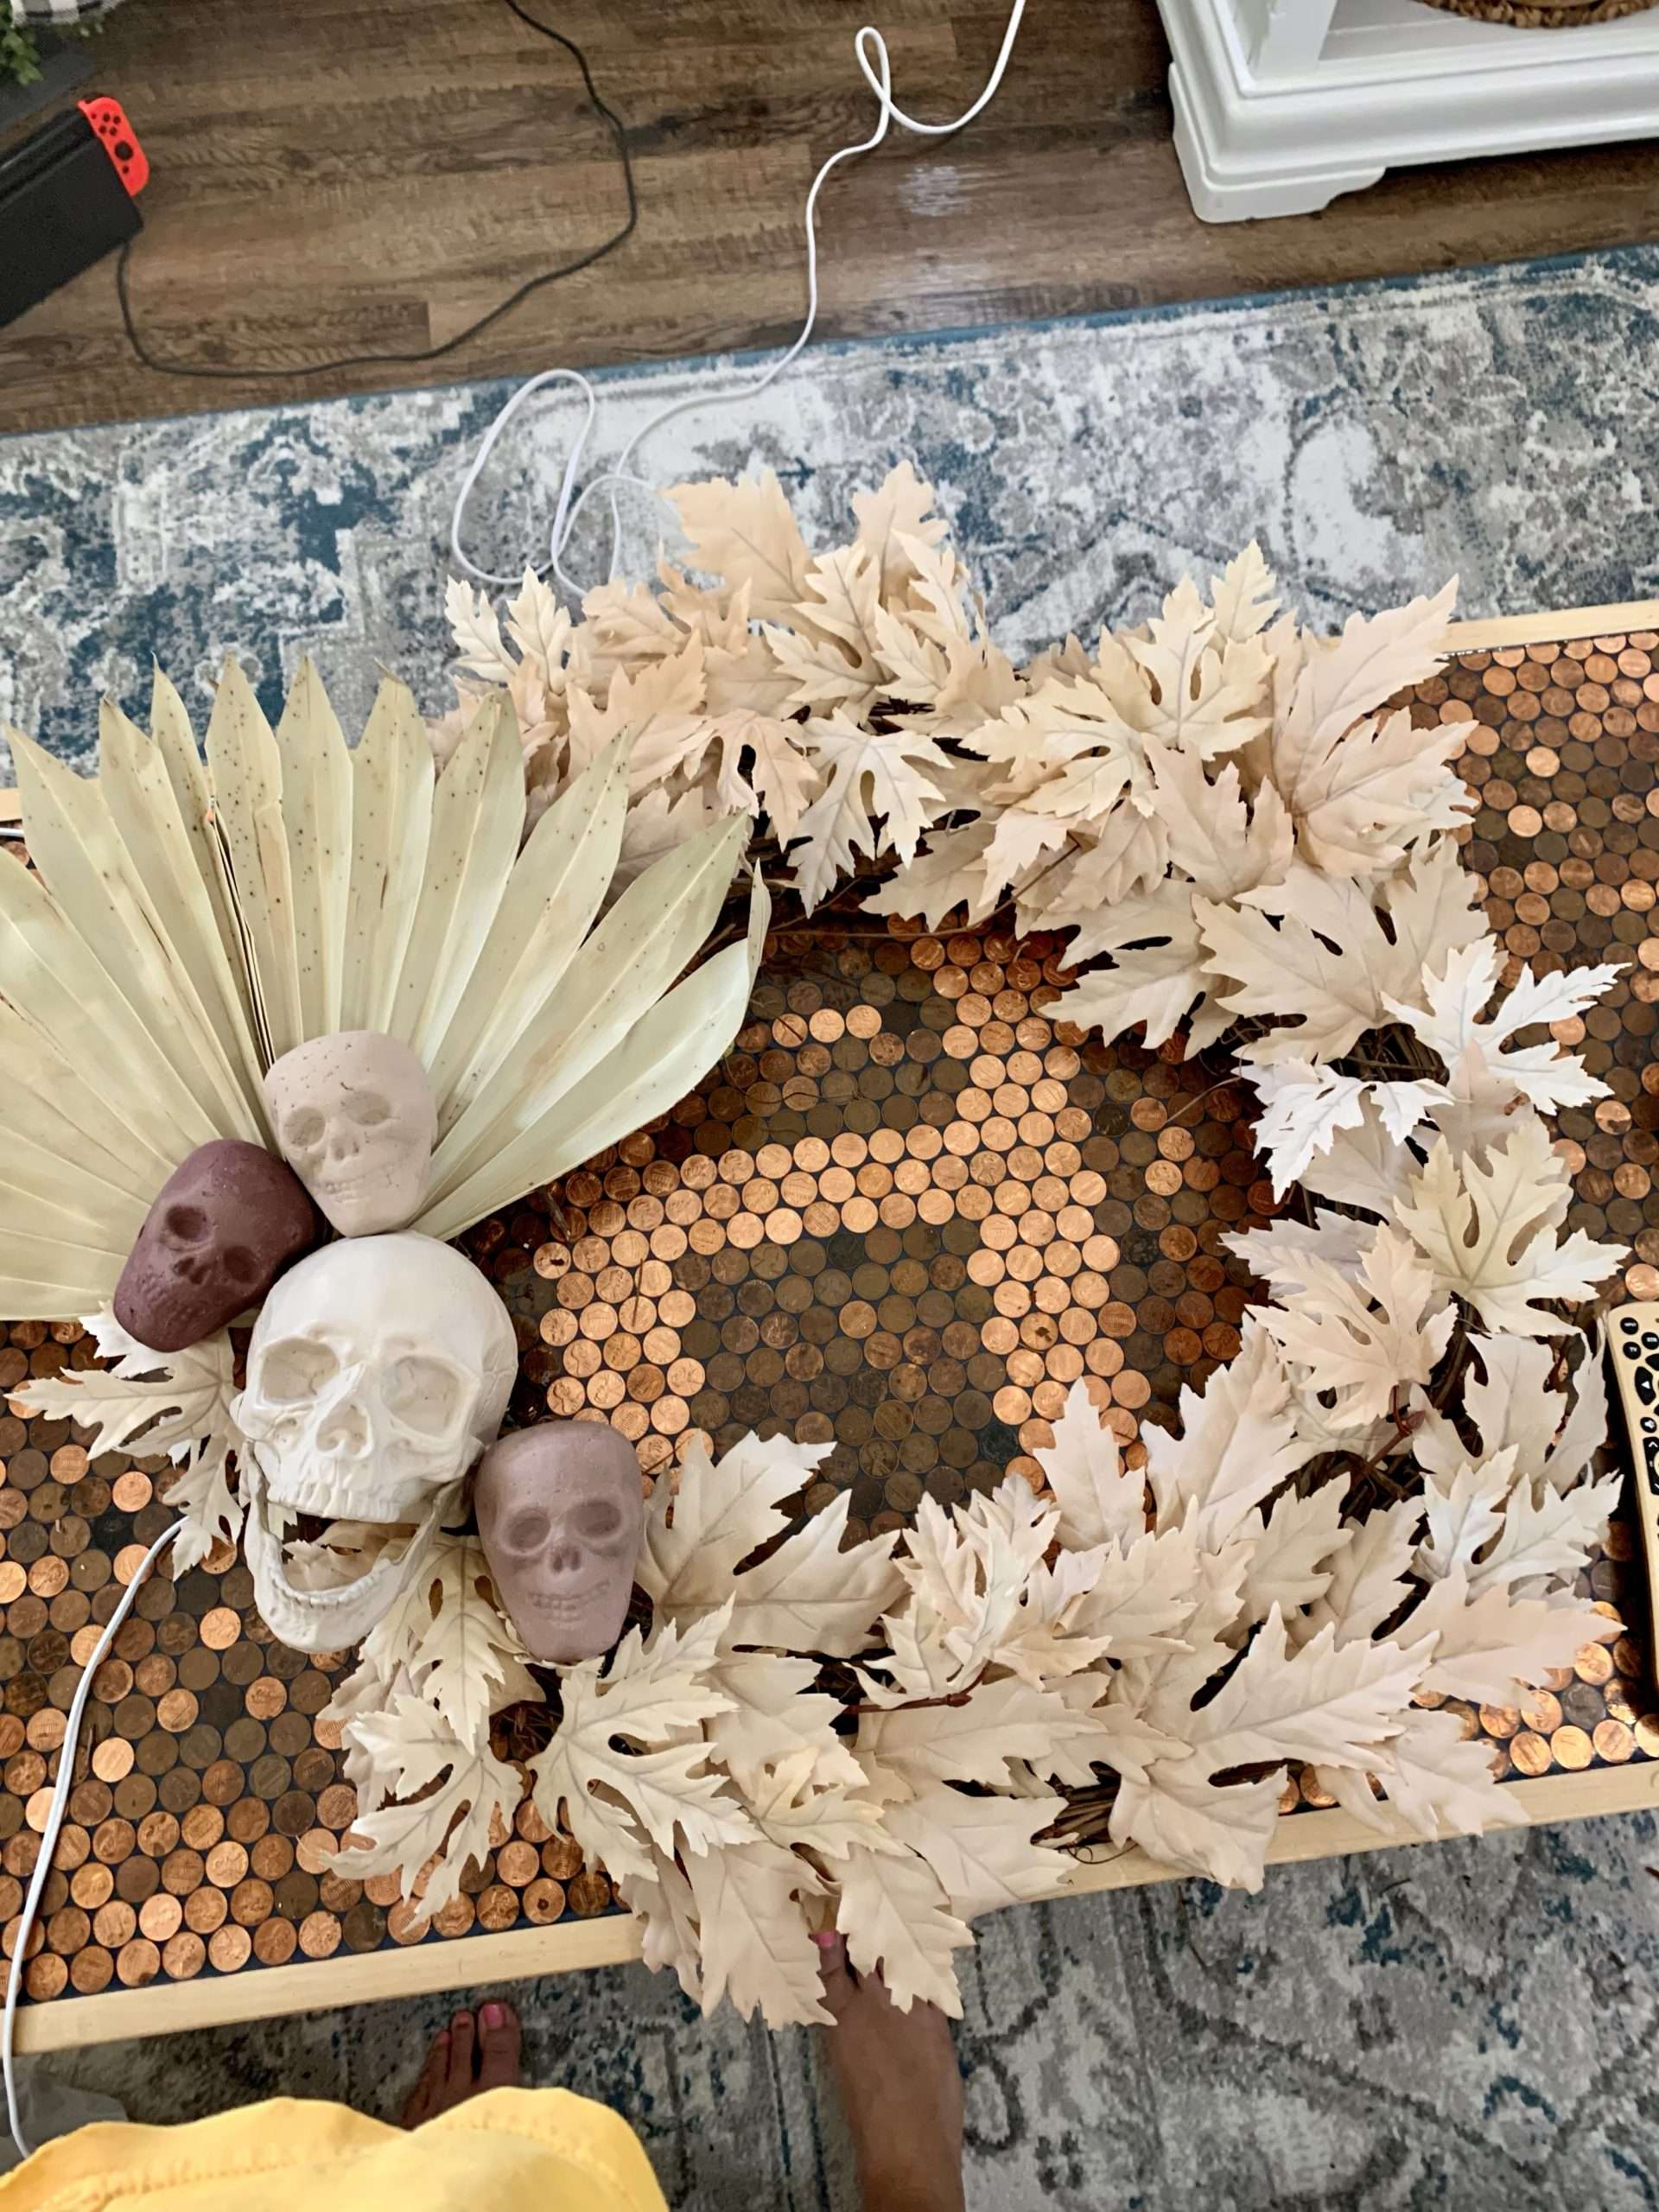
Step 2: Attach Palm Spear & Skulls
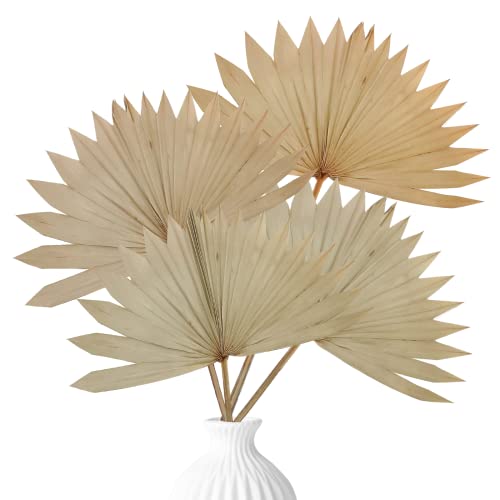
Next, it’s time to attach the palm spear. I trimmed the stem of the palm spear and decided where to place it on my wreath. Then I attached it using floral wire.
Attaching the skulls to the wreath was a little trickier.
It’s best to place the largest skull first. Before attaching it, I cut the back of the skull off to make it lay flat and not stick out as far. I drilled holes in the side of the skull, ran the wire through them then around to the back of the wreath, where I twisted it into a knot. (You could probably attach the skull through the jaw/mouth opening if you don’t have a drill.)
I also cut the backs off of the smaller skulls before placing them on the wreath with hot glue. They’re much more secure when they’re attached by a flat surface instead of a rounded one.

The Gothic Collection Set of 4 Mini Tabletop Tombstones Halloween Decorations – 4 Inches Tall4pcs Natural Large Dried Palm Leaves Decor Dried Palm Fans Palm Boho Flowers Arrangements Dried Palm Fronds Dried Palm Spears Decorative Sun Palms for Wedding Home Bouquet Party Leaf Wall

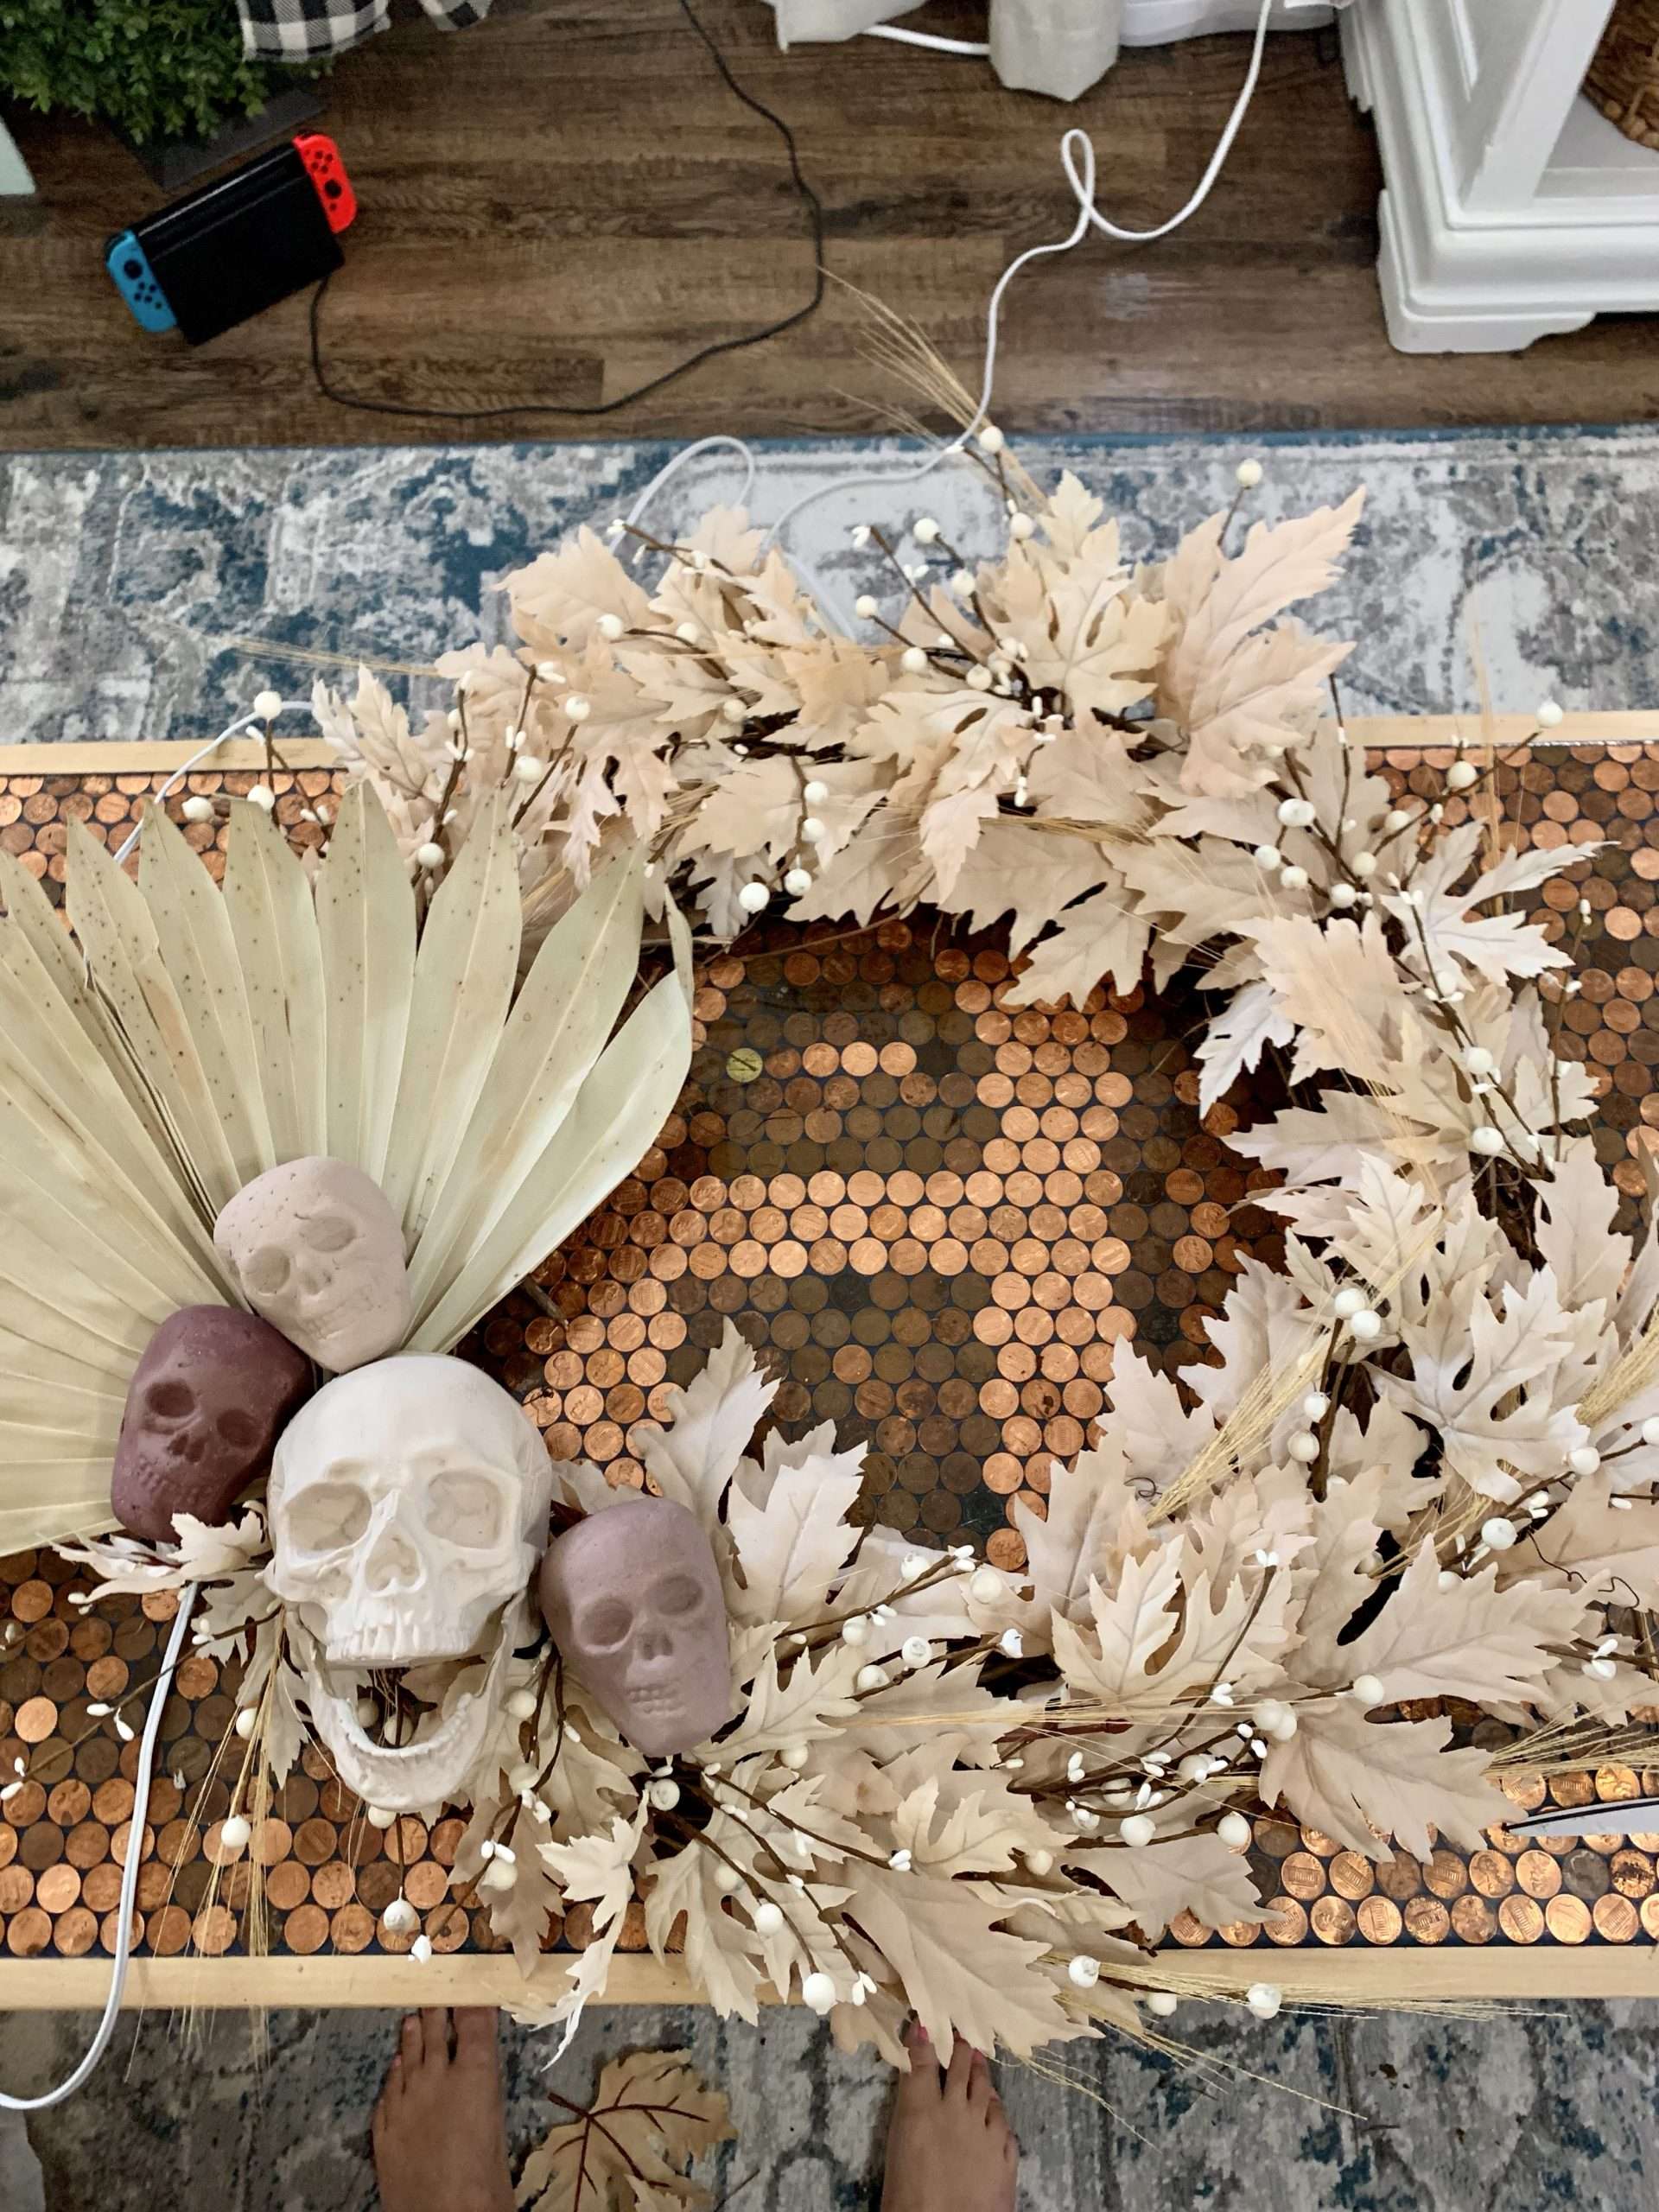
Step 3: Add Leaves, Berries, & Grass
Now, it’s time to focus on the rest of the wreath by adding the leaves, berries, and grass.
After pulling the leaves off of the stems, I arranged them on the wreath how I wanted before gluing them down with hot glue.
Then I added the berries and grass at random intervals.
I attached all of the floral elements by putting hot glue onto the stems and pushing them into the wreath form.
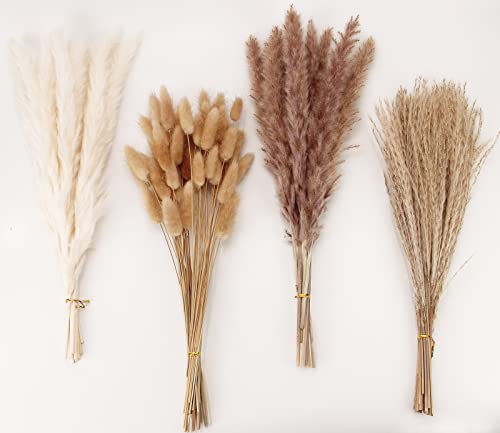
UNIE 2Pcs Artificial Maple Leaves Branches Autumn Leaves, Fall Maple Leaf Stem for Home Kitchen Thanksgiving Table Centerpieces DecorationDried Pampas Grass Decor, 100 PCS Pampas Grass Contains Bunny Tails Dried Flowers, Reed Grass Bouquet for Wedding Boho Flowers Home Table Decor, Rustic Farmhouse Party (White and Brown)

Step 4: Add Embellishments
The last step to this DIY boho Halloween wreath is to add little embellishments.
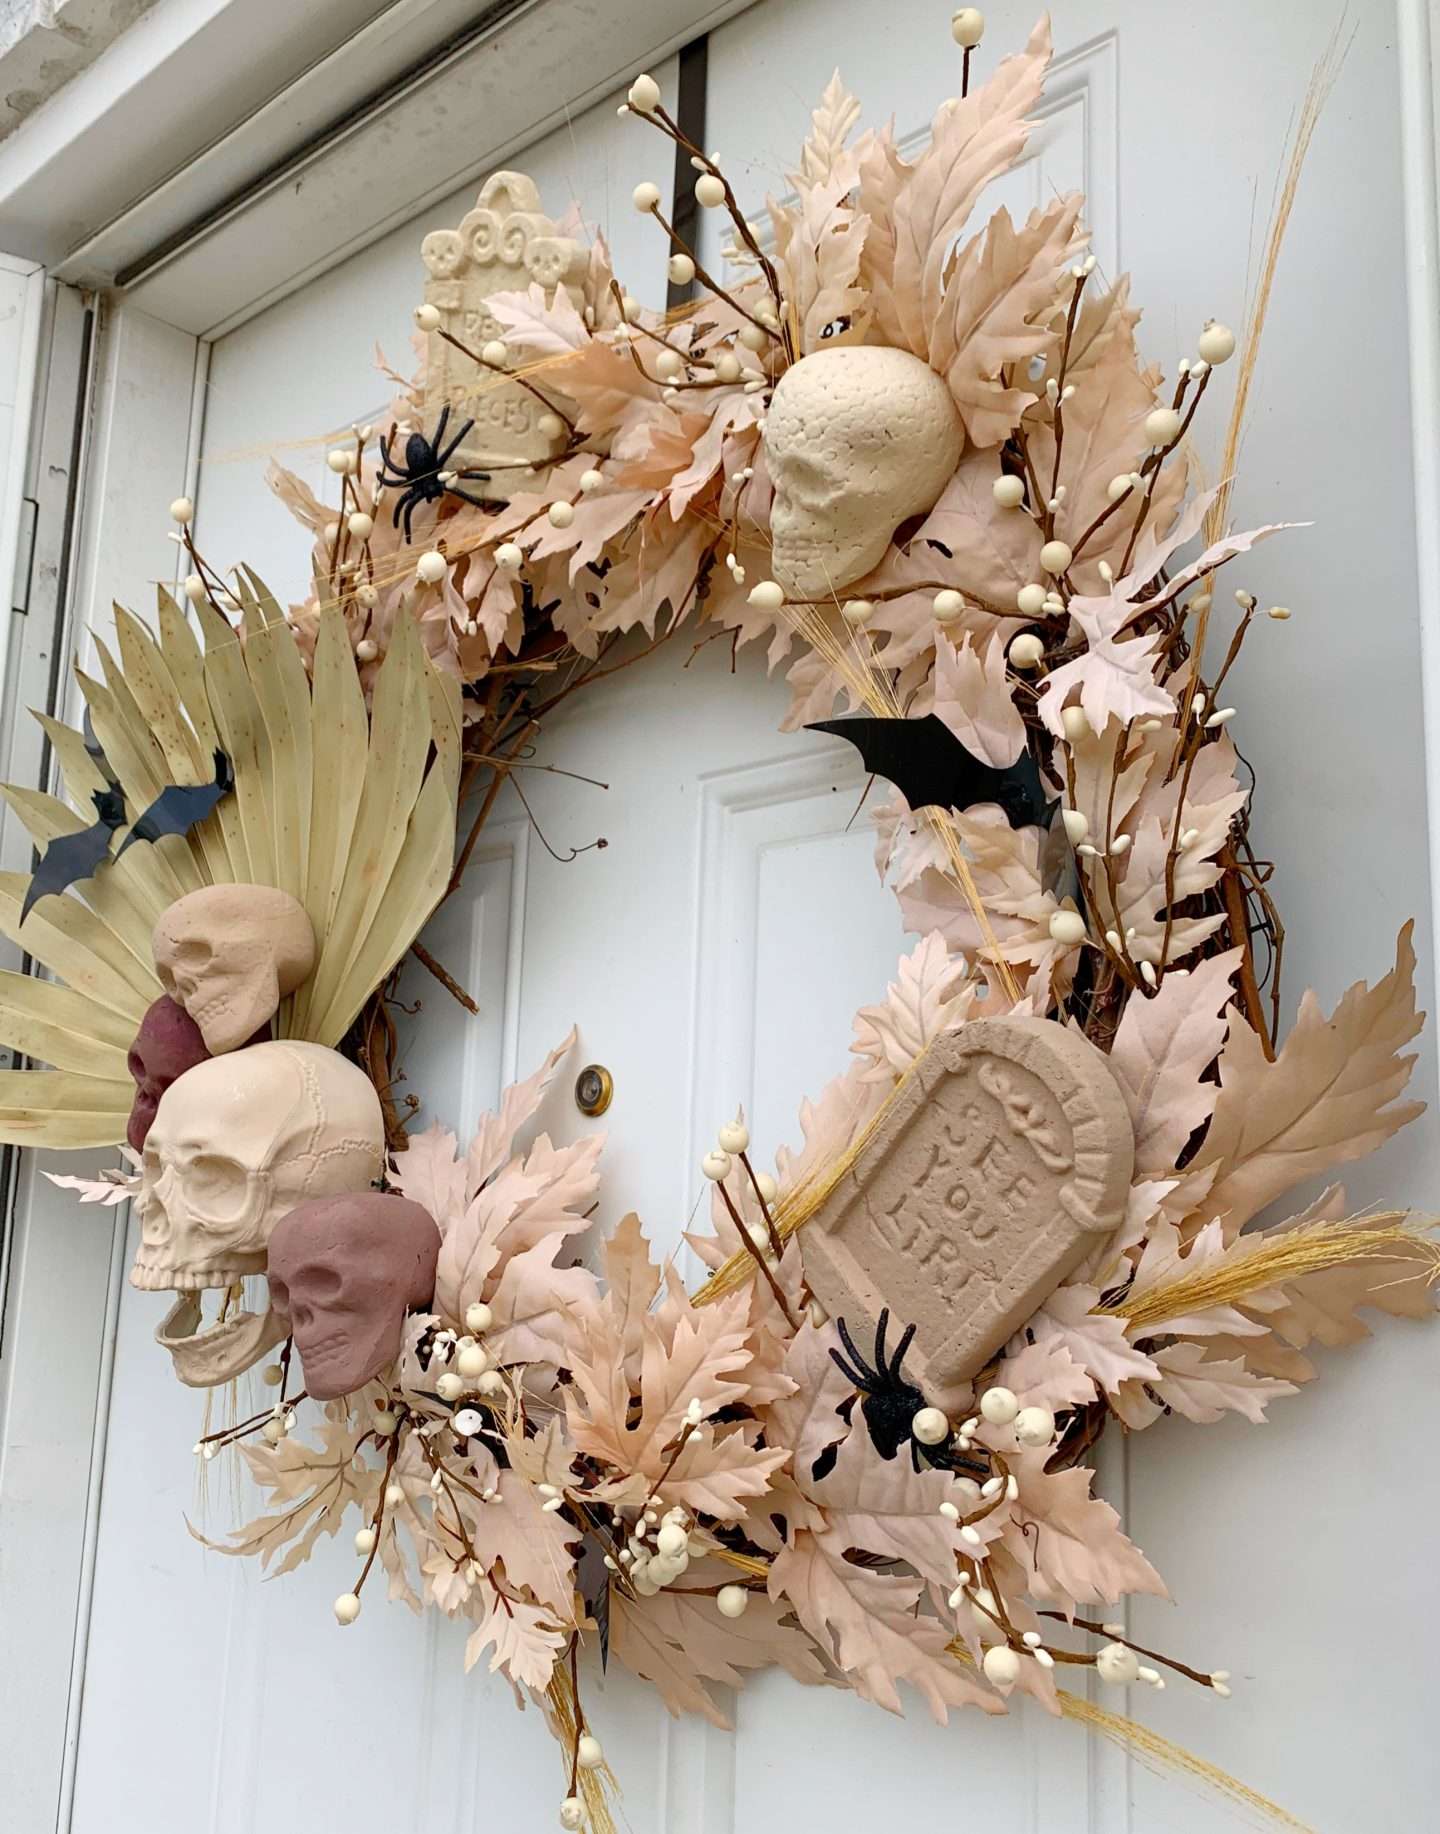
I placed the tombstones, extra skulls, spiders, and bats around on the wreath probably 50 times before I got them right. But after I had them exactly where I wanted them, I glued them down with hot glue.
And it was done!
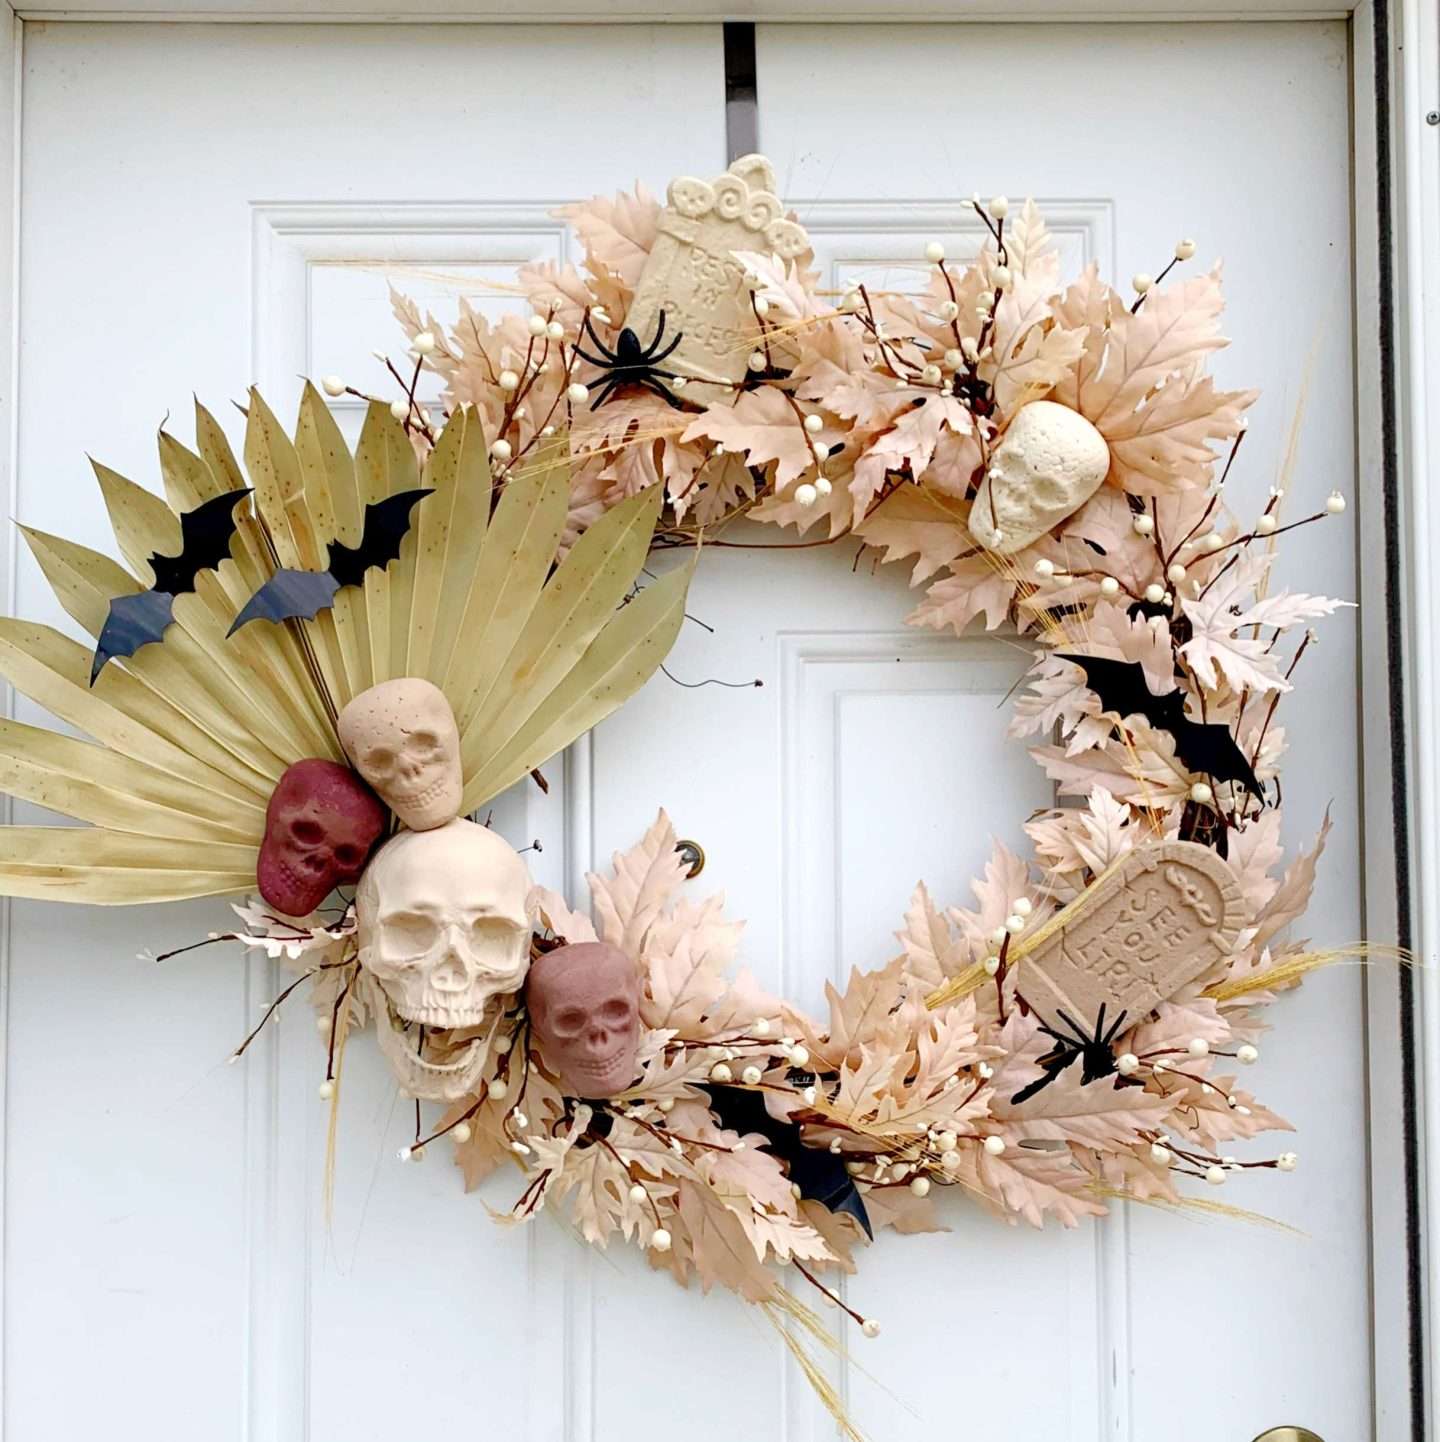
I’m so happy with how this boho Halloween wreath turned out. And I’m motivated to try to make the rest of my Halloween decor fit with this boho theme!
And if boho isn’t your style, check out this DIY Whimsical Halloween wreath that I’ve used for the past couple of years.