[Disclaimer: Finding Mandee is reader-supported, if you purchase through links on my site I may earn an affiliate commission at no additional cost to you. As an Amazon Associate, I earn from qualifying purchases.]
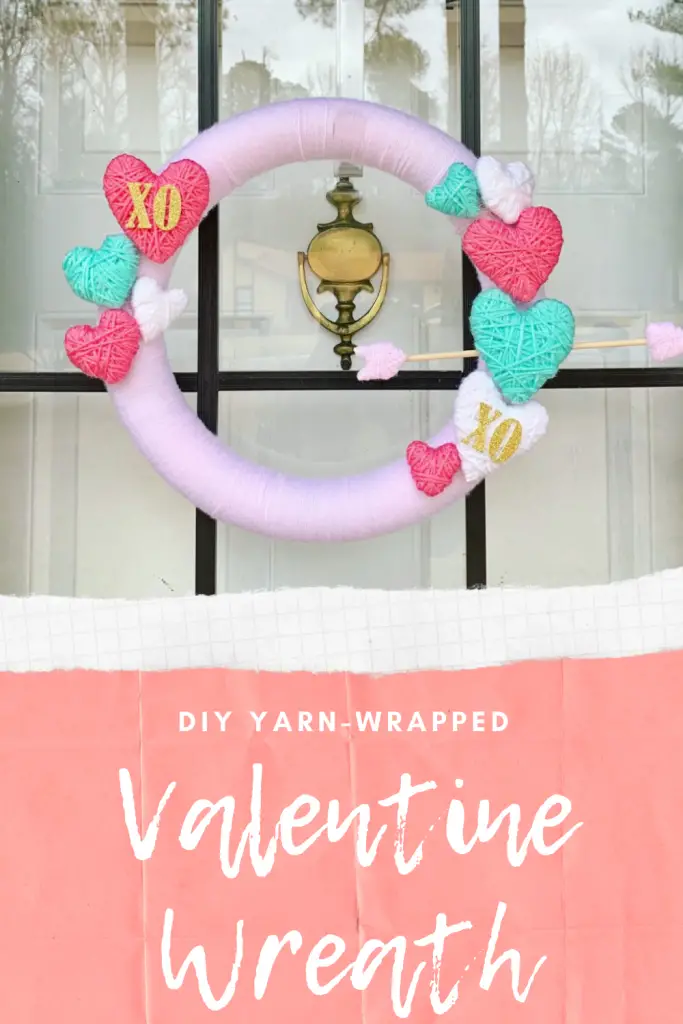
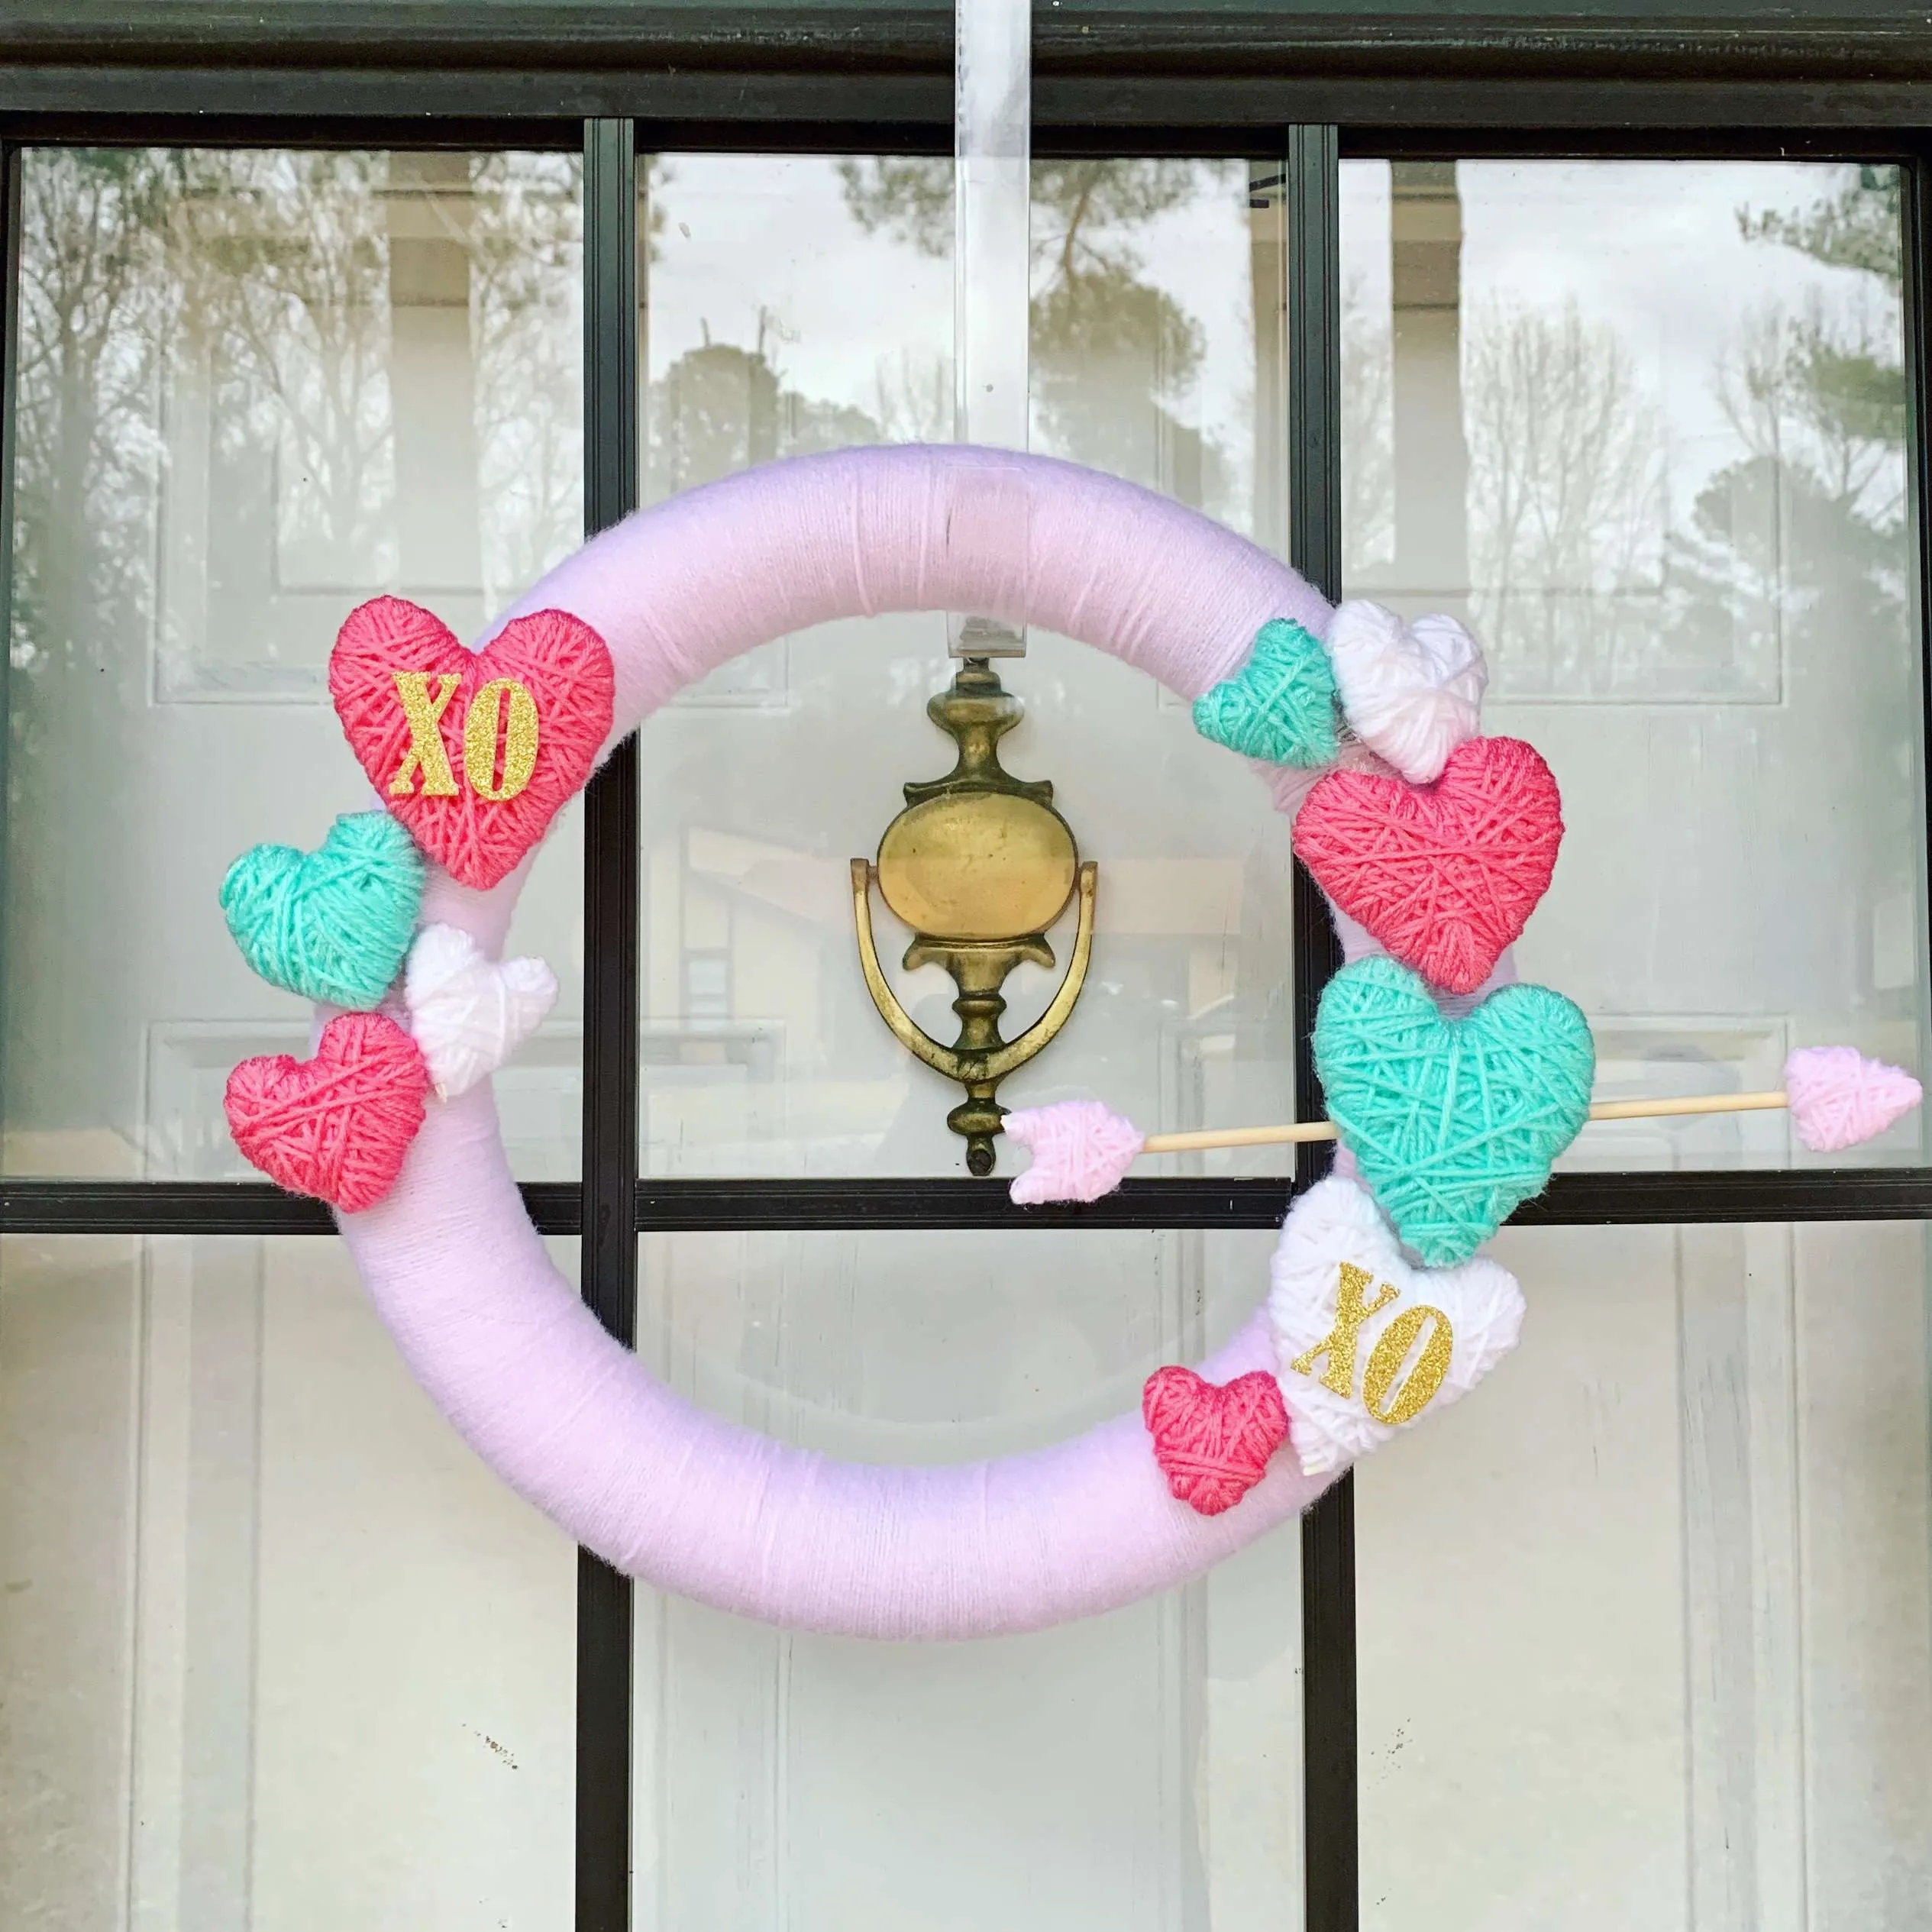
Valentine’s Day is upon us and my front door remains unadorned. As the self-proclaimed Queen of Wreaths, it’s unacceptable, I know.
But I can’t tell you how many times I have searched Pinterest for a Valentine’s Day wreath, only to come up uninspired. I don’t know why it was so hard for me to find a Valentine’s wreath that I like. So, I decided to make my own.
I have made a few yarn-wrapped wreaths and I loved how they turned out. Plus, you can find any color yard that you could possibly want, so it’s easy to customize.
I knew I didn’t want a traditional red-and-white color scheme. And since this is the one holiday that you’re allowed to be overly feminine I wanted pink.
And this is what I got!

Valentine’s Day Wreath Supplies
I didn’t keep up with exactly how much this wreath cost, since I had some of the supplies already on hand.
However, it shouldn’t be more than $30 and everything can be picked up at Walmart! (Yay for not having to drive to Fayetteville to a craft store!)
- styrofoam wreath form
- yarn (4 colors)
- sheet of styrofoam/foam board
- hot glue gun & glue sticks
- scissors
- wooden dowel
- letter stickers
ROMECH Full Size Hot Glue Gun with 60/100W Dual Power and 21 Hot Glue Sticks (7/16Fiskars Premier 8


Step 1: Wrap Wreath Form
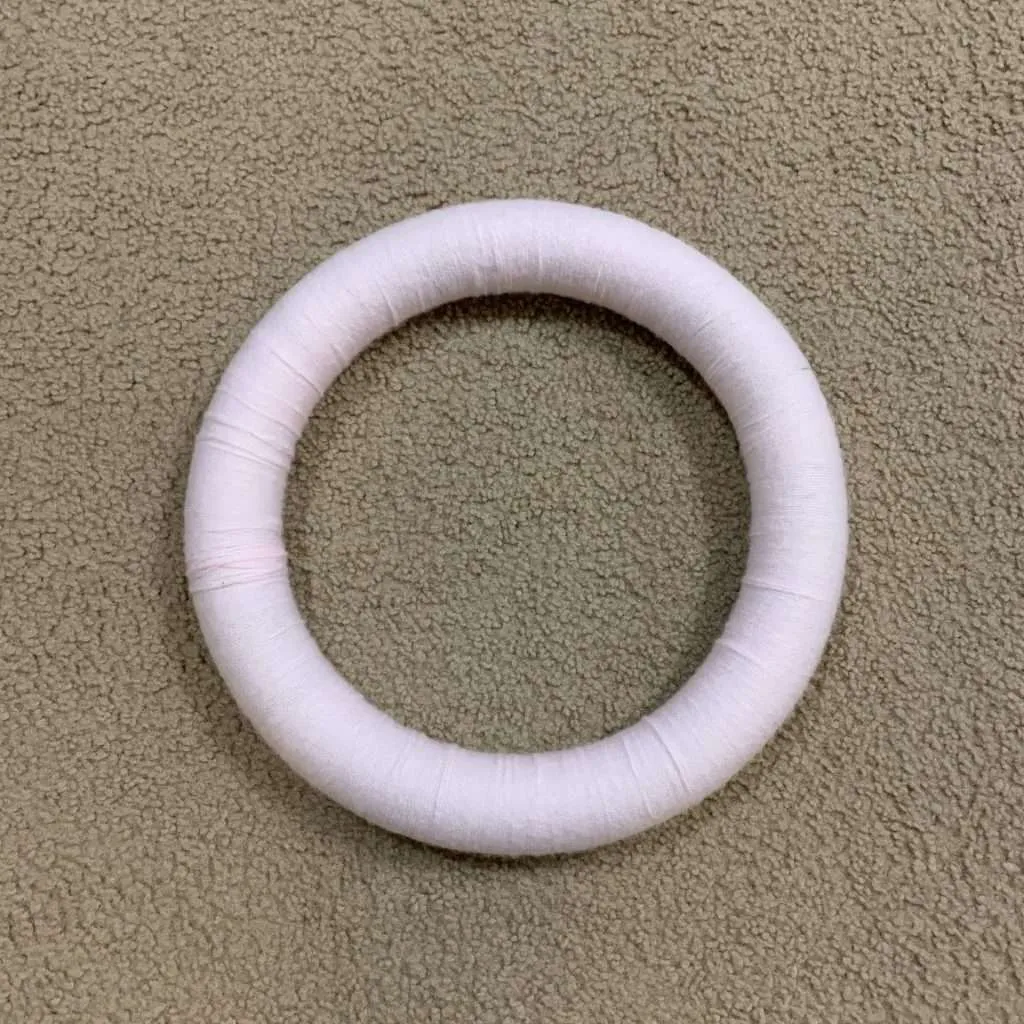
The first step to making this adorable Valentine’s Day wreath is the most tedious. You have to wrap your wreath form with yarn.
I have done a couple of yarn-wrapped wreaths and it always takes a while. I wish there was some trick I could give you to make it go faster, but alas, you just have to wrap and wrap and wrap.
** Pro-Tip ** Binge-watching one of your favorite shows makes the time go by faster.
Mr. Pen- Foam Wreath Form,12 Inch, Large Foam Ring, Foam Circle, Polystyrene Foam, Round Foam for Crafts, Wreath Form for Crafts, Foam Ring for Crafts, Craft Wreath.JubileeYarn Bamboo Cotton Sport Yarn – 50g/Skein – Shades of Pink – 4 Skeins


Step 2: Draw Hearts on Styrofoam
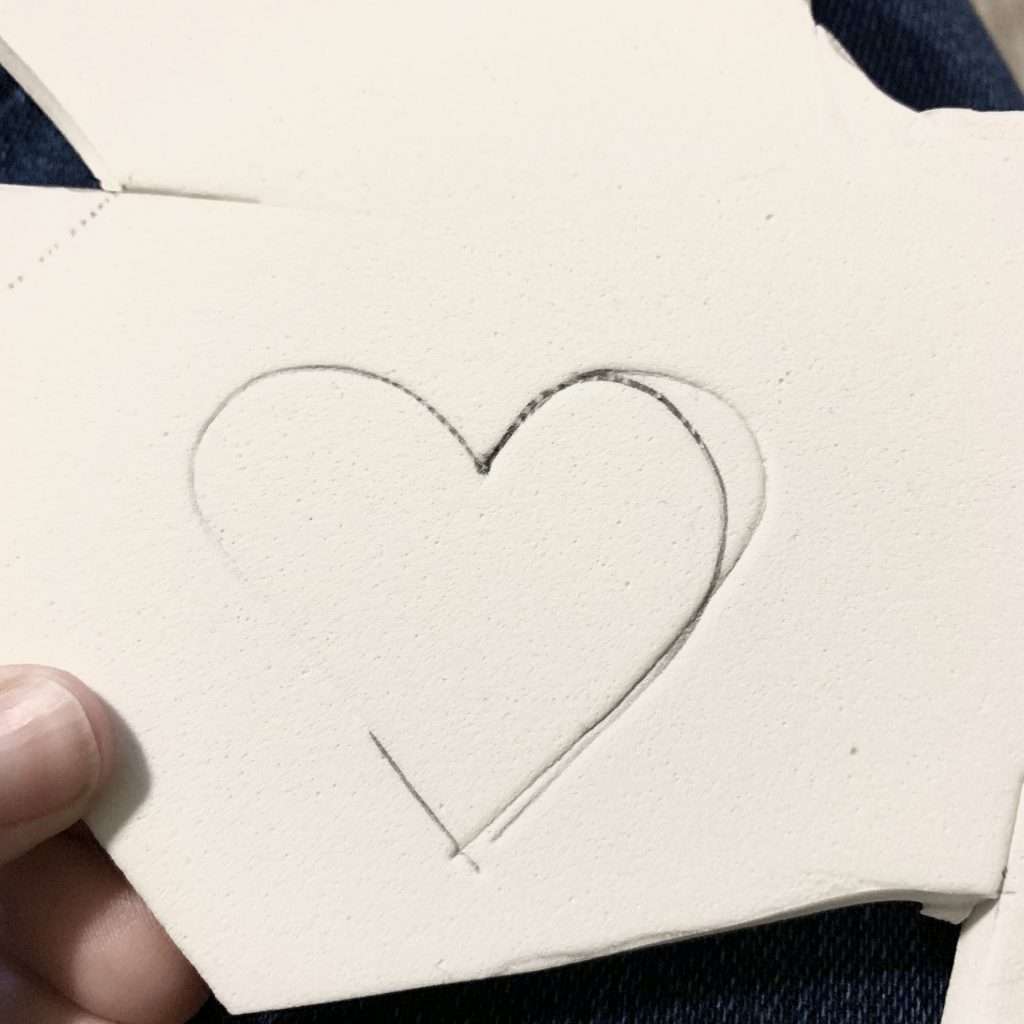
When you’re finally done wrapping the wreath form, you’re ready to start making decorations to go on it. First, you’ll have to draw hearts on your styrofoam.
Make sure you make different sizes! I made 4 big ones, 3 medium, and 3 little ones.
Your drawing doesn’t have to be perfect. It took me several tries on each heart to get each side even.
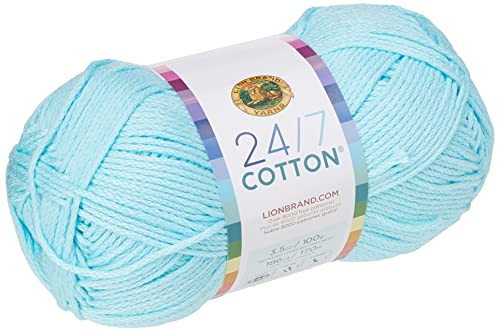
Lion Brand Yarn (1 Skein) 24/7 Cotton® Yarn, Aqua20Pack Foam Boards, 11

Step 3: Cut Out the Hearts
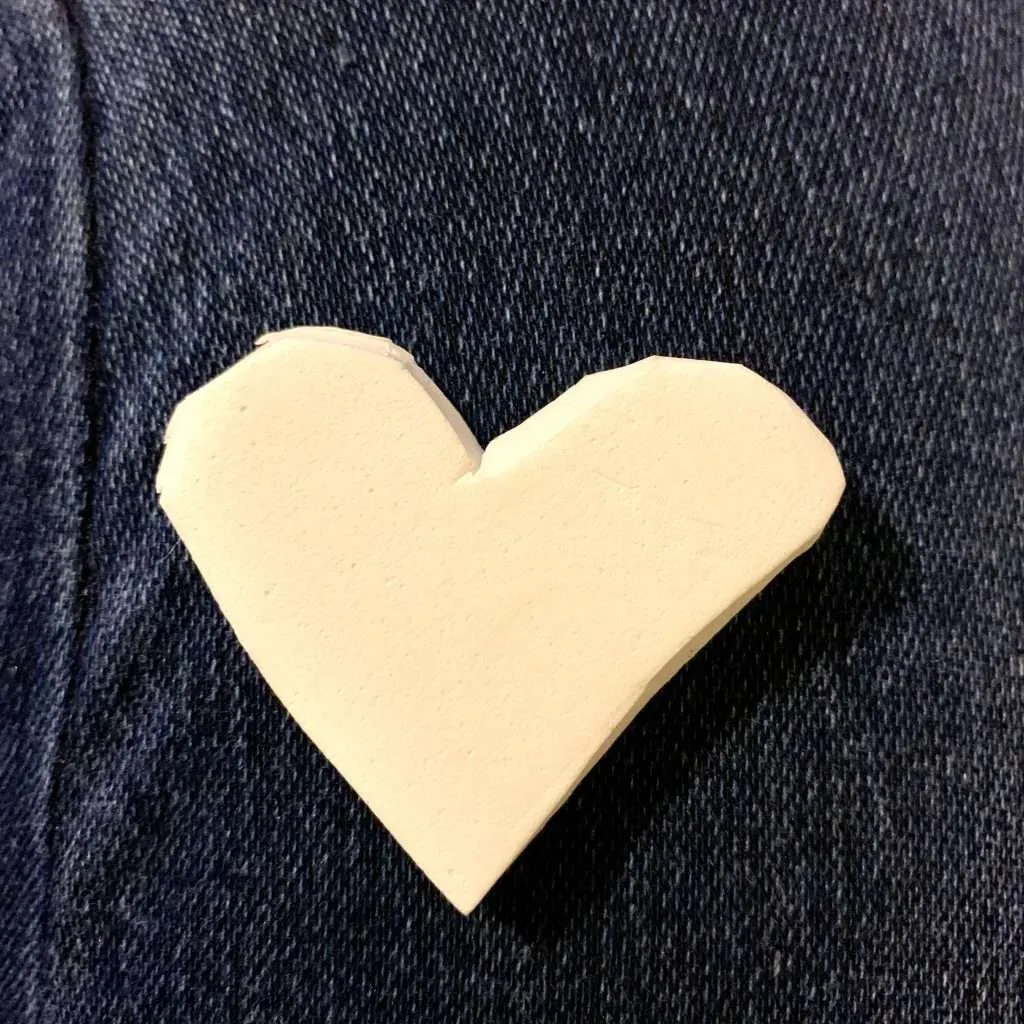
After you’ve drawn the hearts for your Valentine’s Day wreath, it’s time to cut them out.
The thick styrofoam makes cutting a smooth edge very difficult. Luckily, it doesn’t matter if the edges are raggedy since the yarn is gonna make them all round and smooth.
Step 4: More Yarn Wrapping!
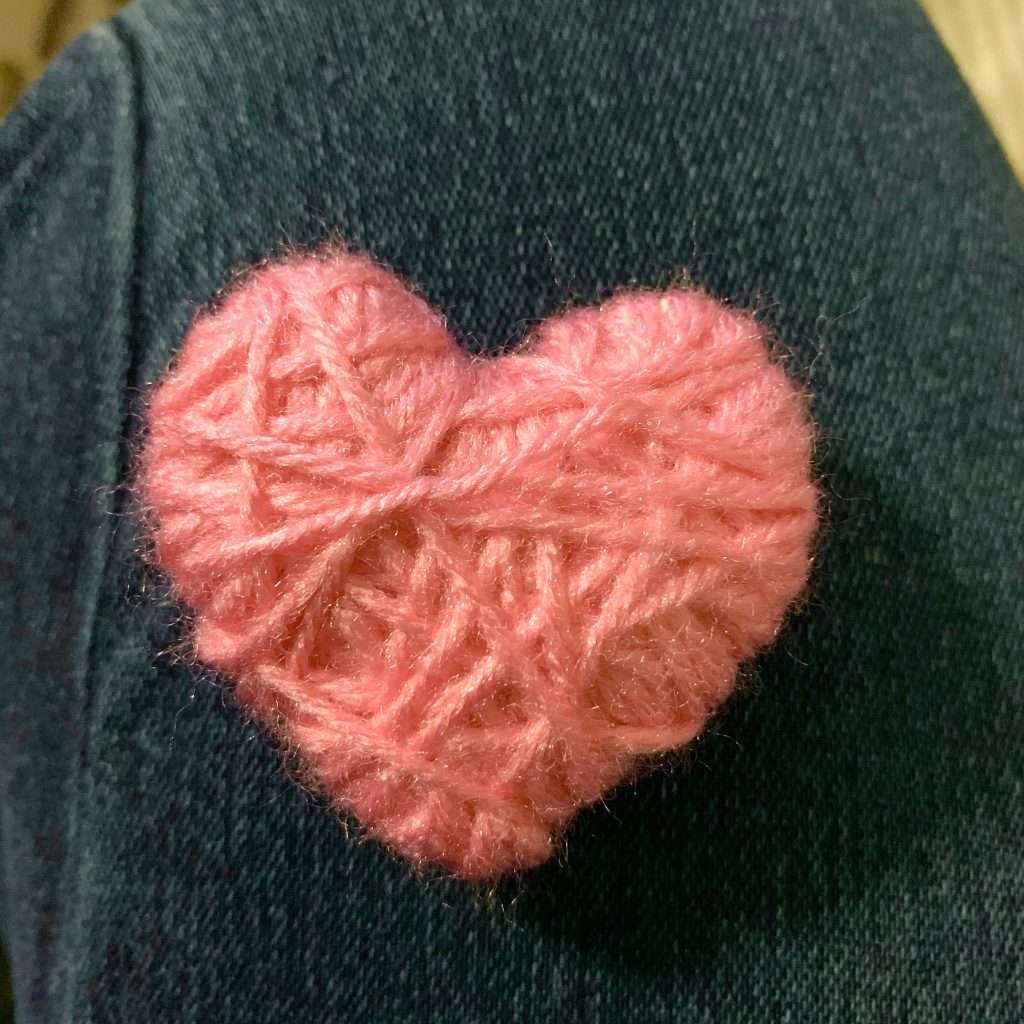
Yep…back to it – more yarn wrapping!
Thankfully, wrapping the hearts is much faster and easier than the wreath form.
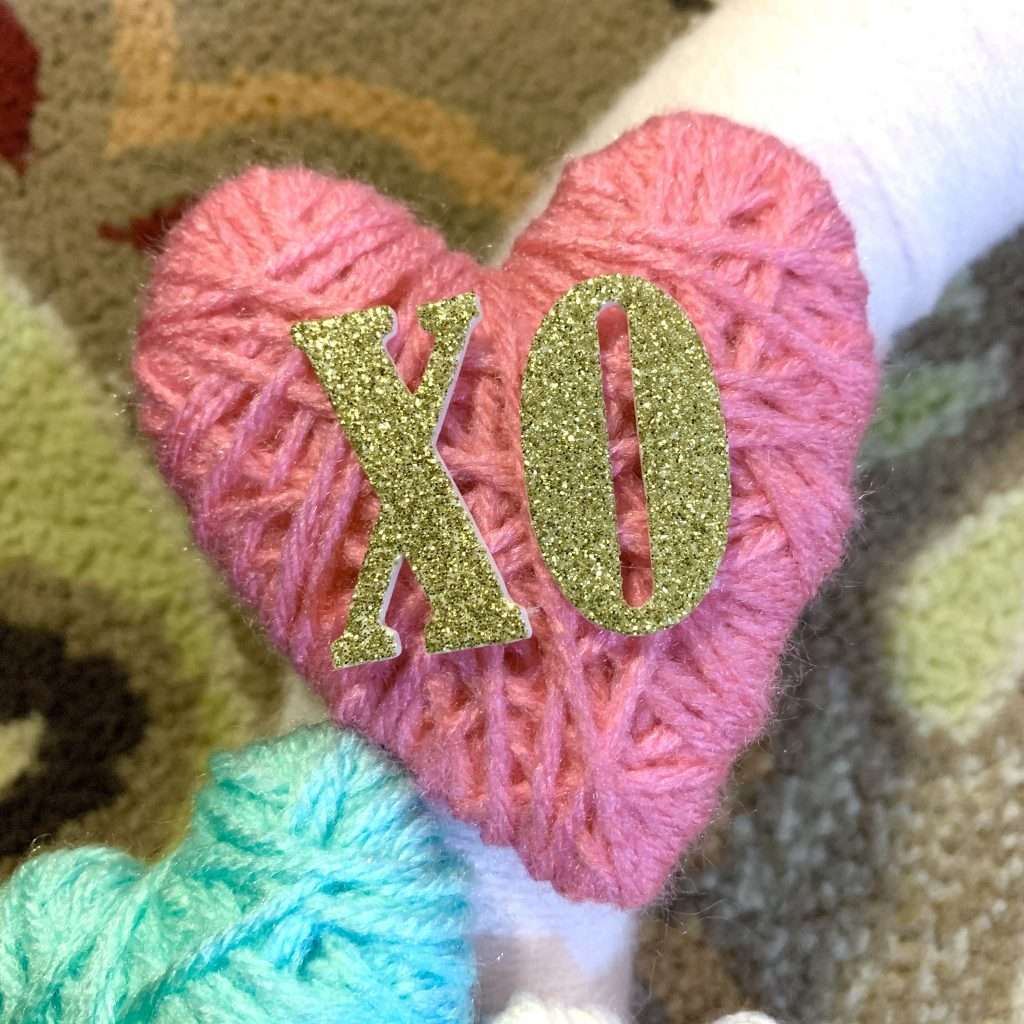
Make sure when wrapping the hearts to wrap them in different directions to give them some texture. When the styrofoam is all covered and the hearts are all nice and puffy, tuck the yarn in on the back and secure with a dot of hot glue.
Step 5: Add Wooden Dowel
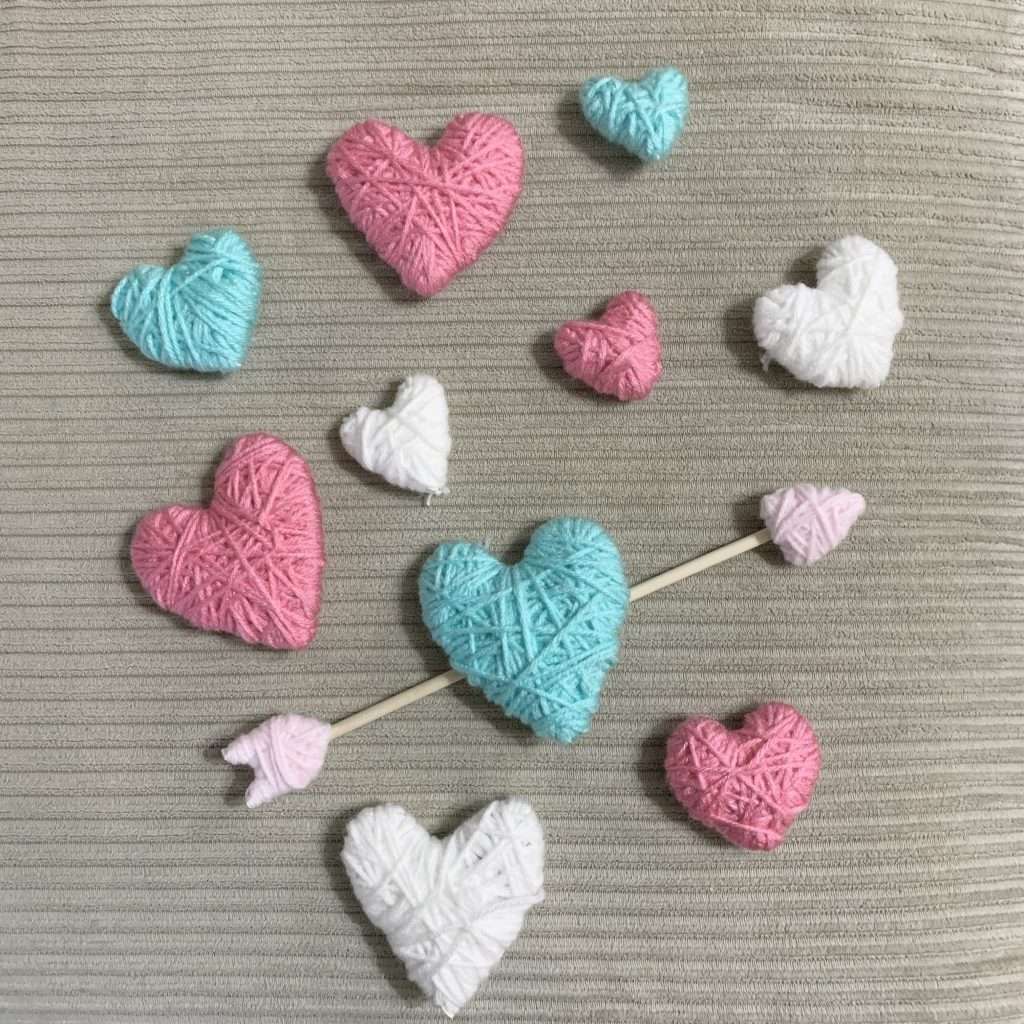
Choose which heart you’re going to put the arrow through. Add a wooden dowel through the yarn on the back. I also added a dot of super glue around the dowel to help hold it in place.
Wooden Dowel Rods for Craft – 60 pcs Round Wood Dowels 12 inch in Varying Sizes – 1/8, 3/16, 1/4 – Different Rods – Craft Sticks Round Dowels…Gold and Silver Foil Letter Stickers Foam Adhesive Alphabet Stickers for Crafts Scrapbooking Decorating,Metallic Small Glitter 3D Lettering Stickers,Stick on Letters 4 Sheets.

Step 6: Make Arrow Pieces

To make the tip of the arrow and the fletching (that’s the actual word for the do-hickey on the back of the arrow – who knew?), I cut out a triangle and fletching shape from leftover styrofoam.
Then I wrapped these small pieces in yarn, which was extremely aggravating. Trying to get yarn wrapped around those little points made me cuss. It would be easier to just cut these shapes out of cardstock and call it a day, but that’s up to you.
Step 7: Glue It All Together
Finally, it’s time for our Valentine’s Day wreath to all come together!
Place your ‘arrow heart’ on the wreath form first and glue it in place. Then place the the remaining hearts around the wreath and glue them down.
Don’t forget to add the Xs and Os for a little bit of glitter!
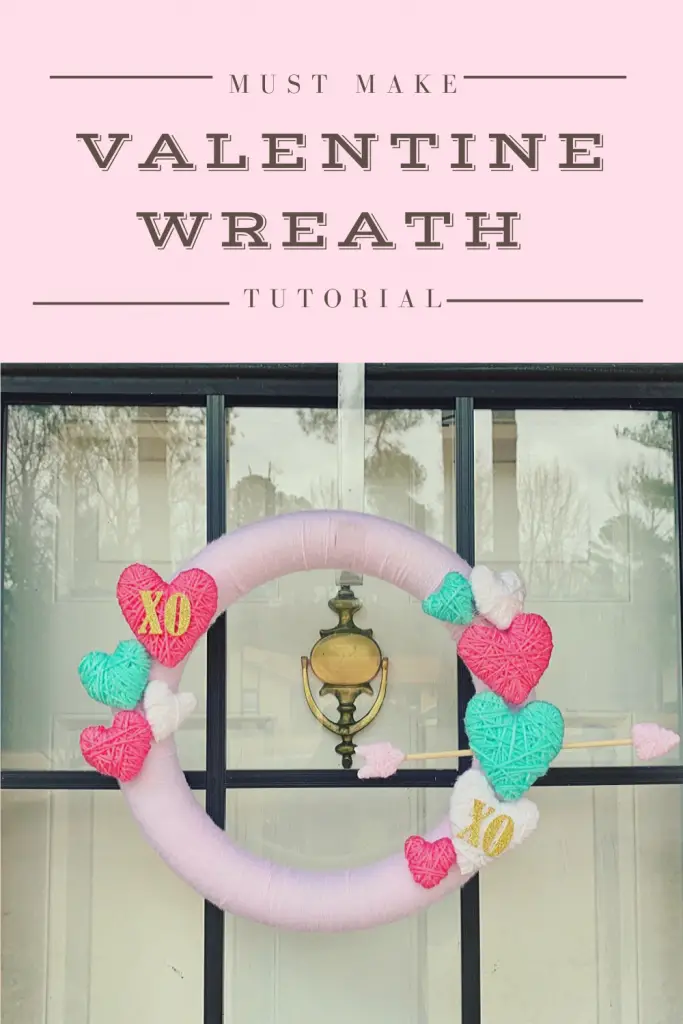
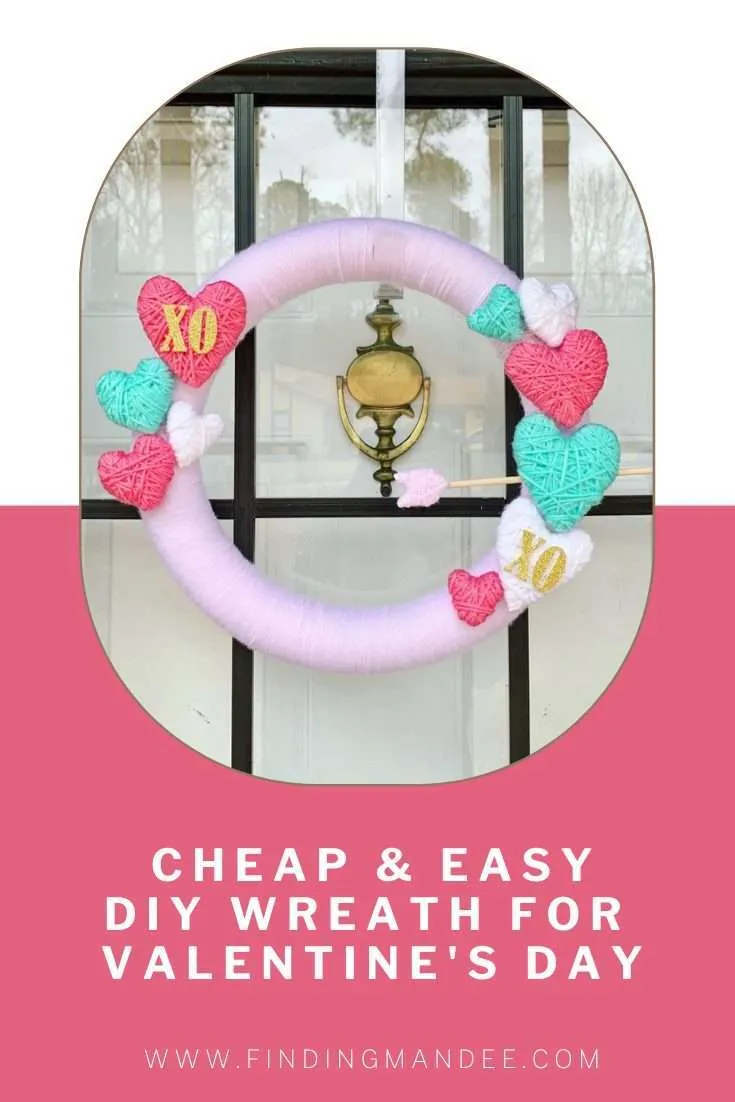
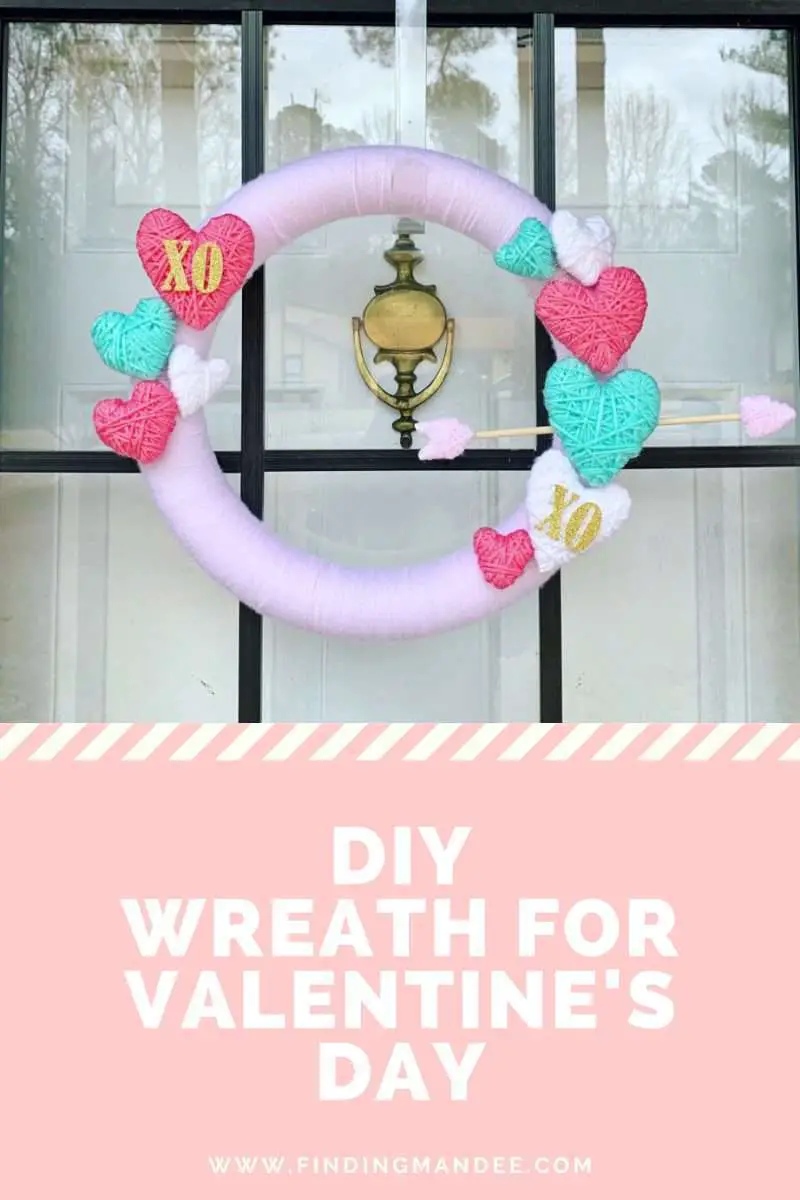
And you’re done!
Hang your Valentine’s Day wreath on the front door and enjoy!