[Disclaimer: Finding Mandee is reader-supported, if you purchase through links on my site I may earn an affiliate commission at no additional cost to you. As an Amazon Associate, I earn from qualifying purchases.]
Wreaths are among some of my favorite things! They are an inexpensive way to decorate your home and celebrate each season.
Many times I have scrolled across wreaths on Pinterest and have been astounded by the price….$349 for ONE WREATH! Unless you have a thing for outrageous overspending on door décor, there’s no reason to pay that much money for a wreath.
I don’t have that kind of money to spend on seasonal decorations, so I have learned to create my own for a fraction of the cost.
I saw a fall wreath similar to this one on Pinterest but was unable to find a tutorial. Luckily, I was able to figure out how to make it myself and I’m so glad I did.
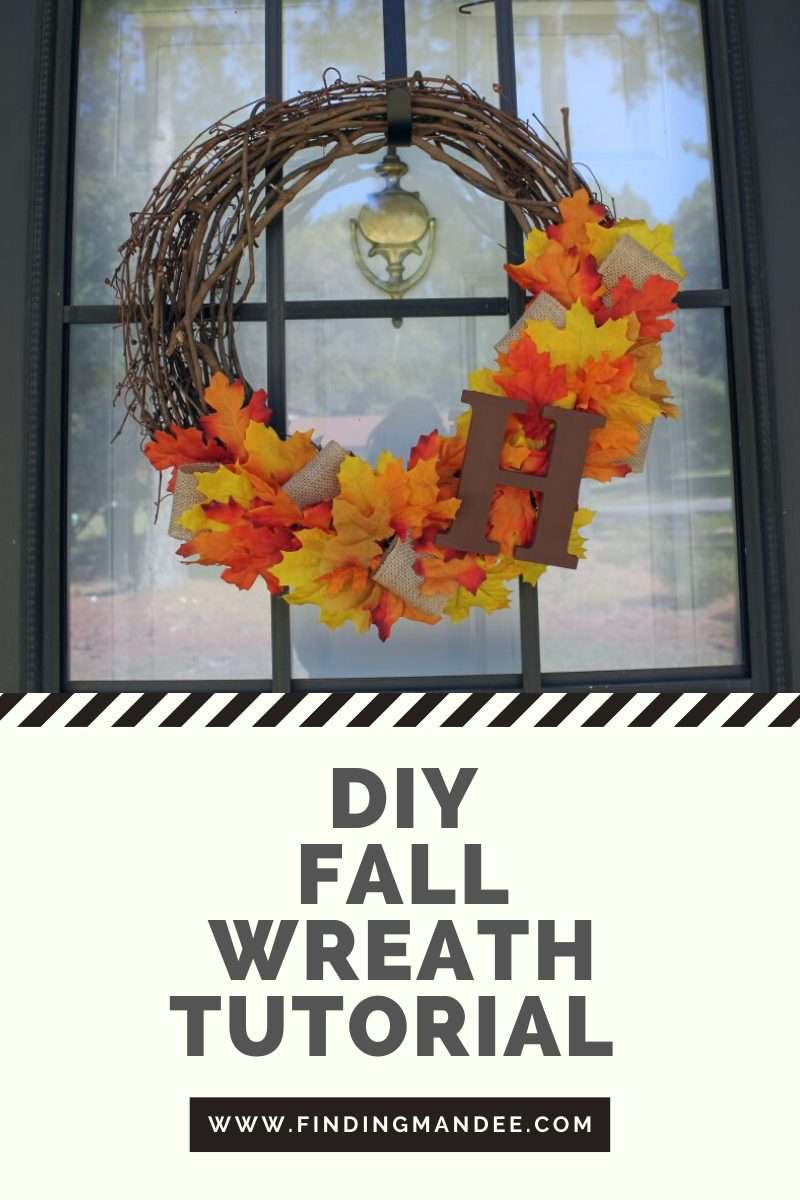
For less than $20, I was able to make a cute and customized fall wreath. And you can too!
How to Make a Cheap Fall Wreath
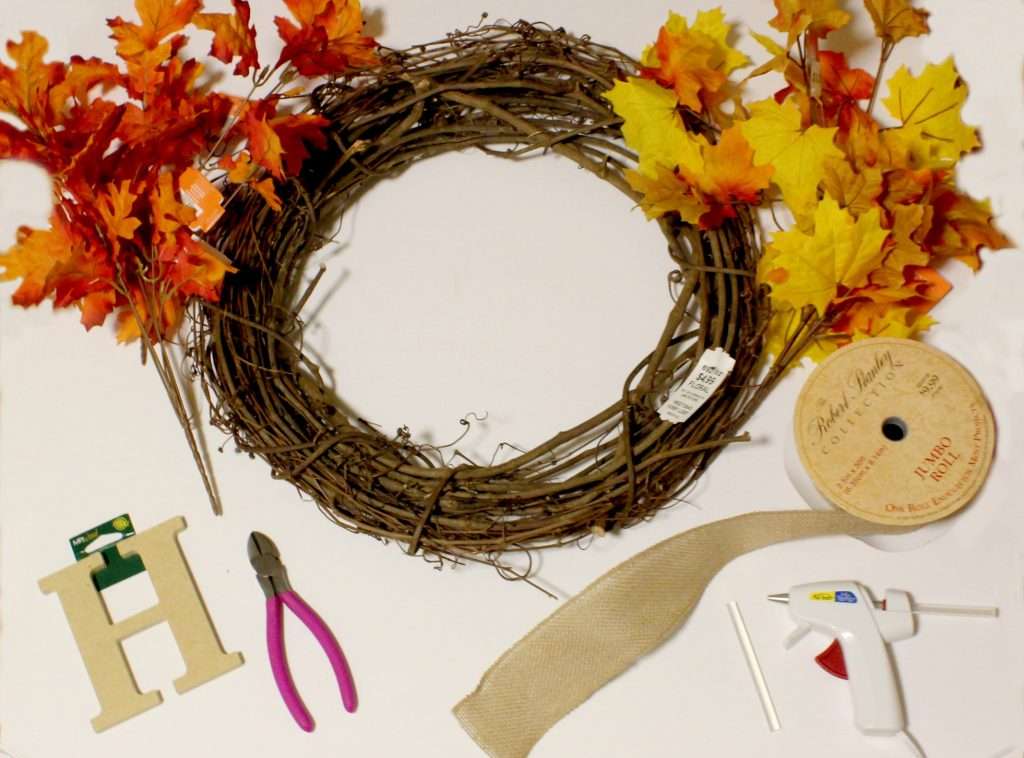
Step 1: Gather Your Materials
- a grapevine wreath form (18-24”)
- 4 fall leaf bushes
- wire cutters or scissors
- hot glue gun & glue sticks
- 2.5” burlap ribbon
- 4” wooden monogram
- paint & paint brush
I bought all of these supplies at my local Wal-Mart and didn’t even have to go to a craft store! And since I already had the ribbon and paint/paintbrush in my craft cabinet, this wreath only cost me $14!
2pcs 18-20inch Large Natural Grapevine Wreath Rings Rattan Vine Branch Wreath Hoop for DIY Craft Wreath Christmas Easter Holiday Decoration Seasonal Decors (2pcs 50cm/18-20inch)MHMJON 12 Pcs Artificial Maple Leaves Branches Faux Fall Leaves Stems 11


Step 2: Paint Your Letter
Start this project by painting your monogram and setting it aside to dry.
At first, I wasn’t going to paint the H and just leave it the light wooden color, but when I put it on the wreath, it didn’t stand out enough. So, I painted it using some dark brown paint that I had on hand and a cheap sponge brush. It took less than 5 minutes.
4 Inch Designable Wood Letters, Unfinished Wood Letters for Wall Decor Decorative Paintable Decorative Letters Standing Letters Slices Sign Board Decoration for Craft Home Party Projects…FolkArt Terra Cotta Acrylic Paint Set, Sun-Baked 6 Piece DIY Terra Cotta Acrylic Paint Kit Featuring 6 Colors For DIY Indoor & Outdoor Multi-Surface Craft Projects, 7594, 2 Fl Oz (Pack of 6)


Step 3: Take Apart the Picks
Use your wire cutters (or scissors) to take apart the leaf picks. I didn’t cut each leaf off individually, but left them in clusters of 3-4.
These leaf picks were only $0.97 at Wal-Mart.

Wire Cutters Wire Flush Cutters – Precision Side Cutters Wire Snips Ultra Sharp Spring Leaded Cutting Pliers Wire Clippers for Crafts, Jewelry Making & Artificial Flowersmaoodoo 8 Pcs Fall Artificial Eucalyptus Leaves Stems Fake Autumn Decorations Silk Plant Eucalyptus Branches for Home Fireplace Farmhouse Party Wedding Table Bathroom Autumn Décor(Autumn Yellow)


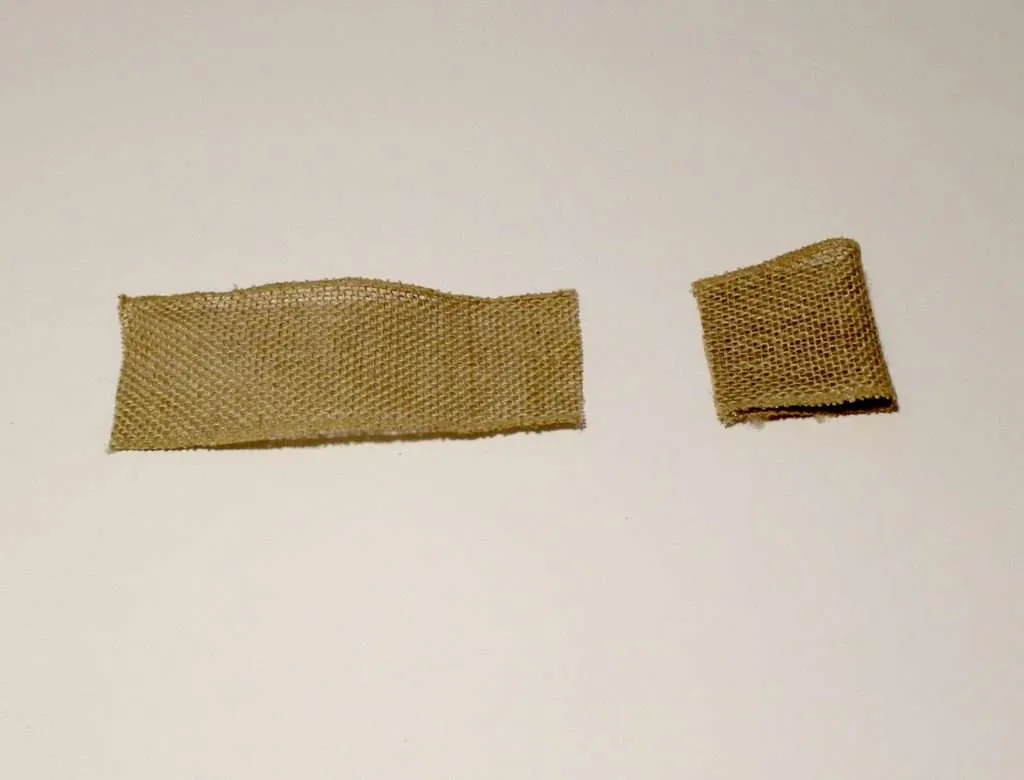
Step 4: Cut & Glue Ribbon Loops
Cut 6 pieces of burlap ribbon into 4″ strips. Fold each ribbon in half and use a dot of hot glue to keep them folded.
Midi Ribbon 2-1/2OZXCHIXU Burlap Wired Ribbon Rolls, Wrapping Burlap Ribbon Natural Orange Brown Olive Green Jute, for Christmas Crafts Decoration Wedding Floral Bows Trims Craft 13.2 Yards 2.4 Inch


Step 5: Arrange Leaves on Wreath
Next, decide where you are going to place your monogram. Create your starting point, by poking some of the leaf stems into the wreath. Continue arranging the leaves until you cover about half of the wreath form.
For the leaves that will be above the monogram, place them pointing up and for the leaves below the monogram, place them pointing down and following the bottom curve of the wreath.
Sggvecsy 4Pcs Artificial Maple Leaves Branches Fake Fall Leaves Stems Maple Leaves Shrubs Autumn Leaf Bushes Faux Silk Foliage for Home Kitchen Thanksgiving Table Centerpieces Festival Decor (Orange)AILANDA 3PCS Artificial Flower Fake Eucalyptus Leaves Branches Bulk Fall Orange Faux Greenery Stems for Home Party Wedding Table Centerpiece


Step 6: Place the Ribbon Loops
After half of the wreath is covered with leaves, place the ribbon loops among the leaves to fill in empty spaces. You might also have to pull some leftover leaves off of the remaining stems to fill in any gaps.
Make sure the arrangement is nice and full.
Step 7: Glue the Leaves & Ribbon in Place
When you’re happy with your arrangement, glue the leaves and ribbon in place.
Although the leaves might seem secure with their stems stuck in the vines, it’s a good idea to glue them down. Wind and rain can easily tear a wreath apart, sending it all over the yard.
Step 8: Glue the Monogram in Place
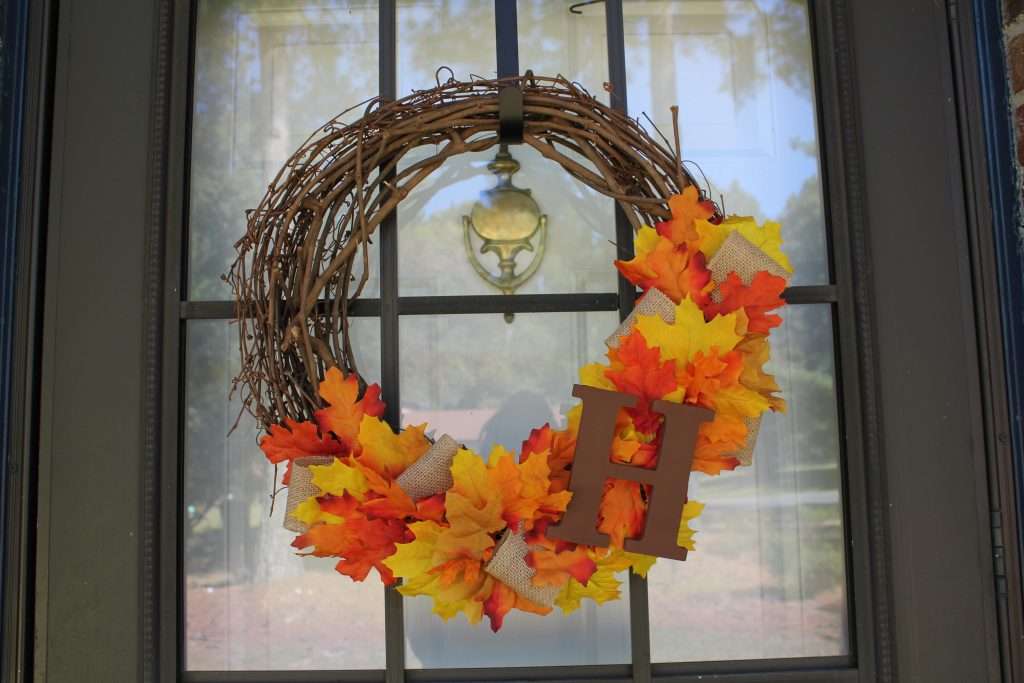
The final step is to glue the monogram into place.
And you’re done! The only thing left to do is hang your wreath on the front door and enjoy!
Check out these other wreath tutorials:
- How to Make a Tulip Wreath
- DIY Boxwood/Farmhouse Wreath
- The Cutest Wood Bead Easter Bunny Wreath
- DIY Whimsical Halloween Wreath