Earlier this year, I decided to try my hand at flipping furniture for profit. I started with a vintage record player cabinet and was able to make a little bit of money.
I waited until it sold before I even started looking for another piece to flip. (As a military family with a PCS later this year, I can’t afford to be stuck with a house full of extra furniture.) But it took me WEEKS to find an affordable piece.
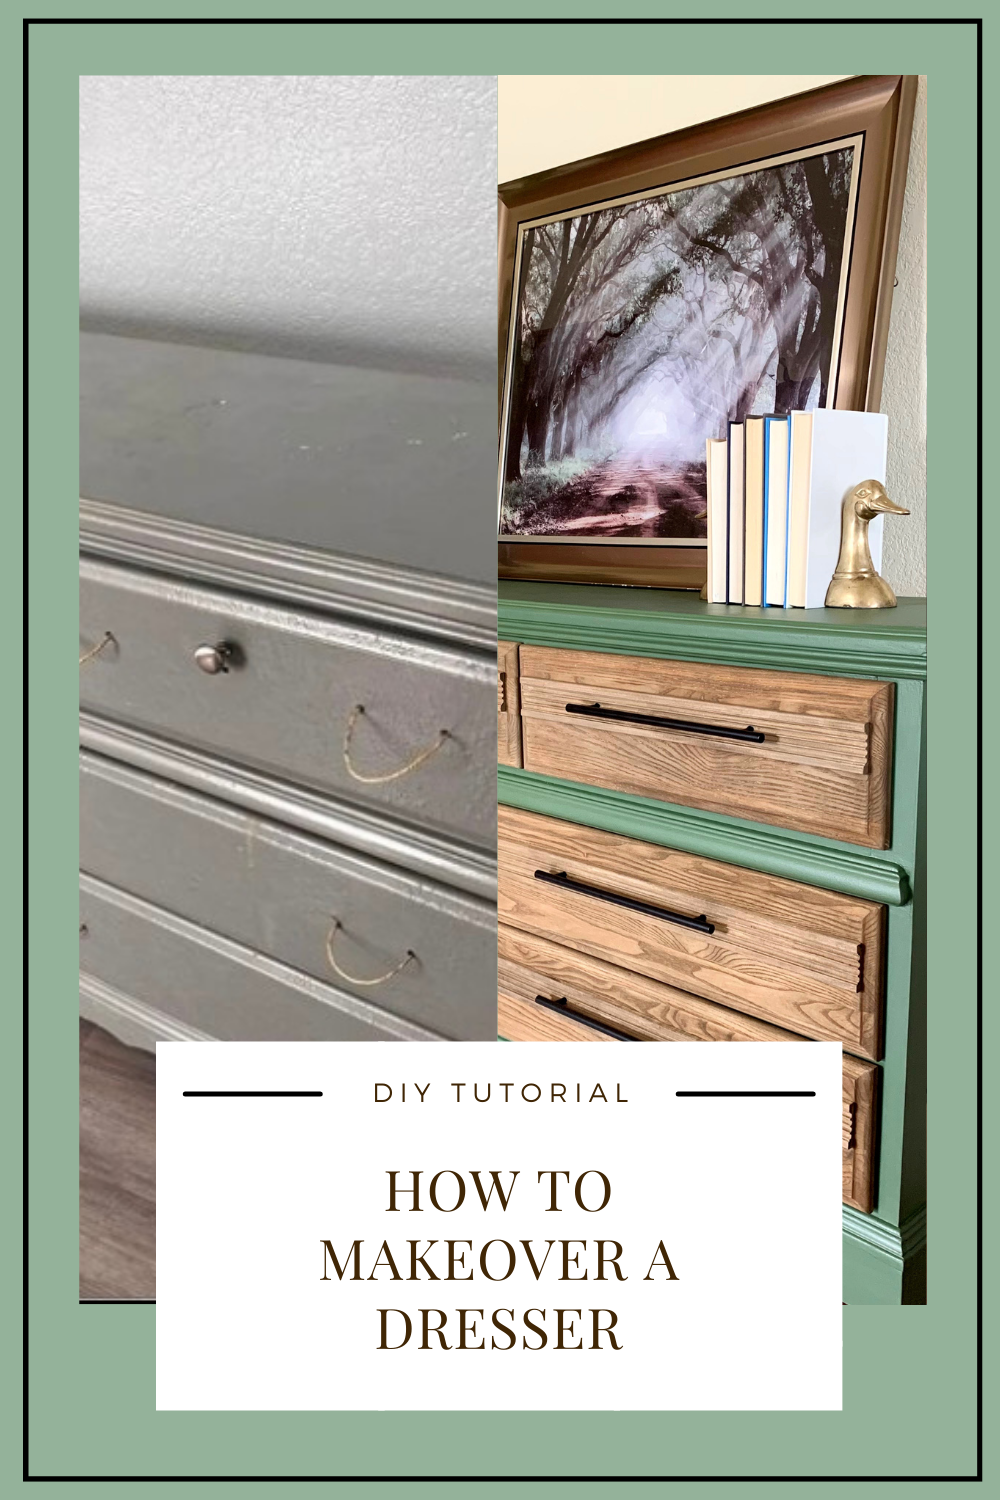
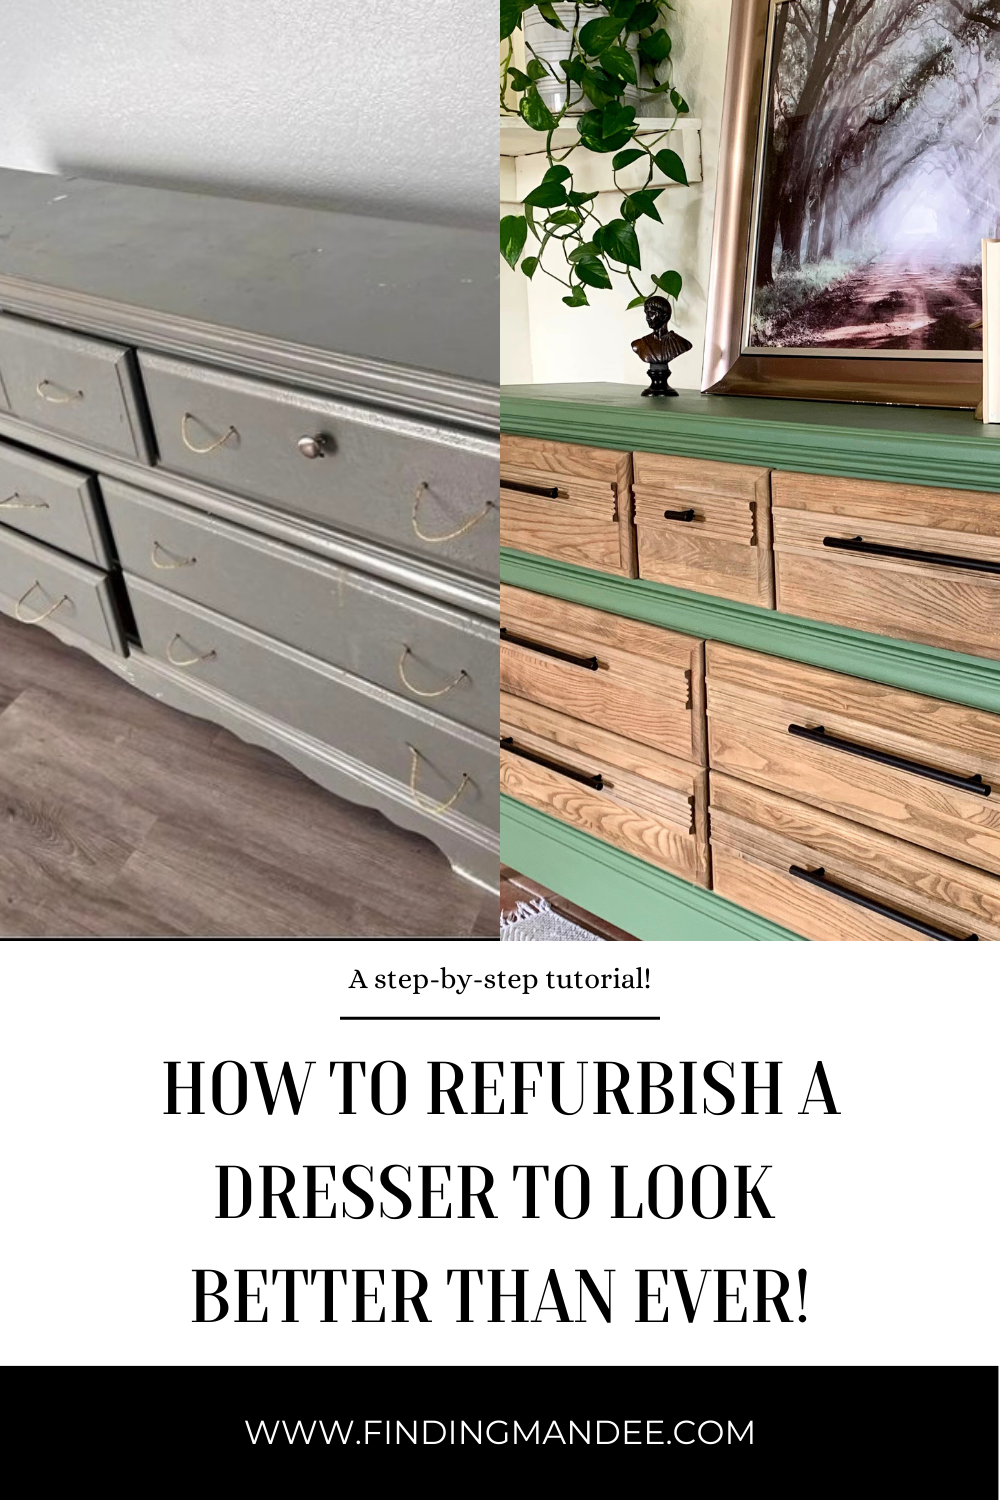
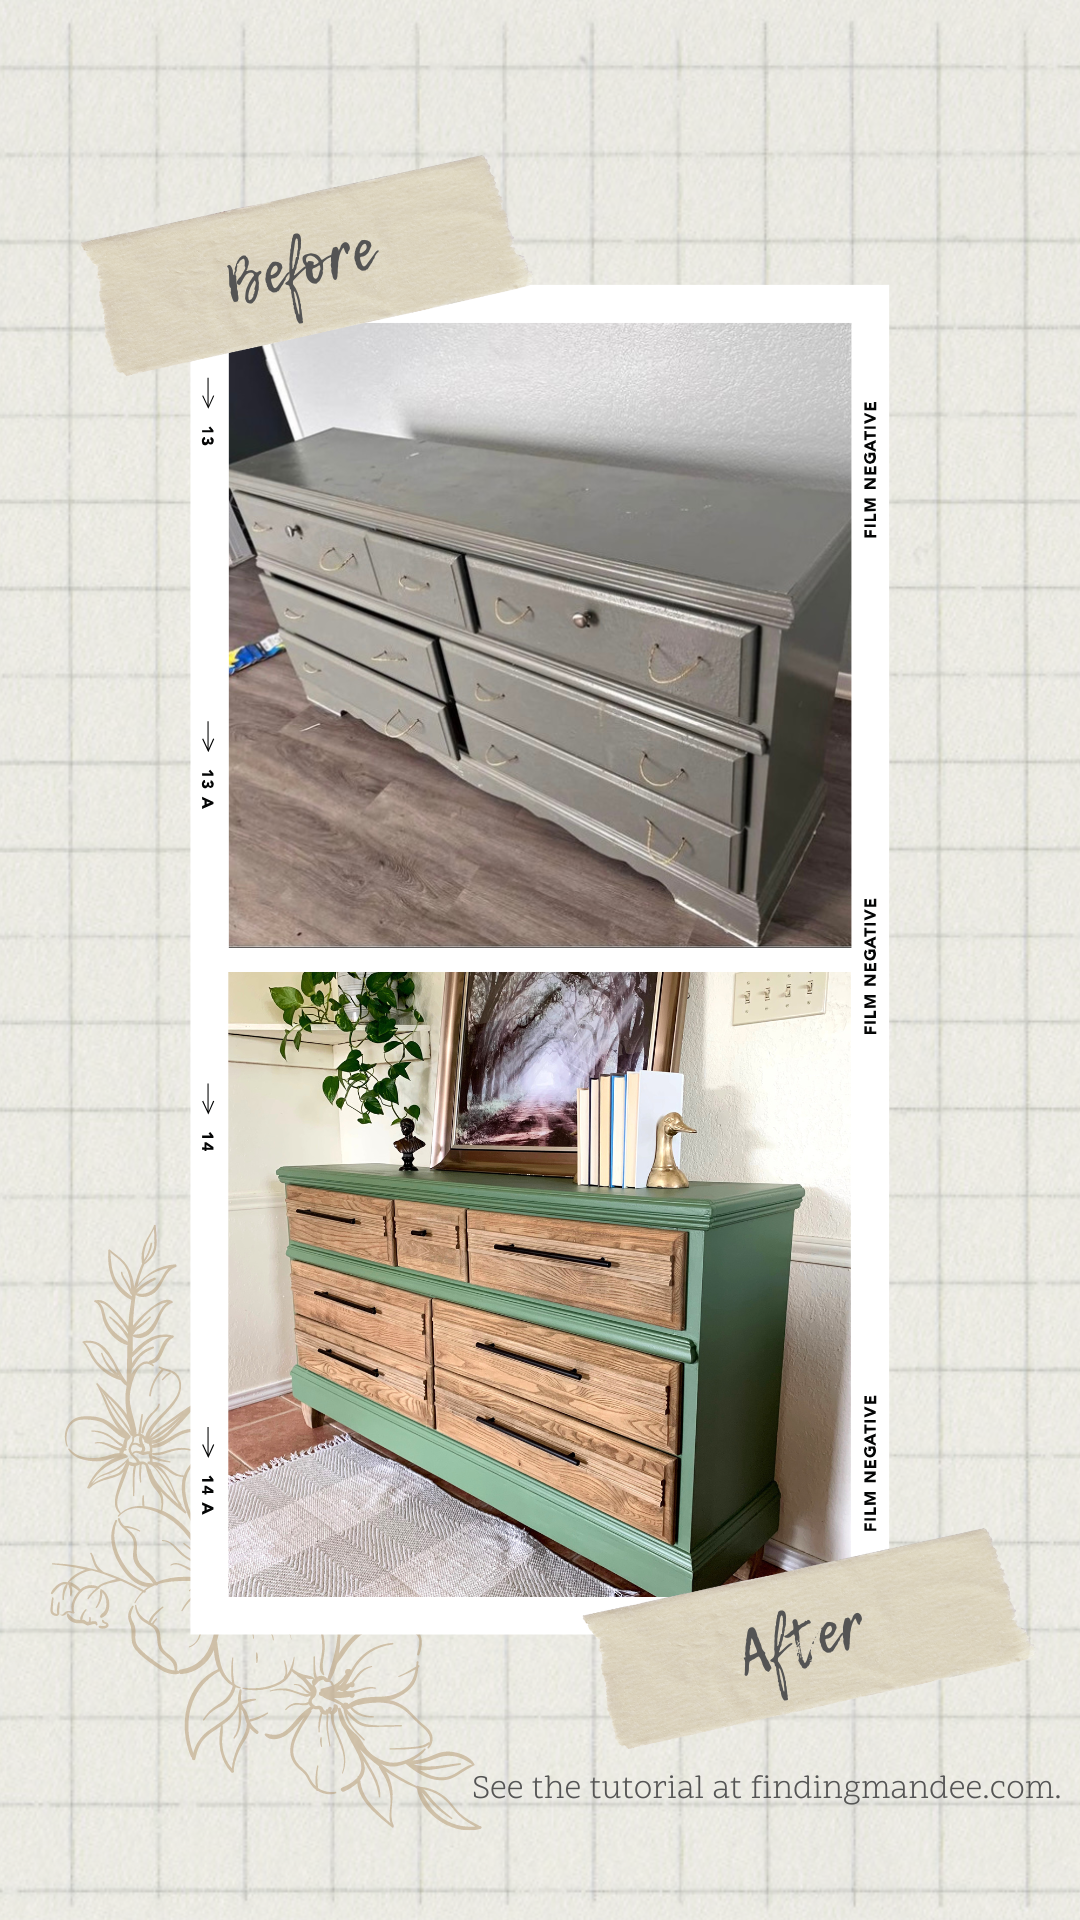
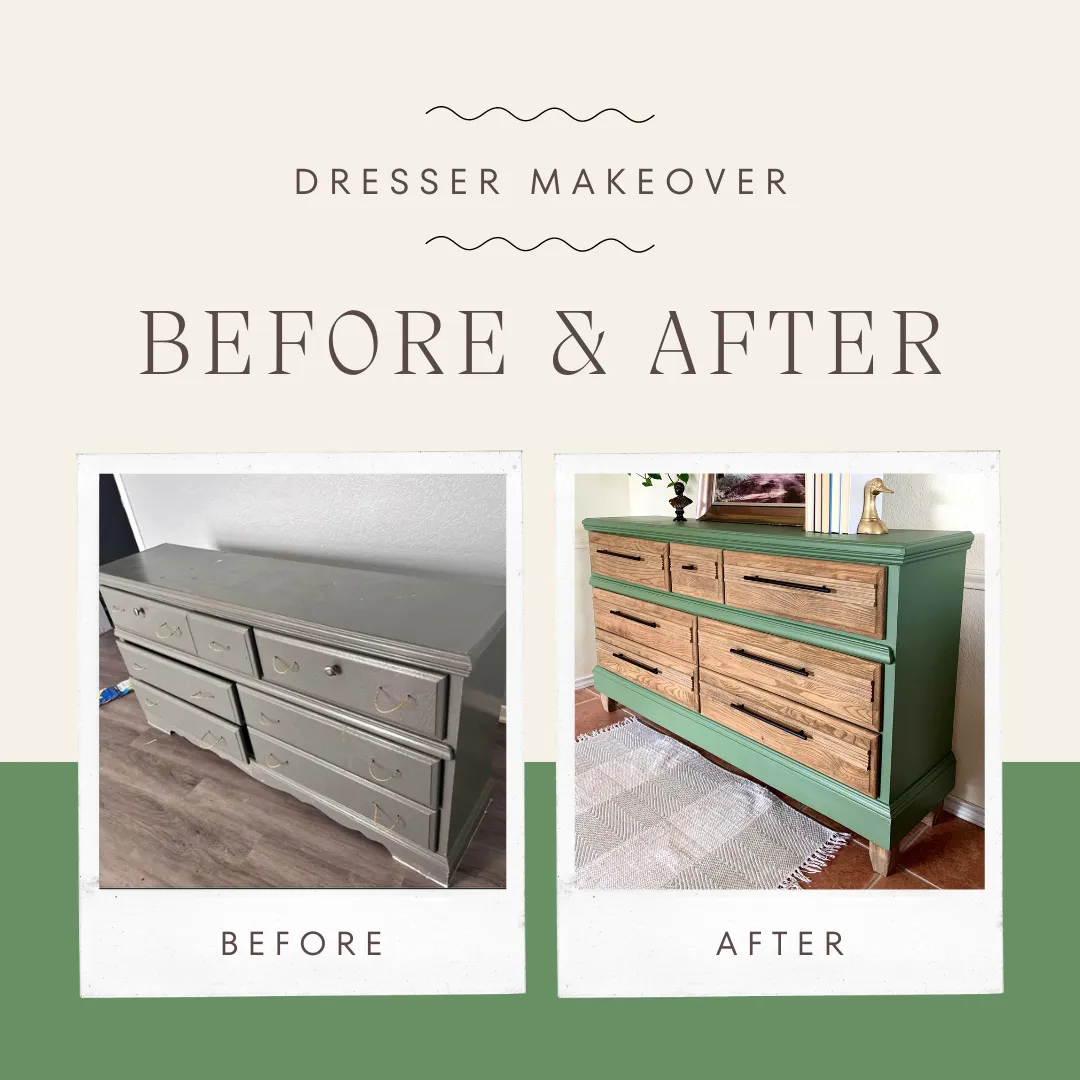
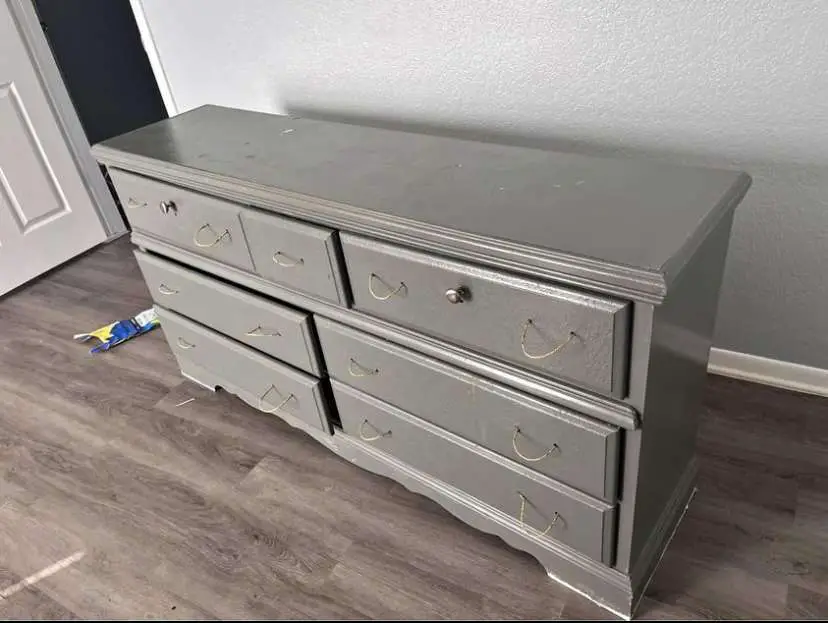
Eventually, I found this boring gray dresser on Facebook Marketplace for $25. (I had already refurbished one grungy dresser and turned one dresser into a buffet, so I knew it could be done.)
Here’s how we flipped it and how much money we made:
Dresser Supplies
- a boring gray dresser
- Citristrip
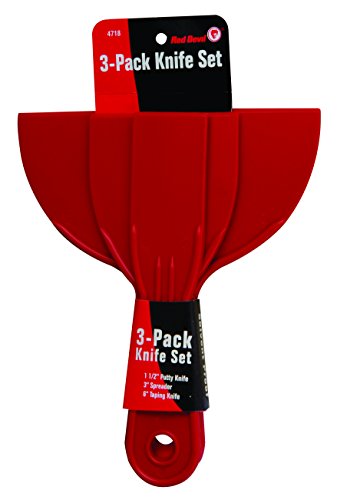
- plastic scraper
- cling wrap
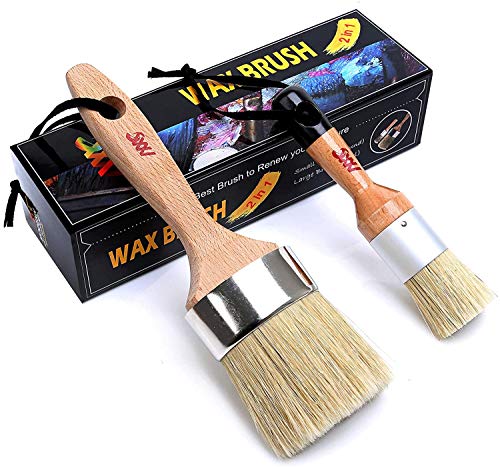
- paint brush
- orbital sander
- sanding nets (120 and 220 grits)
- primer: Zinsser Bullseye 1-2-3
- paint: Glidden Premium Paint (color: Dark Sage)
- stain: Behr Rustic Wood Effects Stain (color: Rustic Brown)
- paint roller
- wooden trim
- miter saw
- legs
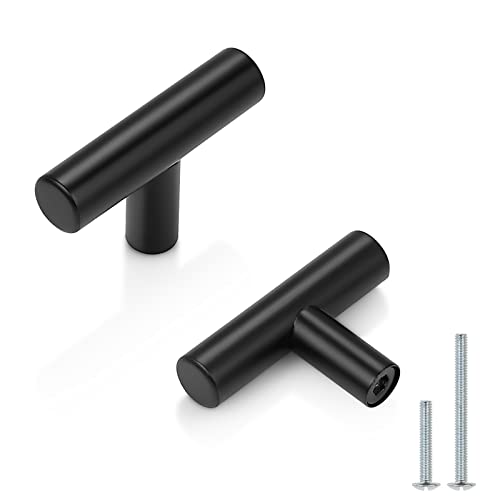
- handles
- peel and stick wallpaper
Citristrip® Paint & Varnish Stripping Gel, 1 QuartRed Devil 4718 3-Piece Plastic Knife Set, 1-Pack
Chalk and Wax Paint Brush Furniture Set- Painting or Waxing – Milk Paint – Dark or Clear Soft Wax – Home Decor Cabinets Stencils Woods – Natural Bristles 1 Small Round and 1 Large Oval Brushes
DEWALT 20V MAX Orbital Sander, Tool Only (DCW210B), Yellow
Diablo SandNet 80 Grit Sanding Disc – DND050080H10I
Water-Based Wood & Grain Filler – White – 8 oz By Goodfilla | Replace Every Filler & Putty | Repairs, Finishes & Patches | Paintable, Stainable, Sandable & Quick Drying
Probrico (5 Pack 10
Probrico 5 Pack| Black Cabinet Knobs Drawer T Knobs Kitchen Single Hole Cabinet Knobs 2
Furniture Legs Sofa Couch Leg Replacement Parts Table Feet Solid Wood Replace Legs 4 inch DIY for Desk Cabinet Bench Dresser Loveseat Chair Ottoman Bookcase Trapezoid Set of 4 (4 inch, Log Stain)
NuWallpaper NU2906 Maui Peel & Stick Wallpaper, Green


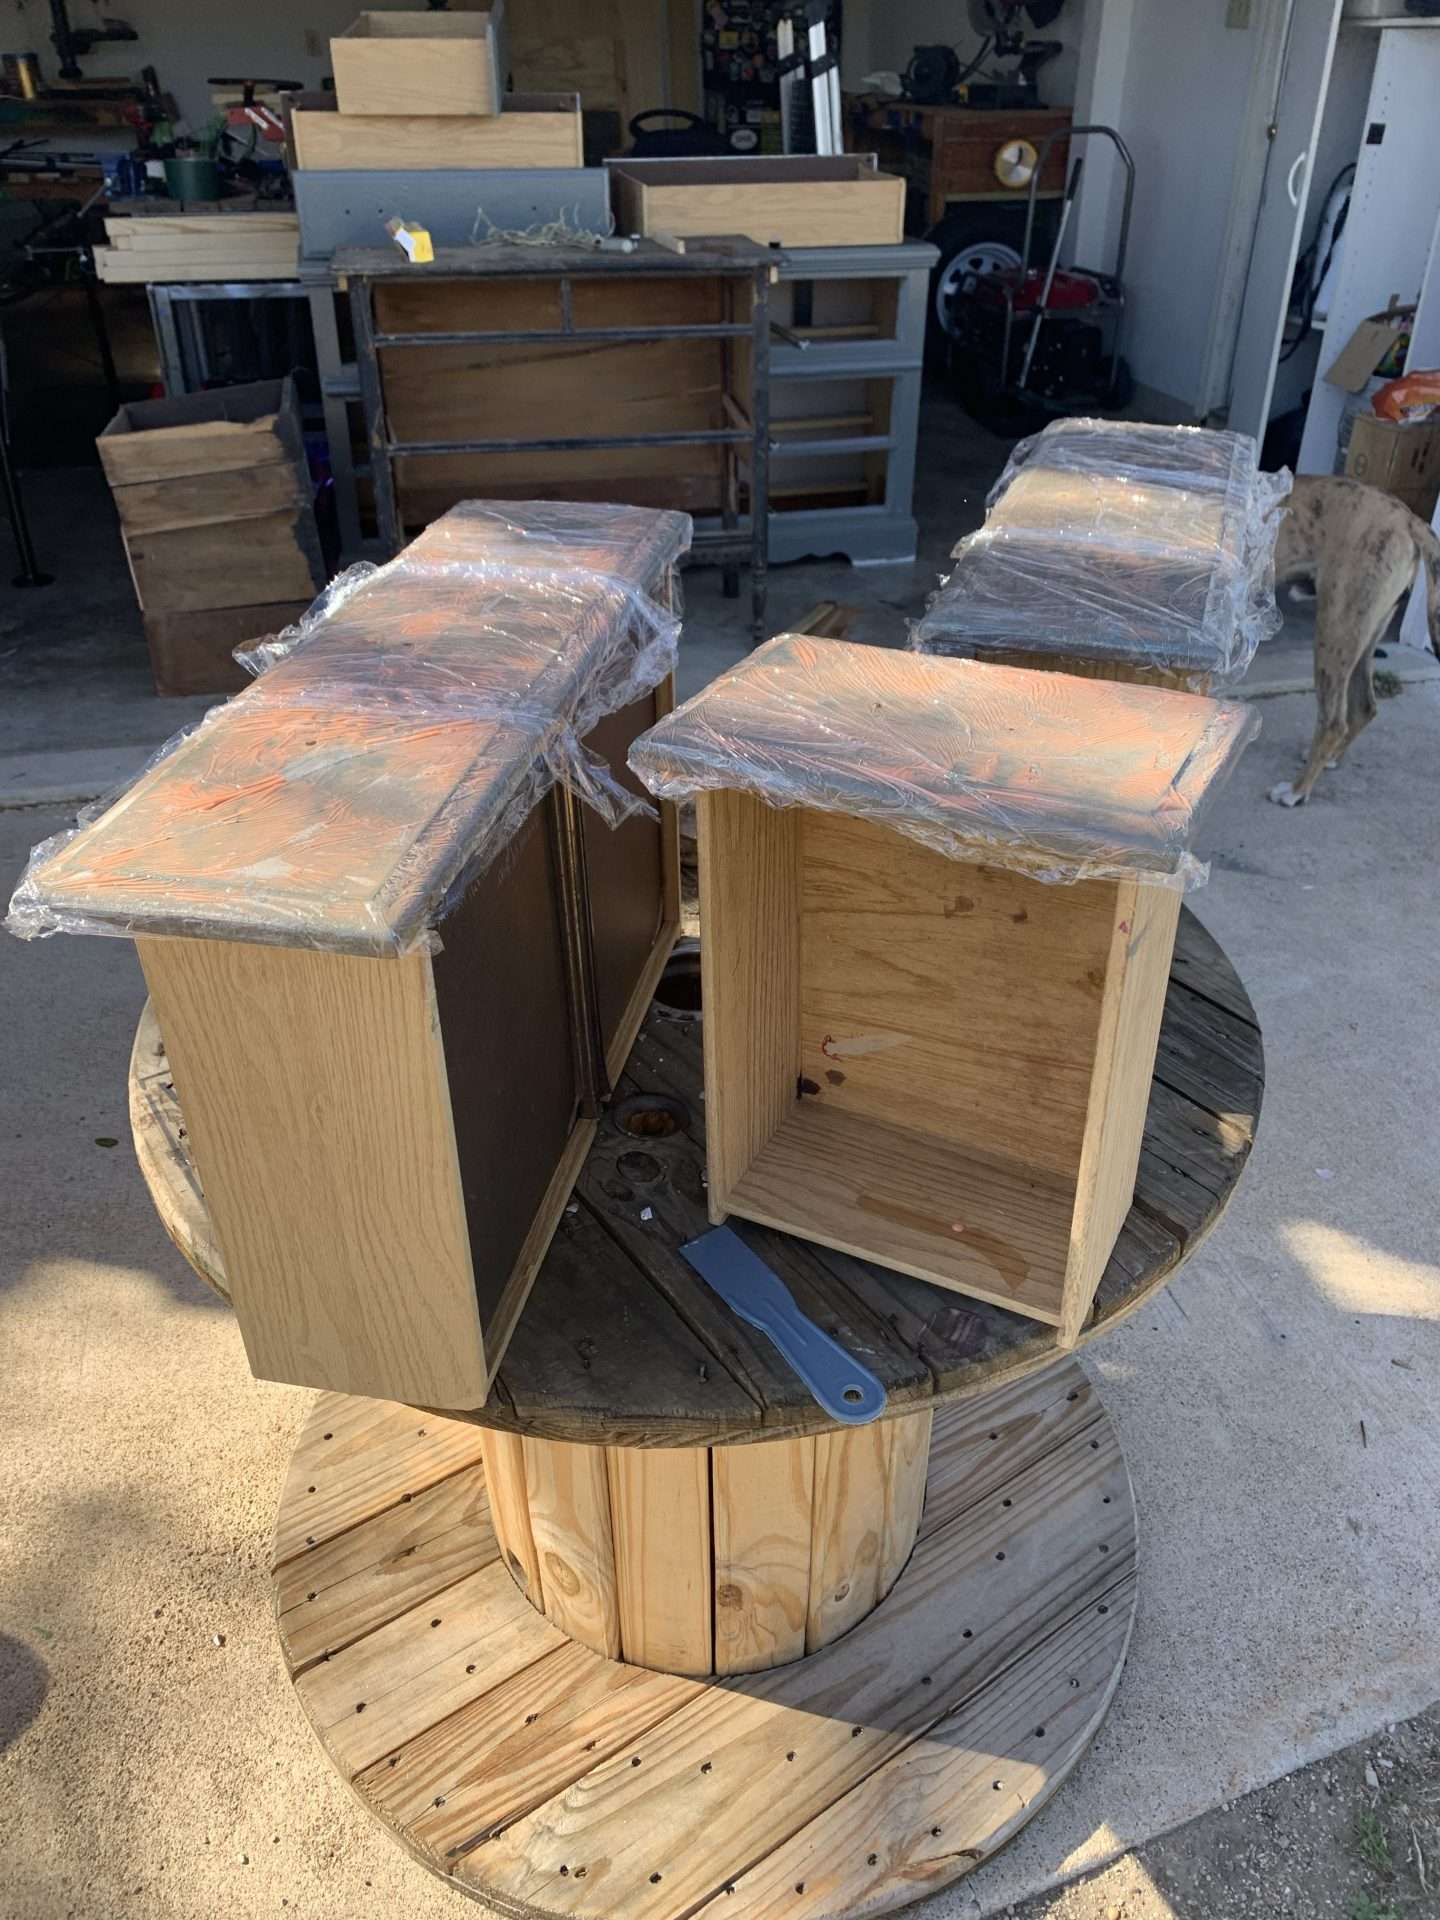
Step 1: Strip Drawer Faces
The first thing I did when refurbishing this dresser was strip the paint off of the faces of the drawers.
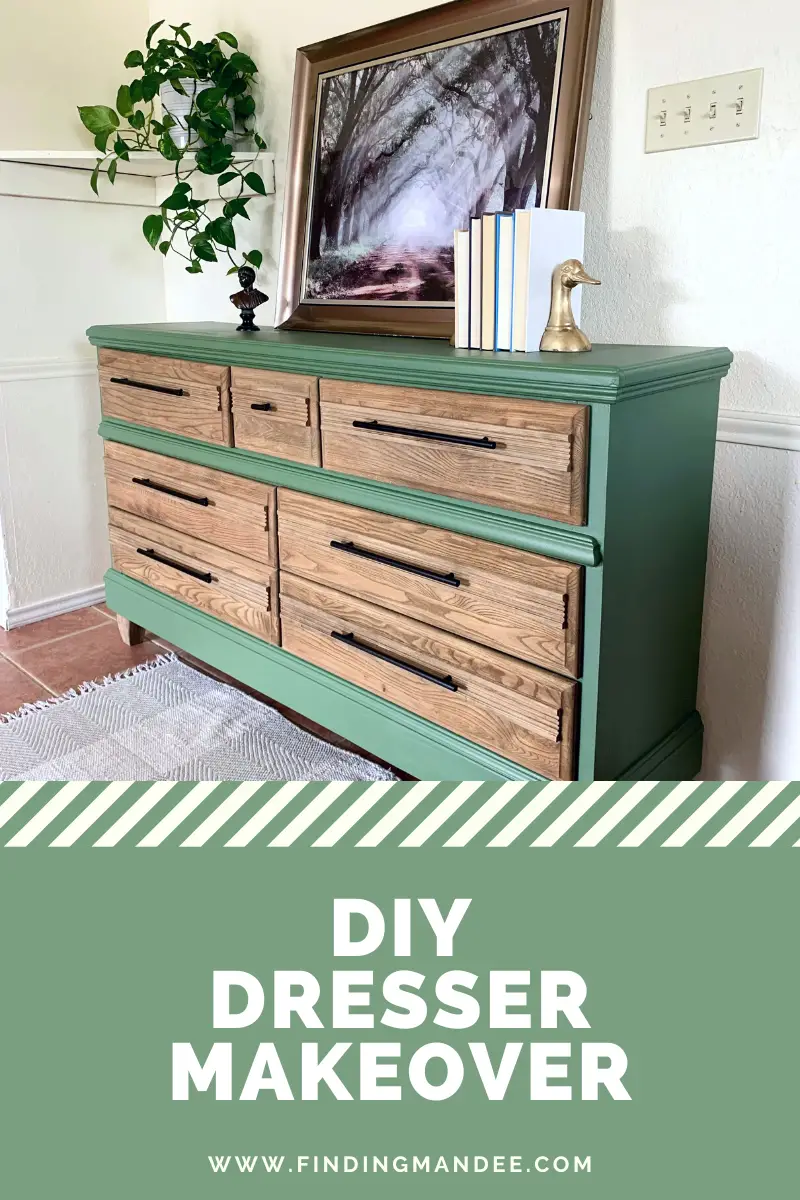
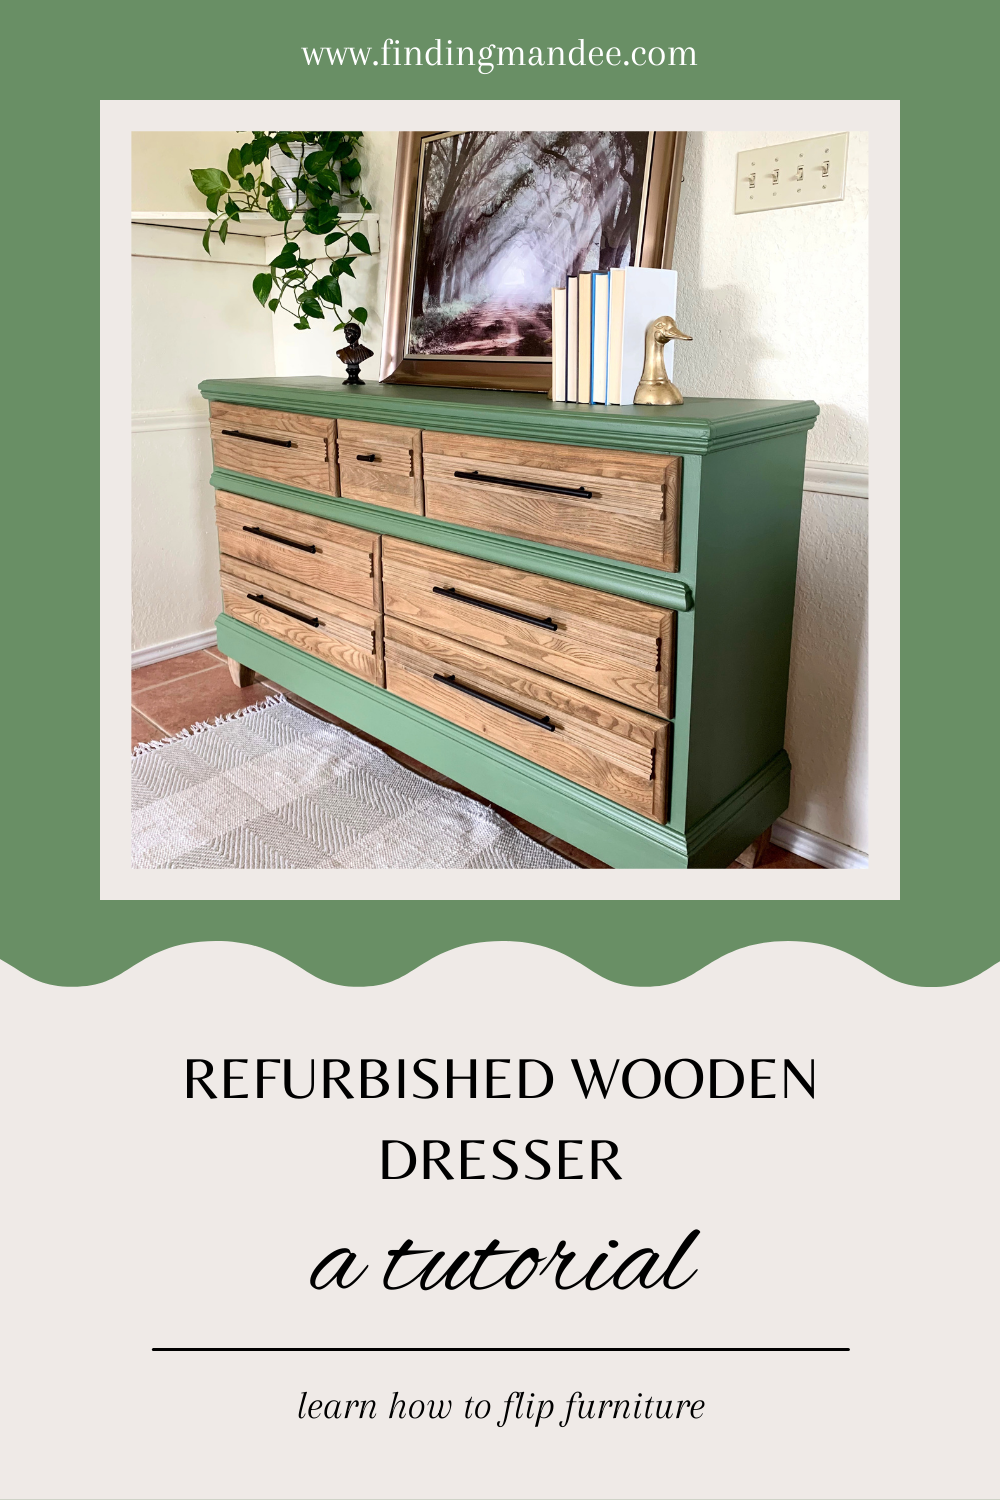
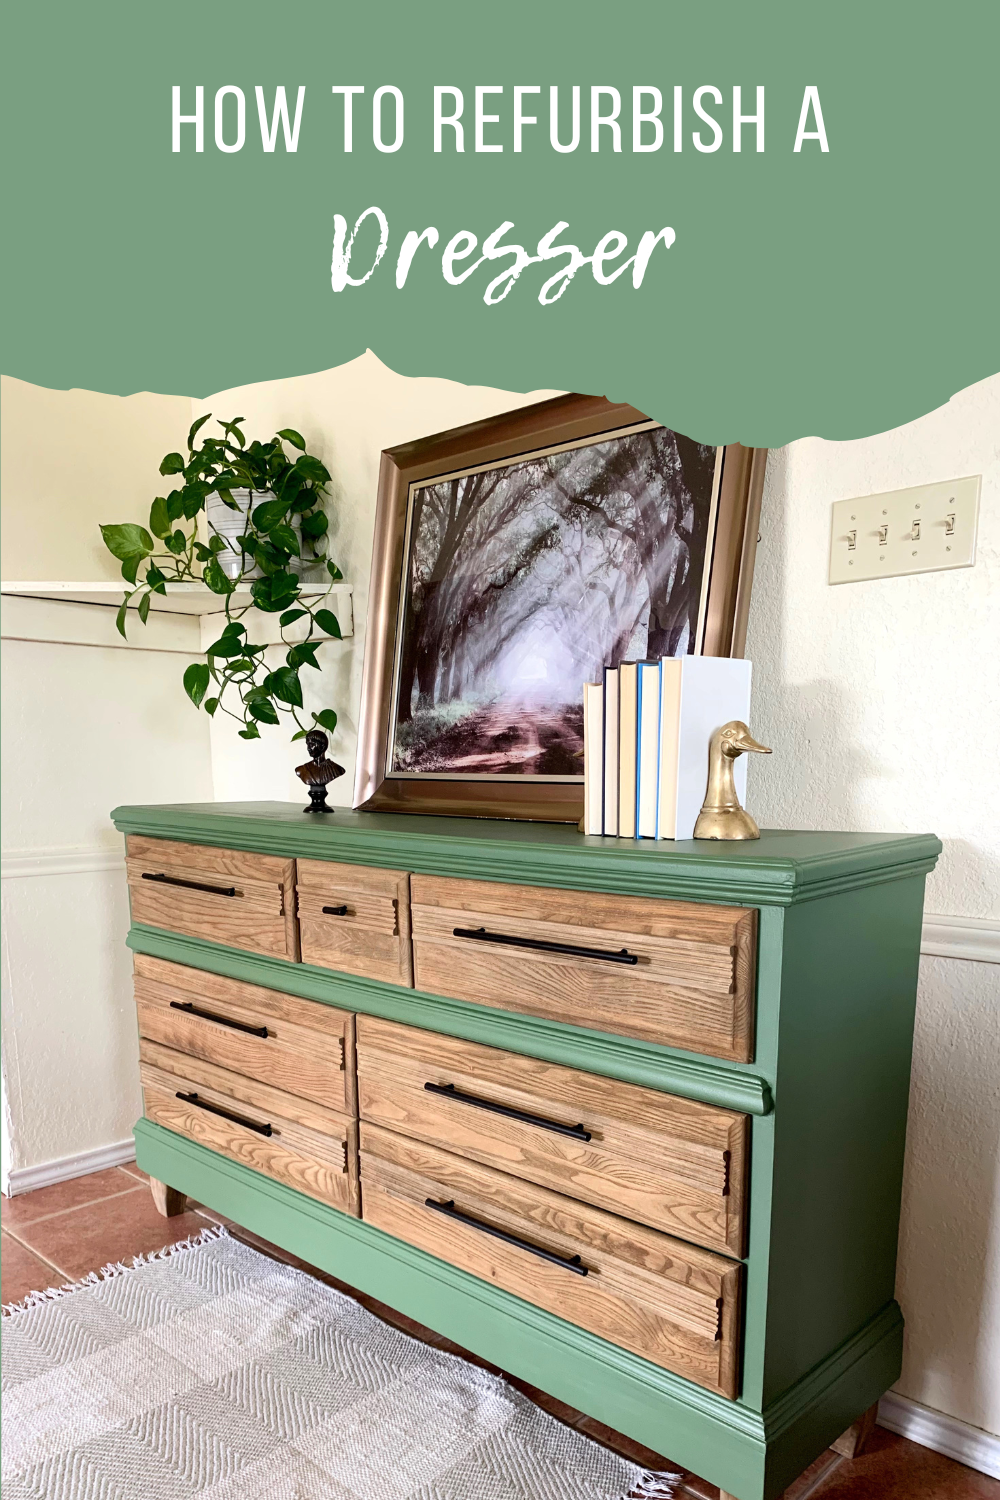
I knew I wanted to use the green paint we had left over from our dining room table makeover and thought that breaking up the green with wood accents would look best.
Little did I know that this one decision to strip the drawers would lead to more work and supplies that would ultimately eat into our profits. (But we live and learn, right?)
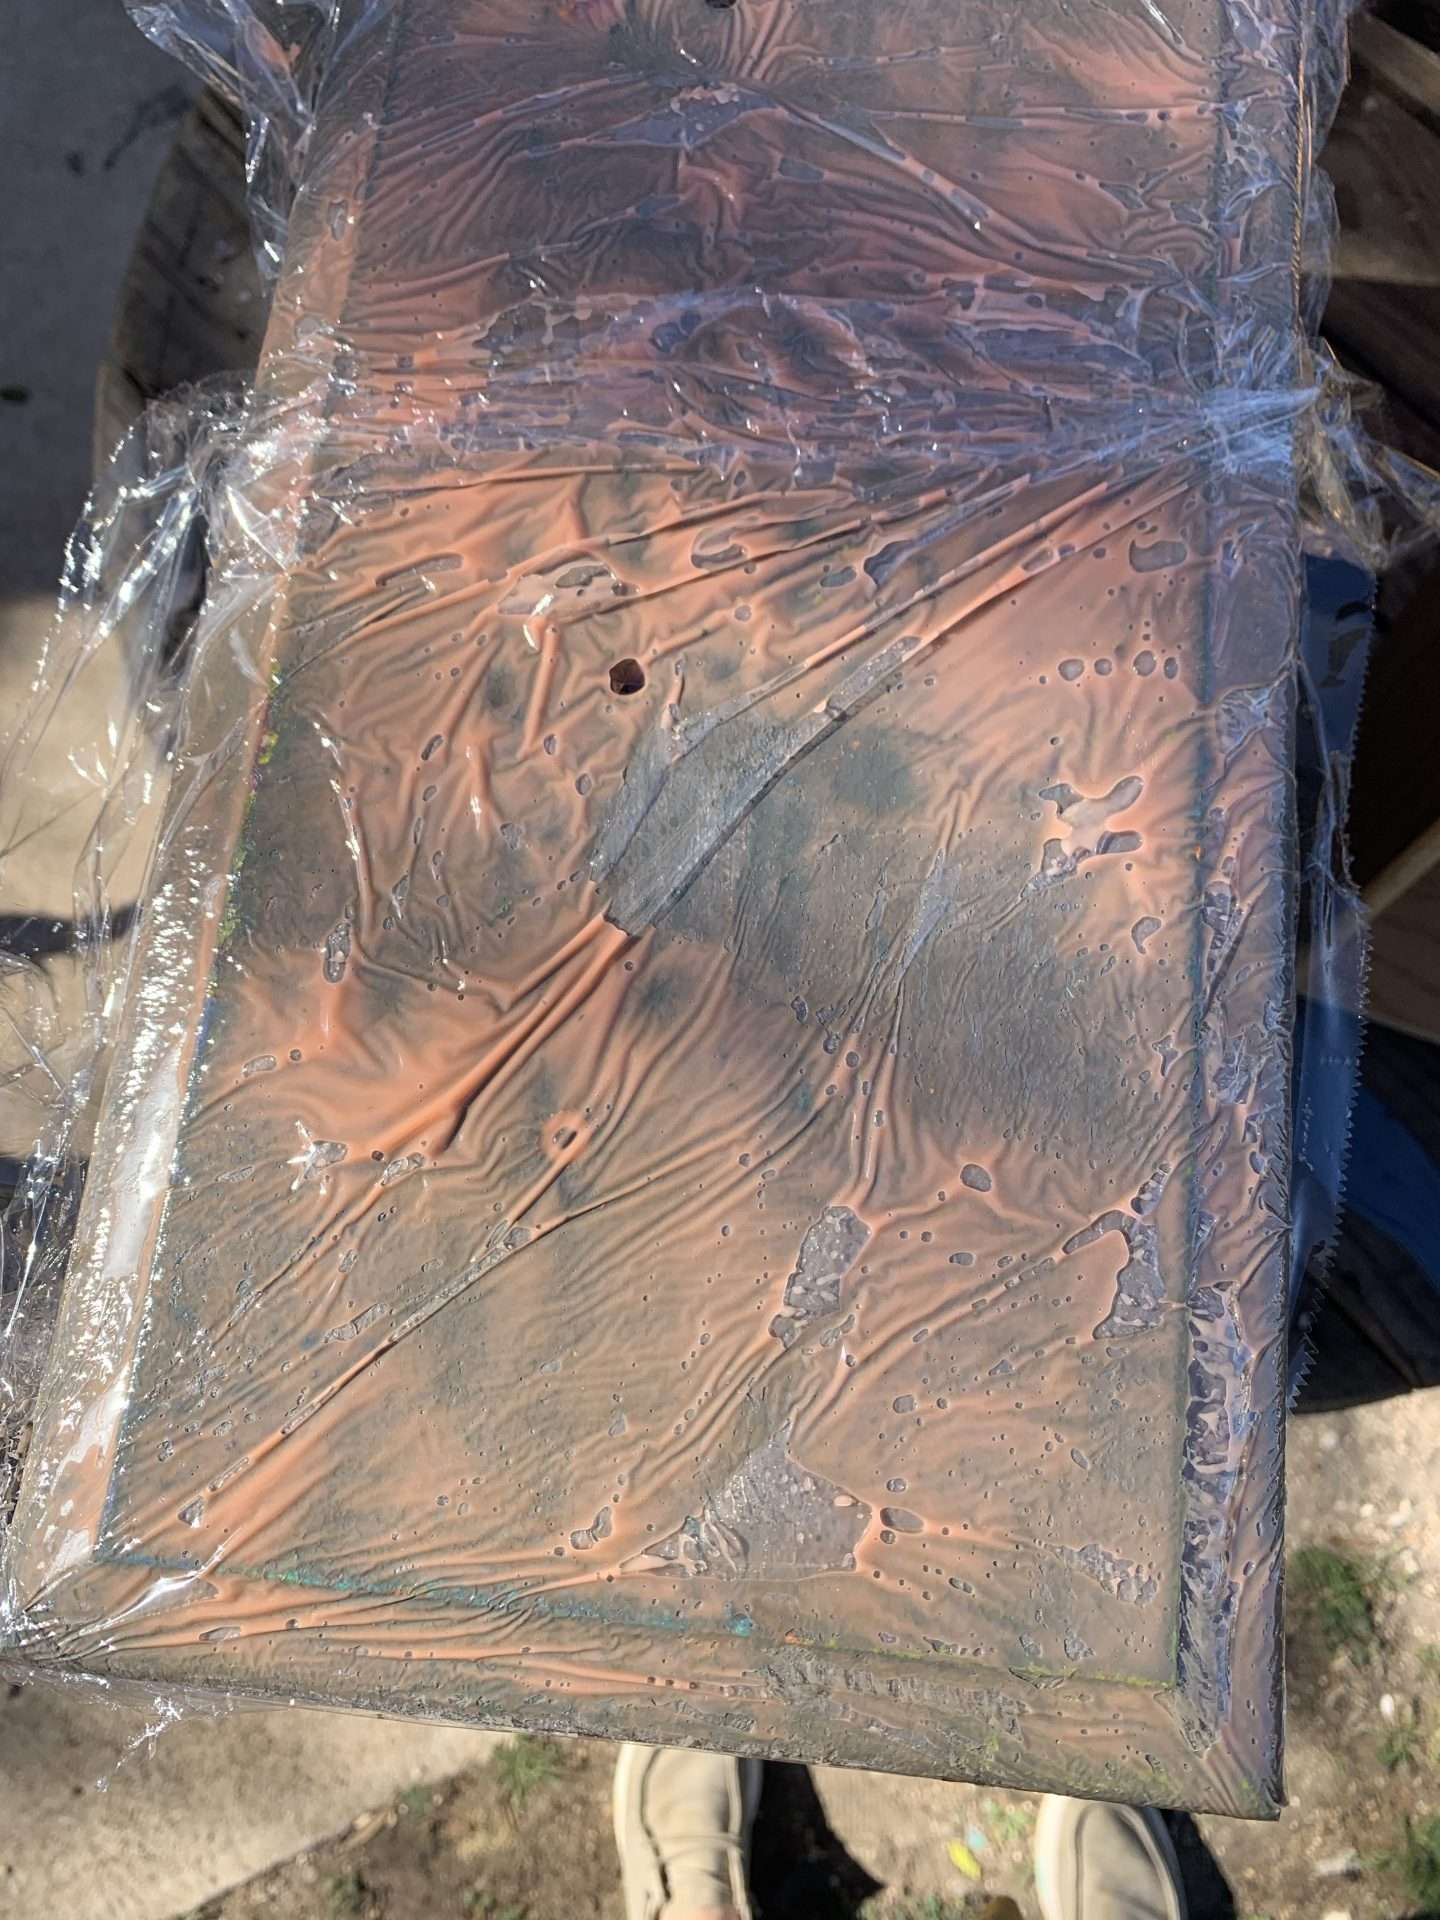
I used generous amounts of Citristrip to coat the drawer faces and then covered them with cling wrap. After letting them sit for an hour I scraped the paint off, revealing several more layers of paint underneath.
So, I coated them for a second time and covered them with cling wrap. This time, I let the stripper sit on the drawers overnight.
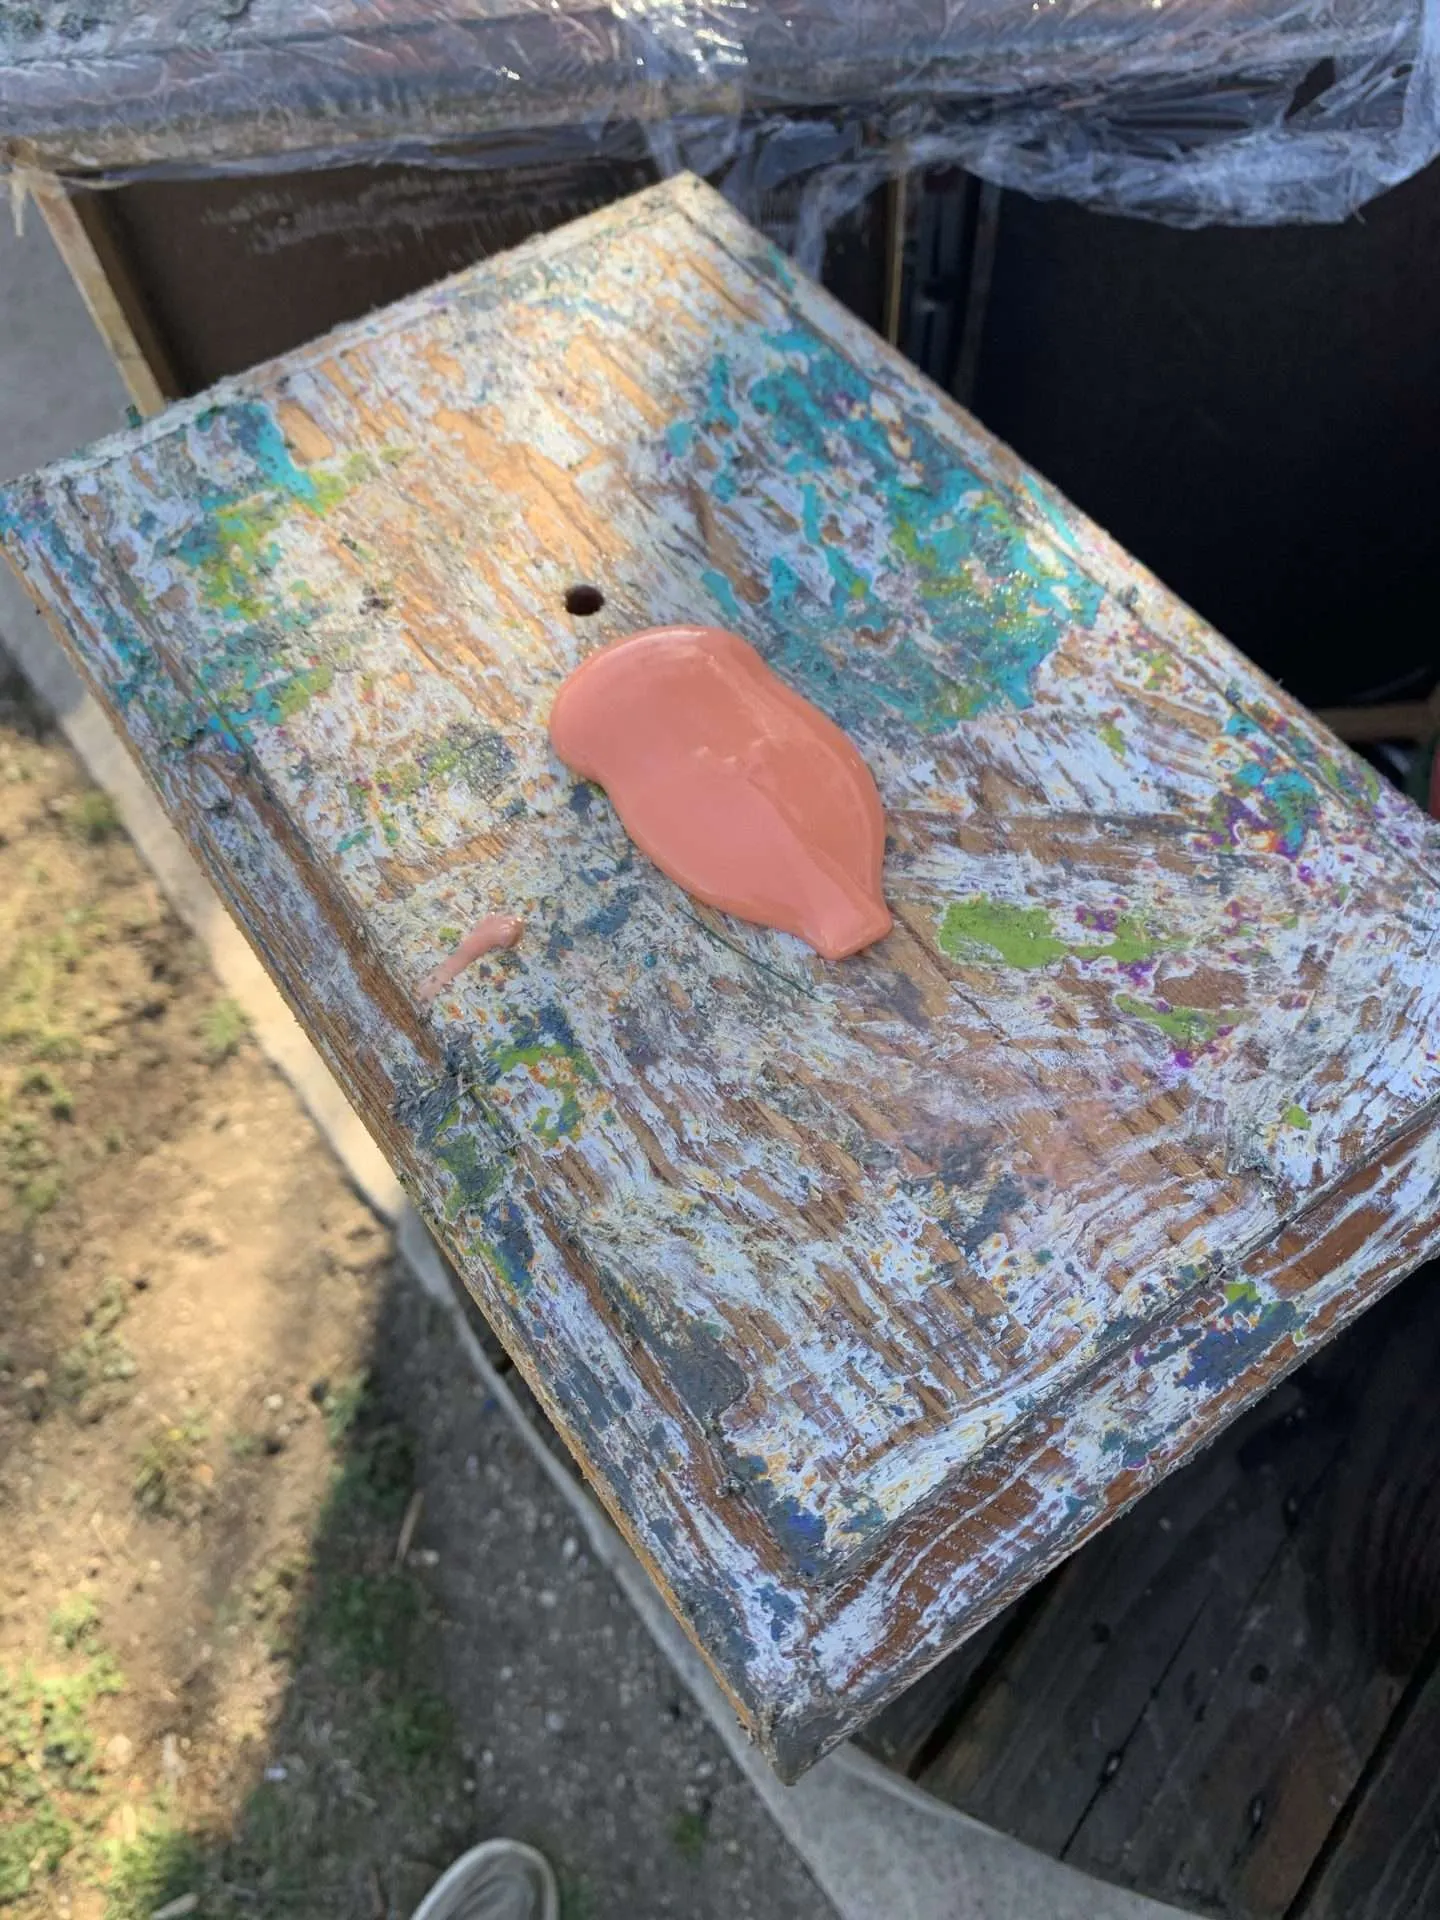
I finished scraping the paint the next day.
I tried wiping down the drawers with mineral spirits to get the sticky residue off but it was impossible. It eventually came off when I was sanding, but it was irritating because it gummed up the sanding nets a little.
Step 2: Apply Wood Putty
I applied wood putty to any areas on the dresser’s frame that had holes, cracks, or deep gouges. This will give the final finish a smoother look.
Luckily, this dresser was in pretty good shape and there weren’t very many places that needed filling.
I also filled in the holes where the original handles were placed. Instead of 2 smaller handles on each drawer, I wanted one long pull.
Unfortunately, this was also a bad decision.
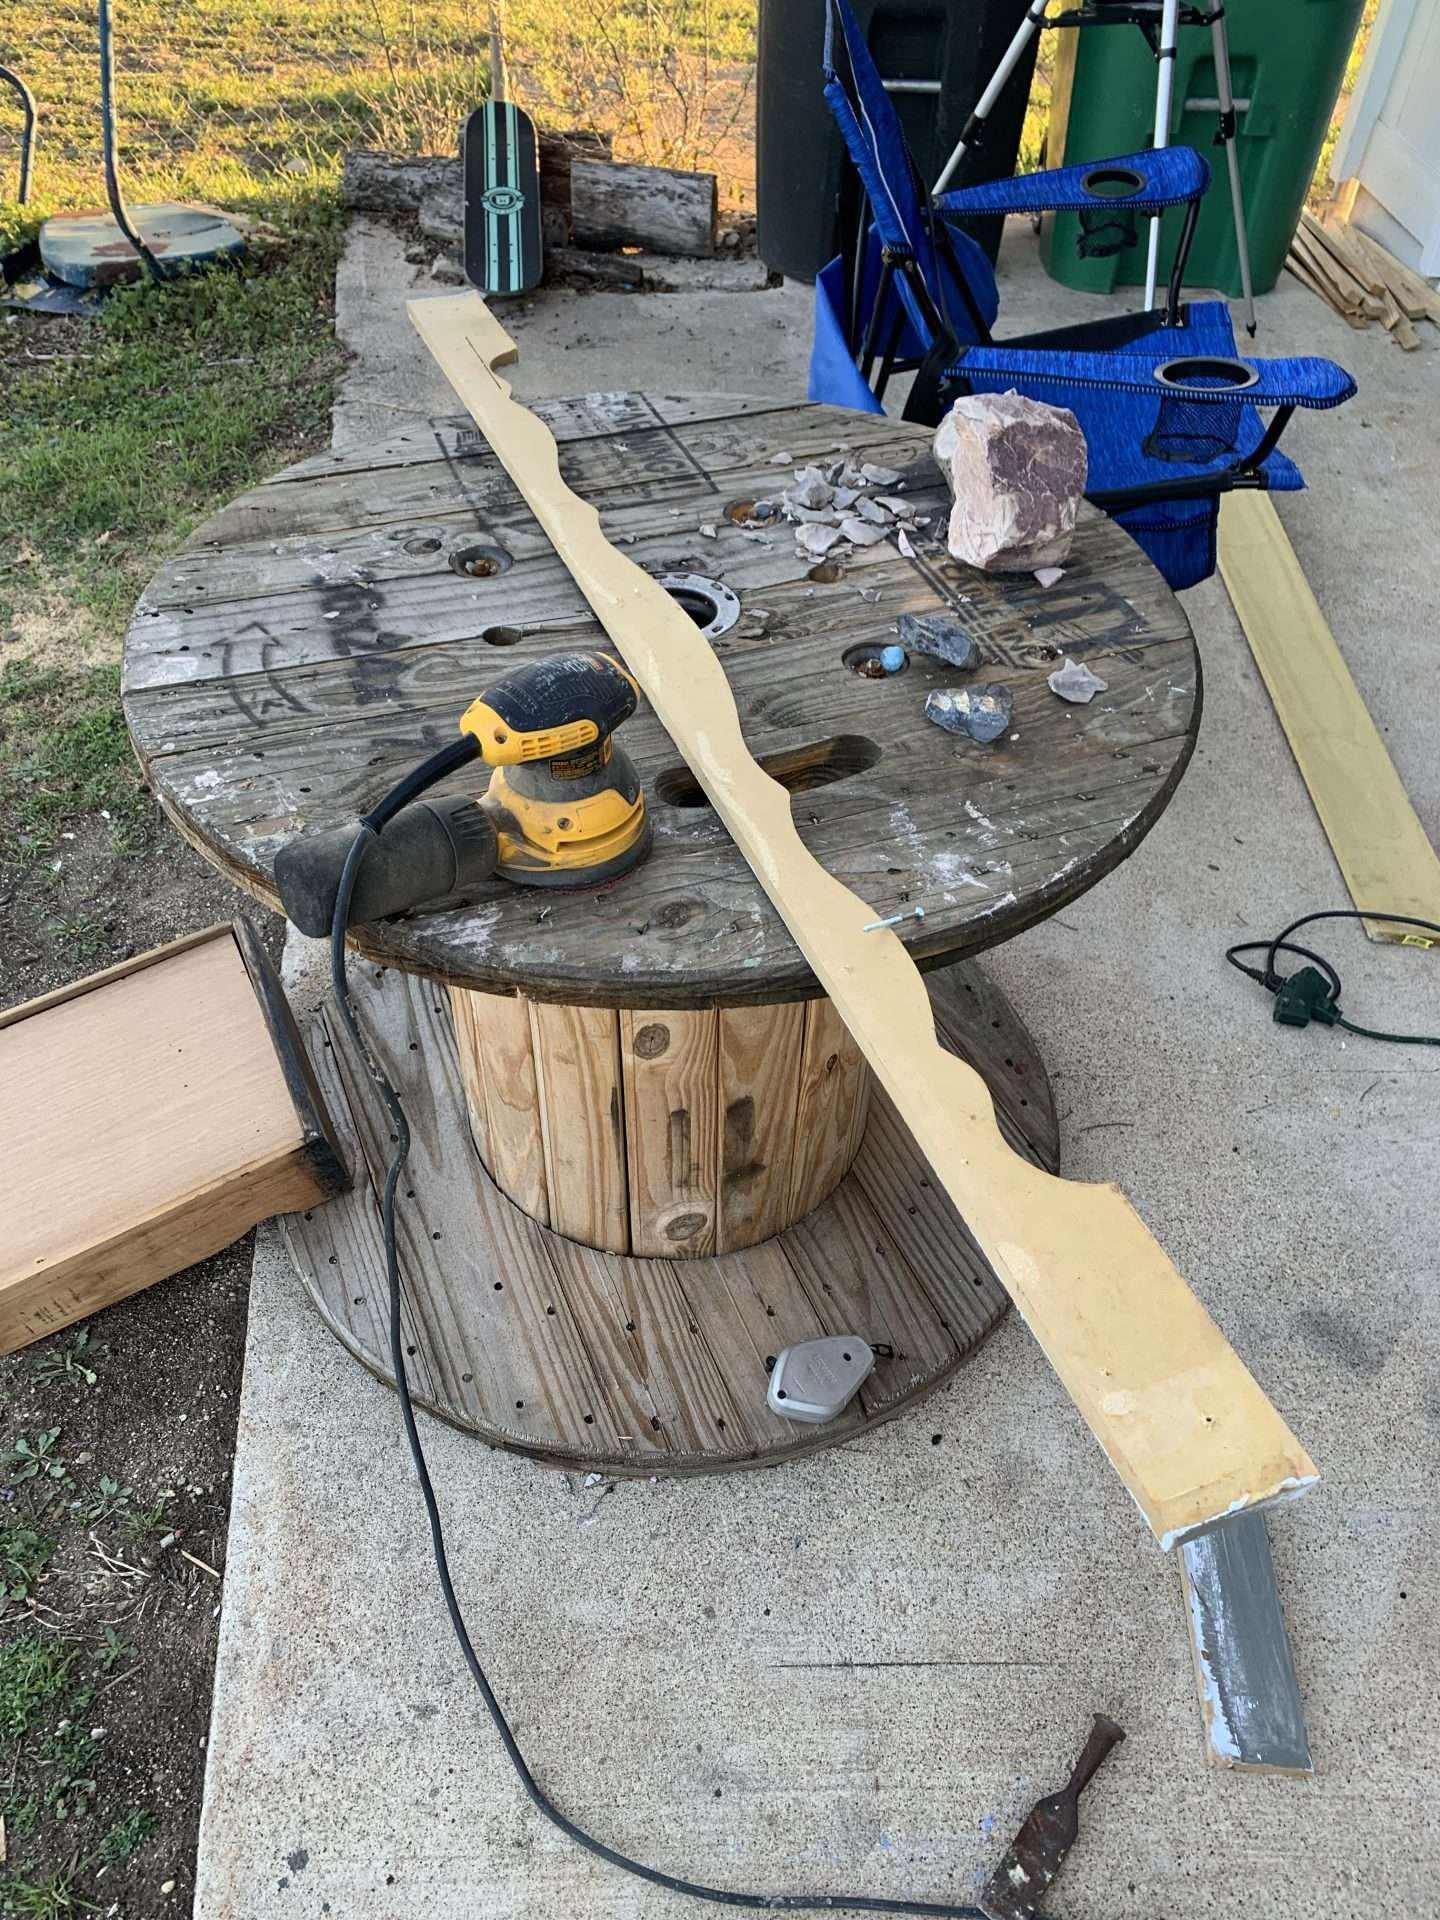
Step 3: Removing Outdated Trim
One thing I love about furniture flippers on TikTok and Instagram is that they remove the trim on furniture pieces that make them look dated.
So, for this dresser, we removed the bottom piece with scrollwork. We replaced it with a straight piece of trim (that was actually a fence picket) to make it look more modern.
Step 4: Sand the Dresser
Sanding is always my least favorite part of any project. Not because it’s particularly hard, but because it’s tedious and makes everything so dusty and dirty.
I sanded the drawer faces down to the bare wood using 120-grit sanding nets. Then sanded again with a 220-grit to make sure I had a smooth finish.
The frame of the dresser was scuff sanded with 120-grit. (This means that I just made sure to smooth out rough areas and make the surface rough so that a new coat of paint will stick to it.)
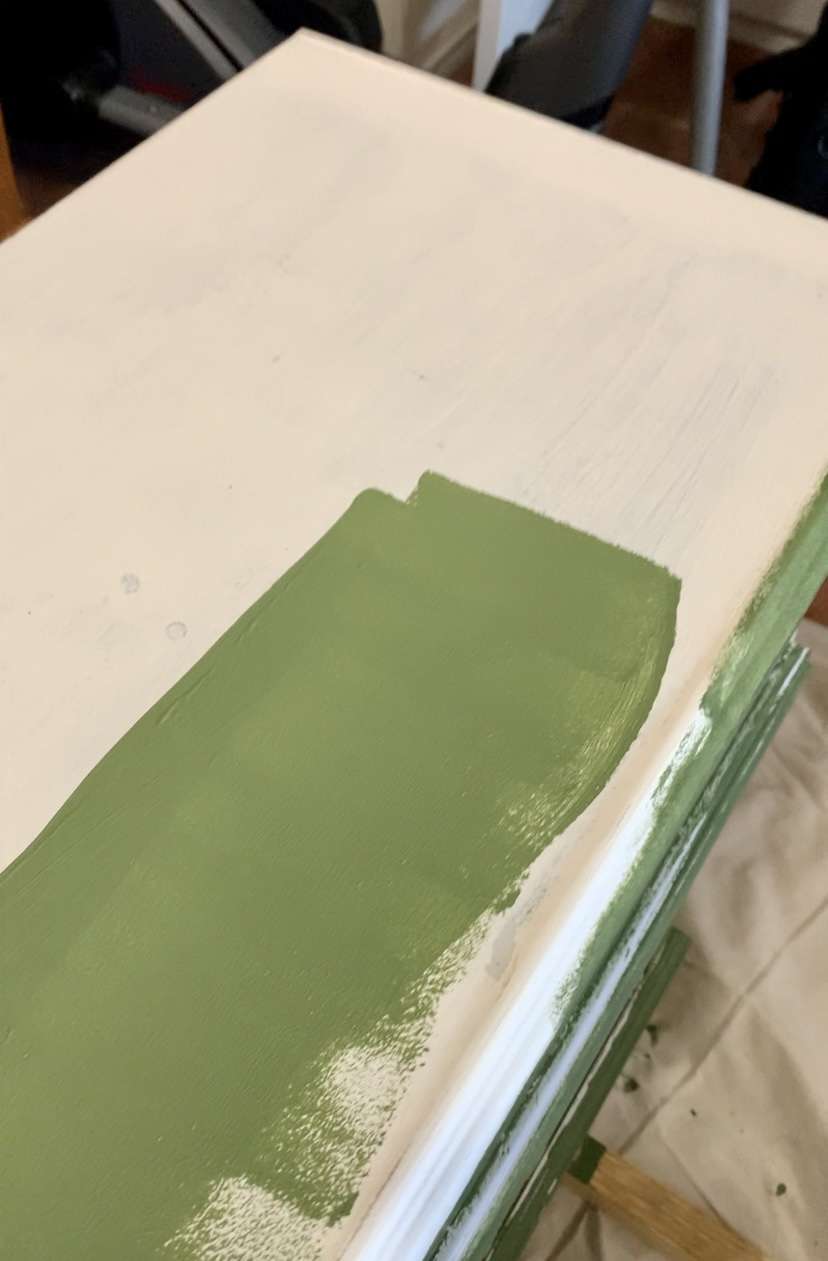
Step 5: Prime, Paint, & Stain
After the dresser frame was sanded, I applied 2 coats of primer. I did a little bit of light sanding in between the coats to give it a smooth finish.
I let the primer dry overnight before painting. After 2 coats and a few touch-ups, the dresser frame was looking good.
Then it was time to stain the drawer faces.
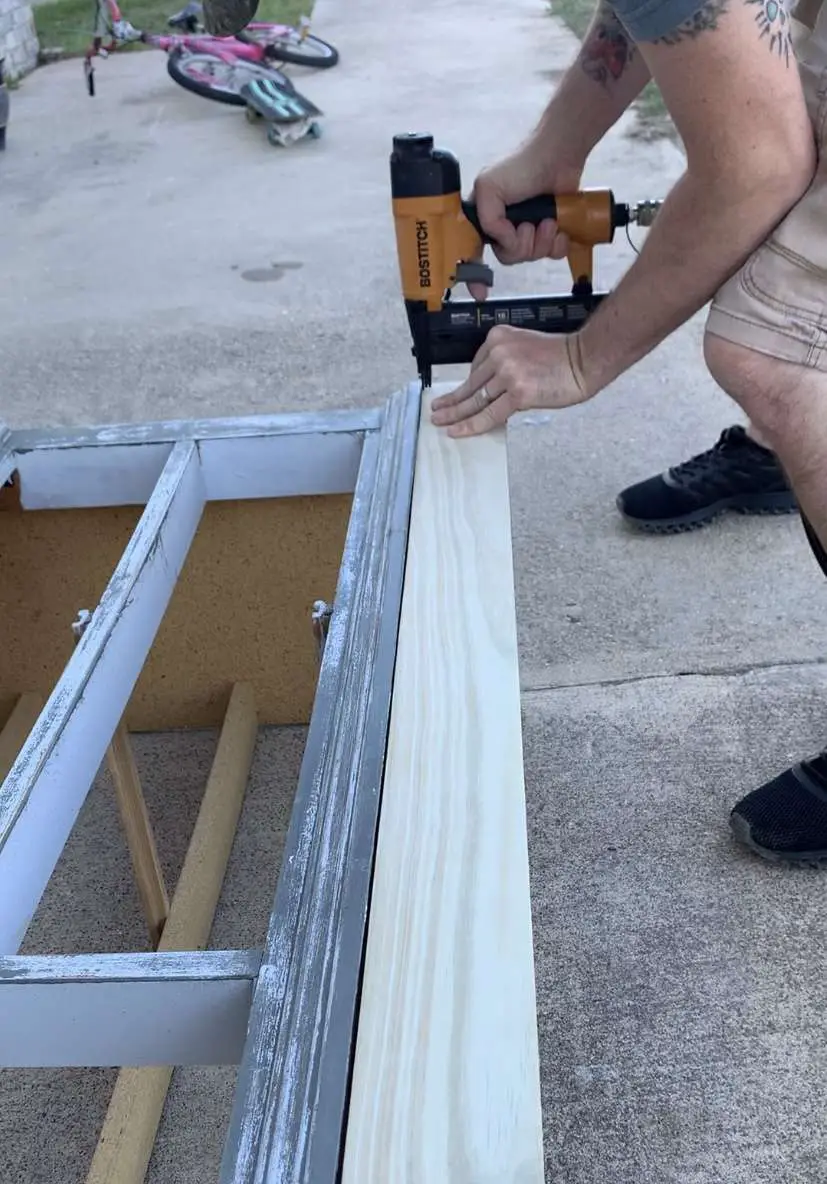
Step 6: Add Trim to Drawer Faces
It was clear that the putty-filled holes were not going to be camouflaged by the stain as I had hoped. This meant more work and money.
To cover the holes, we bought 3 pieces of wooden trim at the local hardware store and cut them to fit each drawer.
We attached the trim to the drawers using wood glue and brad nails. We also stained the trim to match the drawers.
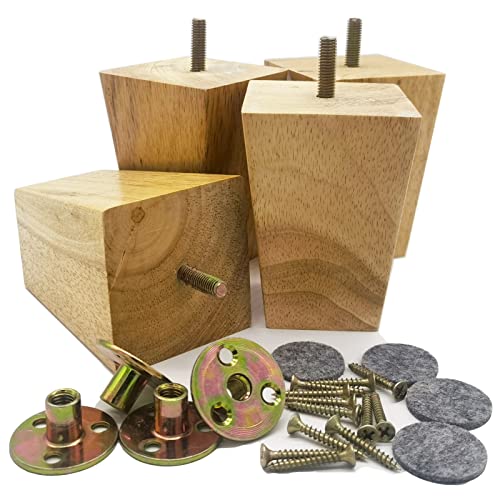
Step 7: Add Legs to Dresser
After seeing the dresser all put together, it just didn’t look finished.
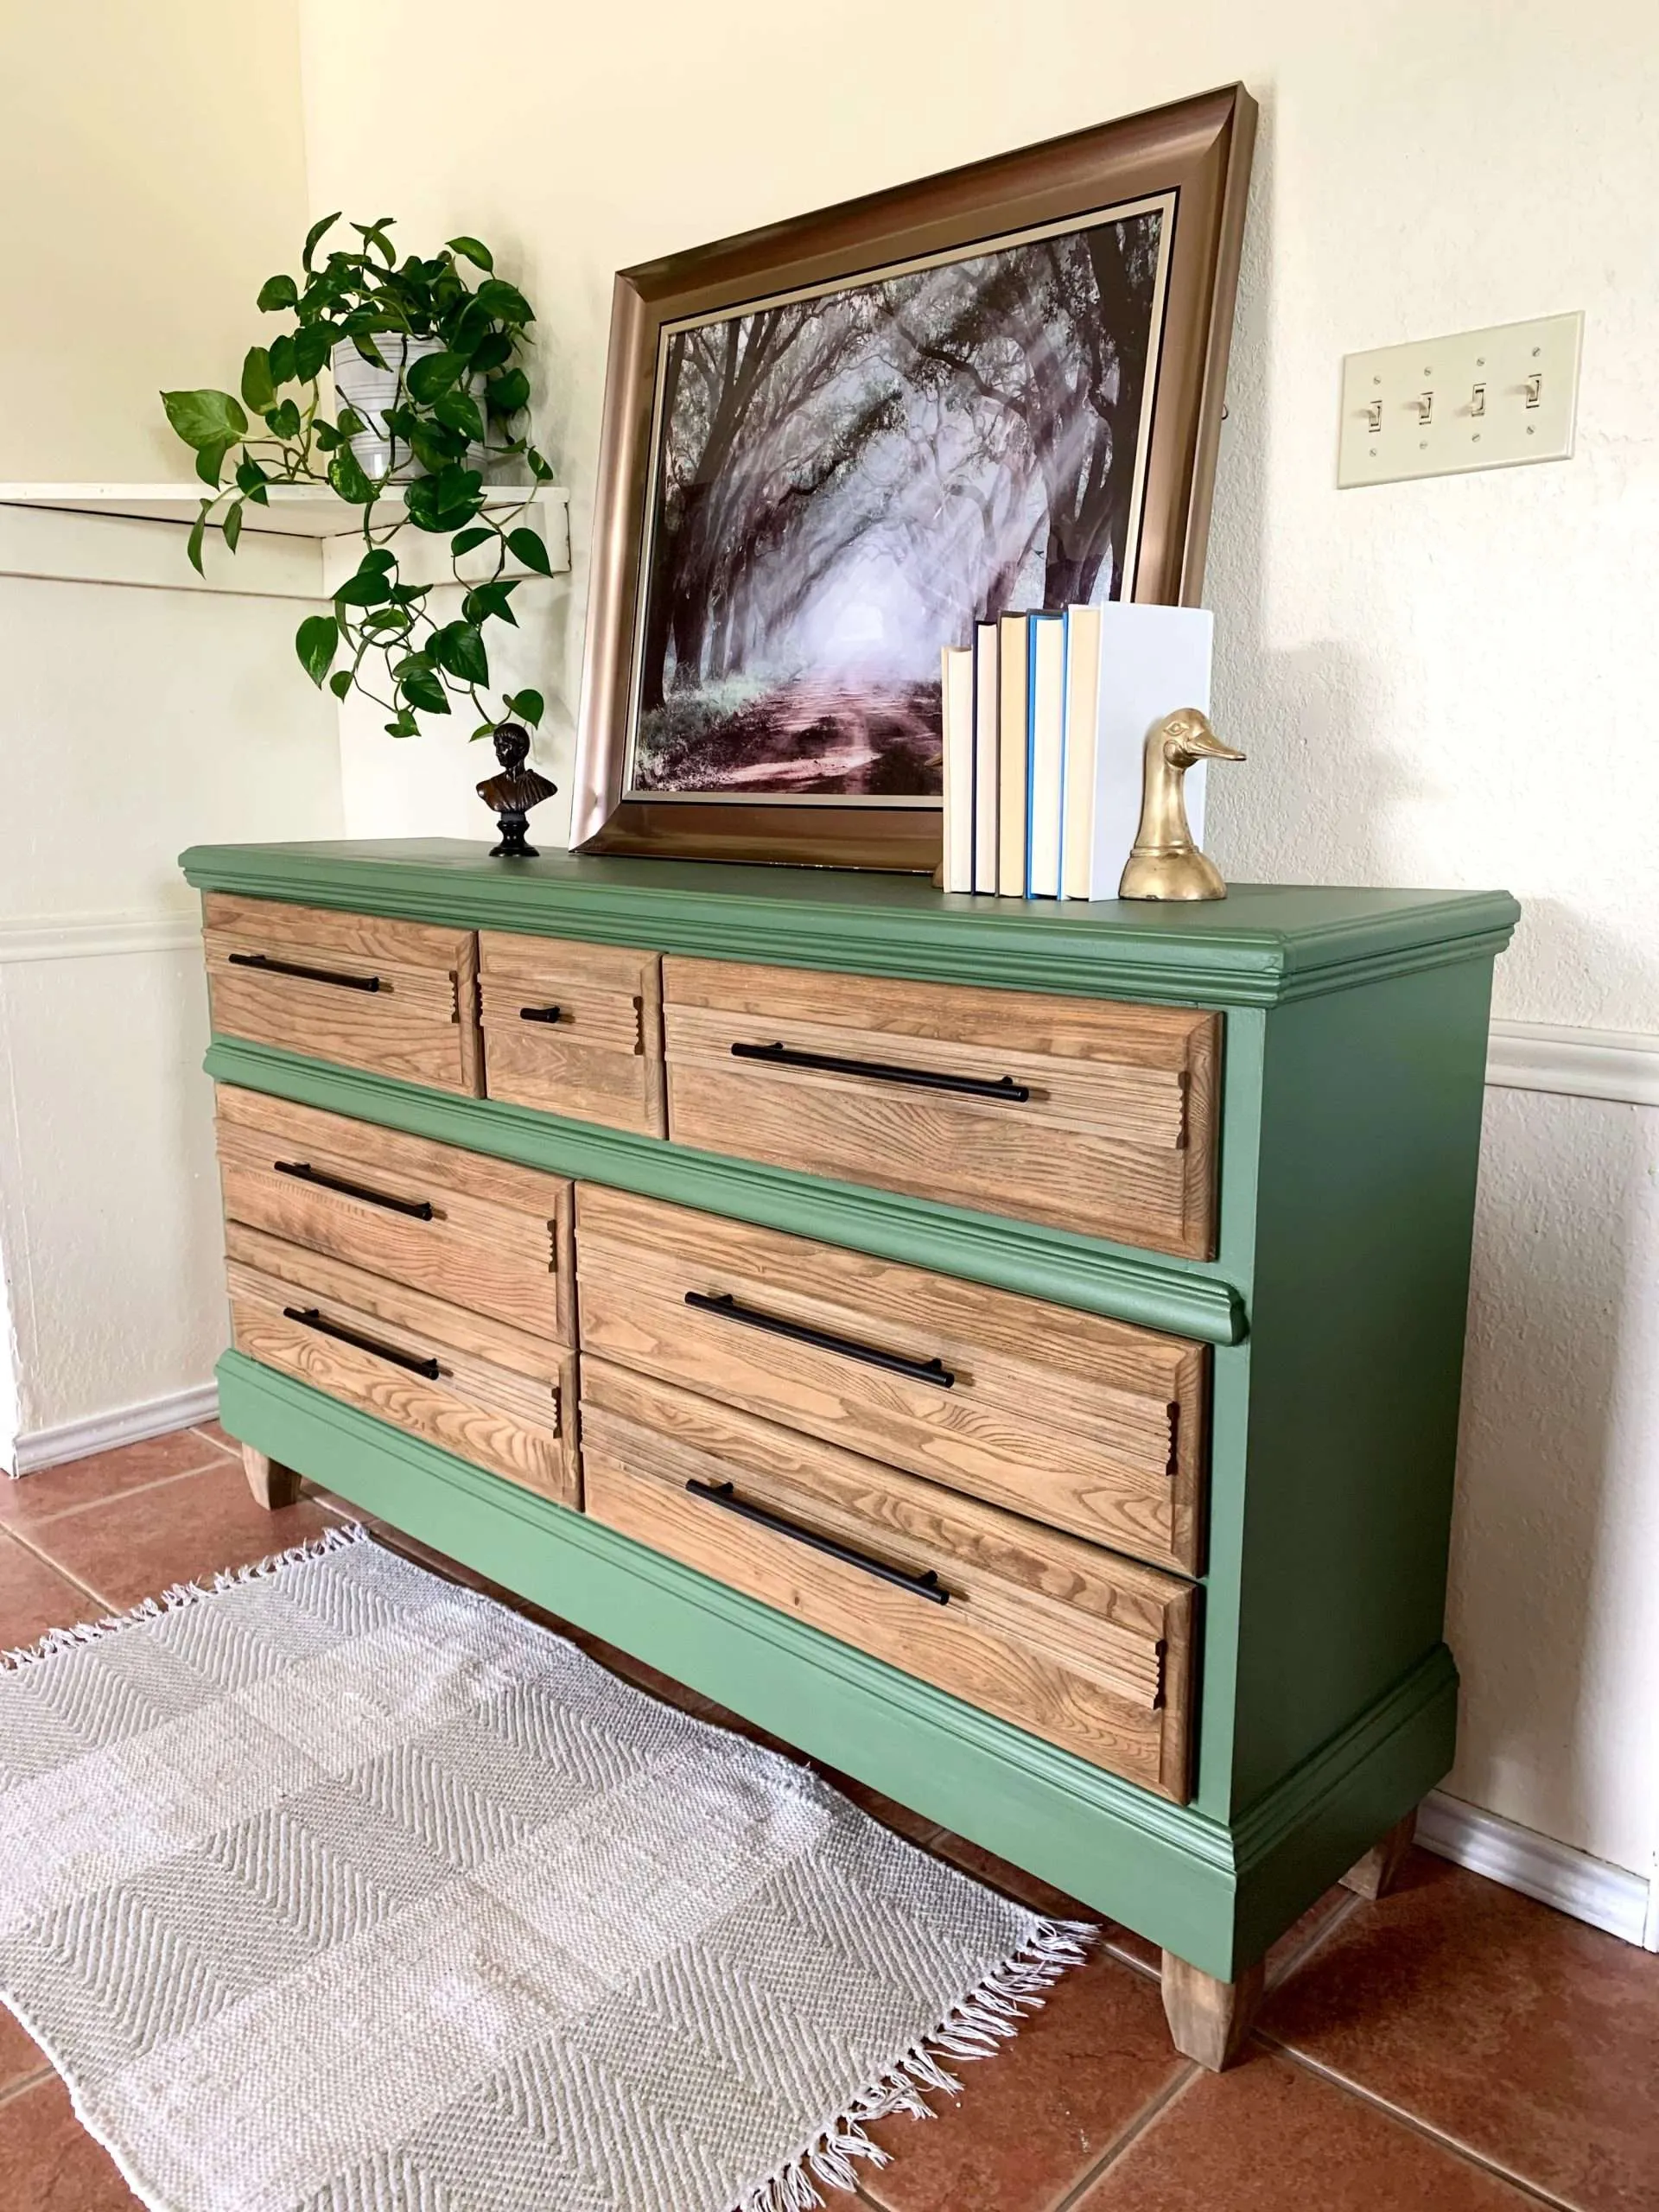
We decided to add legs and it made all the difference in the world. Not only did the dresser sit an extra 3-4 inches higher, but it looks so much better with legs.
We stained the wooden legs to match the drawers.
The legs we bought at our local hardware store (HomeBase) were too expensive in my opinion. The legs themselves were $8 each, but the hardware to install them was sold separately and cost an extra $5 each. You can order 4 legs with the hardware included from Amazon and it’s more affordable.
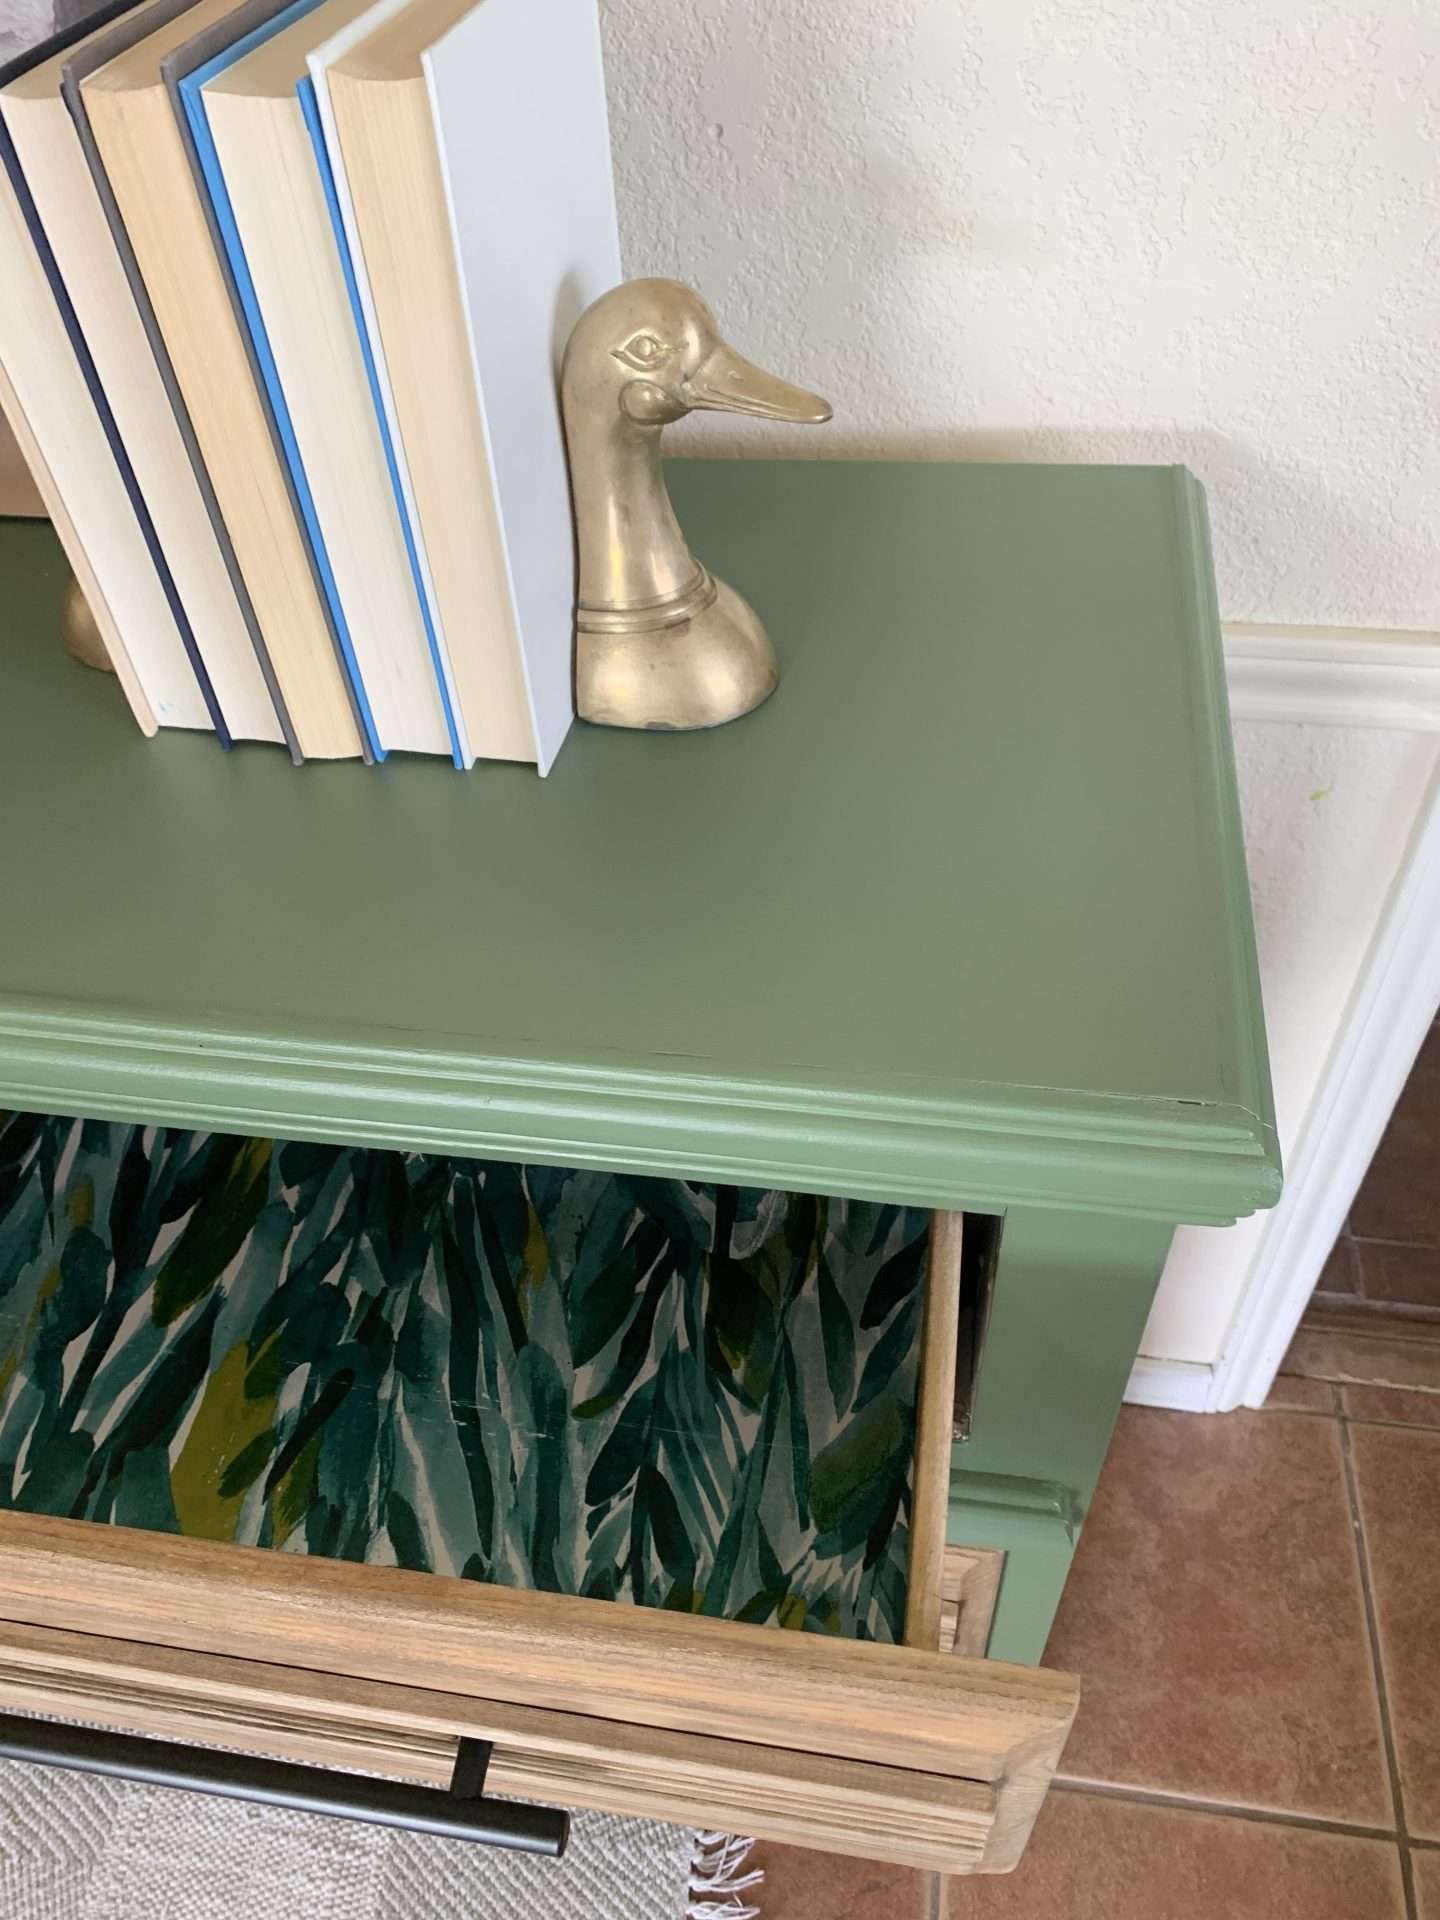
Step 8: Add Drawer Liner
Since we already had more time and money in this dresser than I originally intended, I thought, “Why not just give it an extra touch?”
I had leftover peel and stick wallpaper from another project that I added to the bottoms of the dresser drawers.
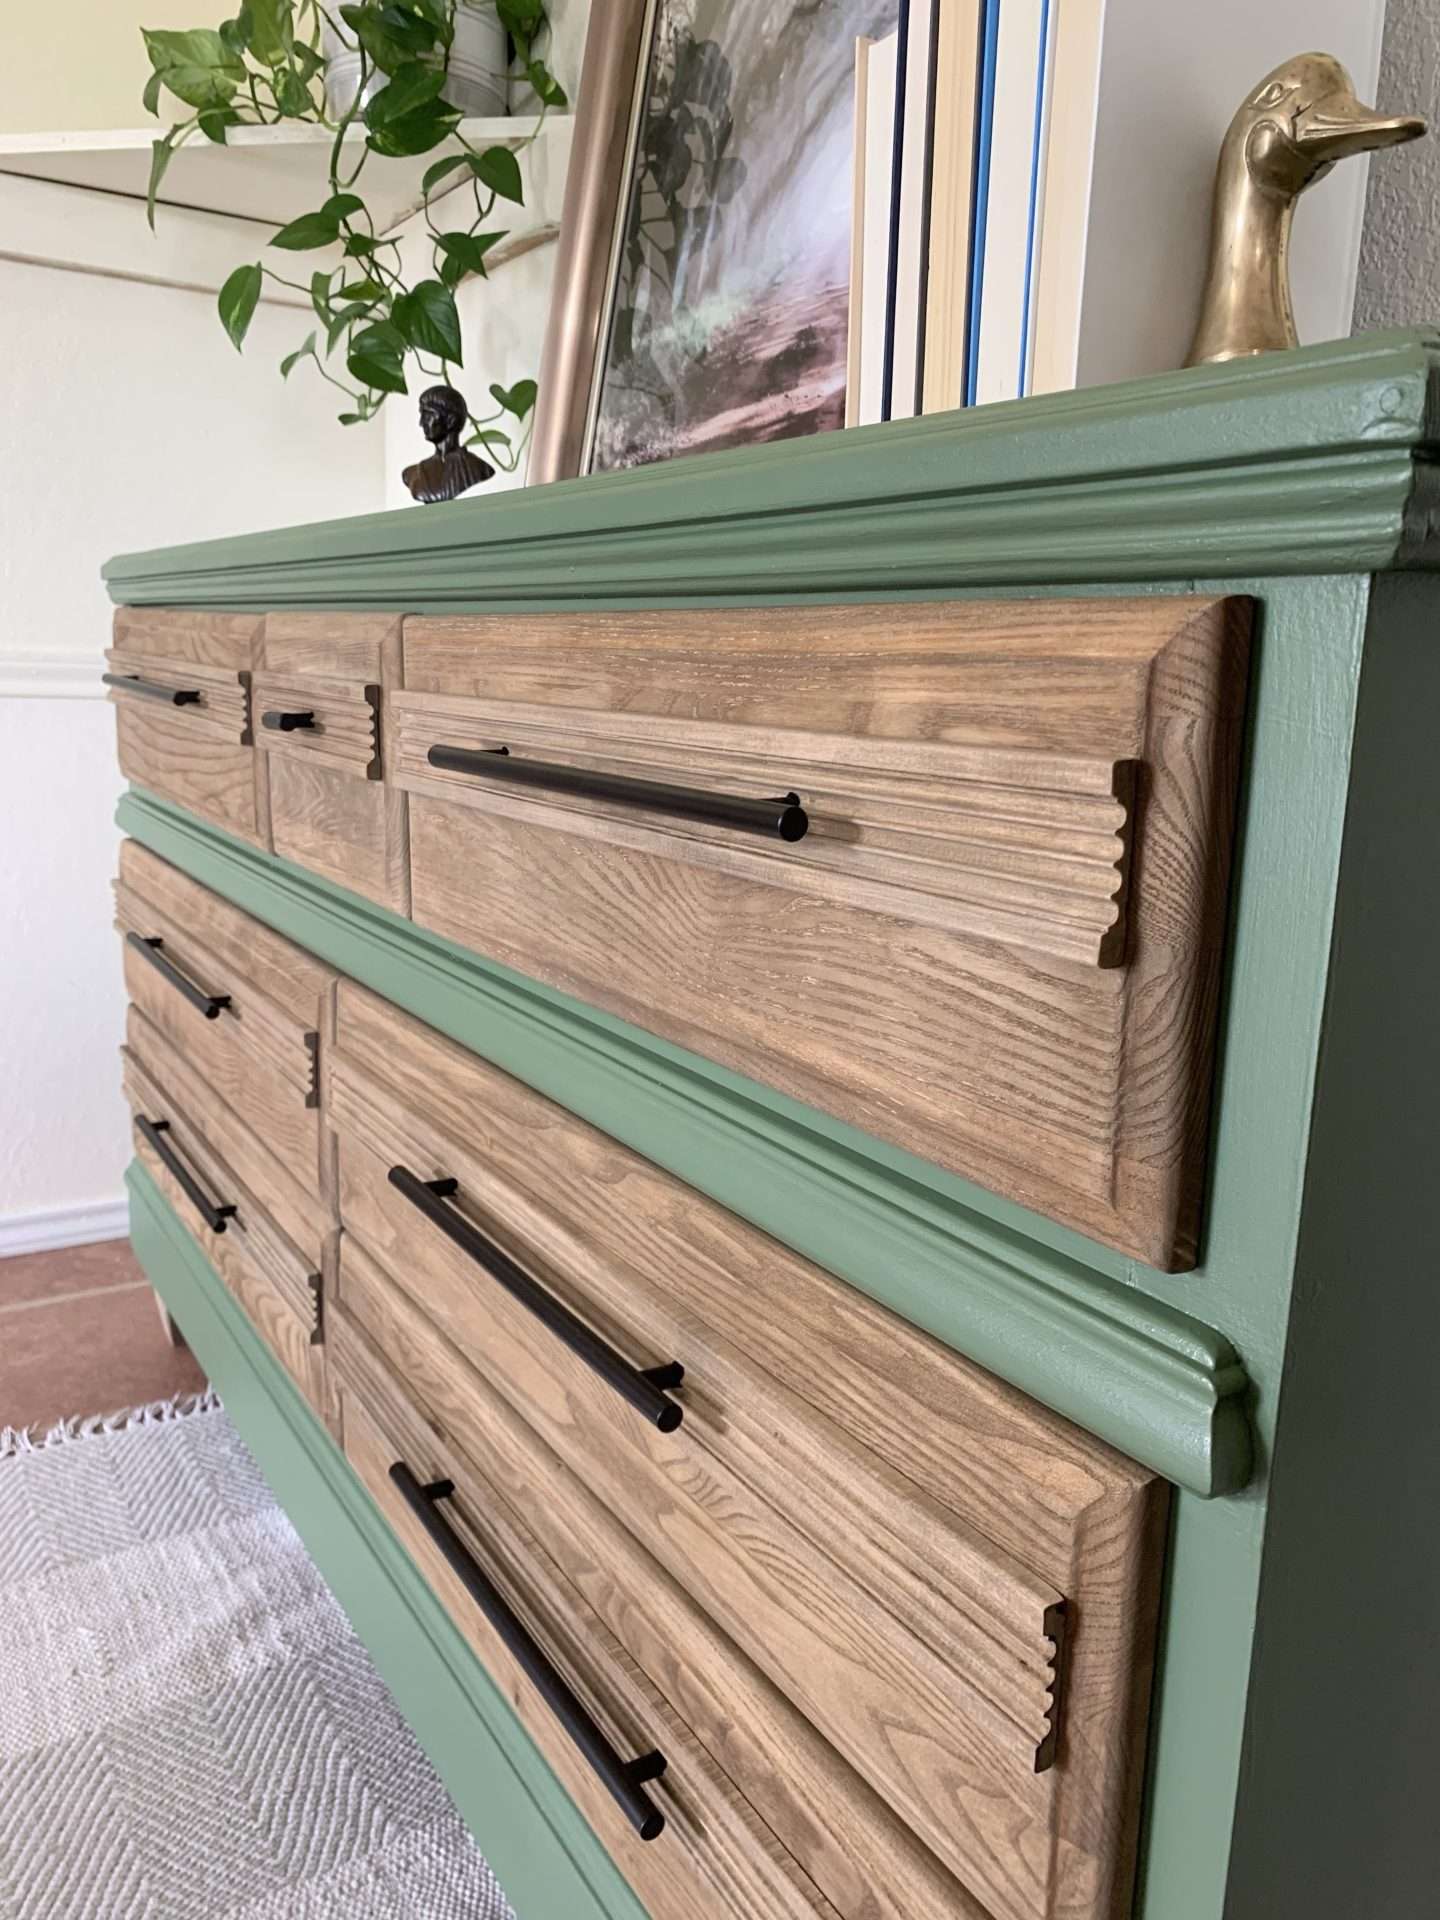
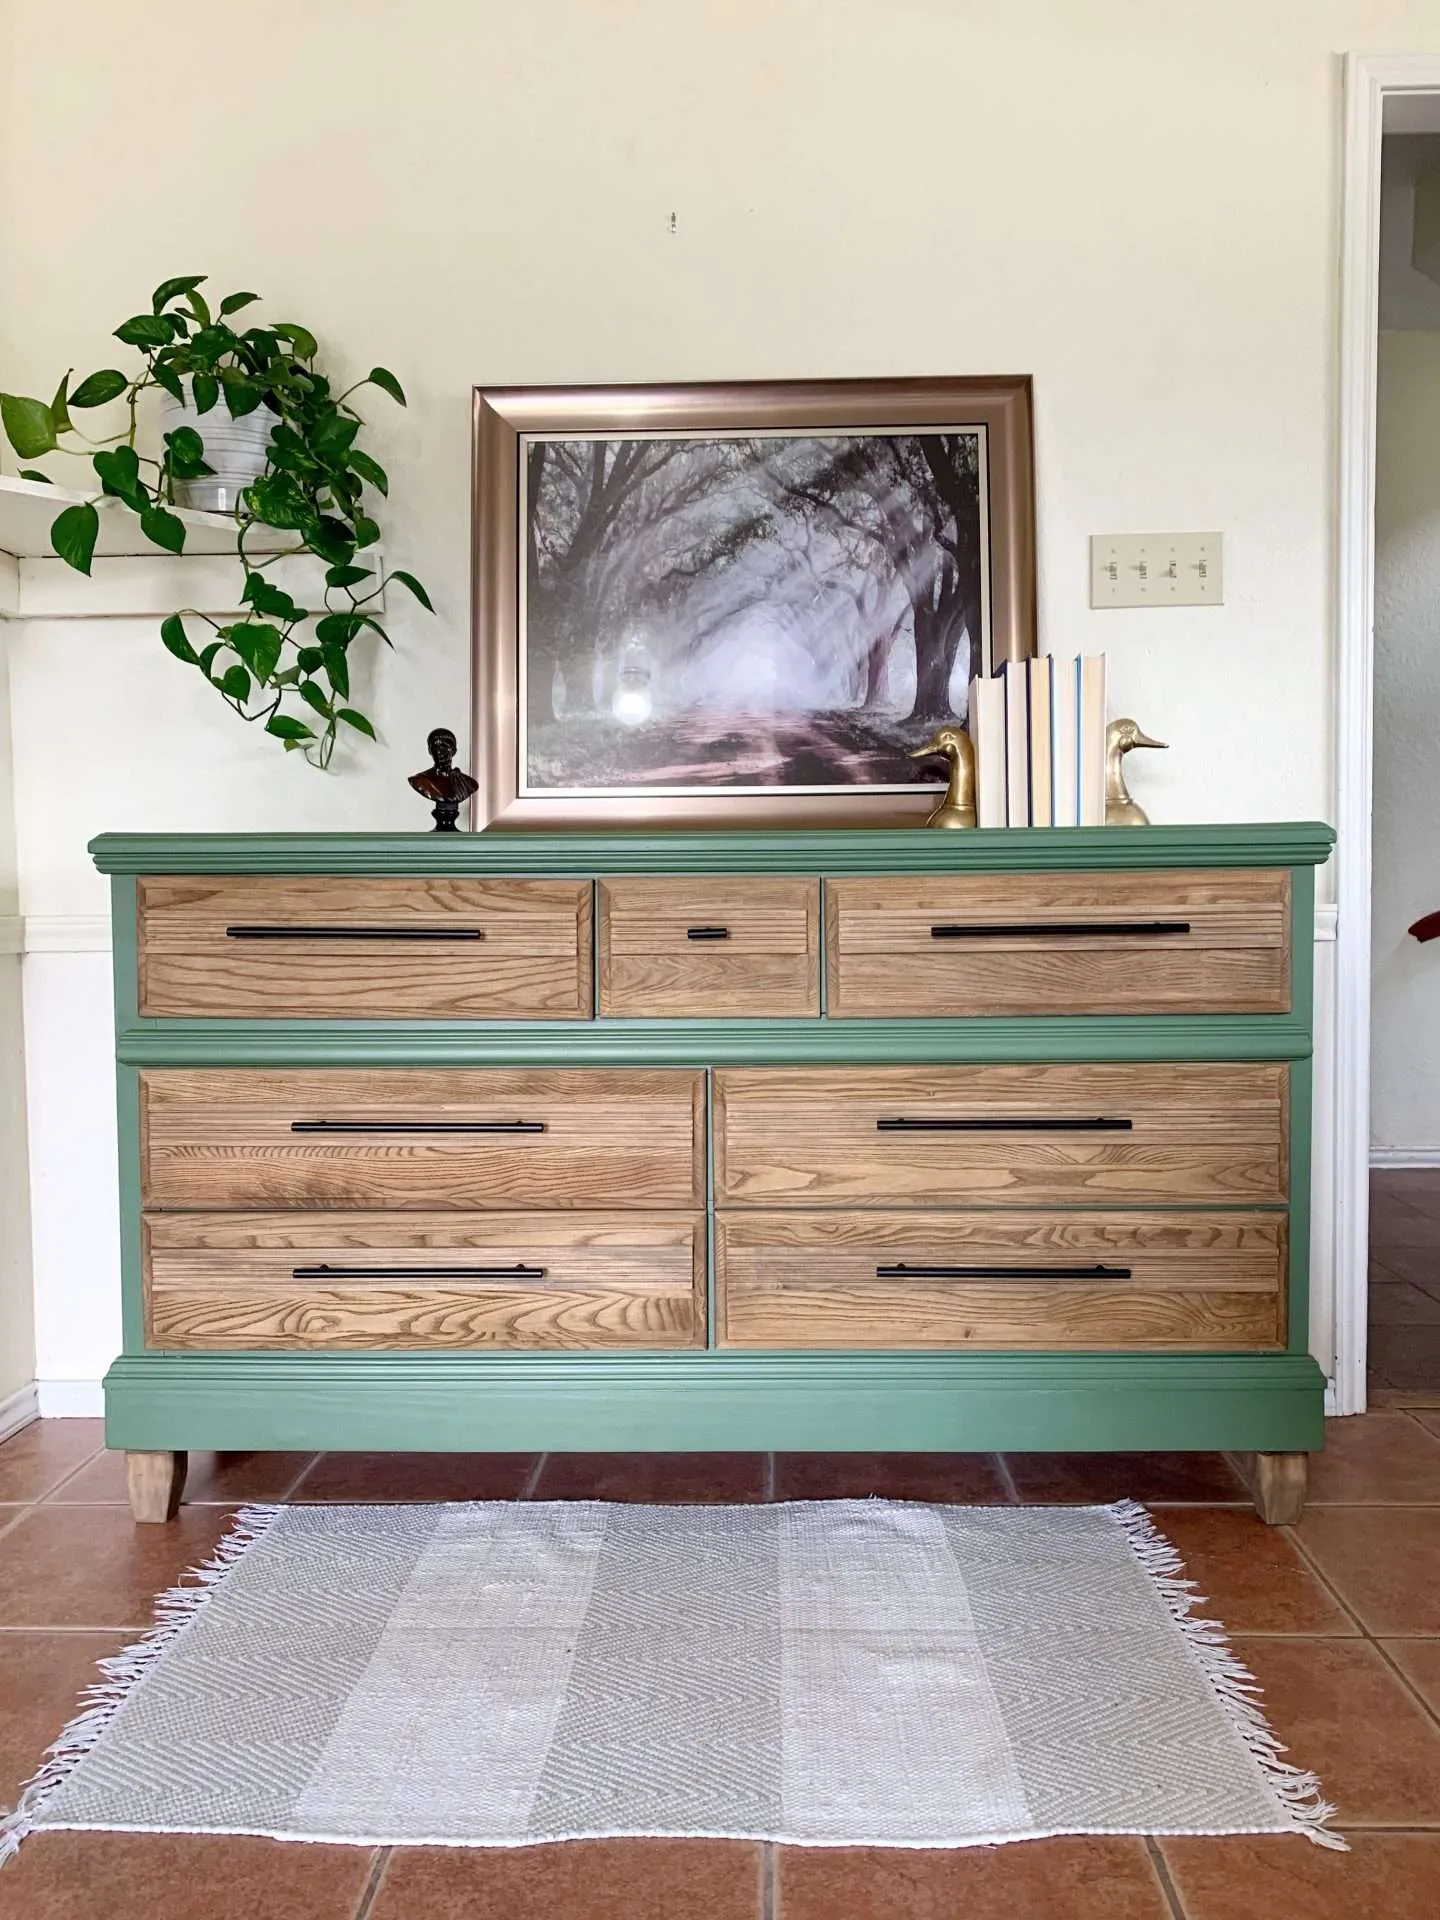
Step 9: Take Pictures and Post For Sale
After several days of work, we were FINALLY finished with this dresser.
I staged the dresser with some decor items from around my house and posted it on Facebook Marketplace for $400.
Unfortunately, the only people to contact me about the dresser were scammers until I lowered the price. Two days after lowering the price to $300, a real person contacted me and negotiated a deal for $275.

The Expenses:
- dresser cost – $25
- trim – $30
- handles – $34
- legs – $52
- Total – $141
That leaves us a profit of only $134.
This flip was definitely a learning experience for us. Had we painted the drawer faces or opted for handles that fit the original holes that were drilled would would have saved $30 on the wooden trim. And if we had ordered the legs from Amazon, we would have saved another $30, making our profit closer to $200.
Also, I could have held out for a higher offer. But I figure the way the economy is heading right now, it’s better to be safe than sorry. Plus, I’m ready to move onto the next project since this one took longer than expected.
I hope you check back here or my Instagram to see what we flip next!