[Disclaimer: Finding Mandee is reader-supported, if you purchase through links on my site I may earn an affiliate commission at no additional cost to you. As an Amazon Associate, I earn from qualifying purchases.]
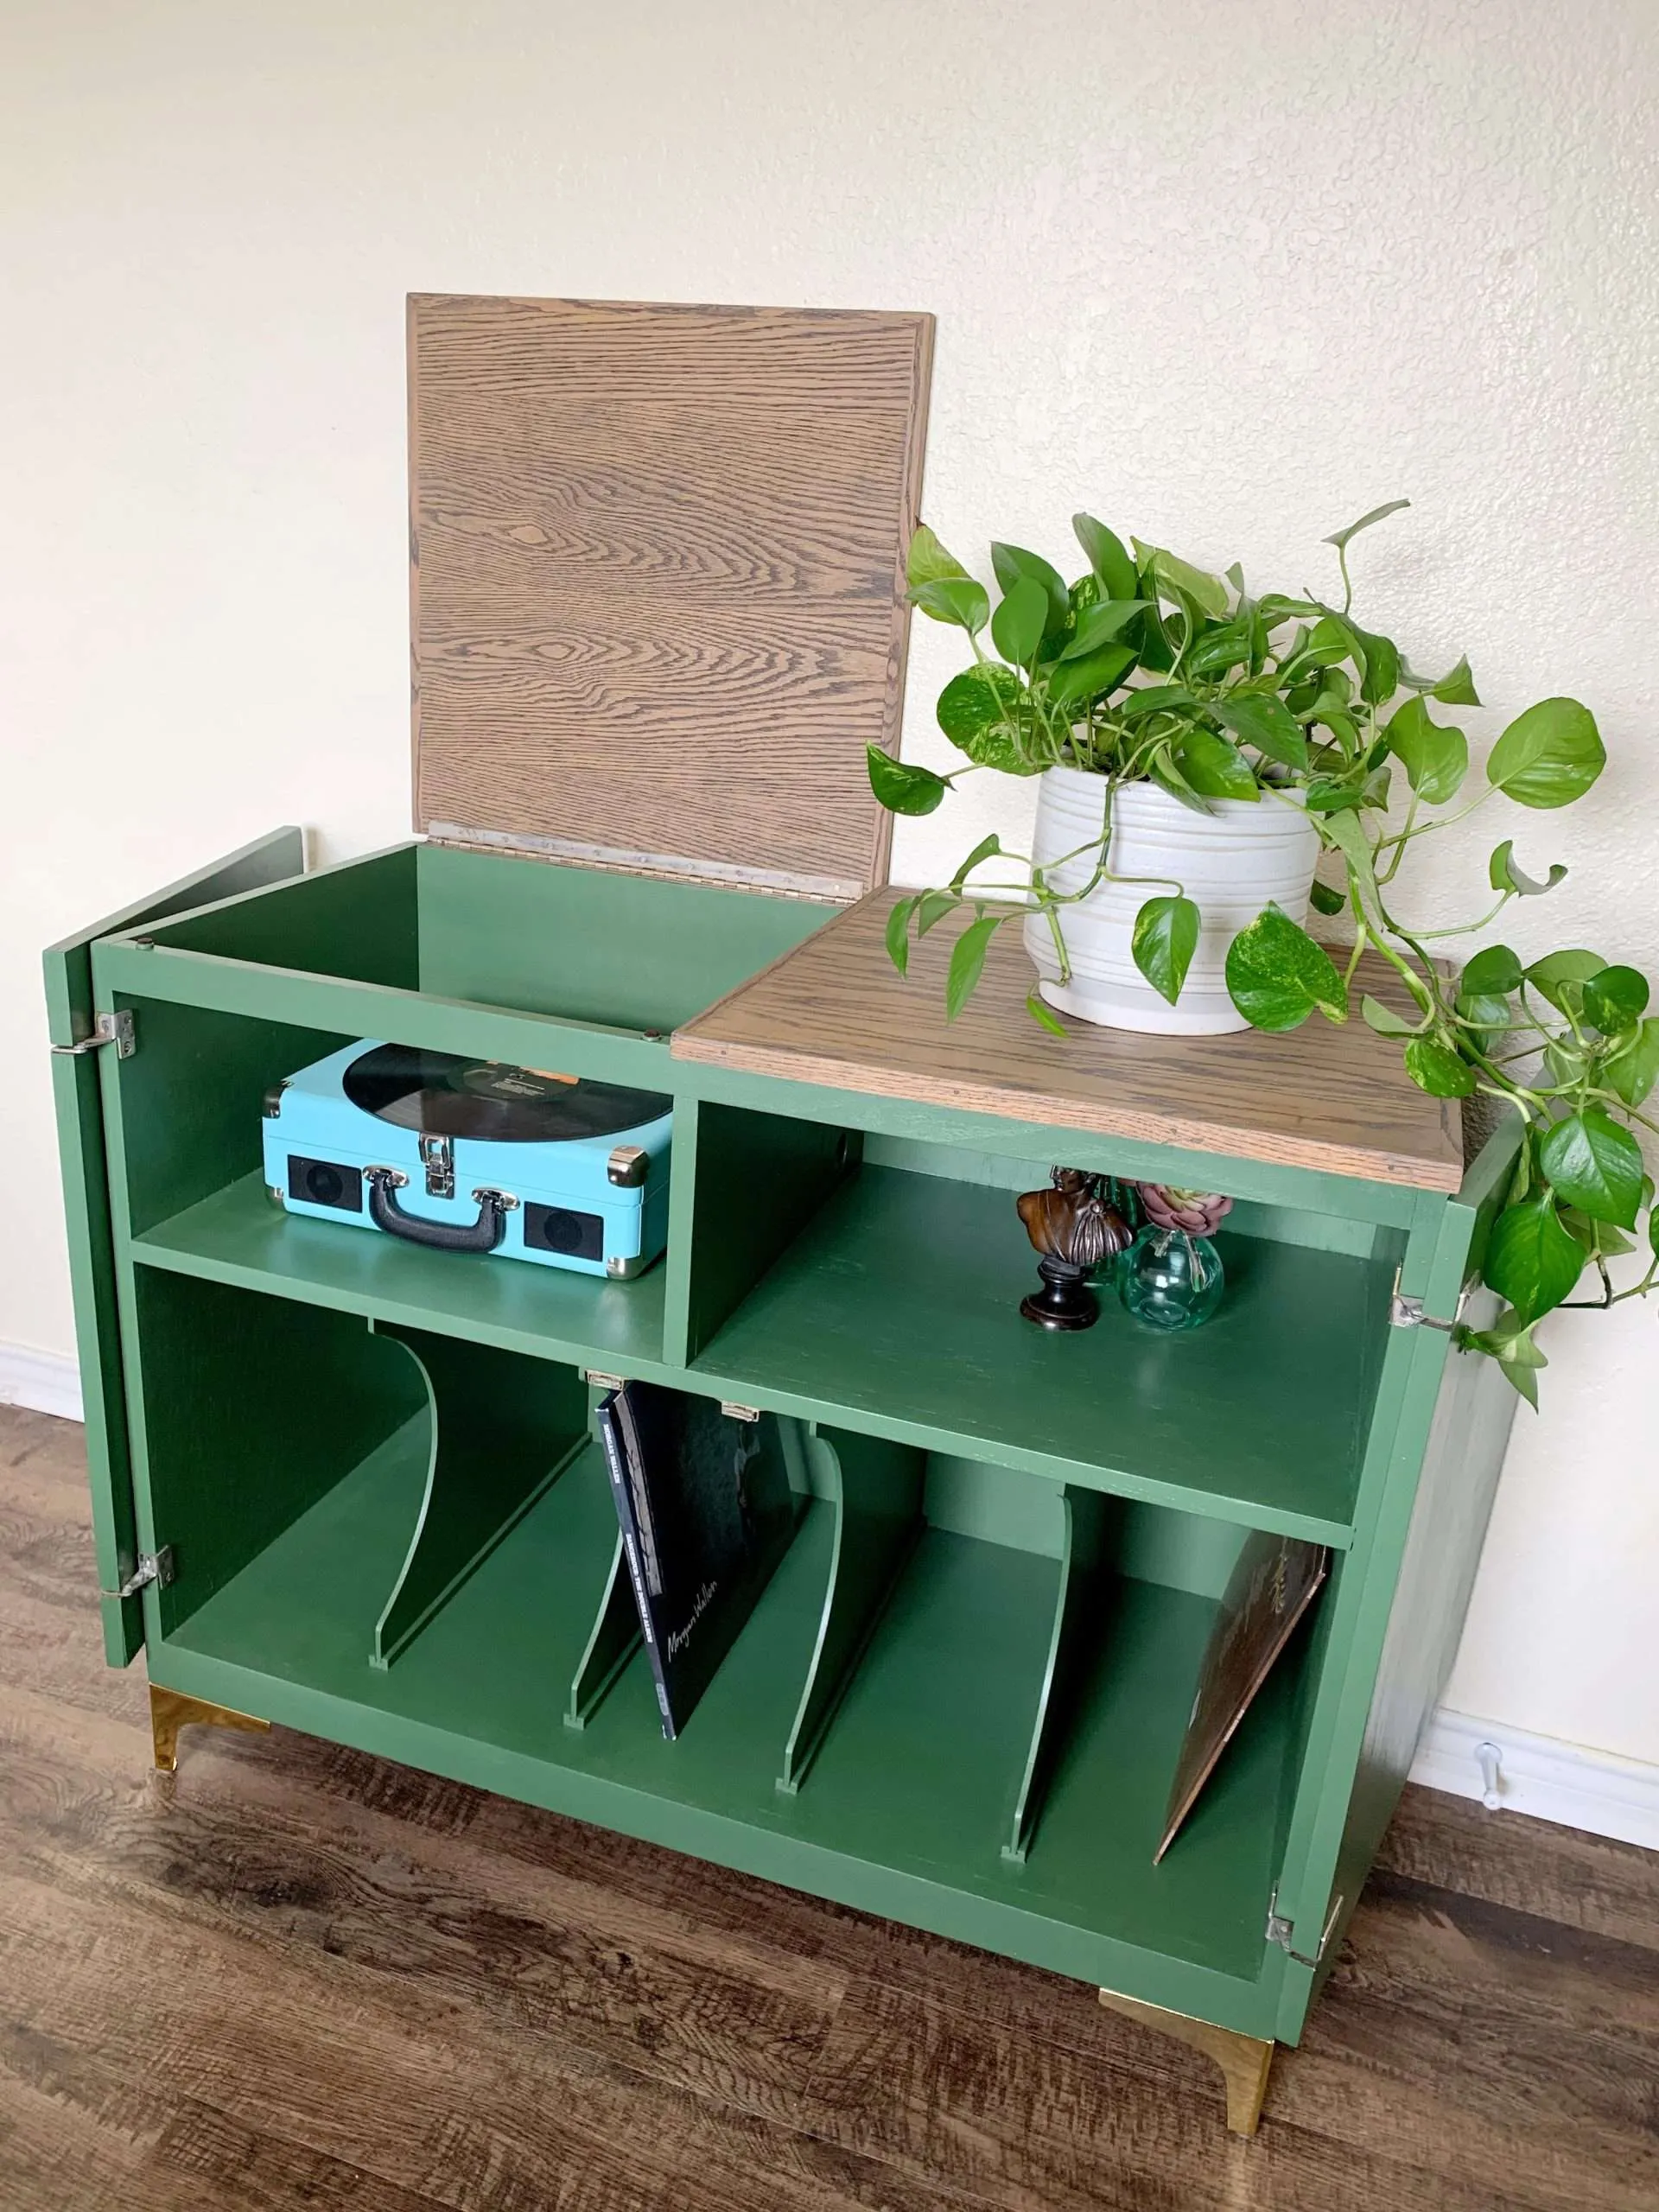
When I saw this vintage record player cabinet for $20 on Facebook Marketplace, I knew I had to have it!
And I don’t own a single record, ha!
I’ve been tossing around the idea of flipping furniture for profit for years, but I just haven’t worked up the courage to do it. I have plenty of experience with projects in my own house, like our dresser-turned-buffet, antique entryway table, the cowboy bed, and antique hardware cabinet.
For $20, I thought this would be a good project to try flipping. Plus, records have made a comeback in recent years, and hopefully, someone in our local area is looking for a way to store theirs!

Supplies:
- a vintage record player cabinet
- old rags
- screwdriver
- orbital sander
- sanding nets
- wood filler
- putty knife
- paint (I used Behr Stain-Blocking Paint & Primer in the color ‘Trailing Vine’)
- paint roller
- paint brush
- legs
- handles
Step 1: Clean & Take Apart
Since the record player cabinet was covered in dust and spiderwebs, I started by giving everything a good wipe-down.
Then I took off the hardware and doors to make everything easier to access.
I tossed the old handles and cleaned the hinges with soap and water so that I could reuse them.
Dewalt Max Fit Telescoping Multi-Bit Ratcheting ScrewdriverSimpli-Magic 79101 Shop Towels, 14


Step 2: Sanding
This is perhaps the most tedious and time-consuming step, but arguably the most important.
Starting with 120-grit, I sanded the top pieces of the cabinet down to the bare wood, finishing with 320-grit to make sure everything was nice and smooth.
This was the first time I used sanding nets instead of the paper sanding discs that we normally buy. They are a little more expensive, but they last a LOT longer and work just as well, if not better.
Next, I sanded the rest of the cabinet with 120-grit, just enough to scuff it up so that the paint would stick.
After everything was sanded, I blew the dust off with the leaf blower and gave the record player cabinet another good wipe-down.


Step 3: Repair Wood Veneer
There were a few damaged areas near the bottom of the cabinet where the wood veneer had peeled away.
Since I knew I was painting over it, I filled in the damaged parts with wood putty. I spread it as evenly as possible over the damaged areas and then sanded it smooth after it dried.
There was one area on the corner that took 2 layers of wood putty before it was even with the old veneer. Thankfully, it dries fast and I could finish both coats/layers in a day.

Gorilla All Purpose Wood Filler Wood Repair Kit with Putty Knife and Sanding BlockDEWALT Orbital Sander, 5-Inch (DWE6421)

Step 4: Paint & Stain
For the first time ever, I didn’t use a primer before painting.
Instead, I used Behr Premium Plus Ultra Stain-Blocking Paint & Primer In One from Home Depot. The color is Trailing Vine.
I used a mini paint roller for the whole project and a brush to get in the corners.
After 2 coats and a few touch-ups, the finish was nearly flawless. I couldn’t have been happier with how it turned out.
I felt like we needed to break up the green, so we stained the top of the cabinet with Minwax Wood Finish in the color Aged Barrel.

Mister Rui Paint Roller Kit, 8 Pack, 2 Inch Microfiber Paint Roller Covers (3/8Vermeer Paint Brushes 5-Pack Angle Brushes in Assorted Sizes for All Latex and Oil Paints & Stains – Home Improvement – Interior & Exterior Use


Step 5: Put Back Together & Add New Hardware
It was finally time to put the record player cabinet back together!
After sliding the dividers back into their slots, we re-attached the top and the doors.
Then we added the new gold handles and gold legs. I have seen these used by several furniture flippers on Instagram and they were perfect for this piece.
Adding legs to the cabinet made a huge difference. In my opinion, getting the cabinet up off the ground makes it look more expensive. And the simple gold handles make it look more modern than the outdated ones that were on it before.


4 inch Metal Furniture Legs, La Vane Set of 4 Modern Iron Diamond Triangle Furniture Feet DIY Replacement Gold for Cabinet Cupboard Sofa Couch Chair Ottomangoldenwarm 2 Pack 4in Cabinet Pulls Kitchen Cabinet Handles – LS201GD102 Brushed Brass Cabinet Door Handle Bathroom Drawer Pulls Handles for Drawers


Step 6: Take Pictures and Post for Sale
Since this is the first piece we are attempting to flip, we staged the record player cabinet and took pictures of it.
Then I posted it for sale on Facebook Marketplace for $250.


Now, fingers crossed that it actually sells! I’ll update this post if/when someone buys it and I’ll let you know the profit.
So far, the expenses are:
- record player cabinet – $20
- paint – $17
- legs – $20
- handles – $7
- Total – $64
I wish more furniture flippers were open about their expenses and profits. So, I’m going to try to be as transparent as possible.
Wish us luck that it sells fast!
**Update** After 10-ish days on Facebook Marketplace, the record player cabinet sold for $200. That left us with a profit of $136. It’s not a huge profit, but I’m happy with it, especially for a first-time flip.


