[Disclaimer: Finding Mandee is reader-supported, if you purchase through links on my site I may earn an affiliate commission at no additional cost to you. As an Amazon Associate, I earn from qualifying purchases.]
After 3 years of searching every flea market, thrift store, yard, and estate sale, I FINALLY found a vintage metal glider!
To be fair, I had come across several vintage metal gliders, but they were all too expensive. The already refurbished ones were selling for $1200-1400 and the rusty ones were still going for $400-600. Which was wayyy more than I was willing to spend.
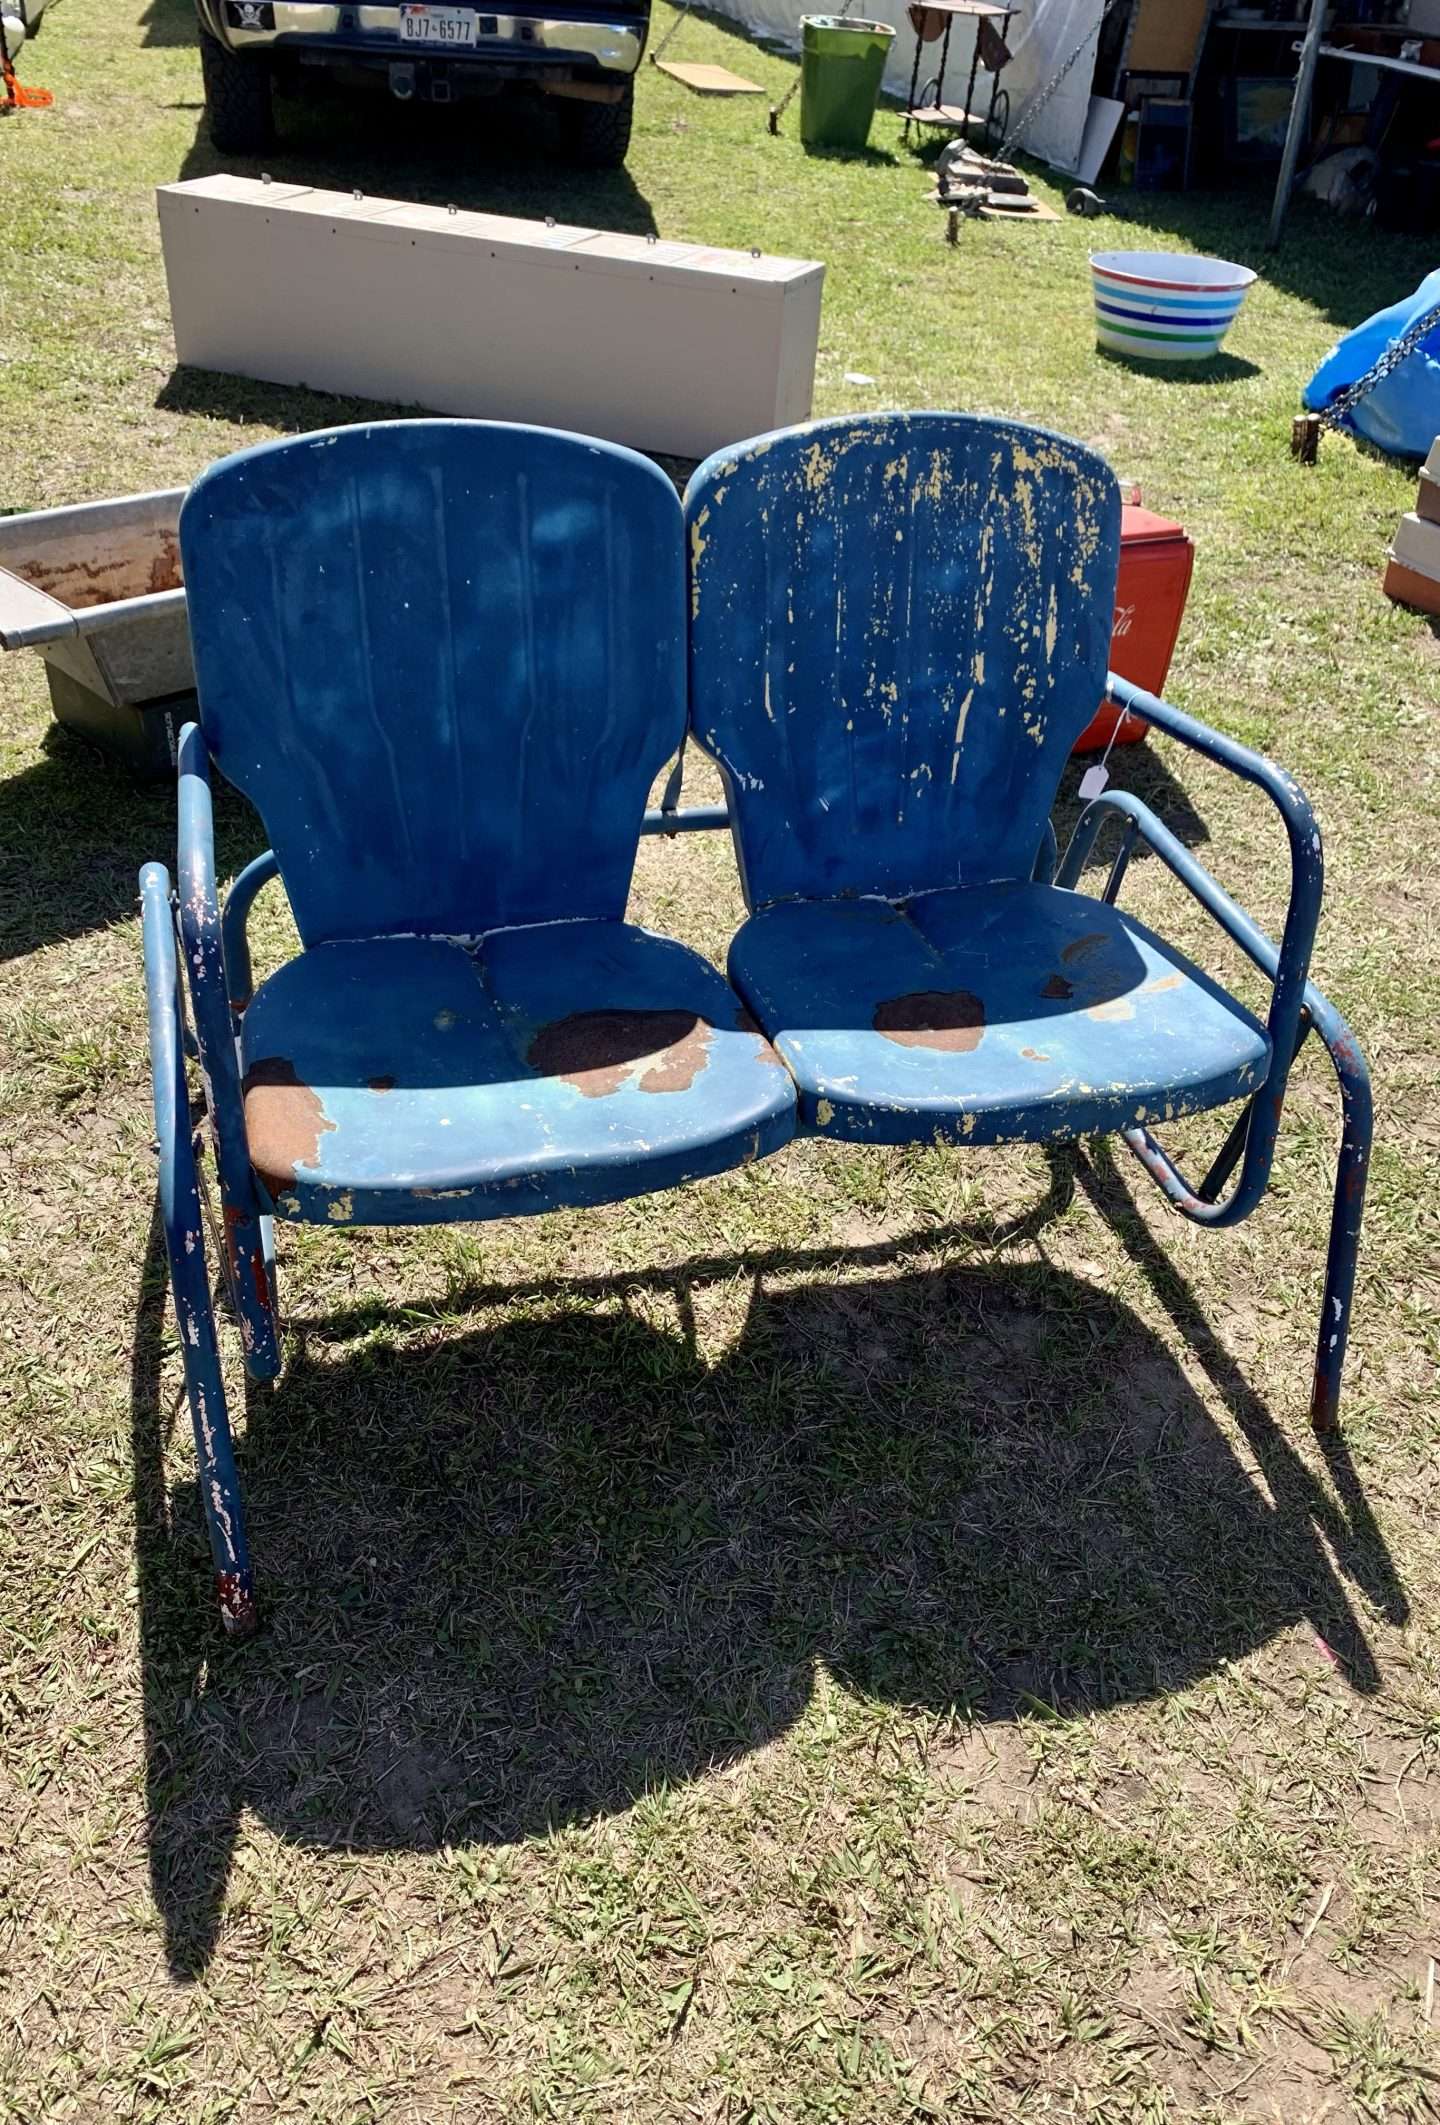
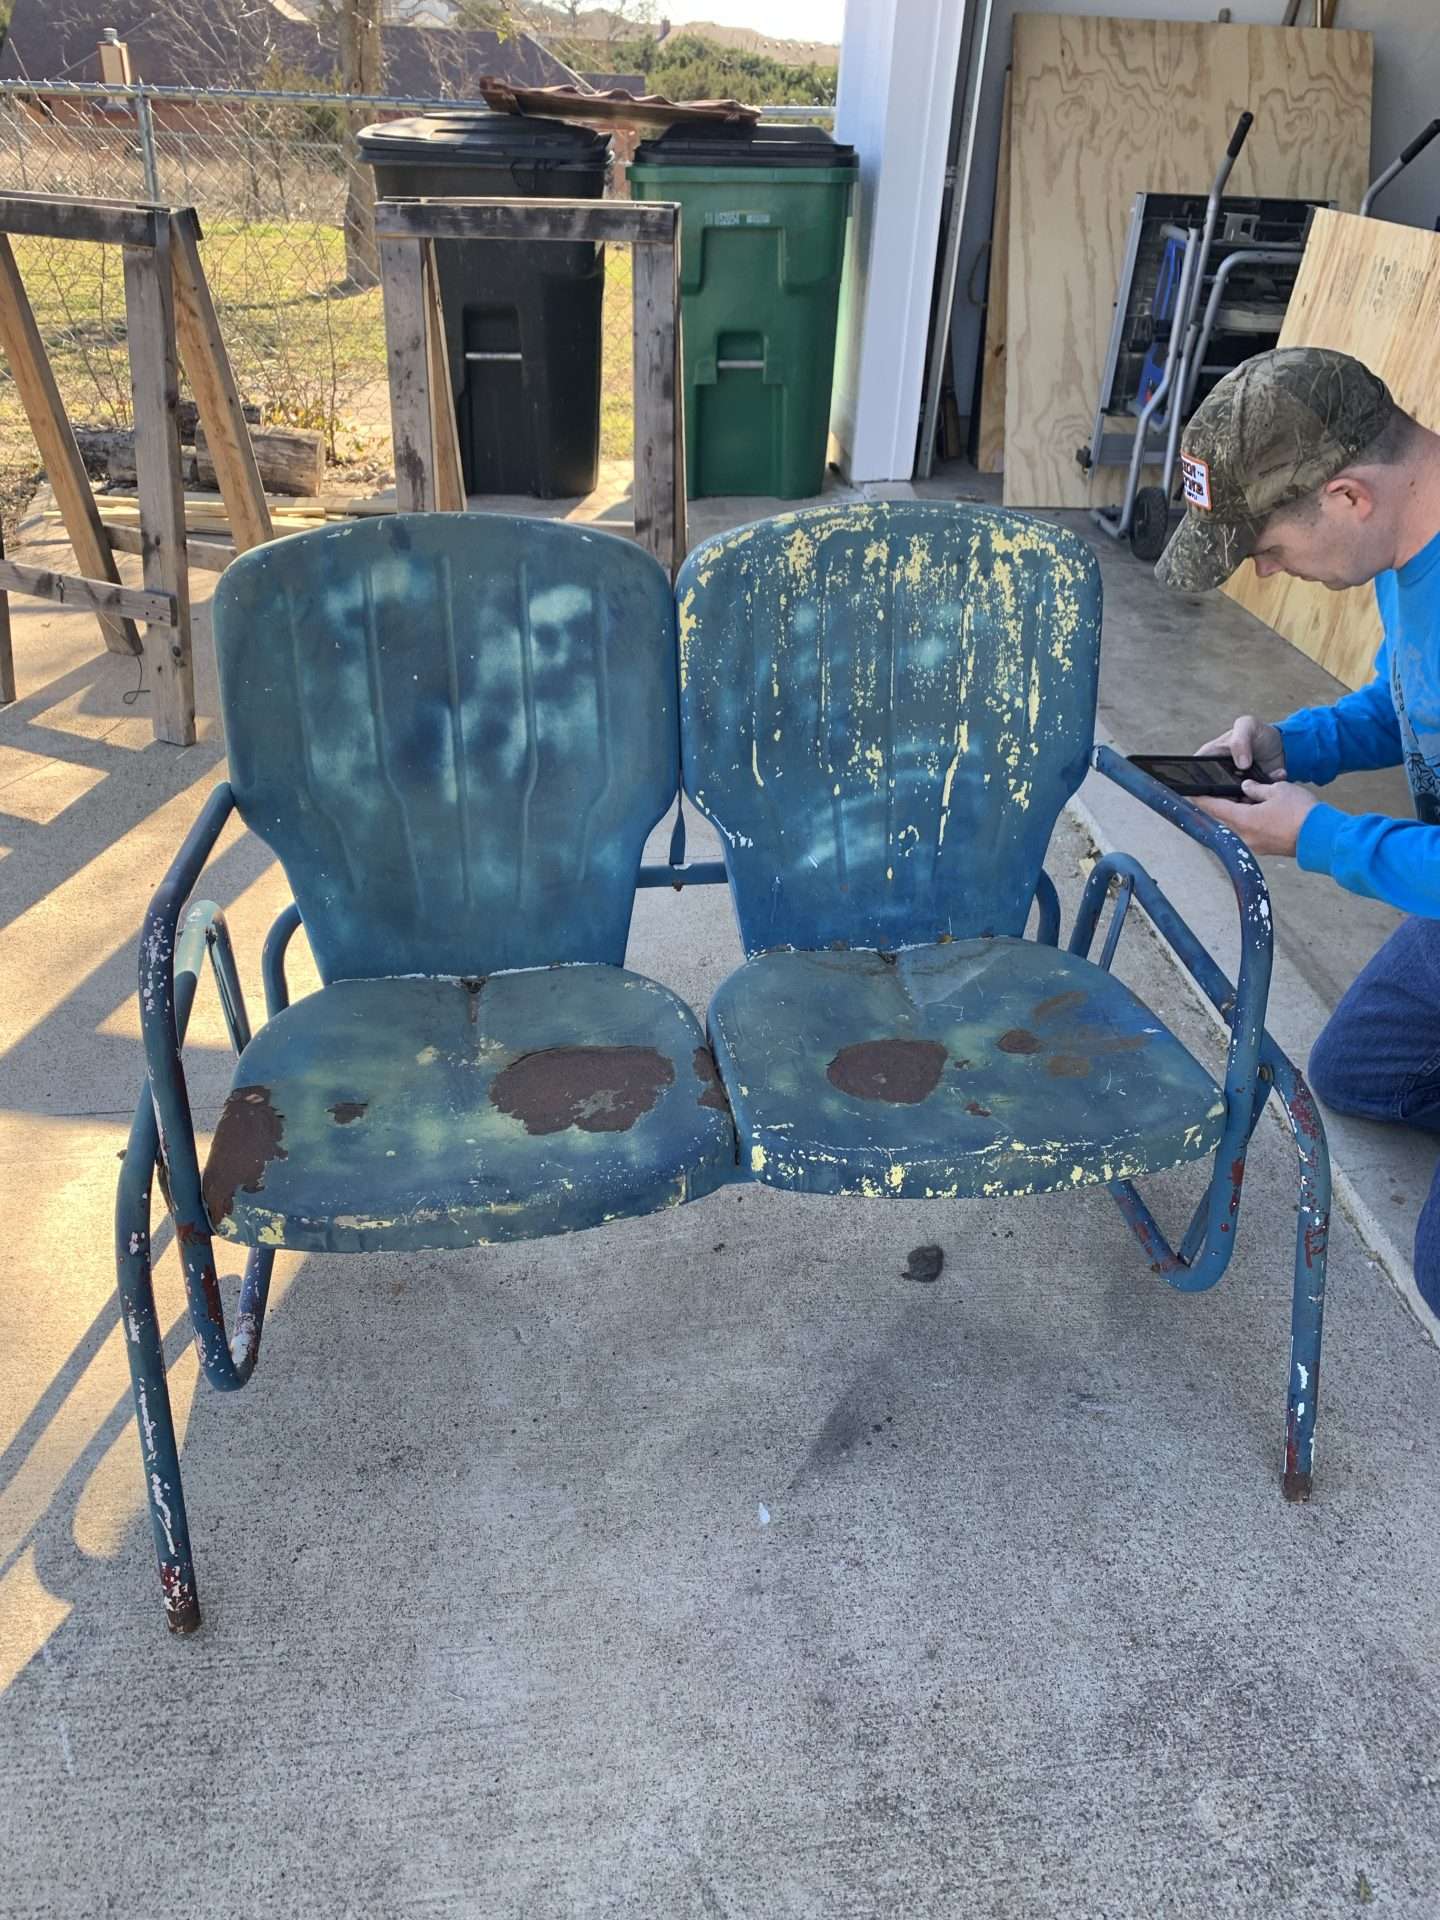
I brought home this rusty blue contraption from a trip to the Round Top Antique Show for $150. (Technically, it came from the fields of Warrenton, since that’s the most affordable place to shop.)
While $150 was more than I wanted to spend, it was clear that I wouldn’t find another one this cheap for a long time. And I desperately wanted it to match the vintage motel chairs and metal bar cart on our back porch.
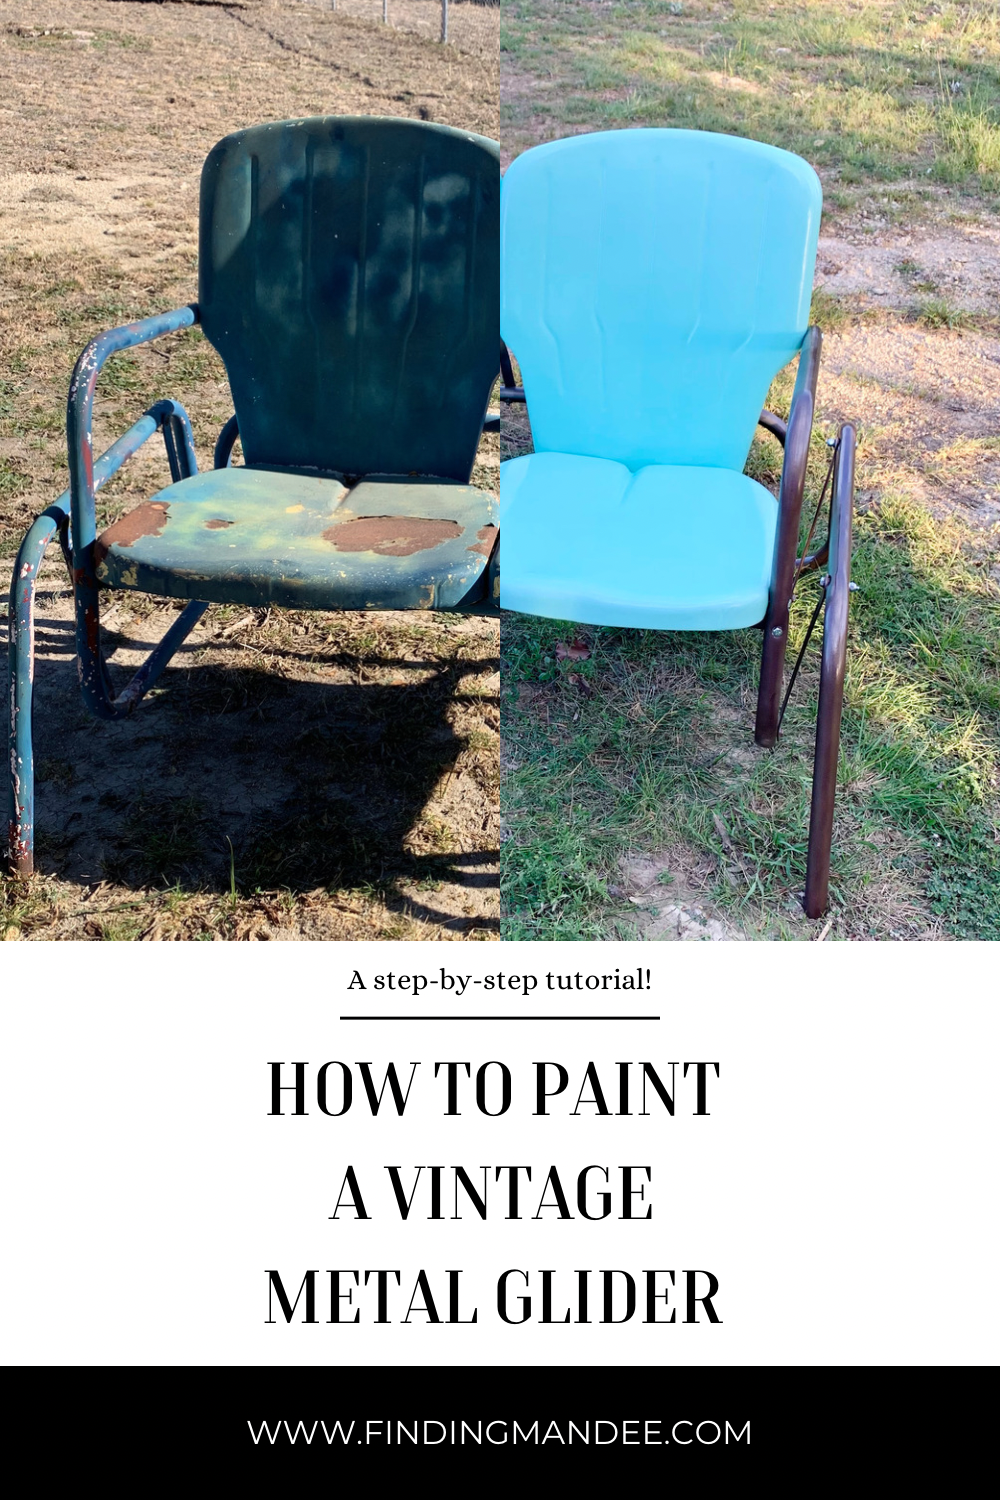
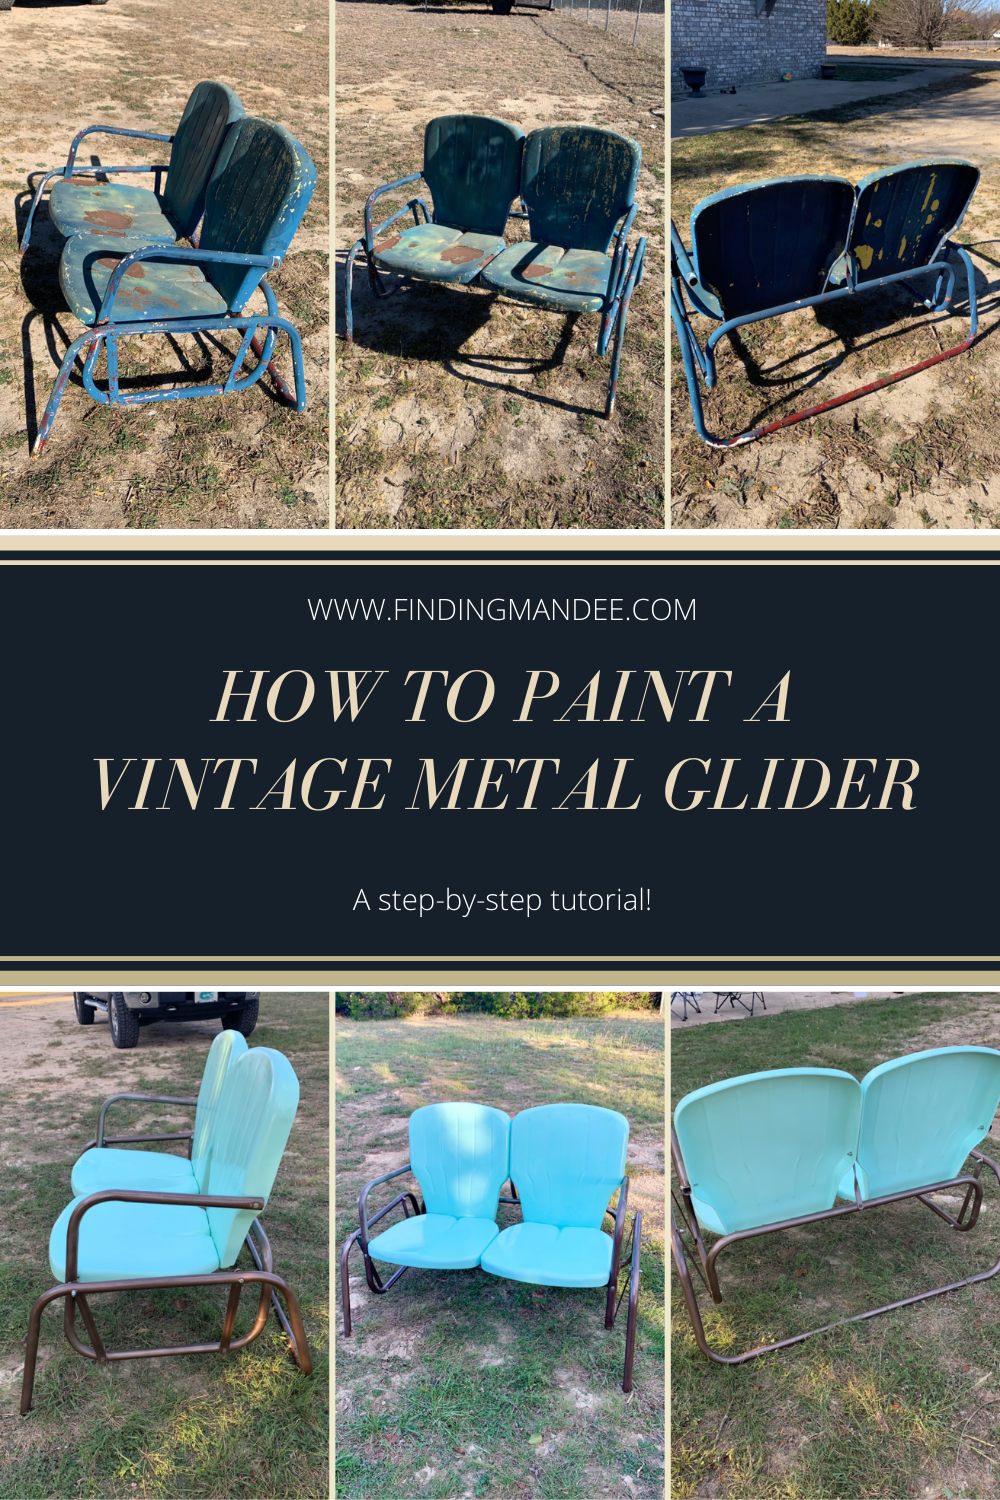
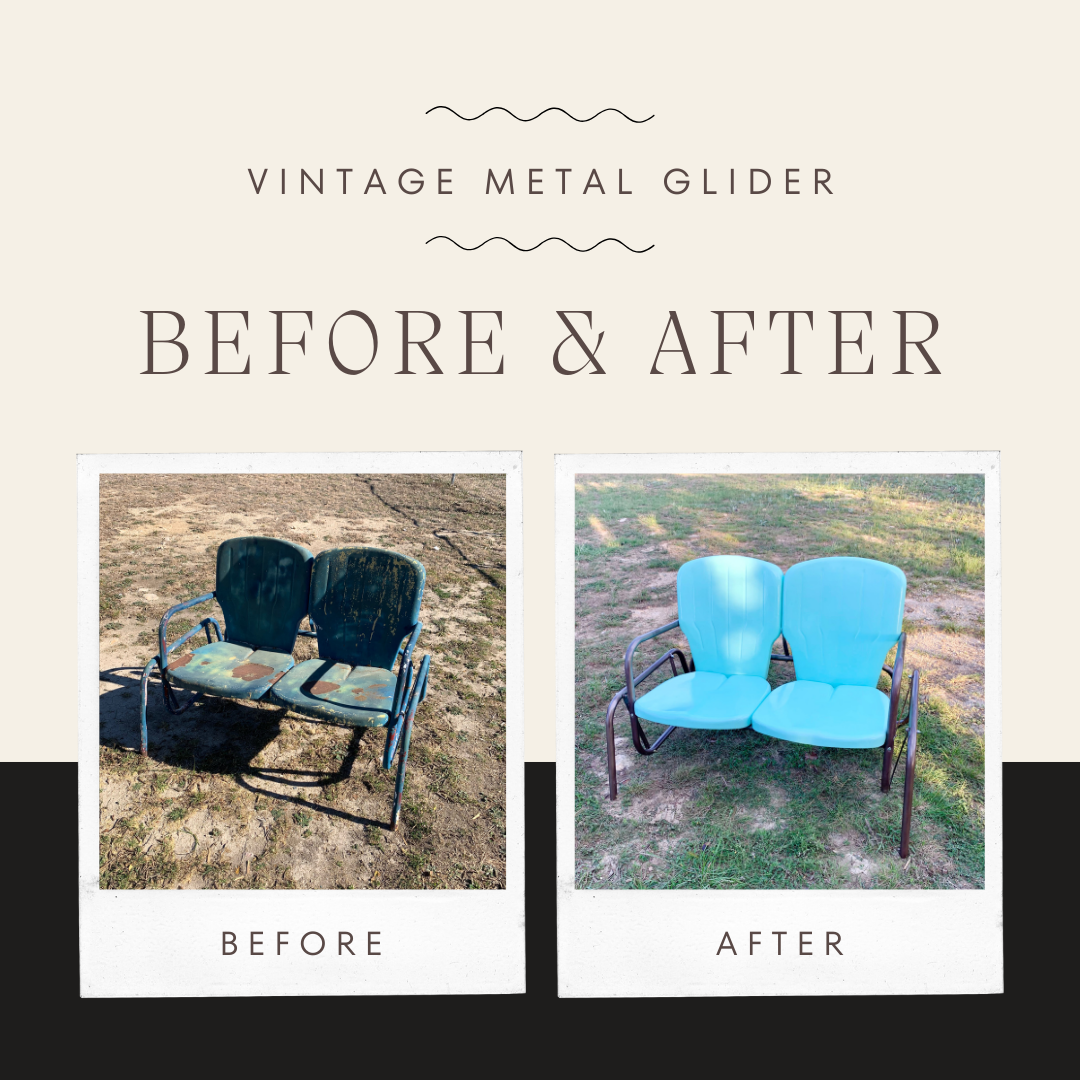
Here’s how we turned this rusty metal glider into a vintage beauty.

The Supplies
- screwdriver
- angle grinder
- cutting wheel
- Peel Away 1 Paint Remover
- cling wrap
- pressure washer
- orbital sander
- sanding nets (80-grit)
- paint stripping wheels for angle grinder
- Bondo All-Purpose Putty
- spray foam
- Rustoleum Universal Bonding primer
- paint for seats (I used Rustoleum’s Ocean Mist)
- paint for legs (I used Rustoleum’s hammered brown)
- new bolts, nuts, and washers
Crosley Furniture CO1032-TU Ridgeland Retro Outdoor Metal Loveseat Glider, Turquoise GlossCrosley Furniture CO1023-TU Bates Retro Metal Outdoor Sofa Glider, Turquoise Gloss


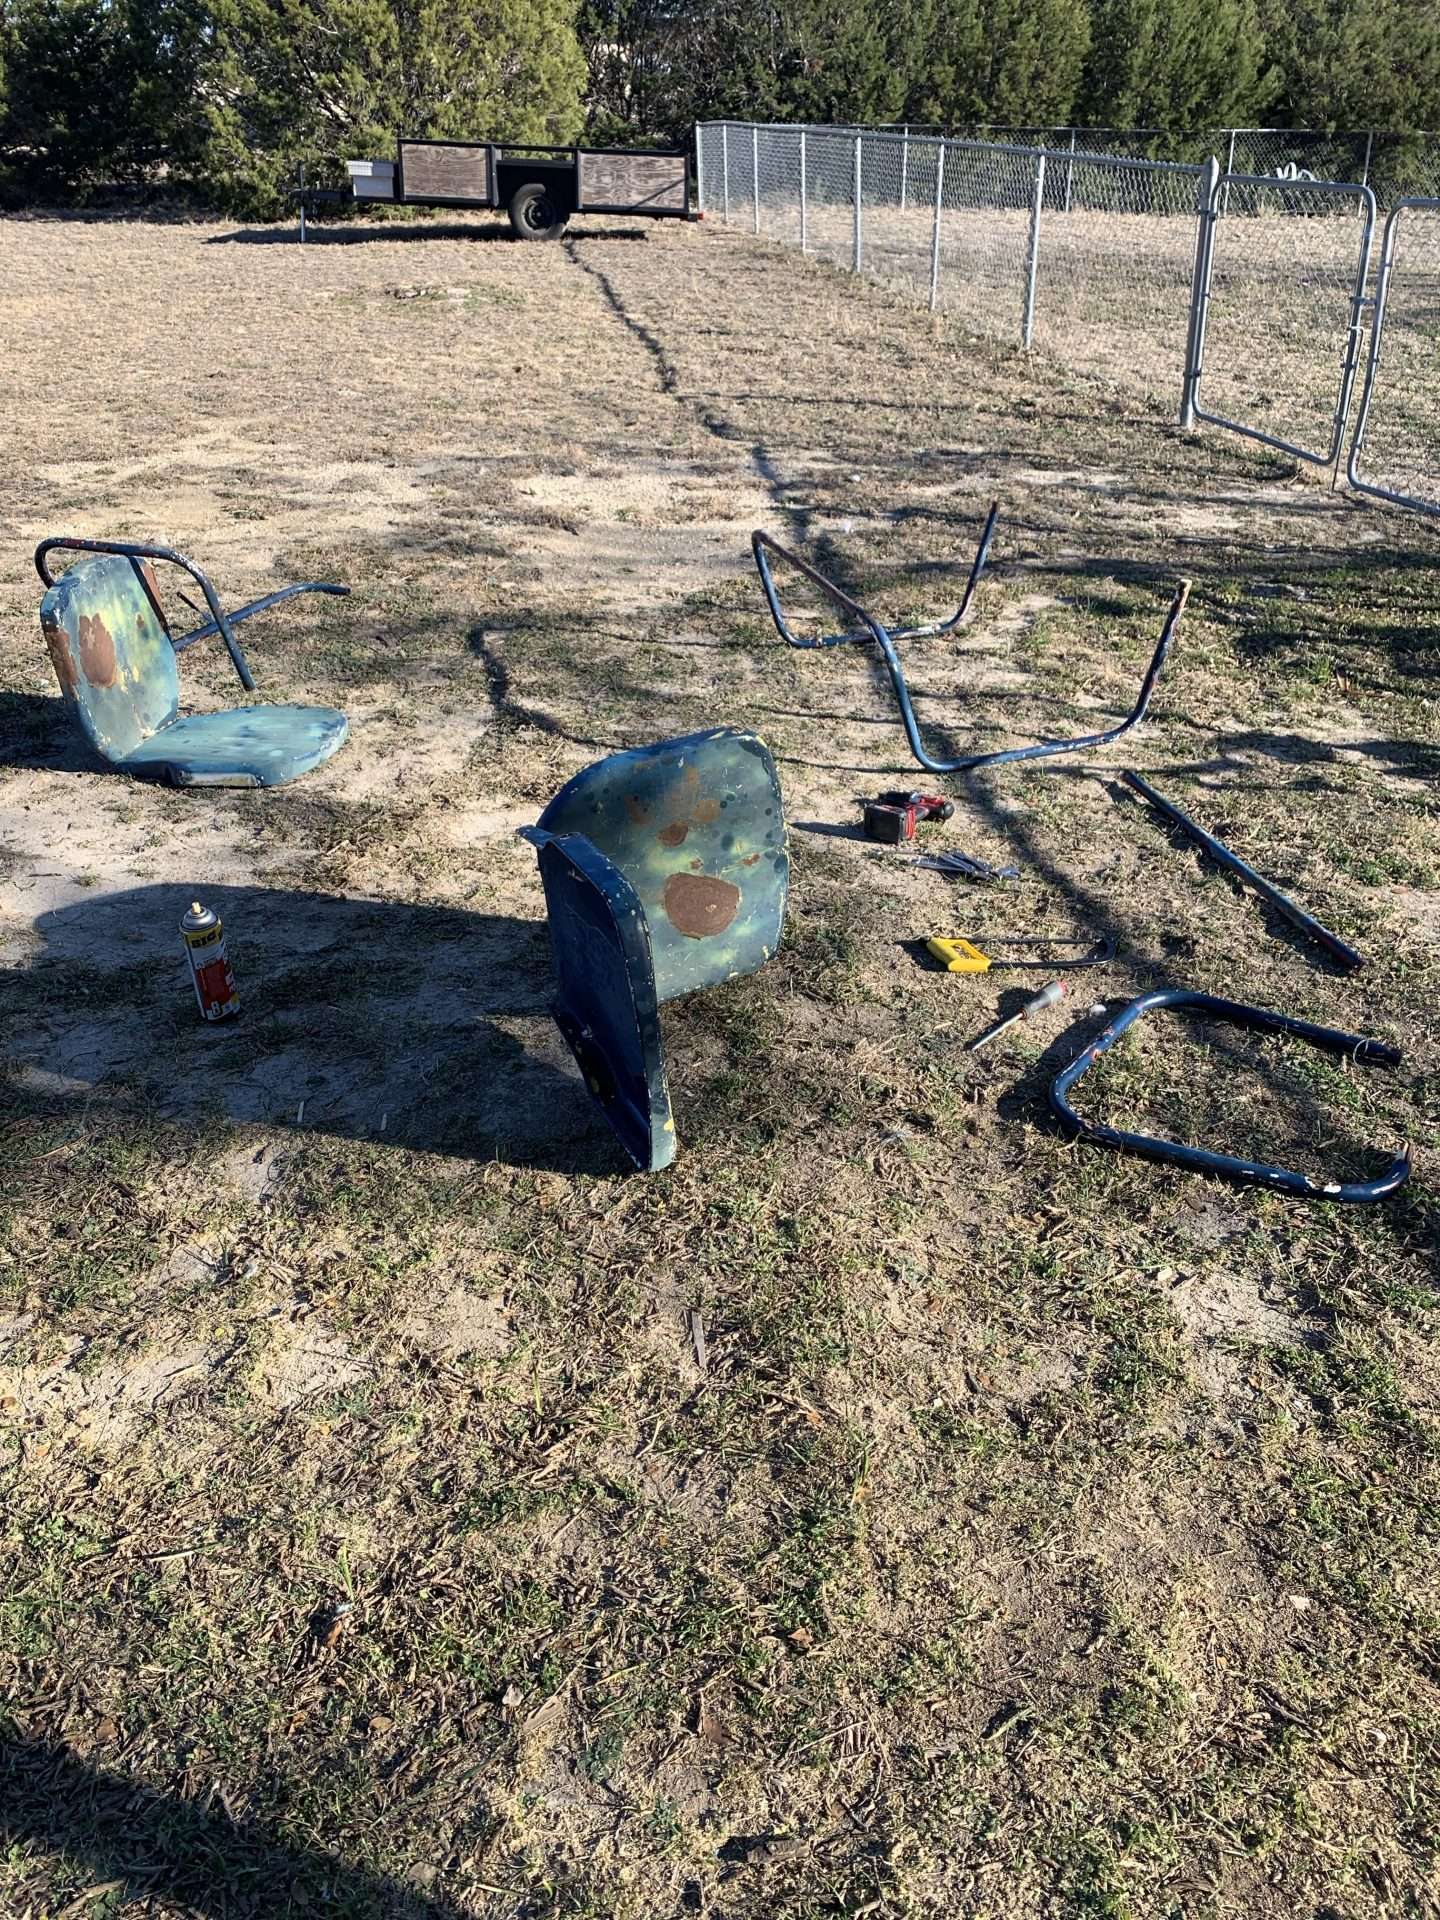
Step 1: Take the Metal Glider Apart
This first step sounds simple enough. However, we wrestled with this contraption for over an hour trying to take it apart.
Many of the bolts and screws on our metal glider were rusted to the frame and had to be cut off using an angle grinder and cutting wheel.
**Pro Tip** Before you take your glider apart, take pictures of it from every angle to make sure that you can put it back together correctly.
**Pro Tip** Keep some of the old bolts and screws, even if they’re damaged. You’ll need them to help you gauge the size of the new bolts you need to buy to put the glider back together.
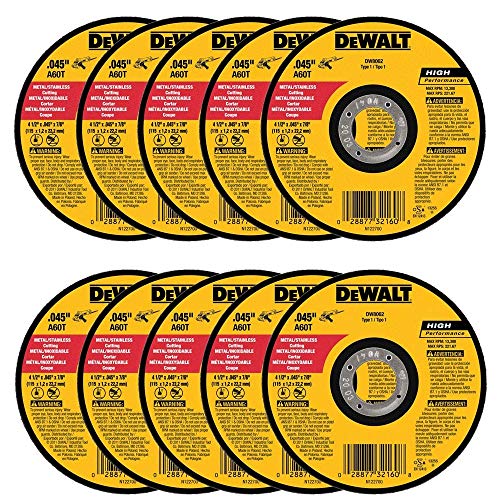
DEWALT 20V MAX* Angle Grinder Tool, Tool Only (DCG413B), Black, YellowDEWALT – DW8062 – 10,PK DW8062 4-1/2

Step 2: Strip Off the Old Paint
When we painted our vintage motel chairs, we used an angle grinder and paint stripping wheels to remove the paint. And while that method is effective, it’s labor intensive and can be dangerous.
So, we tried a new method this time around.
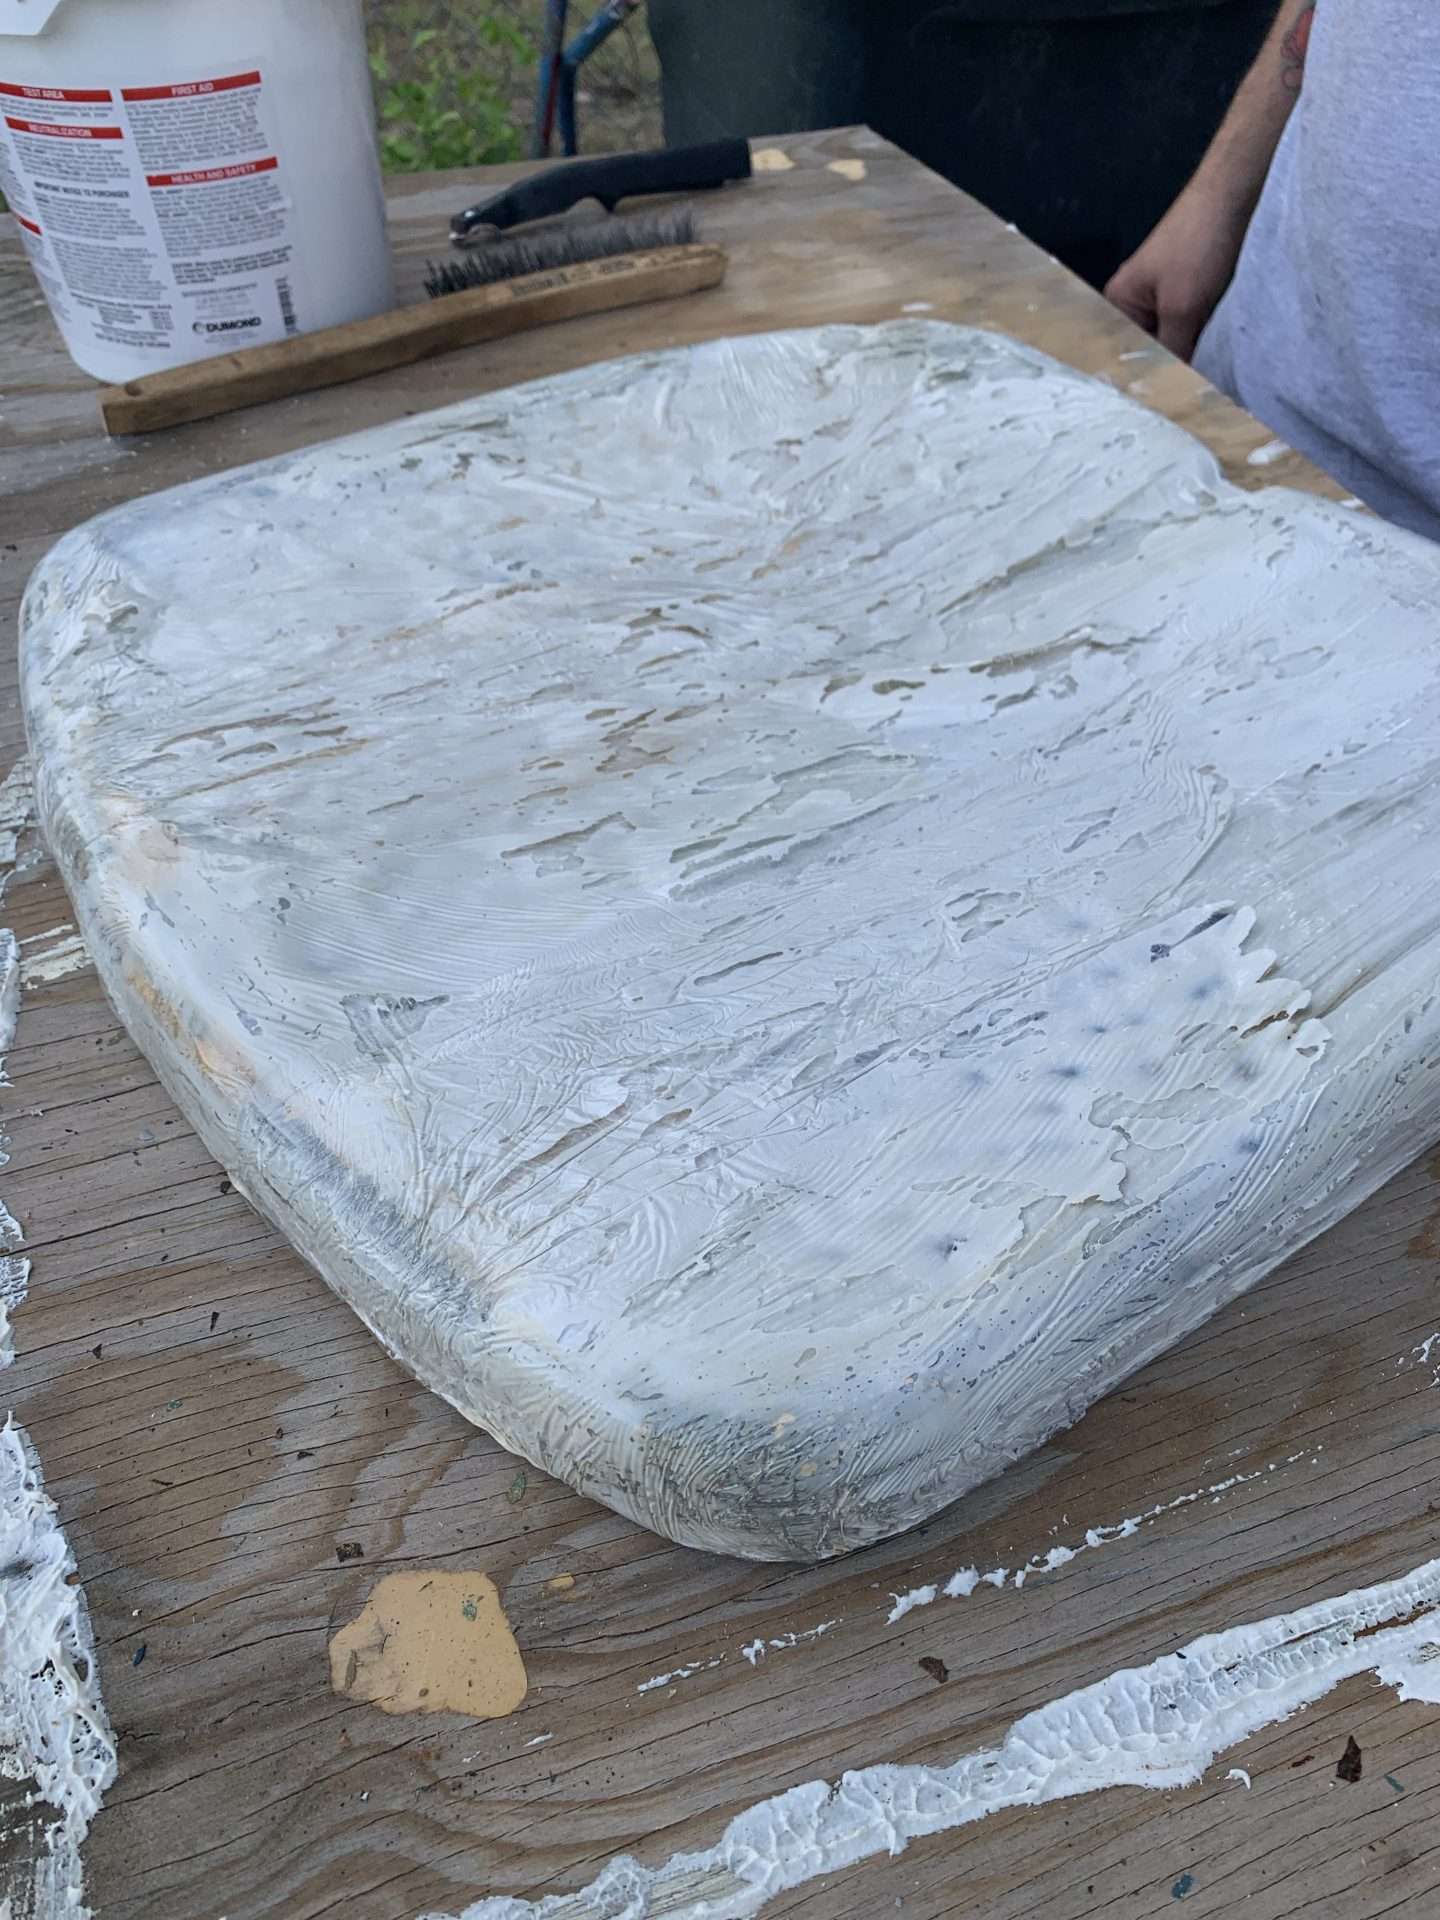
I slathered a generous amount of Peel Away 1 Paint Remover on every piece of the glider and covered it with cling wrap. (Wearing gloves is crucial – this stuff will make you itchy!)
Then let it sit for 24 hours.
After removing the cling wrap, I tried raking the stripper and layers of paint off with a plastic scraper. However, that was a frustrating and messy process.
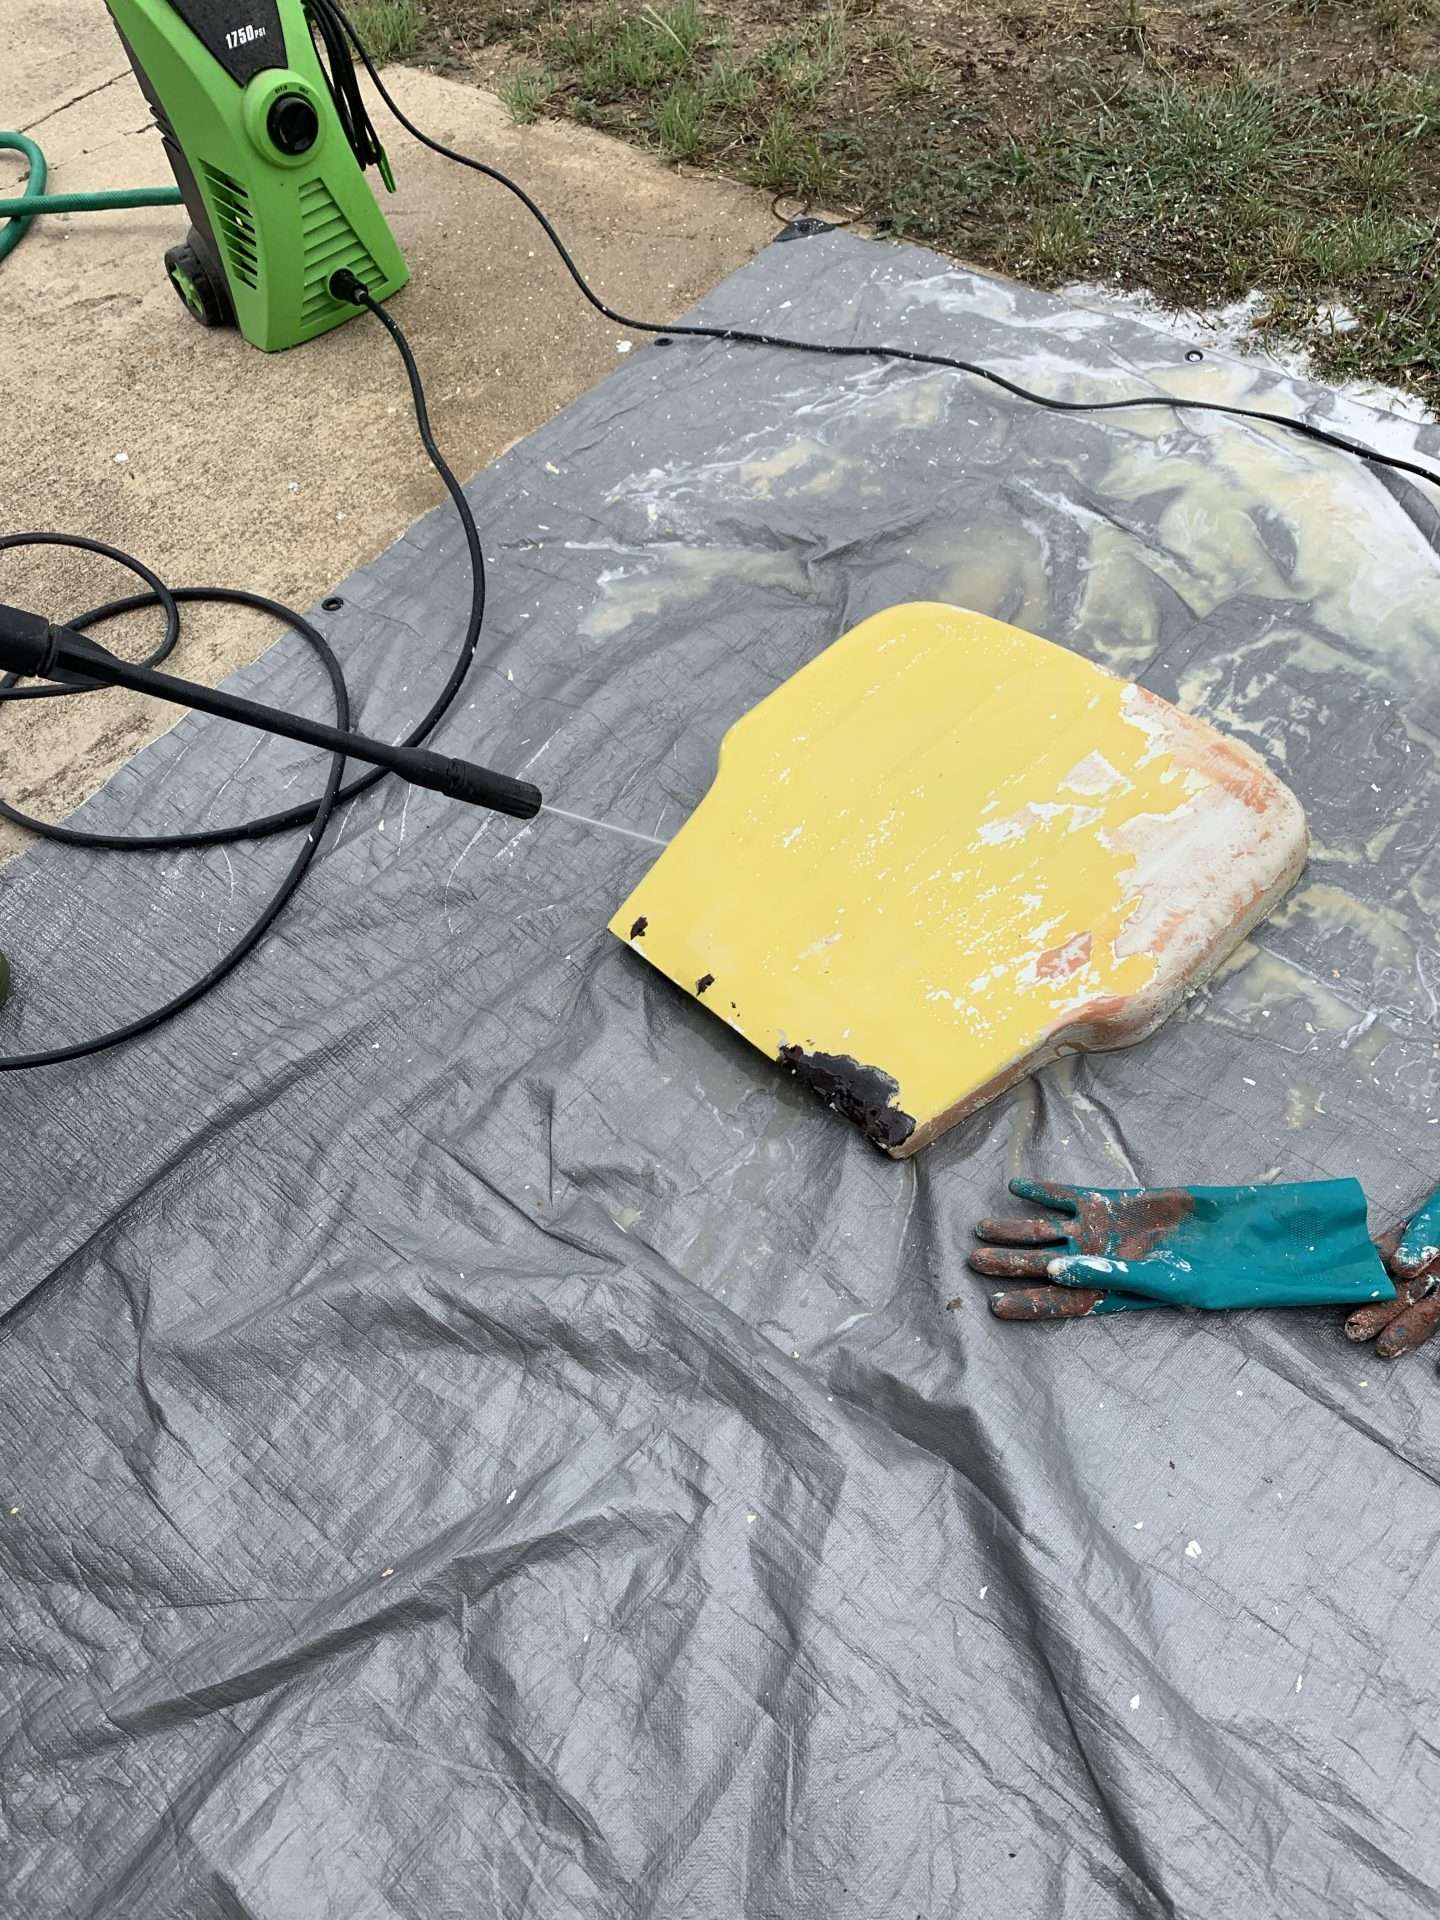
Instead, I decided to blast it off using the pressure washer. And it was a game-changer!
It made removing the goopy stripper and multiple layers of paint SO MUCH easier! Plus, the glider pieces were already clean and ready for the next step.
Peel Away 1 Paint Remover – HEAVY DUTY – Removes Up to 30 Layers of Lead, Oil, & Alkyd-Based Paints & Coatings – The Older the Paint the Better – Complete Paint Removal System Under the Lid – 1 GallonPowRyte Electric Pressure Washer, Foam Cannon, 4 Different Pressure Tips, Power Washer, 4000 PSI 2.6 GPM


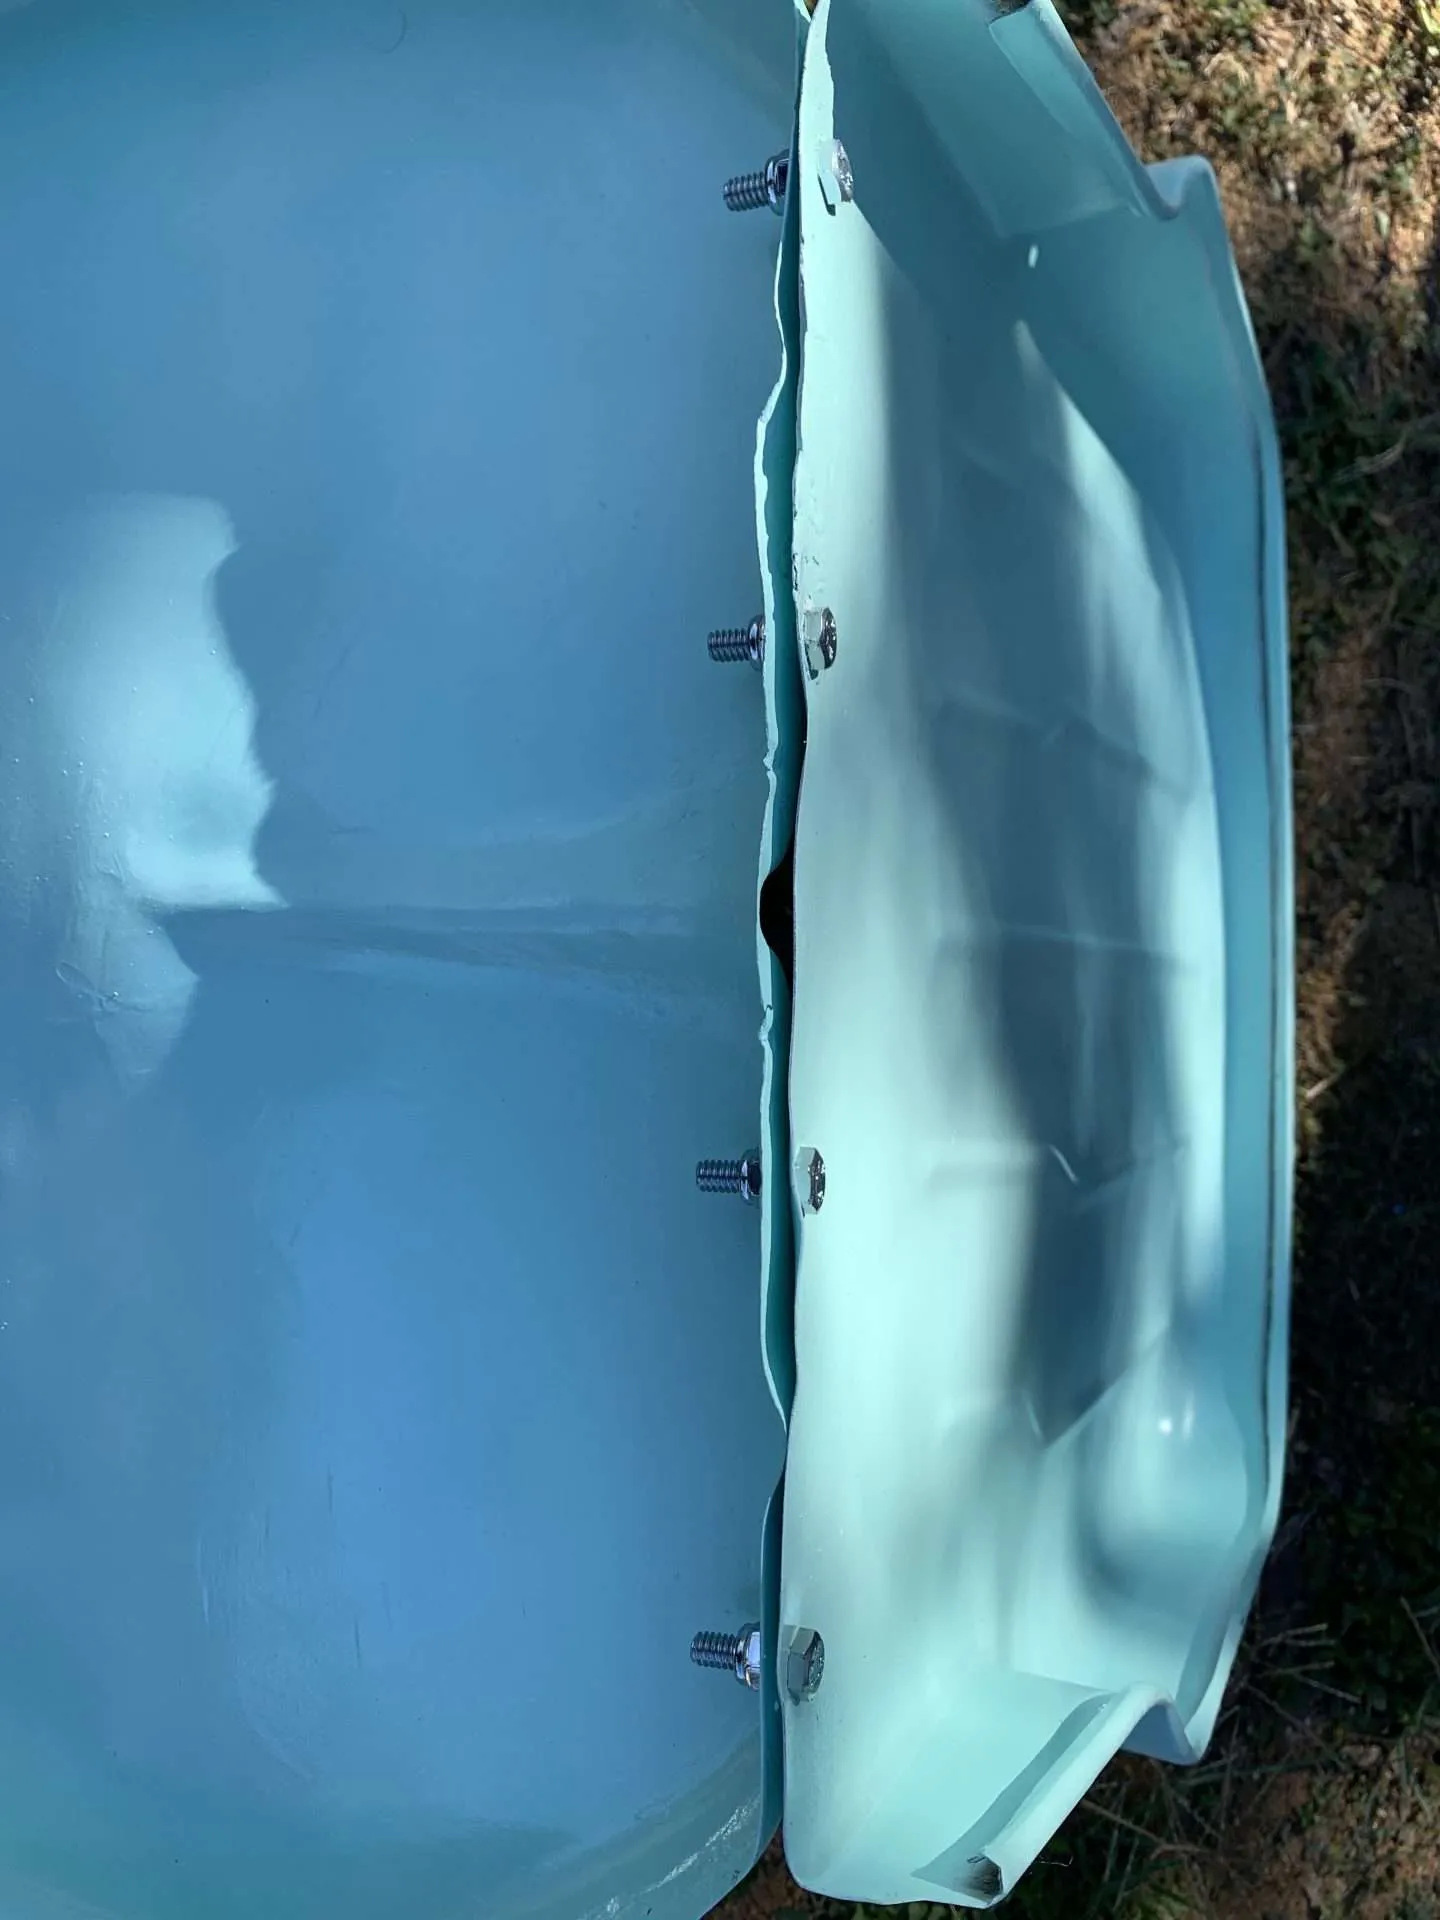
Step 3: Fill Holes with Bondo/Spray Foam
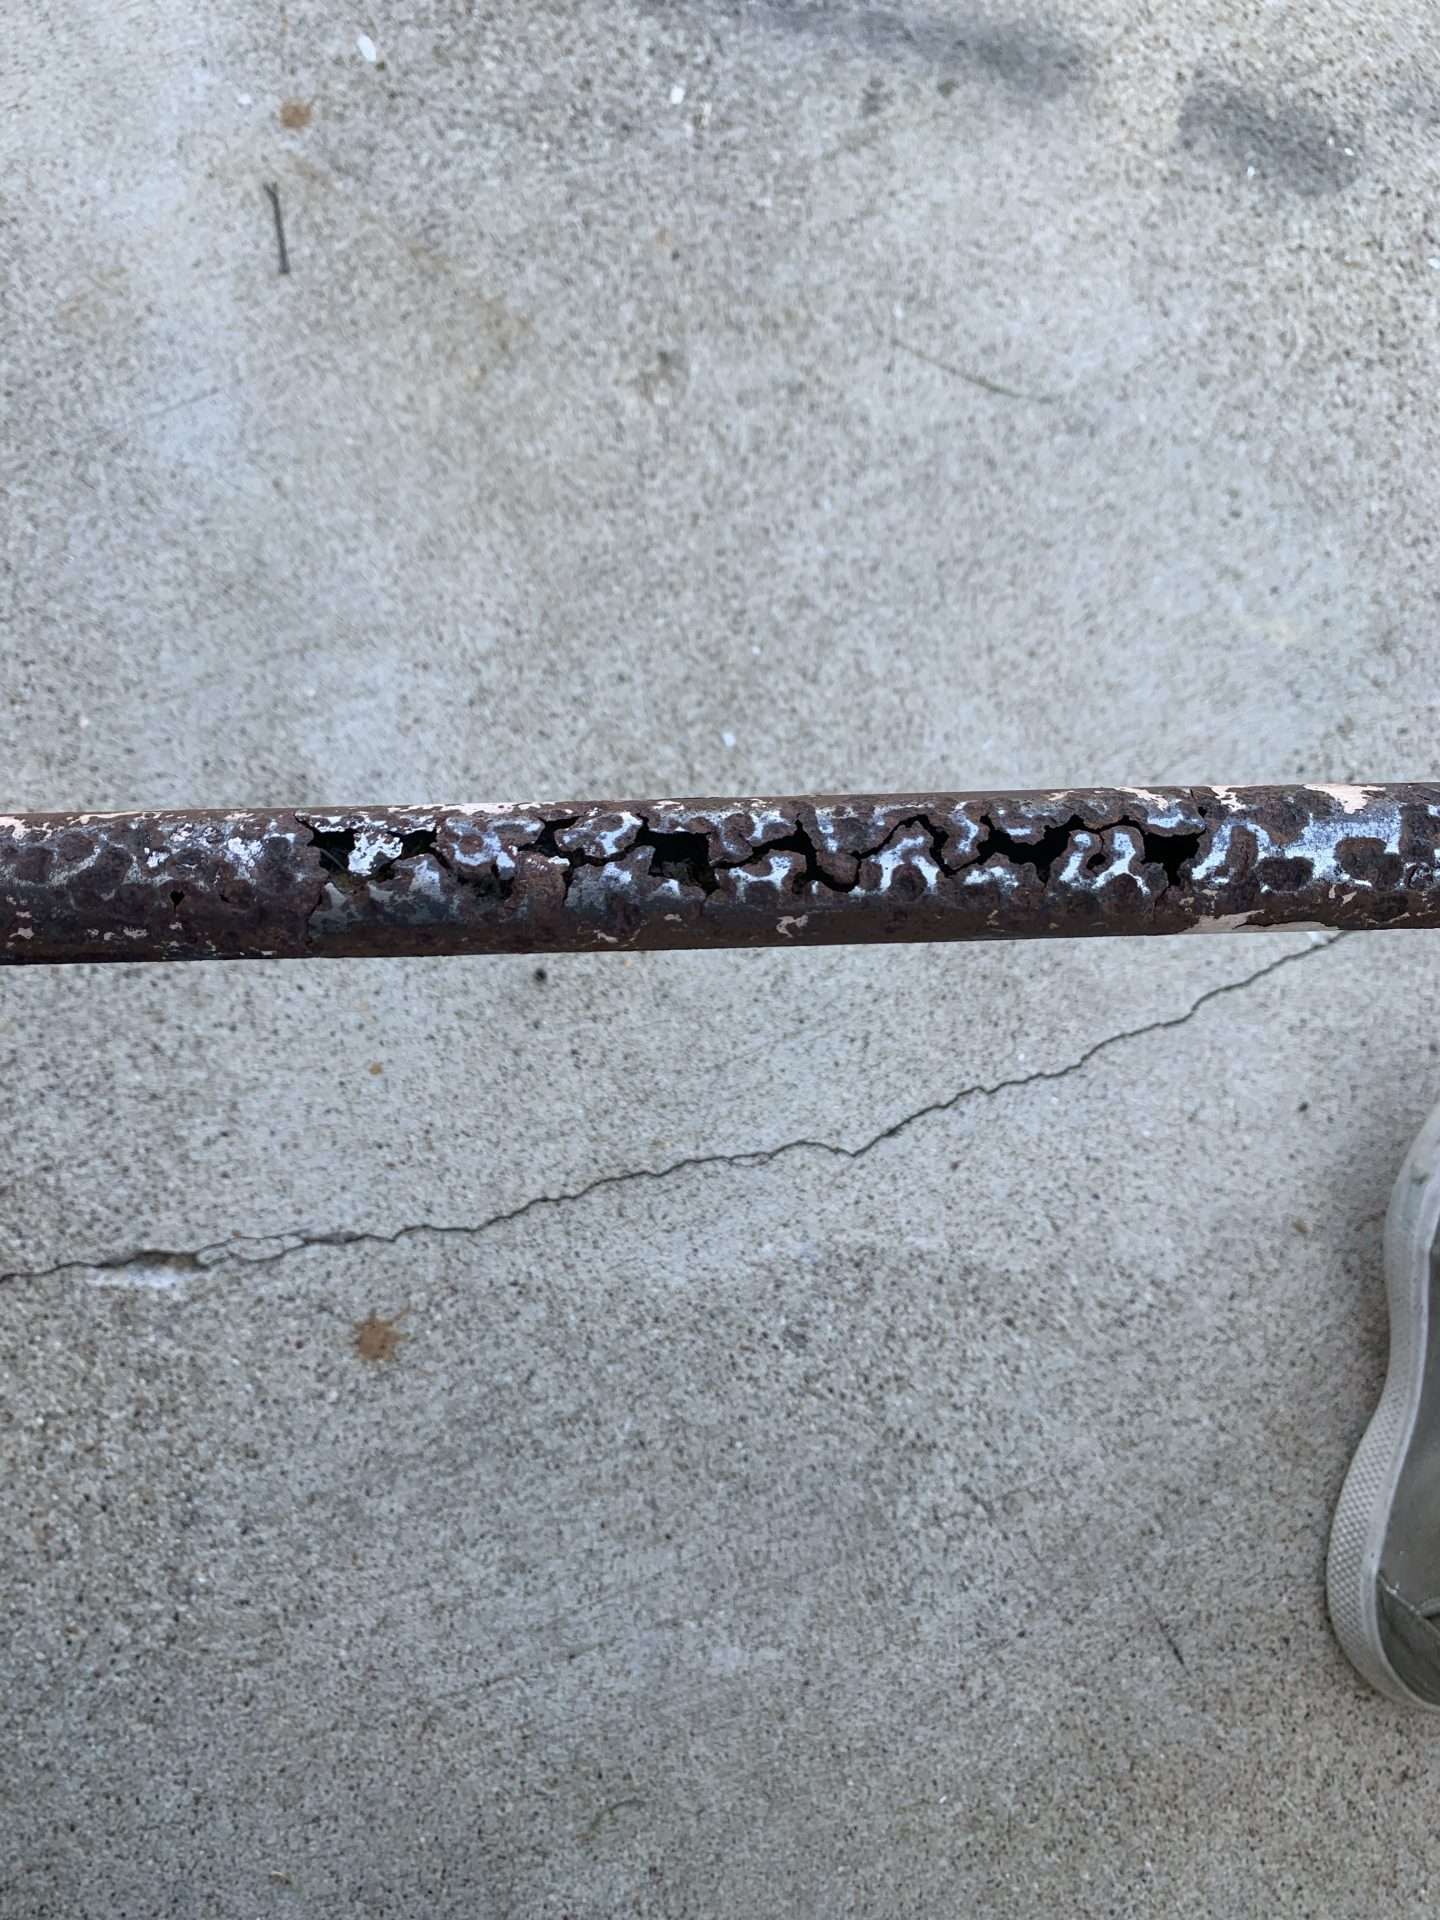
The bottom piece of this metal glider had been sitting in a puddle at some point because there was a lot of rust damage. So much so, that it had rusted a crack through a long portion of the bar.
Structurally, it was still fine. (We had been sitting in it for months just like it was.)
However, I wanted to prevent any further damage and decided to fill the cracks with Bondo.
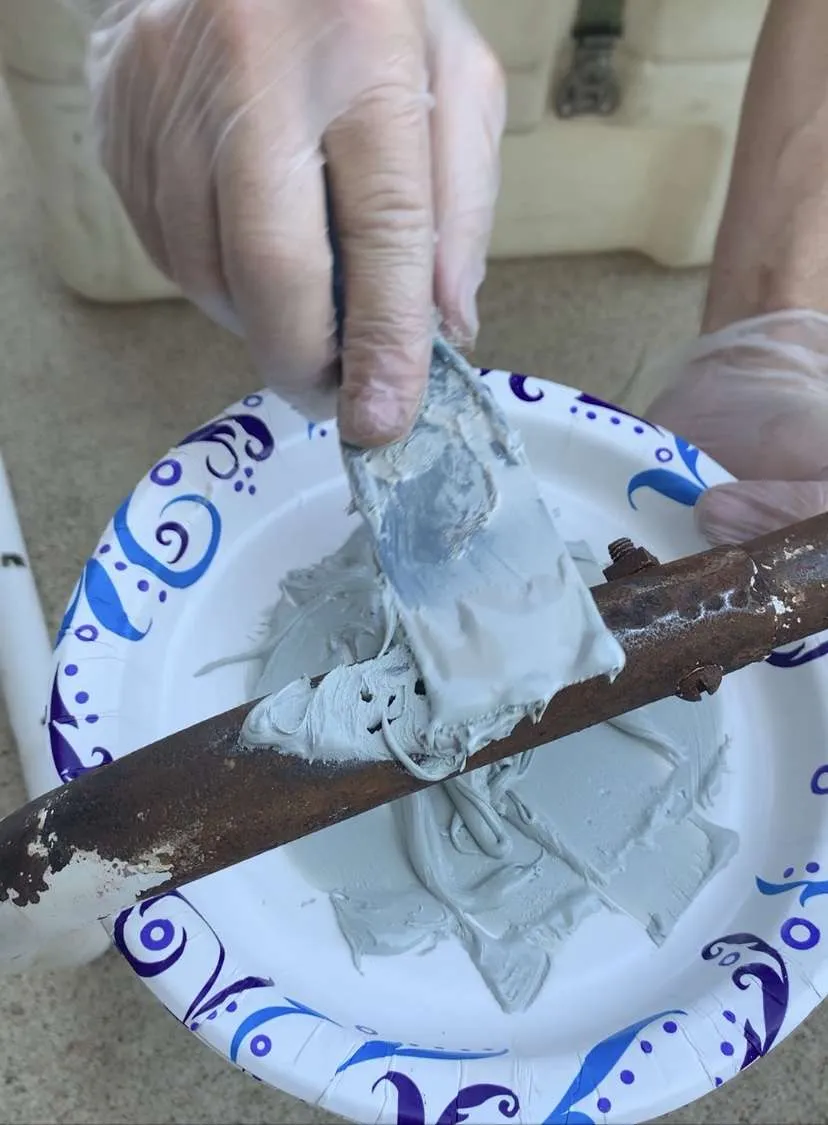
Sand the area that you plan to cover with Bondo to give it a good surface to stick to. Then mix the Bondo according to the directions on the package and fill in the cracks. After the Bondo hardened we sanded it down with 120-grit sanding nets.
We ended up doing another round of Bondo to get some areas that we missed or that didn’t fill in completely the first time and sanded them down.
Originally, the legs of the glider had rubber caps on them, but they had long ago rotted away. You can buy new rubber caps or leave them open, but I wanted to prevent water and bugs from getting in there and causing problems in the future. So, we filled the open ends of the glider legs with expanding spray foam.
Bondo All-Purpose Putty, Designed for Interior and Exterior Home Use, Paintable, Permanent, Non-Shrinking, 1.9 lb., 1-QuartLoctite Tite Foam Big Gaps Spray Foam Sealant, Polyurethane Expanding Foam Insulation – 12 fl oz Can, Pack of 1


Step 4: Do a Quick Sand
There were a few spots on the leg and arm glider pieces where all of the old paint didn’t come off with the paint stripper.
So, I sanded those spots with 80-grit sandpaper and my orbital sander to get it as close to the white base as possible.
I scuff-sanded the rest of the leg and arm pieces just to make sure the paint would have good adhesion.
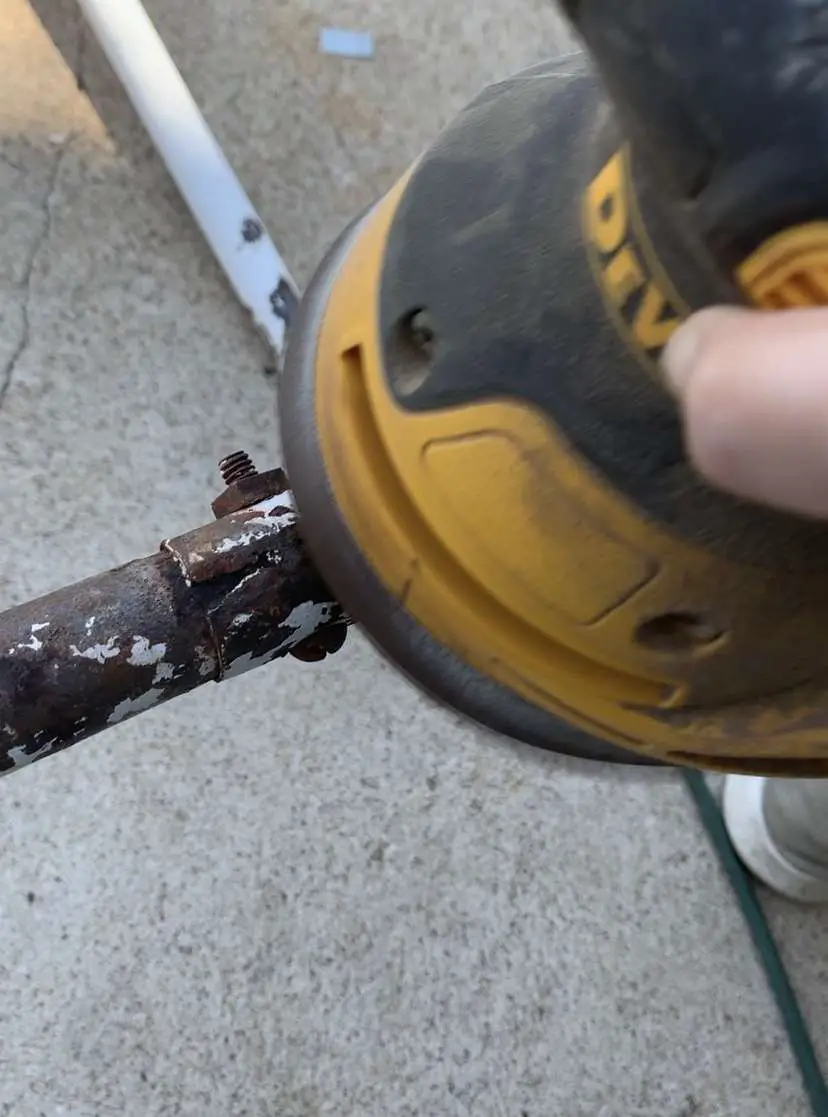
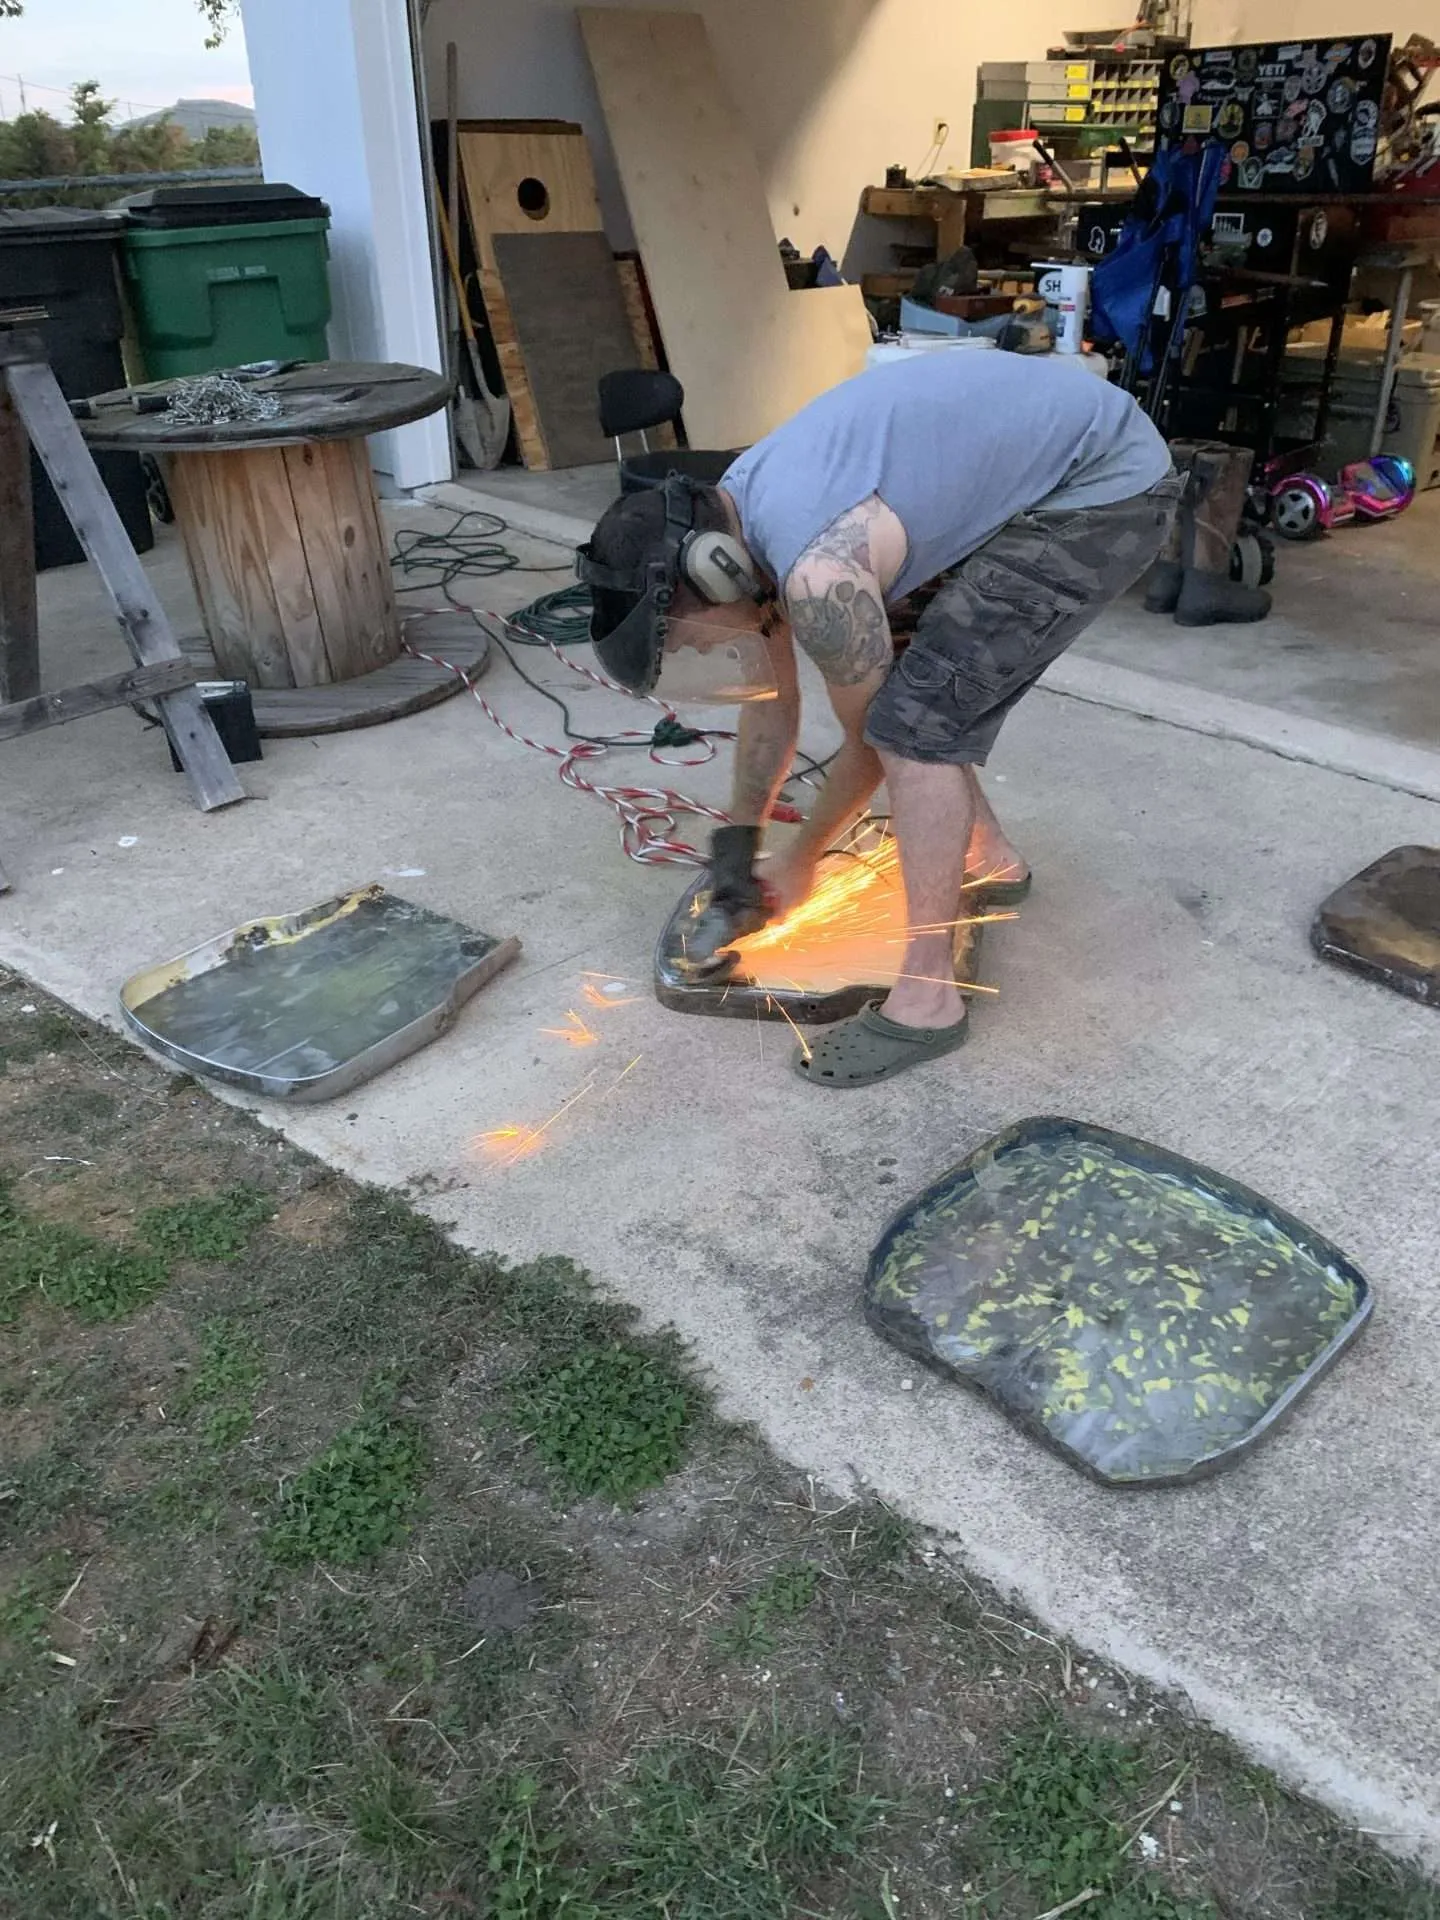
As for the seats, there were also several areas where the paint didn’t come all the way off. Instead of sanding the seats with an orbital sander, my husband used an angle grinder with a paint stripping wheel.
This way we made sure that the surface of the seats were down to the bare metal and had a smooth surface for paint.
DEWALT Random Orbit Sander, Variable Speed, 5-Inch (DWE6423)6 Packs 4-1/2

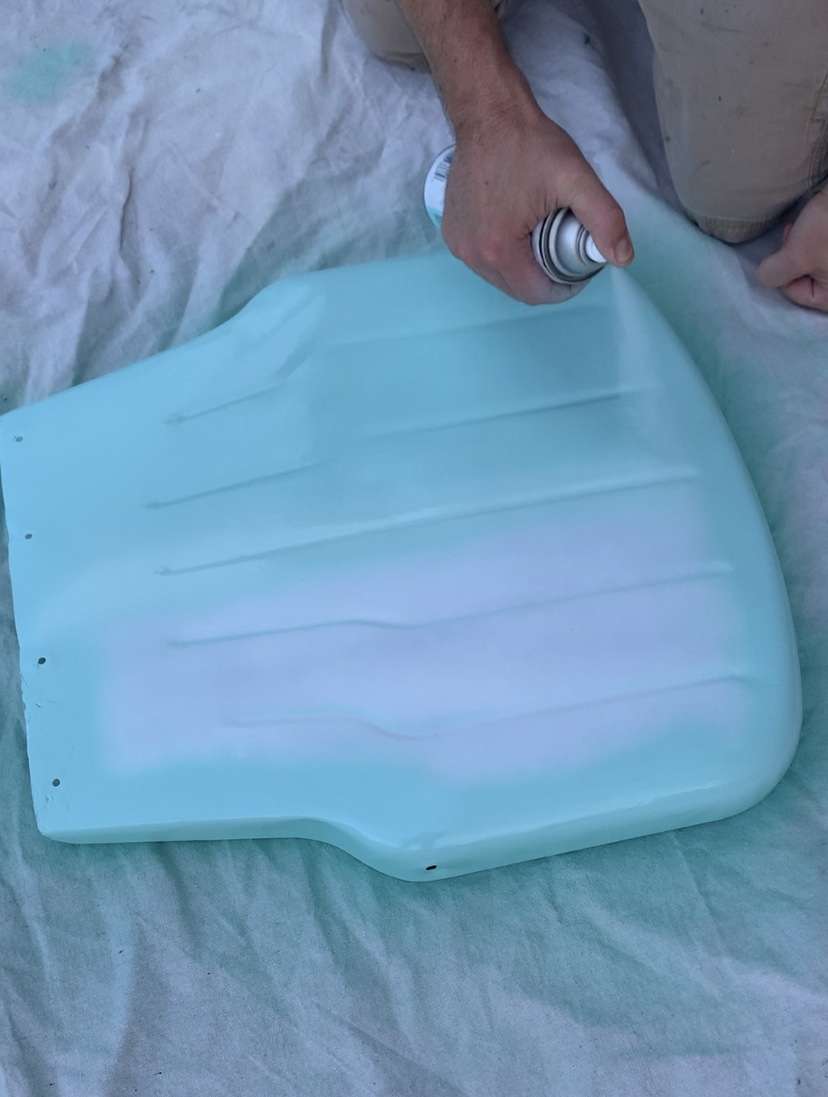
Step 5: Prime
After cleaning the dust off all of the pieces, it was time to prime everything.
We used Rustoleum Universal Bonding primer specifically because it is made for ‘difficult surfaces’ and ‘prevents rust and corrosion’. It has great reviews online. So, we’ll see how it holds up!
We did 2 coats of primer on everything to get a smooth, even finish.
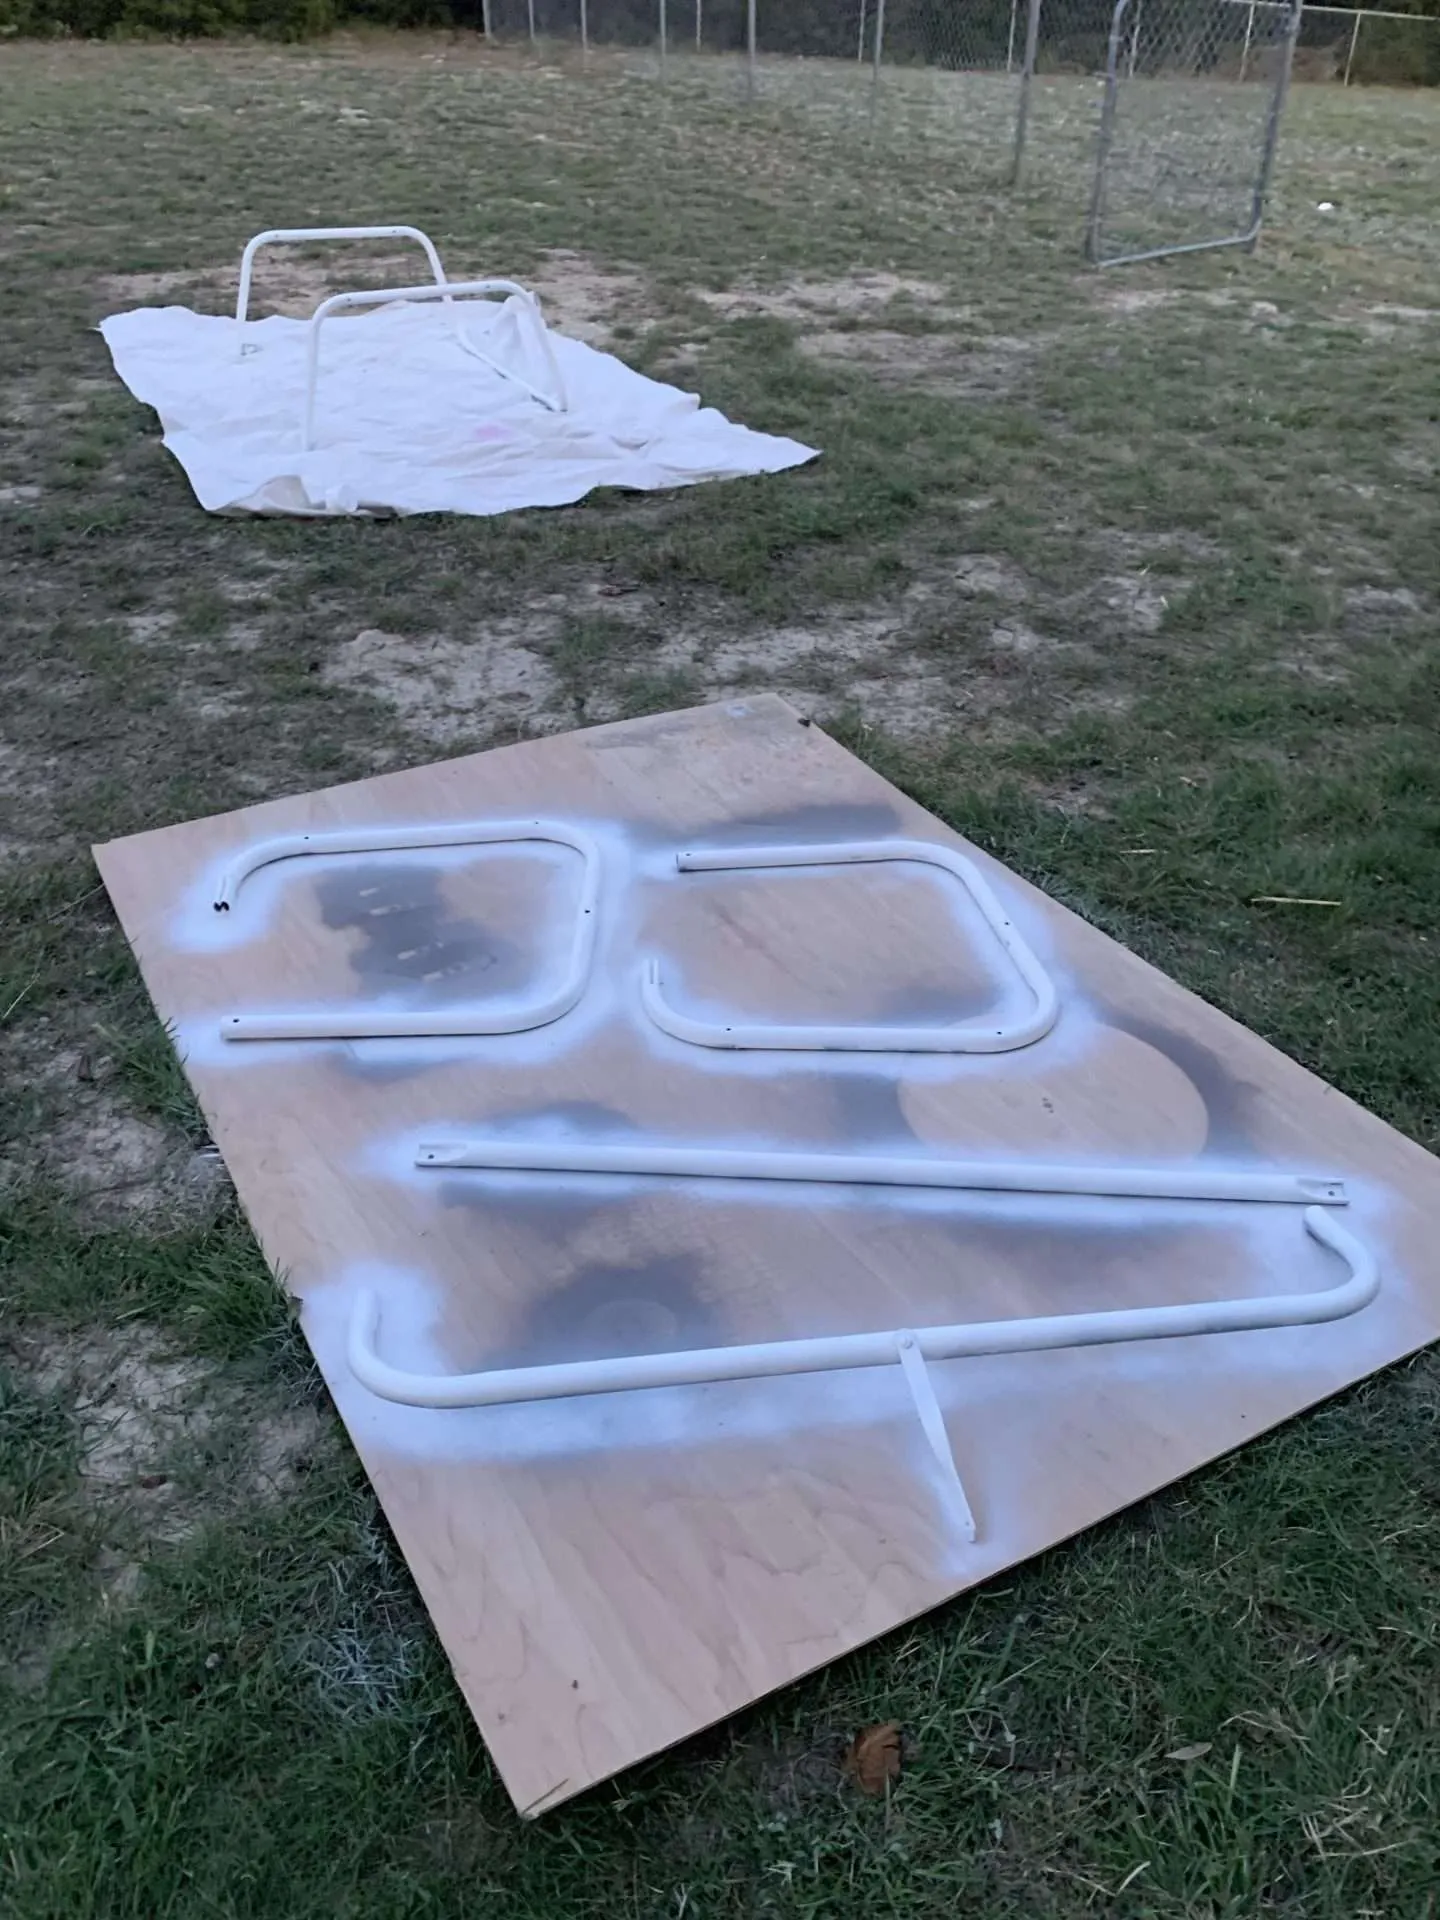
(Getting everything primed and ready for paint!)
Zinsser 272479 Bulls Eye 1-2-3 Plus Spray Primer, 13 oz, WhiteRust-Oleum 285011 Stops Rust Universal Watercolor Bonding Primer, 12 oz, White
Step 6: Paint
FINALLY, after all that prep work, it was time to paint our metal glider!
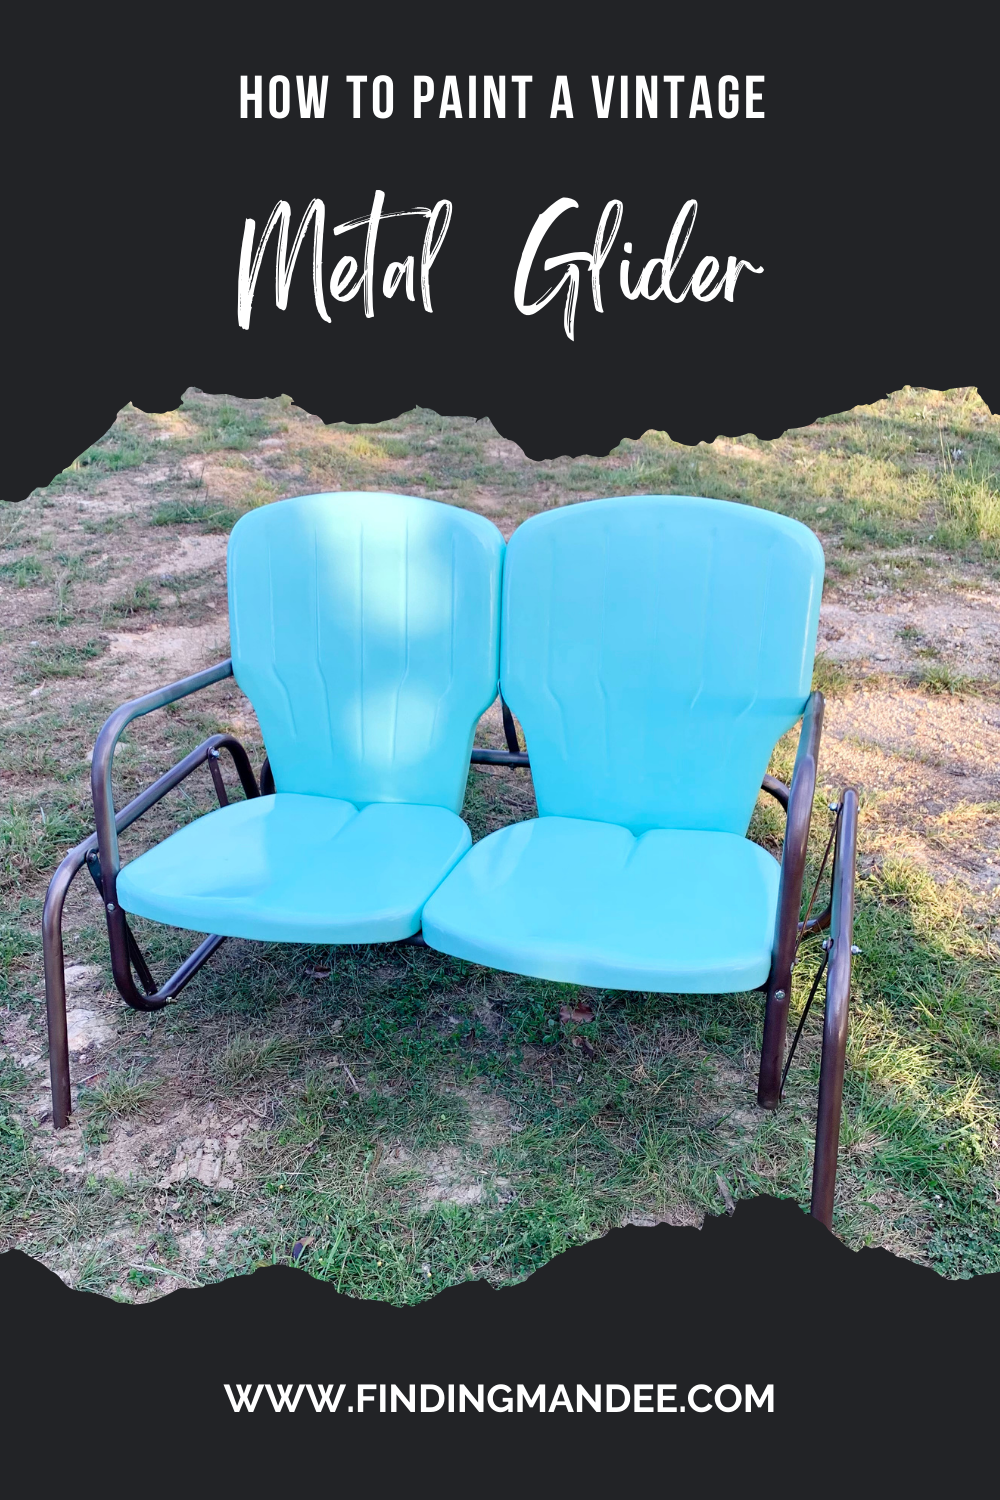
We used Rustoleum Painter’s Touch Spray Paint in the color “Ocean Mist” for the seats and Rustoleum Hammered Spray Paint in “Brown” for the legs. These were the same colors that we painted our vintage motel chairs, so now we’ll have a matching vintage set!
It took 2 coats of paint to get everything covered.

Rust-Oleum 210880 Stops Rust Hammered Spray Paint, 12 Oz, Brown, 12 Ounce (Pack of 1), 12 Fl OzRust-Oleum Painter’s Touch Ultra Cover Gloss Ocean Mist Spray Paint 12 oz.


Step 7: Put the Metal Glider Back Together
The final step is to put your metal glider back together using brand-new nuts and bolts.
Thankfully, it was easier to put together than it was to take apart!
There were a few paint touch-ups needed after everything was all put back, but after that we were done!
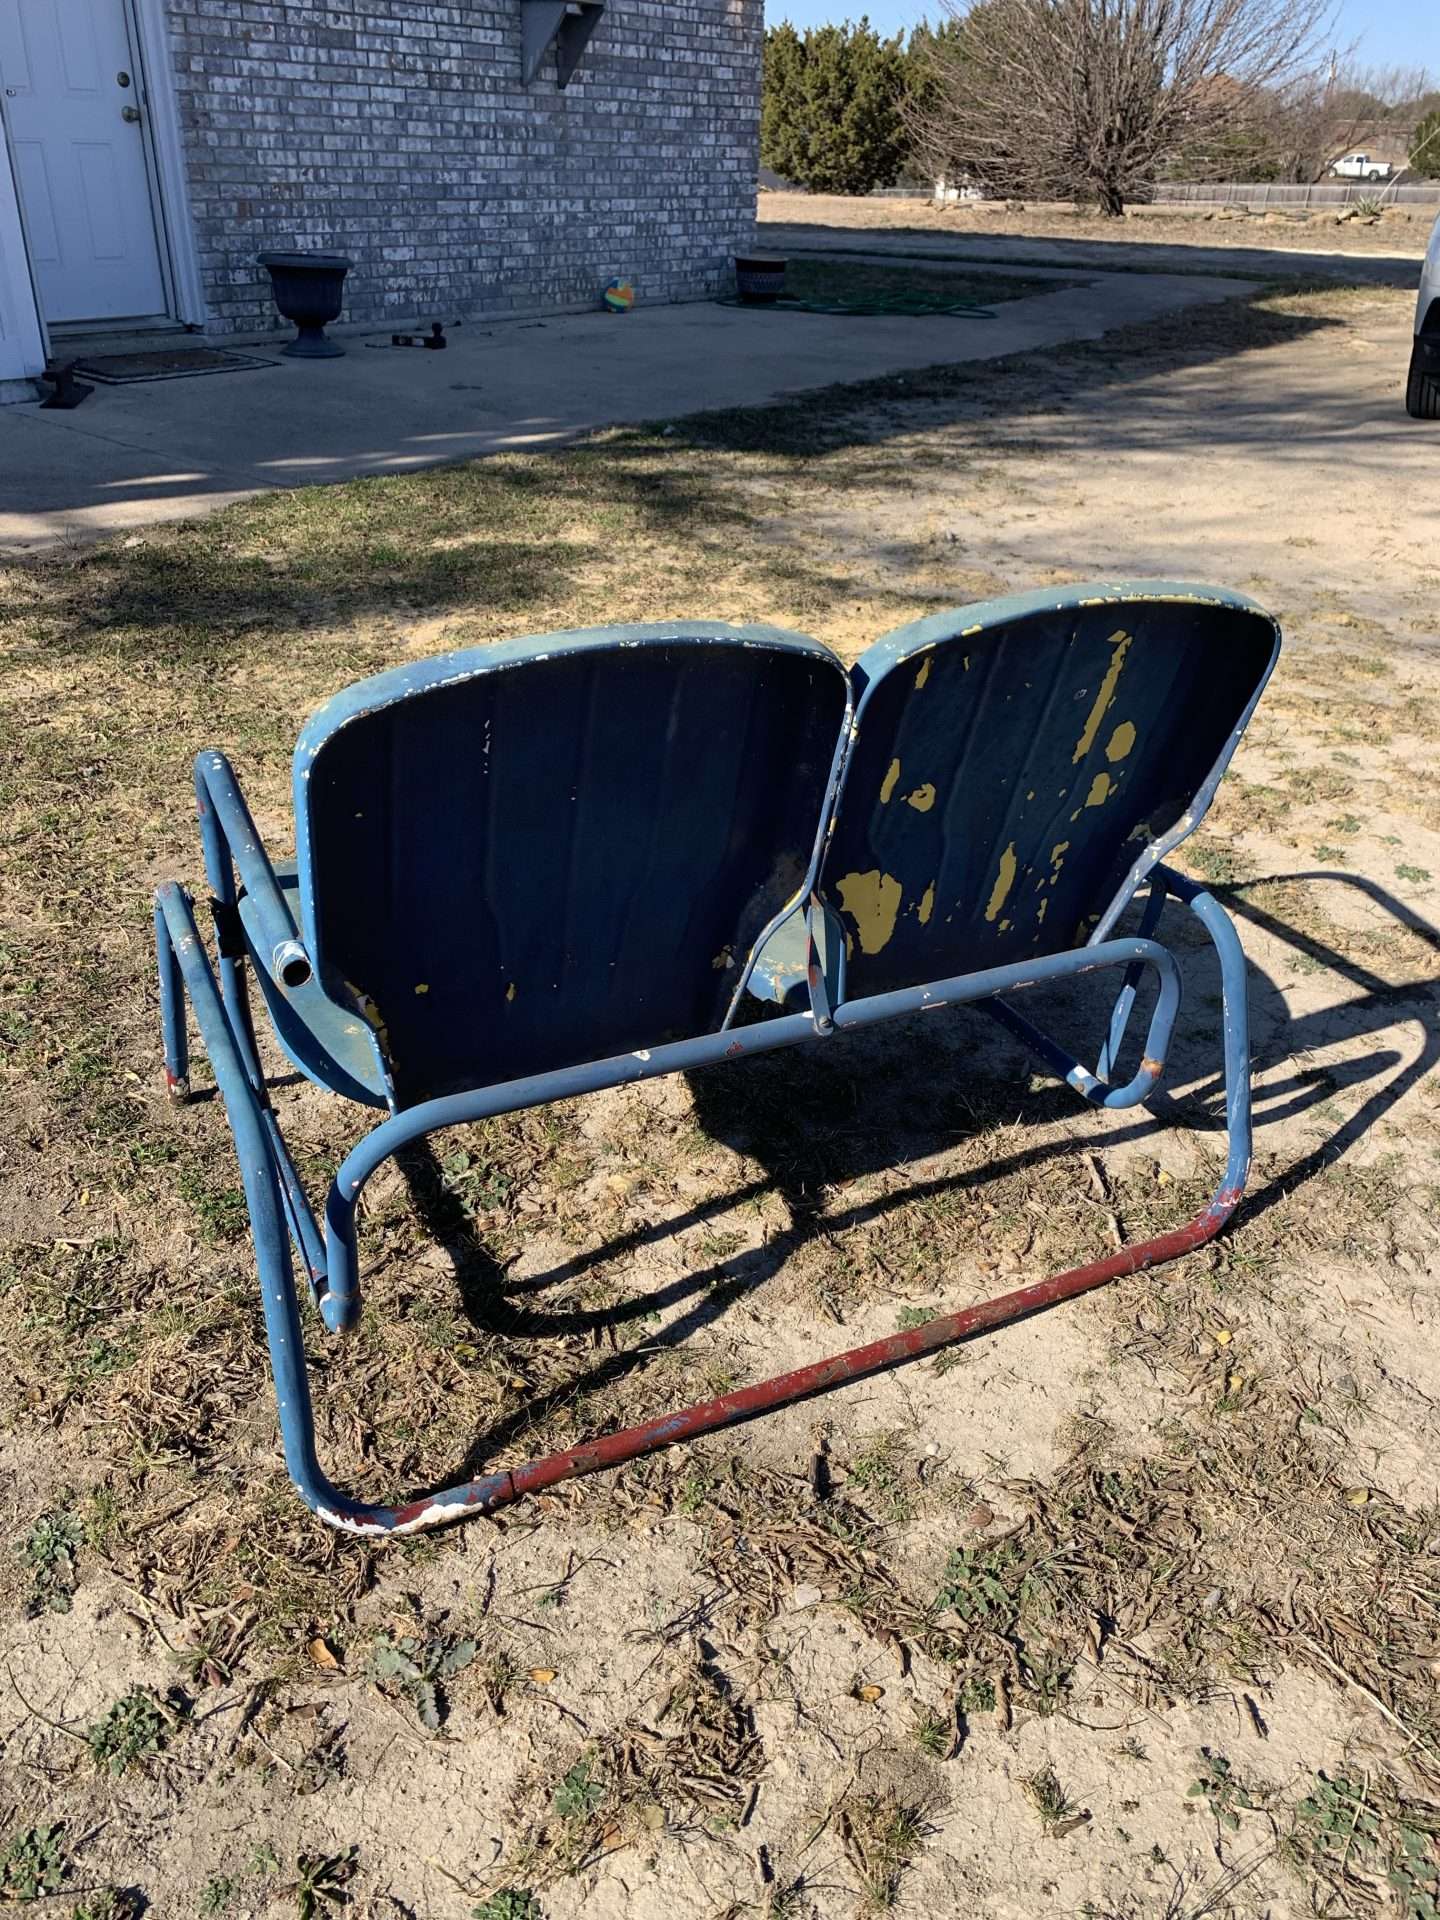
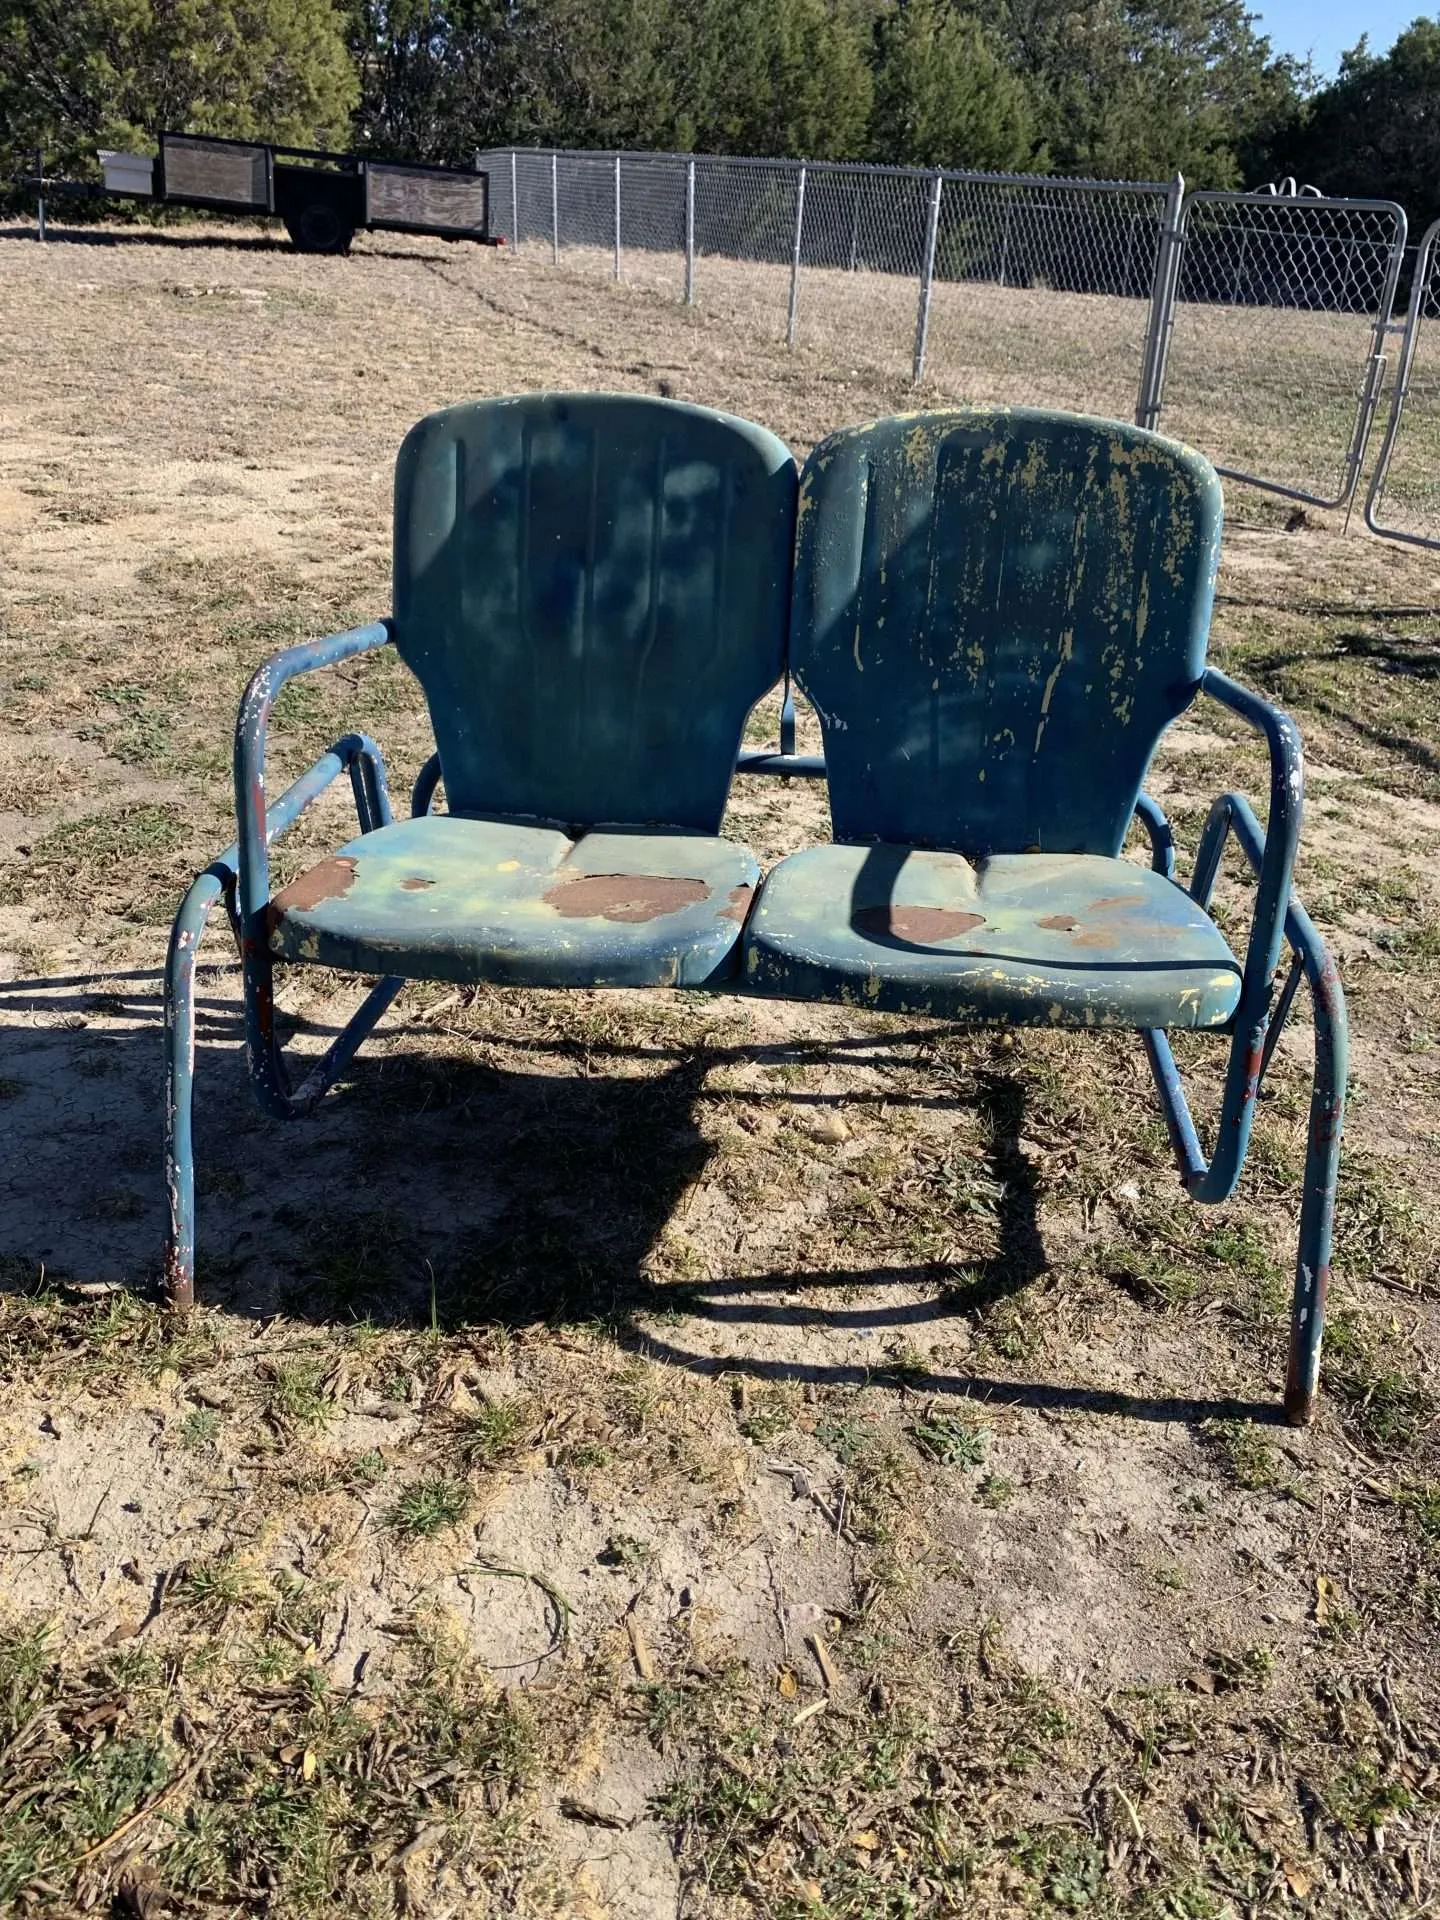
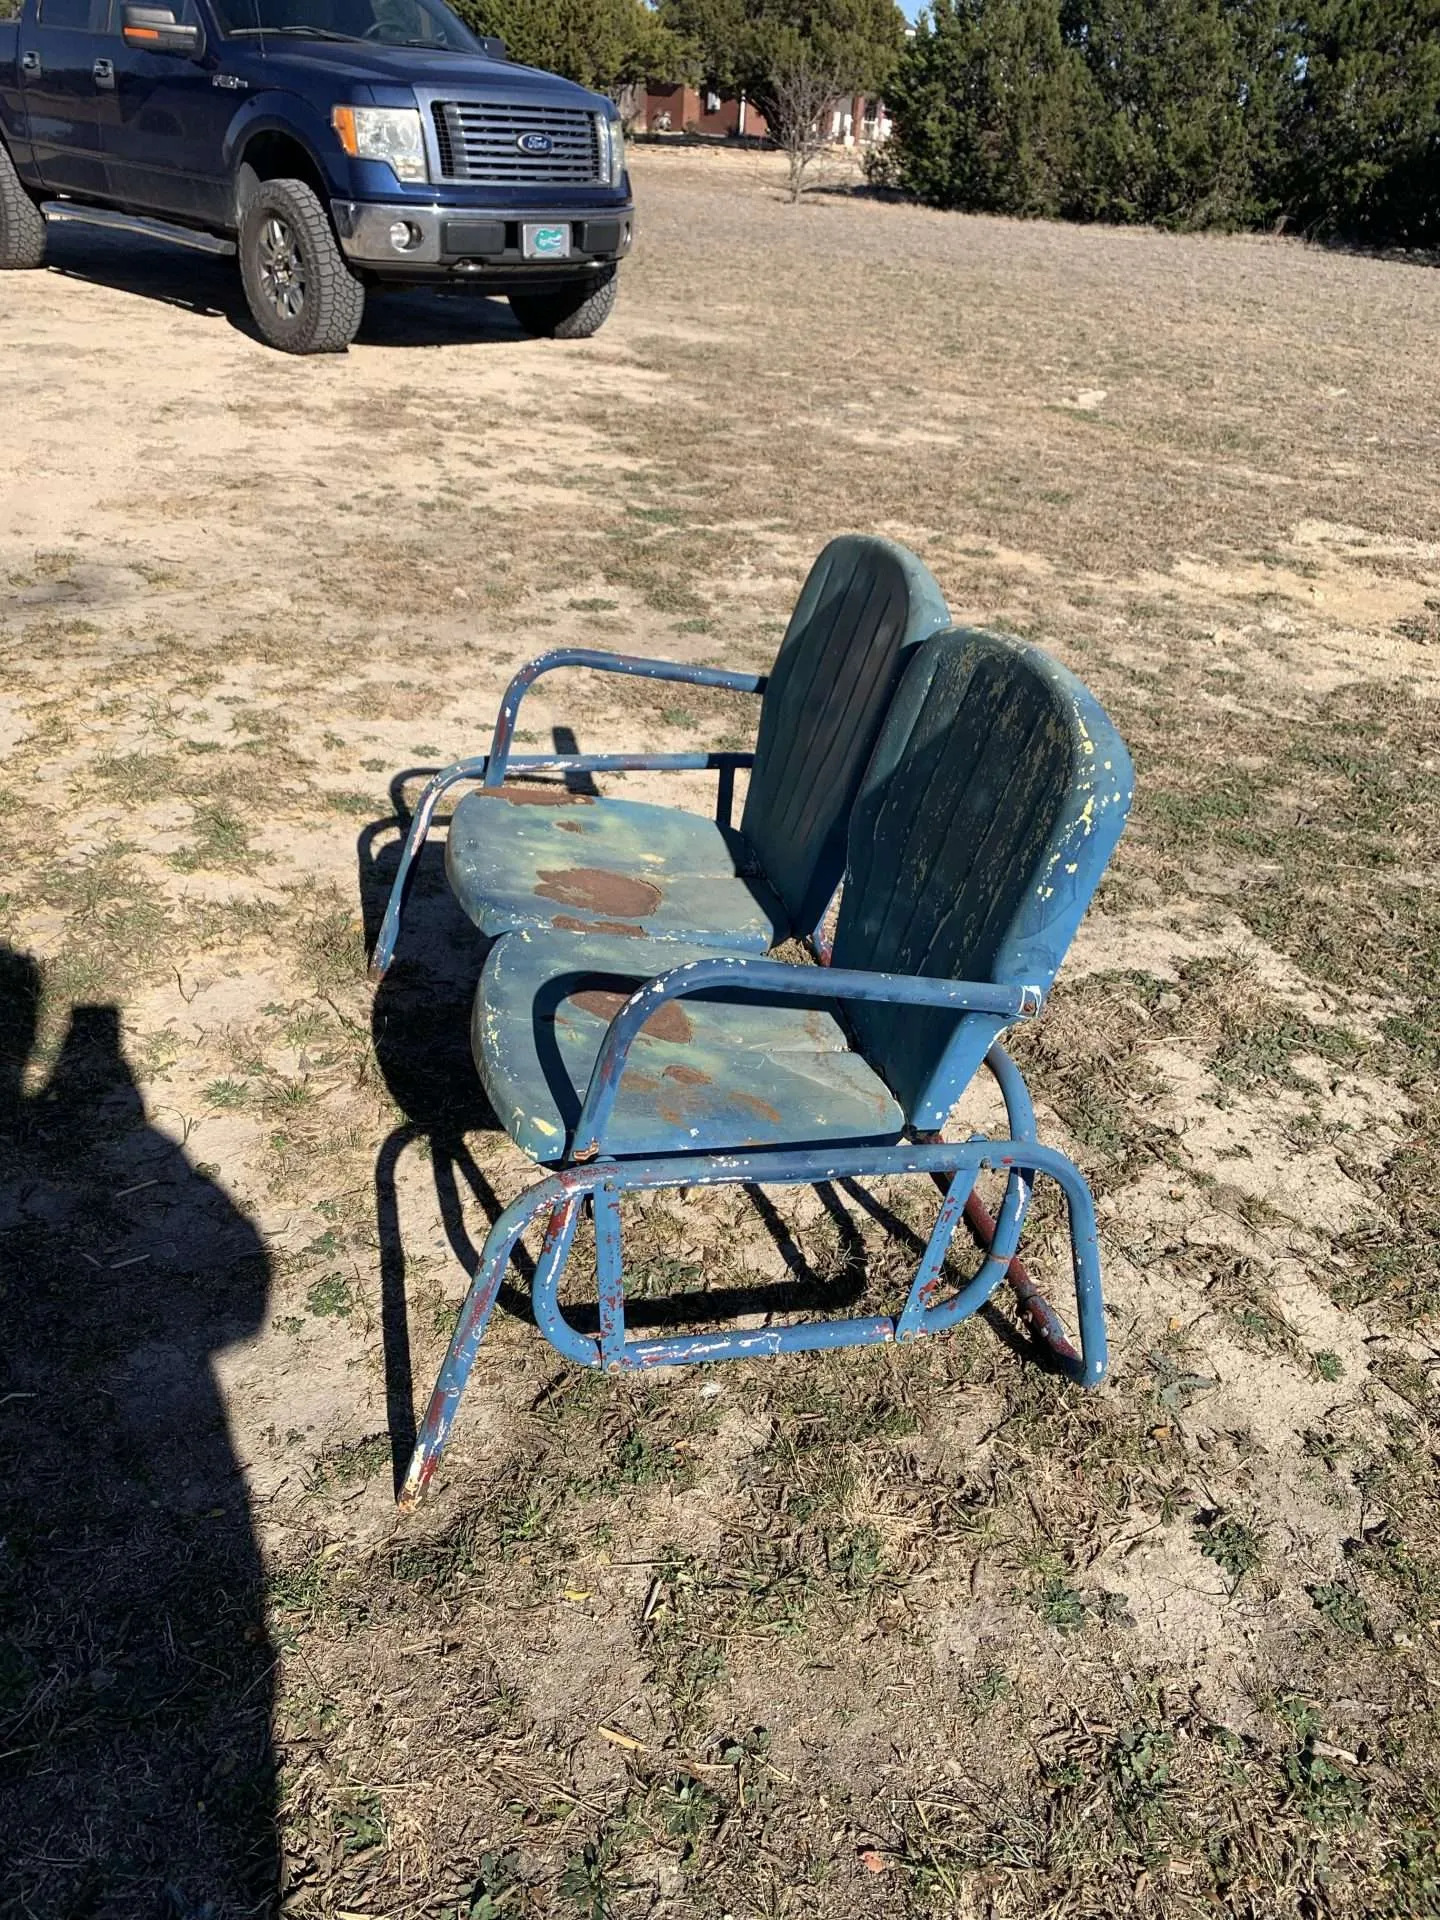
(The crusty before pictures.)
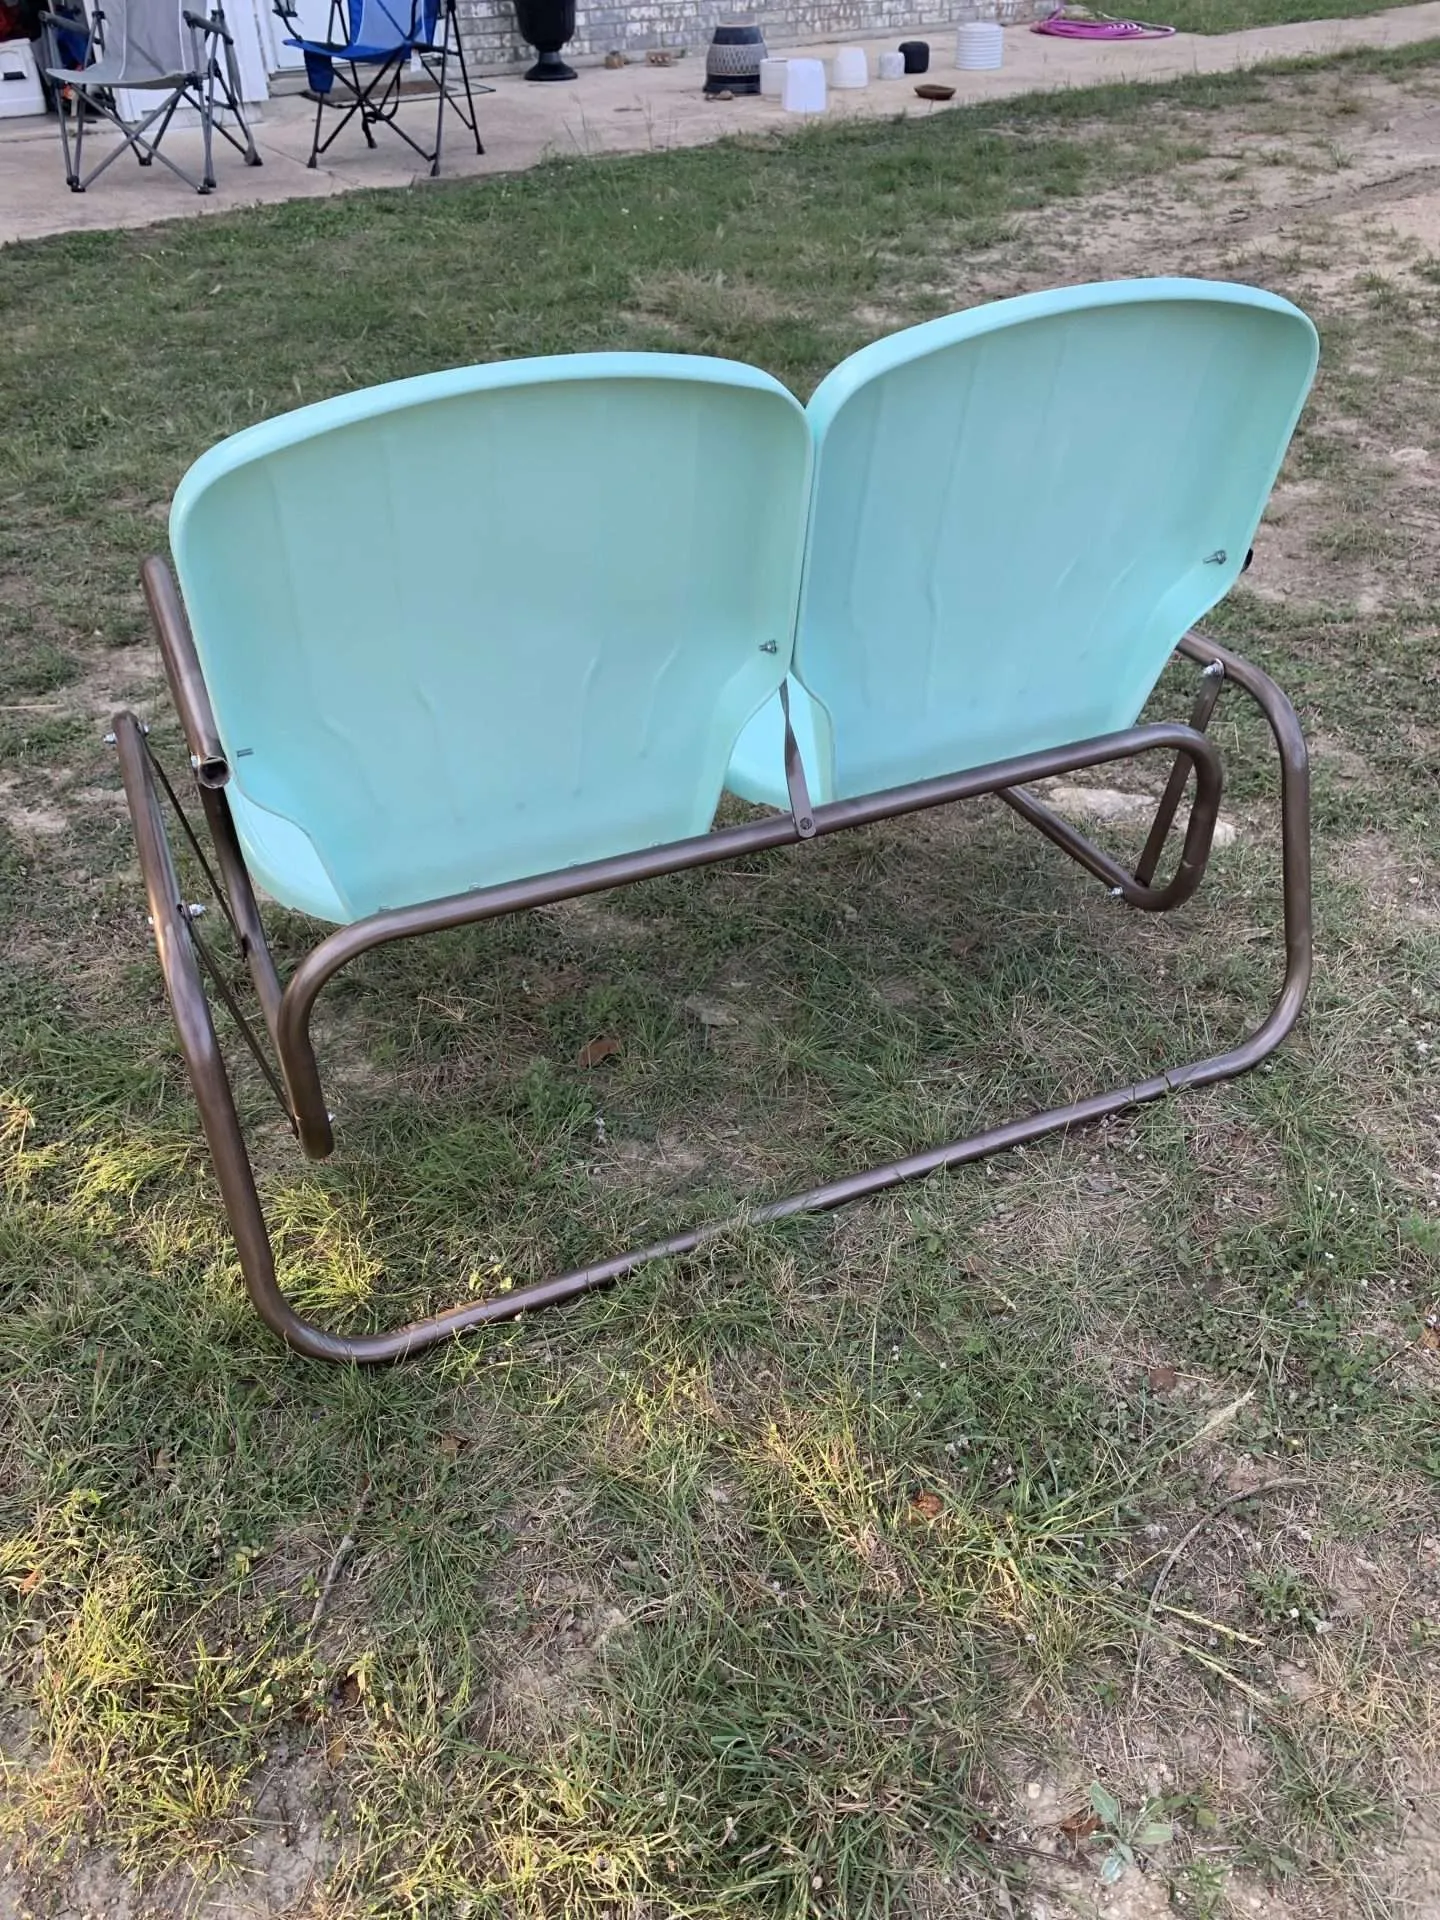
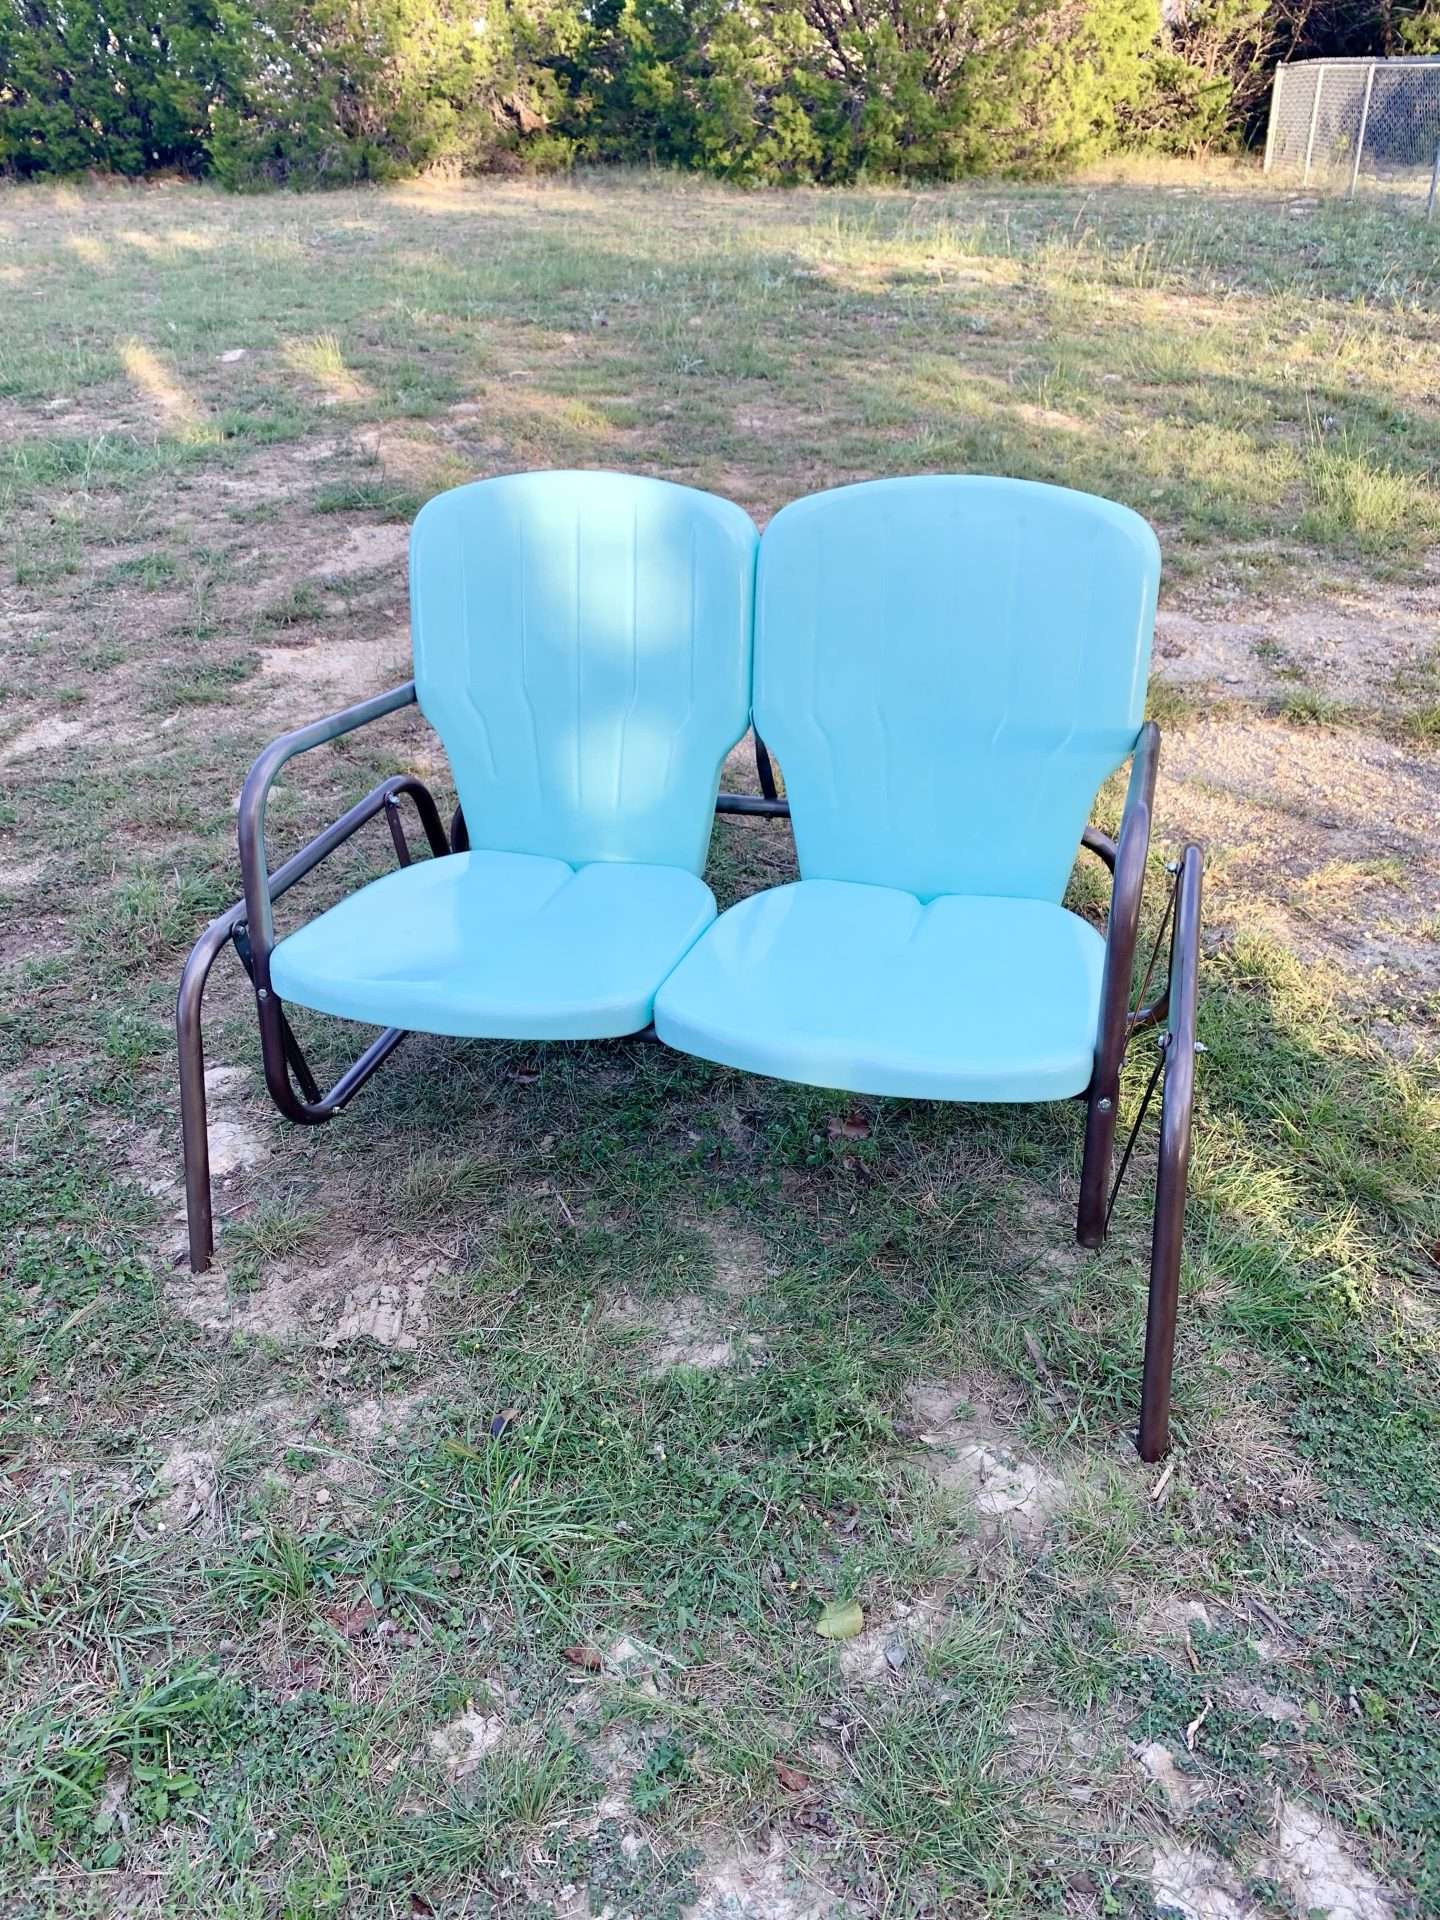
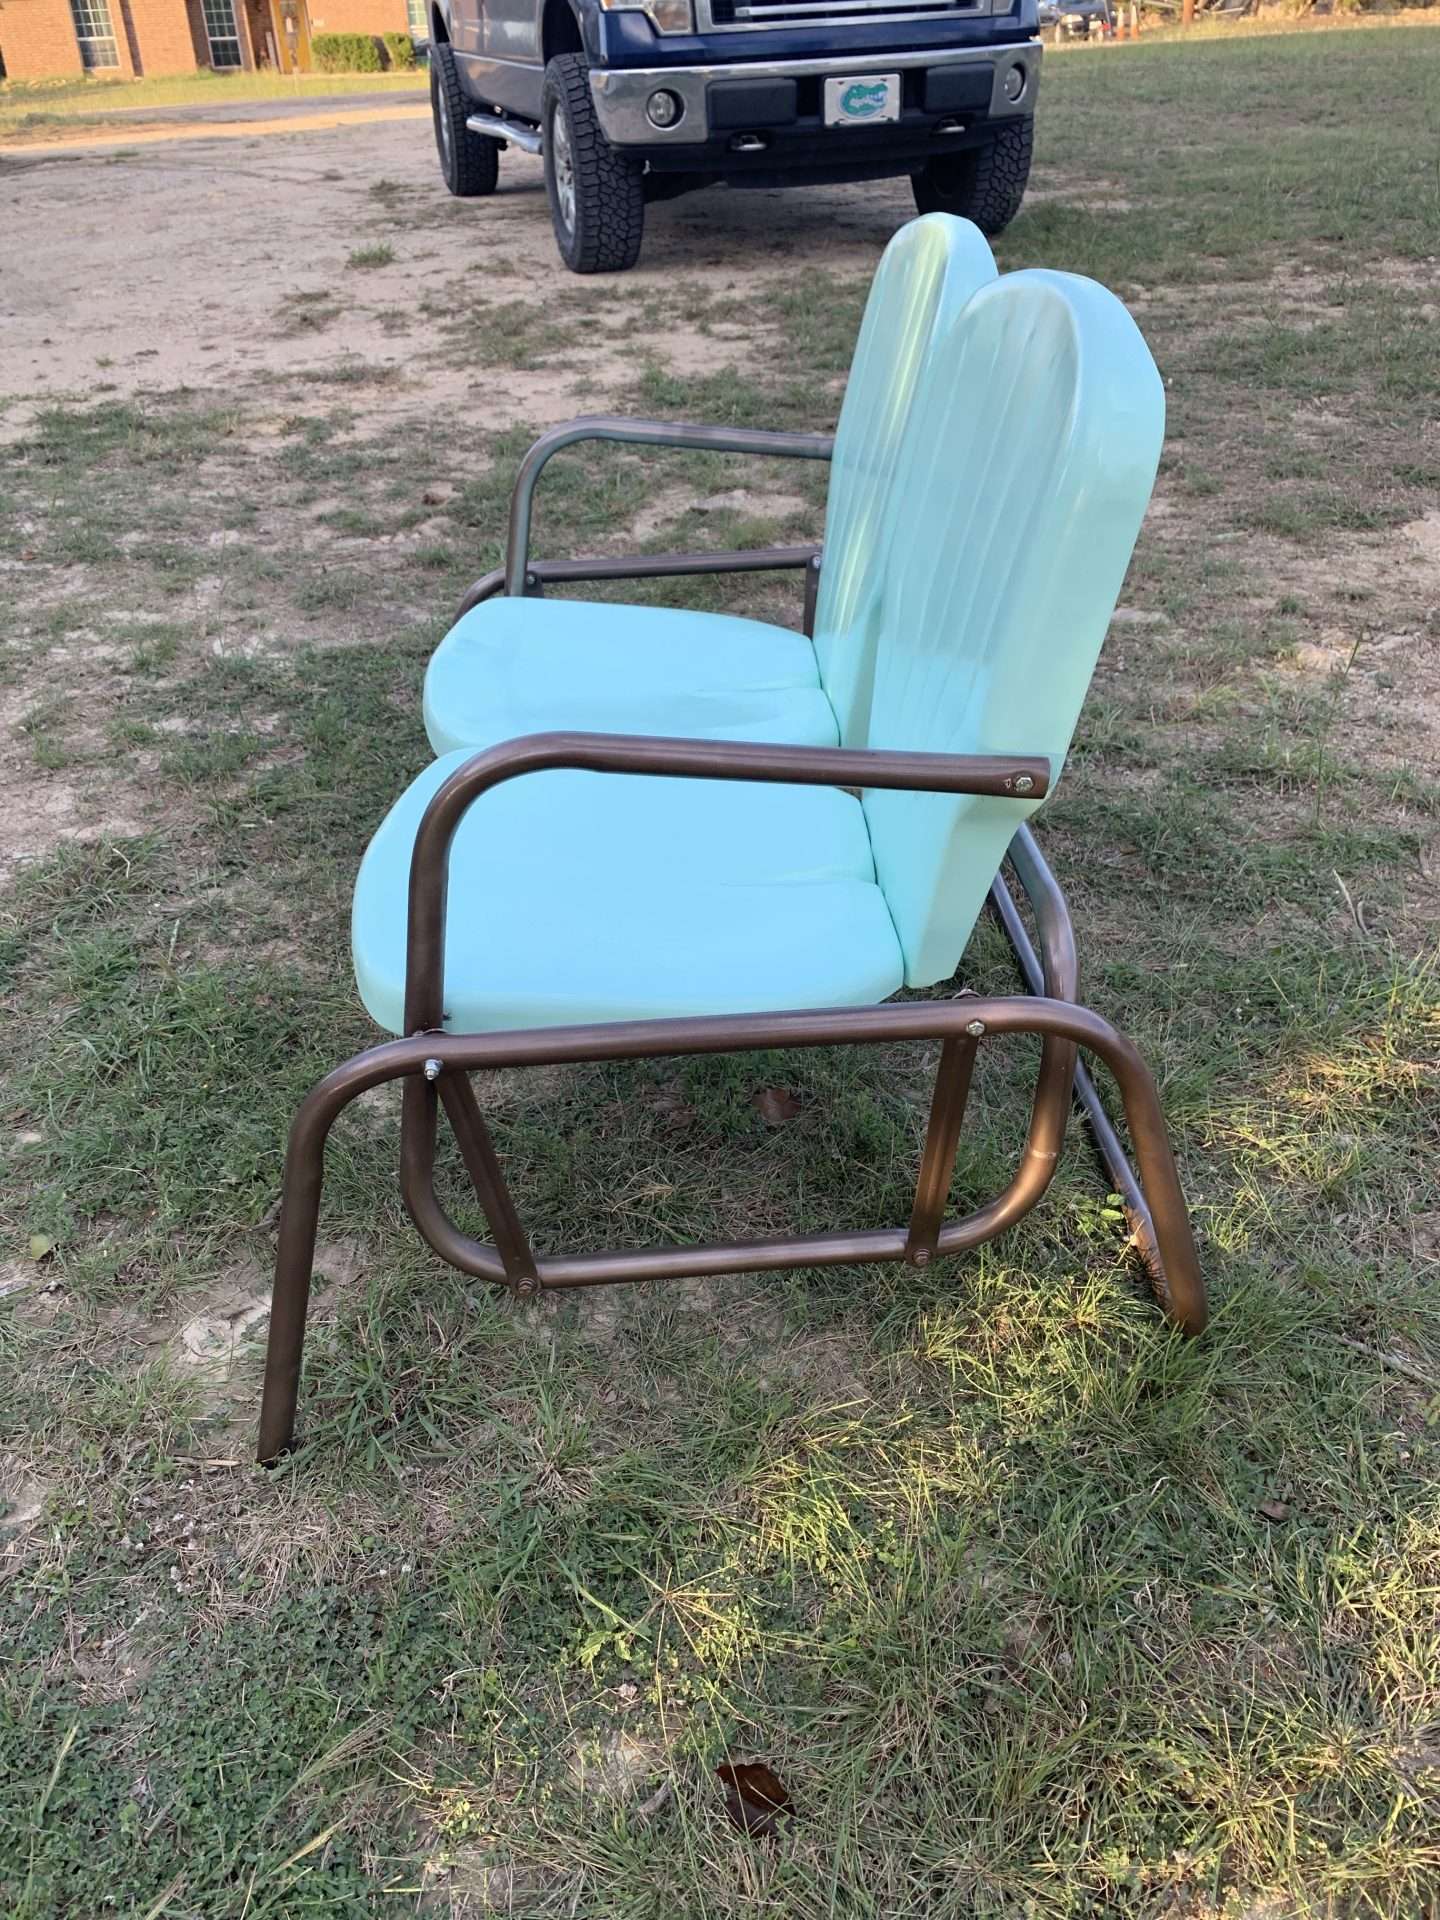
(The after pictures.)
I absolutely love how this vintage metal glider turned out! It was quite a long and tedious process, but so worth it!
I can’t wait to see the whole set together at our new house!