[Disclaimer: Finding Mandee is reader-supported, if you purchase through links on my site I may earn an affiliate commission at no additional cost to you. As an Amazon Associate, I earn from qualifying purchases.]
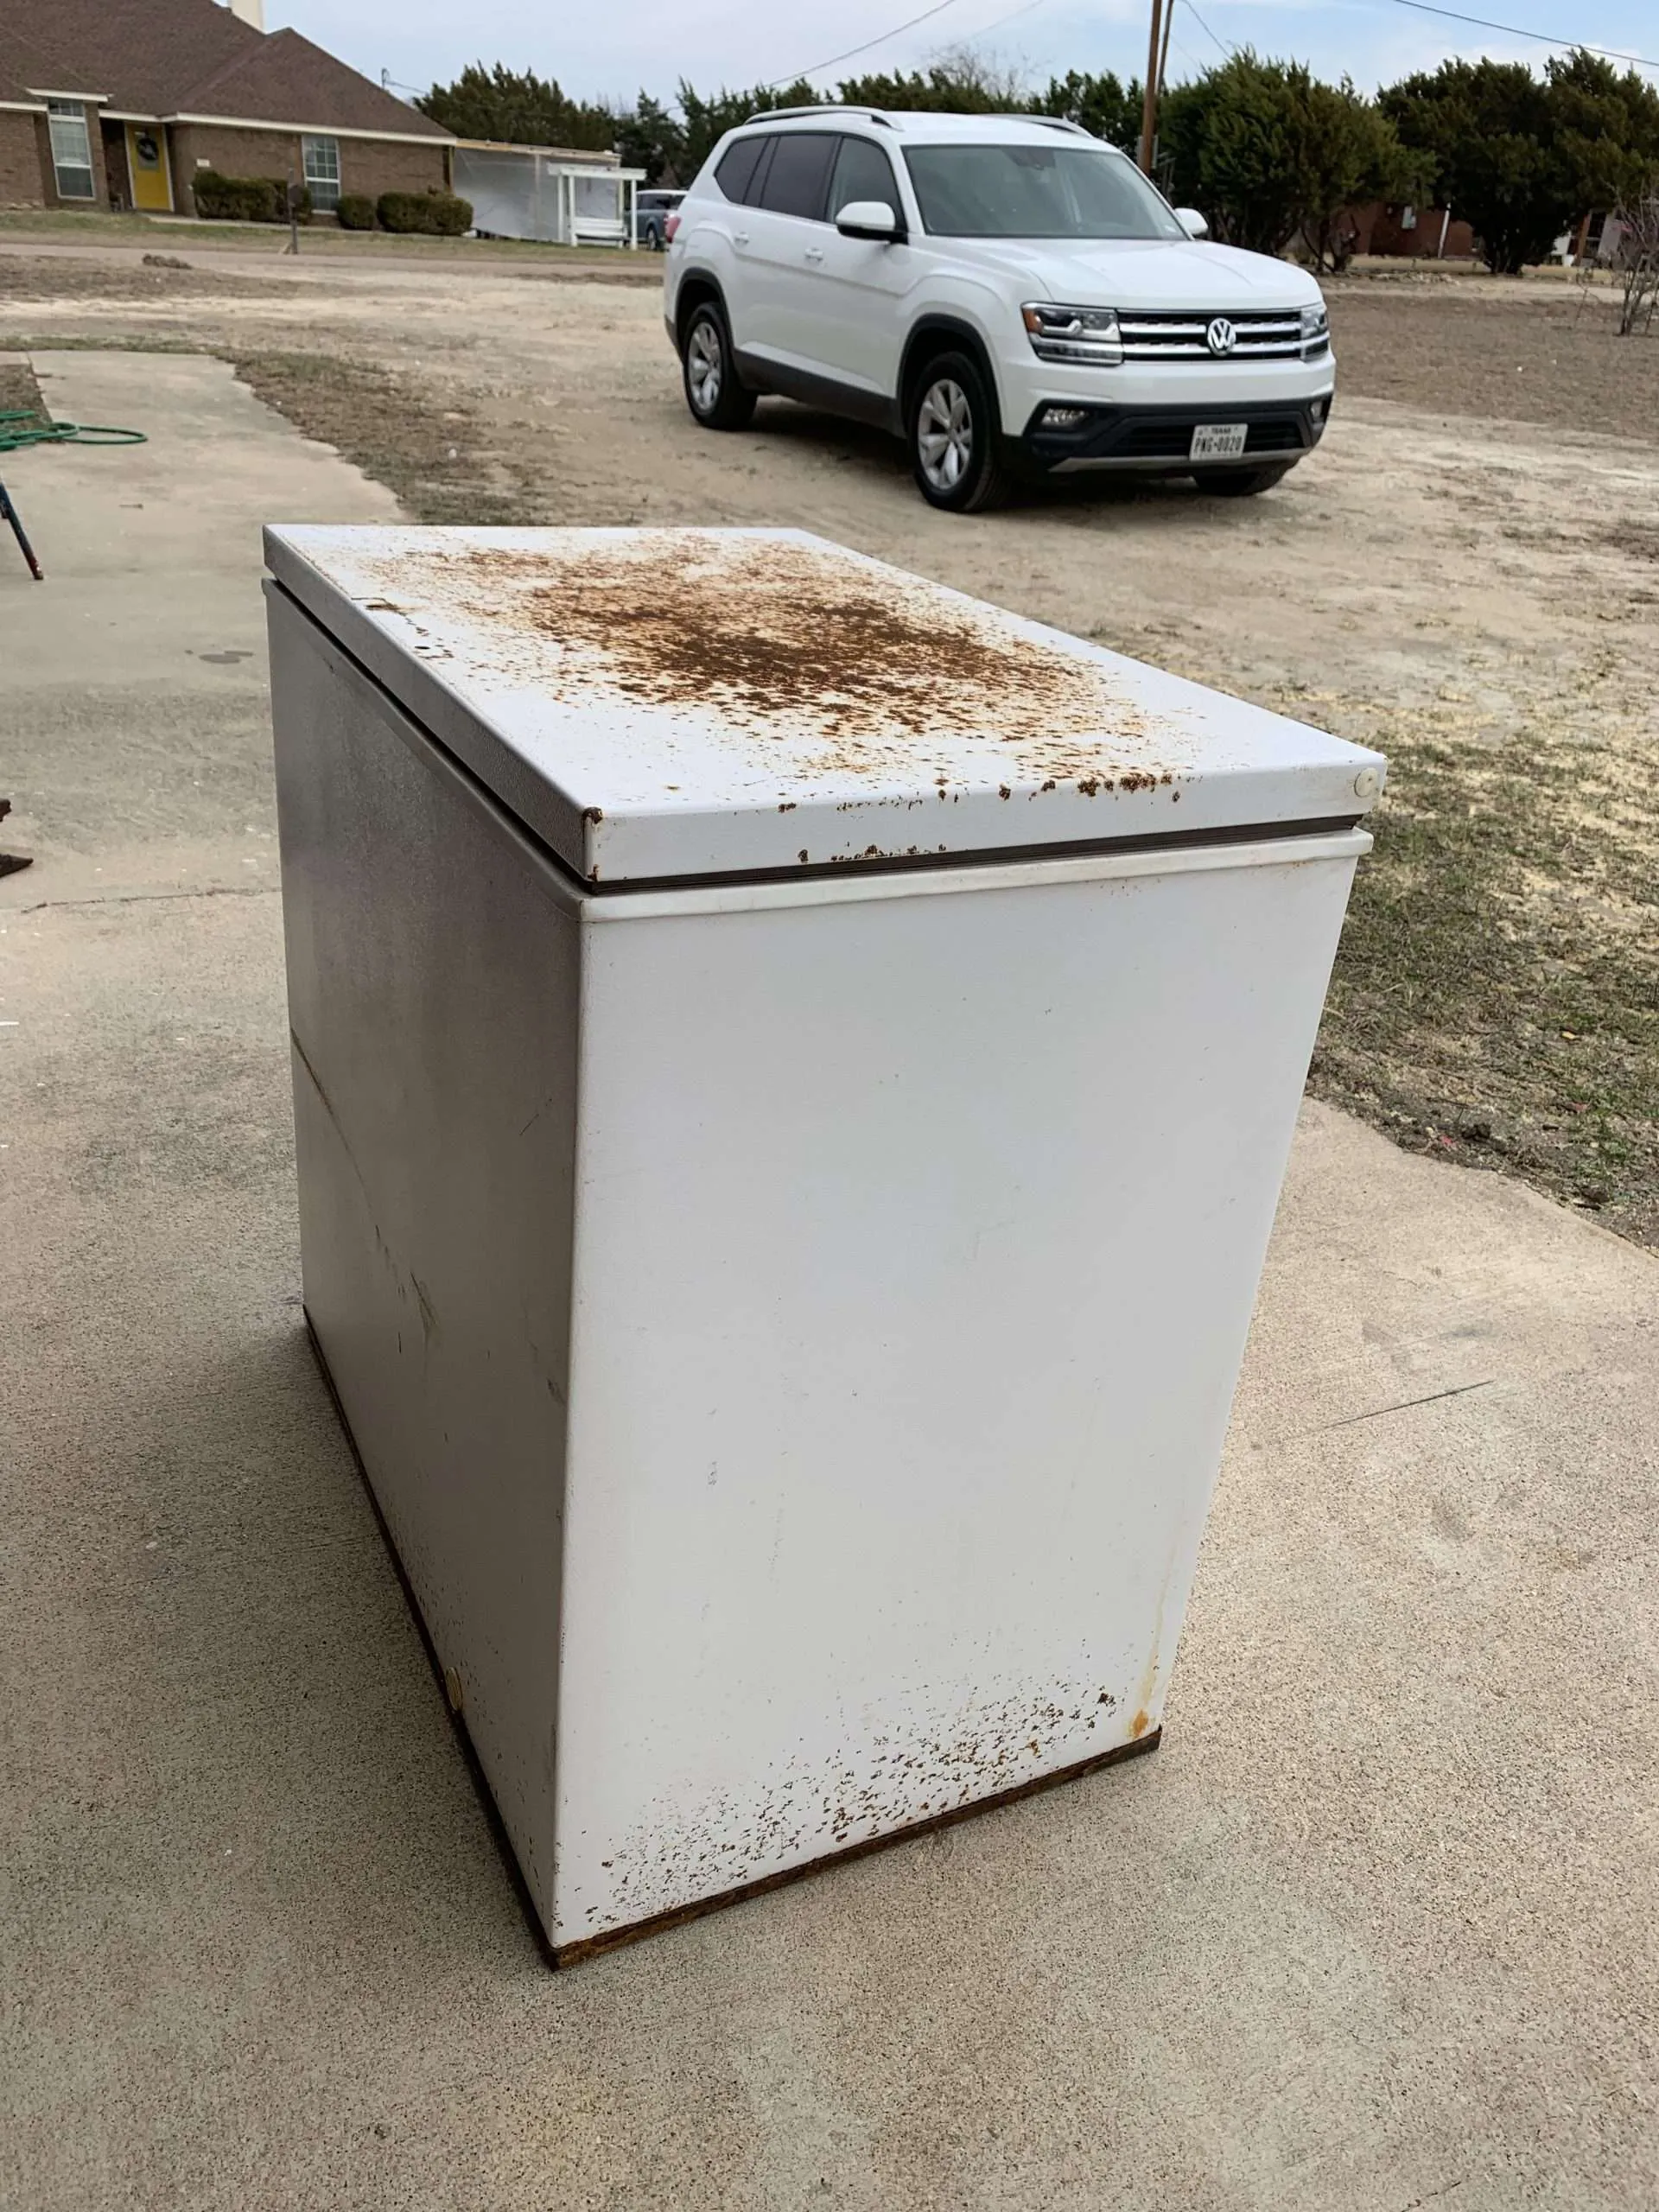
My parents were given this deep freezer as a wedding gift from my great-grandma 38 years ago. And it still works perfectly!
THIRTY-EIGHT YEARS! They just don’t make them like this anymore.
My parents bought a long-overdue upgrade and passed this one on to us, which we are extremely grateful for. (They have given us so many projects over the years, like this 100-year-old rocking chair and our nightstands.)
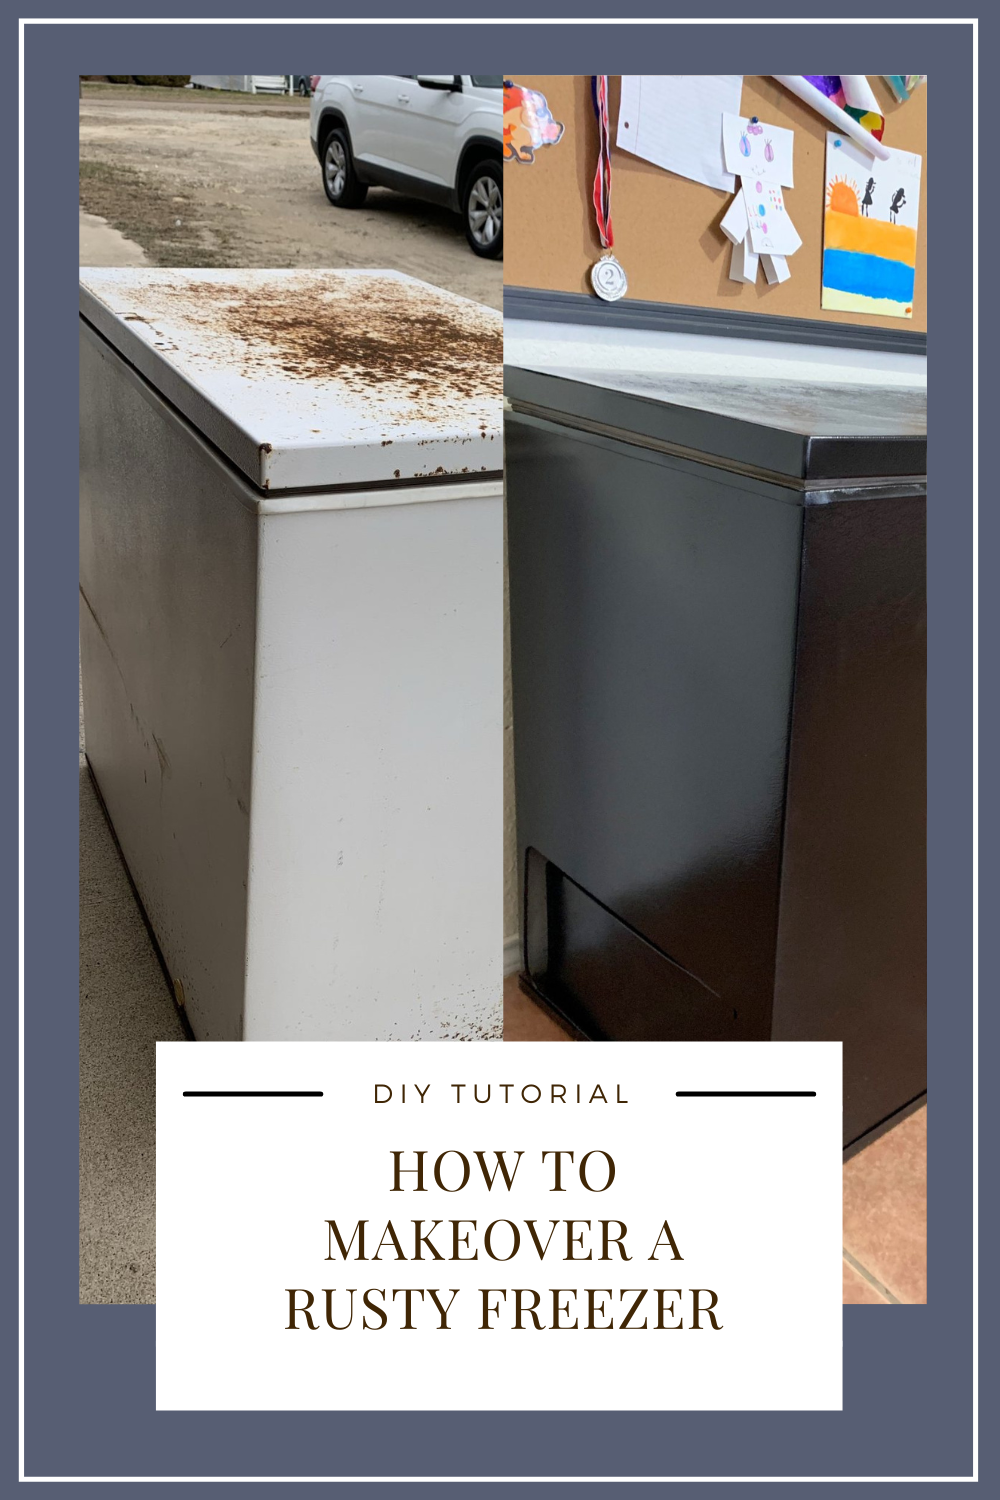
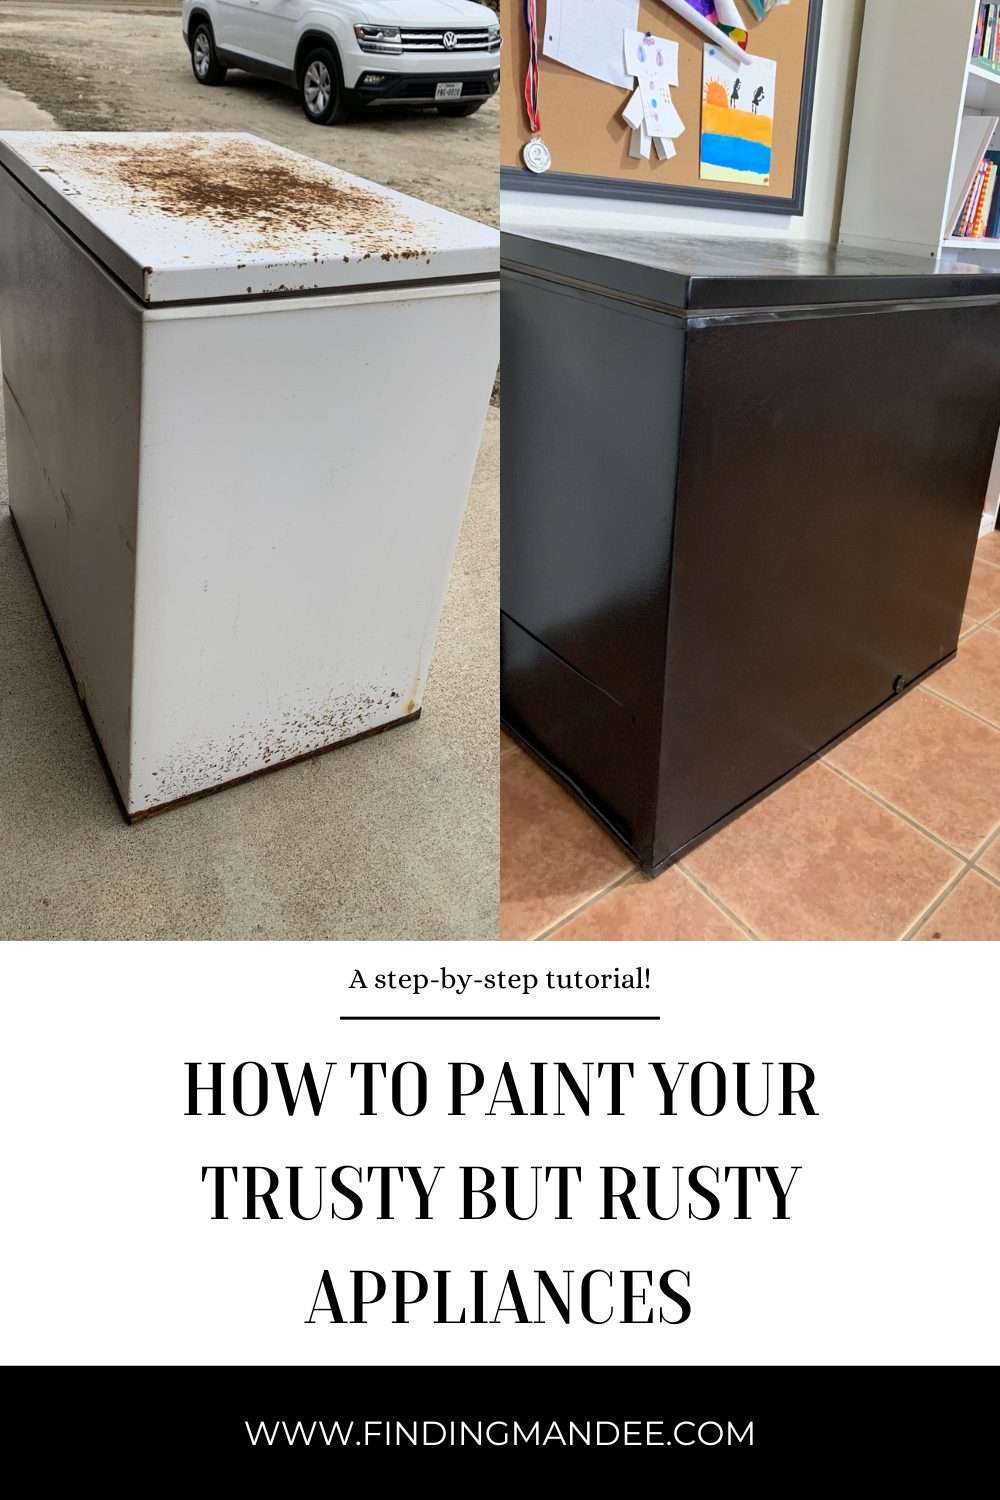
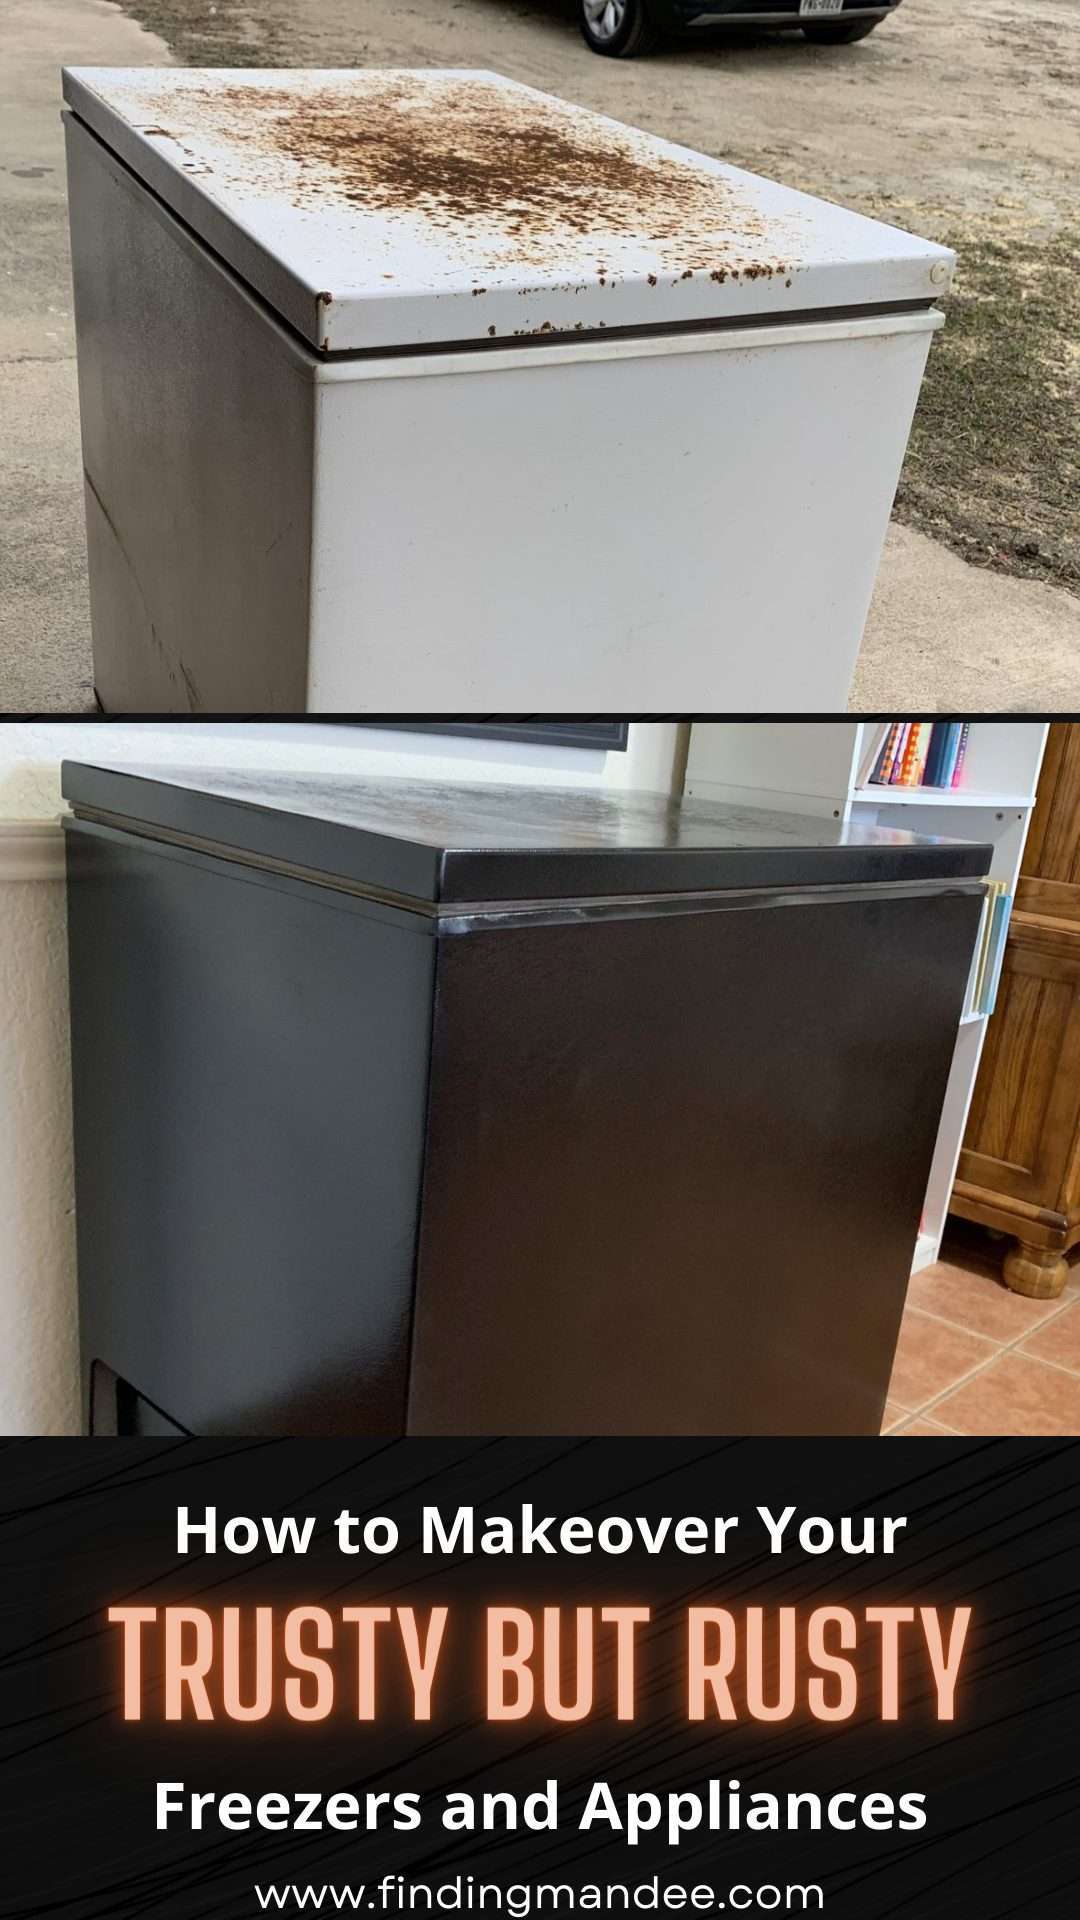
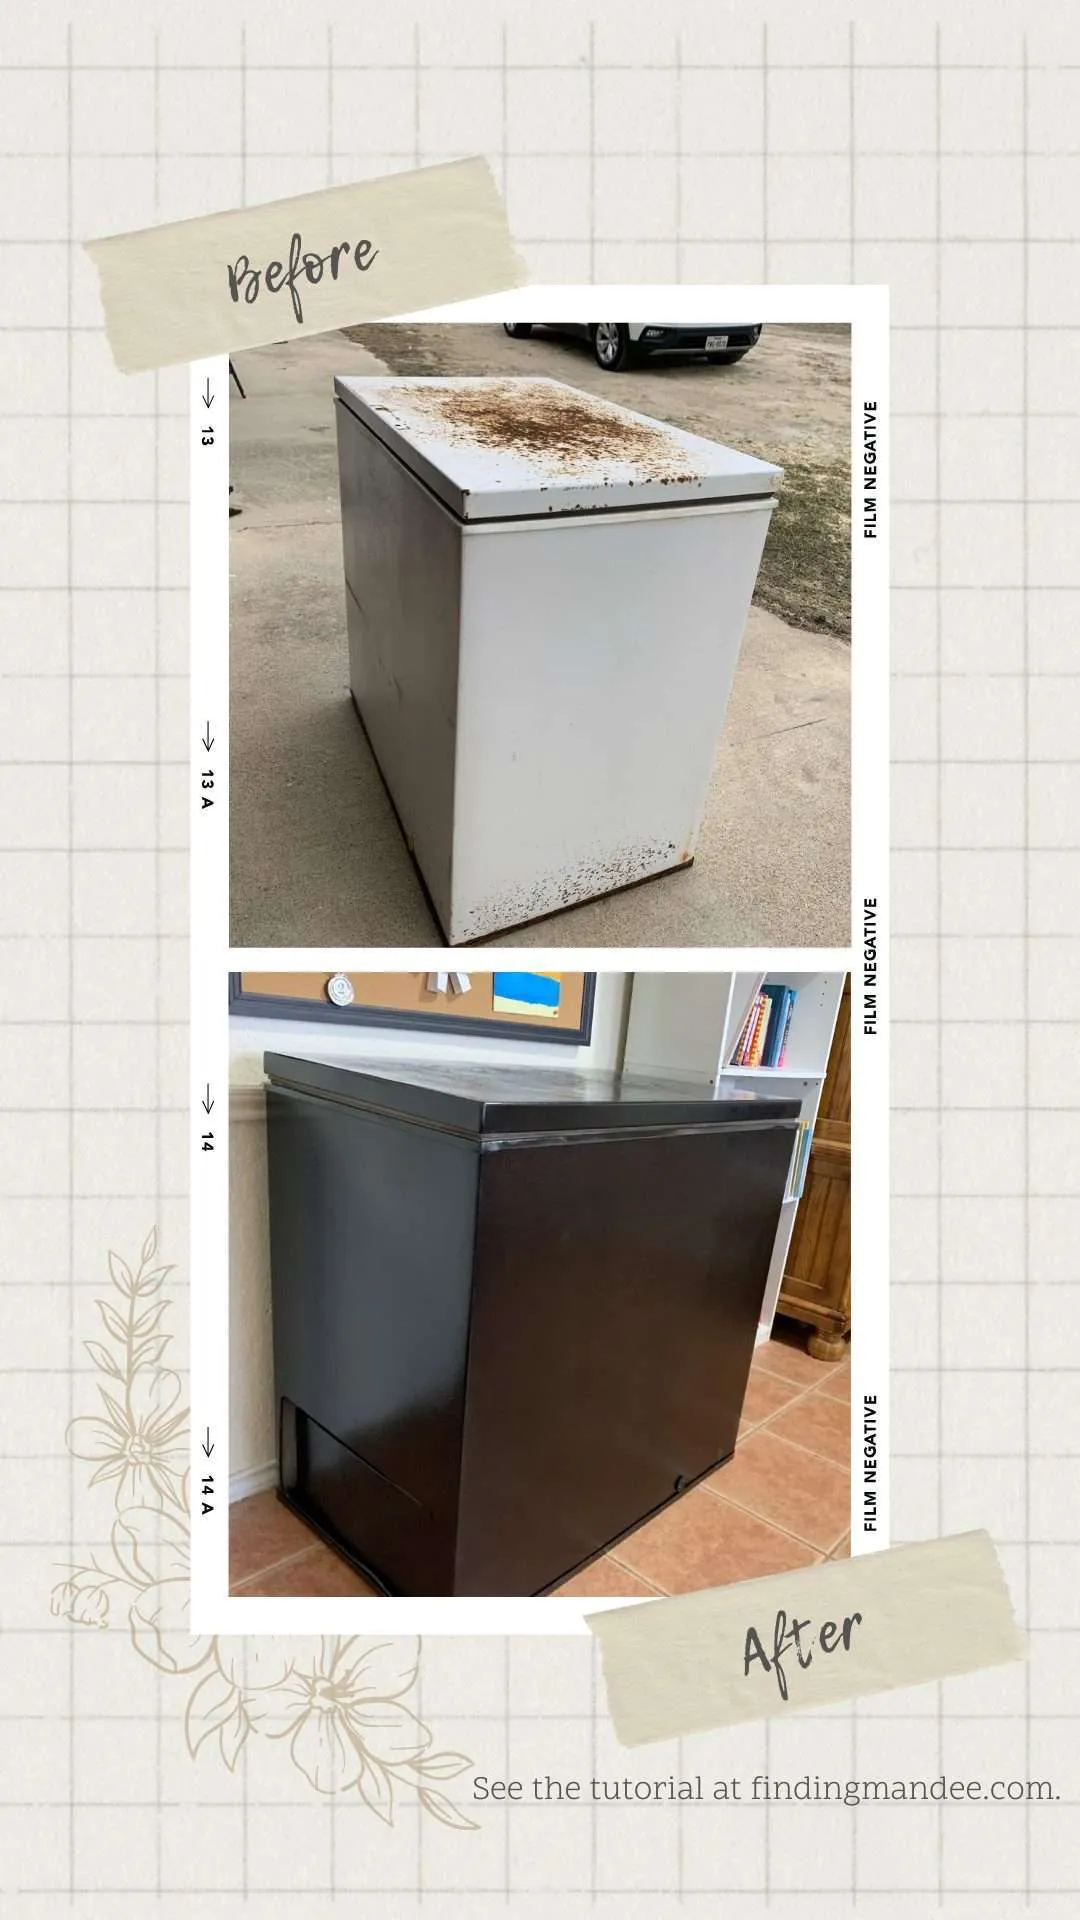
This deep freezer sat in an open garage for years and got pretty rusty. So, we decided it was time for a makeover.
Here’s how we painted this rusty old deep freezer:

Supplies:
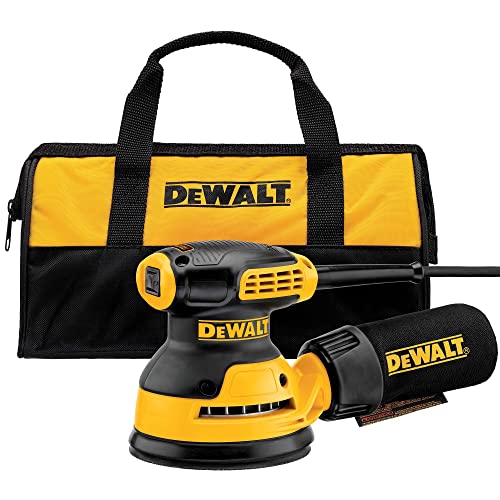
- orbital sander
- sanding pads/nets (80 and 120 grit)
- painters tape
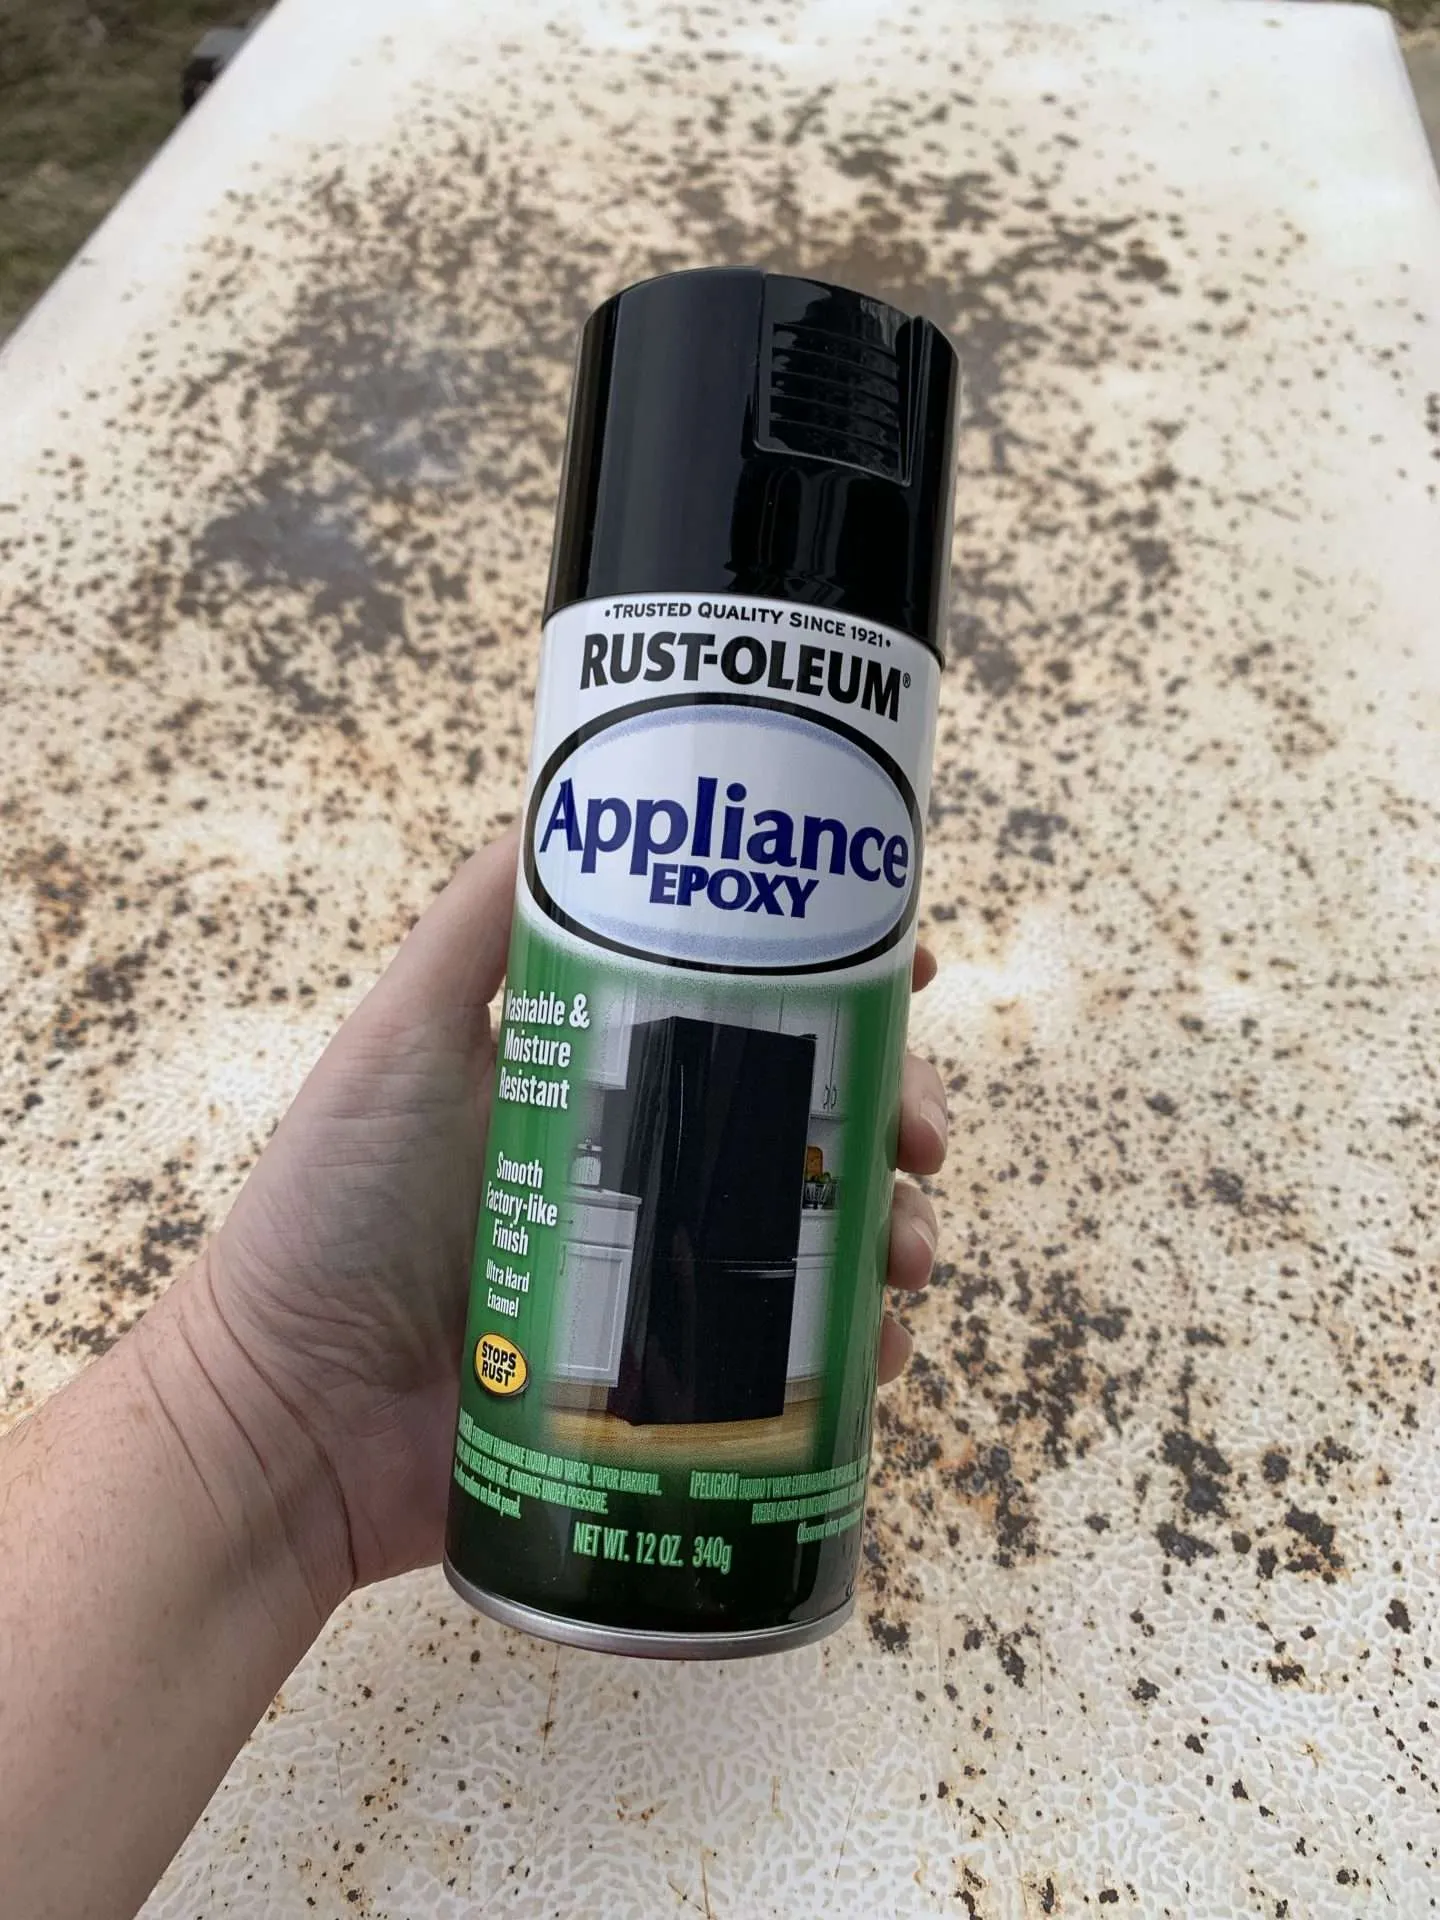
- 3 cans of appliance epoxy
- kitchen cleaner
- old rags
- rusty freezer
Rust-Oleum 7881830 Specialty Appliance Epoxy Spray Paint, 12 oz, WhiteRust-Oleum 7886830-2PK Specialty Appliance Epoxy, 2 Pack, Black, 2 Piece


Step 1: Defrost & Clean
The first step was to remove all of the food and ice from the deep freezer. It had been years since the last time it had completely thawed out and there was a lot of ice build-up.
We put all of the food into their new freezer and moved this one outside so that it could defrost without soaking the floor. To speed things along with we chipped off any big chunks of ice.
Then gave it a good cleaning with a regular kitchen cleaner.
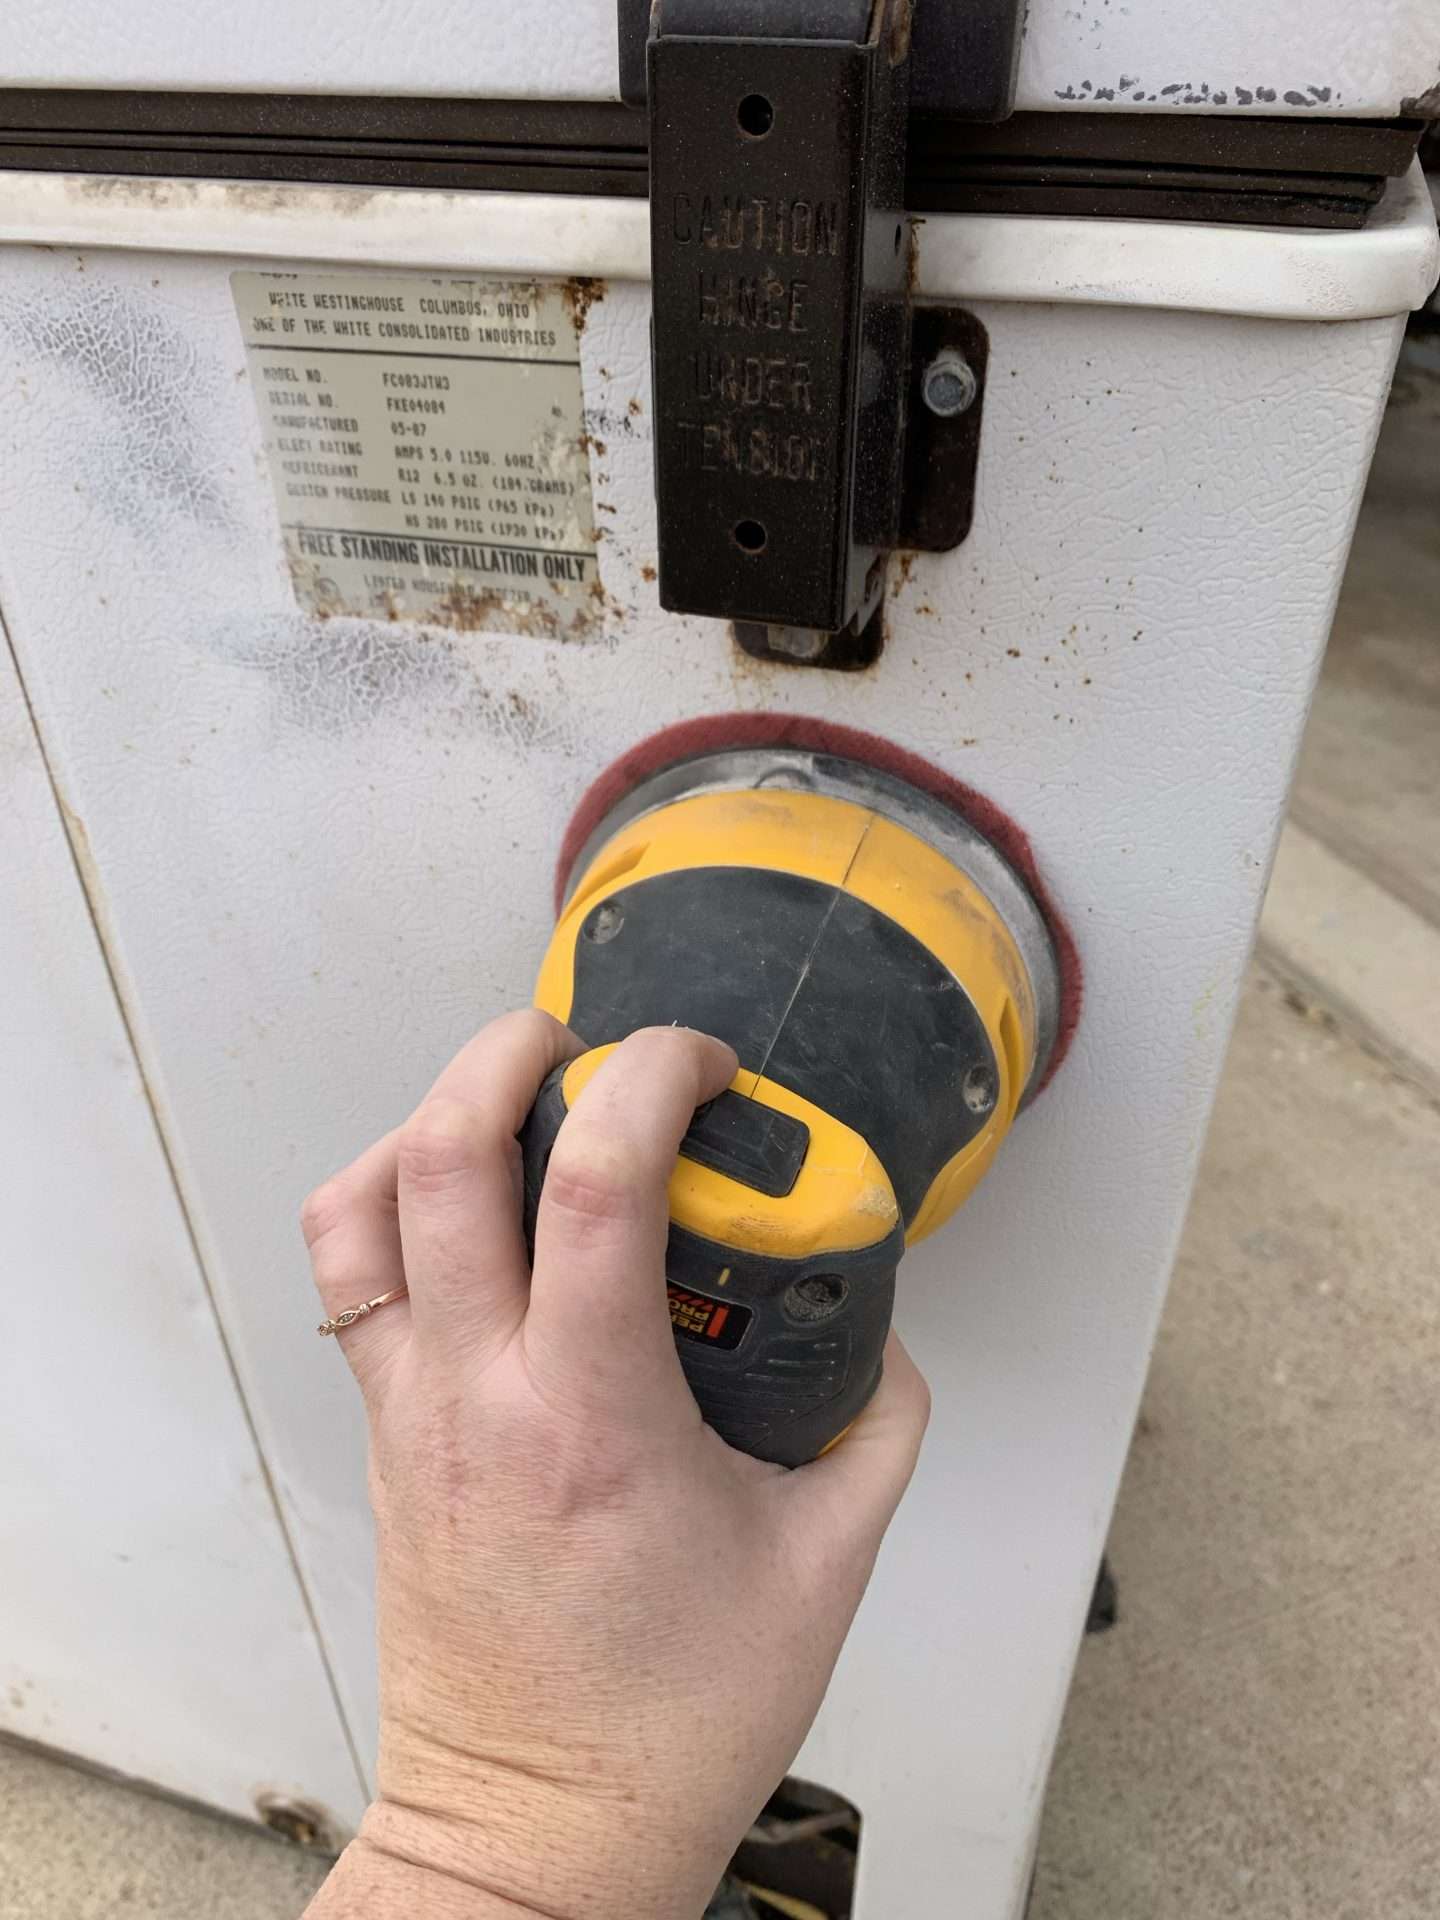
Step 2: Sand
After the freezer was completely thawed out and cleaned, I started sanding.
I used an 80-grit sanding net to knock off as much of the rust as I could. Then I went back over it with a 120-grit sanding net to smooth it out.
It wasn’t perfect and there were still rust spots on the lid, but I was afraid to sand too much because I didn’t want to blow through the metal and leave a hole.
DEWALT Orbital Sander Kit, 5 inch, 3 amp, Corded, 12,000 OPM (DWE6421K)30PCS 5 Inch Mesh Hook & Loop Sanding Discs 80 100 120 150 320 600 Assort Grit Dust Free Abrasive Net Sander Disc Anti-Blocking Long-Lasting Mesh Sanding Pads, Sandpaper for Wood Furniture Floor

Step 3: Clean Again & Tape
I used our leaf blower to blow off as much dust as possible. Then used a damp rag to wipe the rest of the dust off of the deep freezer.
While the surface was drying, I used painter’s tape to cover the gray seal inside the lid. Painting over the rubber with this epoxy would make it too stiff and it wouldn’t seal properly.

Step 4: Spray on Paint/Epoxy
I did a lot of research before picking paint for this freezer. Not because I was being picky about the color (like I usually am), but because I wanted to find something that would hold up on metal that was constantly experiencing temperature extremes. I also wanted something that would hopefully stop the rust from getting worse.
In the end, I decided on an appliance epoxy. It’s supposed to harden more than paint and isn’t porous to moisture like some paints.
Thankfully, it’s not expensive and comes in spray paint cans. It’s also easy to apply. The brand we went with was Rustoleum in a glossy black.
Duck Brand Clean Release Painter’s Tape, 1.41 in. x 60 yd., Blue, Single Roll (240194)6-Pack of 12 oz Rust-Oleum Brands 7887830 Stainless Steel Specialty Appliance Epoxy Spray


We ended up using 2 full cans and part of a 3rd can.
When spraying the epoxy on, make sure to keep the can 10-12 inches from the surface and apply it in light layers. If it goes on too thick, it will be sticky and take a long time to dry.
The only difference I noticed between this and regular spray paint was that the epoxy was stickier. Almost as soon as you painted it on, it was tacky/sticky to the touch.
Let the deep freezer dry for 24 hours before trying to move it.
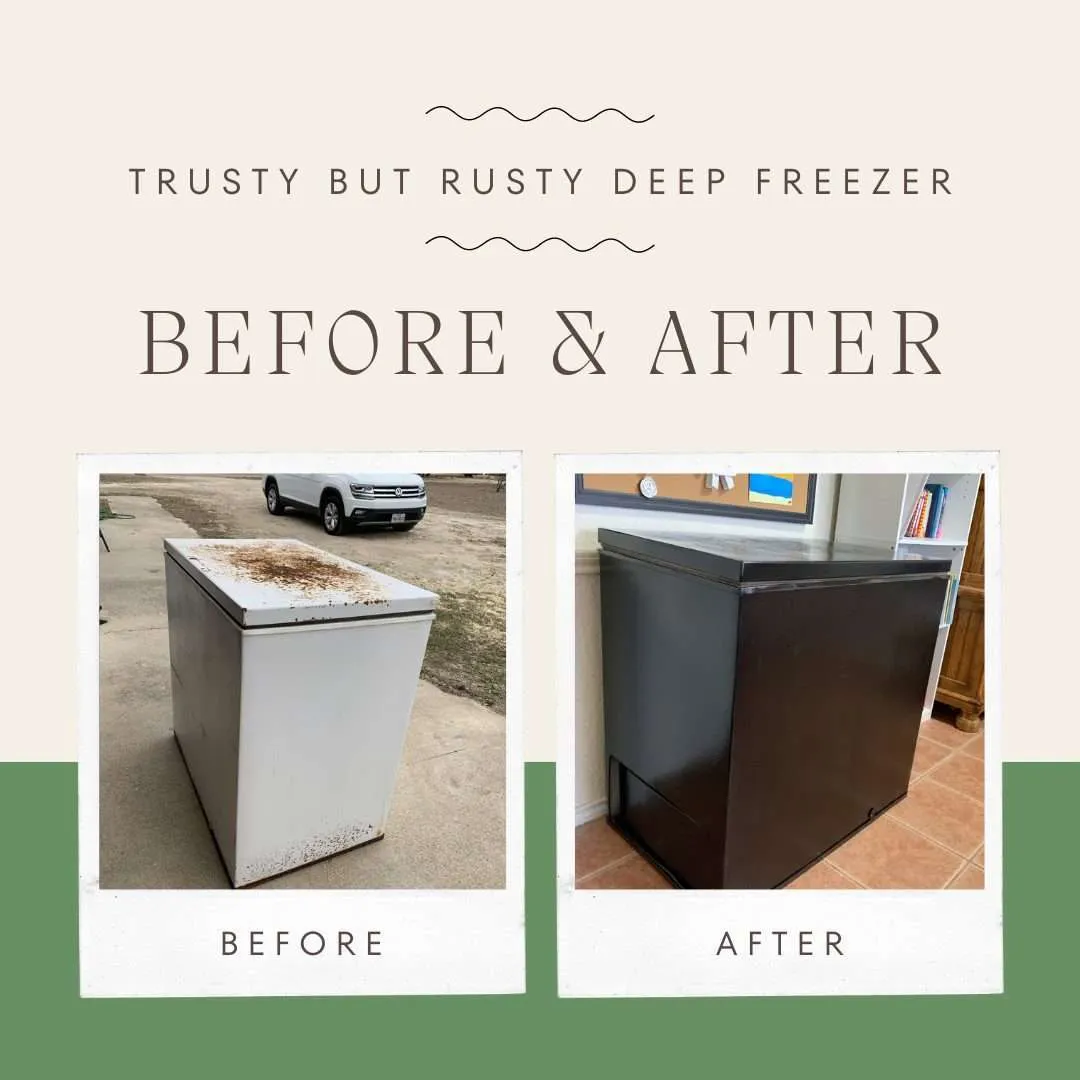
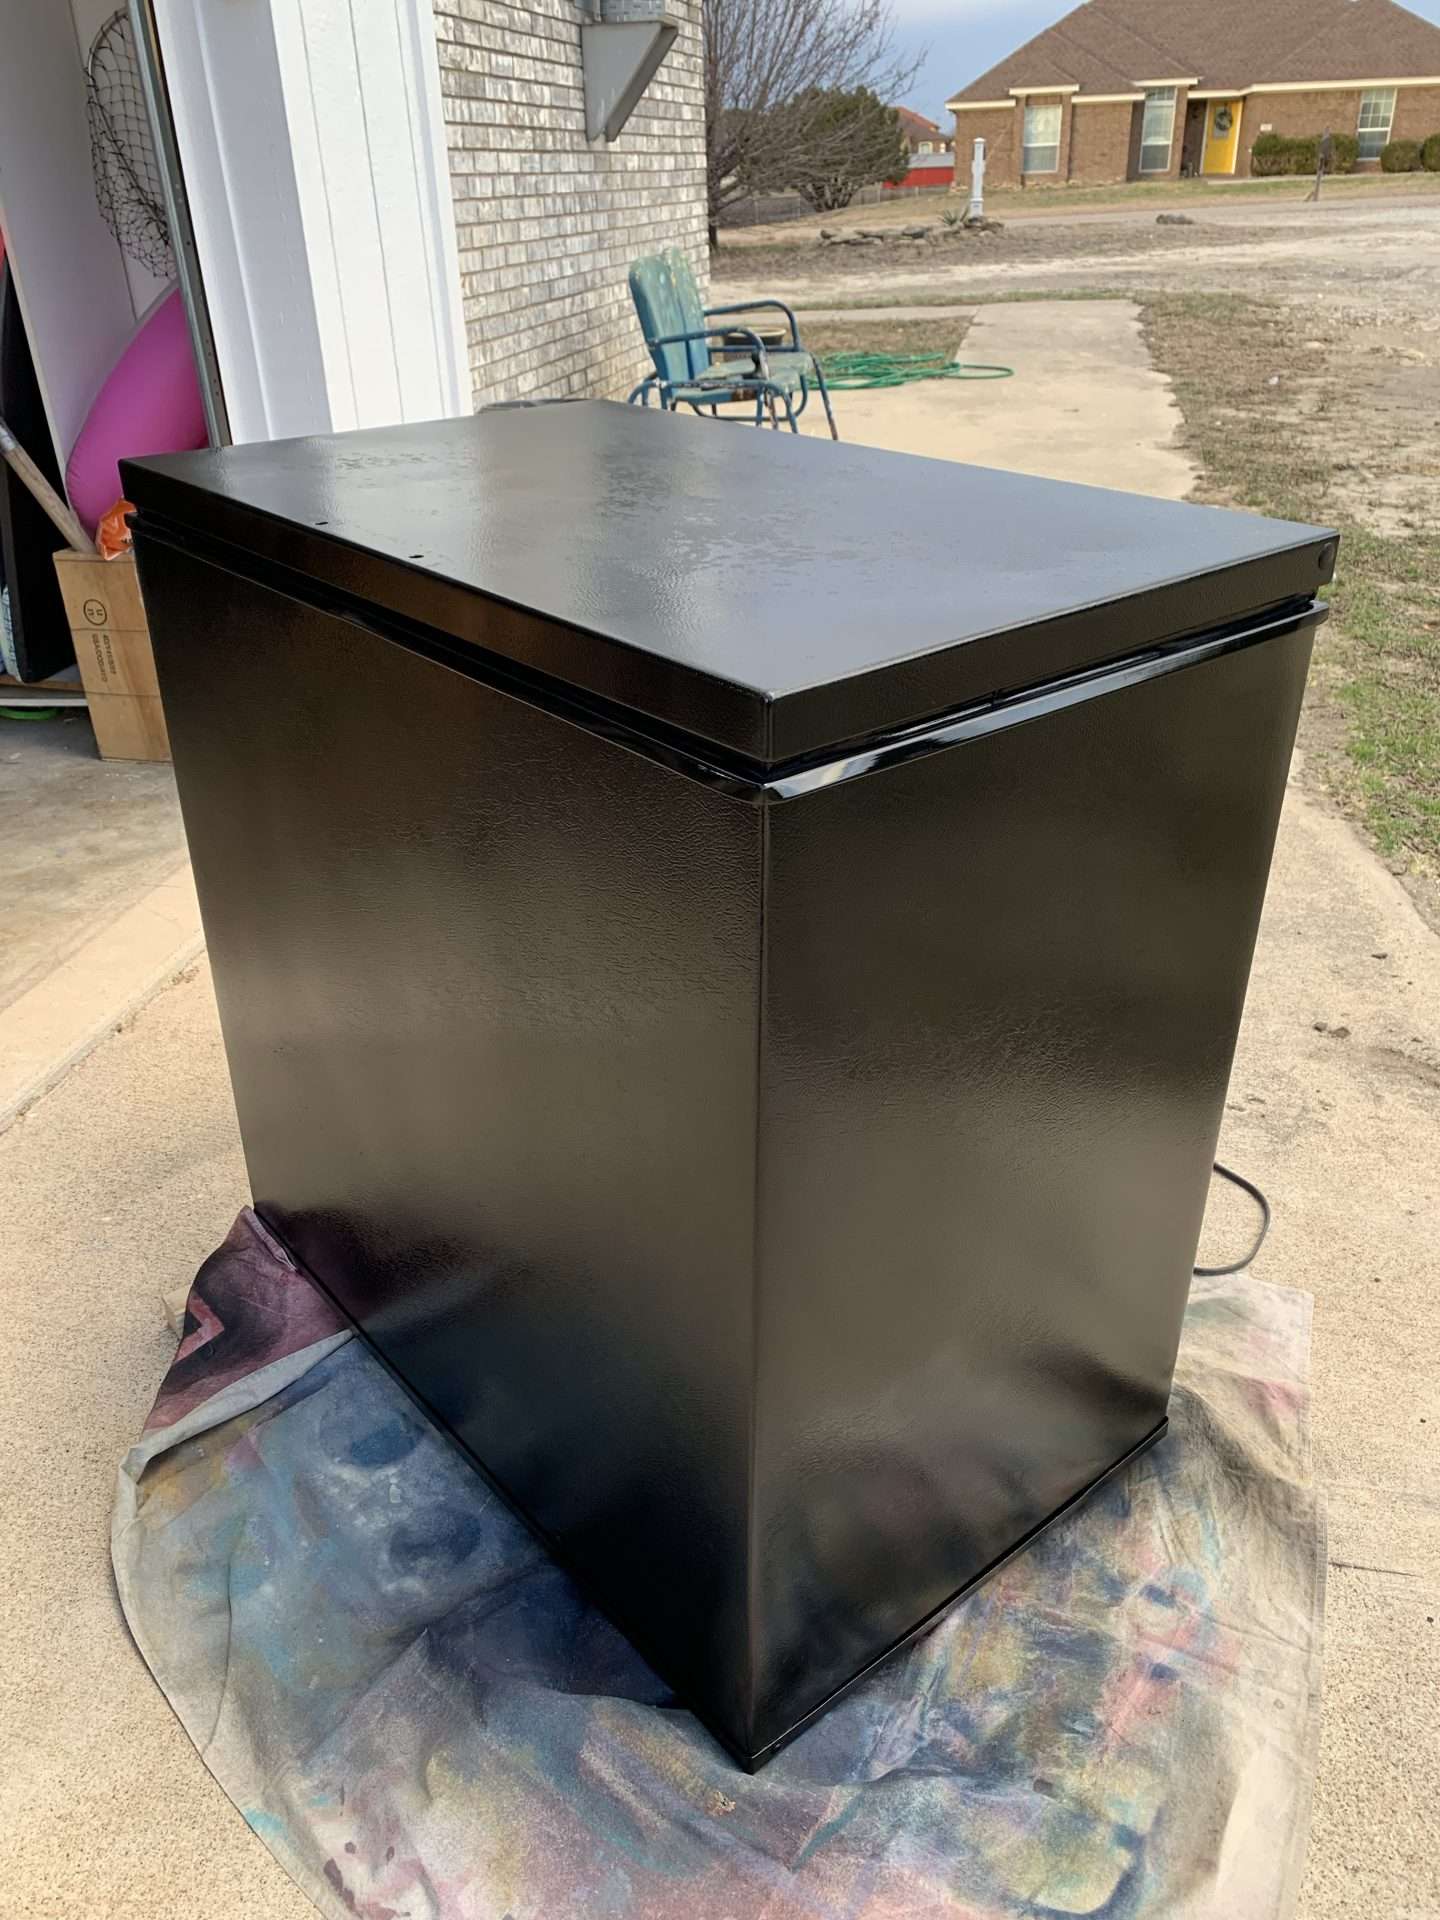
And it’s done!
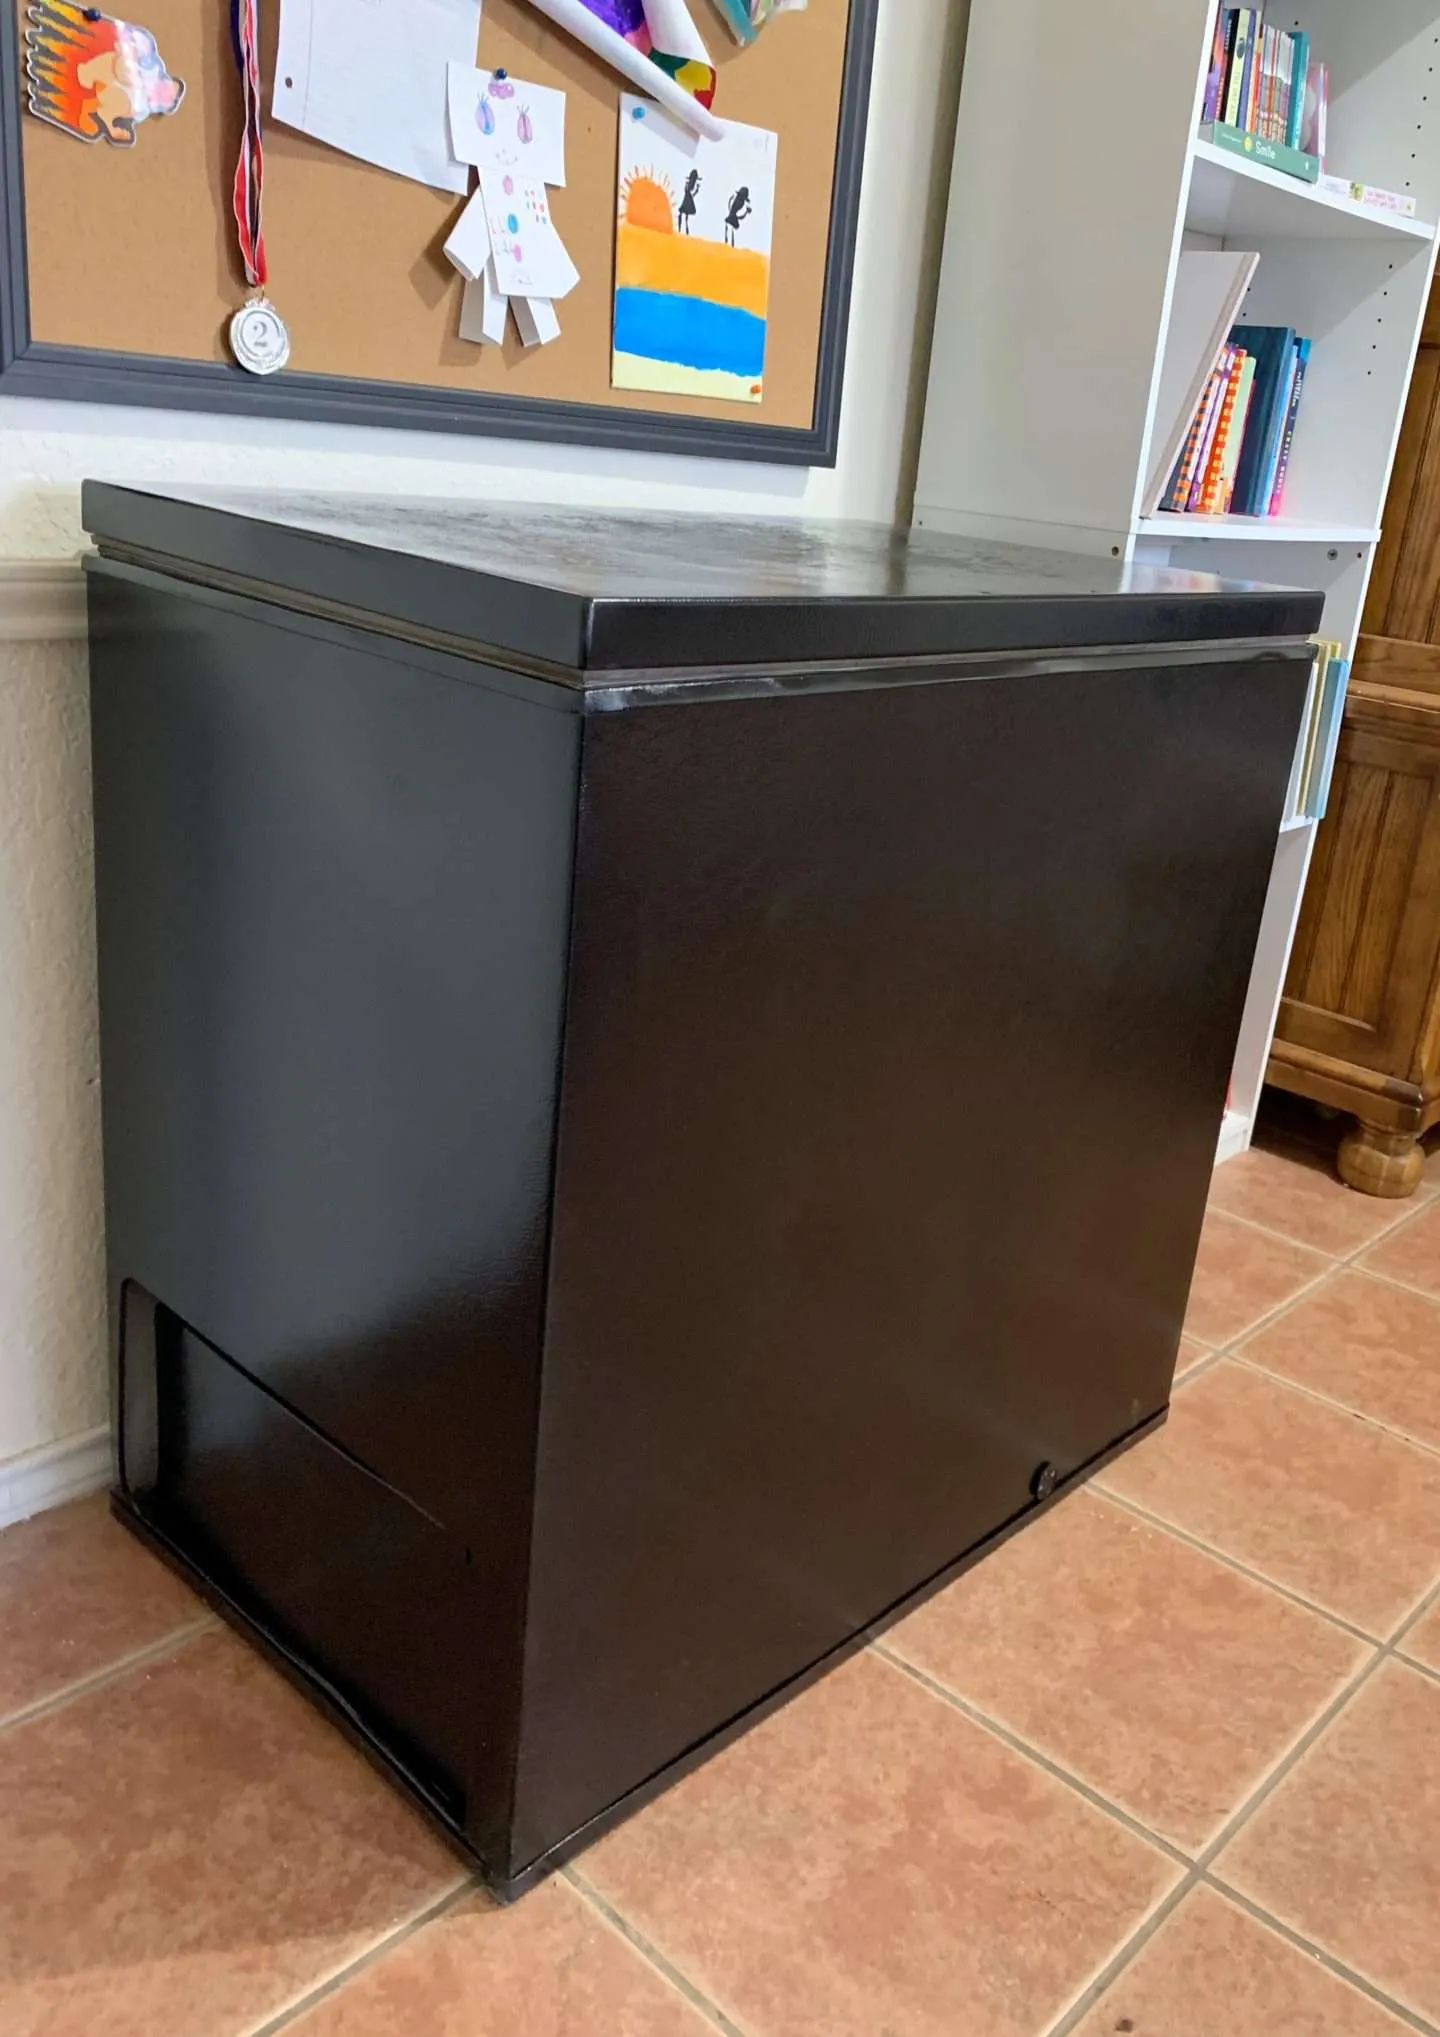
This definitely wasn’t the prettiest project we’ve ever done, but it looks so much better than the rusty thing we started with.
No one would ever believe that this freezer is almost 40 years old!