[Disclaimer: Finding Mandee is reader-supported, if you purchase through links on my site I may earn an affiliate commission at no additional cost to you. As an Amazon Associate, I earn from qualifying purchases.]
Nearly every time we make a trip home, I drag back some projects for us to work on.
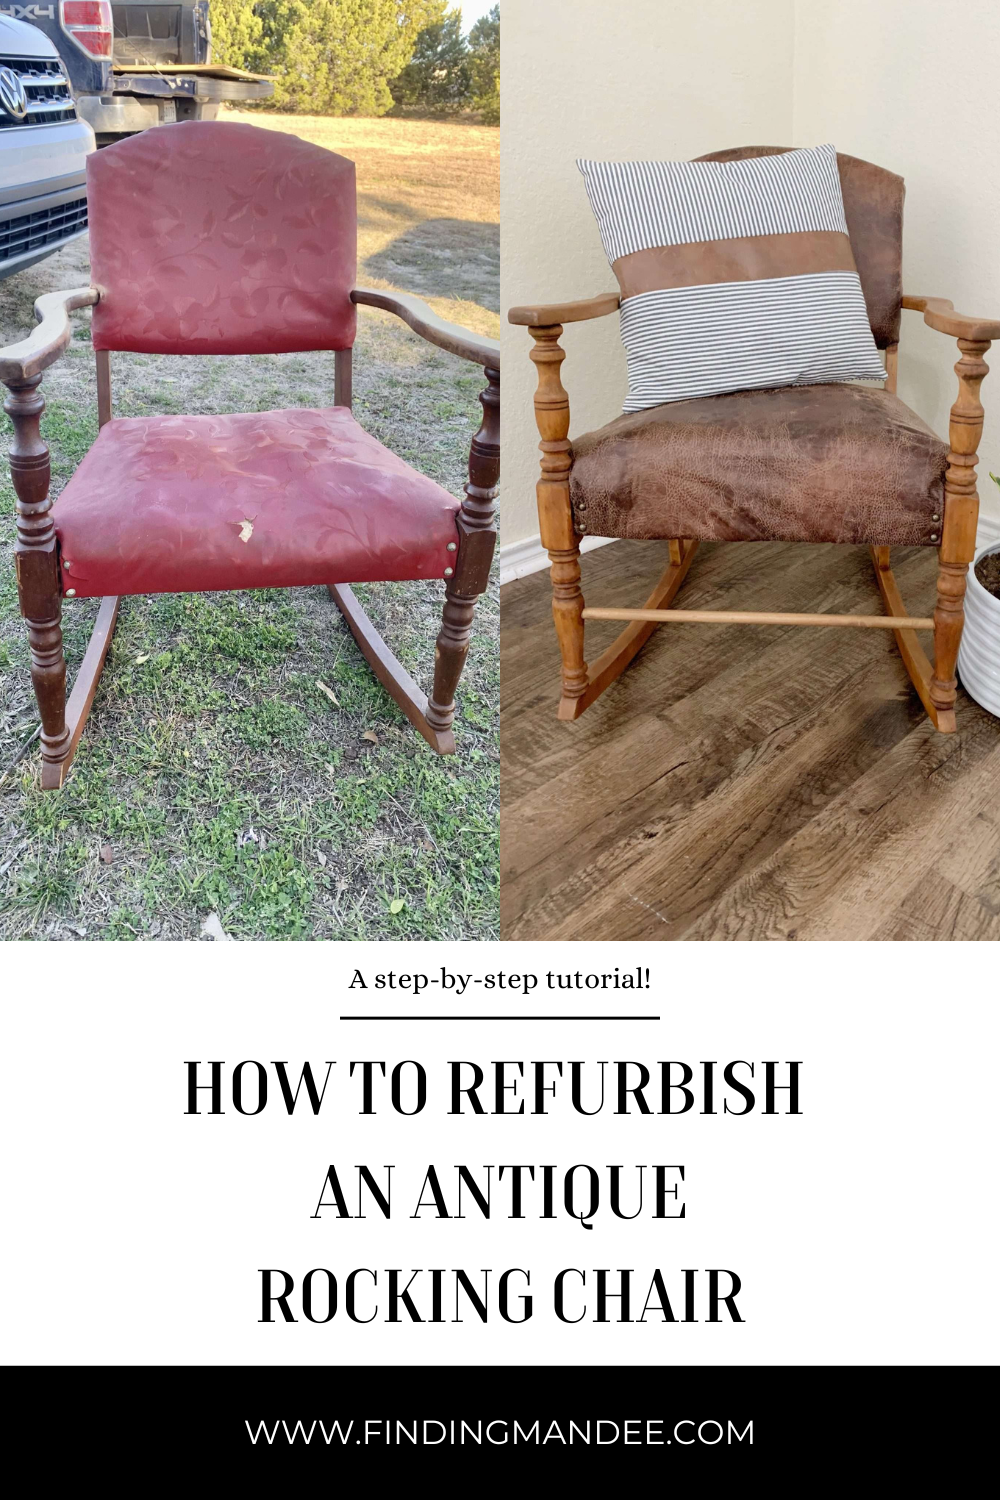
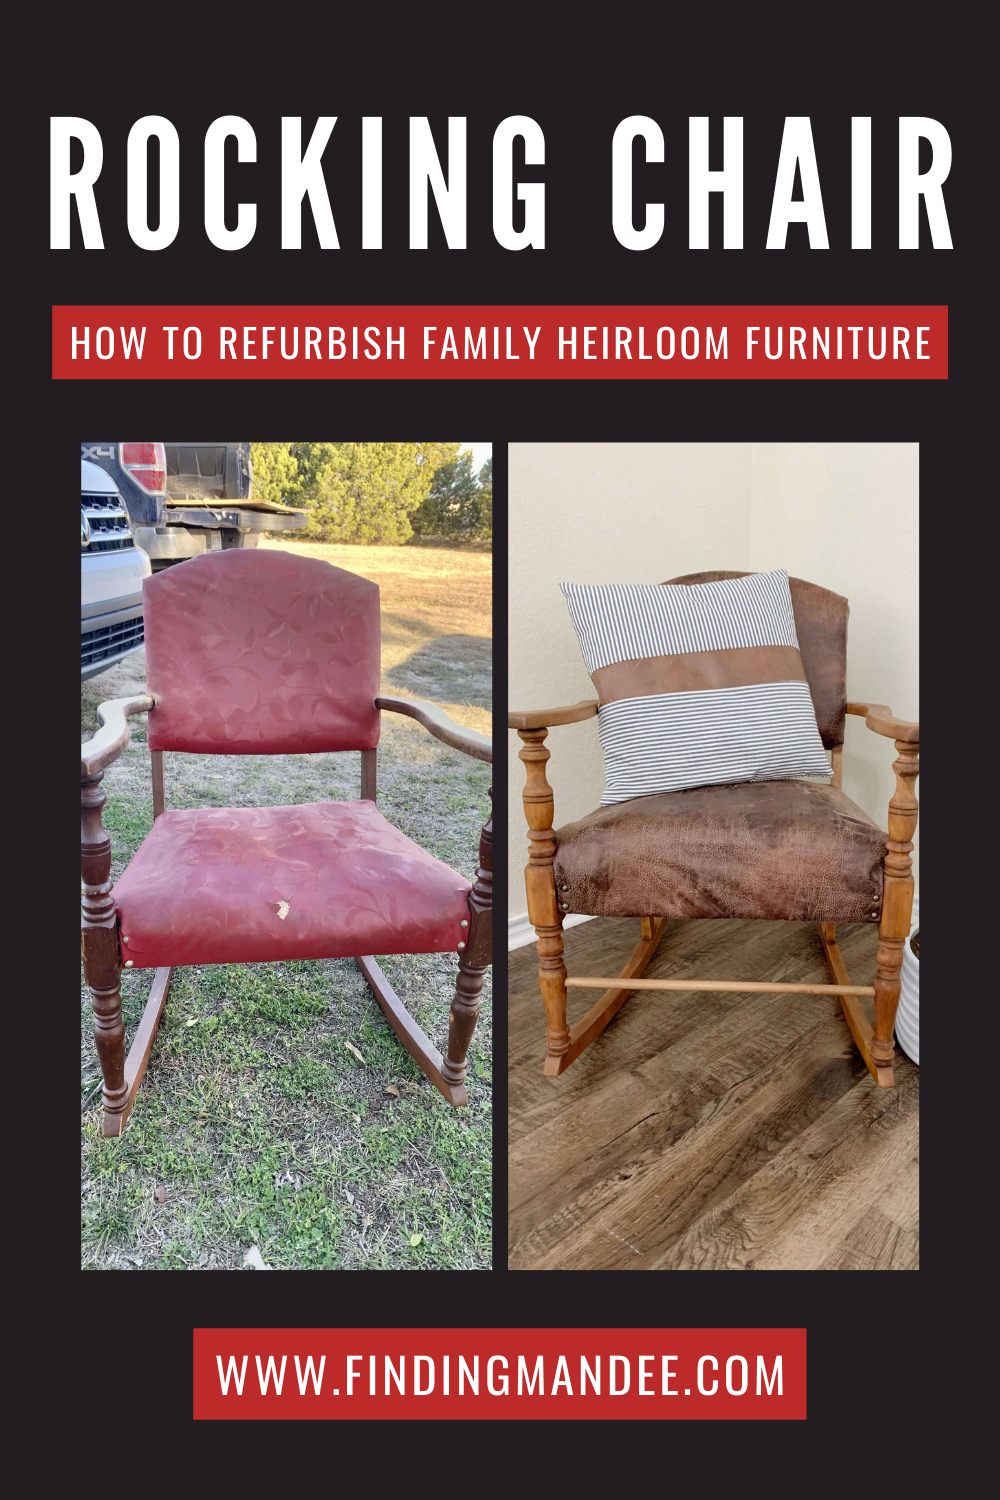
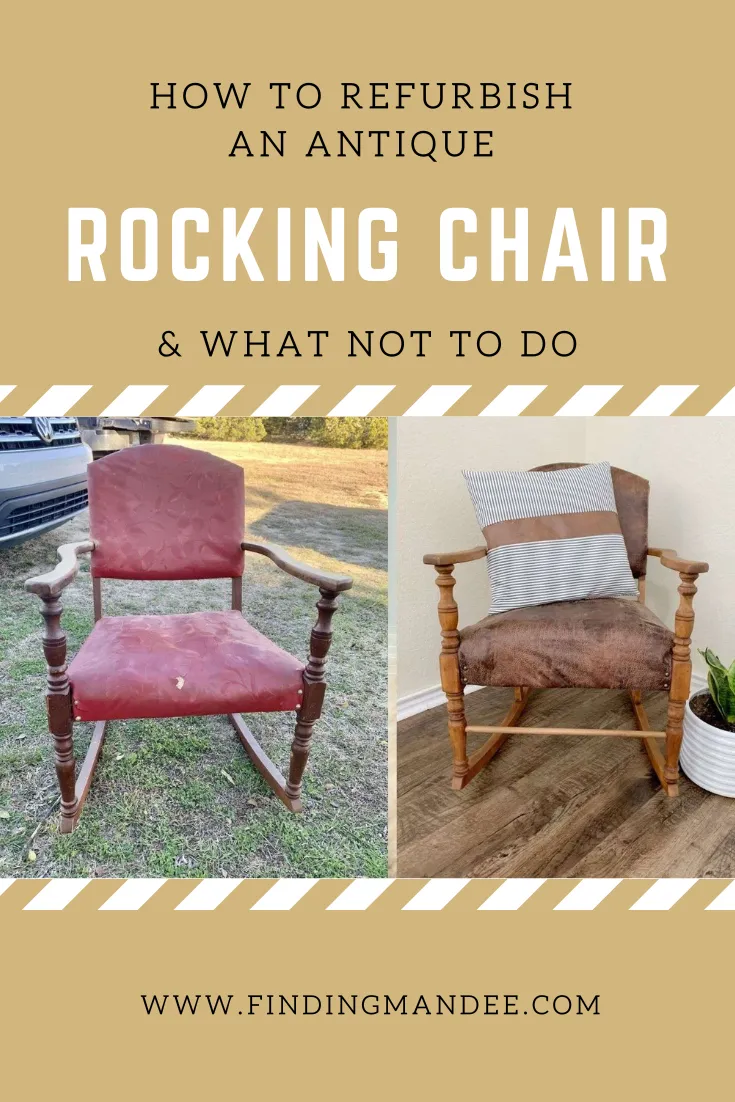
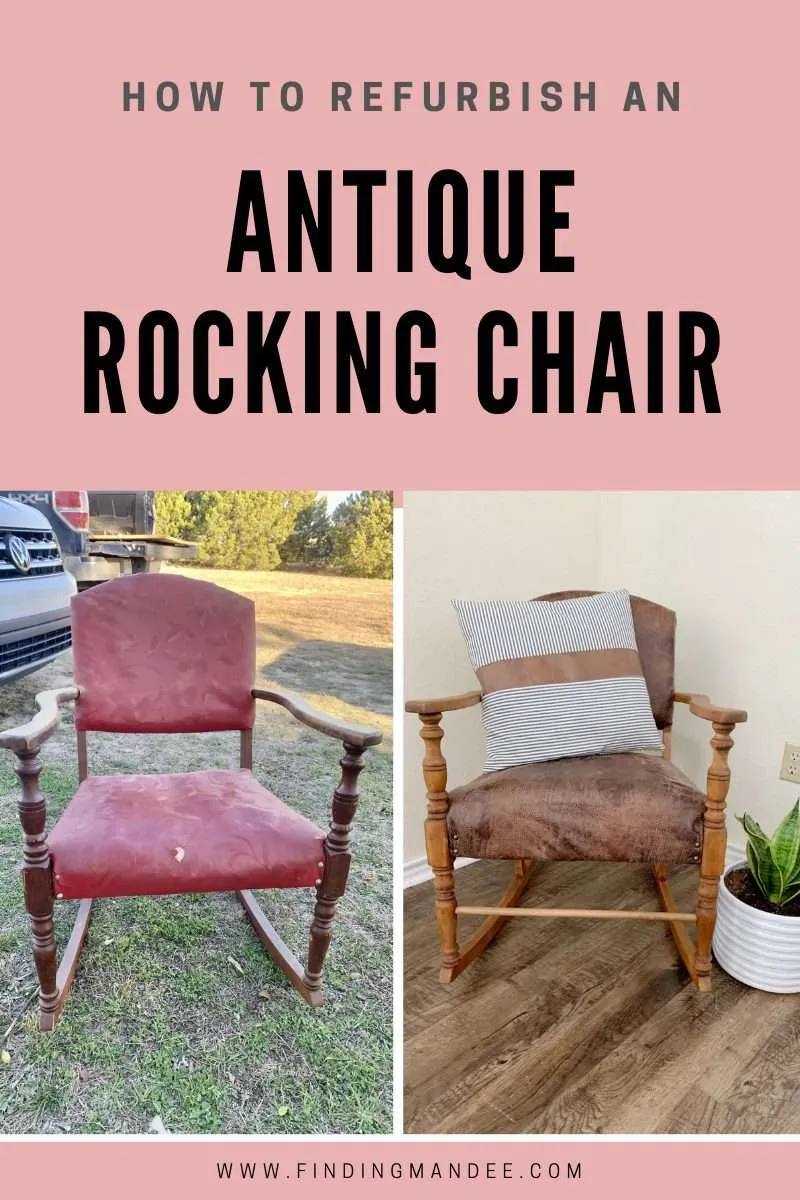
On our last trip, my dad offered me this old rocking chair that belonged to his great-grandpa, Grandpa Chip. My Nannie (Grandpa Chip’s daughter) was born in 1919 and this rocking chair was older than her. So, it’s well over 100 years old!
I was hesitant to take this project on because I REALLY didn’t want to mess it up. But it wasn’t nearly as difficult as we thought it would be.
Here is how to refurbish an old rocking chair and family heirloom.
Supplies
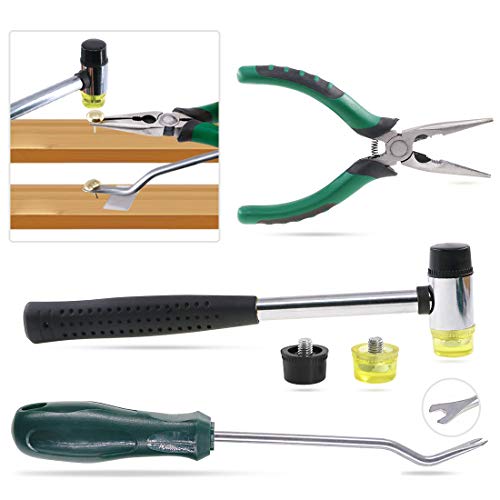
- flathead screwdriver
- needle-nose pliers
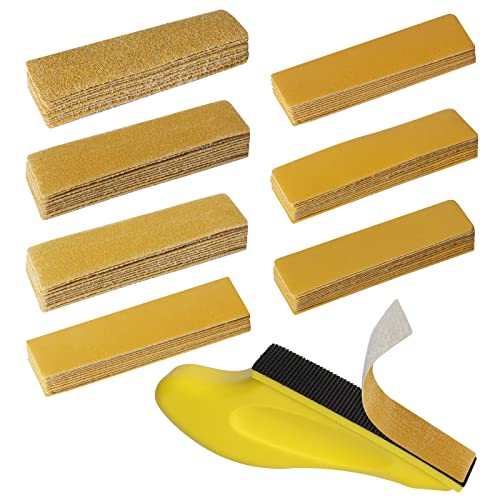
- orbital sander & sanding nets
- sanding sponge
- wooden dowel
- wood stain & rags
- foam cutter
- canvas fabric
- leather upholstery fabric
- staple gun & staples
- decorative upholstery tacks
- hammer
Step 1: Remove the Old Upholstery
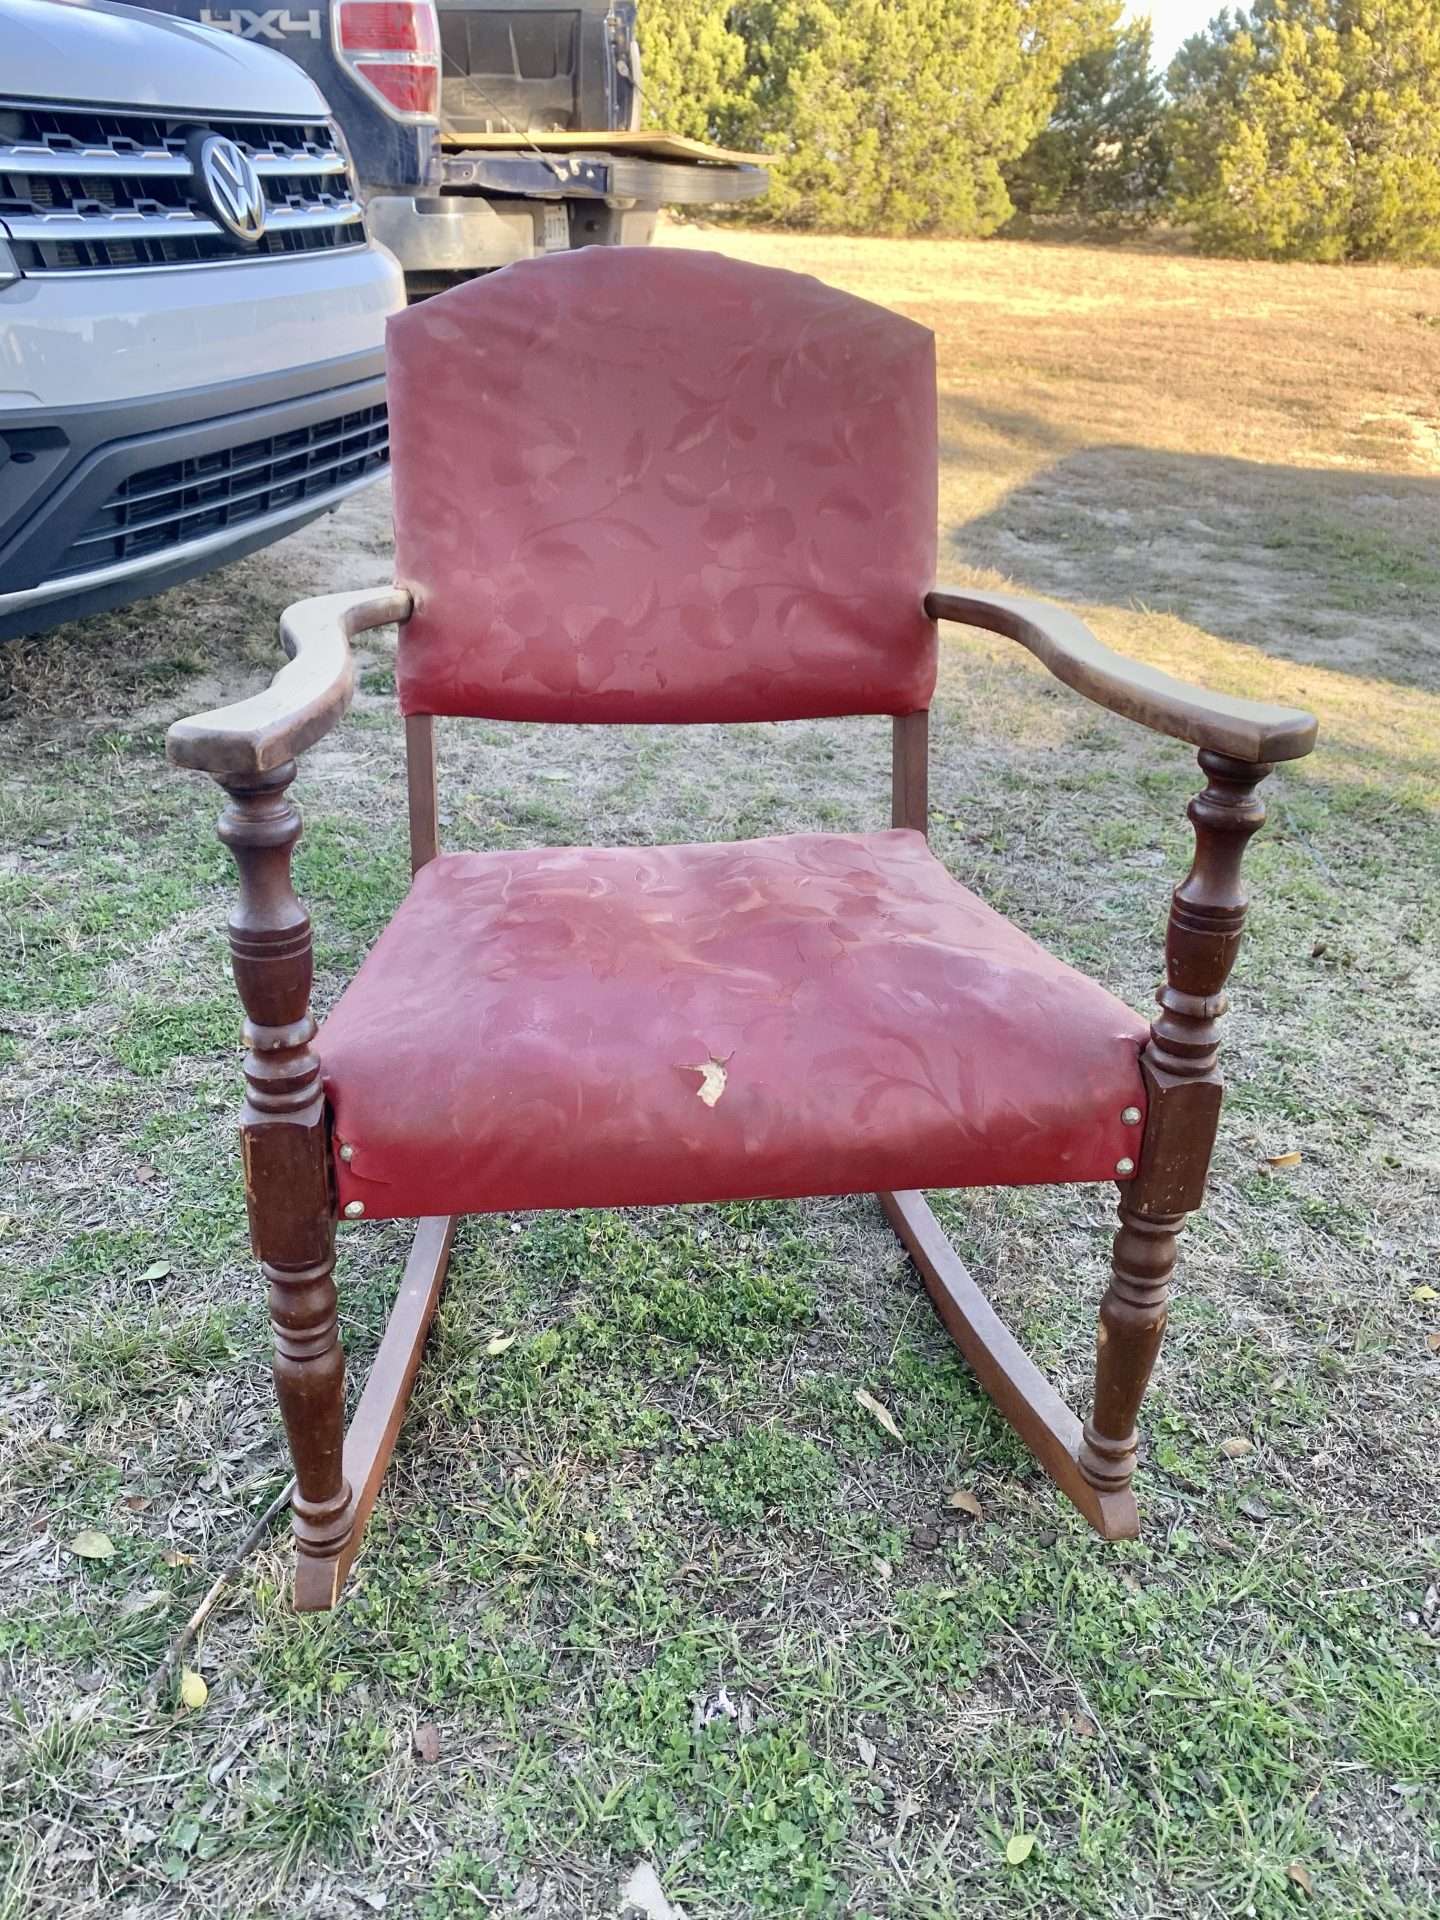
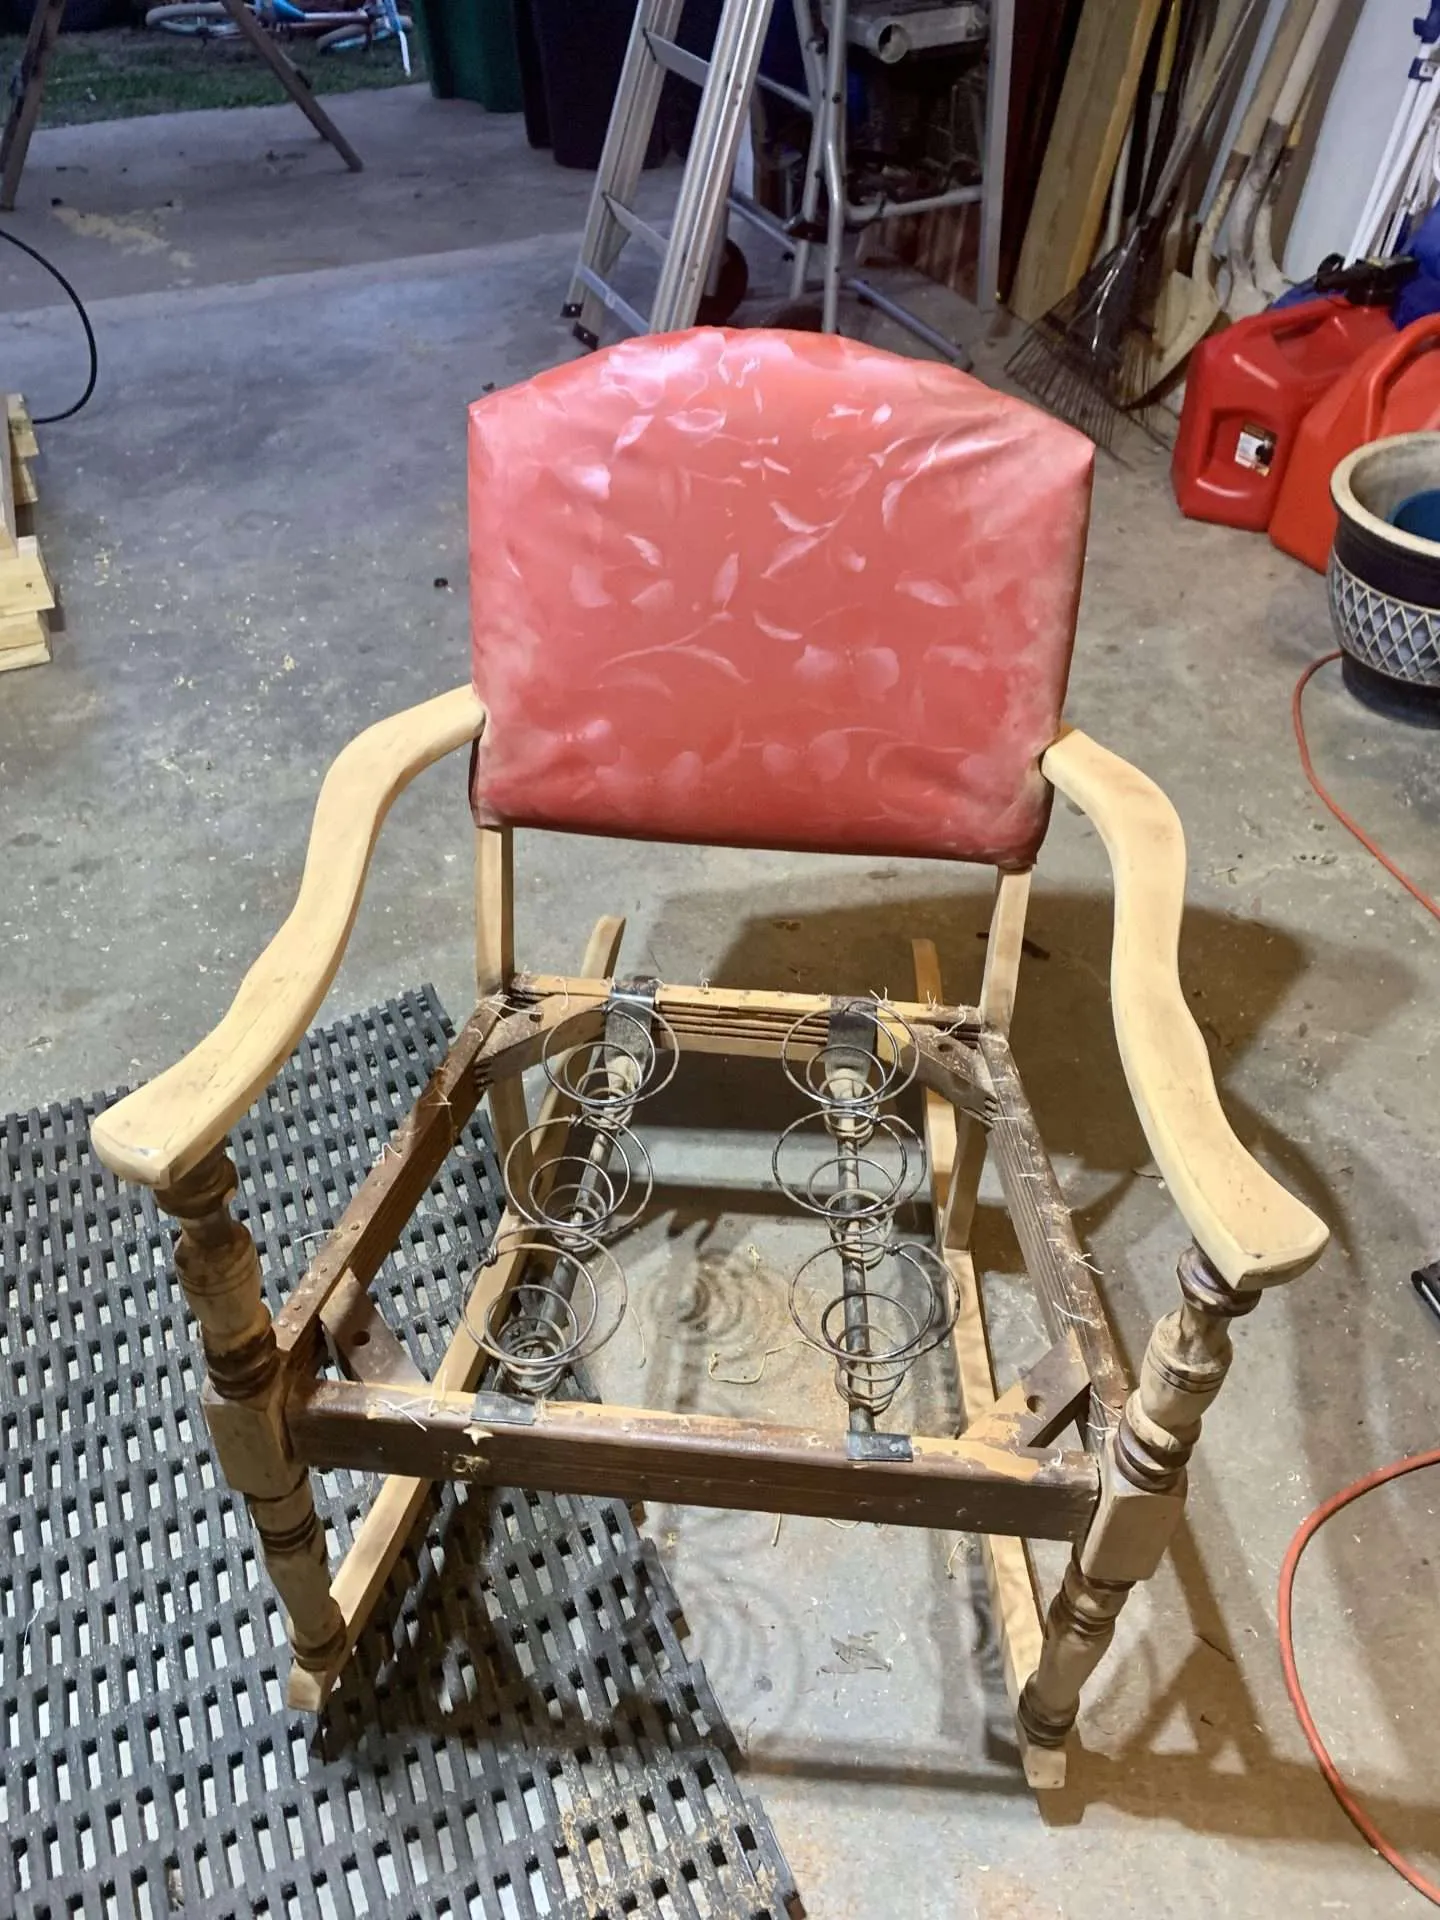
The first step was to take off the old upholstery and figure out exactly what we were working with.
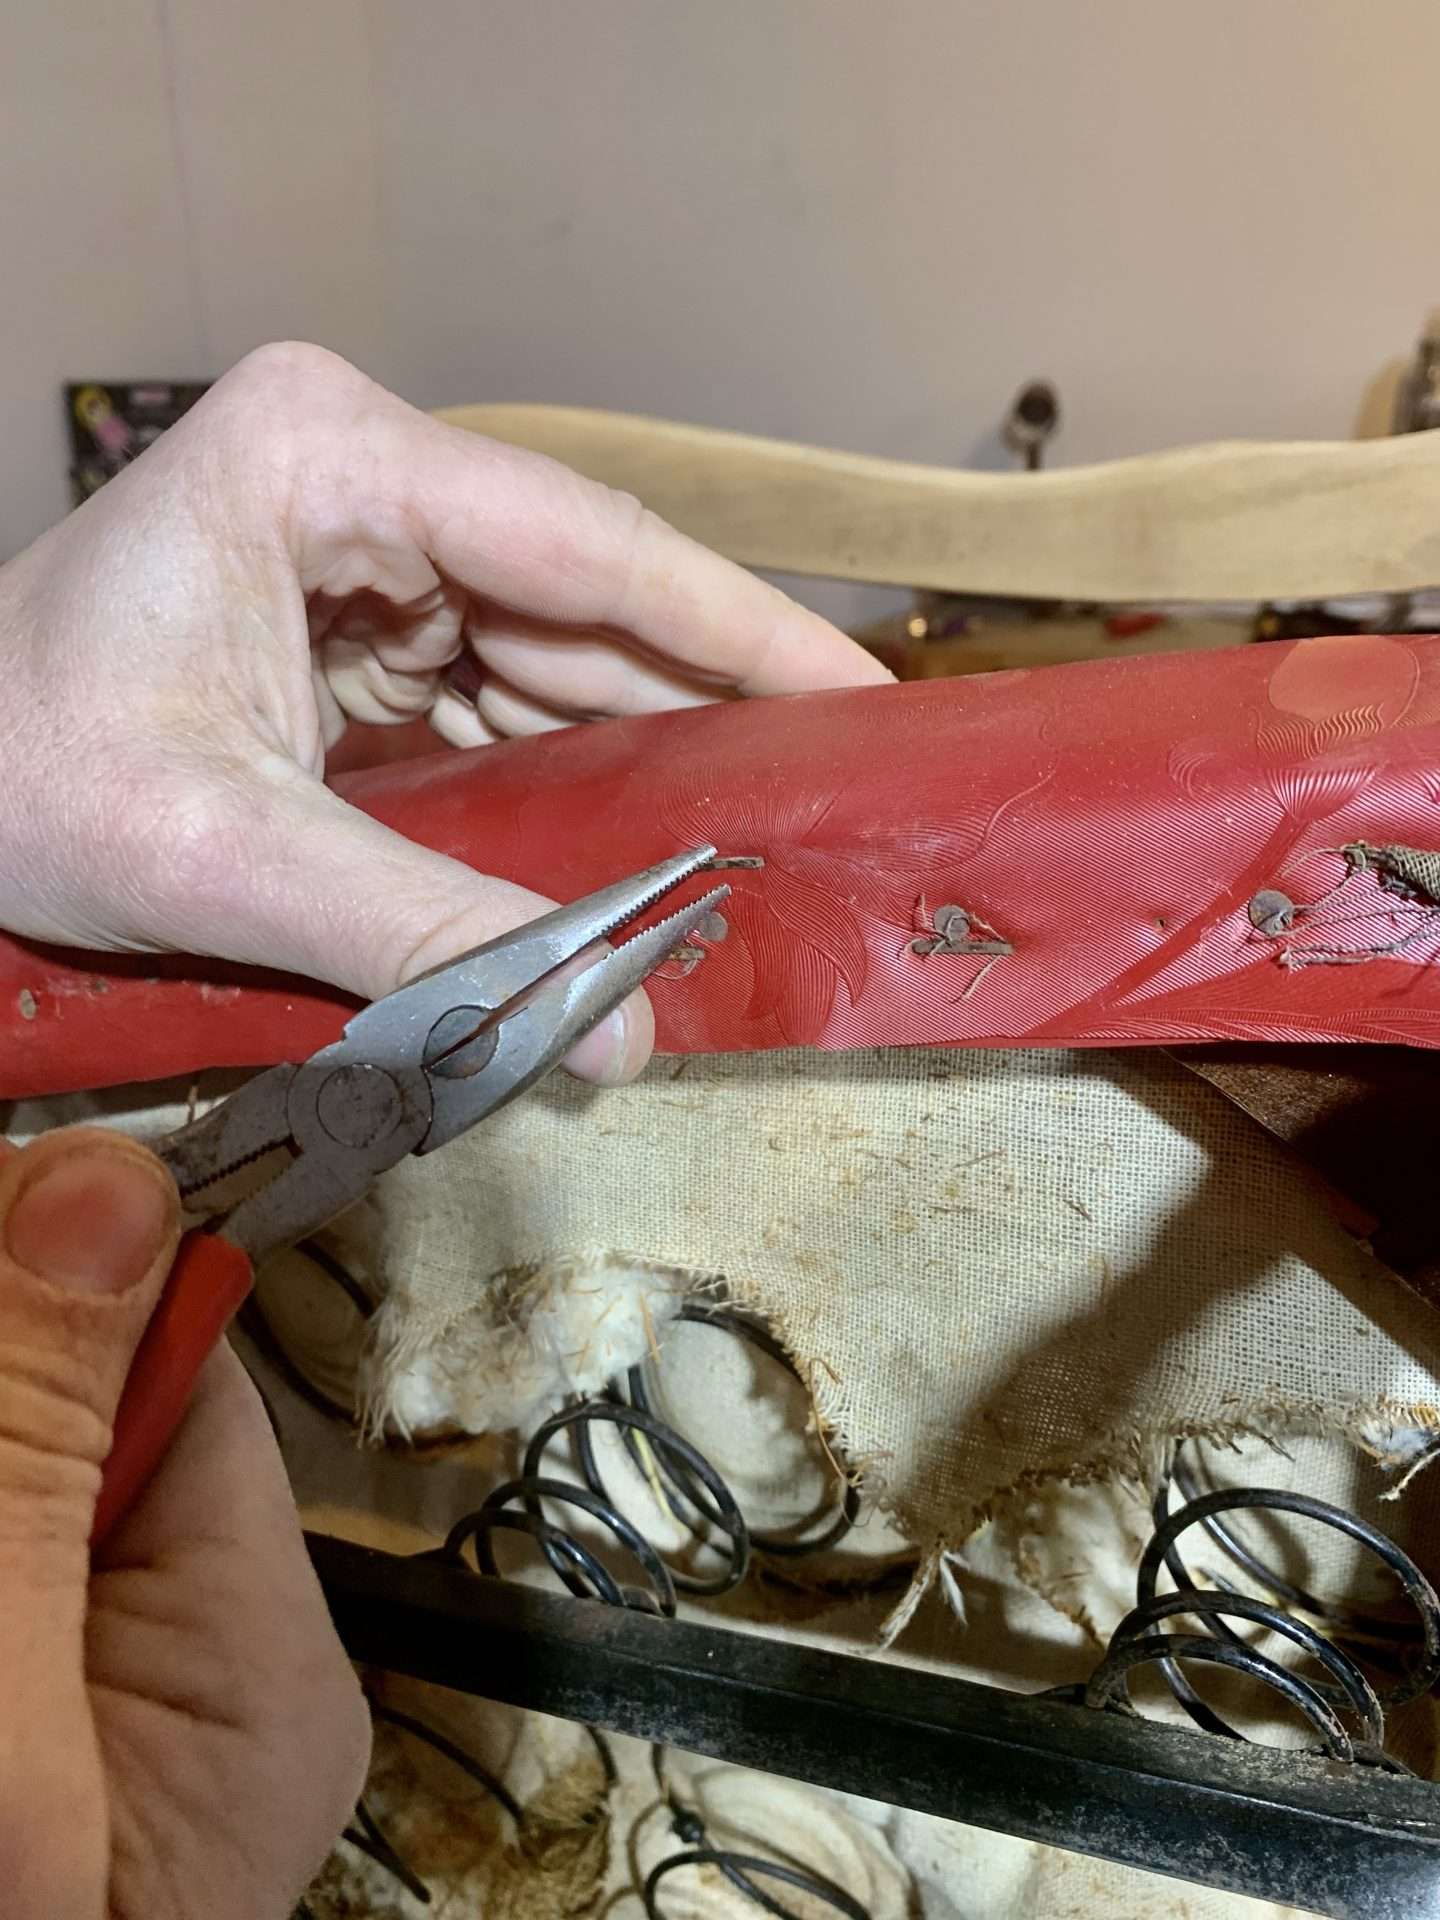
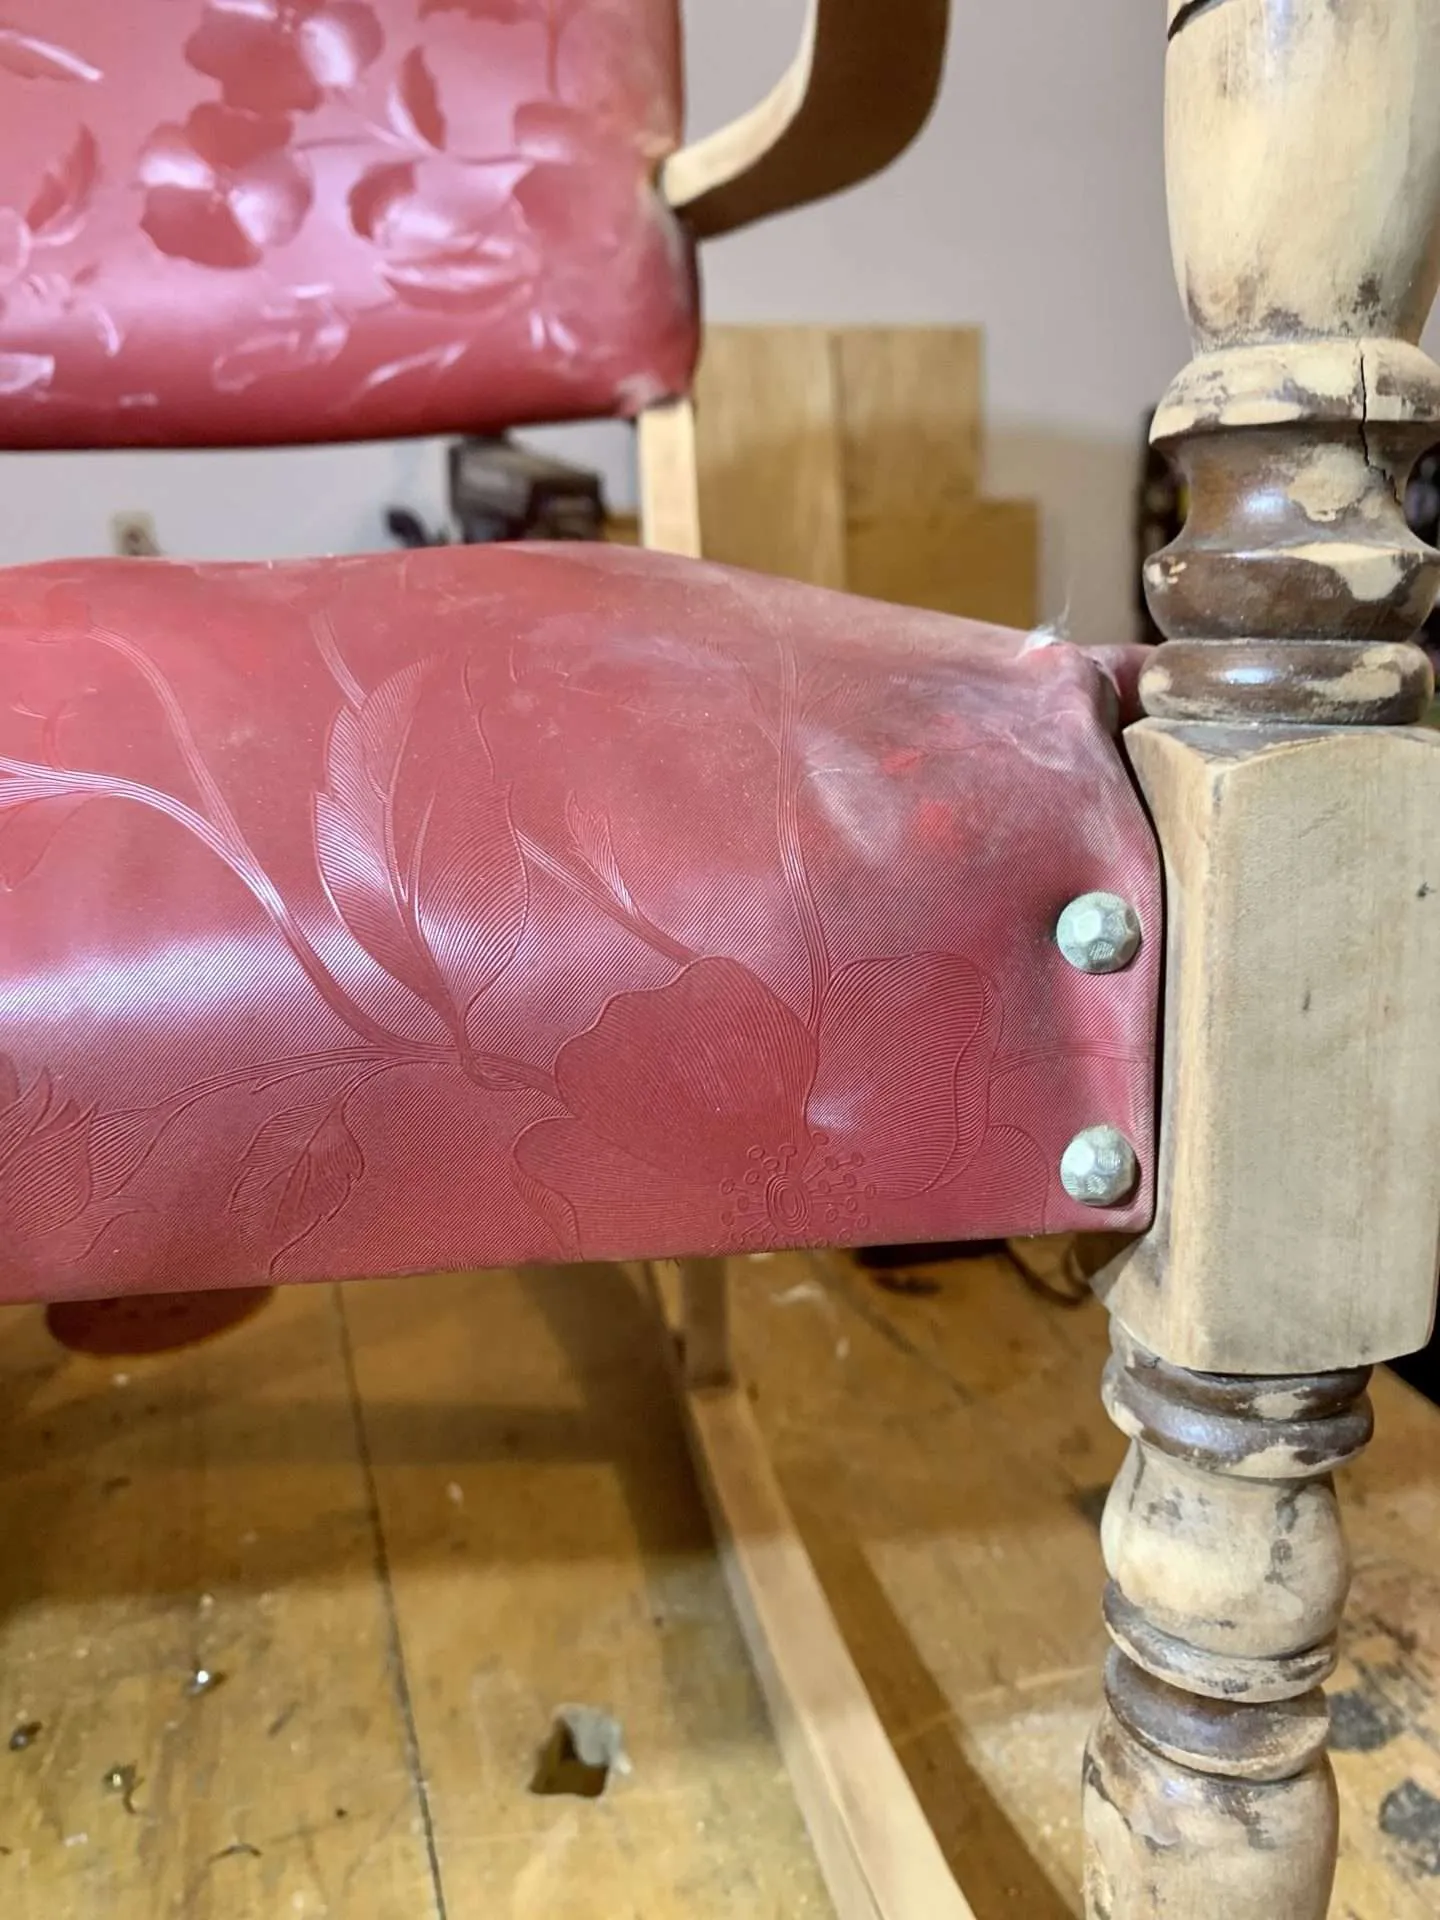
The chair was covered in red vinyl which we removed by taking out the decorative upholstery tacks around the seat of the chair. Then we flipped the chair over and removed the nails and staples underneath.
The old tacks and staples came out with a flathead screwdriver and needle-nose pliers. They weren’t difficult to remove, but it was a little tedious.
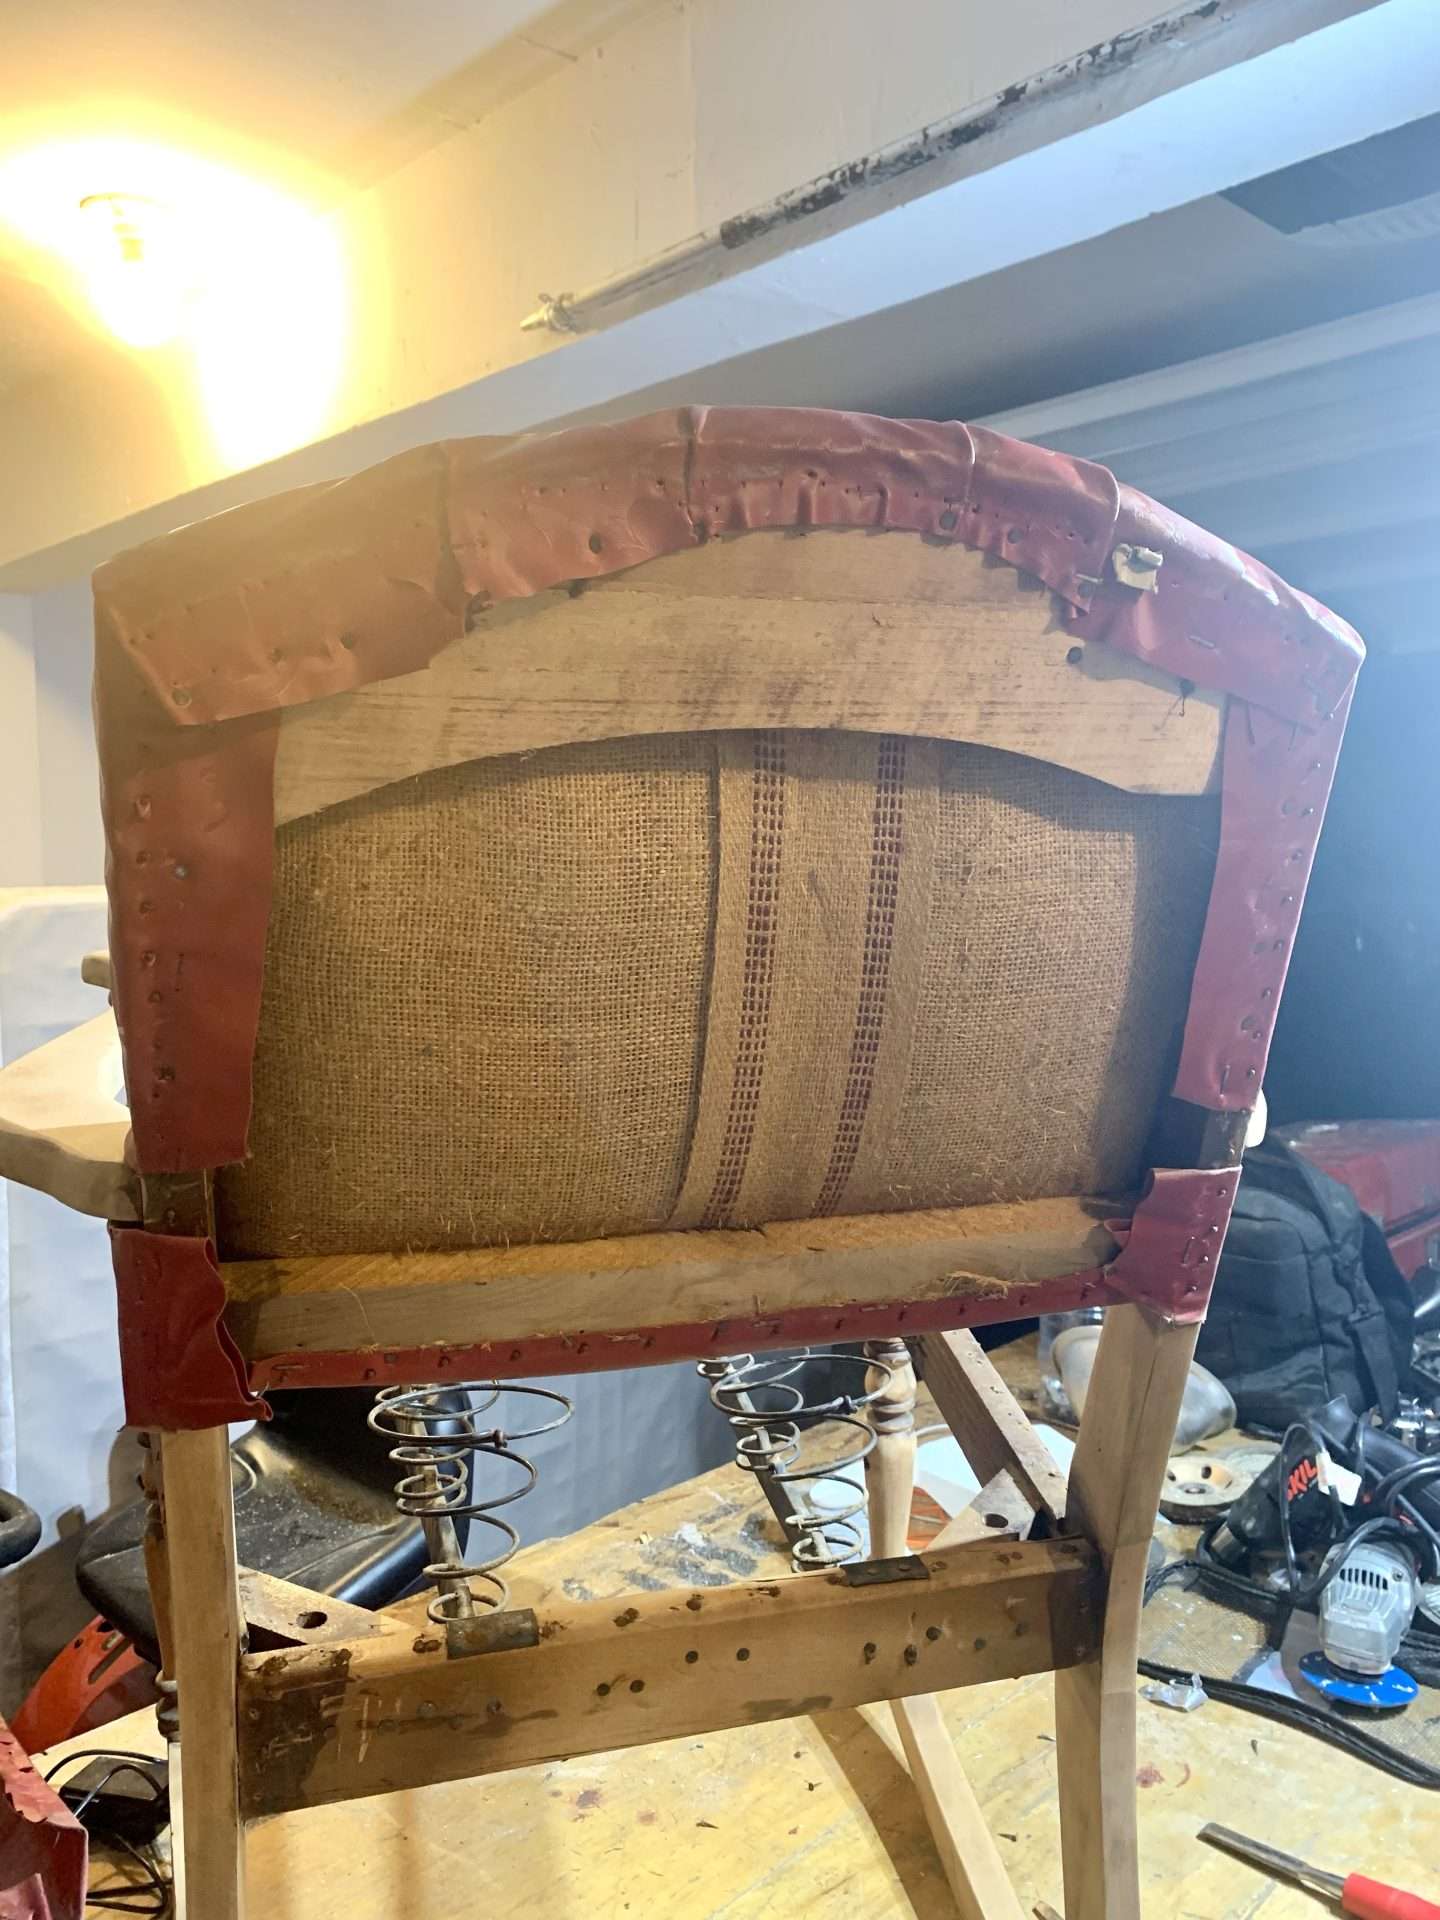
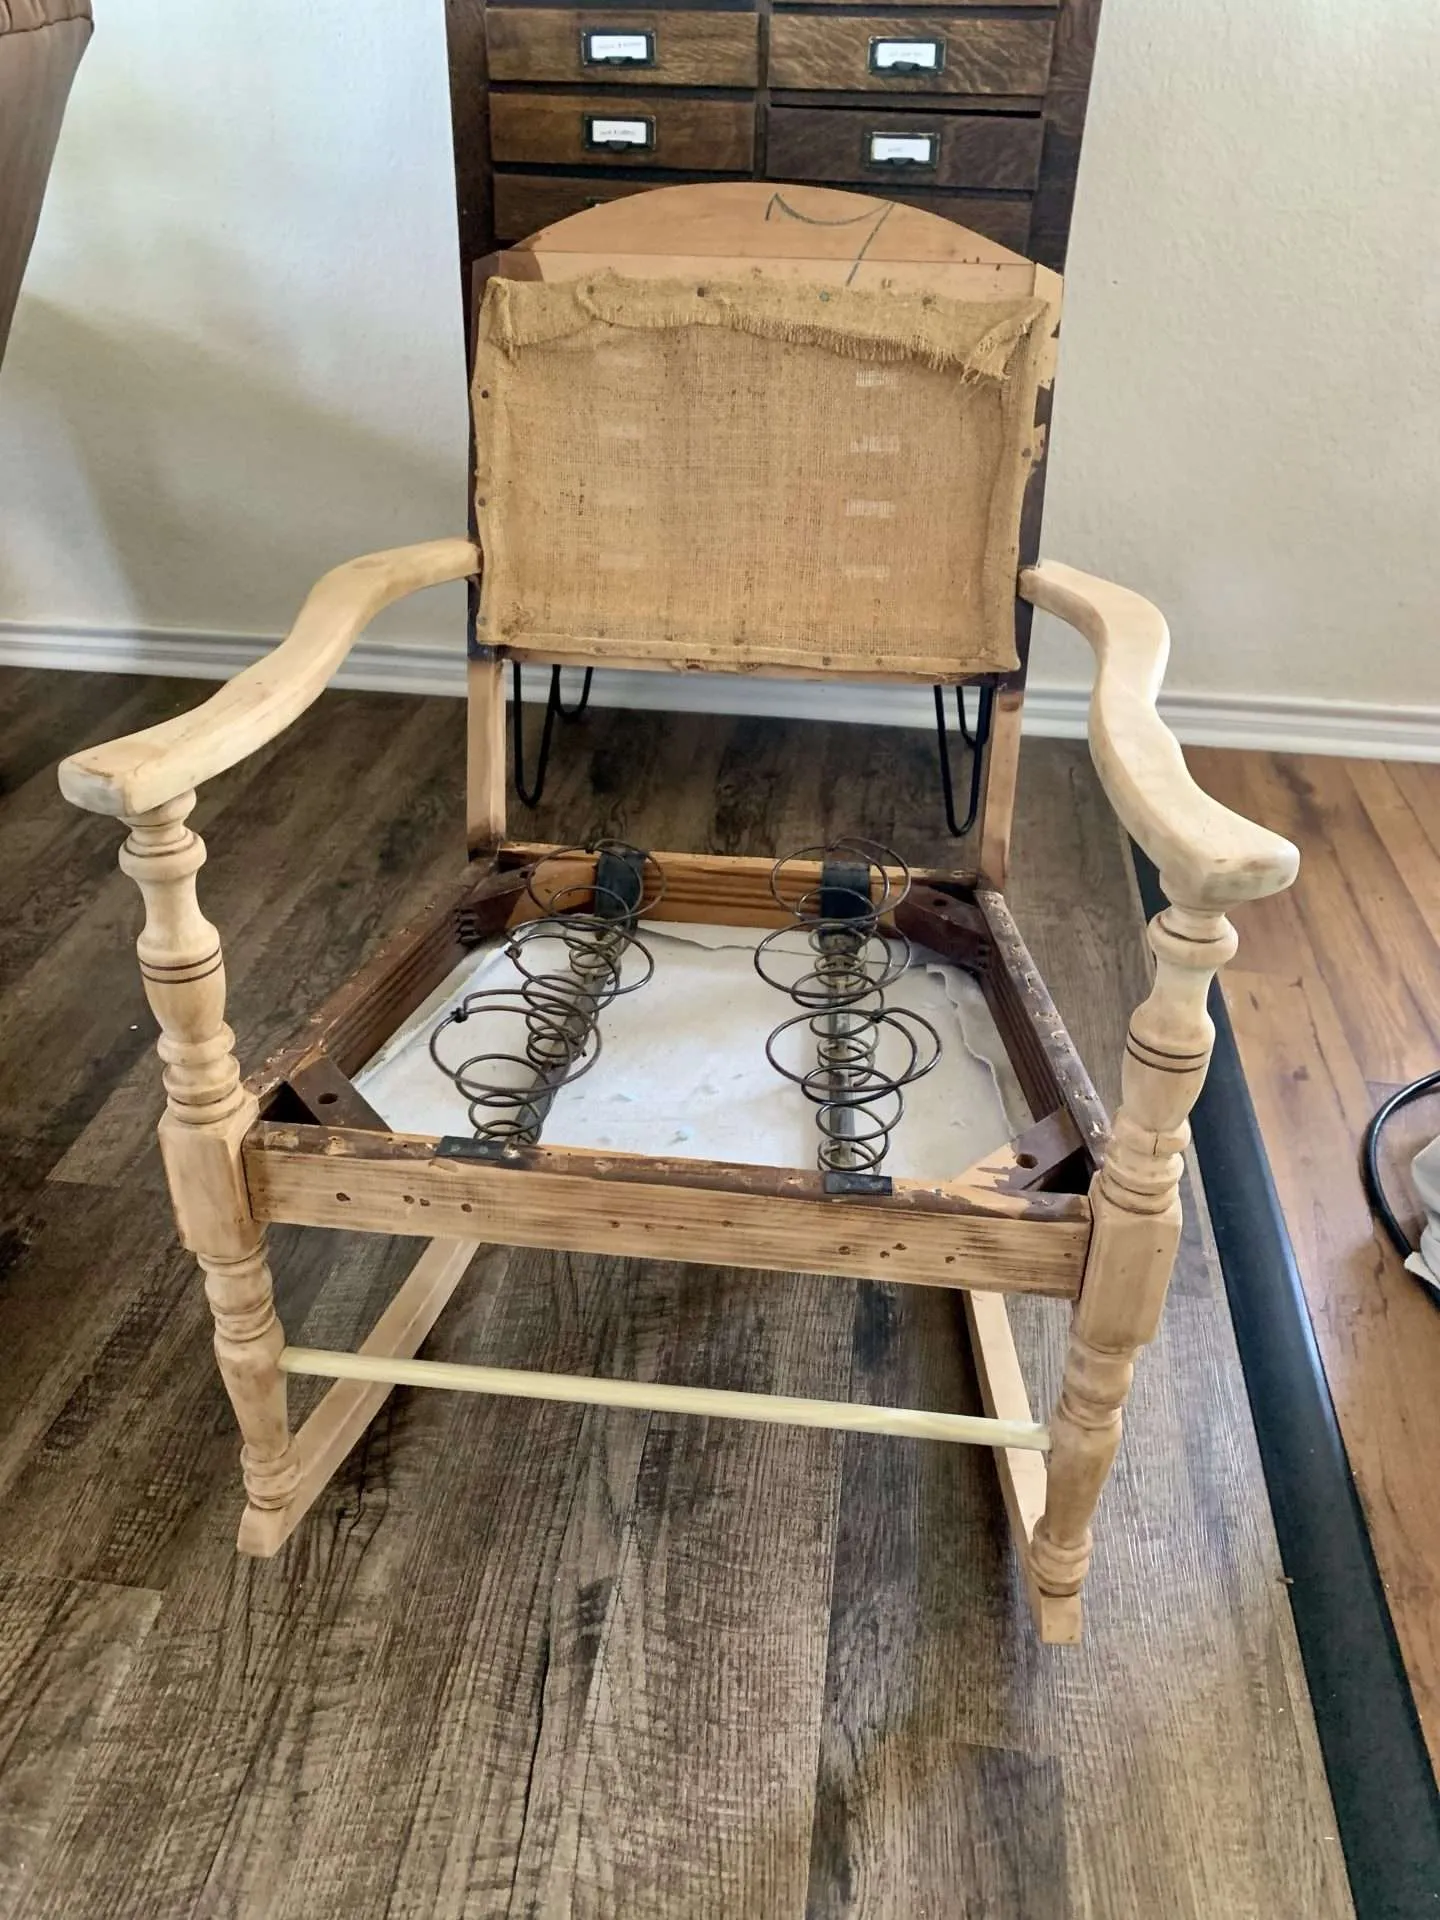
Underneath the red vinyl was a layer of cotton batting, on top of a layer of straw. The chair back also contained burlap backing and a strap, which we decided to leave.
On the seat, the cotton batting and straw were covering metal springs. Since the springs were in good shape, we decided to leave them. It will help give the chair structure and we won’t have to spend time planking the bottom of the chair.
Hilitchi 5 Pcs Upholstery Tools Double-Faced Soft Mallet Tack Hammer with Two Replacement Heads, Decorative Tacks Staple Nails Lifter and Removal Pliers, Hammer Also for Leather, Jewelry Craft ProjectDykes Needle Nose Pliers Extra Long Needle Nose Plier (6-Inch)

Step 2: Sand Off the Old Varnish
The next step to refurbish an old rocking chair is sanding. We used our orbital sander to sand off all of the old varnish.
This is probably the only project I’ve brought home that didn’t require HOURS of sanding (unlike this grungy dresser). In fact, I sanded this whole chair in less than an hour. That has to be a record!
Some of the details on the front of the chair were a little difficult to sand. To get in all those little nooks and crannies, I used a sanding sponge or a piece of folded sand paper.
**Note: We also replaced the wooden dowel that was missing in the front of the chair, but I forgot to take pictures of that part.**
DEWALT Random Orbit Sander, PSA, 5-Inch (DWE6420)71 Pieces Micro Detail Sander Kit, GOH DODD 3.5” x 1” Mini Hand Sanding Block with Hook and Loop Sand Paper 60 100 150 220 320 600 800 Grit for Woodworking Tight Narrow Spaces

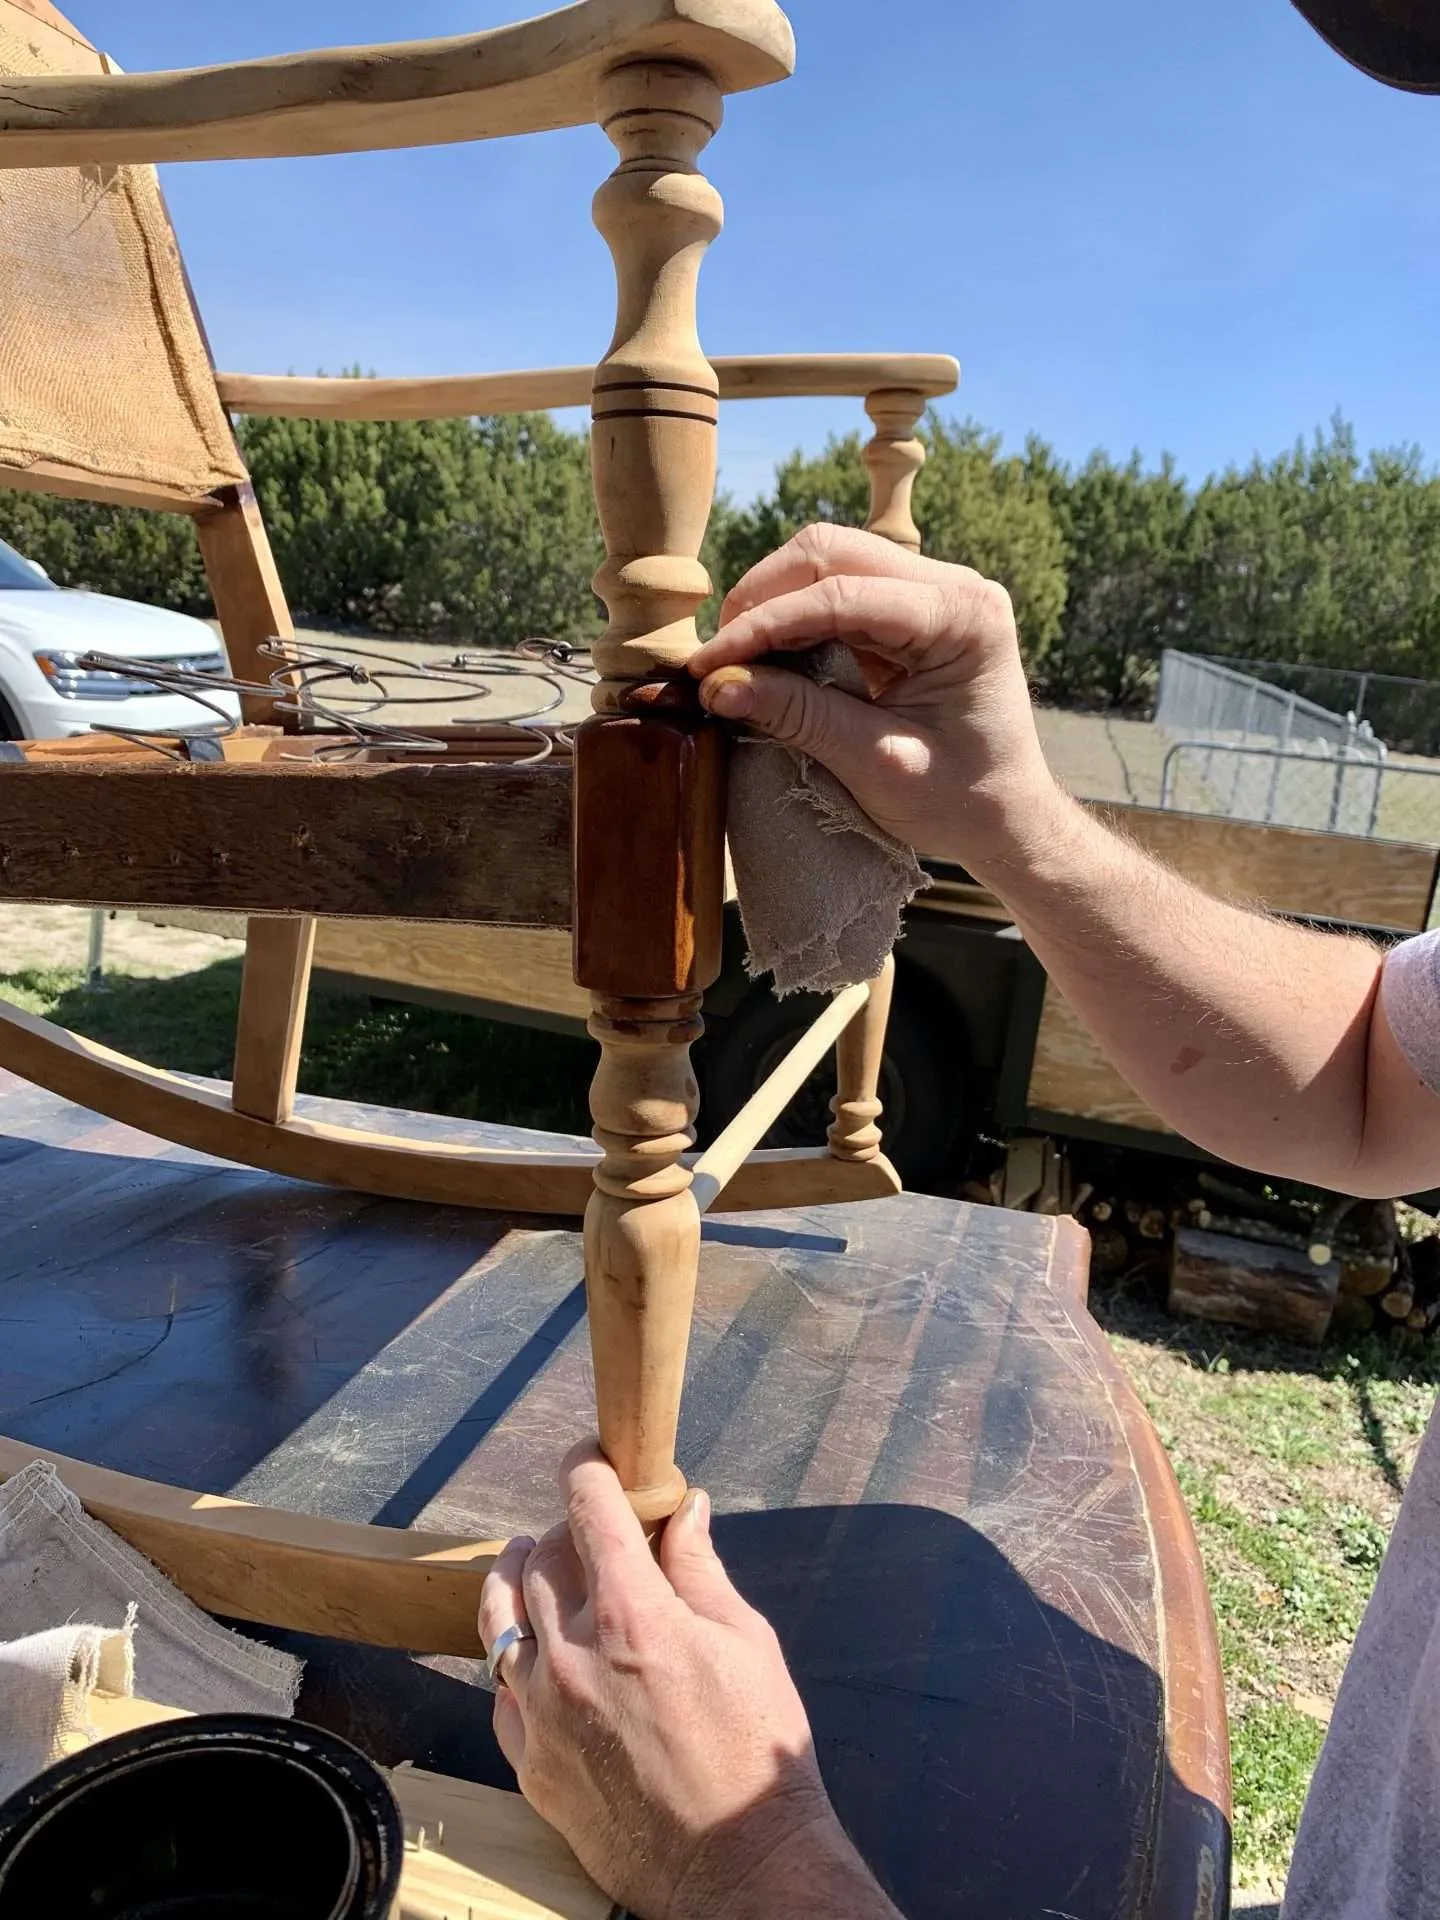
Step 3: Stain the Wood
After the chair was stripped and sanded, it was time to stain the wood.
Initially, the plan was to leave the wood bare and just seal it with clear polyacrylic. However, after sanding, the wood was very pale and that wasn’t the look I was hoping for.
We stained it using a golden oak stain, but it turned out darker and more orangey than we hoped. (We’ll eventually re-stain it, but for now, this works.)
We applied the stain with an old rag, which goes on better and is less streaky than using a brush.
Minwax Wood Finish Semi-Transparent Special Walnut Oil-Based Wood Stain 1 gal.MaKRS Stain Pad, Cut-To-Size Pads 2-Pack Yields 12-16 Applicators, Lint, Snag & Streak-Free Applicator,Brush Like Microfiber Over Foam Core, For Wood Stain and Oil Based Finishes, Professional Results


Step 4: Make & Cover Cushions
The next step to refurbish an old rocking chair was the most difficult one for us and the one we were most worried about going into this project.
The only other project that we’ve ever done with any kind of upholstery was our antique upholstered bed, but the cushioning on that was still good, so we left it alone and just recovered it.
We haven’t ever had to make cushions before.
We did a little bit of research and decided that foam would be the easiest solution. So, we bought a 2″ foam pad for the seat of the chair and a 1″ foam pad for the back.
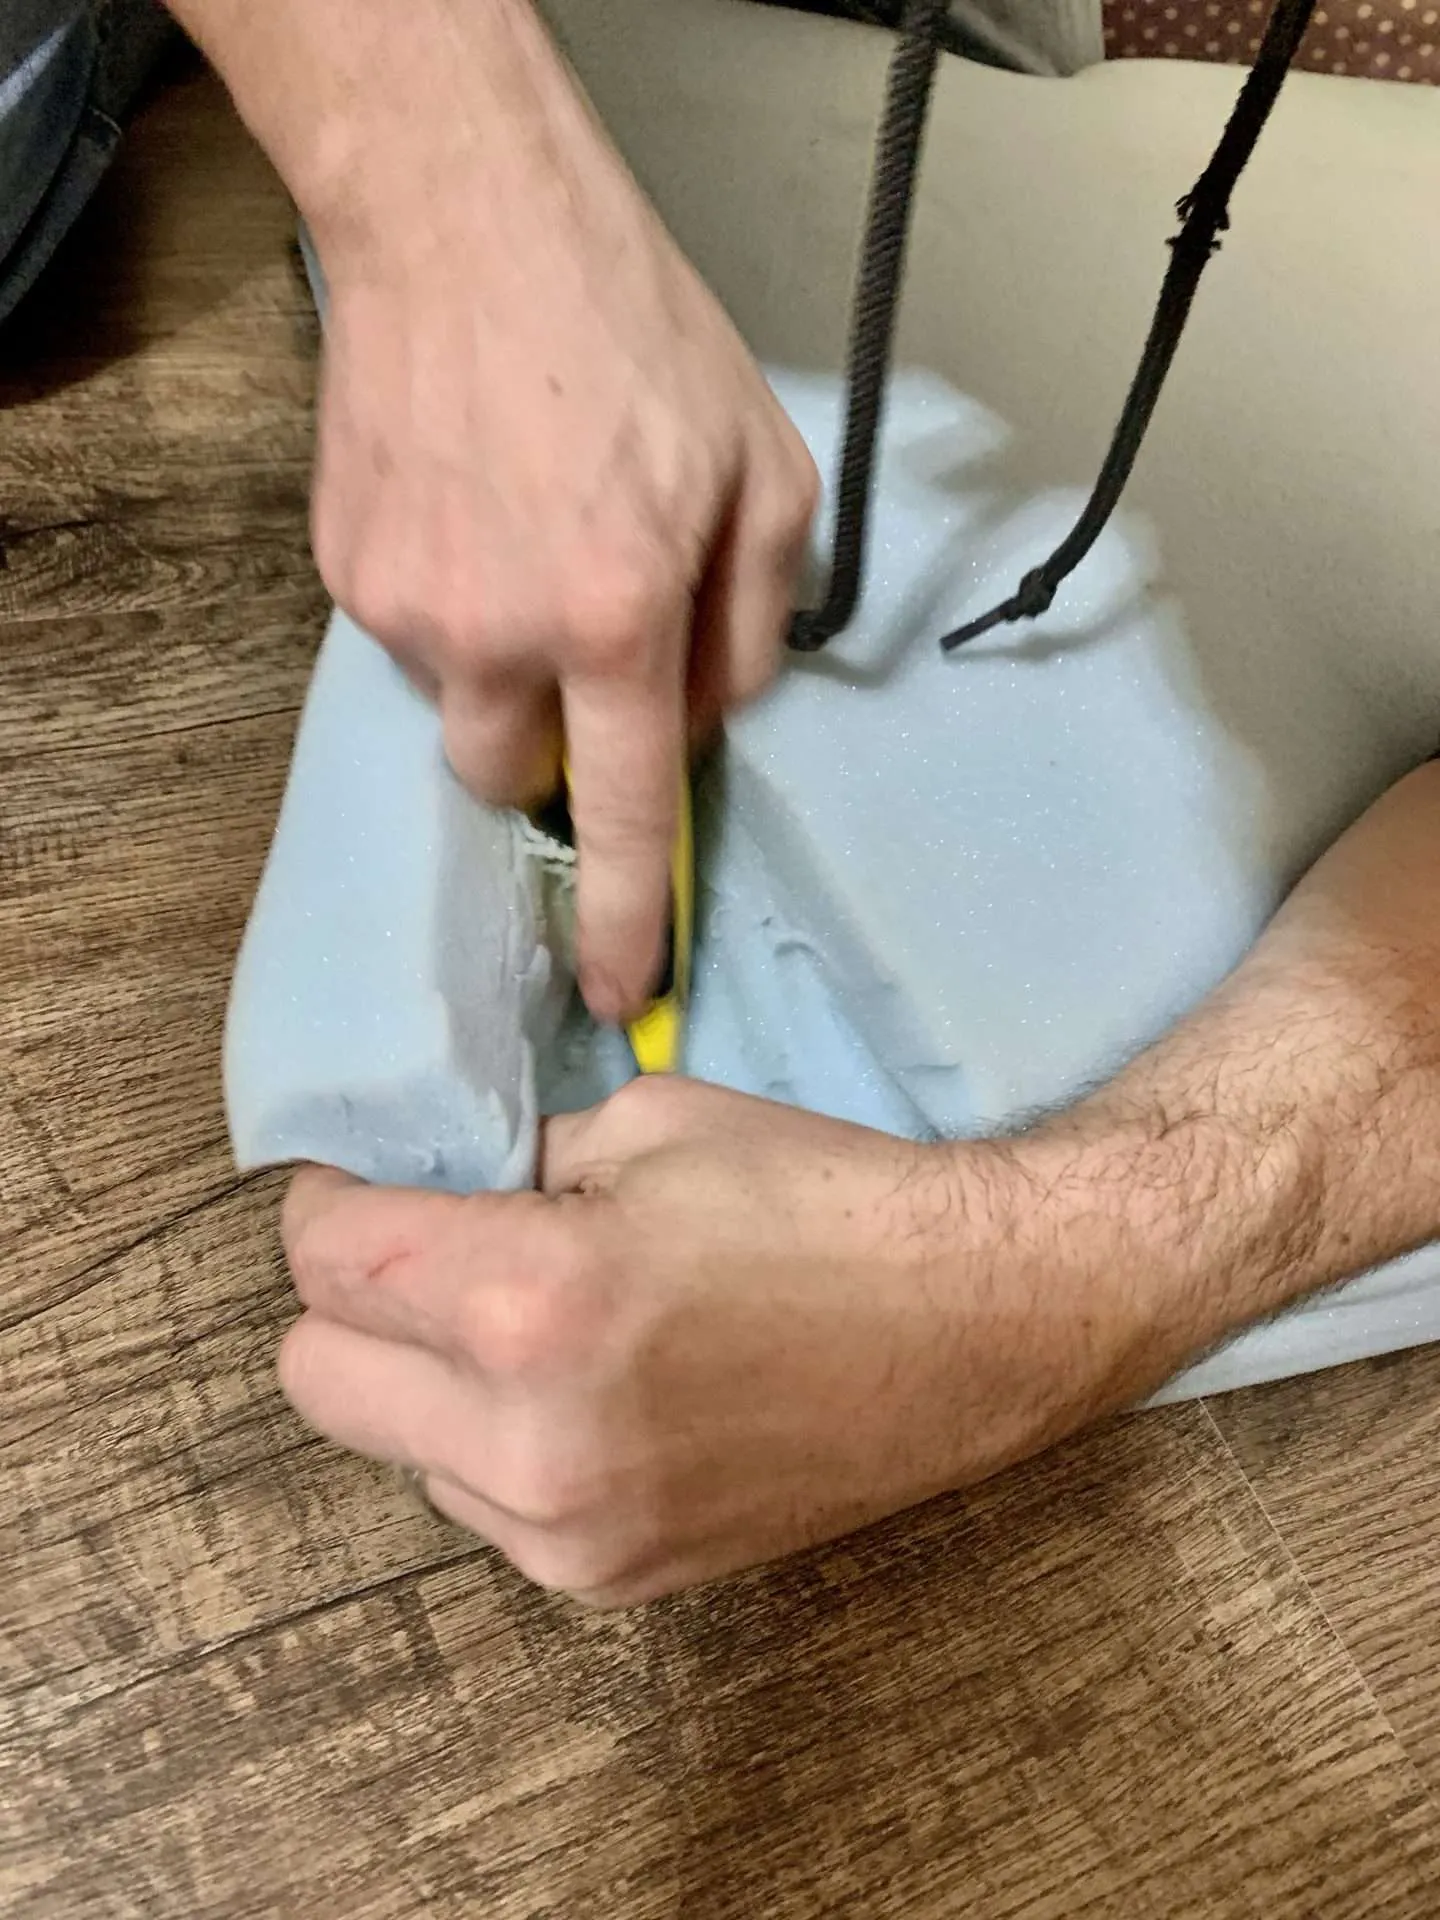
One of the biggest mistakes we made was not buying a foam cutter. We wasted so much time and effort trying to cut through the foam pad with a razor and scissors, but it just made a mess of things. So, we went back to the craft store the next day and bought a foam cutter.
4 in 1 Foam Cutter 24W GURITTA Hot wire Foam Knife, Cutting Kit with Electronic Transformer AdaptorHORUSDY 3-IN-1 Hot Wire Foam Cutter, Foam Cutter Electric Cutting Machine Pen Tools Kit


Cutting the new foam cushions to the exact size as the seat and the back of the chair was so much easier with this little contraption!
We covered the seat cushion first with canvas fabric to make sure the foam was the right shape before we messed up our ‘good fabric’.
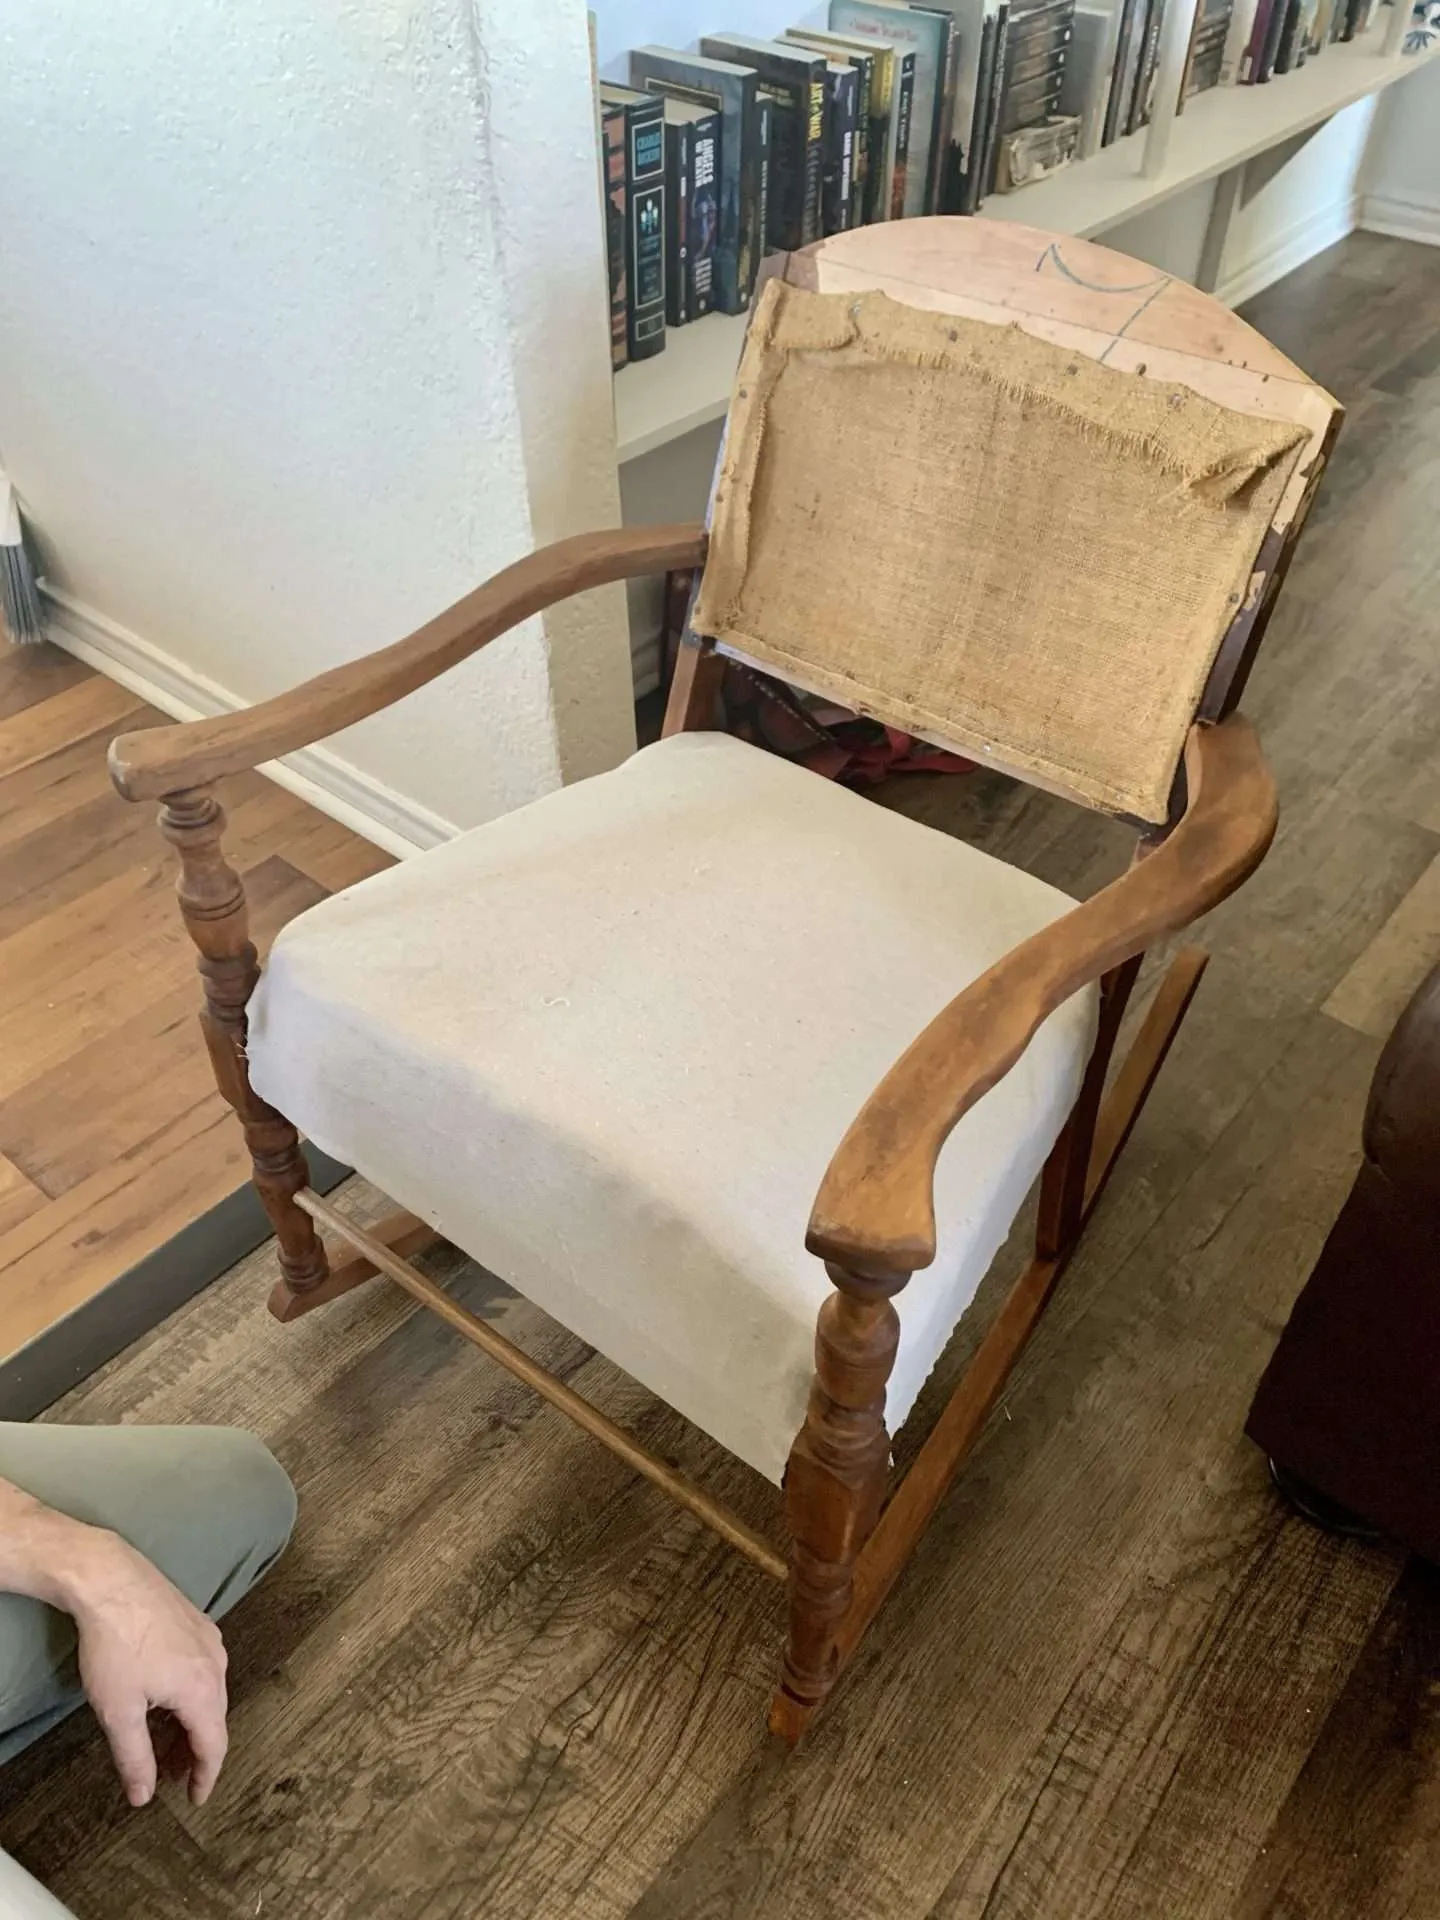
I kind of glossed over the upholstery part of this tutorial. Not because it’s easy, because it’s not, by any means. It’s a very difficult and frustrating process. This tutorial from Family Handyman is one that we referred to a LOT during this process.
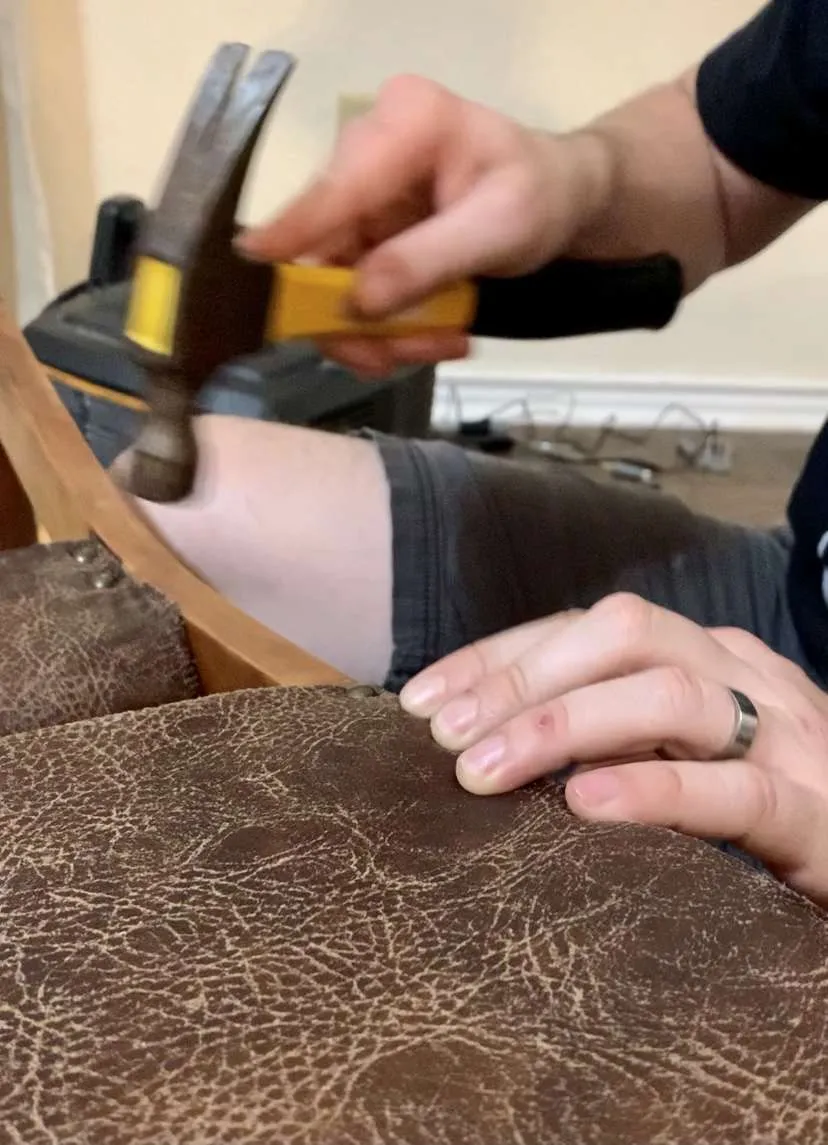
Then we covered it with our (fake) leather fabric that we found in the upholstery section at Hobby Lobby and stapled it into place too.
The most frustrating part was getting it pulled tight and smooth with no wrinkles. And while we weren’t perfect with this, we managed to make it look decent.
** Pro Tip: It helps to have 2 sets of hands to do this. I would pull the fabric taut and hold it in place while my husband stapled it down.**
To put the cushion on the seat back, we hot glued the foam to the wood to hold it in place, then covered it with the fabric and stapled it on.
After stapling on the leather, we hammered in some decorative upholstery tacks.
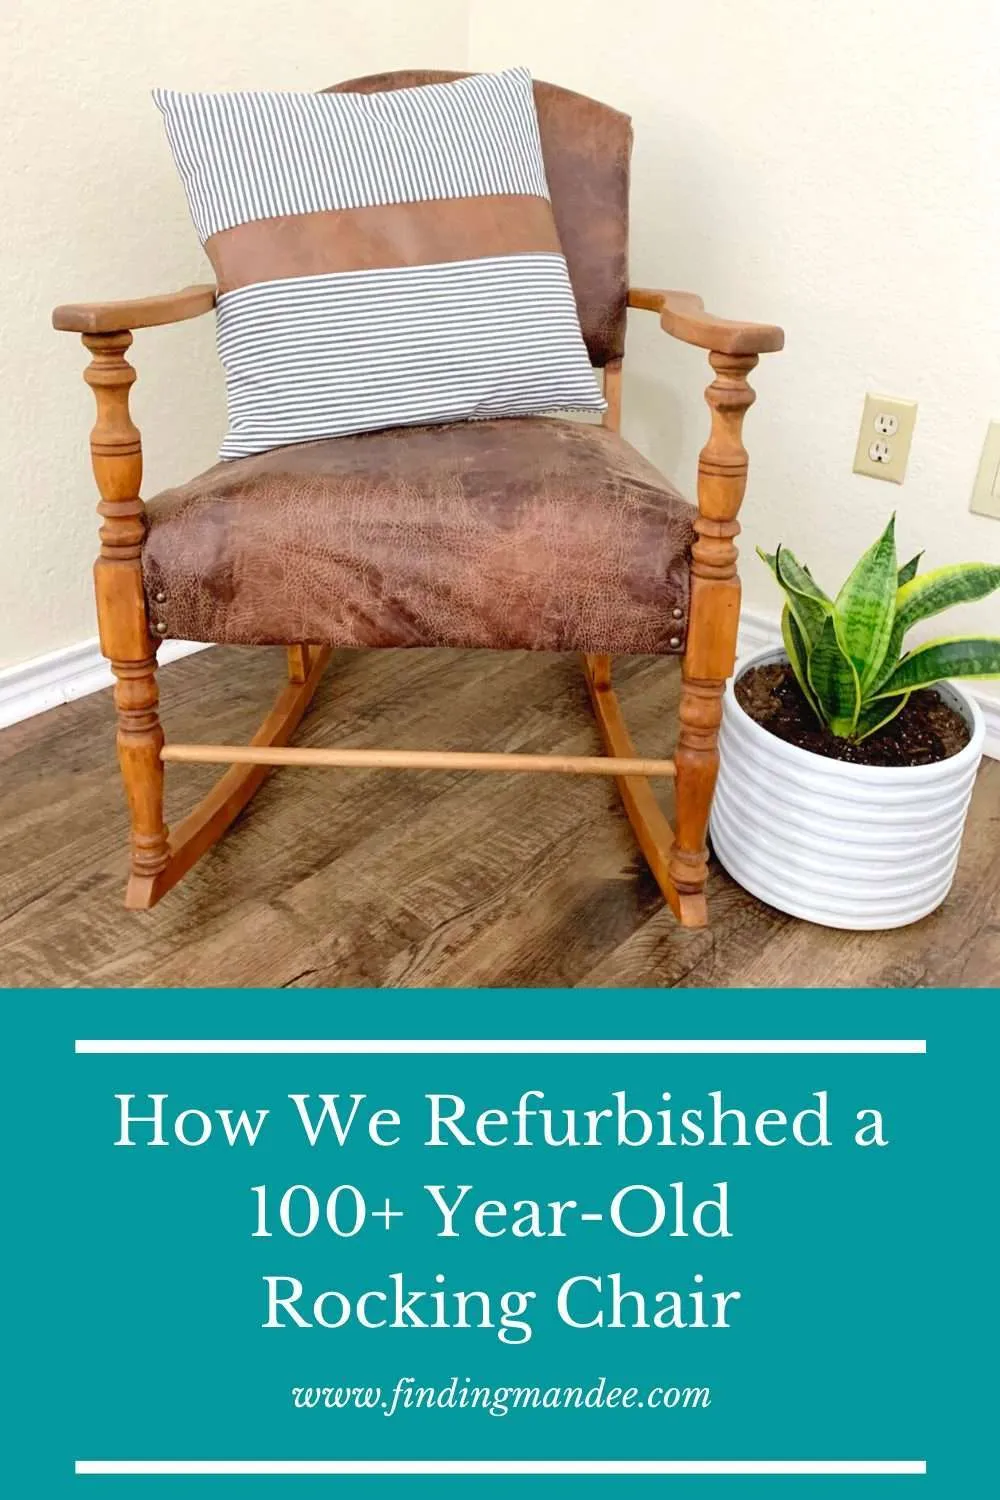
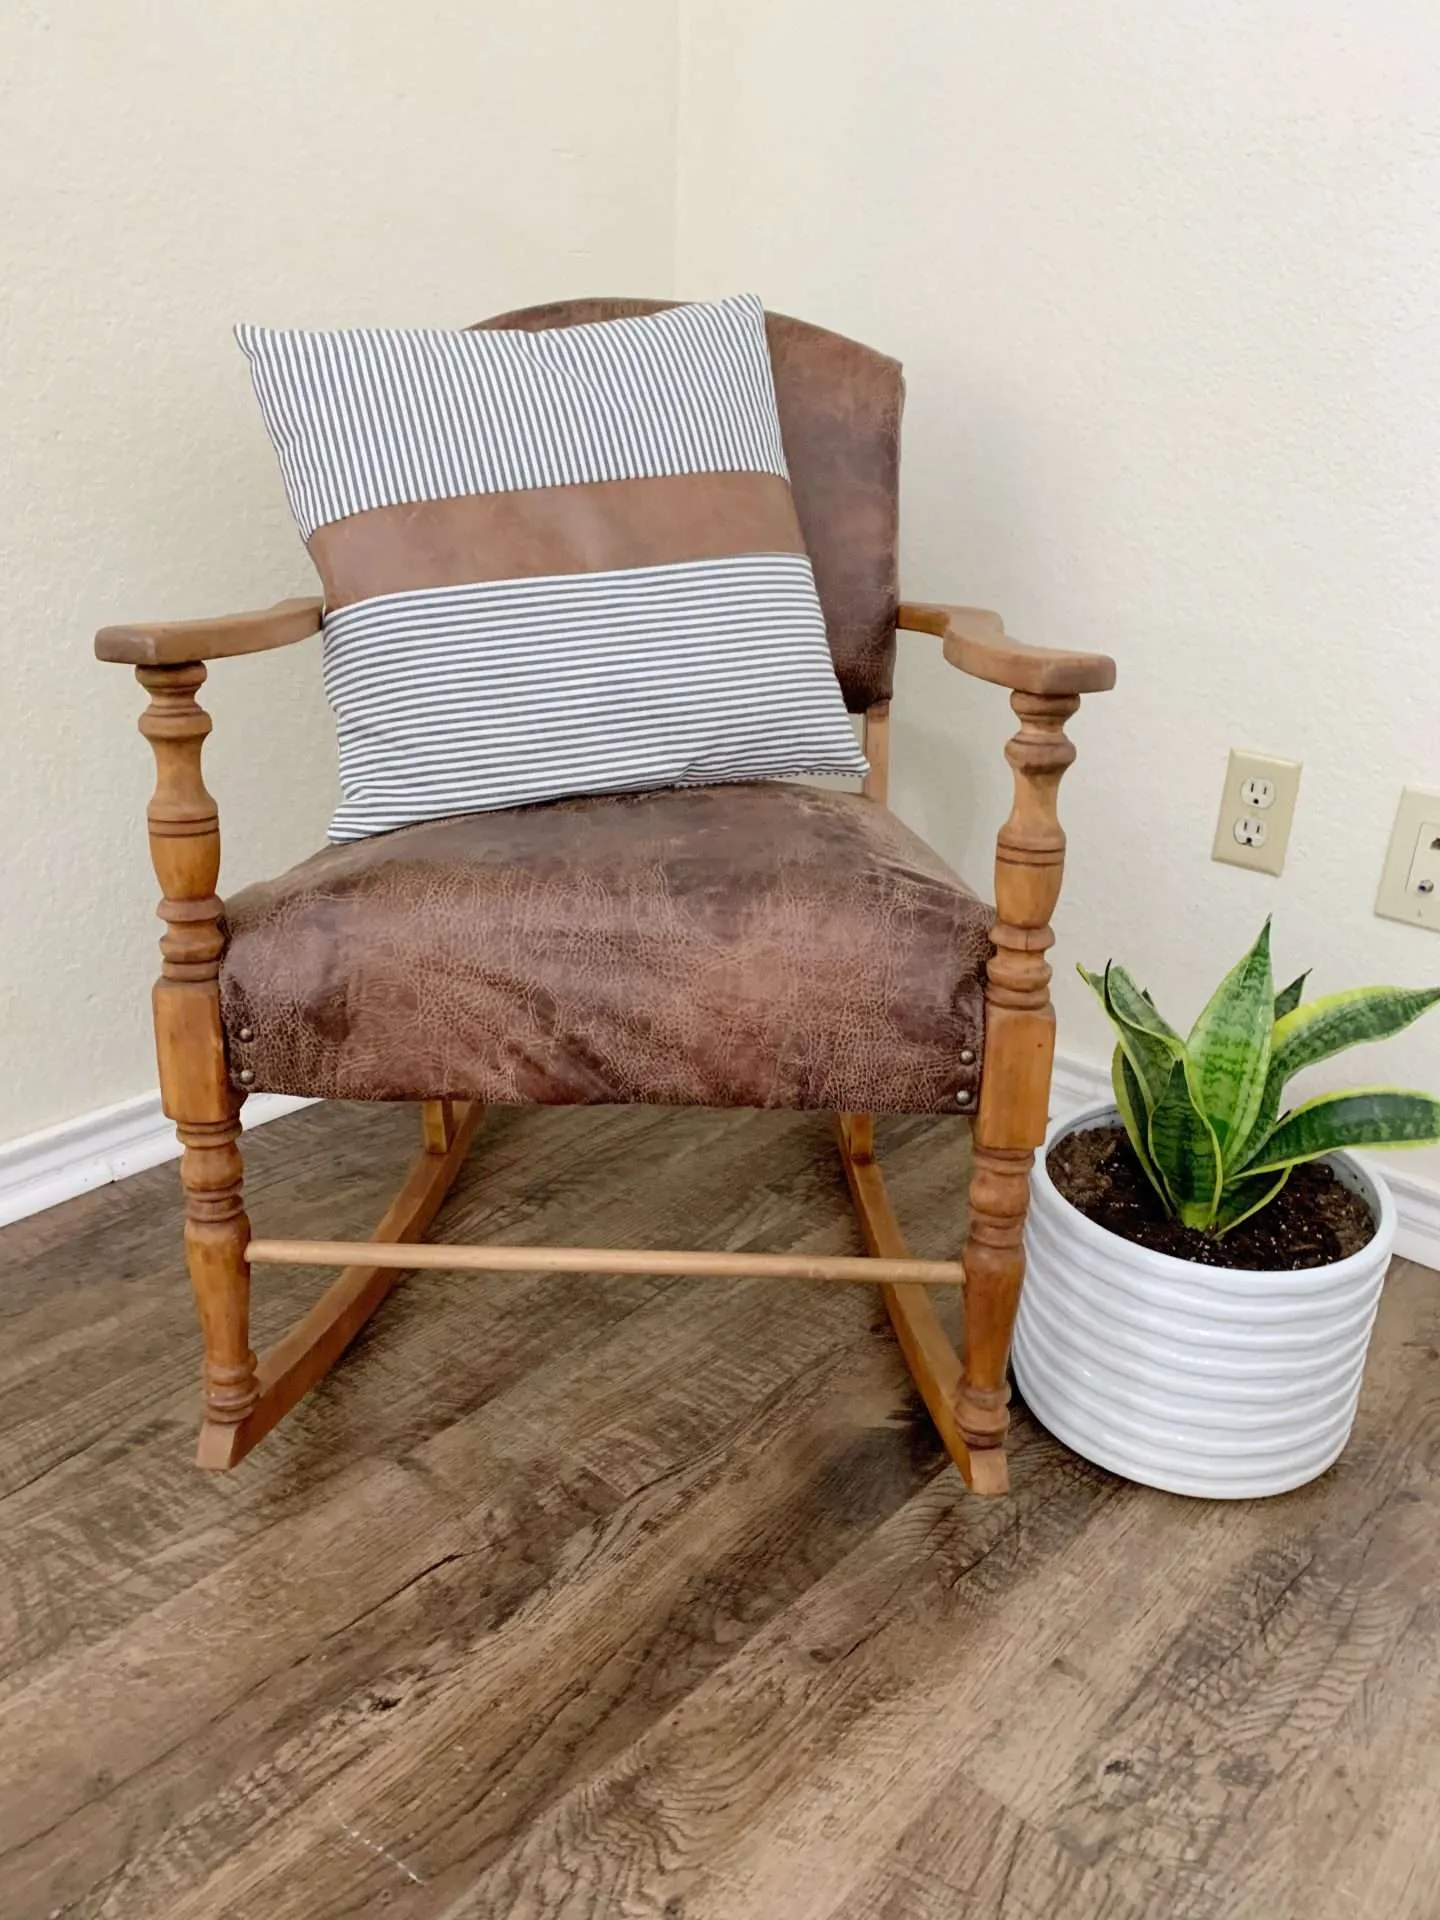
And we were finished!
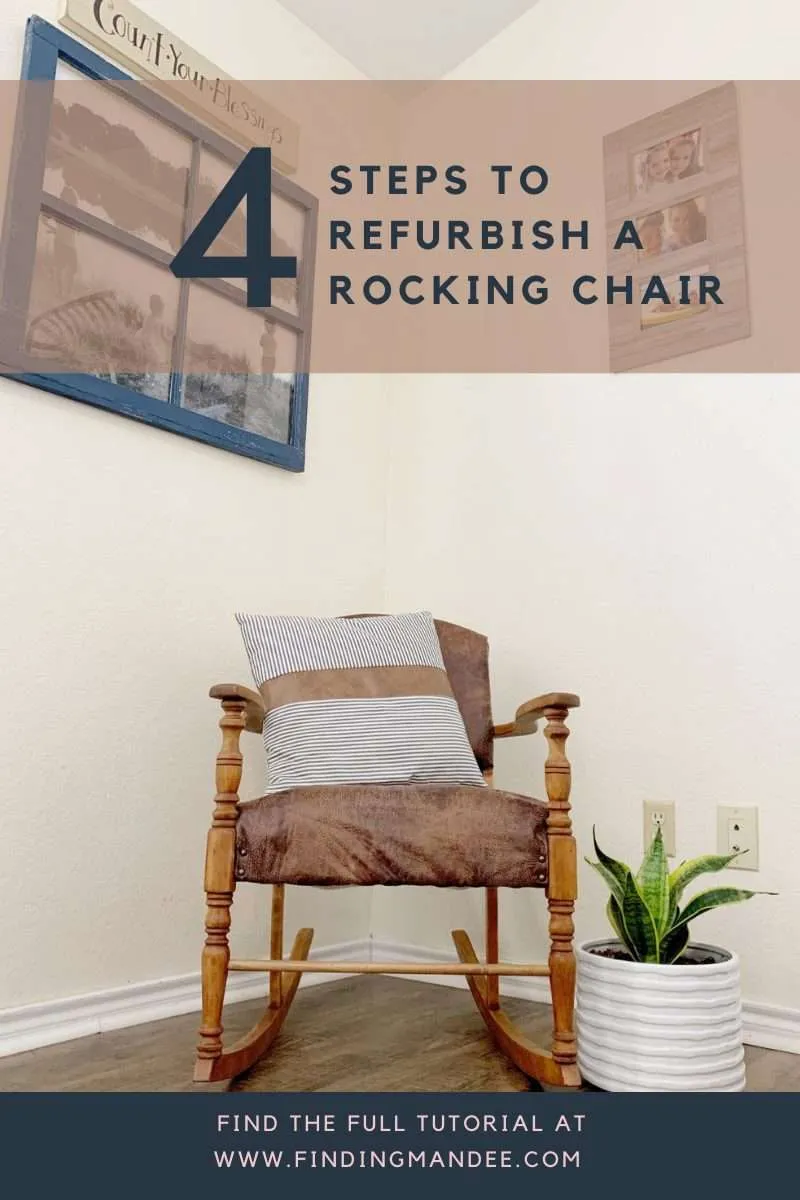
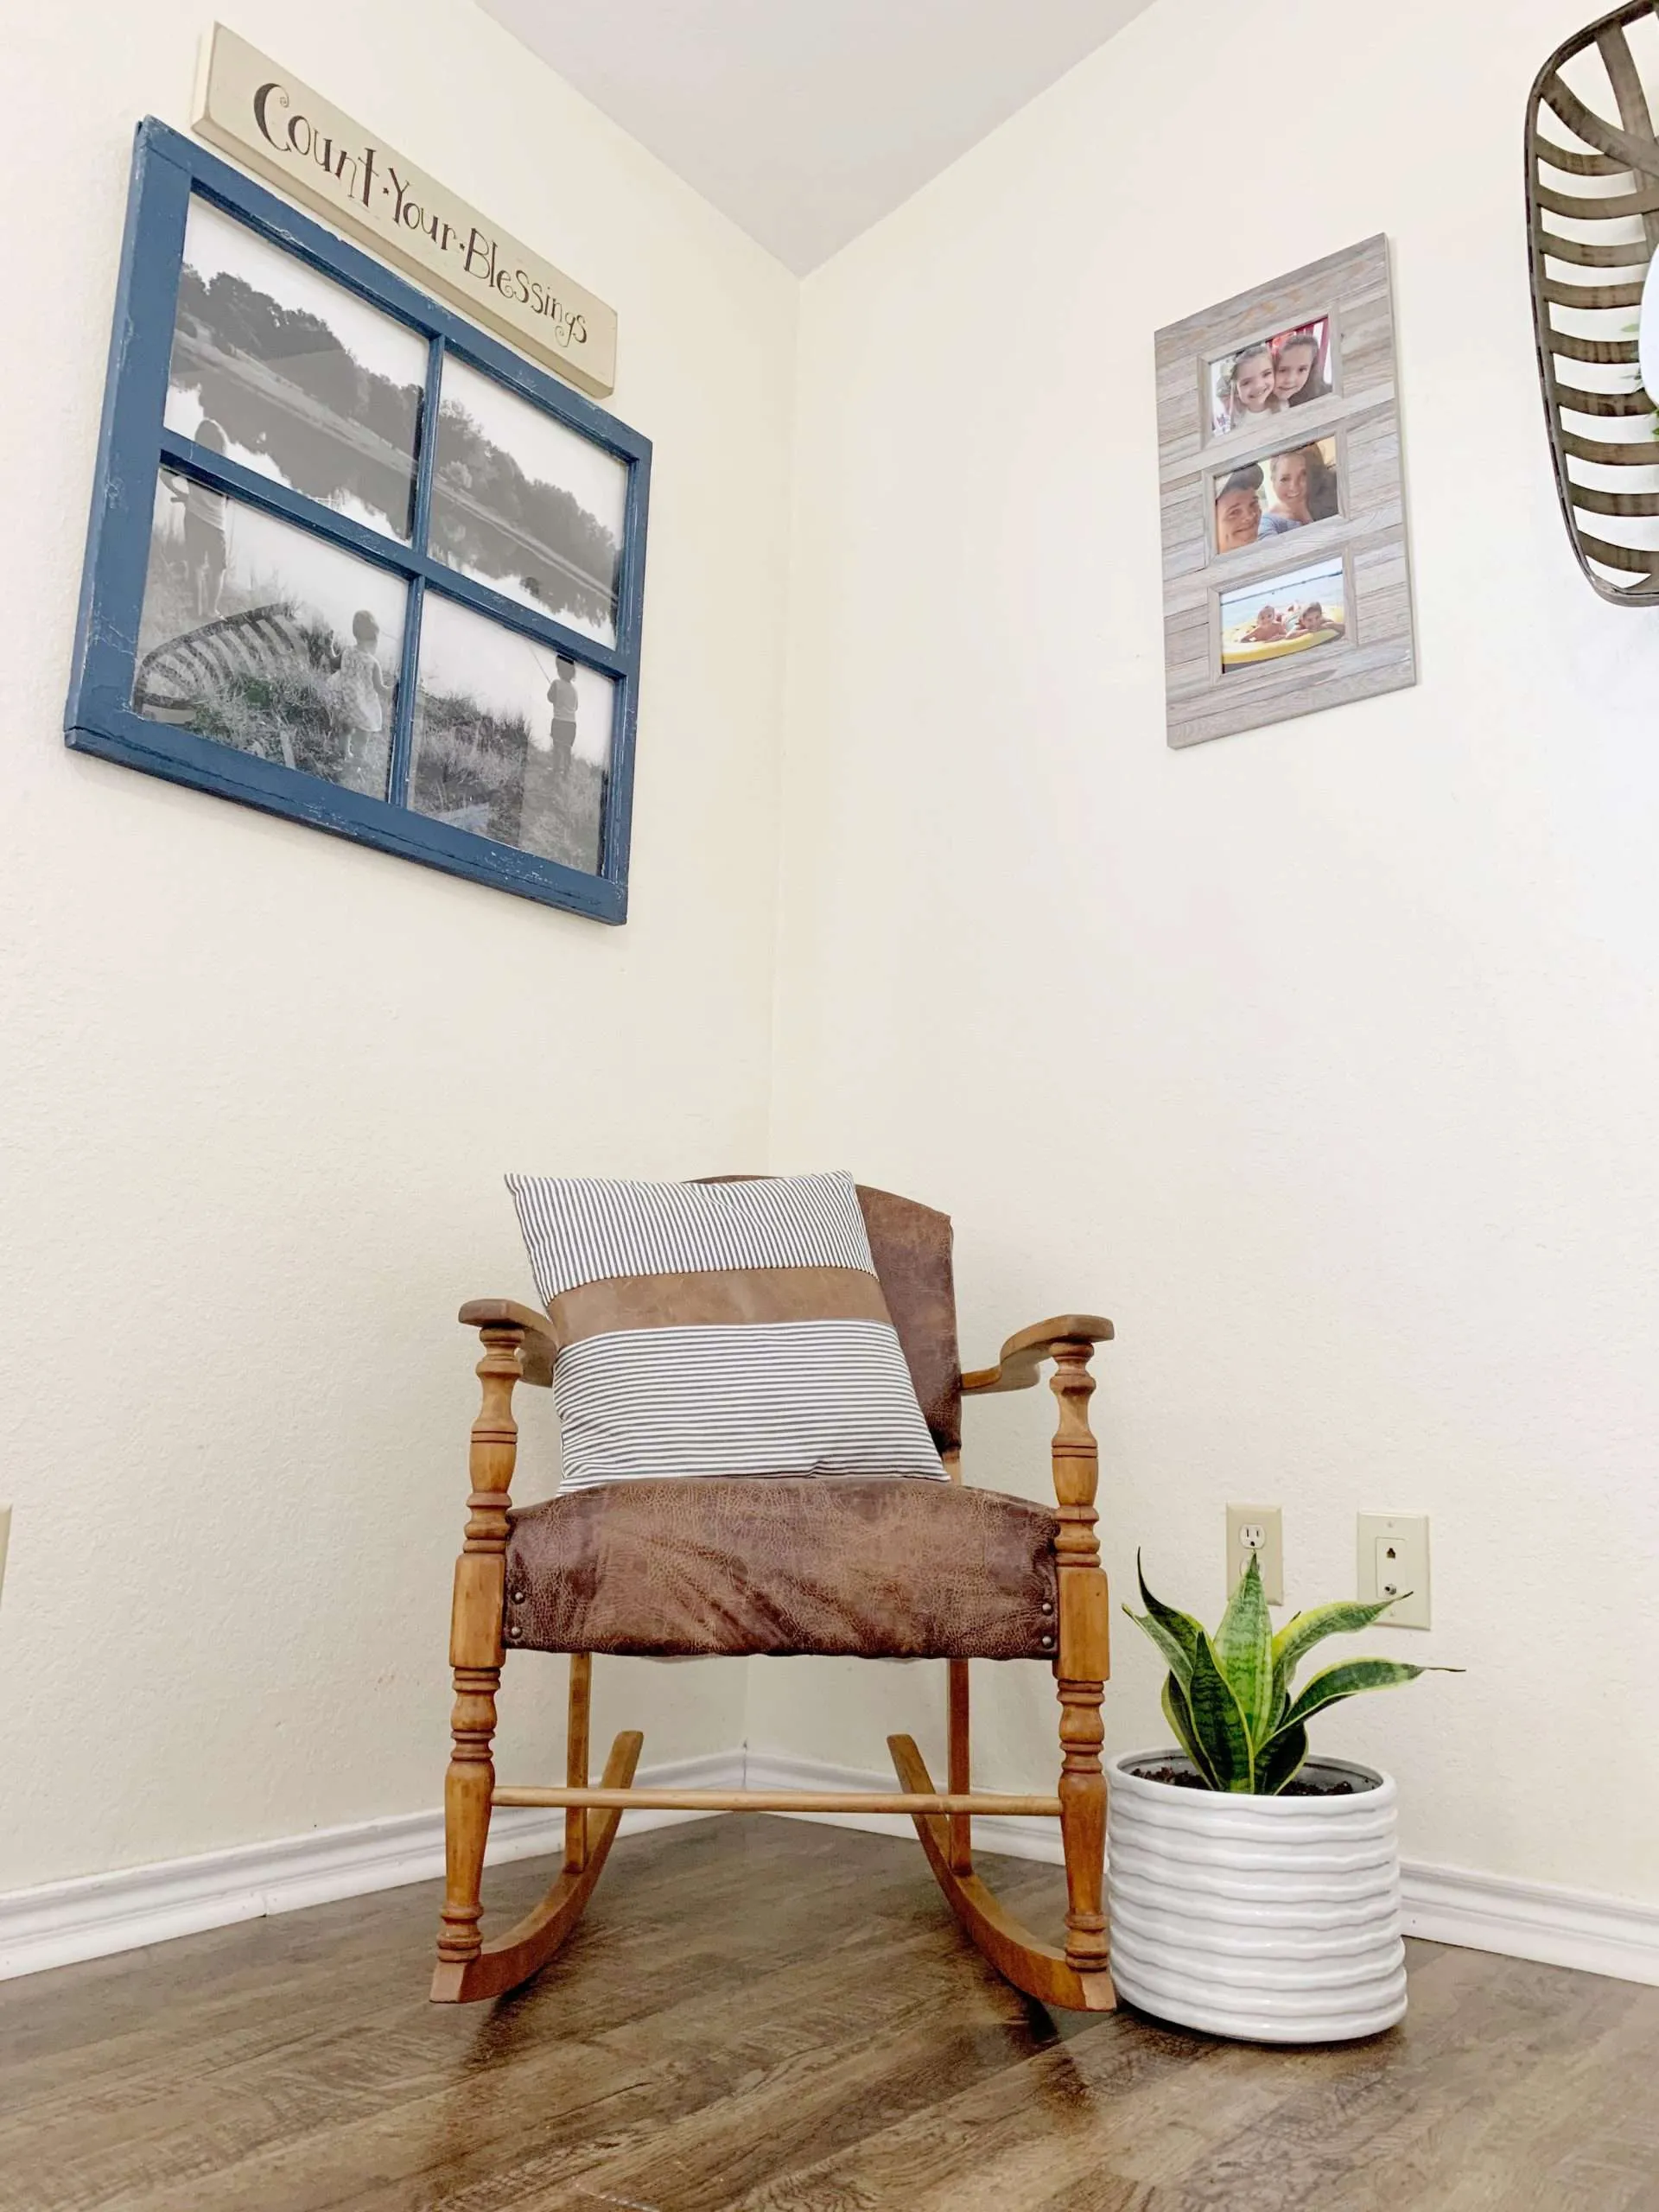
We love how our rocking chair turned out!
It sits in the corner of our living room for now, but it could easily fit into our master bedroom.
Not only is it beautiful, but it’s a cherished piece of our family history. I’m so glad that my dad trusted me to refurbish this old rocking chair so that I can pass it down to one of my girls one day.