[Disclaimer: Finding Mandee is reader-supported, if you purchase through links on my site I may earn an affiliate commission at no additional cost to you. As an Amazon Associate, I earn from qualifying purchases.]
When I started this blog, I wanted to always tell the truth about everything that I posted. Even when the truth isn’t necessarily what readers want to hear.
If a destination is underwhelming or not worth the money, I want to tell you that.
If a project is too expensive or time-consuming, I want you to know what to expect.
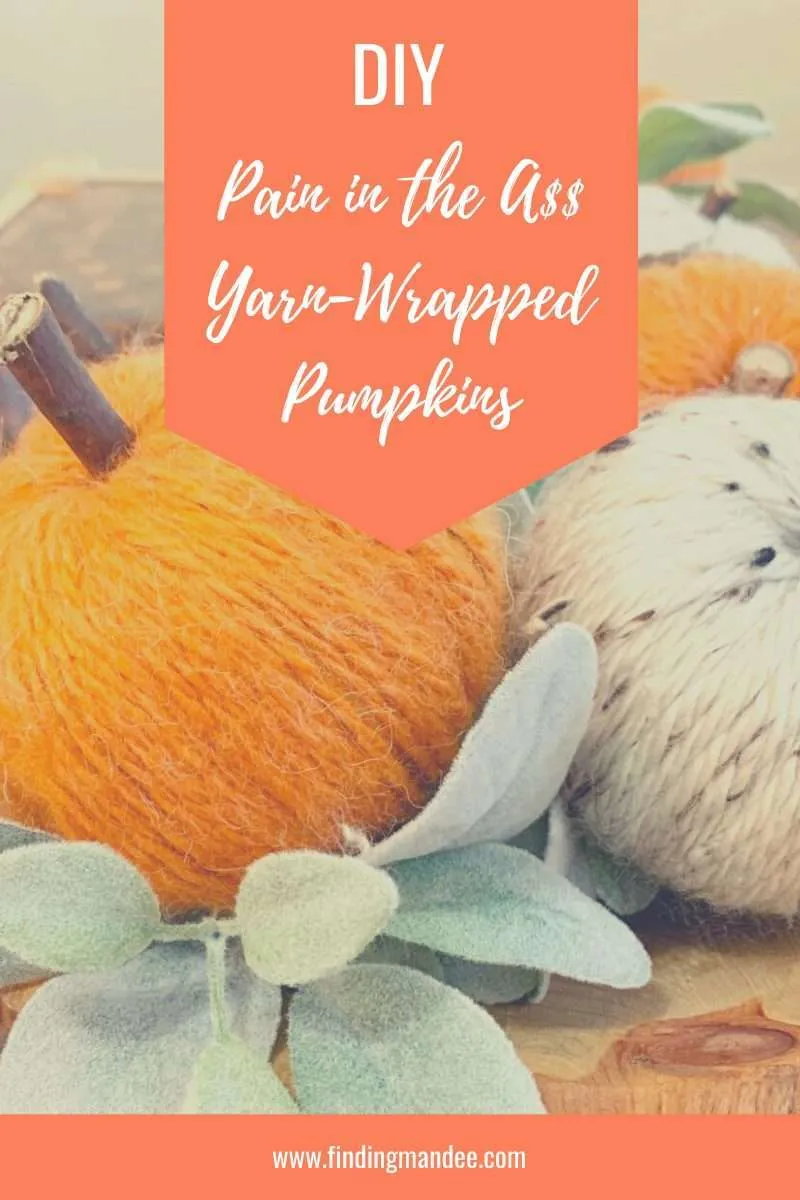
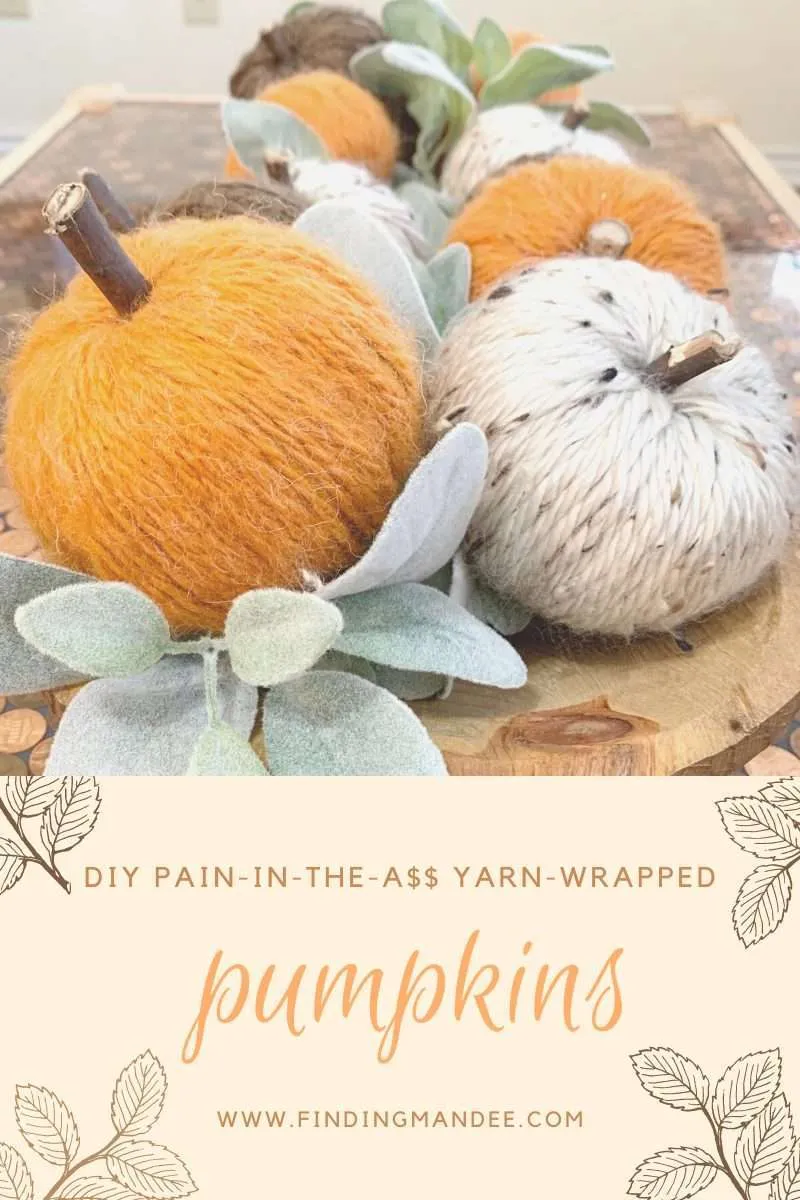
So, in the spirit of honesty, this fall craft was a MAJOR pain in the a$$. Not only did it make a big mess, but it took a LOT longer than expected.
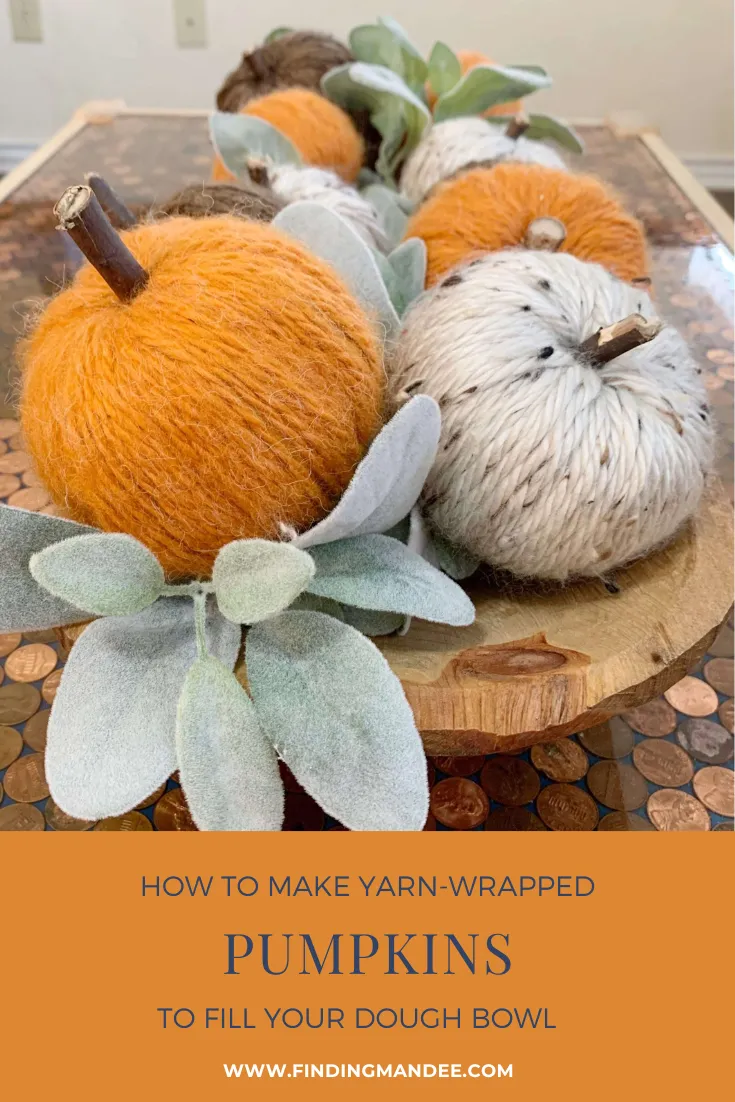
However, it did turn out pretty cute and it was cheap. So, with that in mind, here’s how to make these Pinterest-inspired yarn-wrapped pumpkins.
(And these aren’t the only pumpkins that fill my home in the fall, check out the DIY pumpkins I use to decorate my mantel!)
Get Your Supplies
This project was fairly cheap, costing me less than $25.
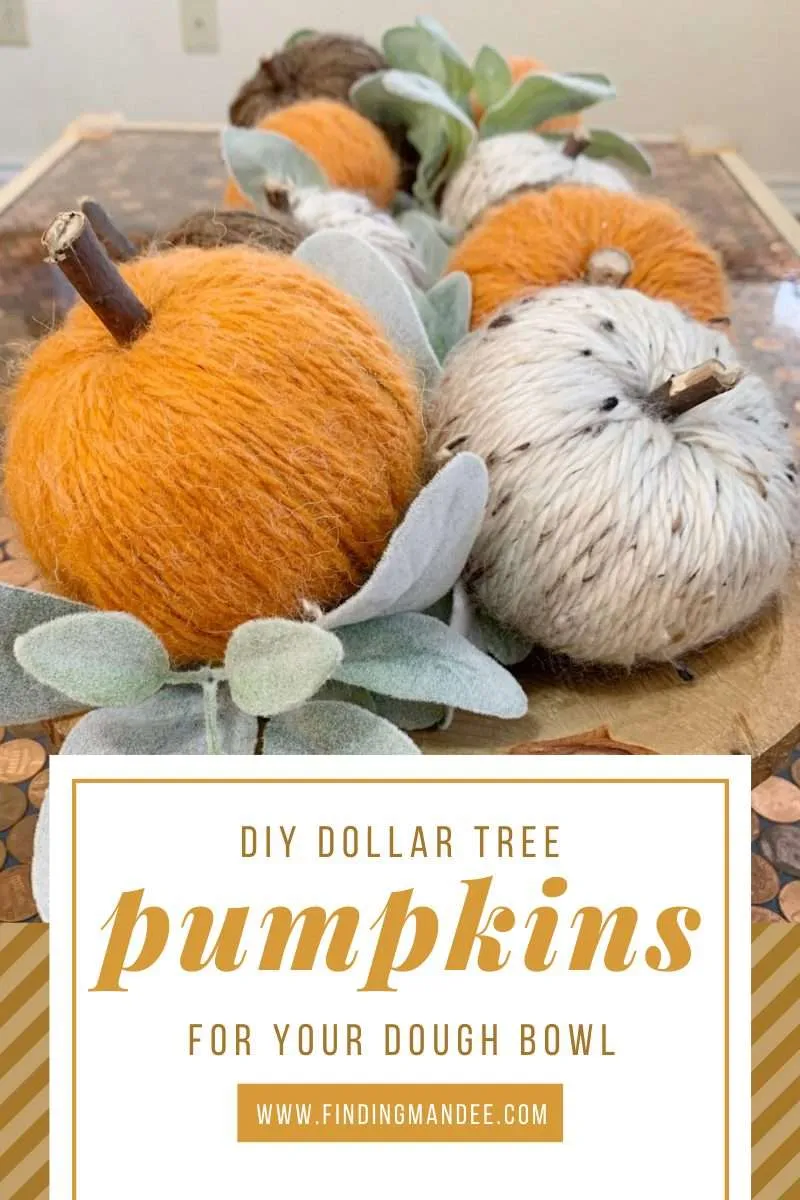
Plus, I was able to find all of the supplies at my local Wal-Mart and Dollar Tree, which saved me from waiting on mail from Amazon or having to go out of town to the nearest craft store.
For these yarn-wrapped pumpkins, you will need:
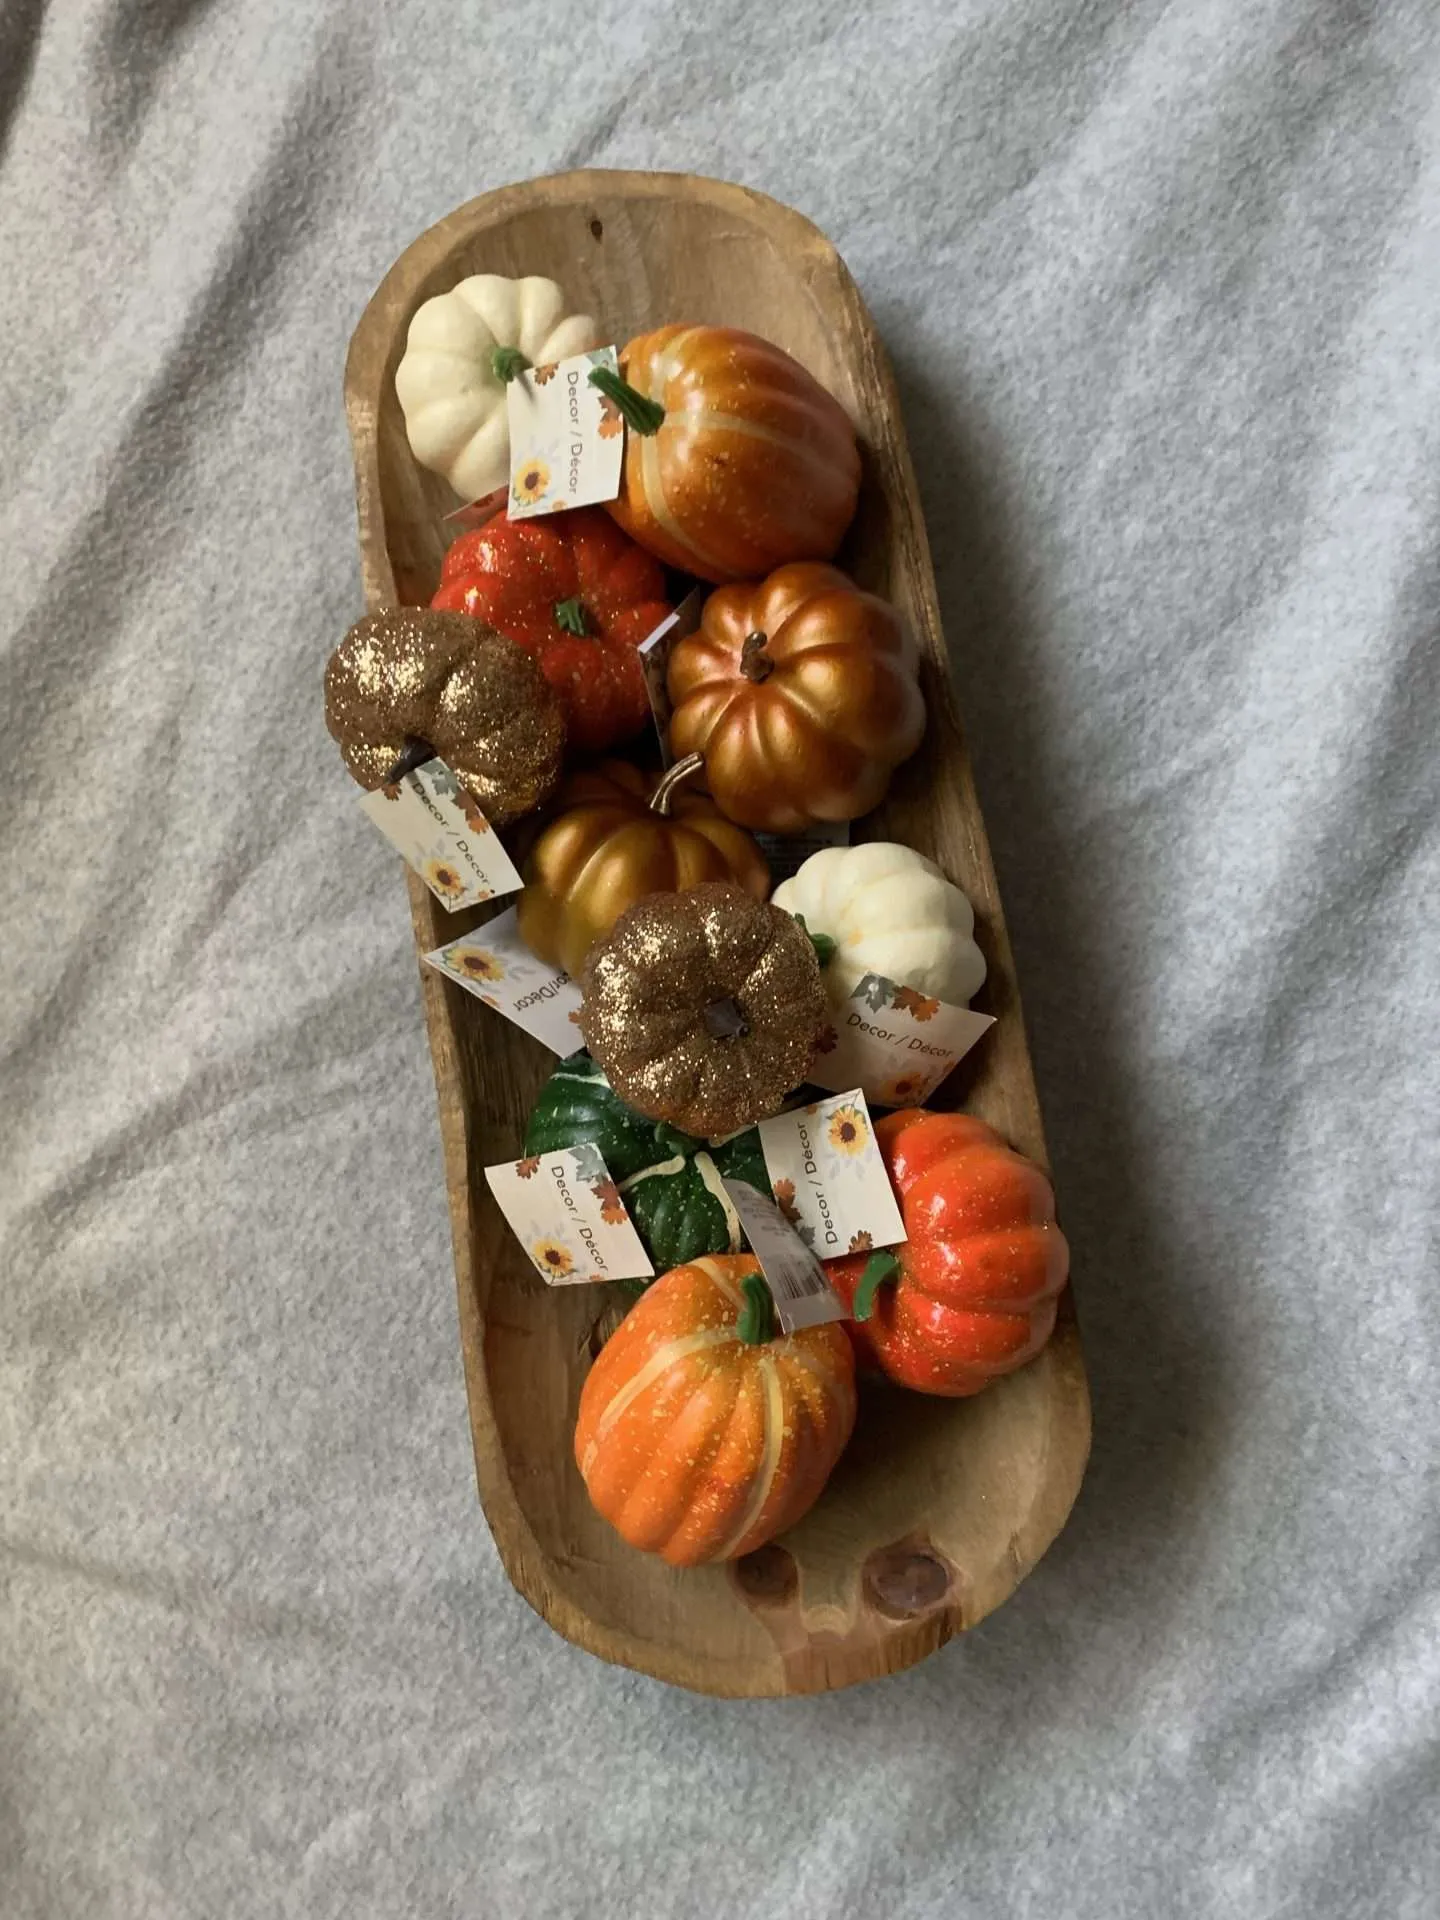
- Styrofoam pumpkins (various sizes, but not bigger than 4″)
- bulky yarn (at least 3 different colors)
- sticks (I just used some out of my yard)
- drill & wood boring drill bit (or a knife)
- yarn needle
- scissors
Sun-E 15 PCS White Artificial Pumpkins for Fall Thanksgiving Halloween Decorating Rustic Harvest Embellishing Displaying Assorted Sizes Wedding Party Decorations SetLion Brand Yarn Wool-Ease Thick & Quick Yarn, Soft and Bulky Yarn for Knitting, Crocheting, and Crafting, 1 Skein, Fossil


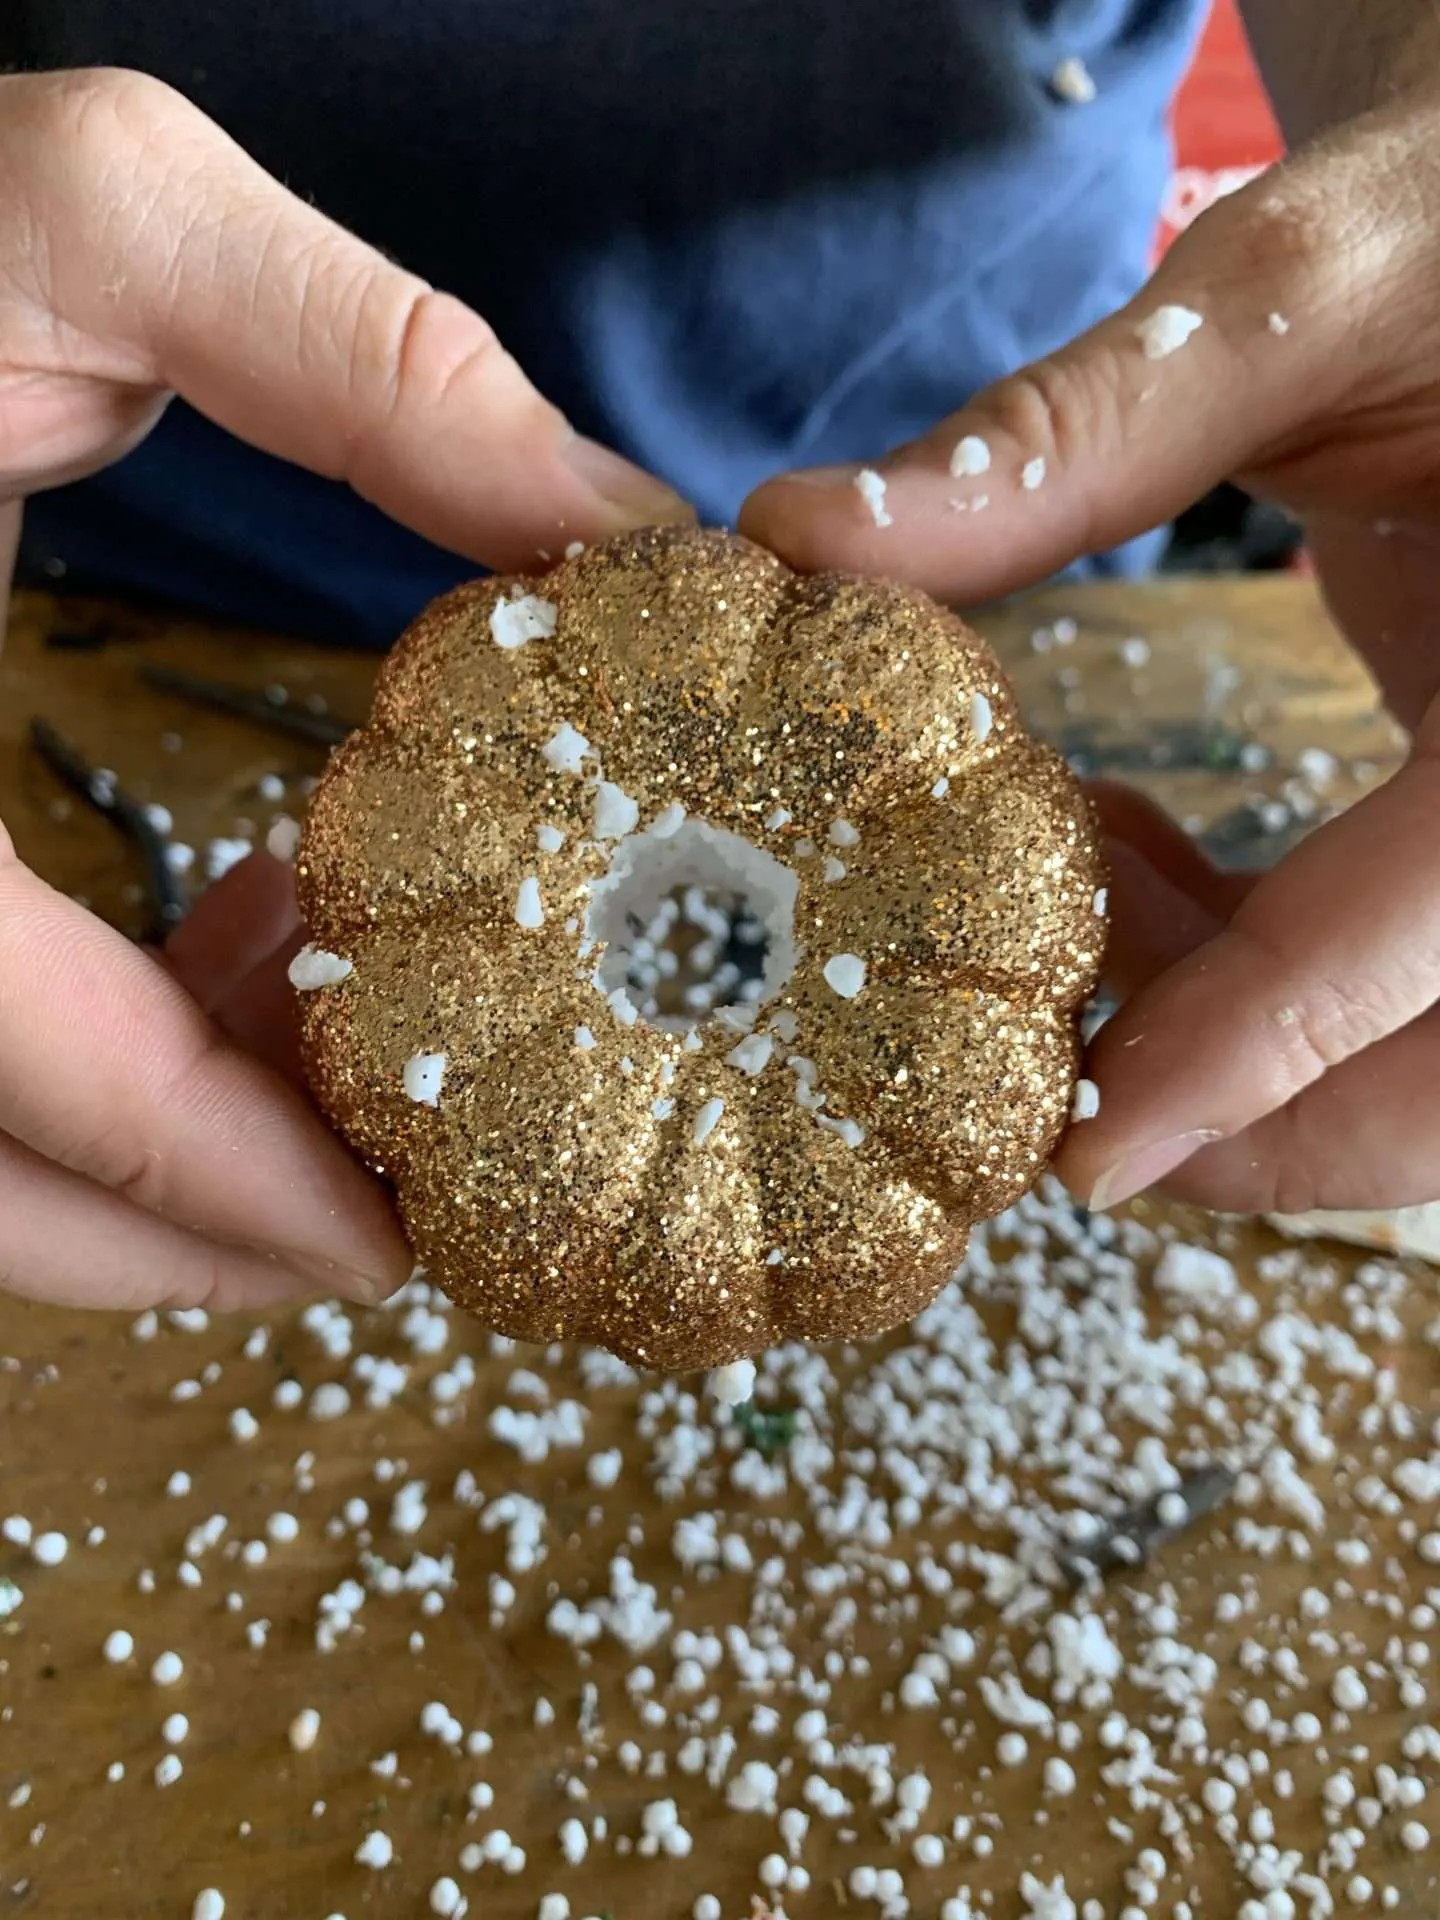
Step 1: Remove Stems & Make Hole Through Pumpkin
The first step to making these yarn-wrapped pumpkins is THE biggest pain in the a$$.
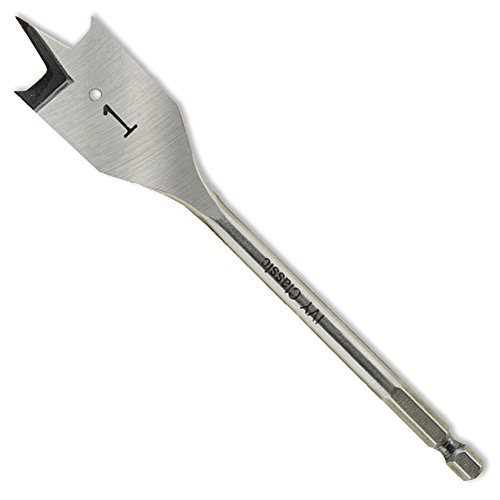
After removing all of the tags and stems from the pumpkins, we used a drill and a wood-boring drill bit (11/16″) to make a hole through each one. (You can also use a knife, but Heff never misses an opportunity to bust out his power tools.)
I read several tutorials about making these pumpkins and NONE of them mentioned that this part will make a HUGE mess. Styrofoam went everywhere.
Thankfully, we were out in the garage and it was easy to sweep up. Don’t do this step inside your house or you WILL regret it!
This first step was also a mistake.
Not only did it make a mess, but the hole we made through each pumpkin was too small. If you are using thick, chunky yarn, make the hole bigger. I would make it 7/8″ or even 1″ wide.
IVY Classic 10716 1 x 6-Inch Swift Bore® Wood Spade Bit, High-Carbon Steel, 1/CardCOMOWARE Cordless Drill Set, 12V Power Drill, Pink Drill Set for Women, 1 Battery & Charger, 3/8

Step 2: Wrap, Wrap, and Wrap Again
Next, is the step where you better find a comfy spot and settle in for the long haul. Grab a drink, some snacks, and turn on one of your favorite shows because you’re going to be there for a while.
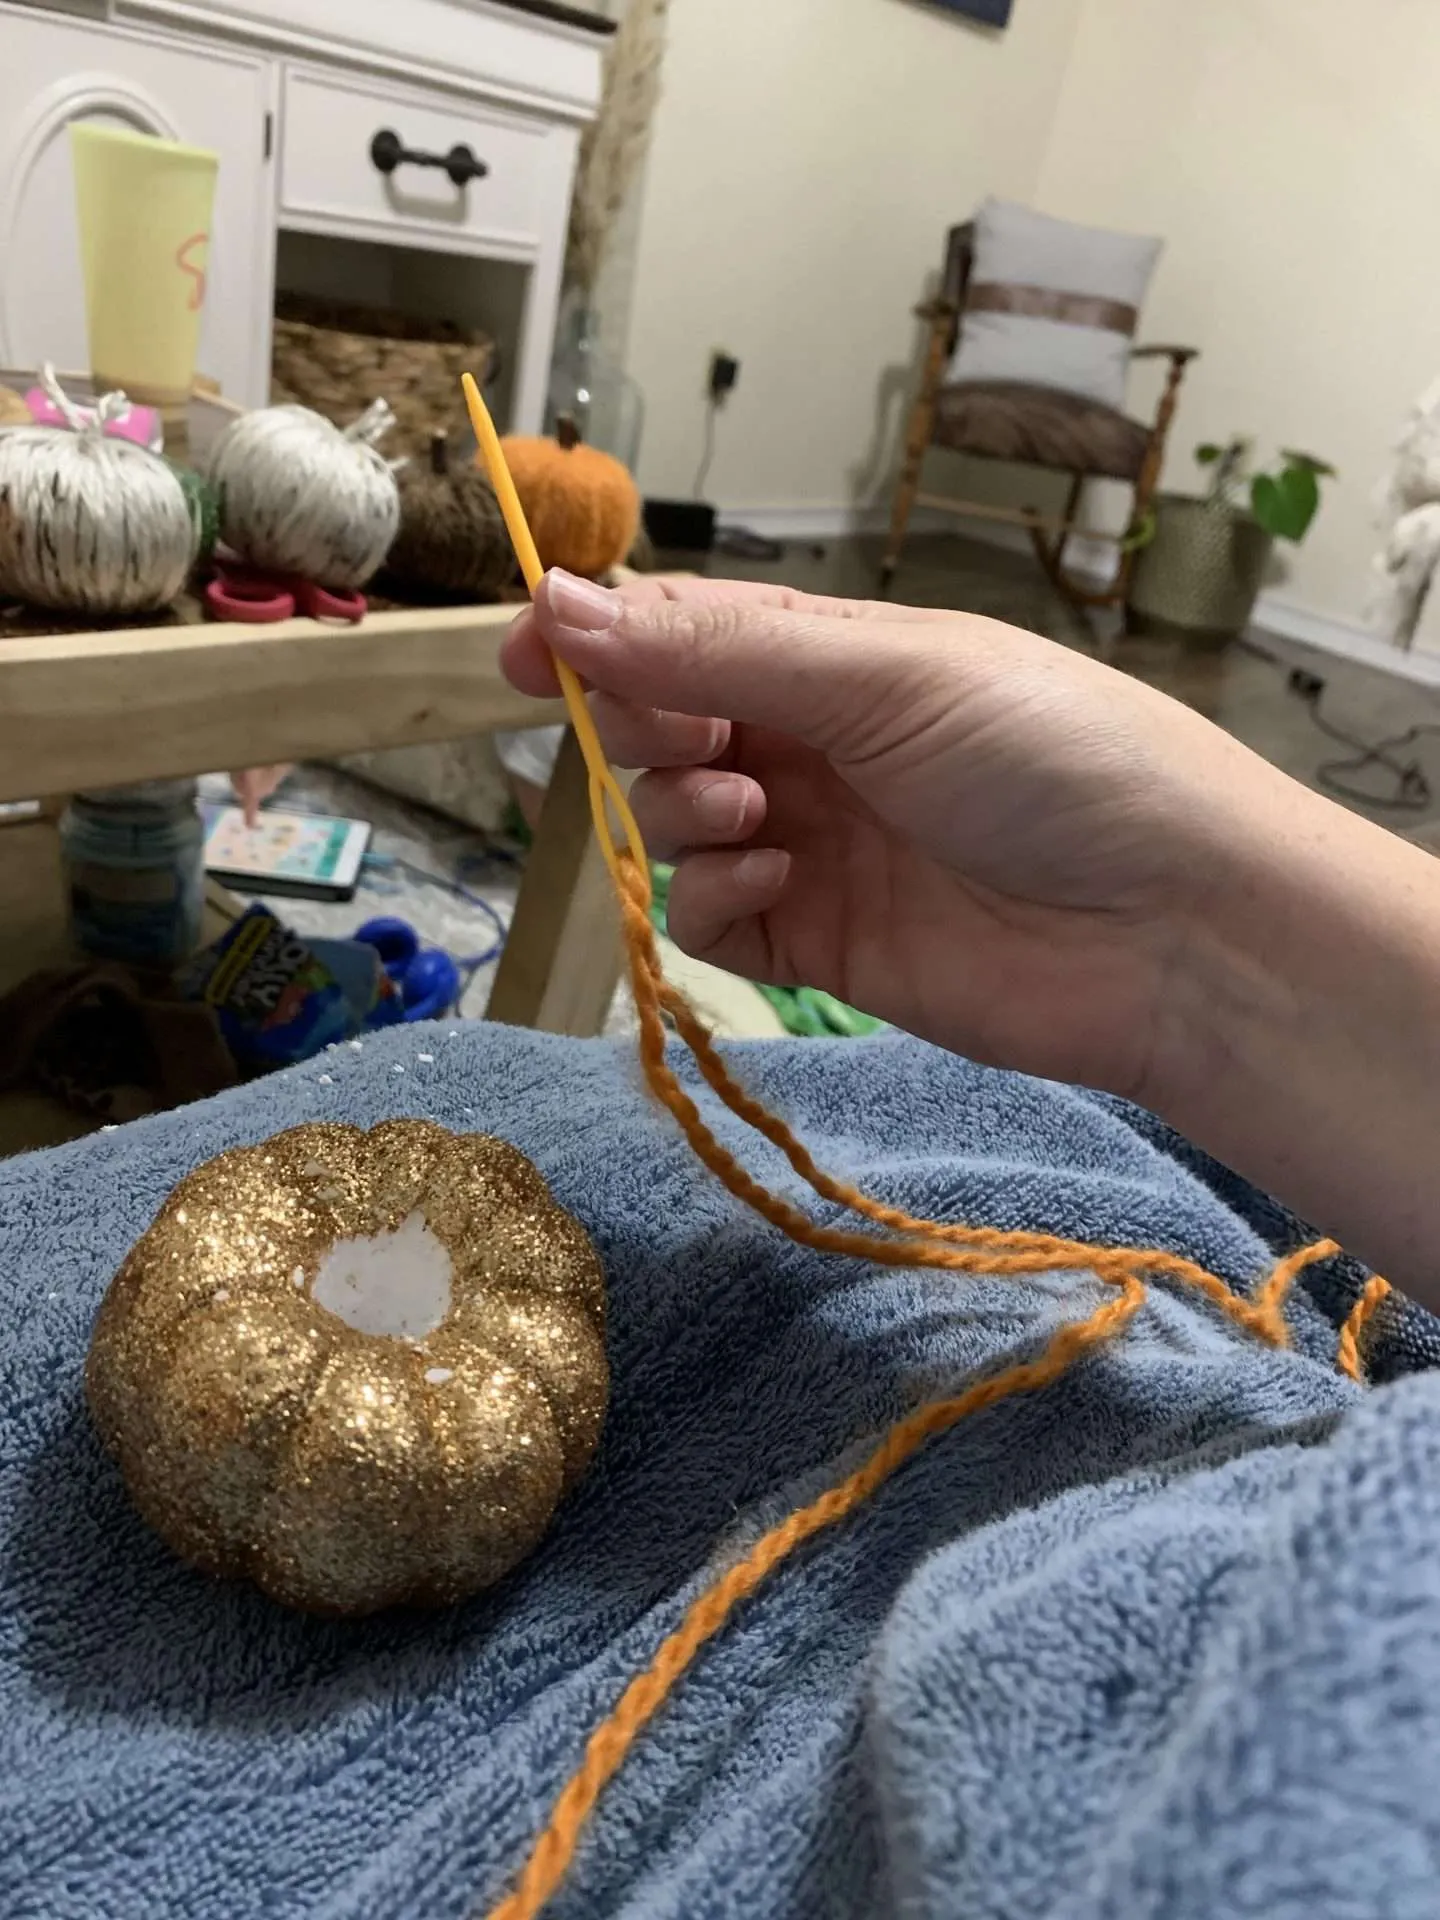
I unwrapped a SUPER LONG piece of yarn and threaded my needle. Then I doubled the yarn so that when I did one pass through the pumpkin two pieces of thread were wrapped at the same time.
Some of the other tutorials suggest using hot glue to start wrapping, but I just tucked the ends under some pieces of wrapped yarn instead of gluing them down.
Those other tutorials failed to mention that this part is also extremely messy.
All kinds of loose styrofoam fell out of the pumpkins despite my blowing them out before bringing them inside from the garage.
I wrapped the majority of the first pumpkin and was almost done when I found out that the hole was too small.
So, I had to unwrap everything I had already done, widen the hole, and start again. (To widen the hole I used scissors to scrape away some of the styrofoam from the sides of the hole to make it bigger.) Re-wrapping the pumpkin was much easier with the bigger opening.
When your pumpkin is completely covered and you’re finished wrapping, tuck the end of the yarn into the hole on the bottom of the pumpkin. If it’s anything like mine, the hole will be packed so tight that it won’t come out.
Estako Cozy Thick & Quick Yarn 20% Wool 80% Acrylic Soft Super Bulky Weight #6 Knitting and Crocheting Yarn 3.52 oz (100gr) 65 yds (60 m) (52099-Dark Orange)Knit Picks Wool of The Andes Worsted Weight Donegal Tweed Brown Yarn (1 Ball – Farmhouse)


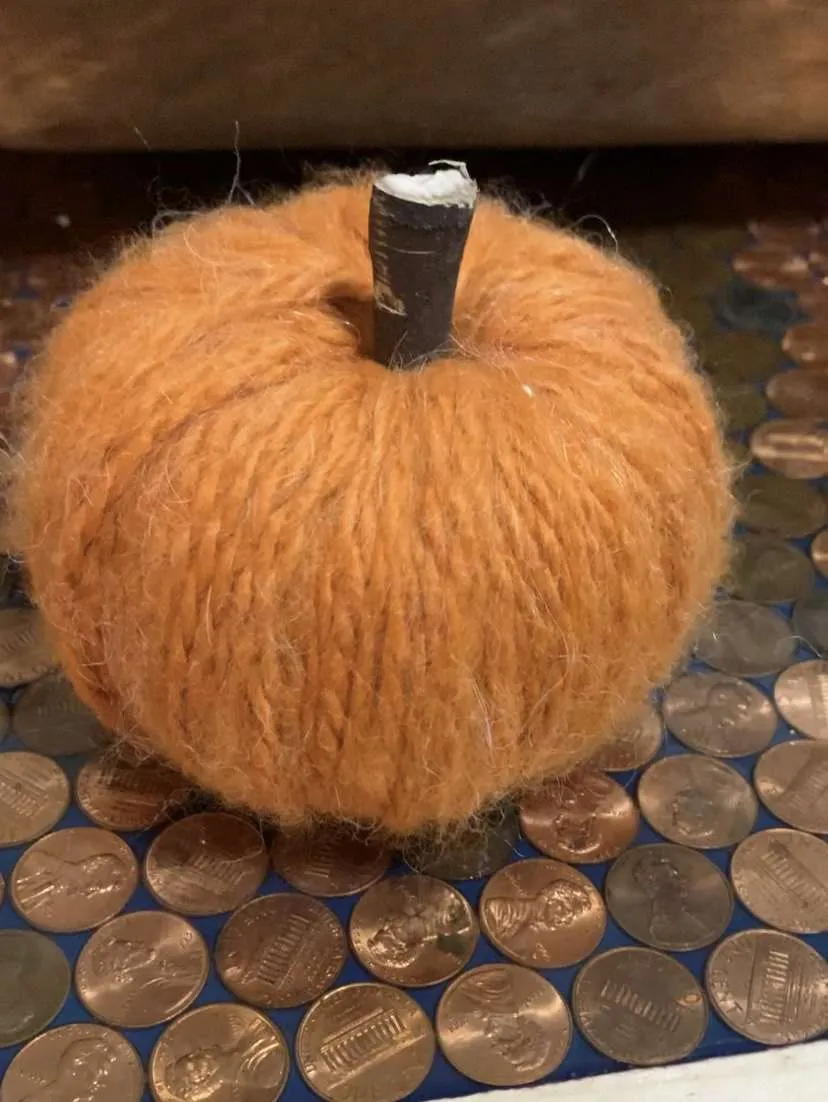
Step 3: Insert the Stem
The last step to completing these pain in the a$$ yarn-wrapped pumpkins is adding the stems.
I used a dead branch from a tree in my backyard that was between 1/4″ to 1/2″ thick. Using garden shears I just cut 2″ long pieces and stuffed them down inside the hole on top of the pumpkin.
Other tutorials mentioned that they secured their stems with hot glue, but that wasn’t necessary for my pumpkins. All the yarn held that sucker in place!
Boye Plastic Yarn Sewing Needle Set, 2pc,blueCraft Scissors Set of 3 Pack, All Purpose Sharp Titanium Blades Shears Rubber Soft Grip Handle, Multipurpose Fabric Scissors Tool Great for Adults, Office, Sewing, School and Home Supplies, Purple


And that’s it!
It really IS an easy project, albeit a little time-consuming and messy.
There are several tutorials out there and I debated on even writing this one up. However, I wanted you to get the full truth of what you’re getting into if you take on this little fall craft.
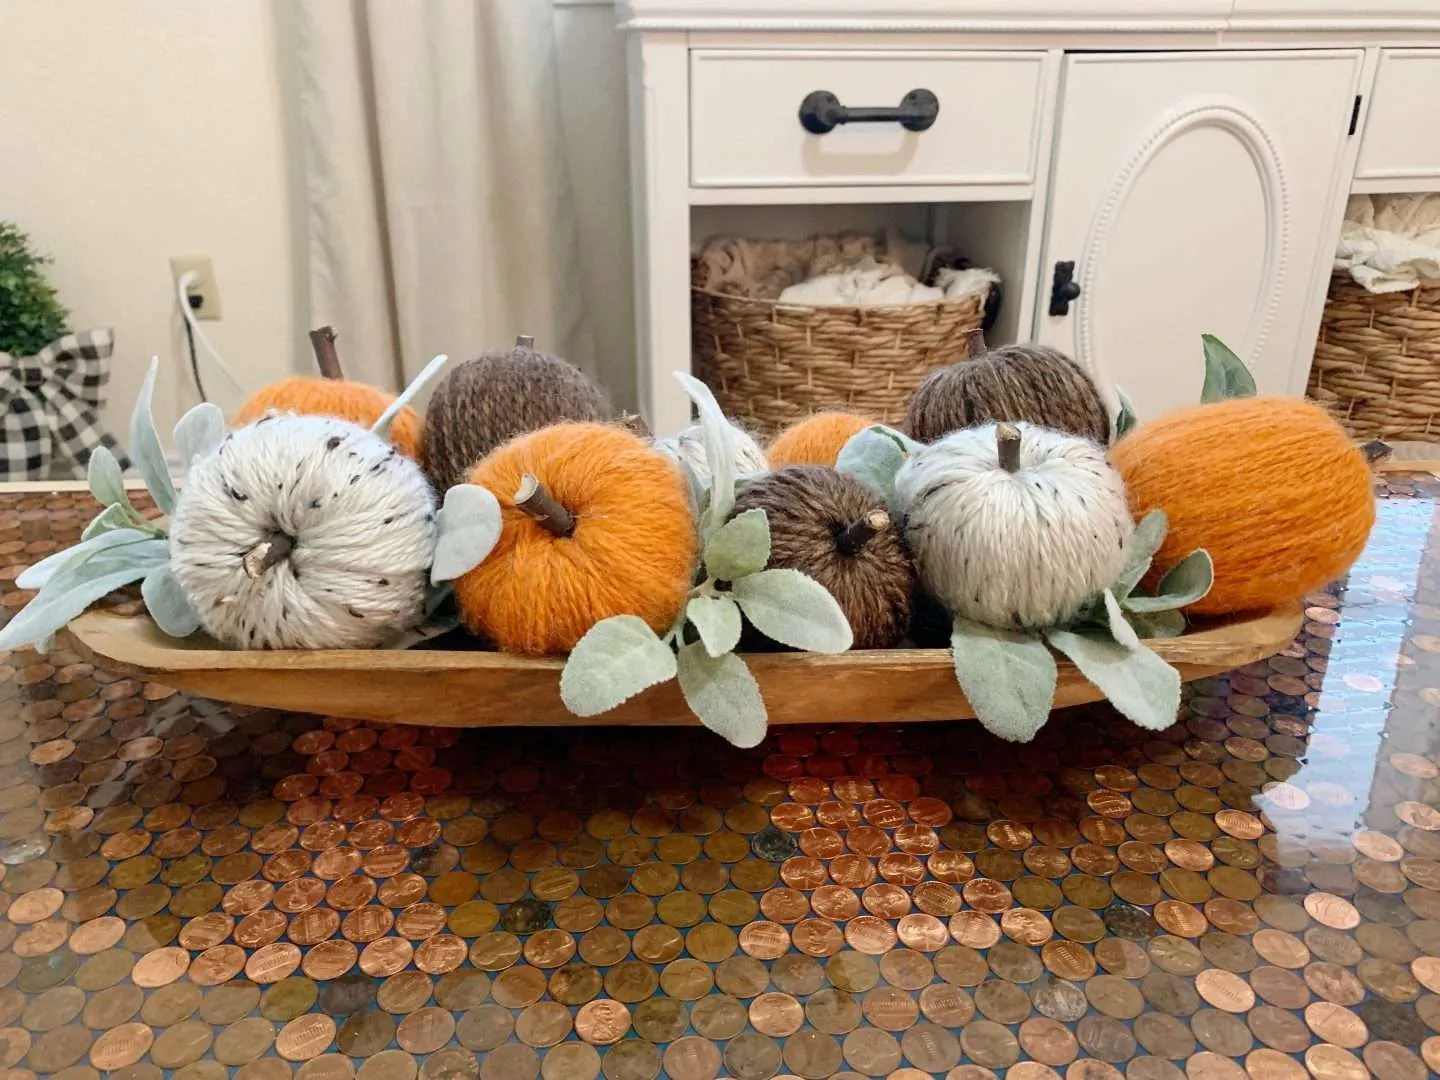
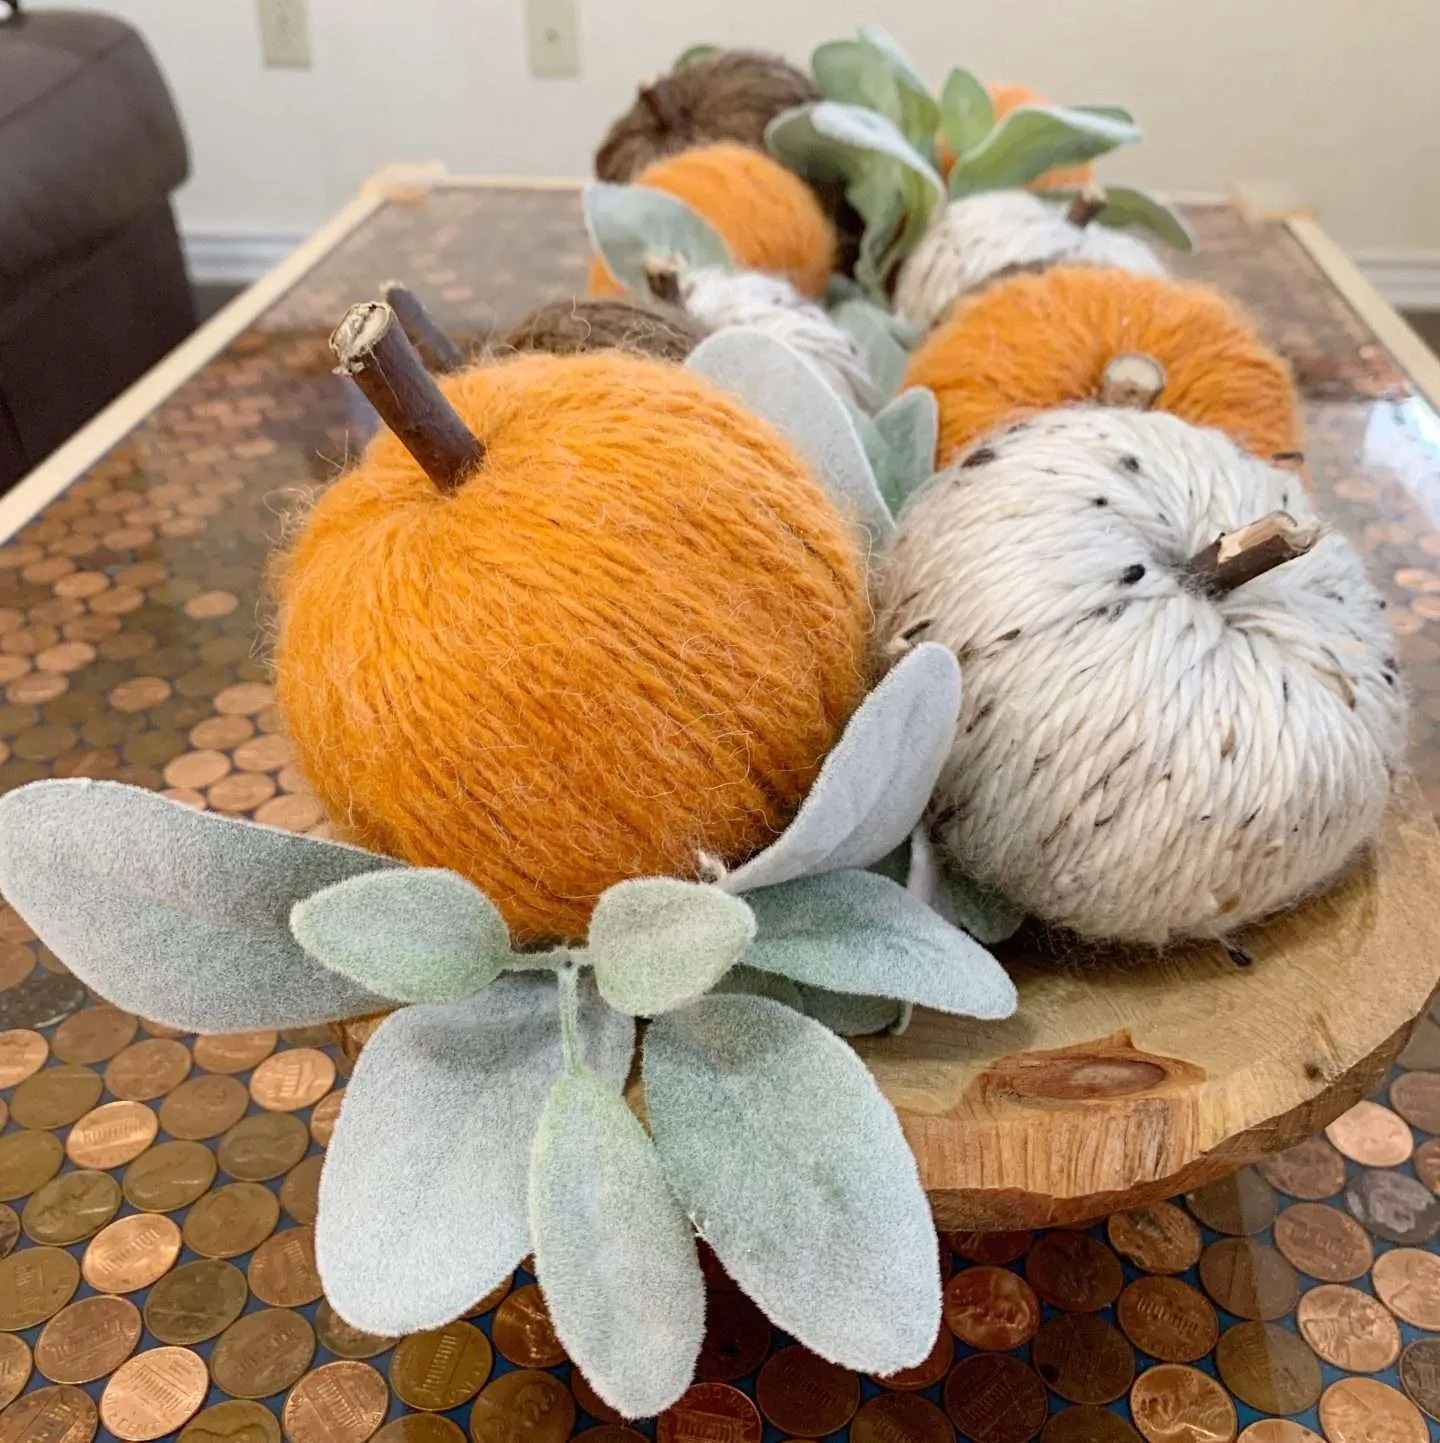
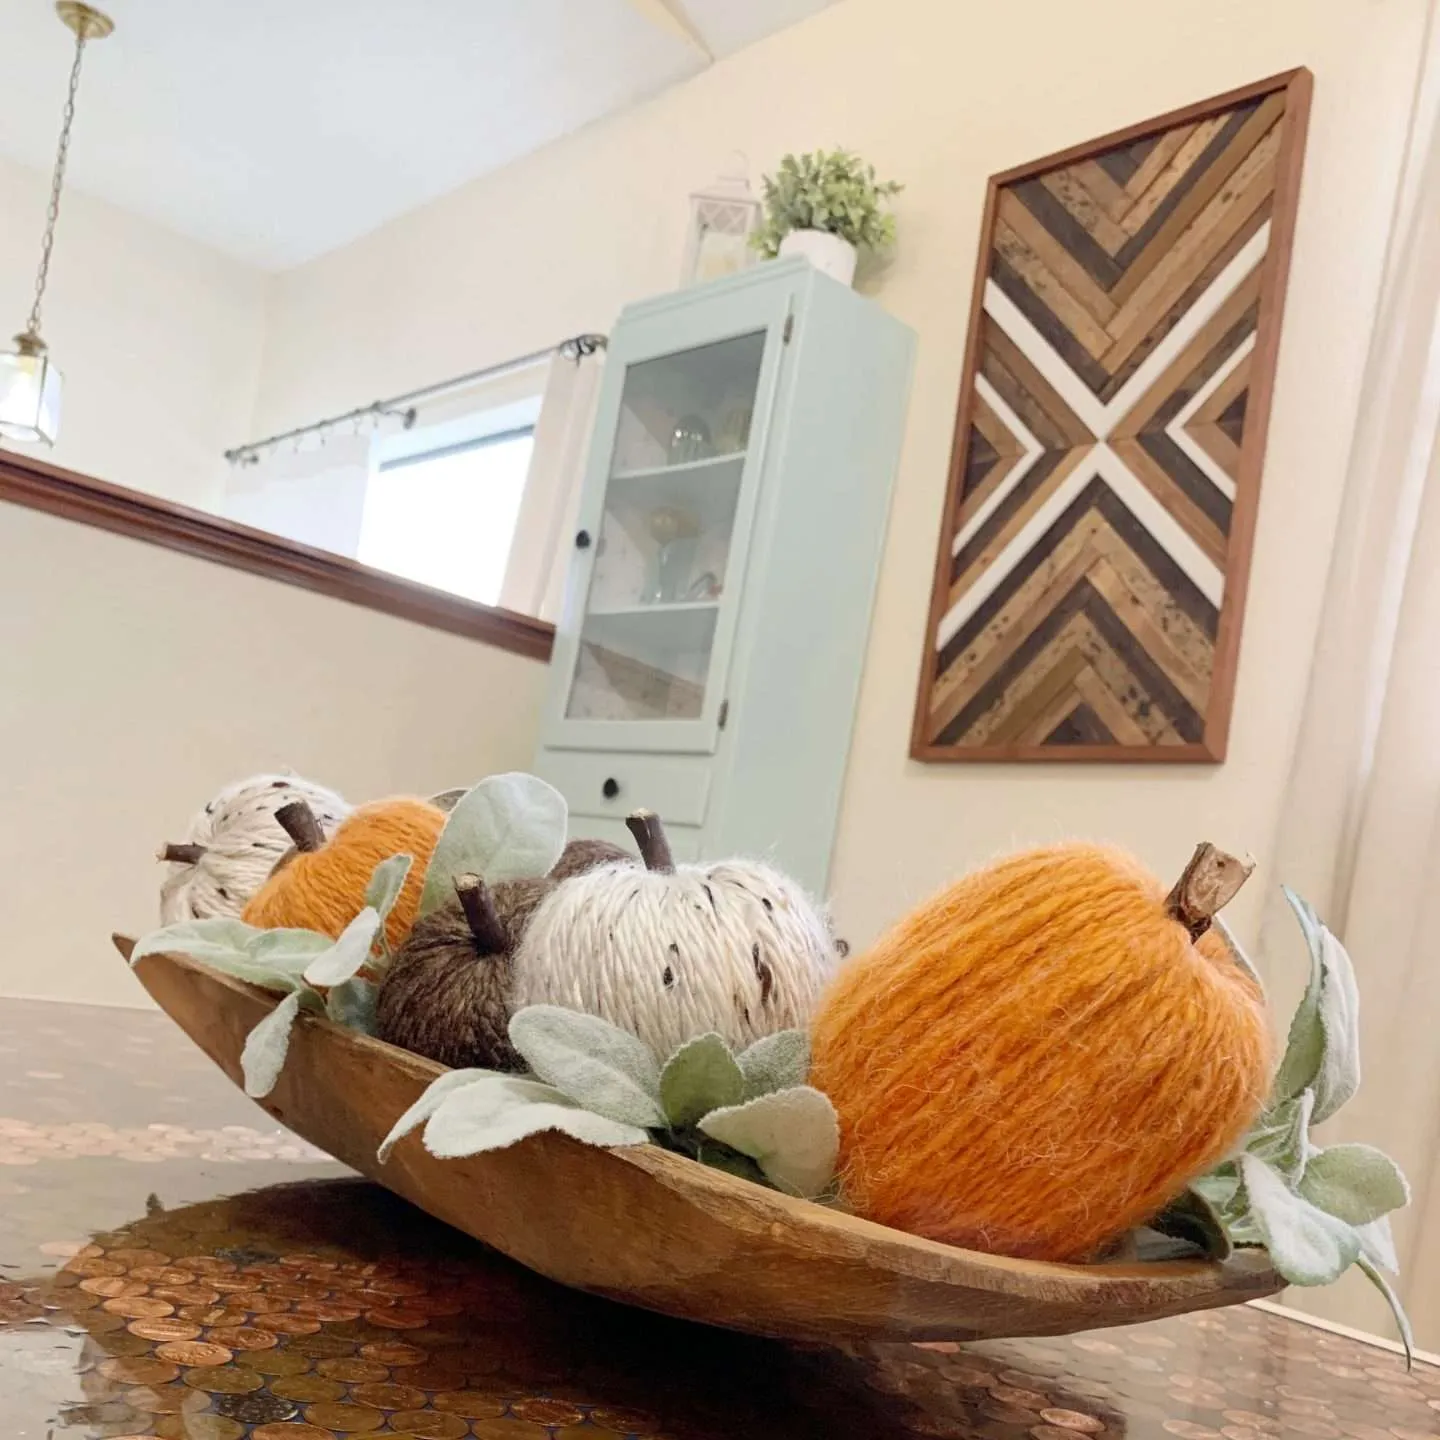
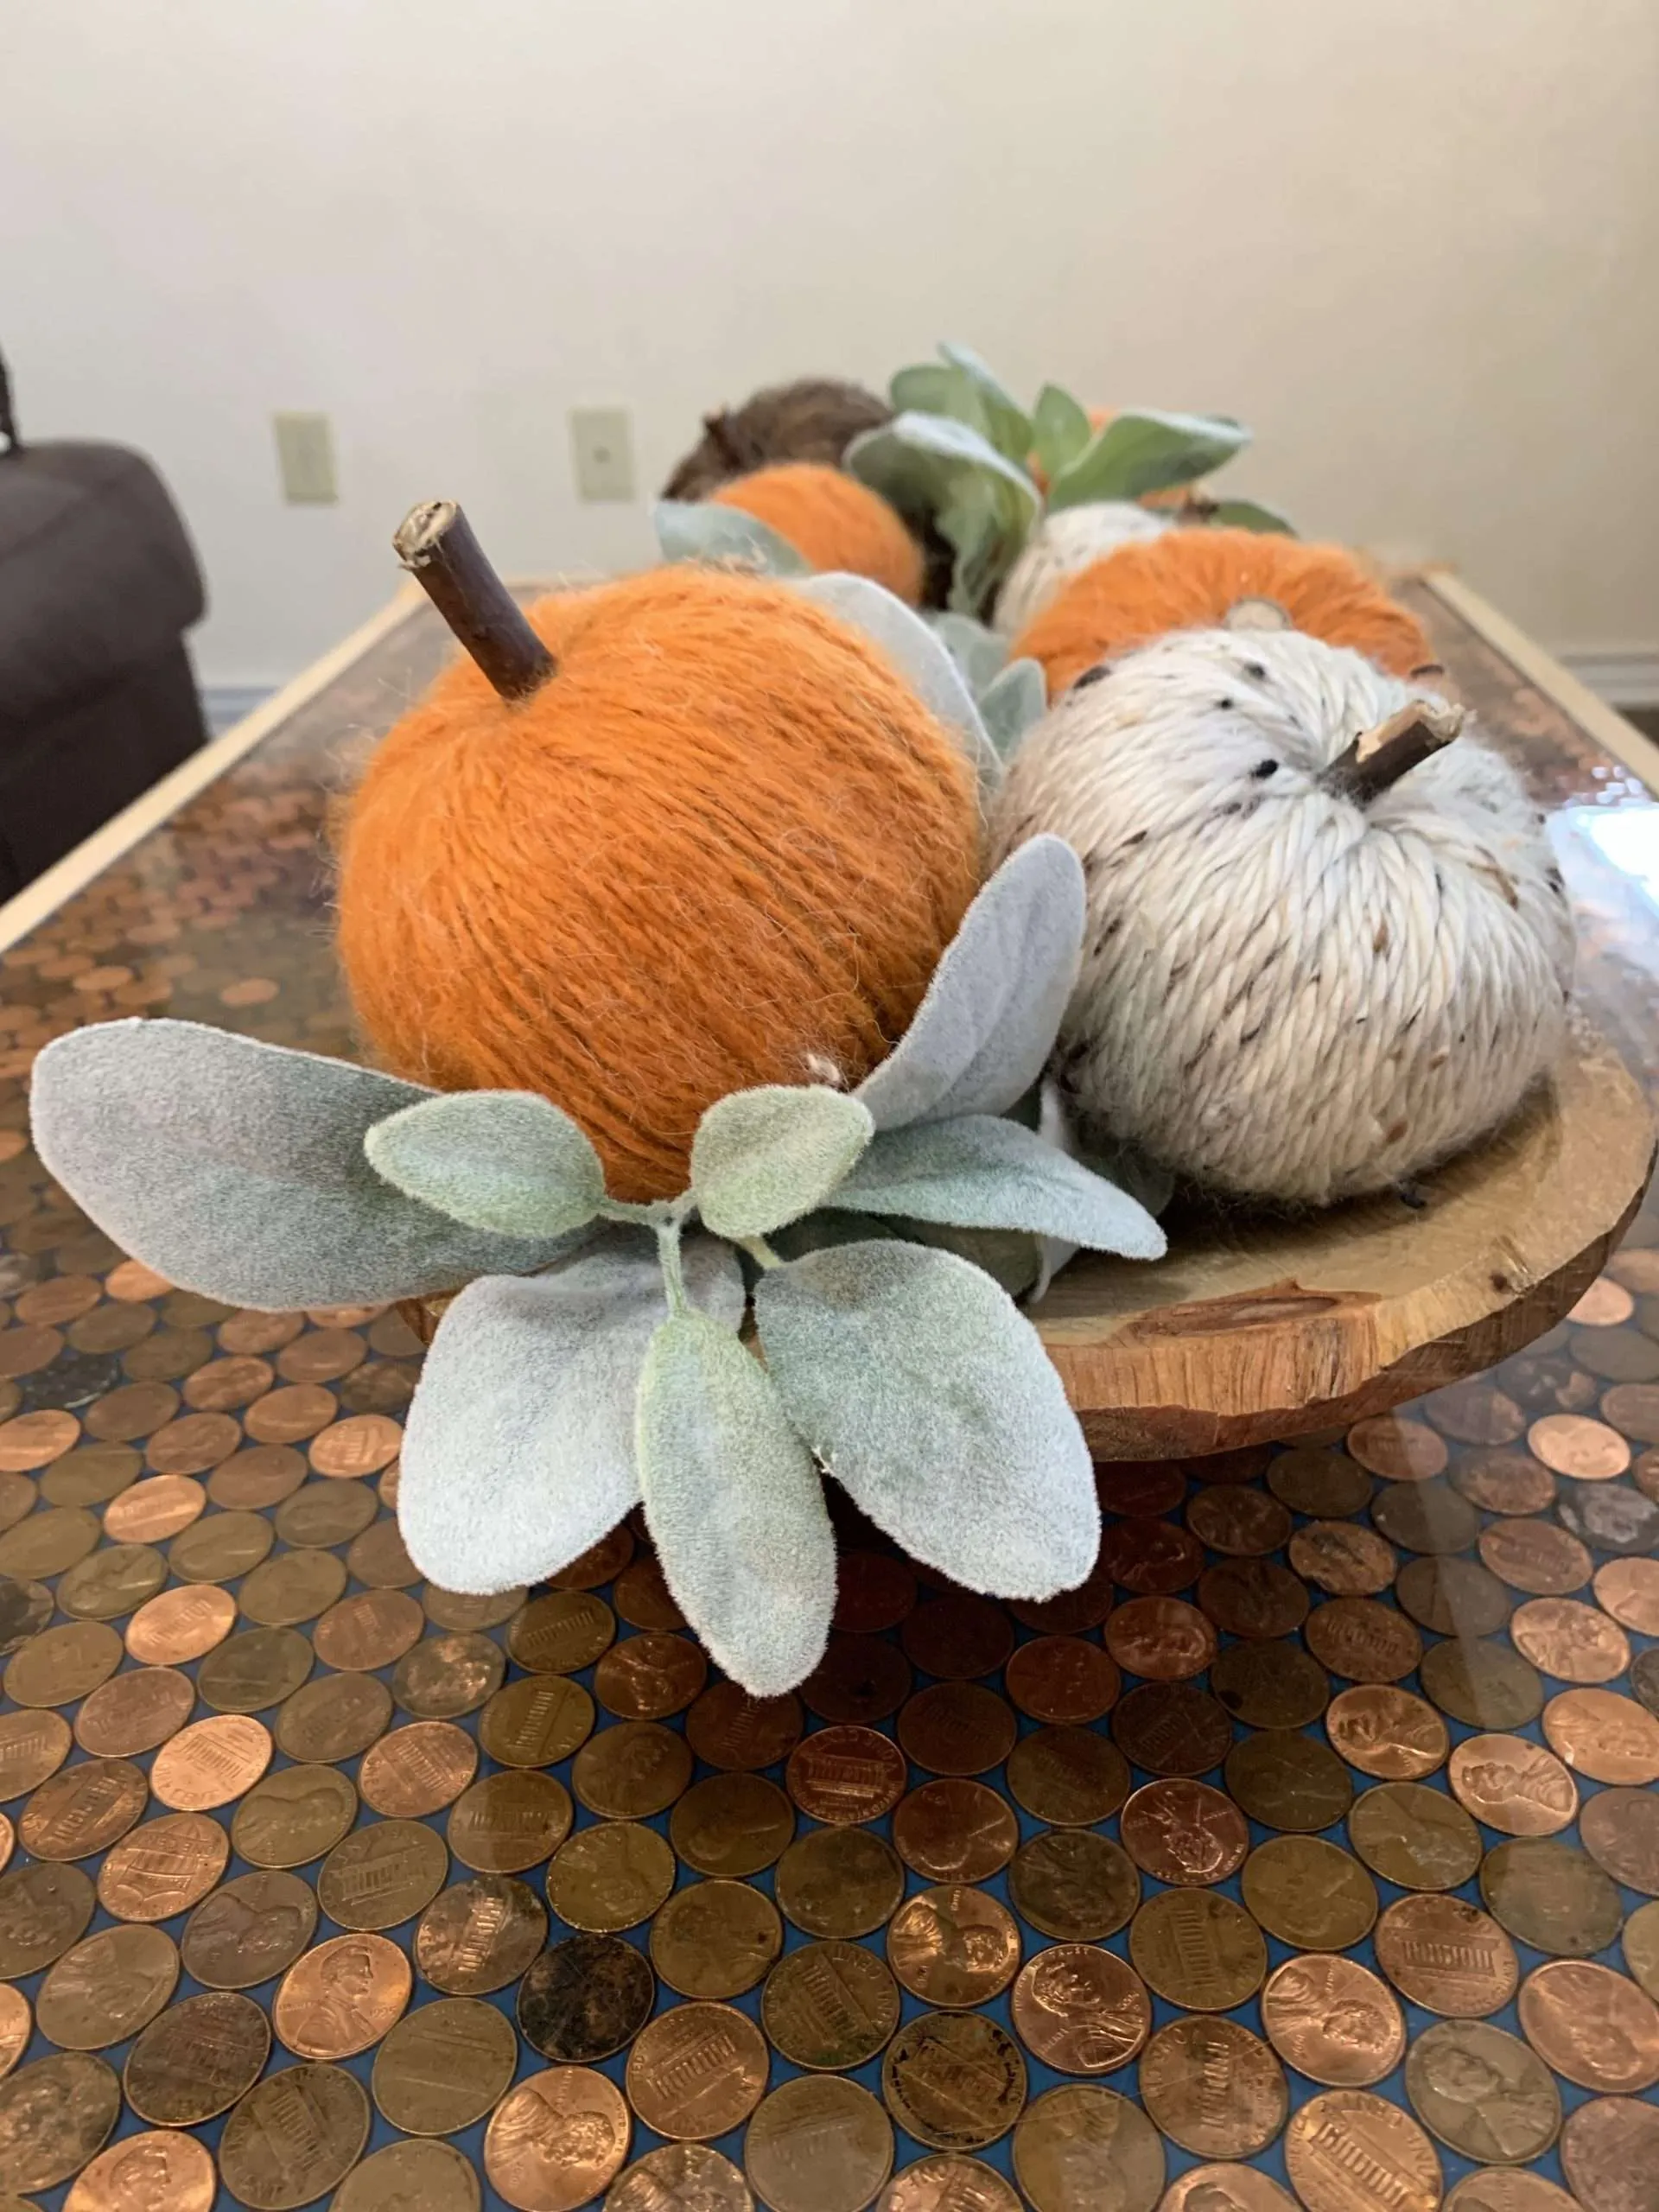
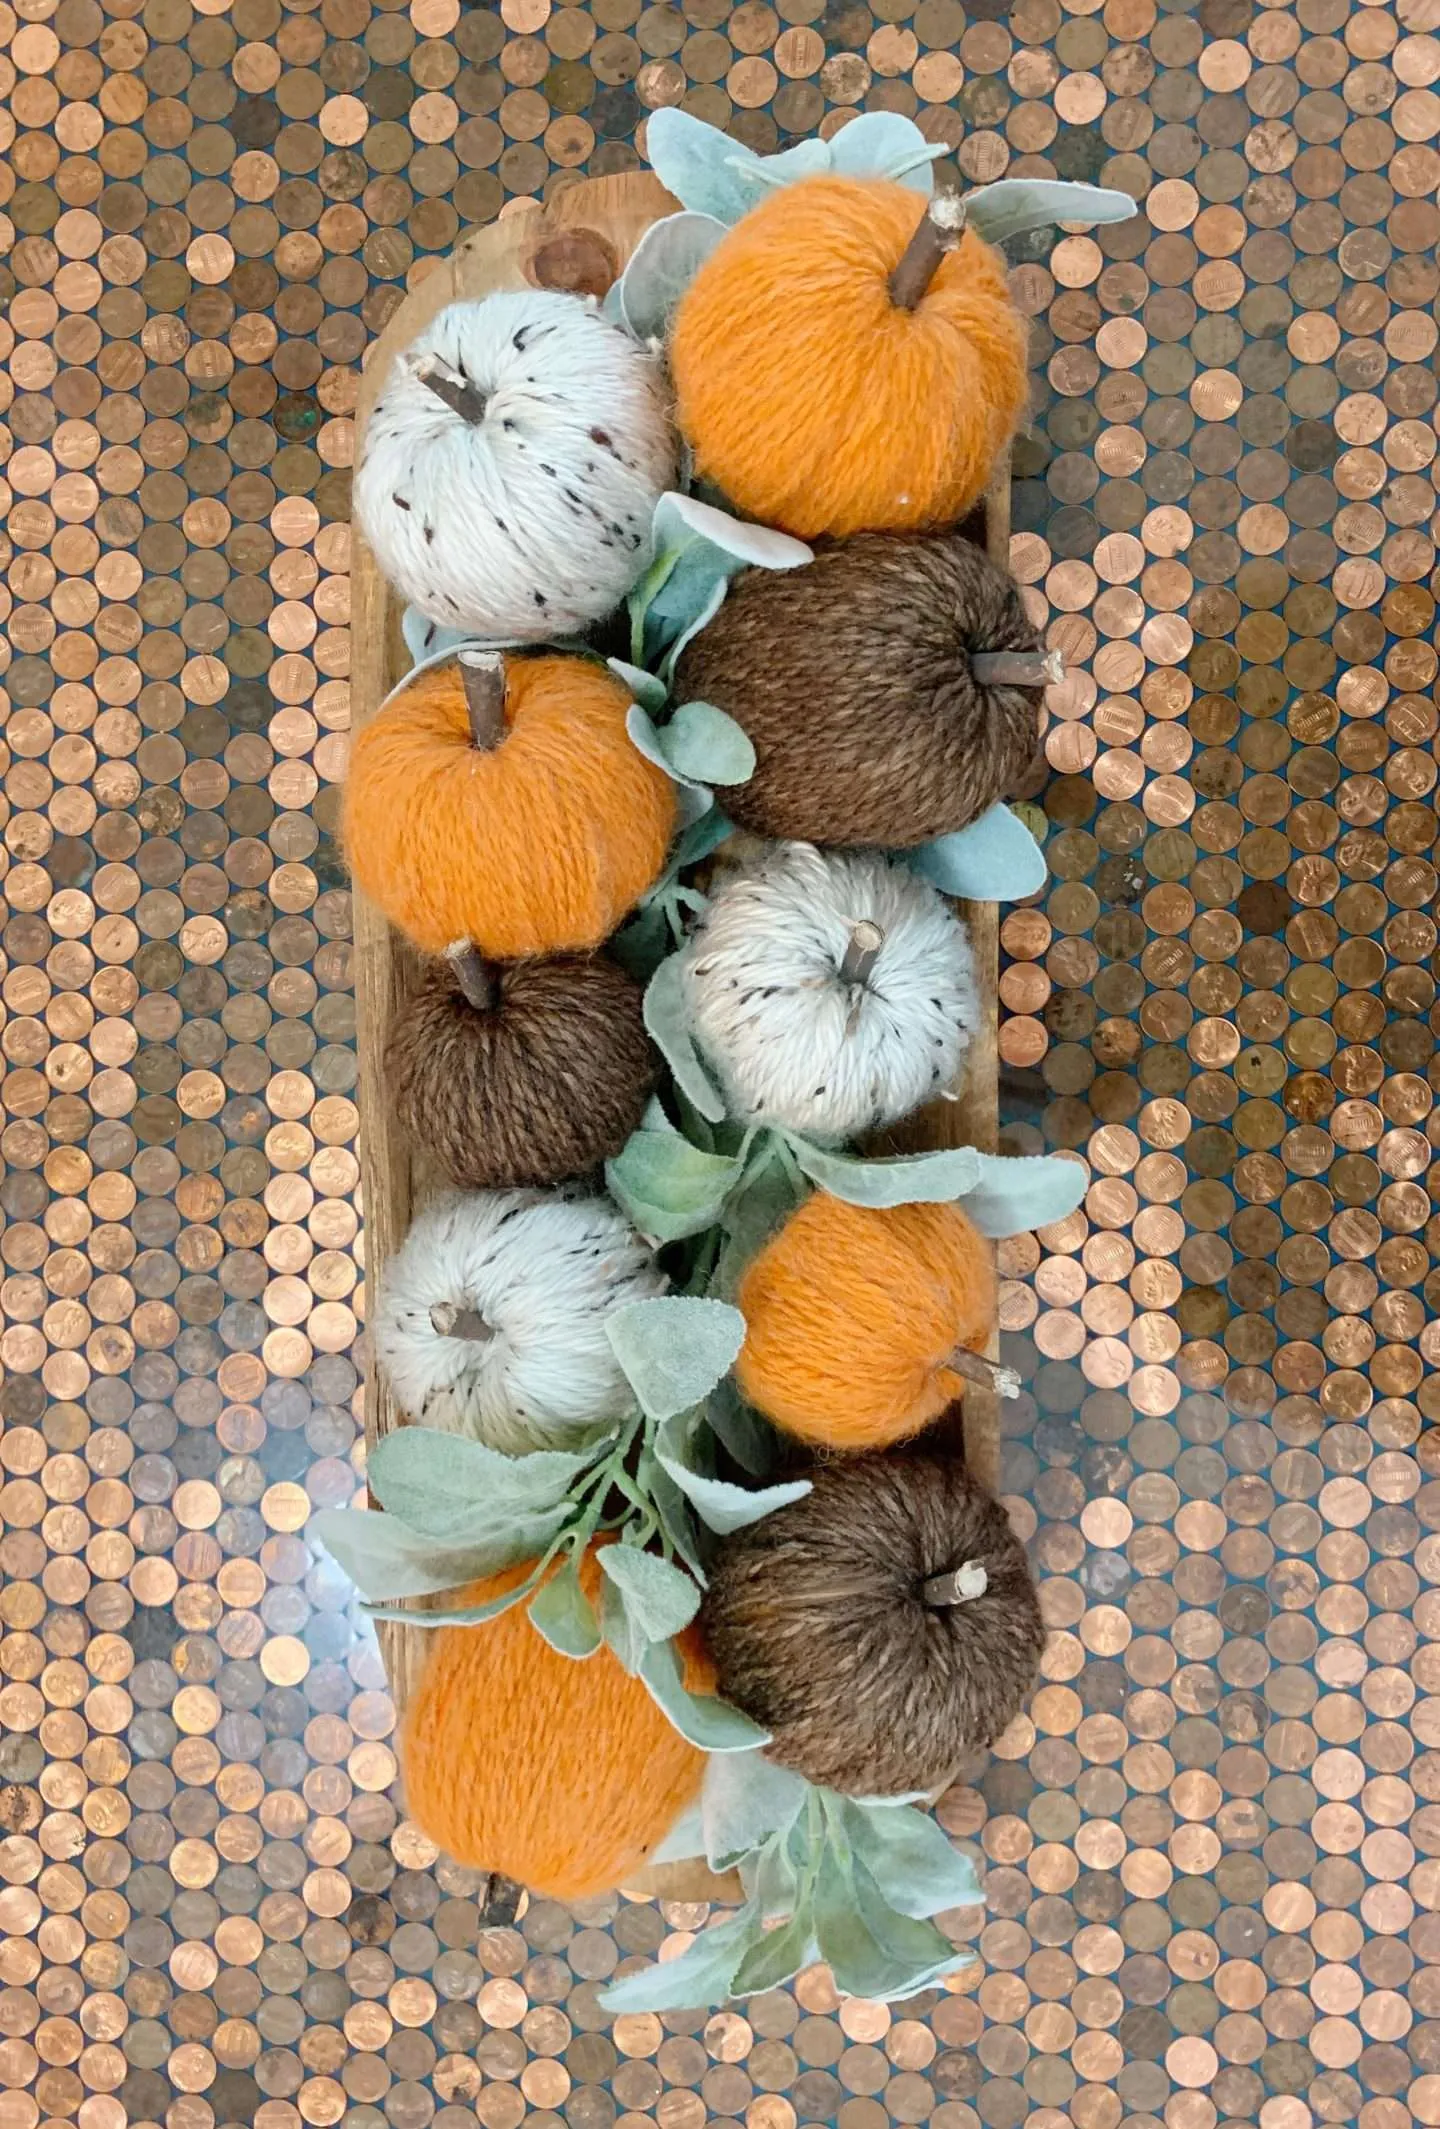
When it was all said and done, I was happy with how my Dollar Tree pumpkins turned out.
They are perfect for filling the dough bowl that I found at the Round Top Antique Fair. Plus, the whole project cost me around $35. (If you’ve ever looked at decorative balls used to fill these large dough bowls, then you know that’s a deal!)