[Disclaimer: Finding Mandee is reader-supported, if you purchase through links on my site I may earn an affiliate commission at no additional cost to you. As an Amazon Associate, I earn from qualifying purchases.]
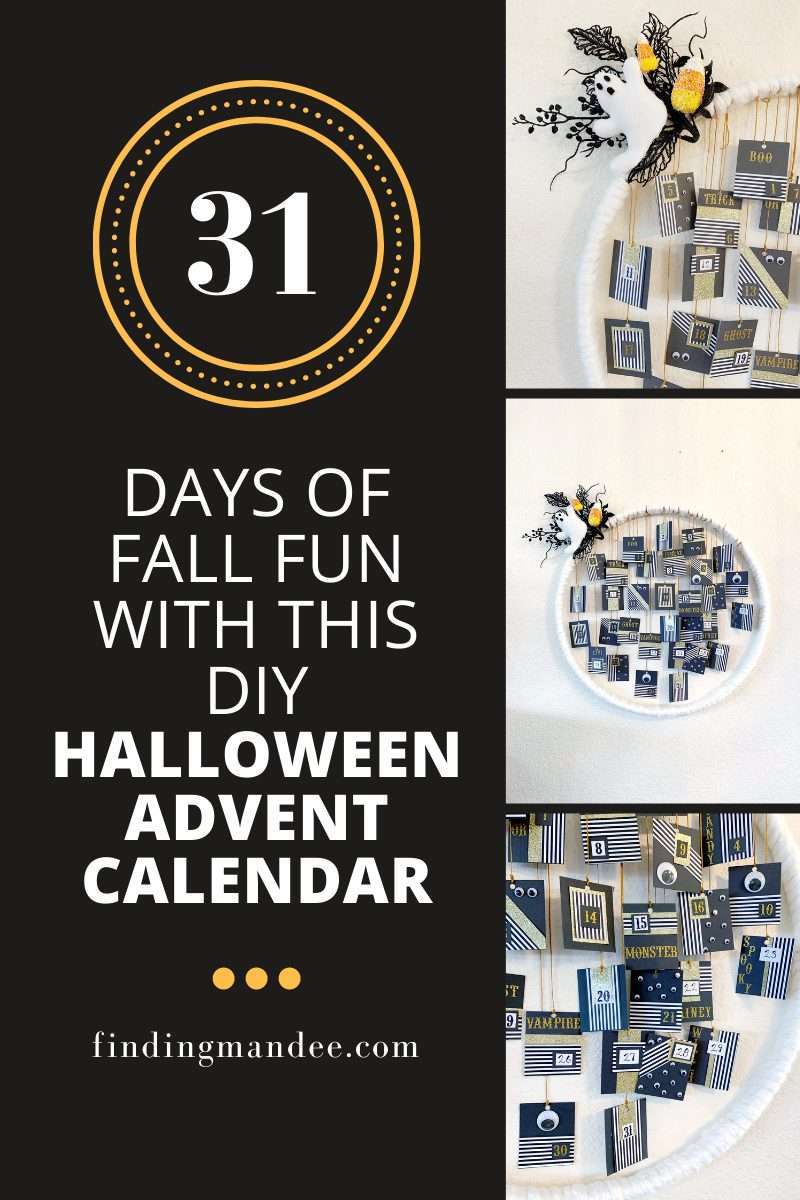
Advent calendars aren’t just for Christmas! My girls LOVE Halloween. It’s also the one holiday that my husband loves too. So, why not celebrate all month long?
I found this idea on Pinterest from Stephanie Hanna and I loved it! I just knew I had to try to make one for us.
And here’s how I did it!
Supplies
For this project, I used:
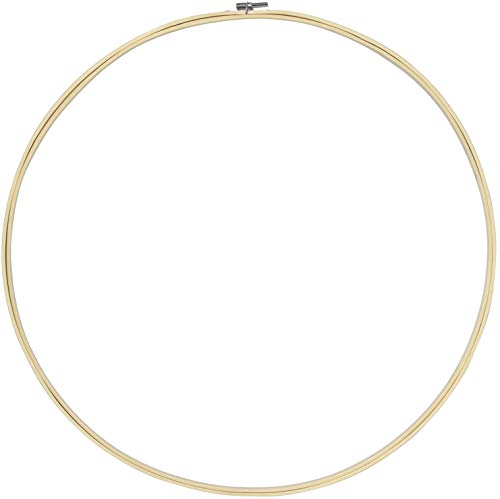
- 24″ embroidery hoop
- chunky yarn
- hot glue gun & glue sticks
- scrapbook paper/cardstock
- glue dots
- number stickers
- markers
- hole punch
- string
- Halloween wreath picks
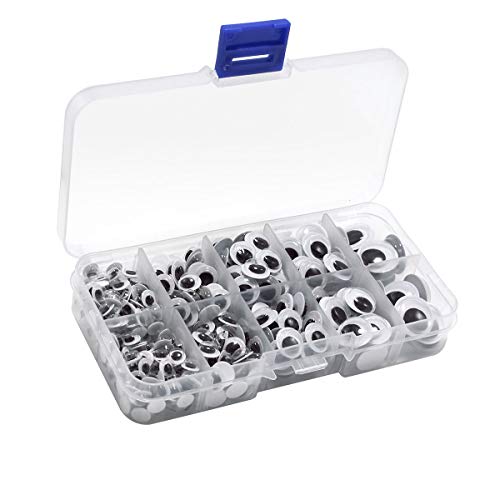
- googly eyes
2023 Halloween Countdown Calendar, Halloween Coffin Calendar DIY Moving 3D Wooden Block Calendar Advent Calendar Pumpkin Halloween Decor Holiday Xmas Ornament GiftHalloween Advent Calendar Contains 24 Gifts Dolls, 2023 Halloween Thanksgiving Horror Figures Advent Calendar, Christmas Countdown Calendar with Collectible Figures Toys (A)


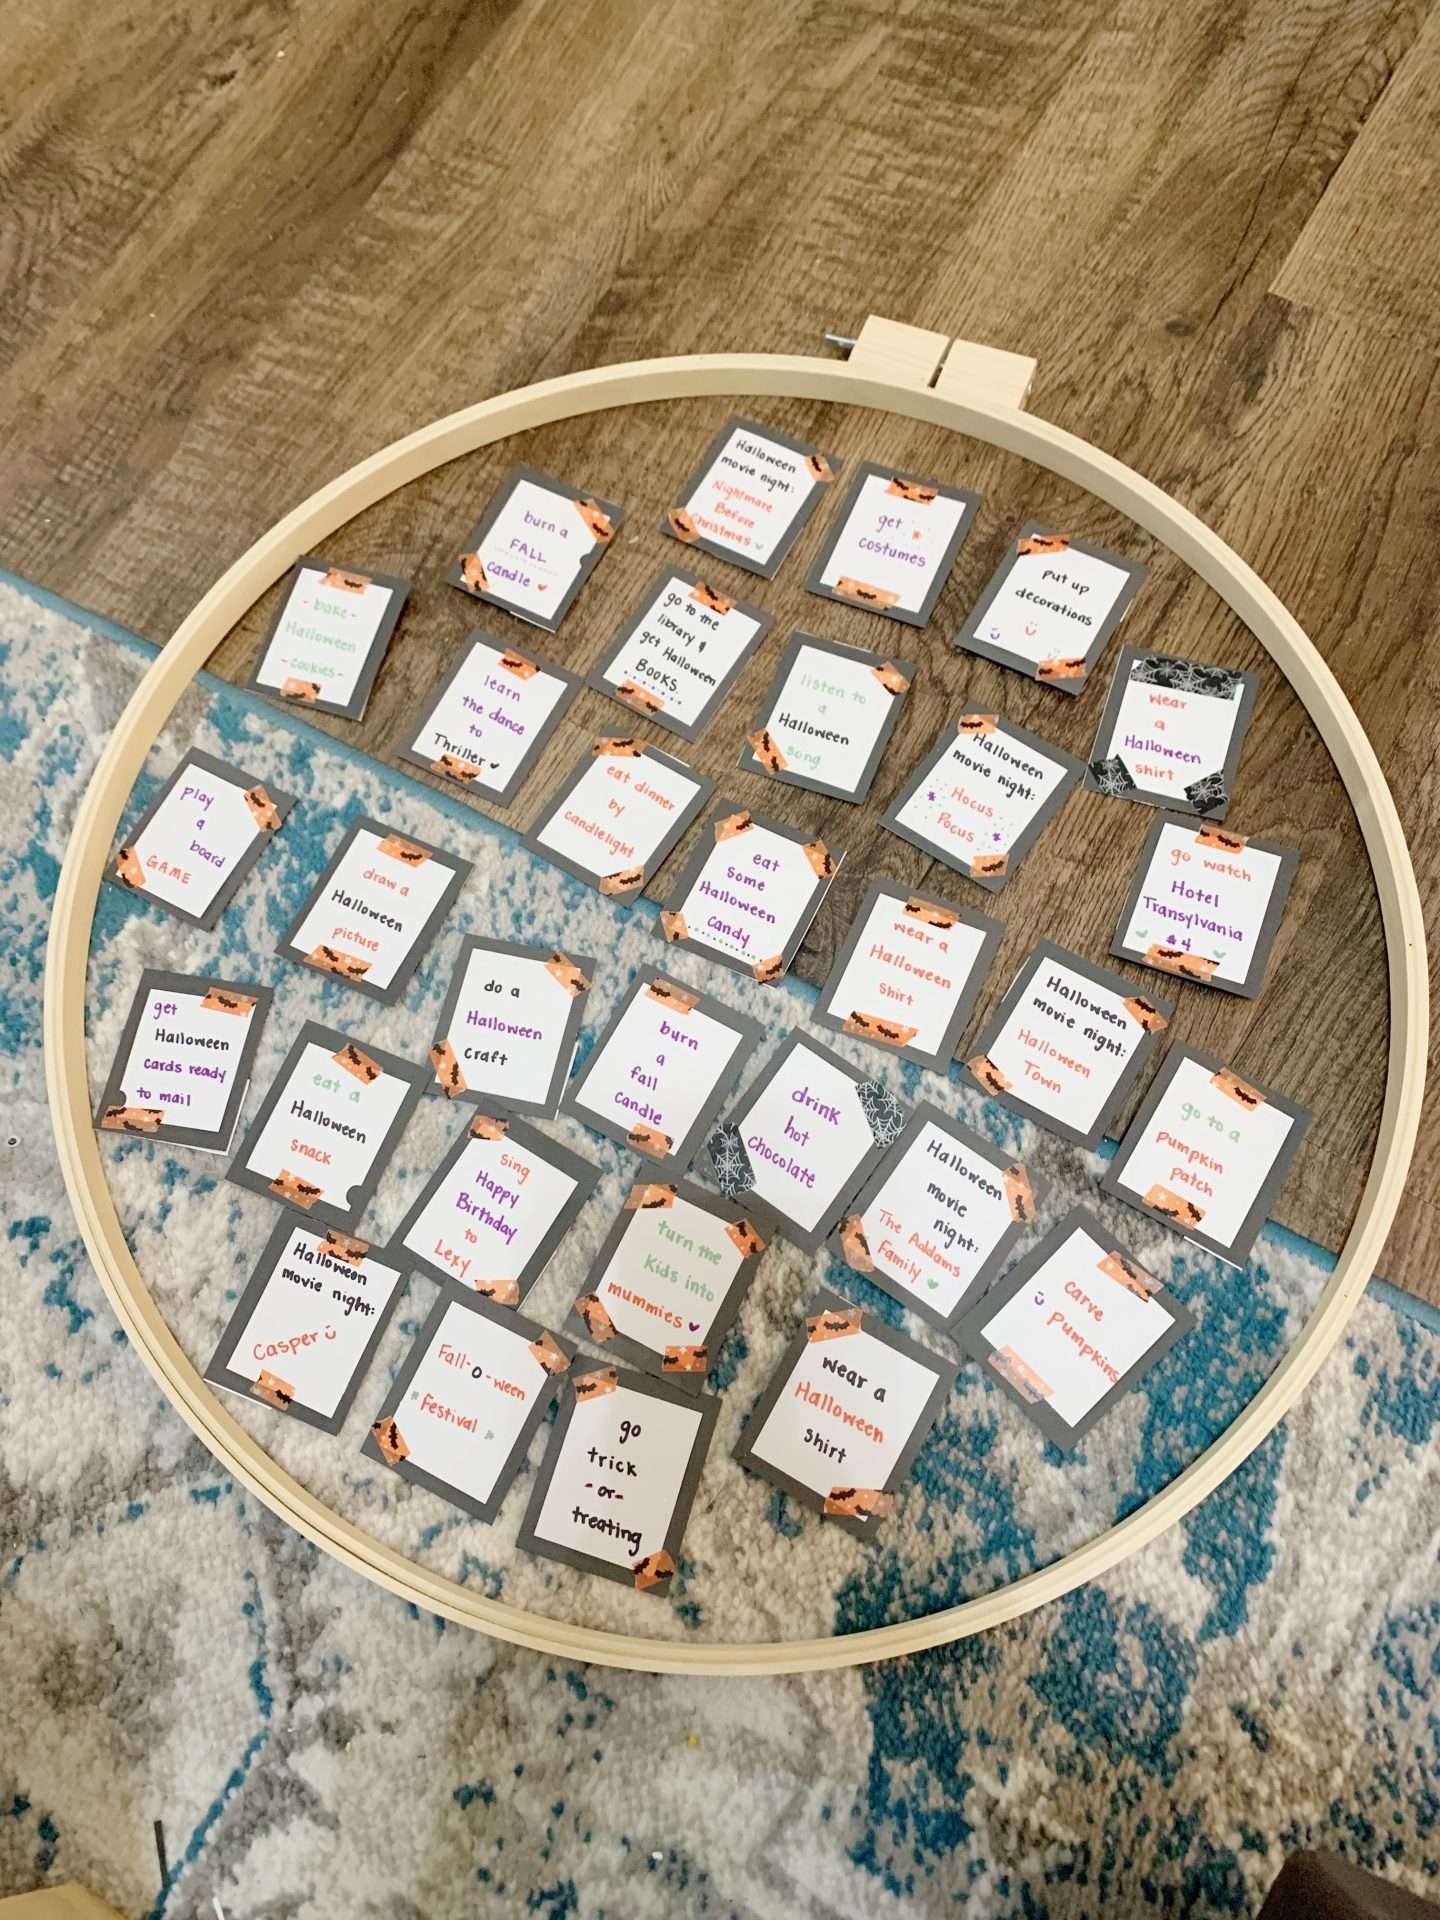
Step 1: Make Your Advent List
First things first, you want to make sure that you have enough activities to fill up the month before you get started.
I wrote down a bunch of things that we do every year, like buy costumes, go to a pumpkin patch, watch Hocus Pocus, carve pumpkins, etc. And then I added some ‘easy’ things like wear a Halloween shirt, light a fall-scented candle, drink hot chocolate, etc.
For the rest of the month, I had to search Pinterest for some ideas. And Stephanie Hanna has a whole list of rhyming clues to make a scavenger hunt advent calendar! How cool is that?!? (We do a scavenger hunt advent calendar for Christmas and my kids LOVE it!)
Our List:
- Halloween Movie Night: watch the Nightmare Before Christmas
- get Halloween Costumes
- put up Halloween decorations
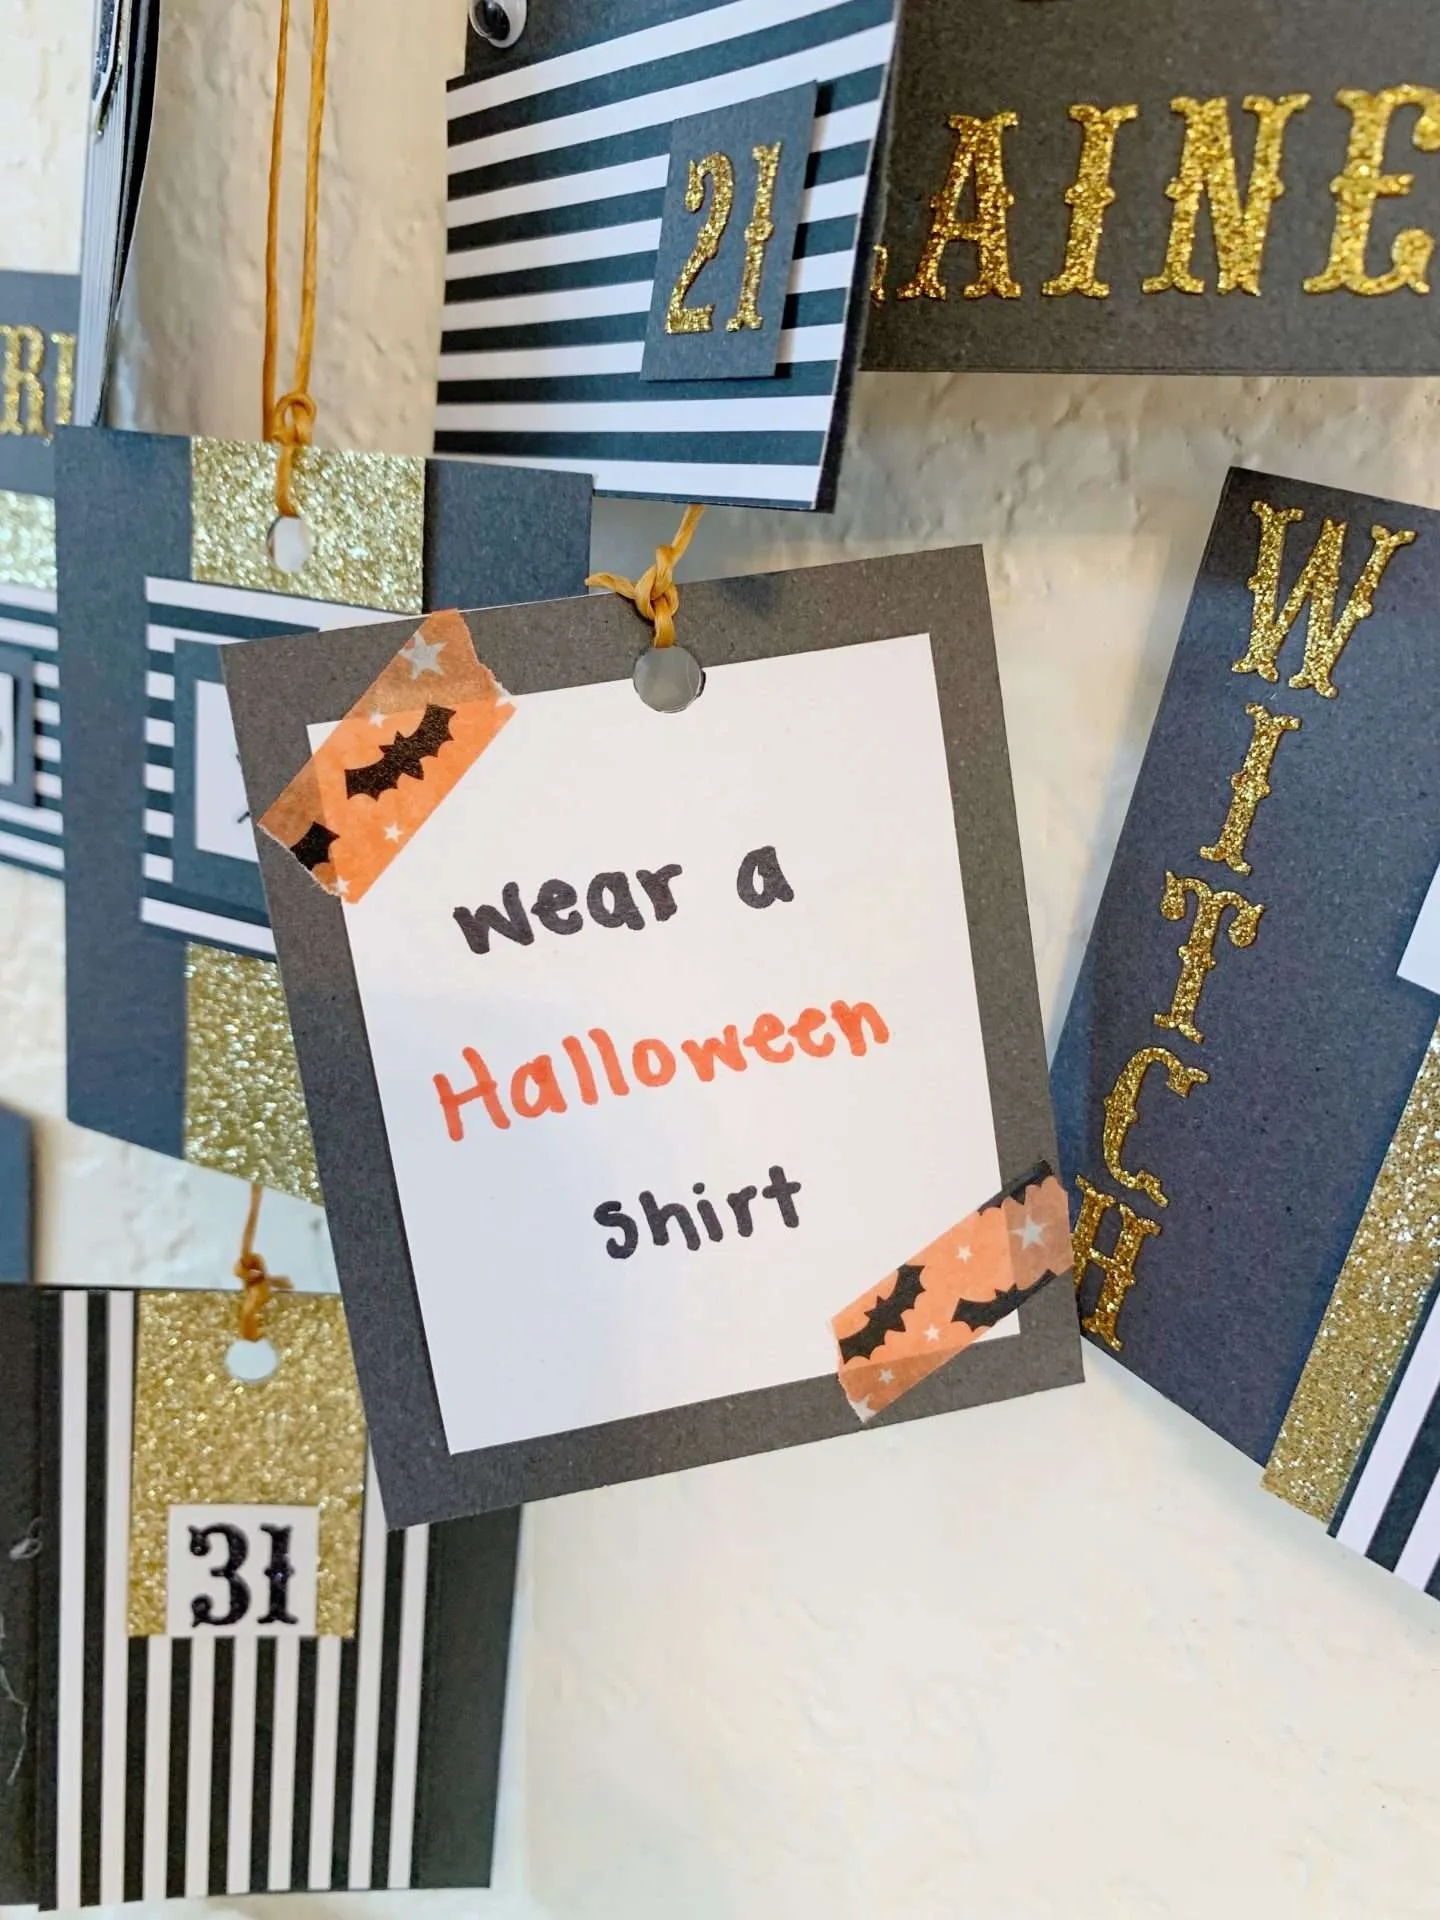
- wear a Halloween shirt
- burn a fall-scented candle
- go to the library and get Halloween books
- listen to Halloween songs
- Halloween Movie Night: Hocus Pocus
- go watch Hotel Transylvania 4 at the theater
- bake Halloween cookies
- learn the dance to Thriller
- eat dinner by candlelight
- eat some Halloween candy
- wear a Halloween shirt
- Halloween Movie Night: Halloween Town
- go to a pumpkin patch
- play a board game
- draw a Halloween picture
- do a Halloween craft
- burn a fall candle
- drink hot chocolate
- Halloween Movie Night: The Addams Family
- carve pumpkins
- get Halloween cards ready to mail
- eat a Halloween snack
- turn the kids into mummies
- sing Happy Birthday to Lexy
- wear a Halloween shirt
- Halloween Movie Night: Casper
- go to the Fall-o-Ween Festival
- go trick-or-treating
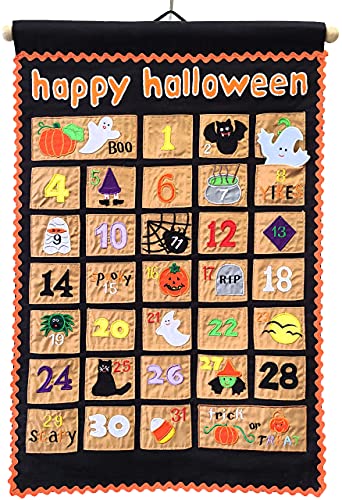
Happy Halloween Advent Countdown Calendar Decoration for Kids and Family by My Growing Season | Wall Hanging Fabric Decor with Detachable Friendly Ghost Finger PuppetJOYIN Halloween Advent Calendar with Surprise Toys, Holiday CountDown to Halloween with Mochi and Surprise Halloween Themed Rubber Ducks,Halloween Countdown Calendar with s for Halloween Party Favor

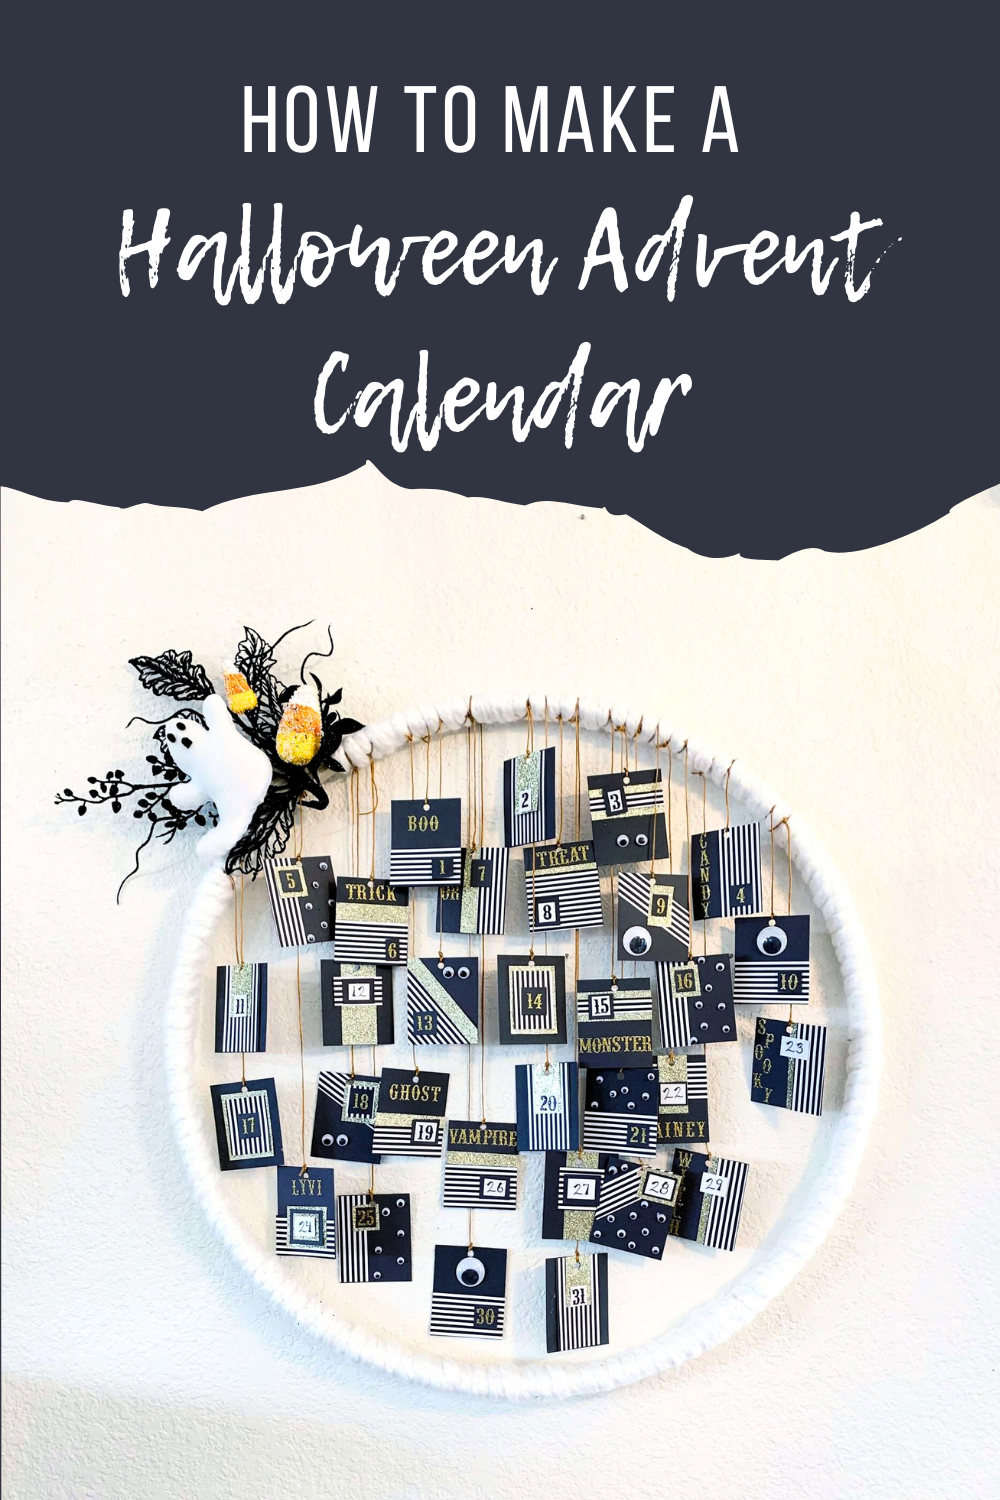
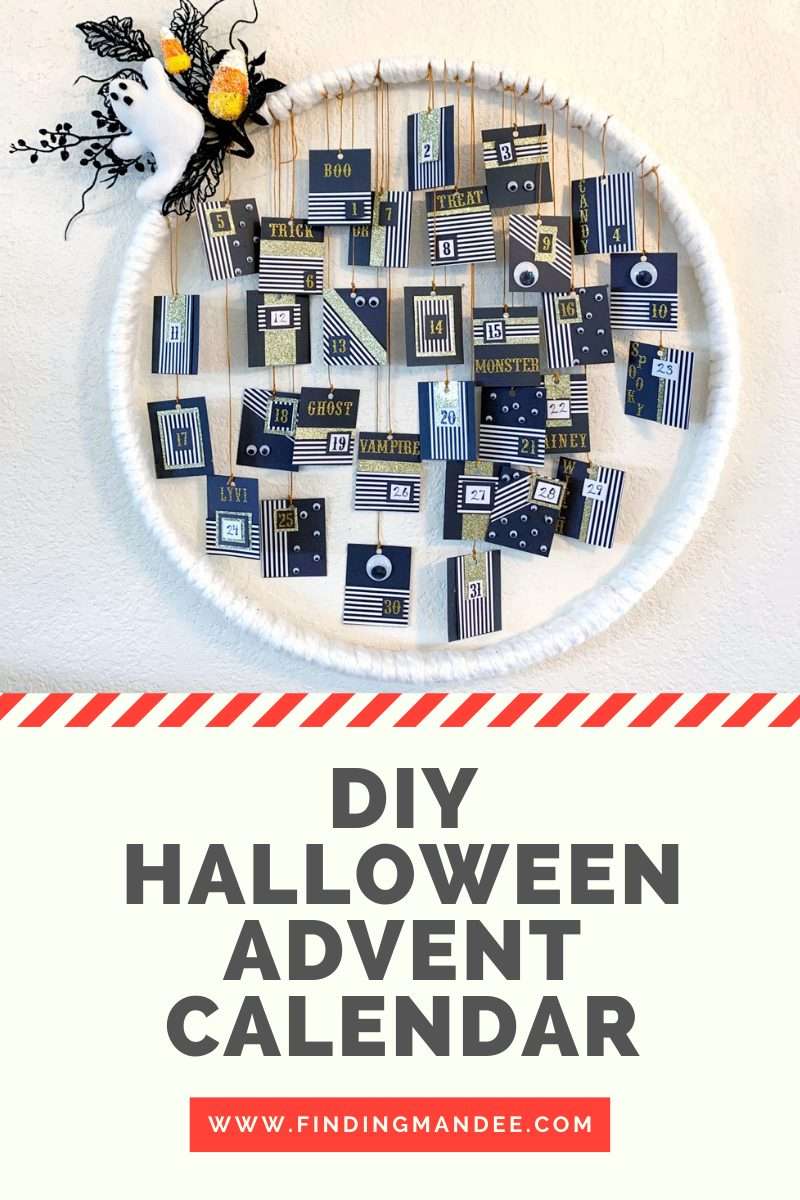
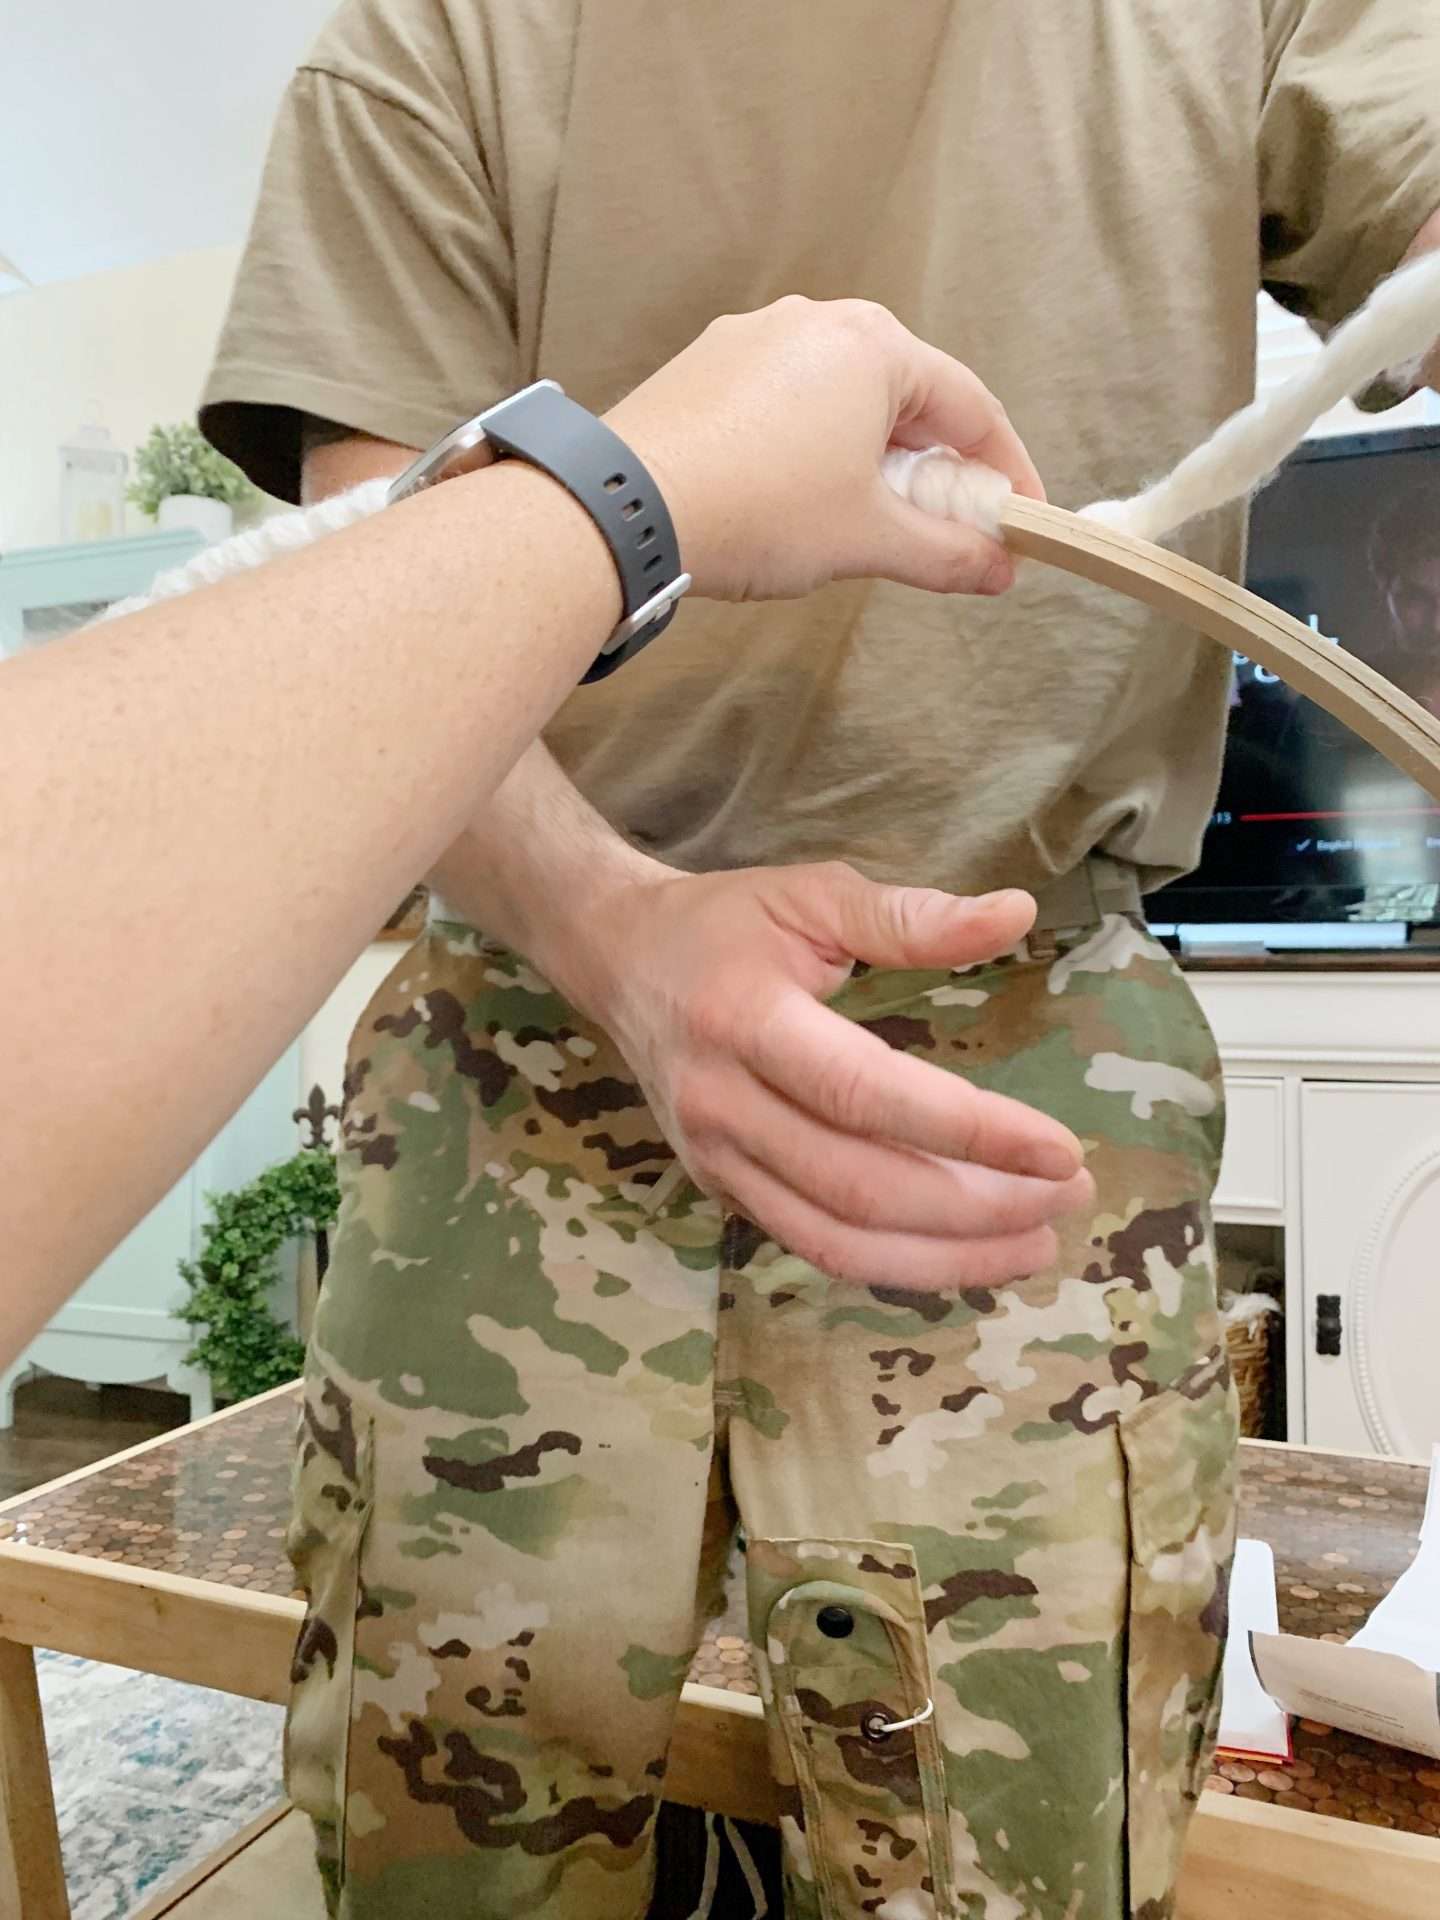
Step 2: Wrap the Embroidery Hoop
The first step to making the Halloween Advent Calendar was to wrap the embroidery hoop with the yarn.
It can be done on your own, but it will go much faster and smoother if you have someone hold the hoop while you wrap.
After it’s completely wrapped, secure the loose piece with hot glue.
Cousin DIY 23 Inch Wood Quilting Hoop, BrownSUNTQ Jumbo Chunky Chenille Yarn for Crocheting, Bulky Thick Fluffy Yarn for Hand Knitting Blanket, Soft Giant Plush Knitting Yarn for Cushions, Pet Bed, Sofa Home Decor, White

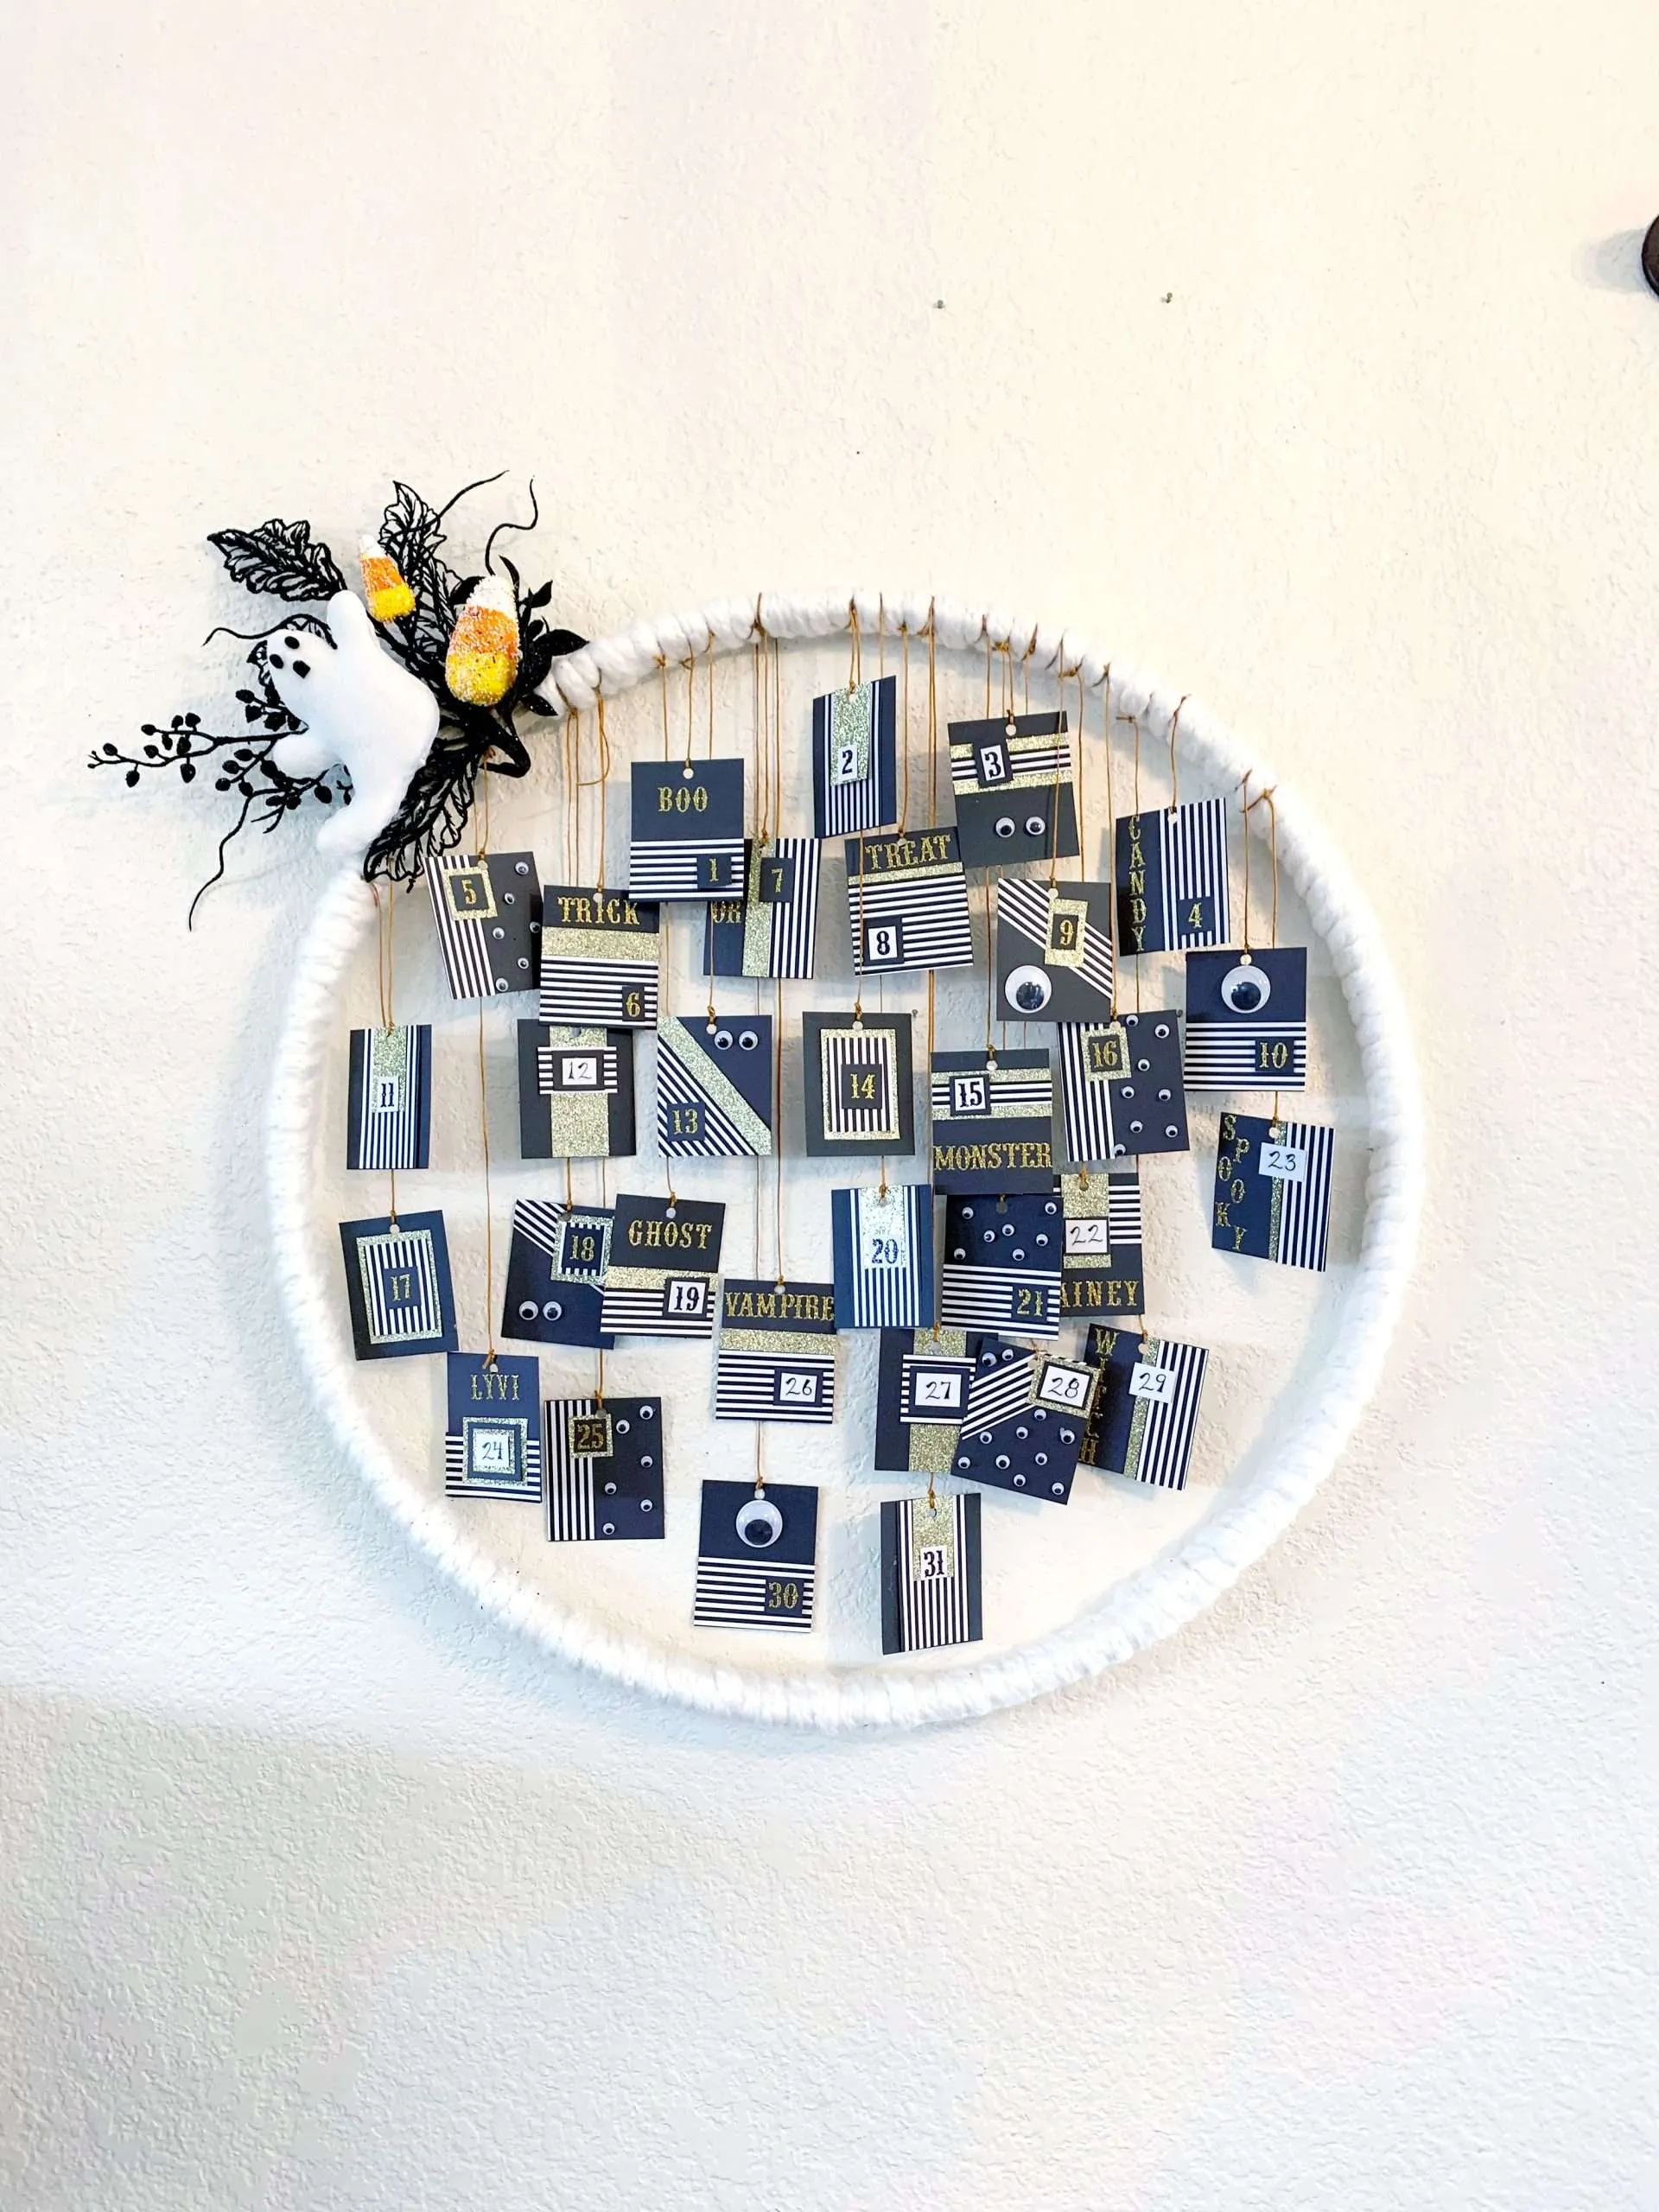
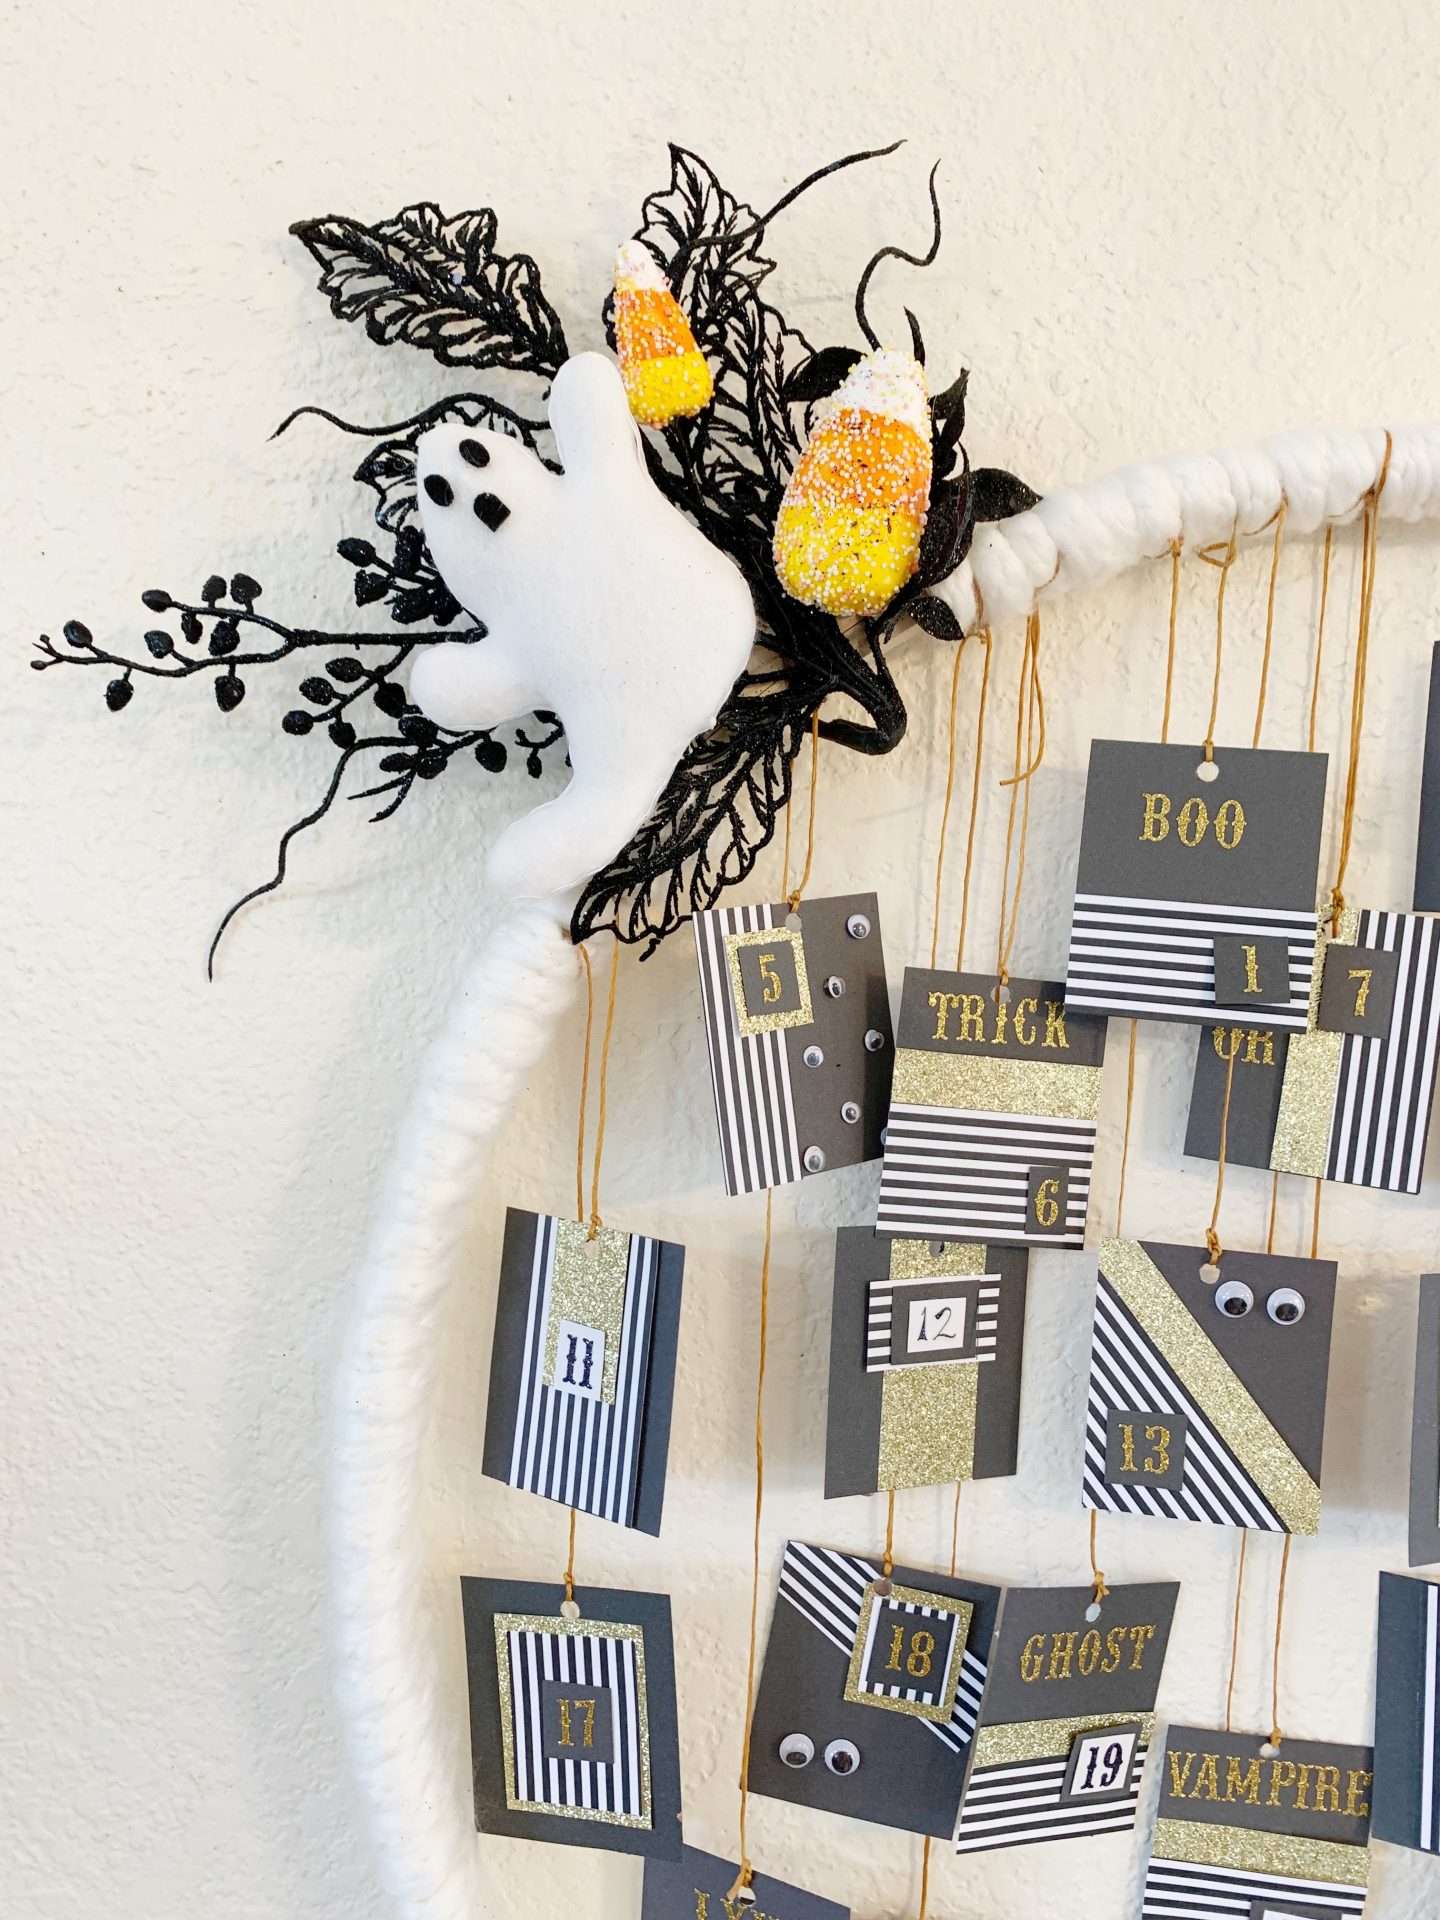
Step 2: Adding Embellishments to the Hoop
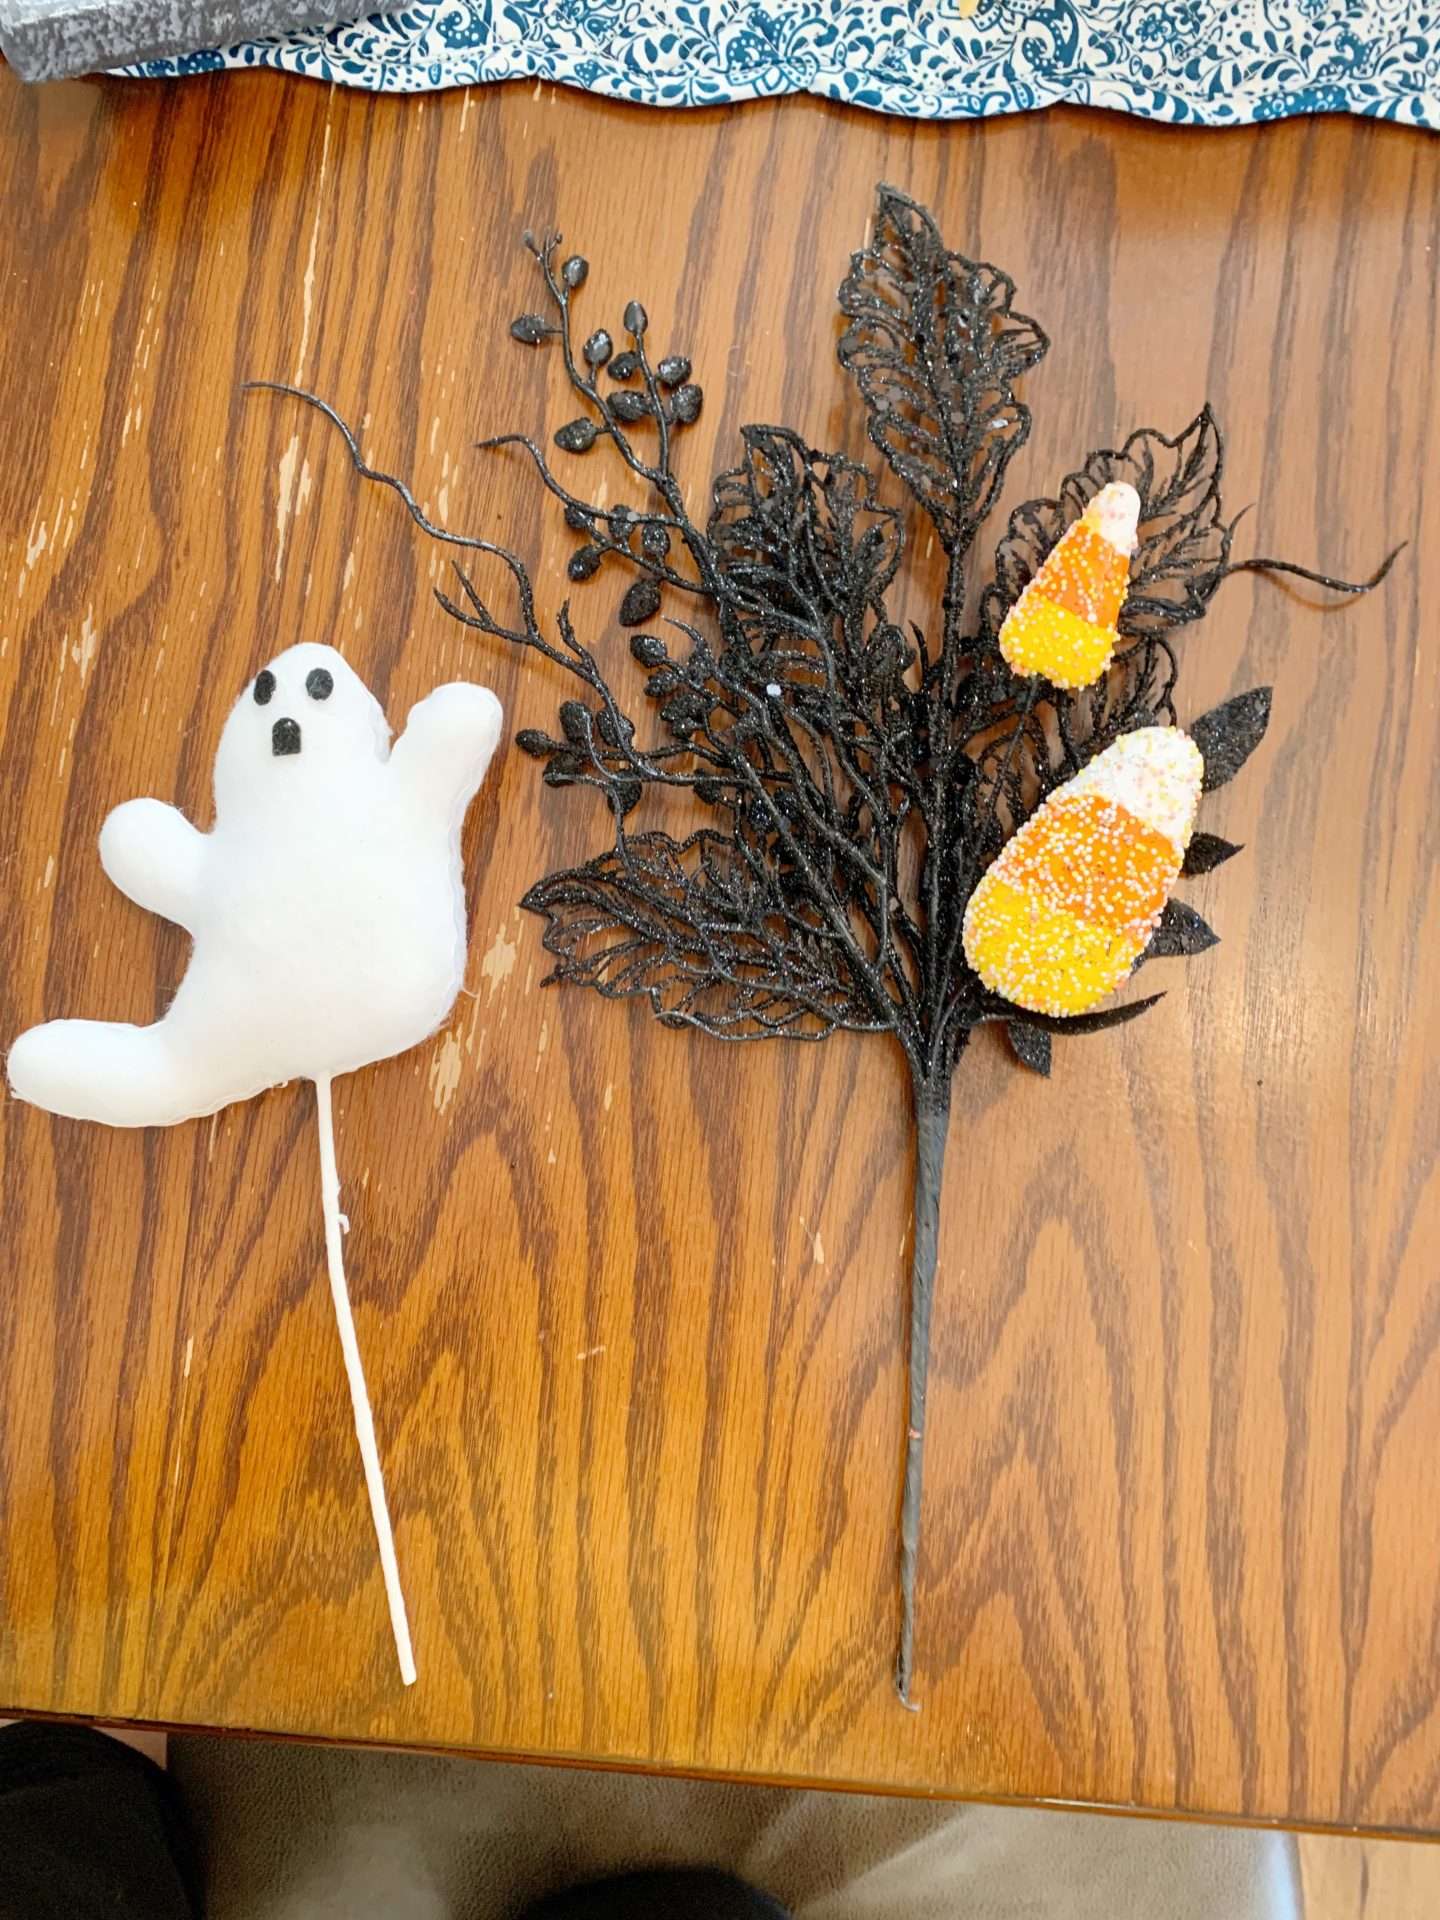
After the hoop was completely wrapped, I added the embellishments at the top, using 3 Halloween wreath picks I found at Michaels.
The black glittery leaves gave me a good background/filler and the ghost and candy corn made it cutesy.
To add them to the hoop, I cut the ‘stems’ off with wire cutters and hot-glued them to the wooden piece of the embroidery hoop that has the screw tension on it.
Augisteen 6 PCS Halloween Glitter Picks Black Artificial Stems Halloween Faux Branches Twigs Pumpkin Sprays with Spiders Bats for Vases Party Decor Table Centerpieces DIY WreathZeyune 20 Pcs Halloween 17.72 Inch Artificial Curly Willow Branches and 22 Pcs Halloween 3D Bats Wall Decals Stickers Decor Decorative Tree Glittery Branch for Halloween Party Decorations Supplies


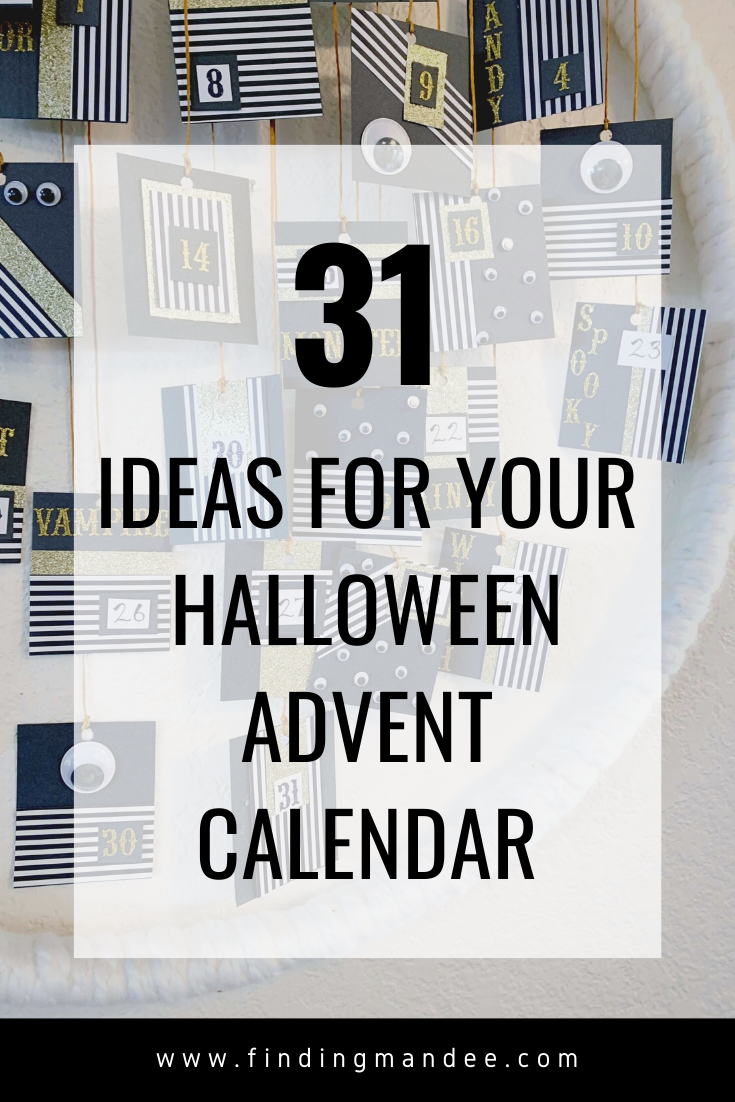
Step 3: Make the Number Cards
This was the most time-consuming part for me. But I love paper crafts, so I enjoyed making the Halloween advent calendar number cards.
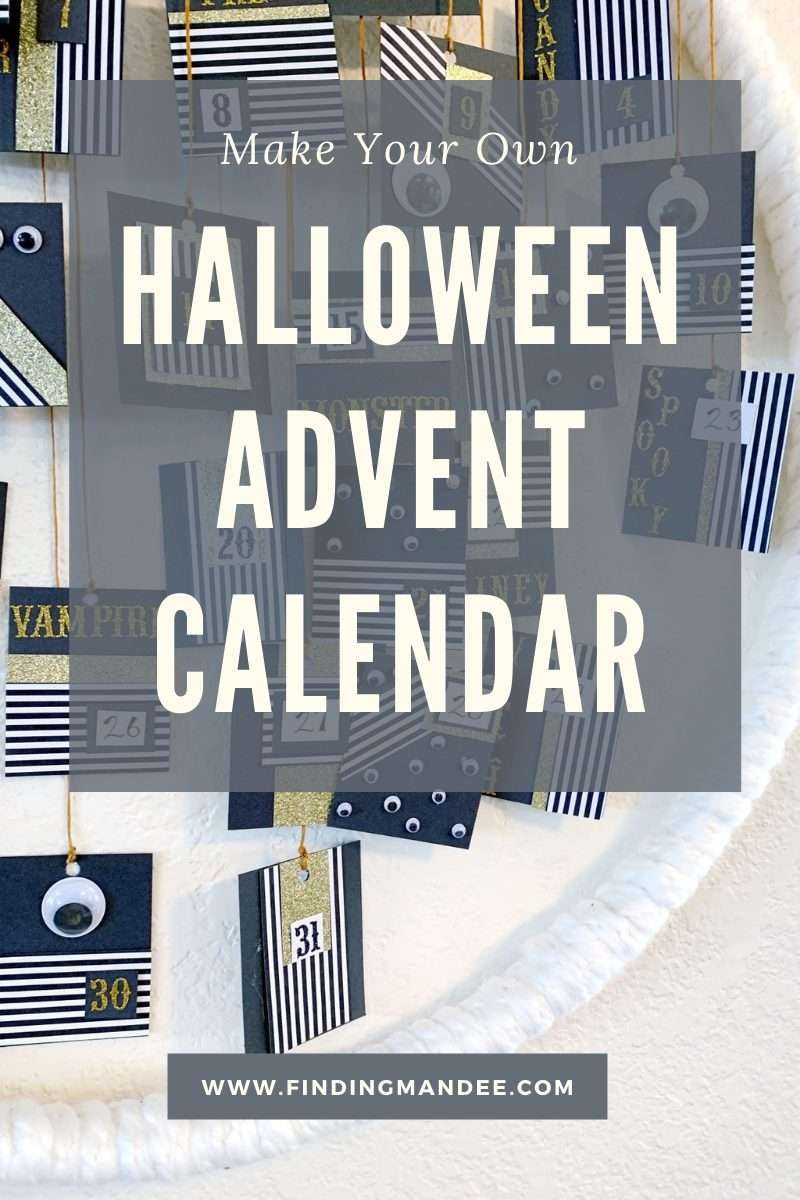
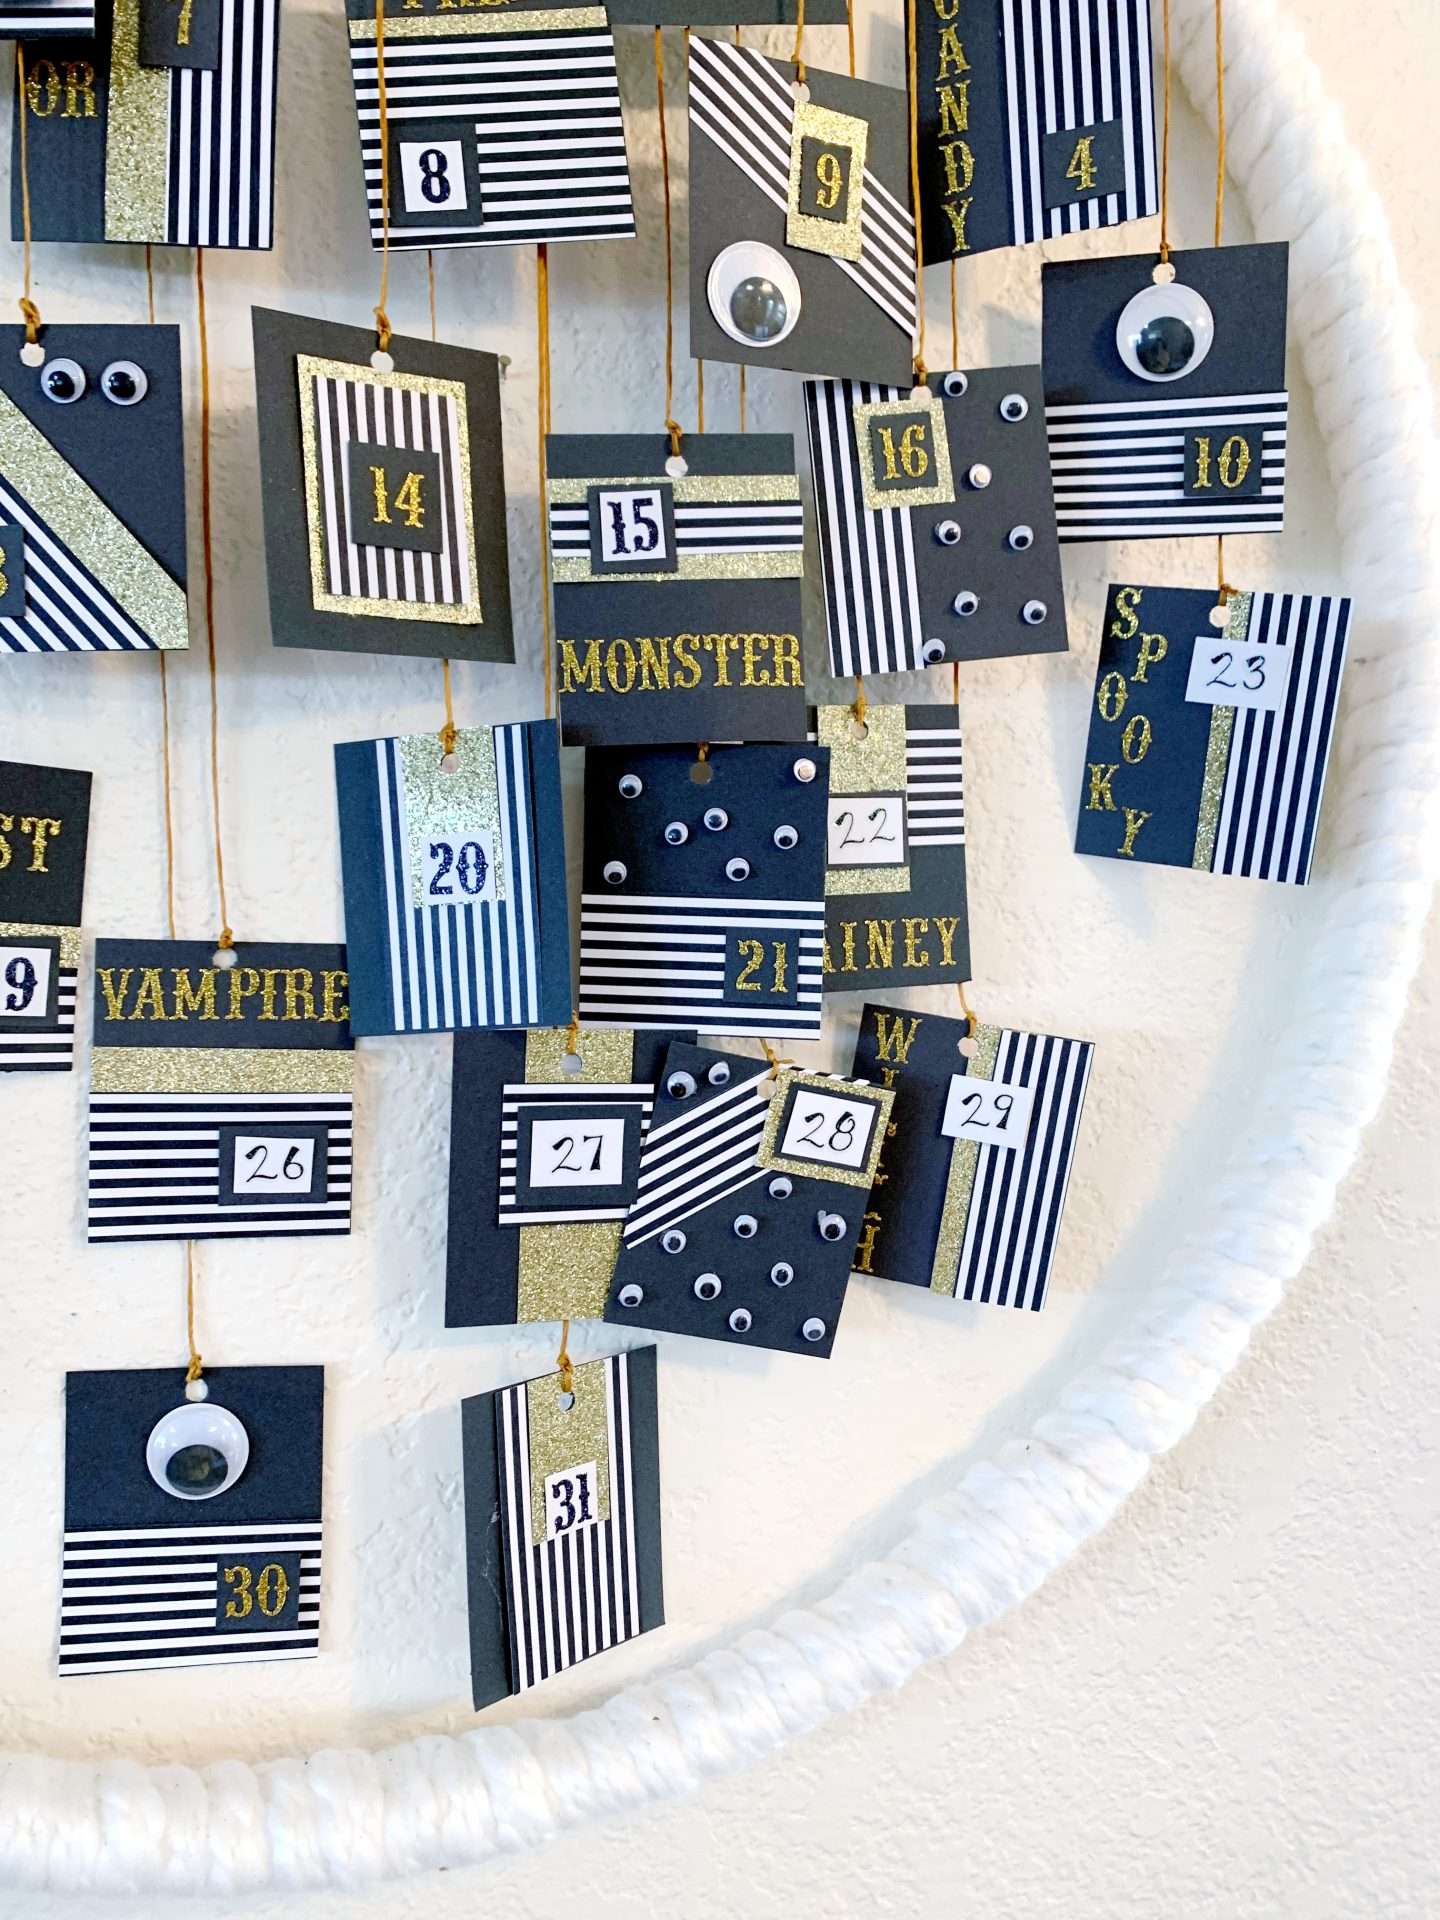
Using scrapbook supplies that I already had on hand, these little cards turned out better than I expected. I used black construction paper, striped and glittery scrapbook paper, number/letter stickers, and googly eyes.
I placed the striped paper in different places on each card, added the stickers and googly eyes, and then punched a hole in the top.
For the back of the card, I used regular computer paper, wrote down that day’s activity, and glued it to the back.
It was simple but time-consuming. I watched the last season of Schitt’s Creek while I cut and glued, so I didn’t mind.
Echo Park Paper Company Trick Or Treat Collection Kit paper, orange, black, green, grey 12-x-12-Inch450Pcs Black Wiggle Googly Eyes with Self-Adhesive, 6mm 8mm 10 mm 12mm 15mm Mixed Packaging,3 Years and up

Step 4: Tie the Cards to the Hoop
This part of the Halloween advent calendar was frustrating, but not as bad as I thought it was going to be.
I laid the hoop flat on the ground and placed the cards in numerical order at the length I wanted them to hang. Then I cut the string and tied one end to the top of the card and the other end to the top of the hoop.
Make sure you cut the string longer than you actually need to make it easier to tie. You can always trim it afterward.
Leave the hoop laying flat until you have tied all of your cards on. Then carefully pick it up and hang it on the wall.

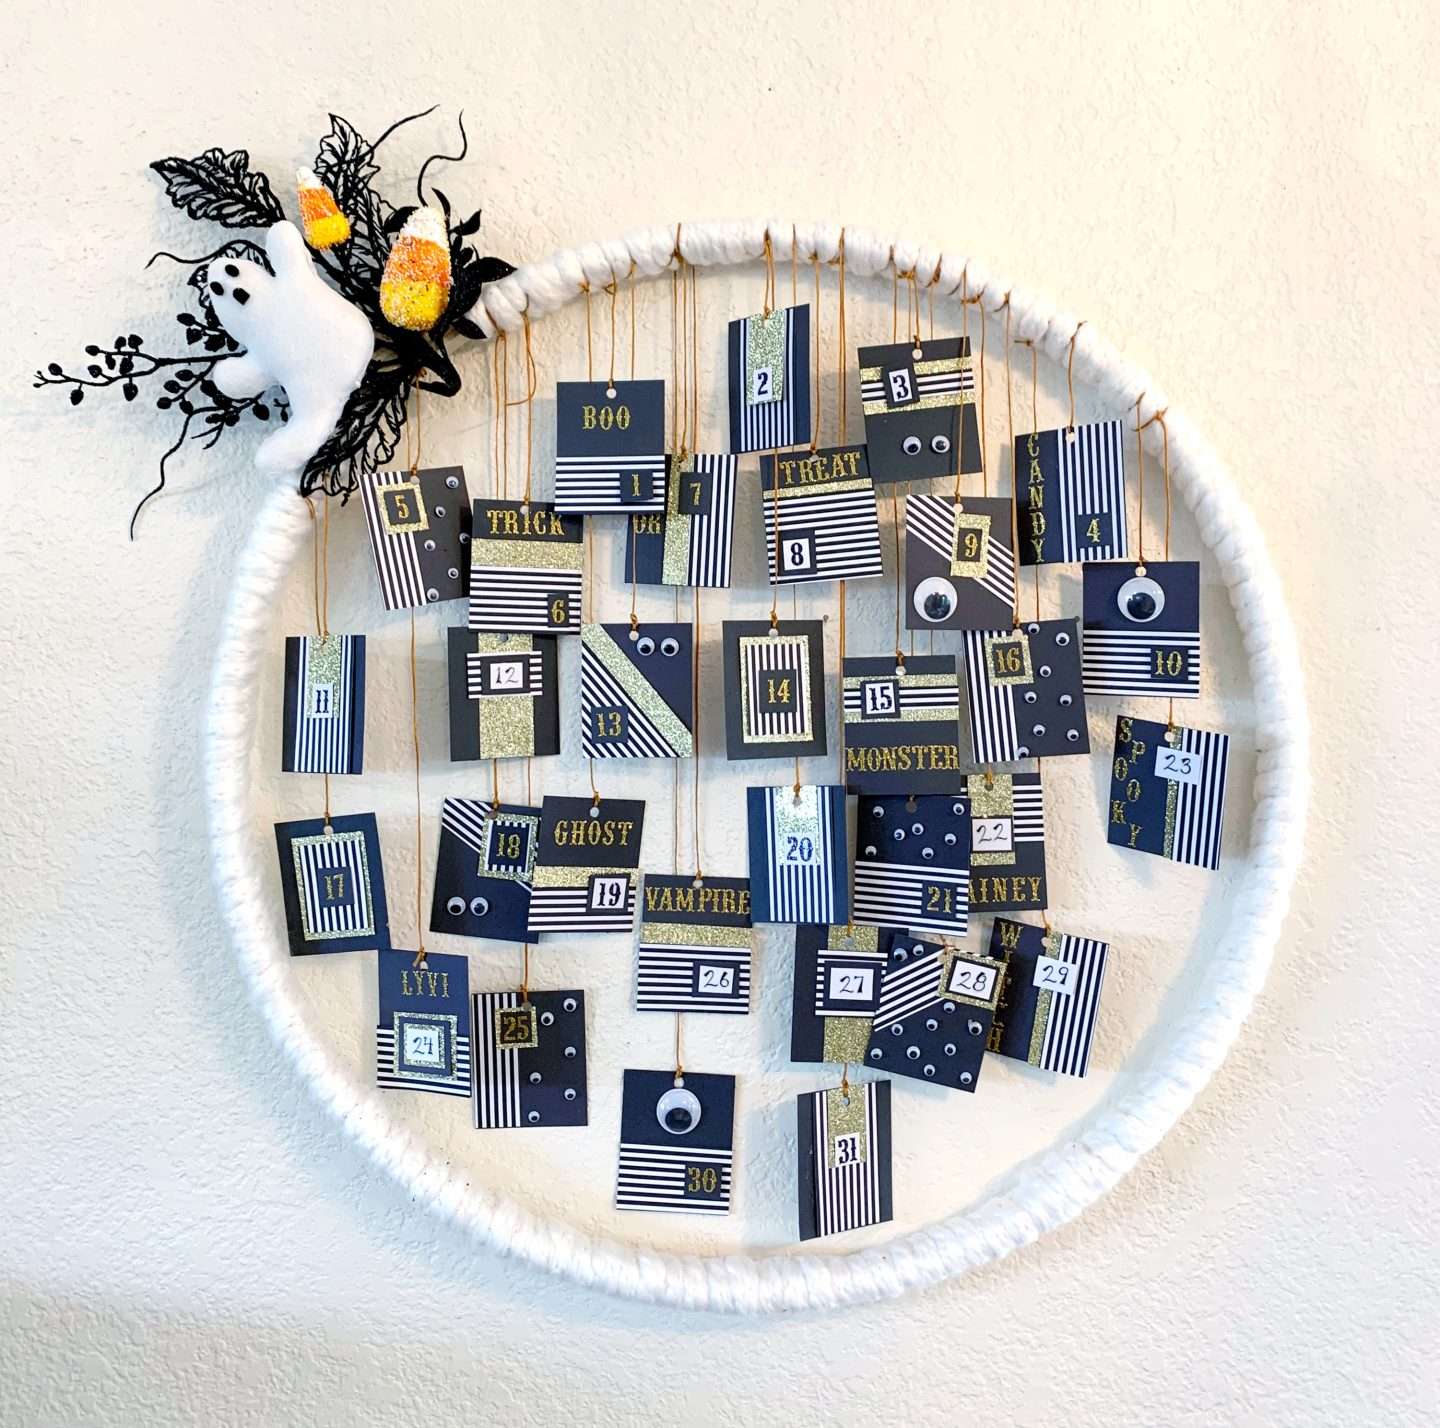
And you’re done!
My girls have been LOVING this Halloween advent calendar!
Even though I haven’t been home to enjoy it with them, I’m so glad they have it and have stayed busy this October.
They always love our Christmas advent calendar tradition. I just can’t believe it has taken me this long to do one for Halloween!
You can find some other fun fall and Halloween ideas here:
- fill a dough bowl with yarn-wrapped pumpkins
- send a Halloween care package
- make a whimsical Halloween wreath