[Disclaimer: Finding Mandee is reader-supported, if you purchase through links on my site I may earn an affiliate commission at no additional cost to you. As an Amazon Associate, I earn from qualifying purchases.]
We first brought this vintage medicine cabinet home in 2013. It had been sitting in an old family farmhouse and was in rough shape. (Unfortunately, I didn’t get any pictures of it in this condition, since that was way before I started blogging.)
However, we replaced one of the sides because of dry rot. And of course, the whole cabinet was filthy.
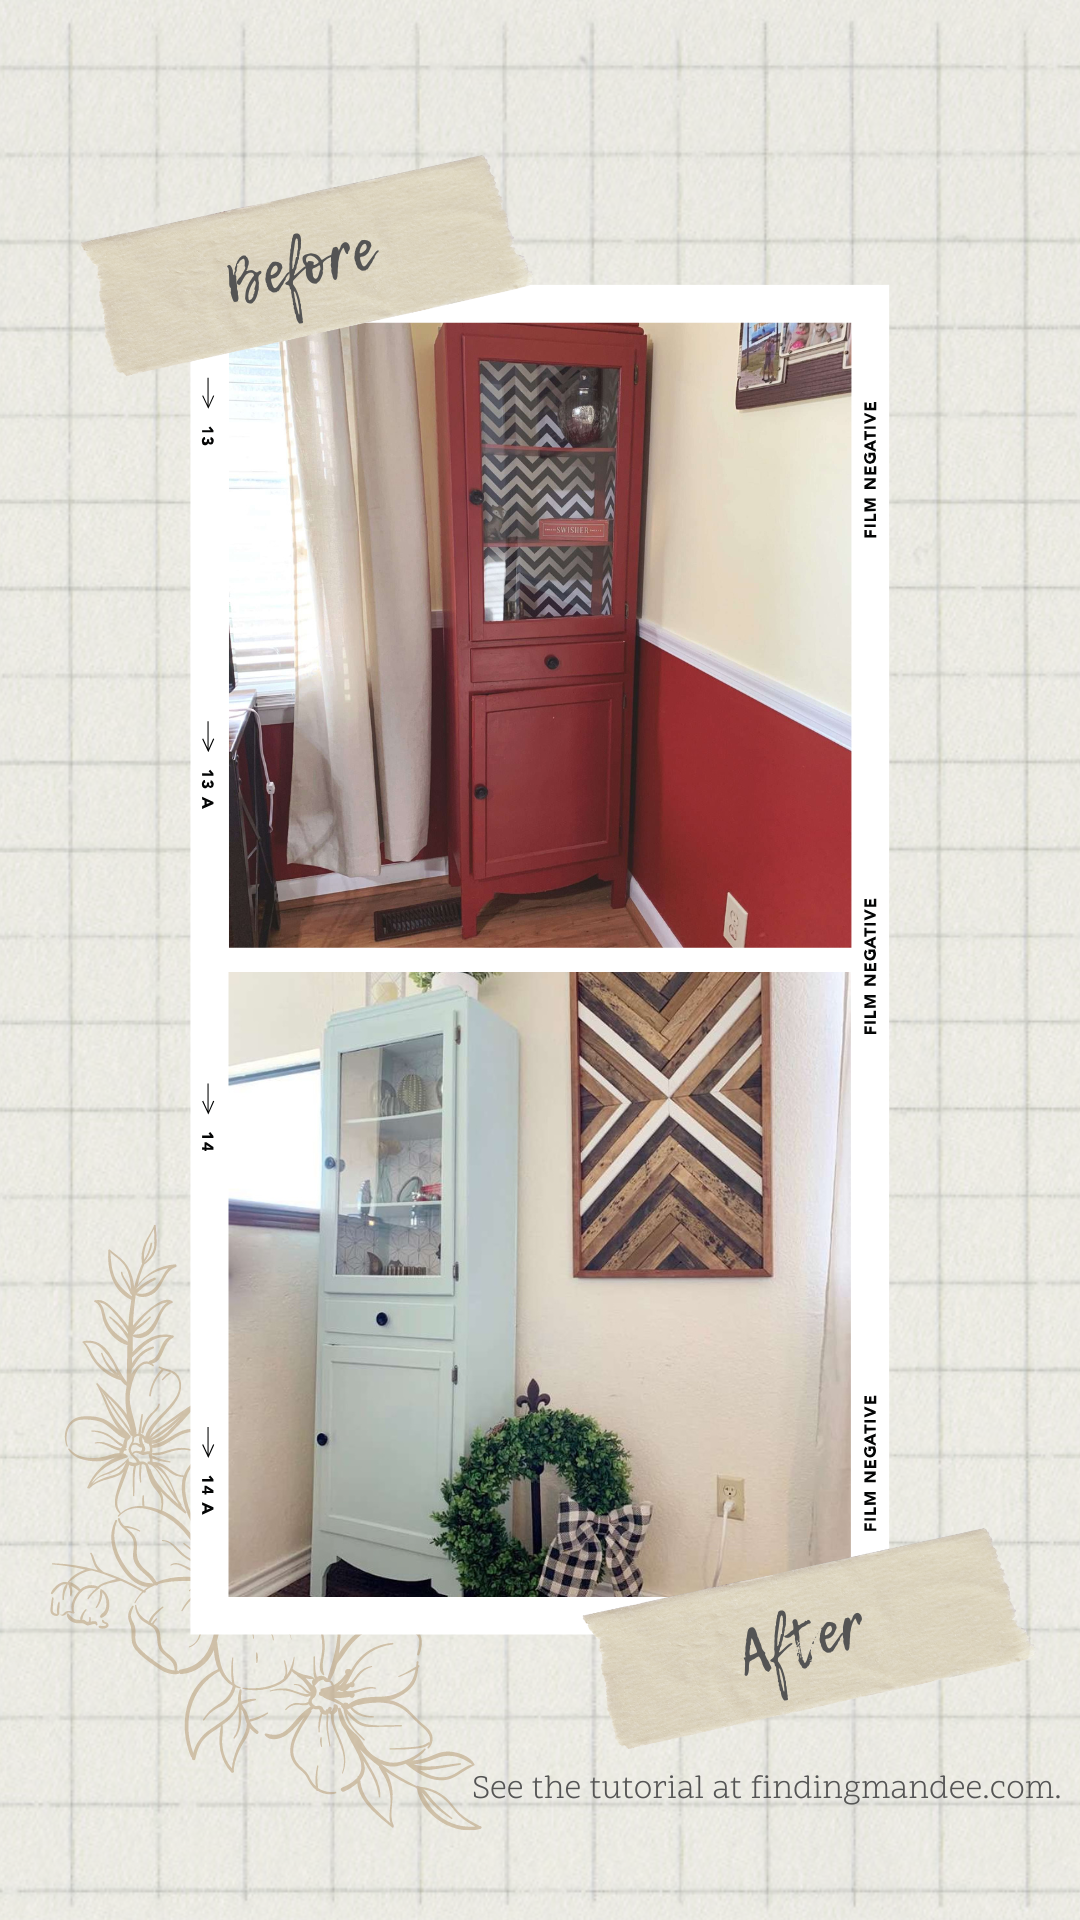
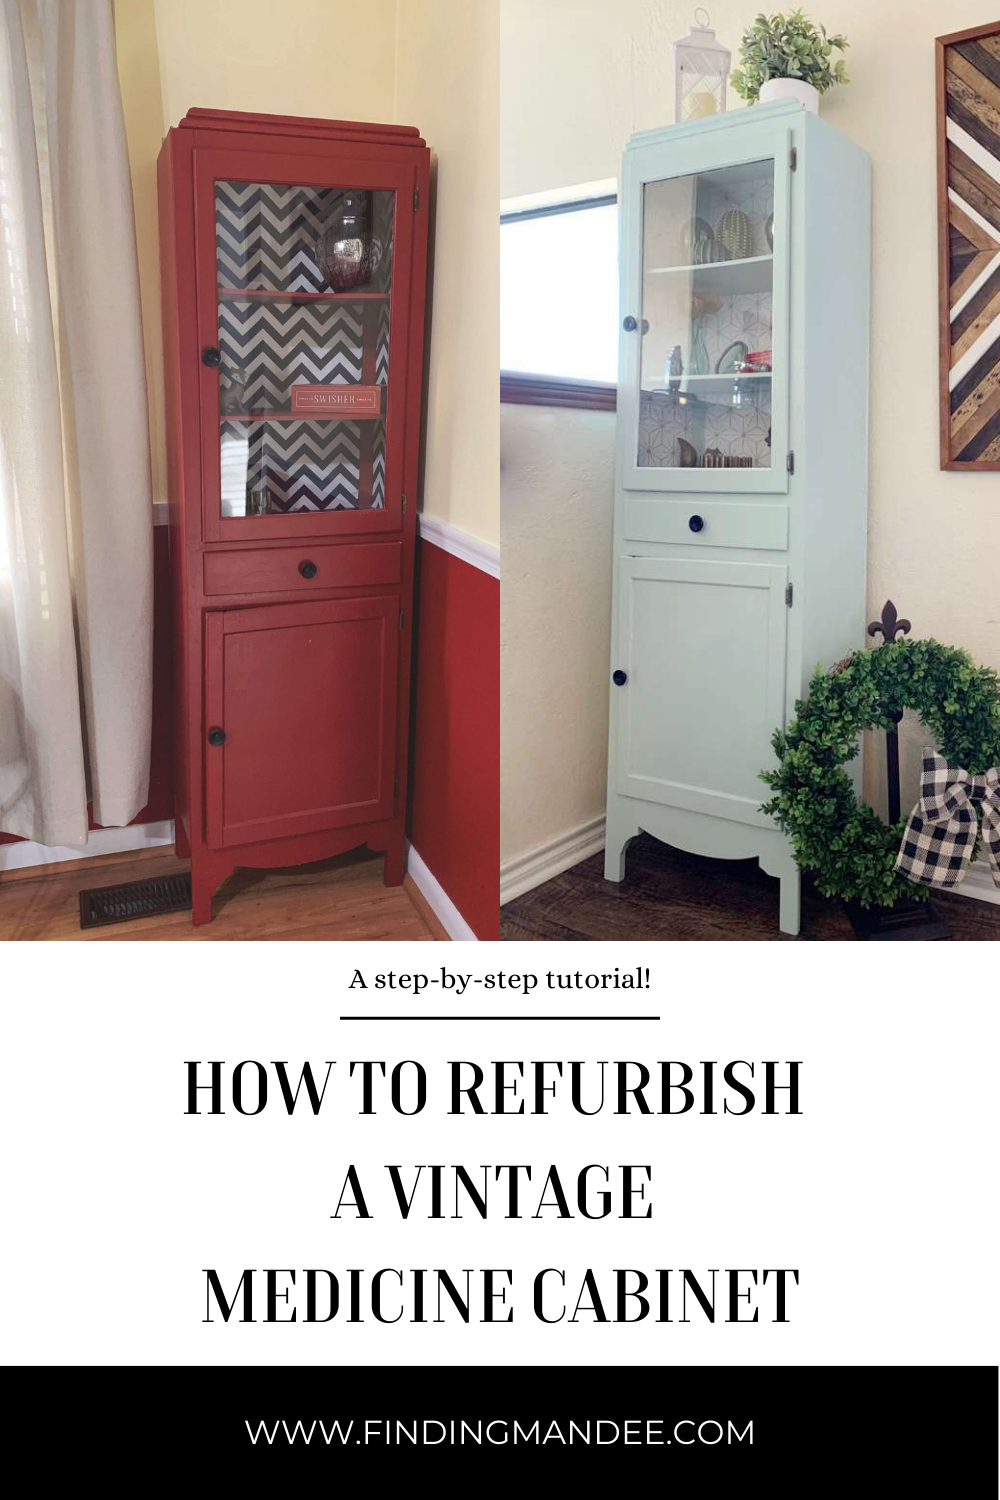
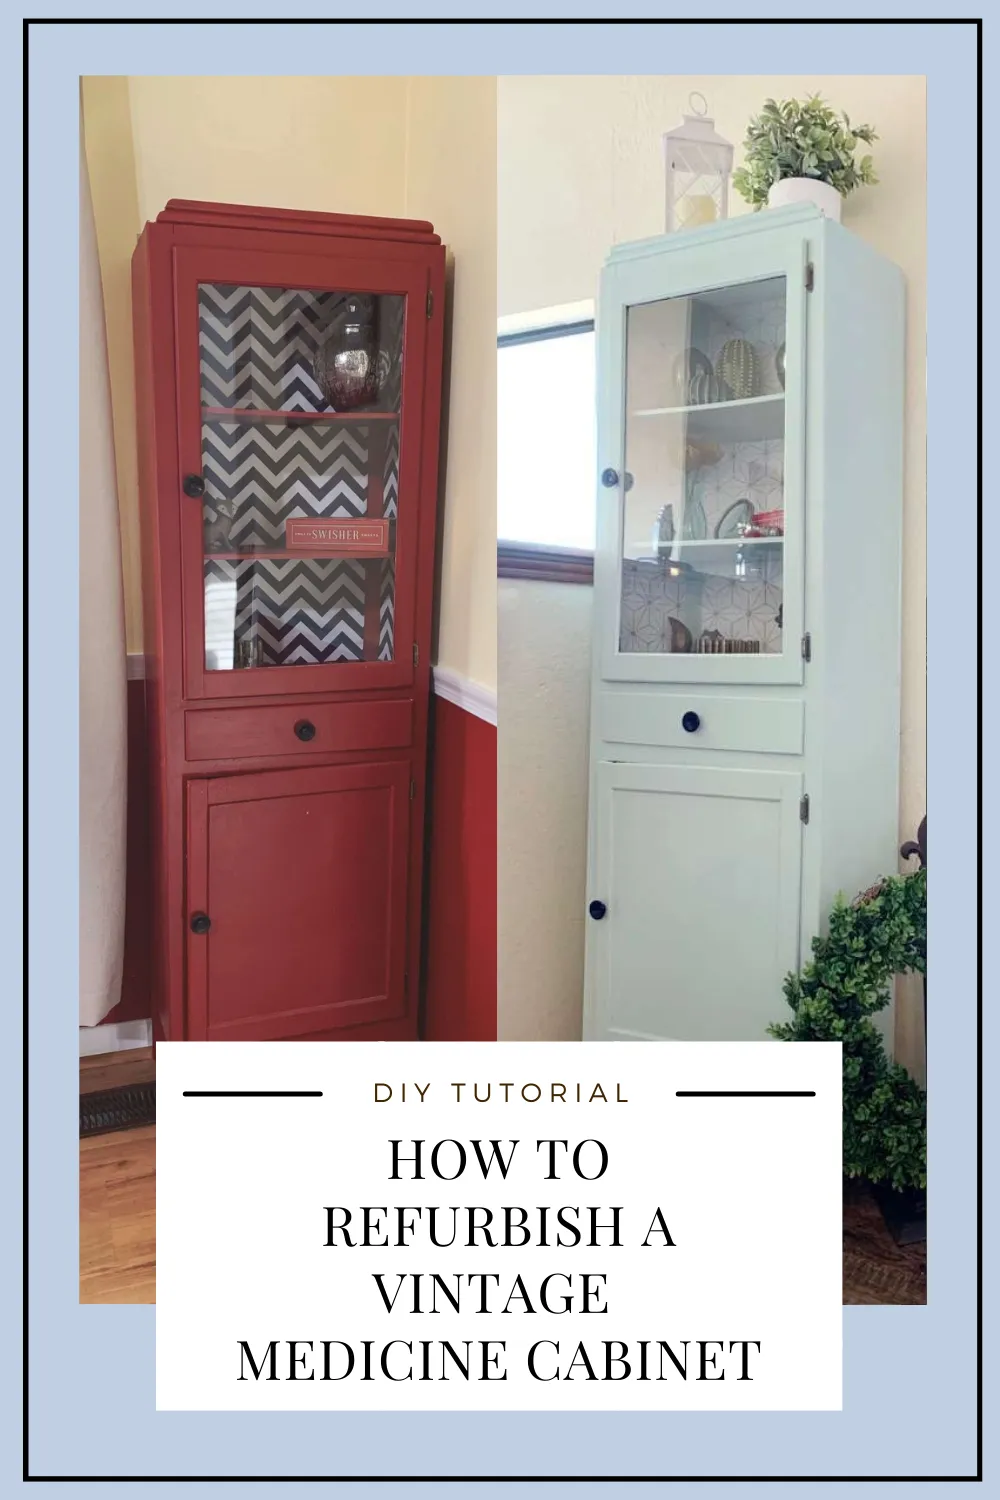
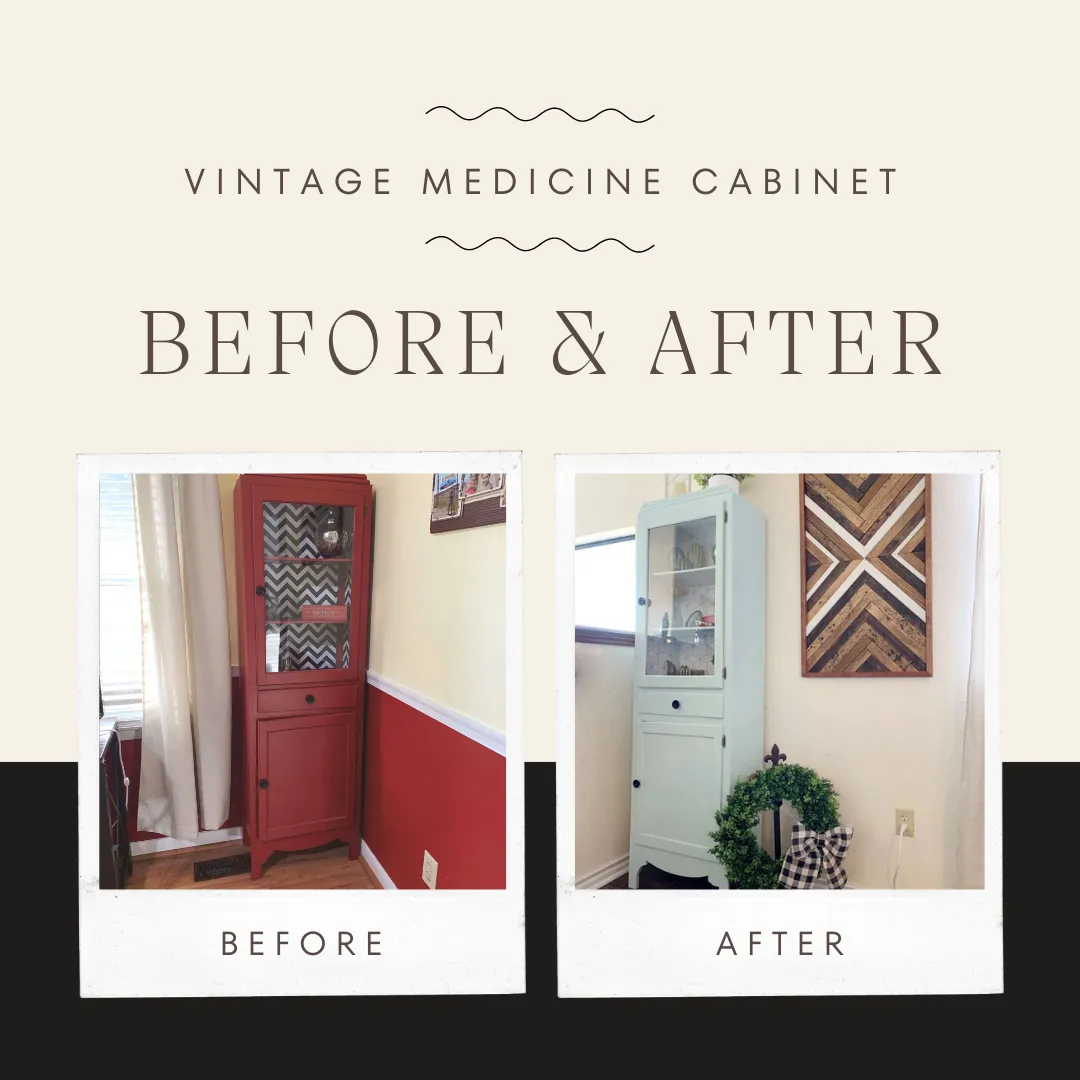
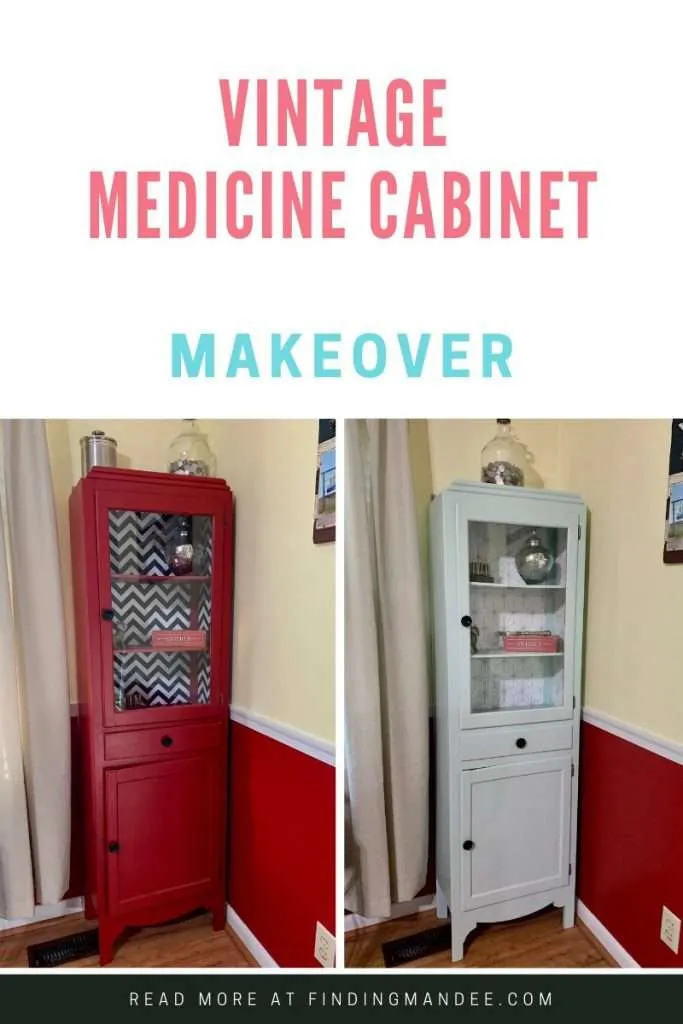
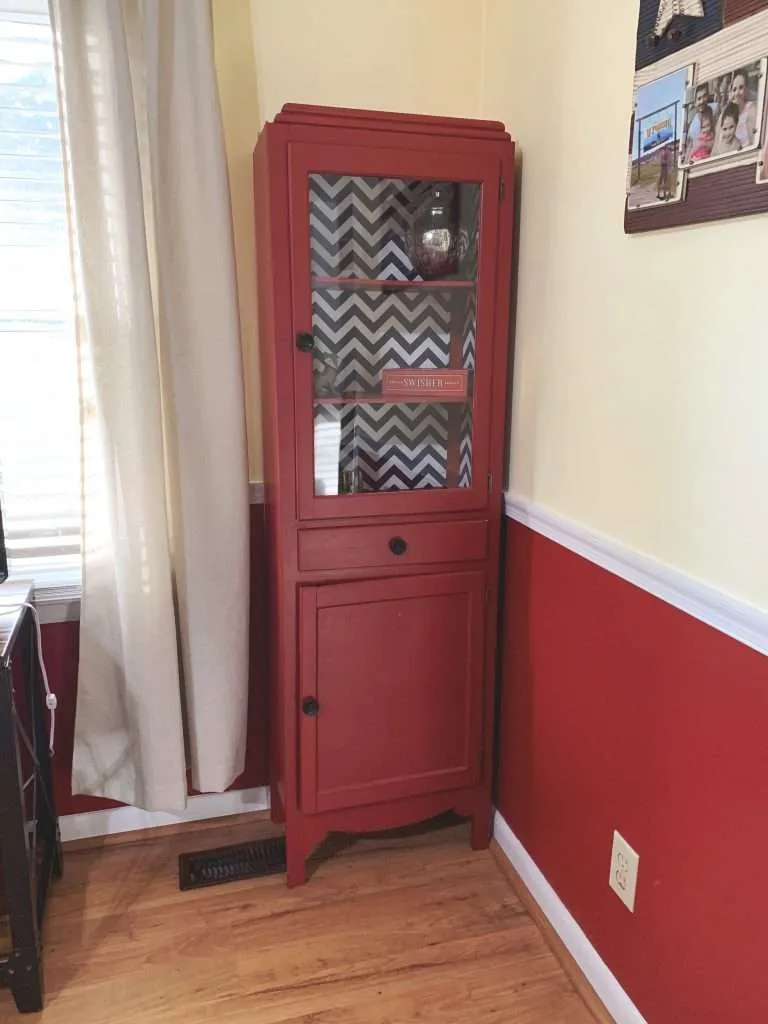
We cleaned it up and painted it red, with a navy and white chevron stripe on the interior. It looked nice, albeit very 2010. (Chevron was all the rage in those days.)
At the time, we were living in base housing at Fort Johnson and I felt like we needed more color in our home. I thought red was the right way to go….just like every other Southern housewife looking for something bold, lol.
Fast forward to 2020, we’re living in a rental near Fort Liberty and it’s painted random colors.
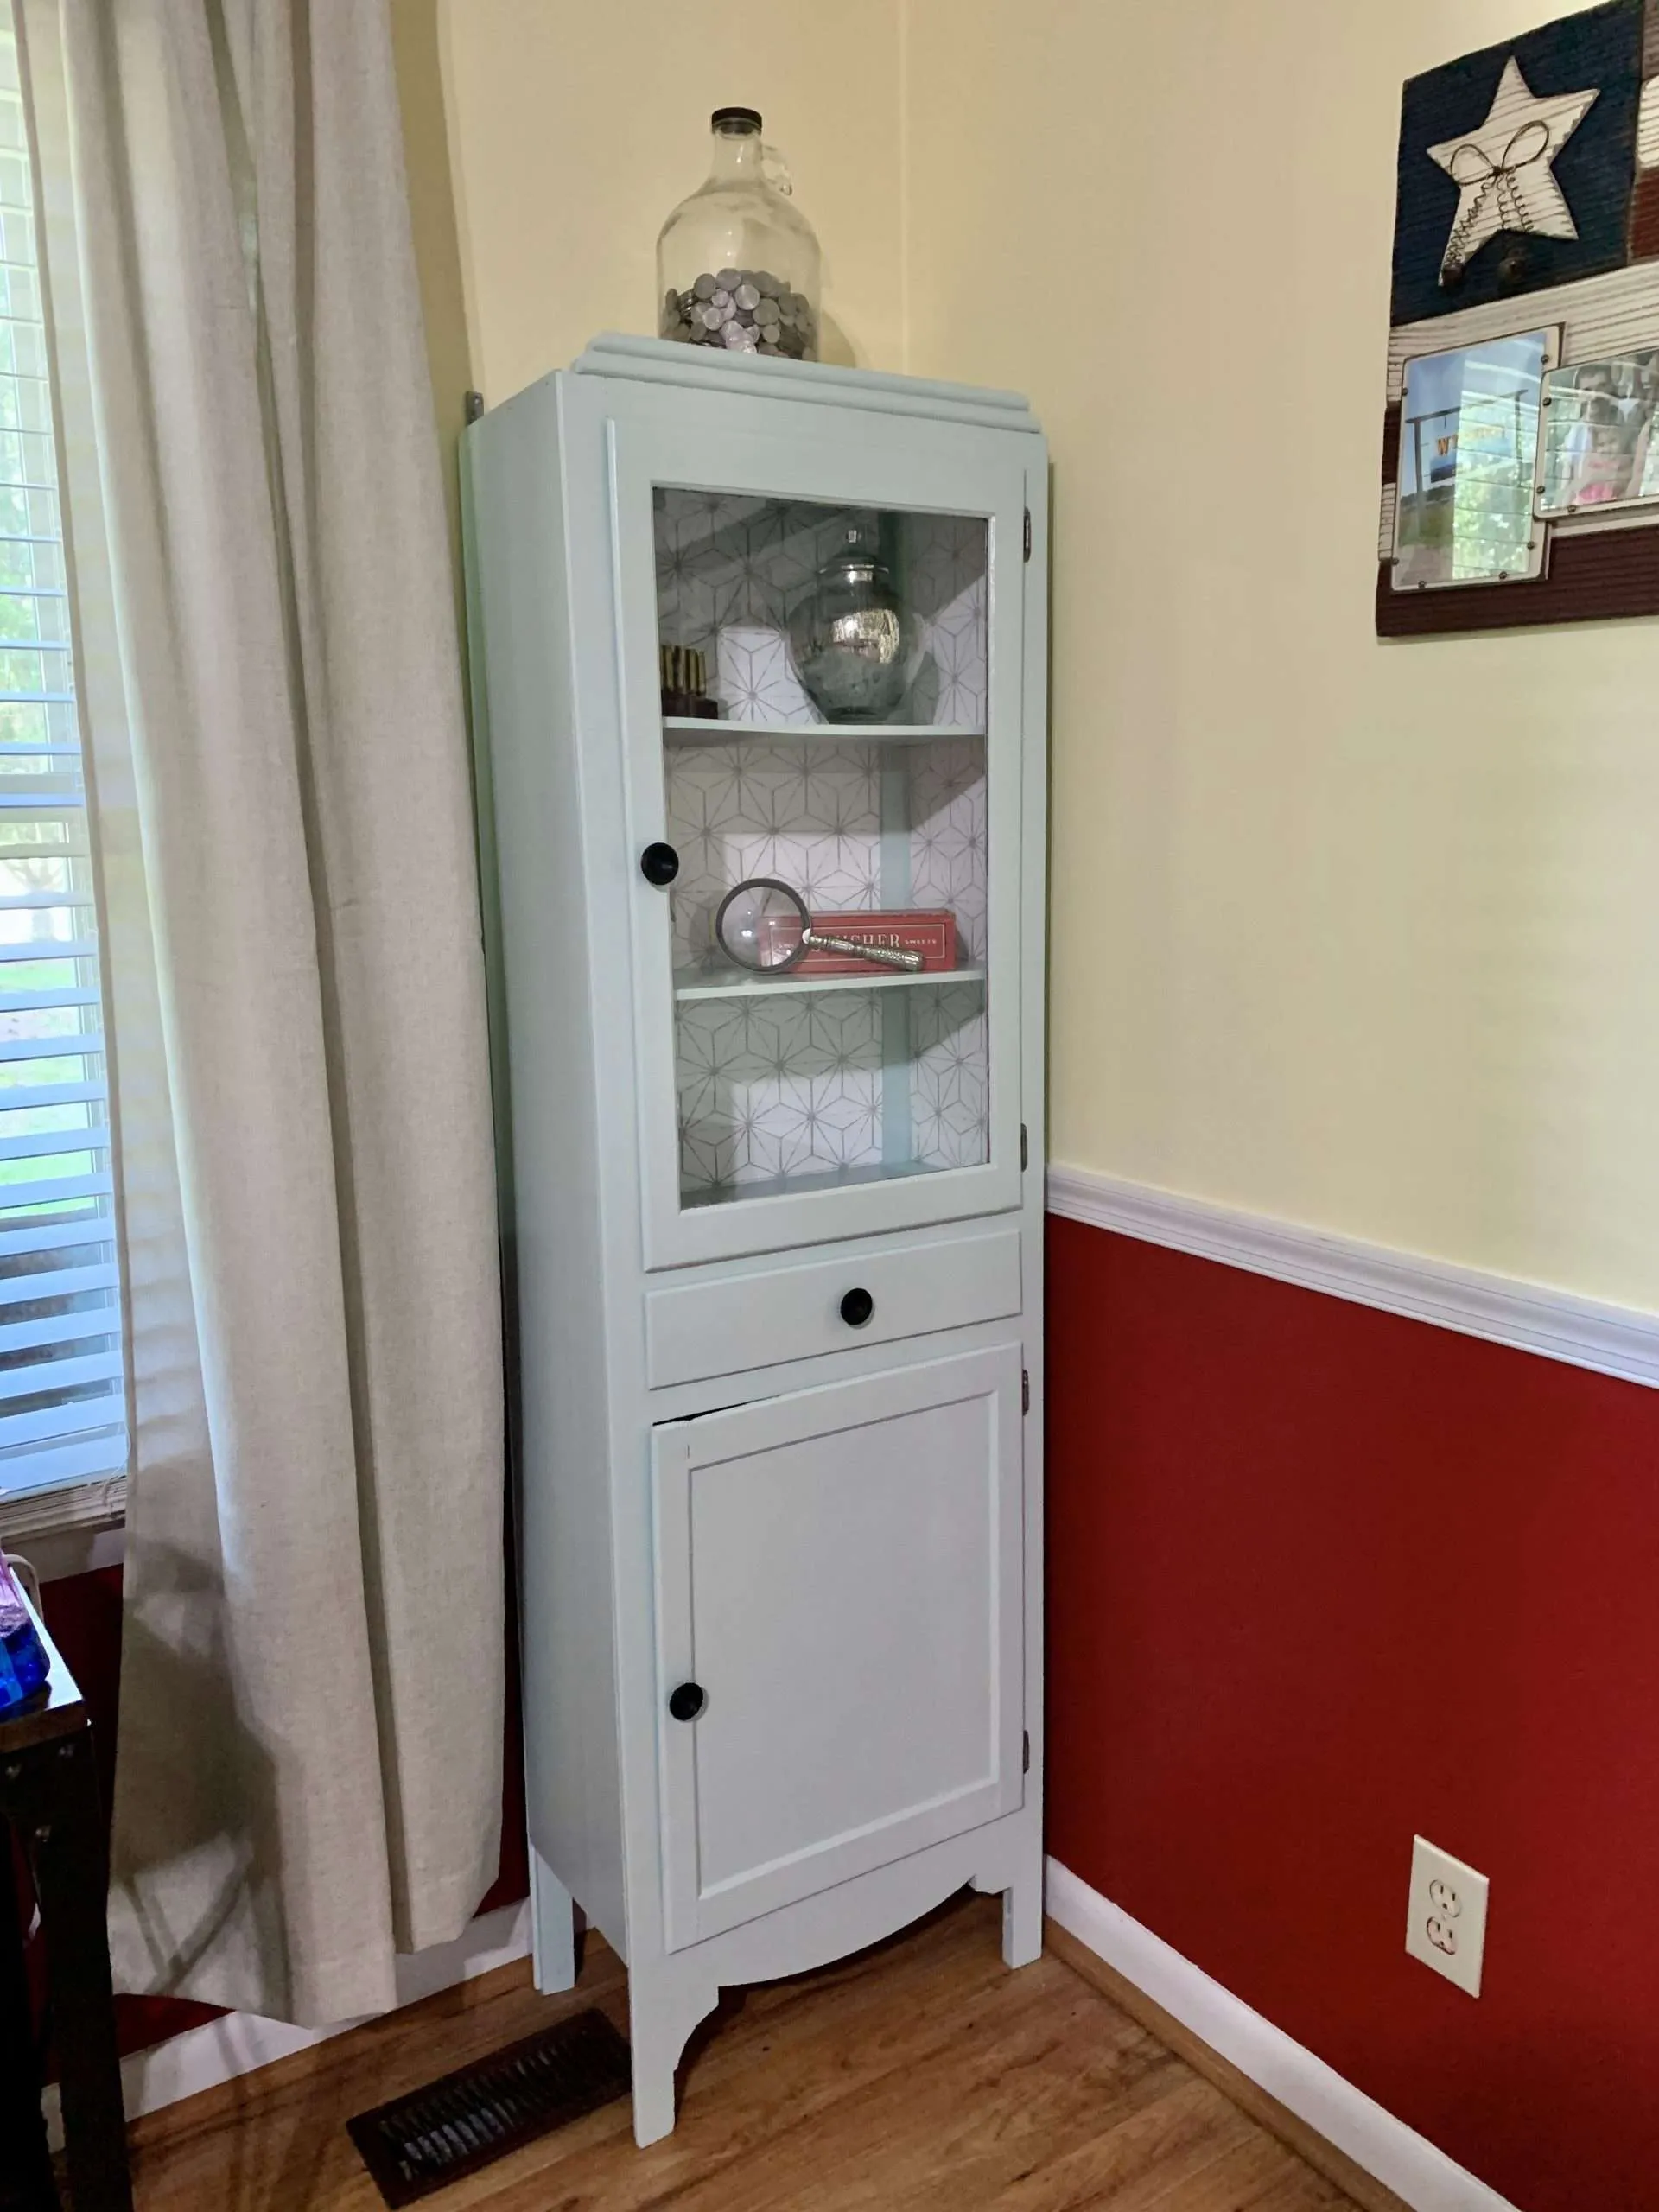
The walls in our living room are yellow on top and red on bottom, separated by a white chair rail. The kitchen and bathrooms are avocado green, the bedrooms are flat white, and the den is baby-poop-brown.
And we are NOT ALLOWED to paint!
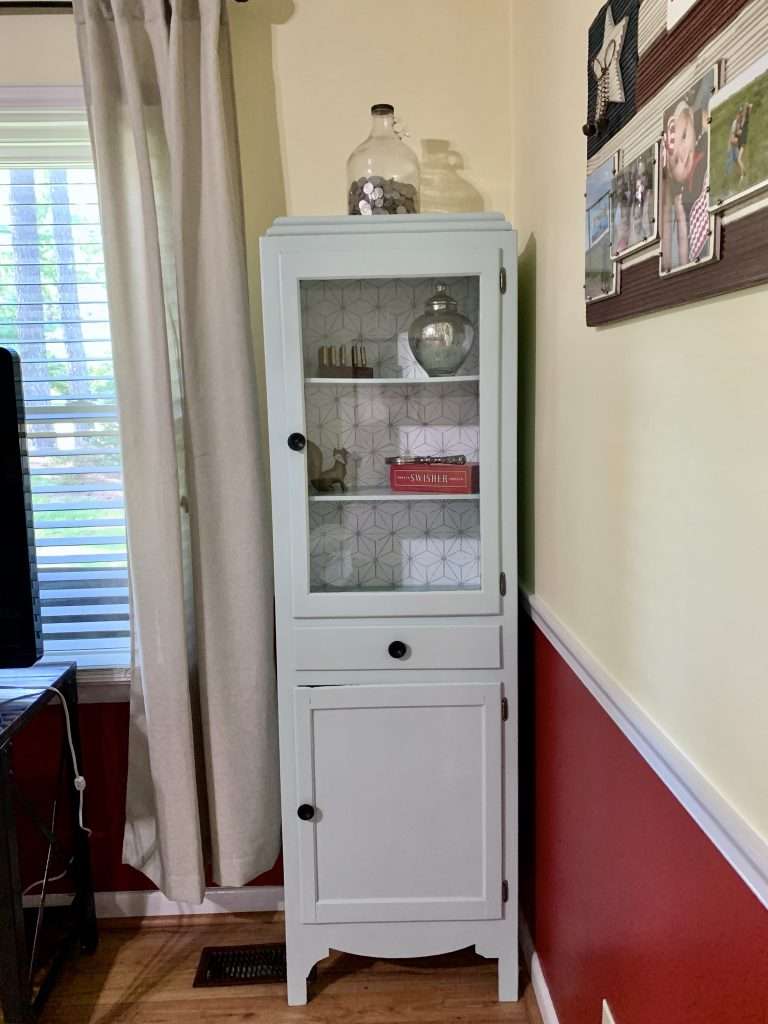
Our red cabinet blended right in, which was okay. But after more than 3 years of these funky colors, I am over it. I am especially tired of red.
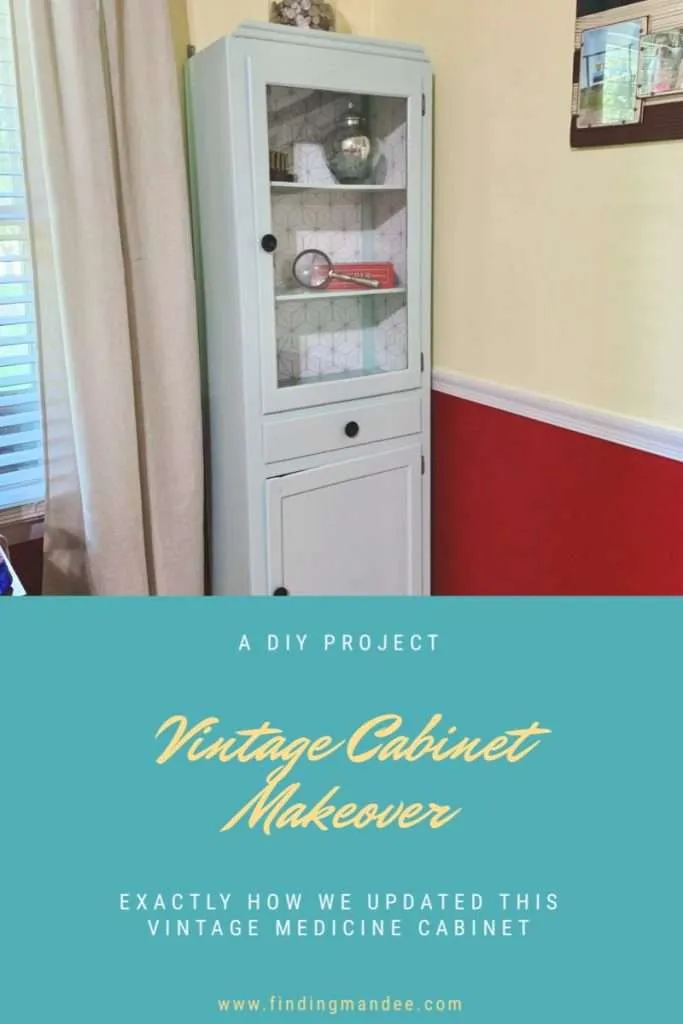
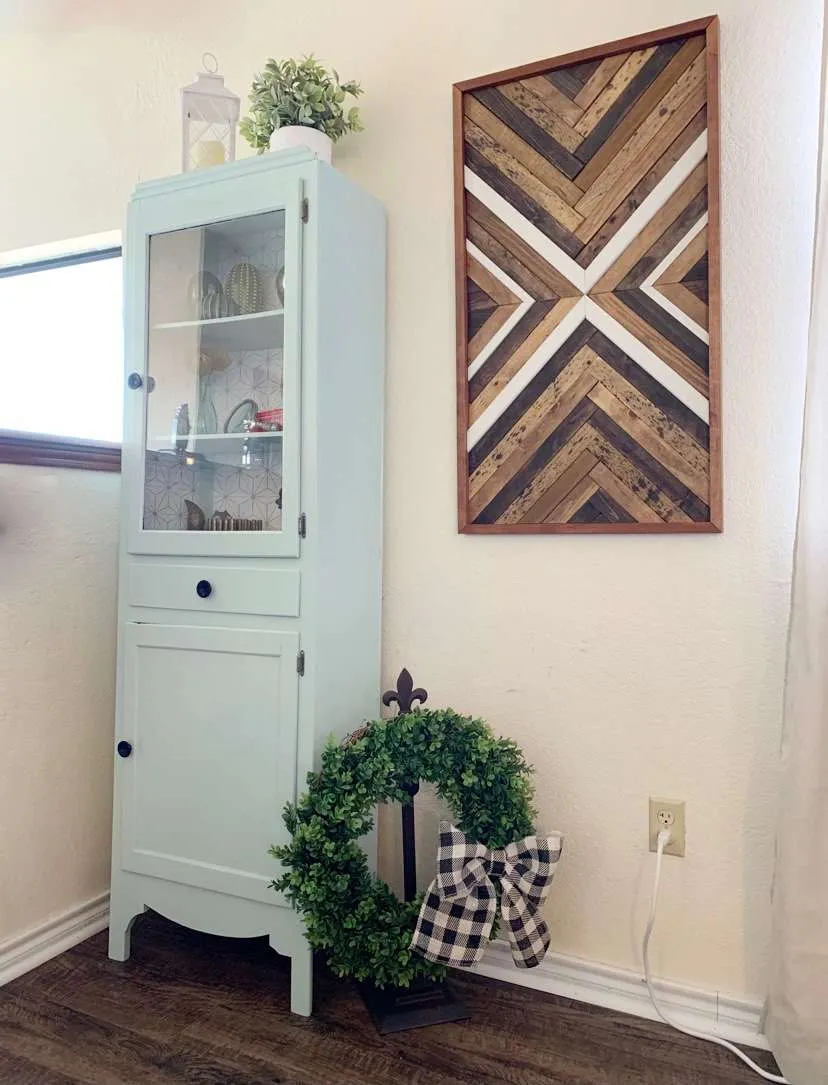
Over the weekend, we updated our vintage medicine cabinet…again. And I love how it turned out!
Here’s how we did it:
Step 1: Get the Supplies
This project cost me very little because I had most of the supplies on hand.
The primer and paint are leftovers from previous projects. (You might recognize this light blue paint from our vintage trunk makeover!)
The only thing I had to buy was the removable wallpaper and new foam paint rollers.
- orbital sander
- sanding pads (120 grit)
- mini paint roller & roller covers
- primer (Zinsser Bulls Eye 1-2-3 Interior/Exterior Primer)
- paint (Waterscape by Sherwin Williams)
- removable wall paper (NuWallpaper White Geometric)
- scissors
- measuring tape
Step 2: Remove Doors & Hardware
The first step is always to remove the doors, drawers, and hardware.
A super simple task that only requires a screwdriver and 10 minutes.
After that, we peeled off the chevron fabric glued inside the cabinet. It was pretty easy to remove and took only a few minutes.
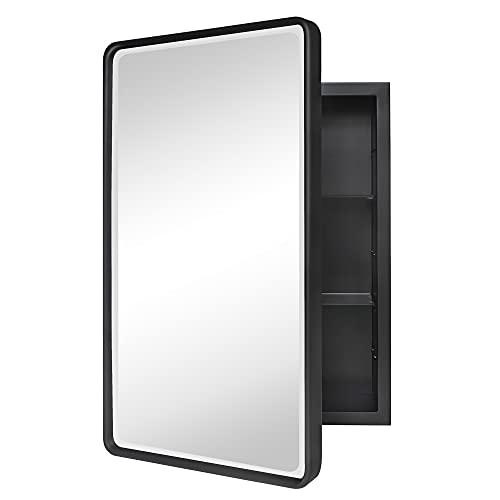
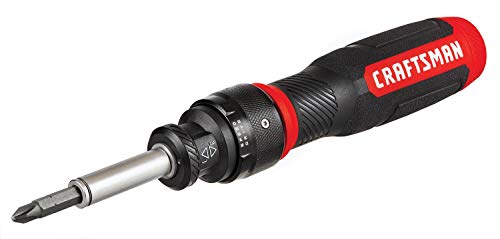
TEHOME Farmhouse Black Metal Framed Recessed Bathroom Medicine Cabinet with Beveled Mirror Rounded Rectangle Bathroom Medicine Cabinet 16×24 inchCRAFTSMAN Ratcheting Screwdriver, SpeedDrive, 2” Double Ended Bits Included, Handle Holds Up To 6 Bits (CMHT68129)
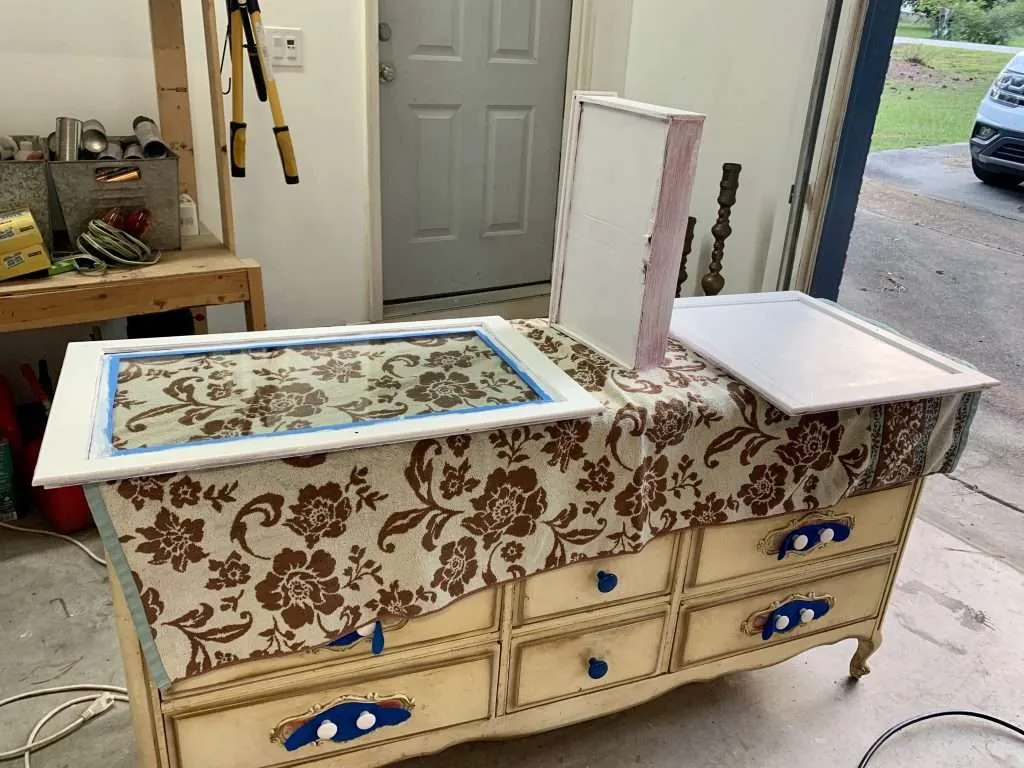
Step 3: Start Sanding
This is my least favorite part of each project. I hate sanding furniture. It’s dusty, dirty, tedious, and just a whole lot of not fun.
But it’s such an important step!
It makes the piece smooth and makes the paint much more durable. As irritating as it is, I never skip this step.
After sanding, I wiped it down with a damp rag to get all of the dust off.

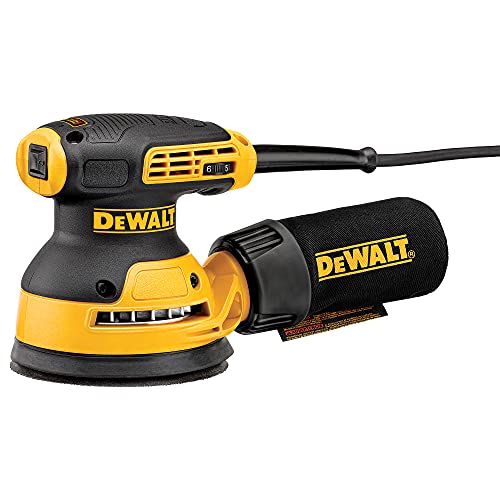
DEWALT Random Orbit Sander, Variable Speed, 5-Inch (DWE6423)BAIWEN 20PCS 5 Inch Mesh Hook & Loop Sanding Discs 80 120 180 240 600 Assort Grit Dust Free Abrasive Net Sander Disc Anti-Blocking Long-Lasting Mesh Sanding Pads, Sandpaper for Wood Furniture Floor

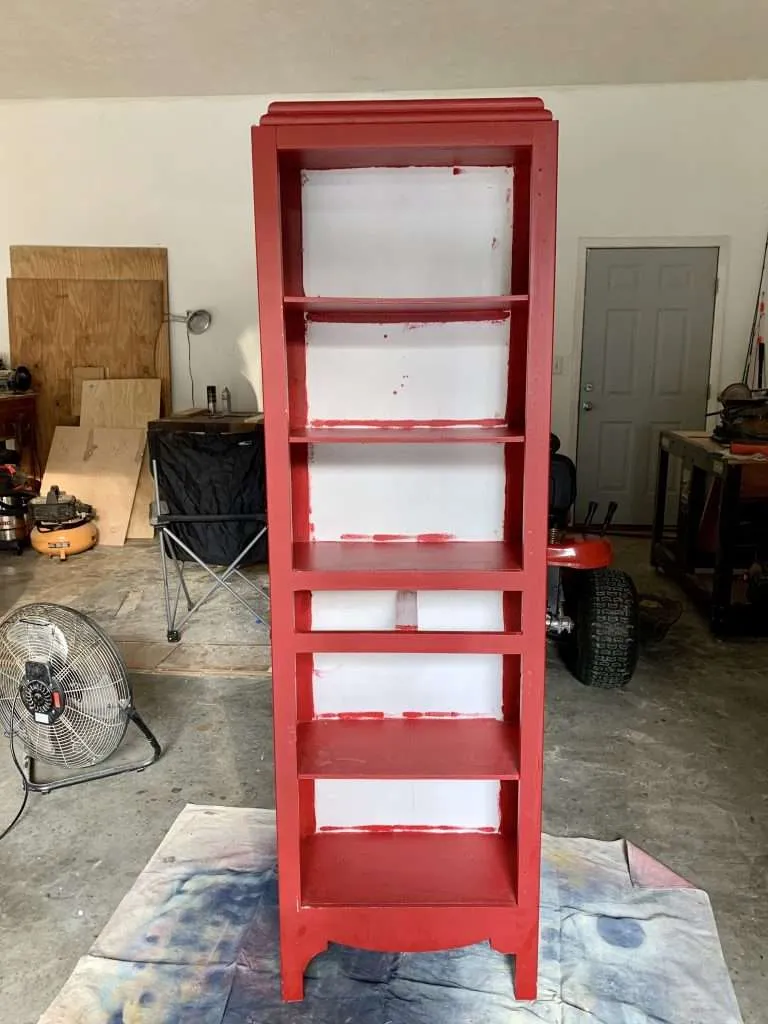
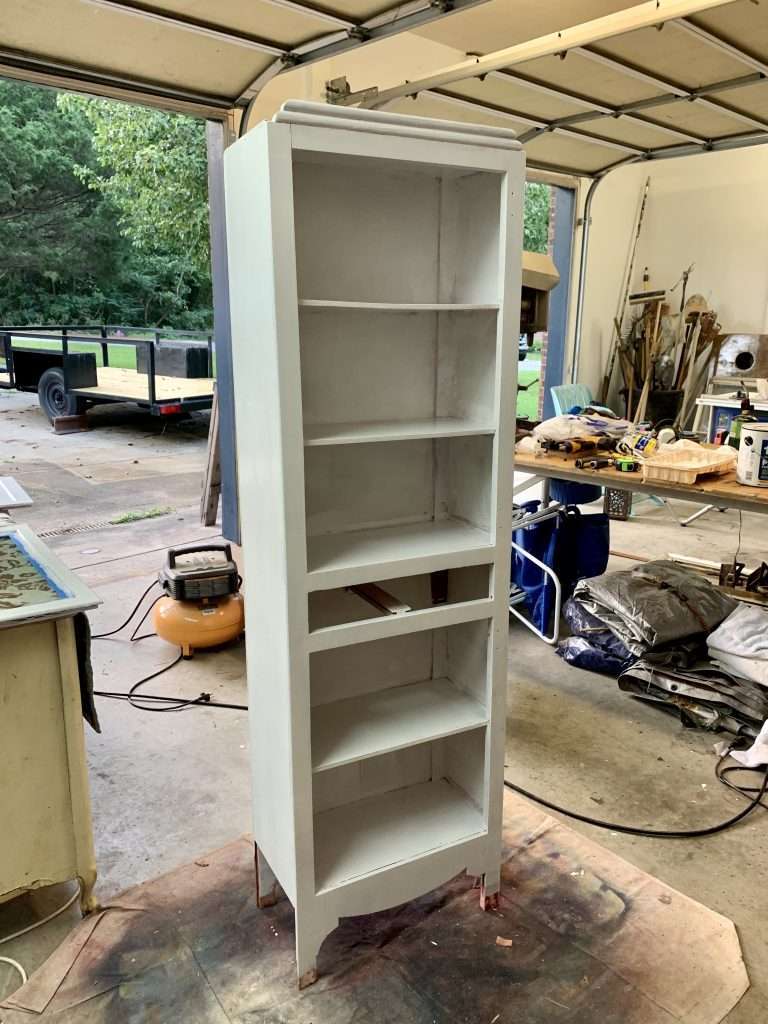
Step 4: Prime It
After a light sanding, our vintage medicine cabinet was ready for primer.
I have been using the same gallon of Zinsser Bulls Eye primer since we moved here! Seriously, it’s lasted so long. It’s not cheap, but we’ve certainly gotten our money’s worth.
I rolled on 2 coats of primer and let it dry overnight.
1 gal Zinsser 02001 White Zinsser, Bulls Eye 1-2-3 Water-Based Stain Blocking Primer/Sealer Pack of 1Mister Rui-Foam Paint Roller, 4 Inch-8 Pack Paint Roller Kit, Complete 4


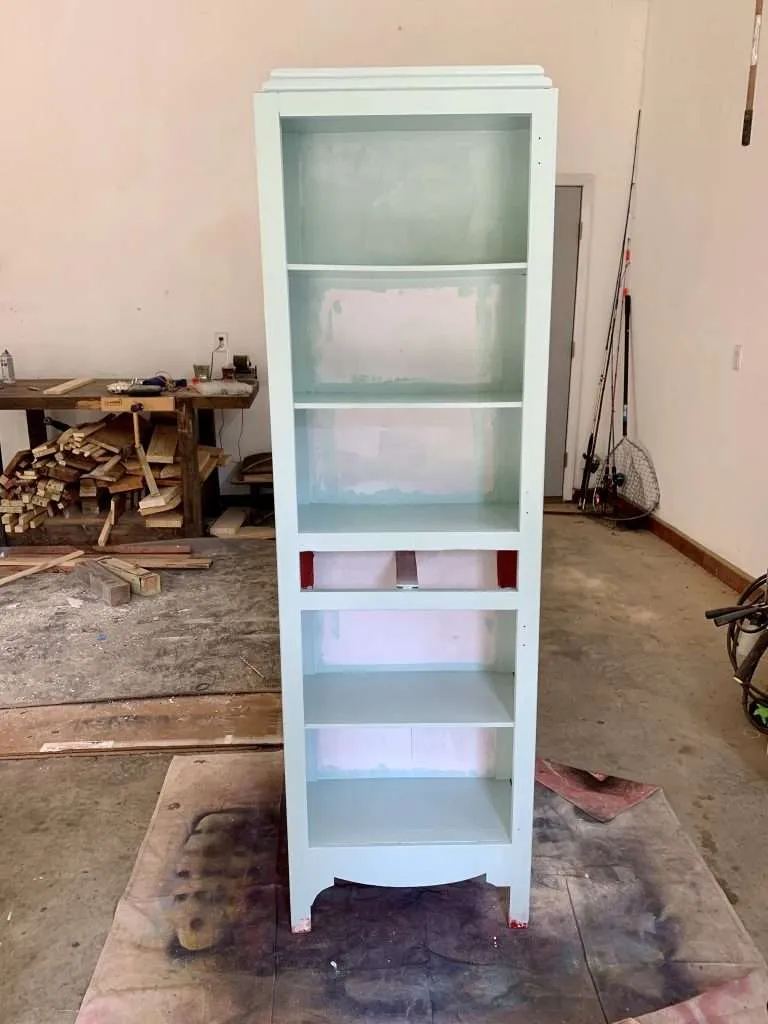
Step 5: Paint It Pretty
The next day, the vintage cabinet was ready for it’s ‘pretty paint’. The paint I used for this project was Sherwin Williams in the color Waterscape.
I rolled on 2 coats of the light blue paint and let it dry overnight.
There was no need to paint the backs and sides of the interior of the cabinet since I planned to cover them with wallpaper. I figured I would save myself some work and some paint!
Vintage Tonality Chalk Wax Paint Brush Set Bundle | Furniture Painting or Waxing | 6 Brushes + 11 Tools & Extras | Large or Small DIY Home Decor Repurposing Projects | Thick Natural Bristle HairsCordless Paint Sprayer for DEWALT 20V Max Battery, HVLP Electric Tools Spray Paint Gun, Paint Sprayers for Home Interior and Exterior/Furniture/Cabinets/Walls/Fence/Ceiling (Battery NOT Included)


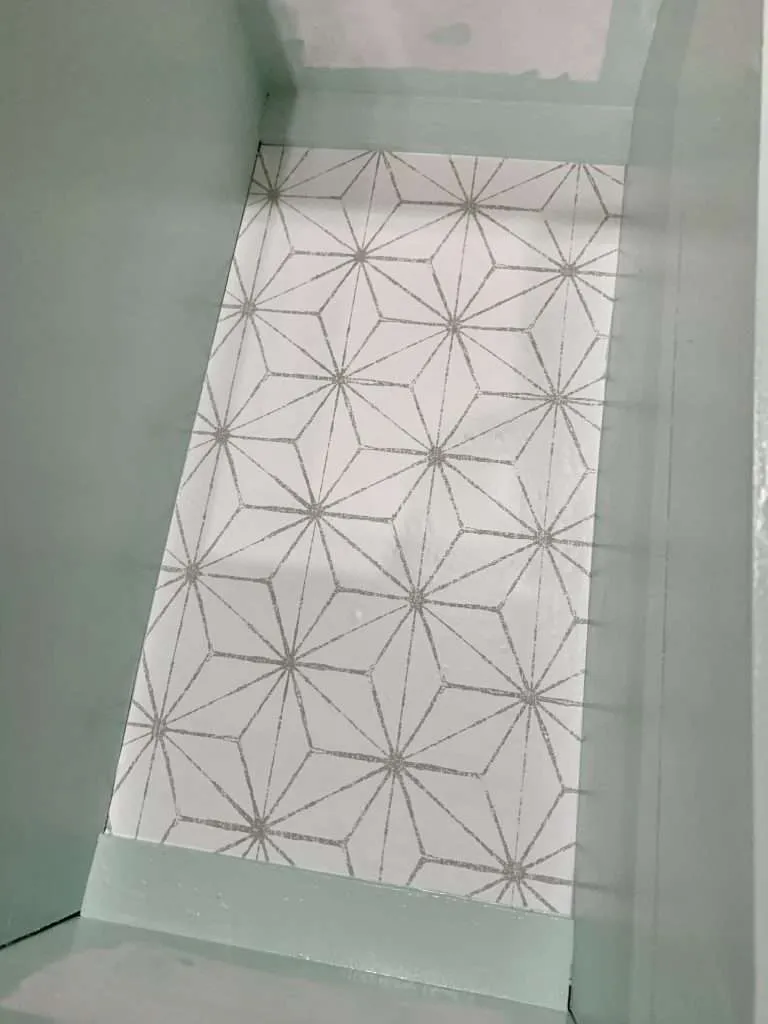
Step 6: Add Wallpaper
The next day, I moved the cabinet back inside the house and laid it on the floor. Putting wallpaper on the interior of the cabinet was much easier with the cabinet laying down
Removable wallpaper is such a trendy thing right now and I’m here for it!
I’ve used it on 2 other projects recently and love how they turned out (check out this vintage trunk and this vintage hardware cabinet).
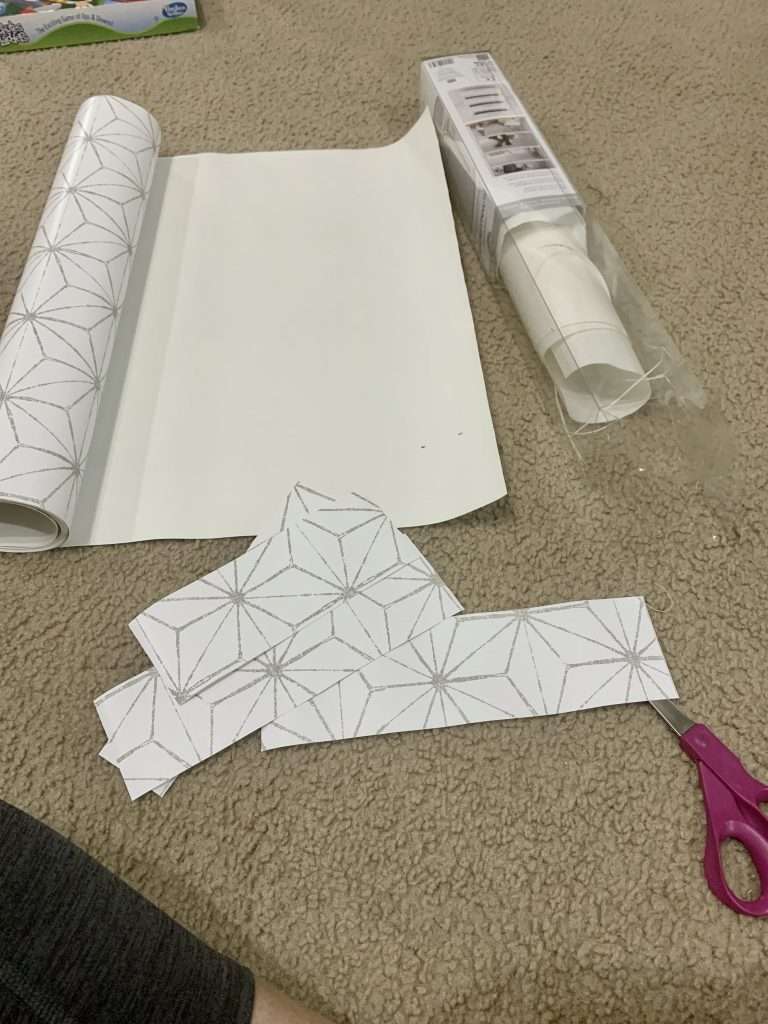
To get the wallpaper in the cabinet, I first measured each spot where I wanted it to go. Then, I cut each piece of wallpaper to the right size. And very carefully stuck it down, while smoothing out the bubbles.
It’s a little tricky, but with plenty of patience and as much precision as you can muster, it’s possible.
NuWallpaper NUS3577 Gold Get in Line Peel Stick Wallpaper, White & Off-WhiteNuWallpaper Black Dorset Peel & Stick Wallpaper


Step 7: Re-Attach Doors & Hardware
After the wallpaper was in place, it was time to put the vintage cabinet back together again.
For now, we put the original black knobs back on, but I’m thinking that white or glass knobs would look better. (I’ll get around to replacing them….eventually.)
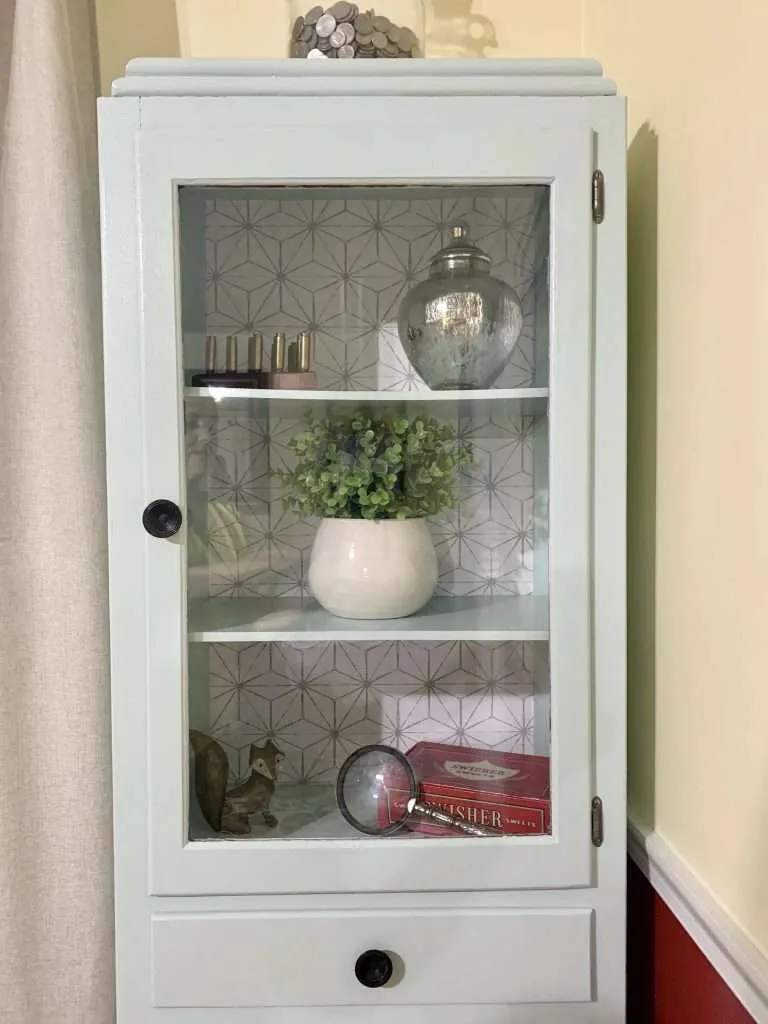
Our vintage cabinet cost around $50 and one weekend to complete. It was a simple project, but it made such a big difference in our living room!
In a couple of weeks, we will PCS to Fort Cavazos, Texas, and can be rid of red walls forever!
Until then, our blue cabinet looks a little crazy in our red and yellow living room.