[Disclaimer: Finding Mandee is reader-supported, if you purchase through links on my site I may earn an affiliate commission at no additional cost to you. As an Amazon Associate, I earn from qualifying purchases.]
I have been wanting a tripod lamp for several years. I first saw one for sale online years ago, but it was wayyy too expensive.
There are cheaper versions, but none quite like the first one that caught my eye. Most tripod lamps have the light and lamp shade straight over the top of the tripod. The one I wanted had an arm that extended out from the tripod base.
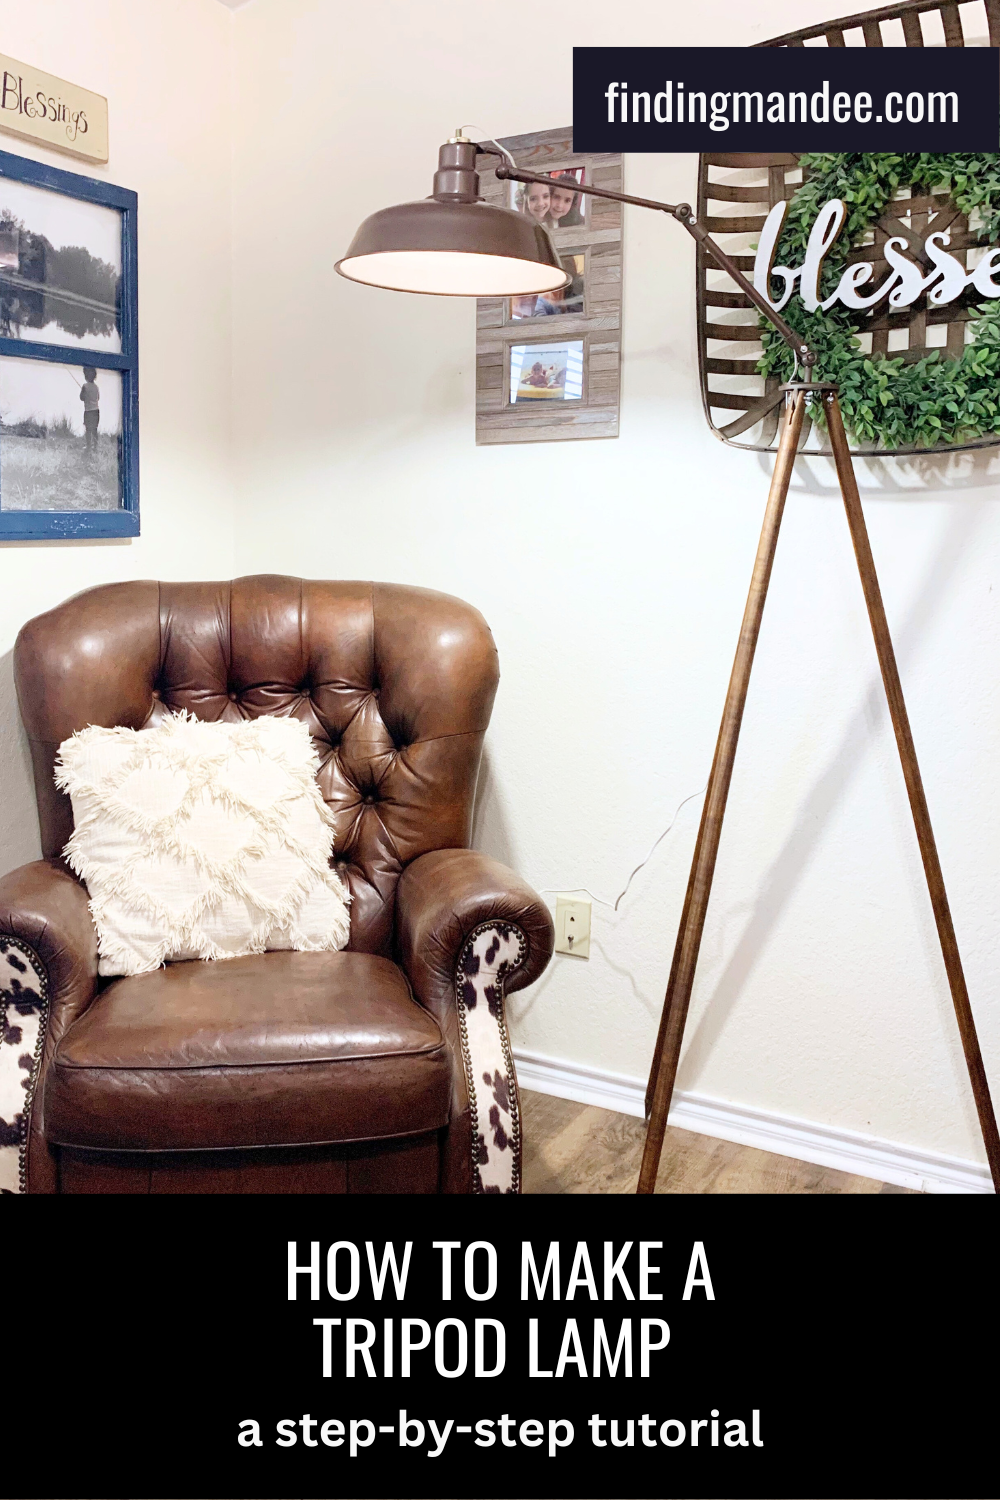
I could just imagine it hanging over the top of my leather chair to create a cozy reading nook. So, I searched every flea market and thrift shop I went to in search of a wooden tripod.
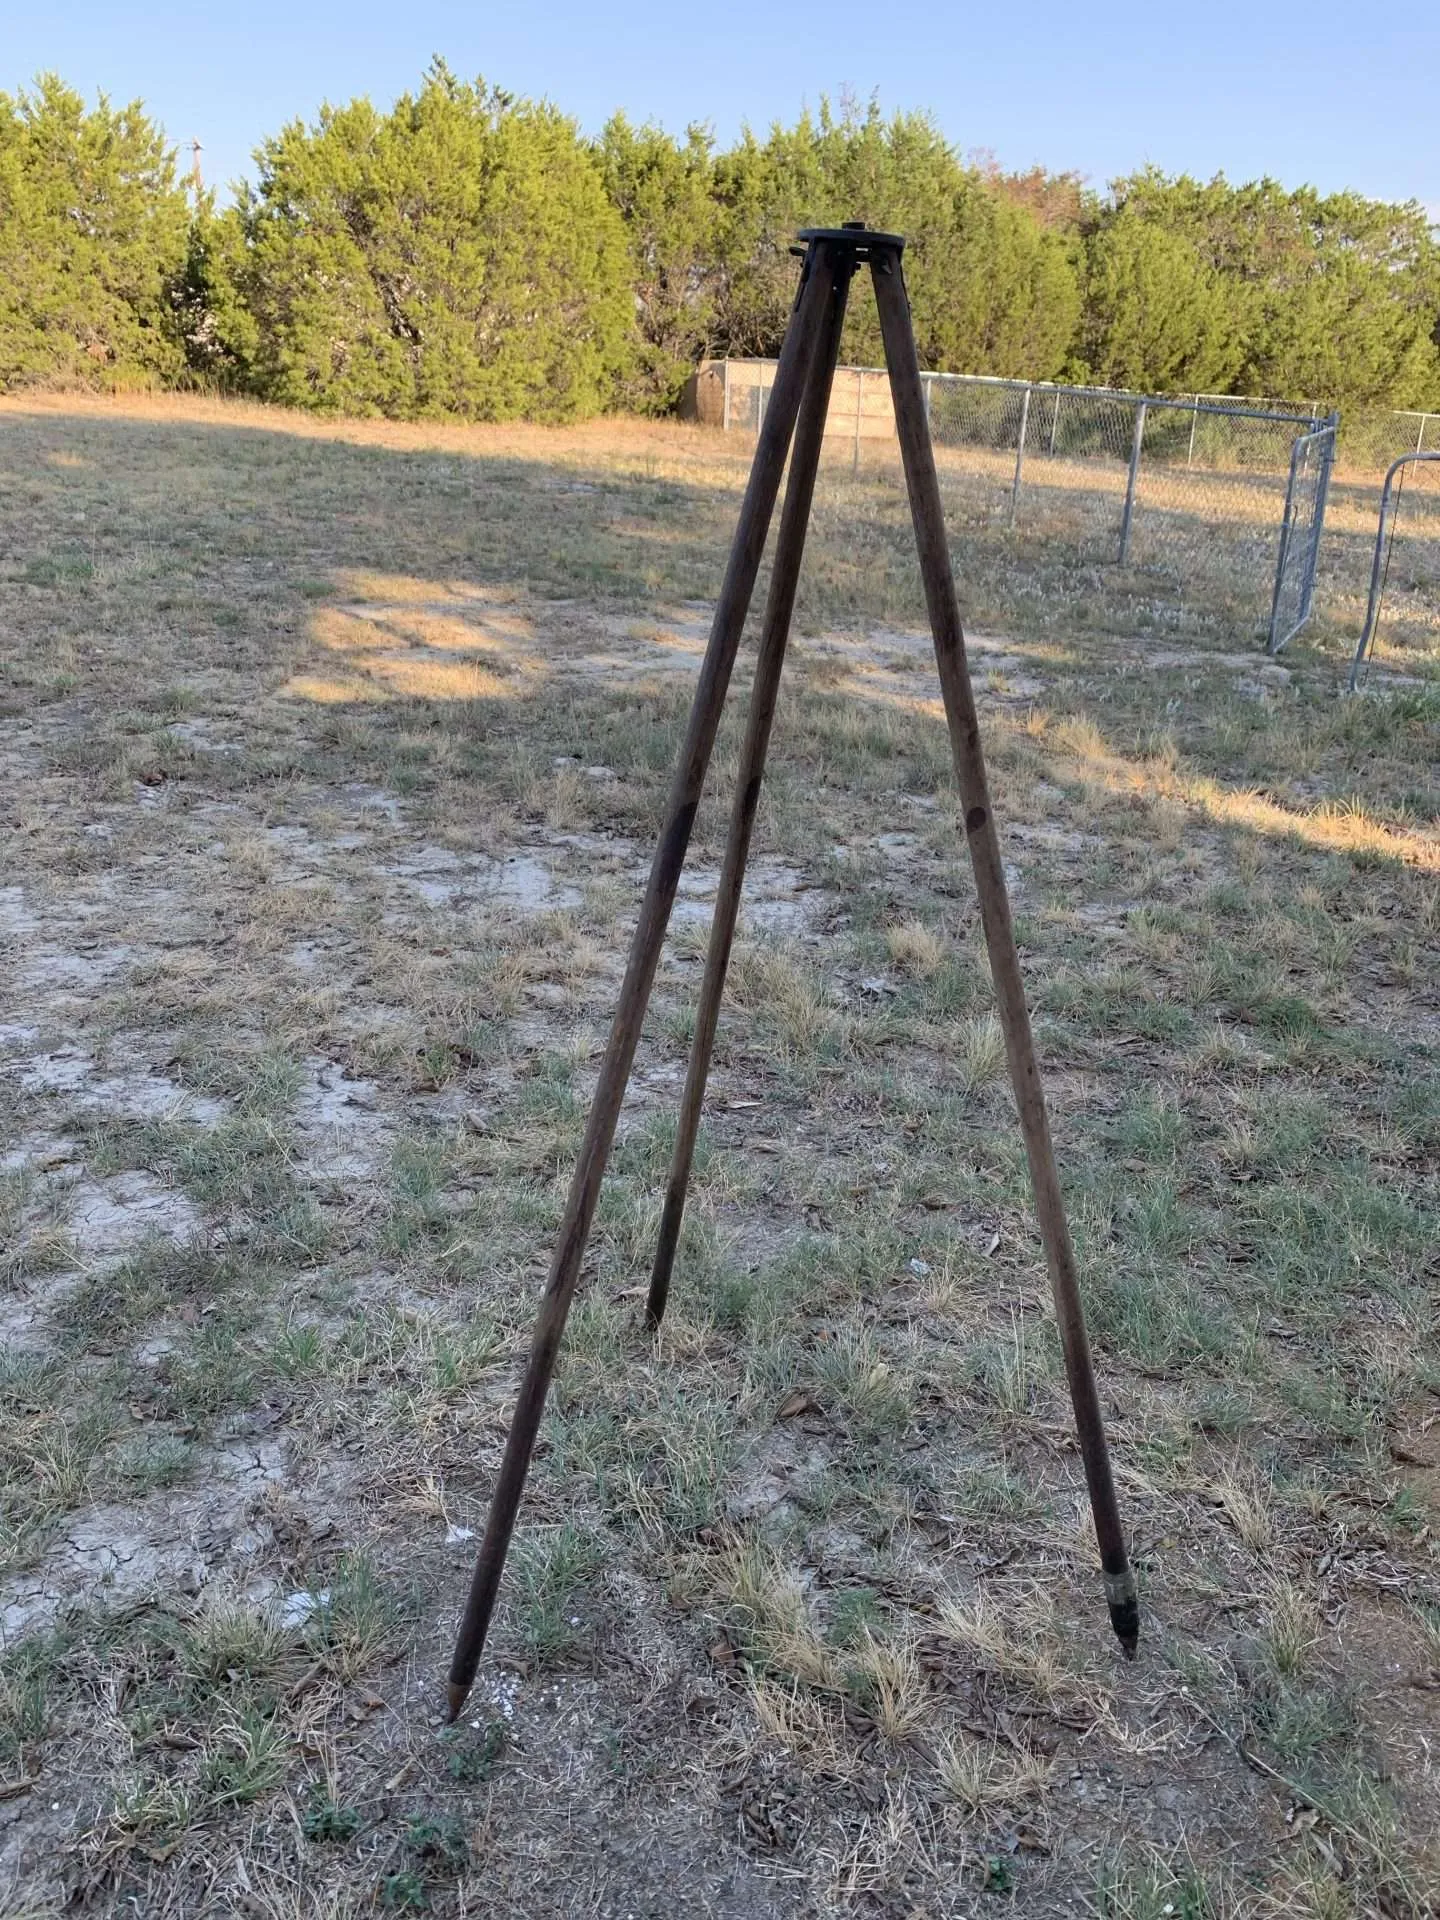
Eventually, I found a vintage surveyor’s tripod in the fields of Warrenton during one of our trips to the Round Top Antique Show. I couldn’t wait to turn it into a fabulous tripod lamp!
Here’s how we did it:
Supplies
- wooden tripod
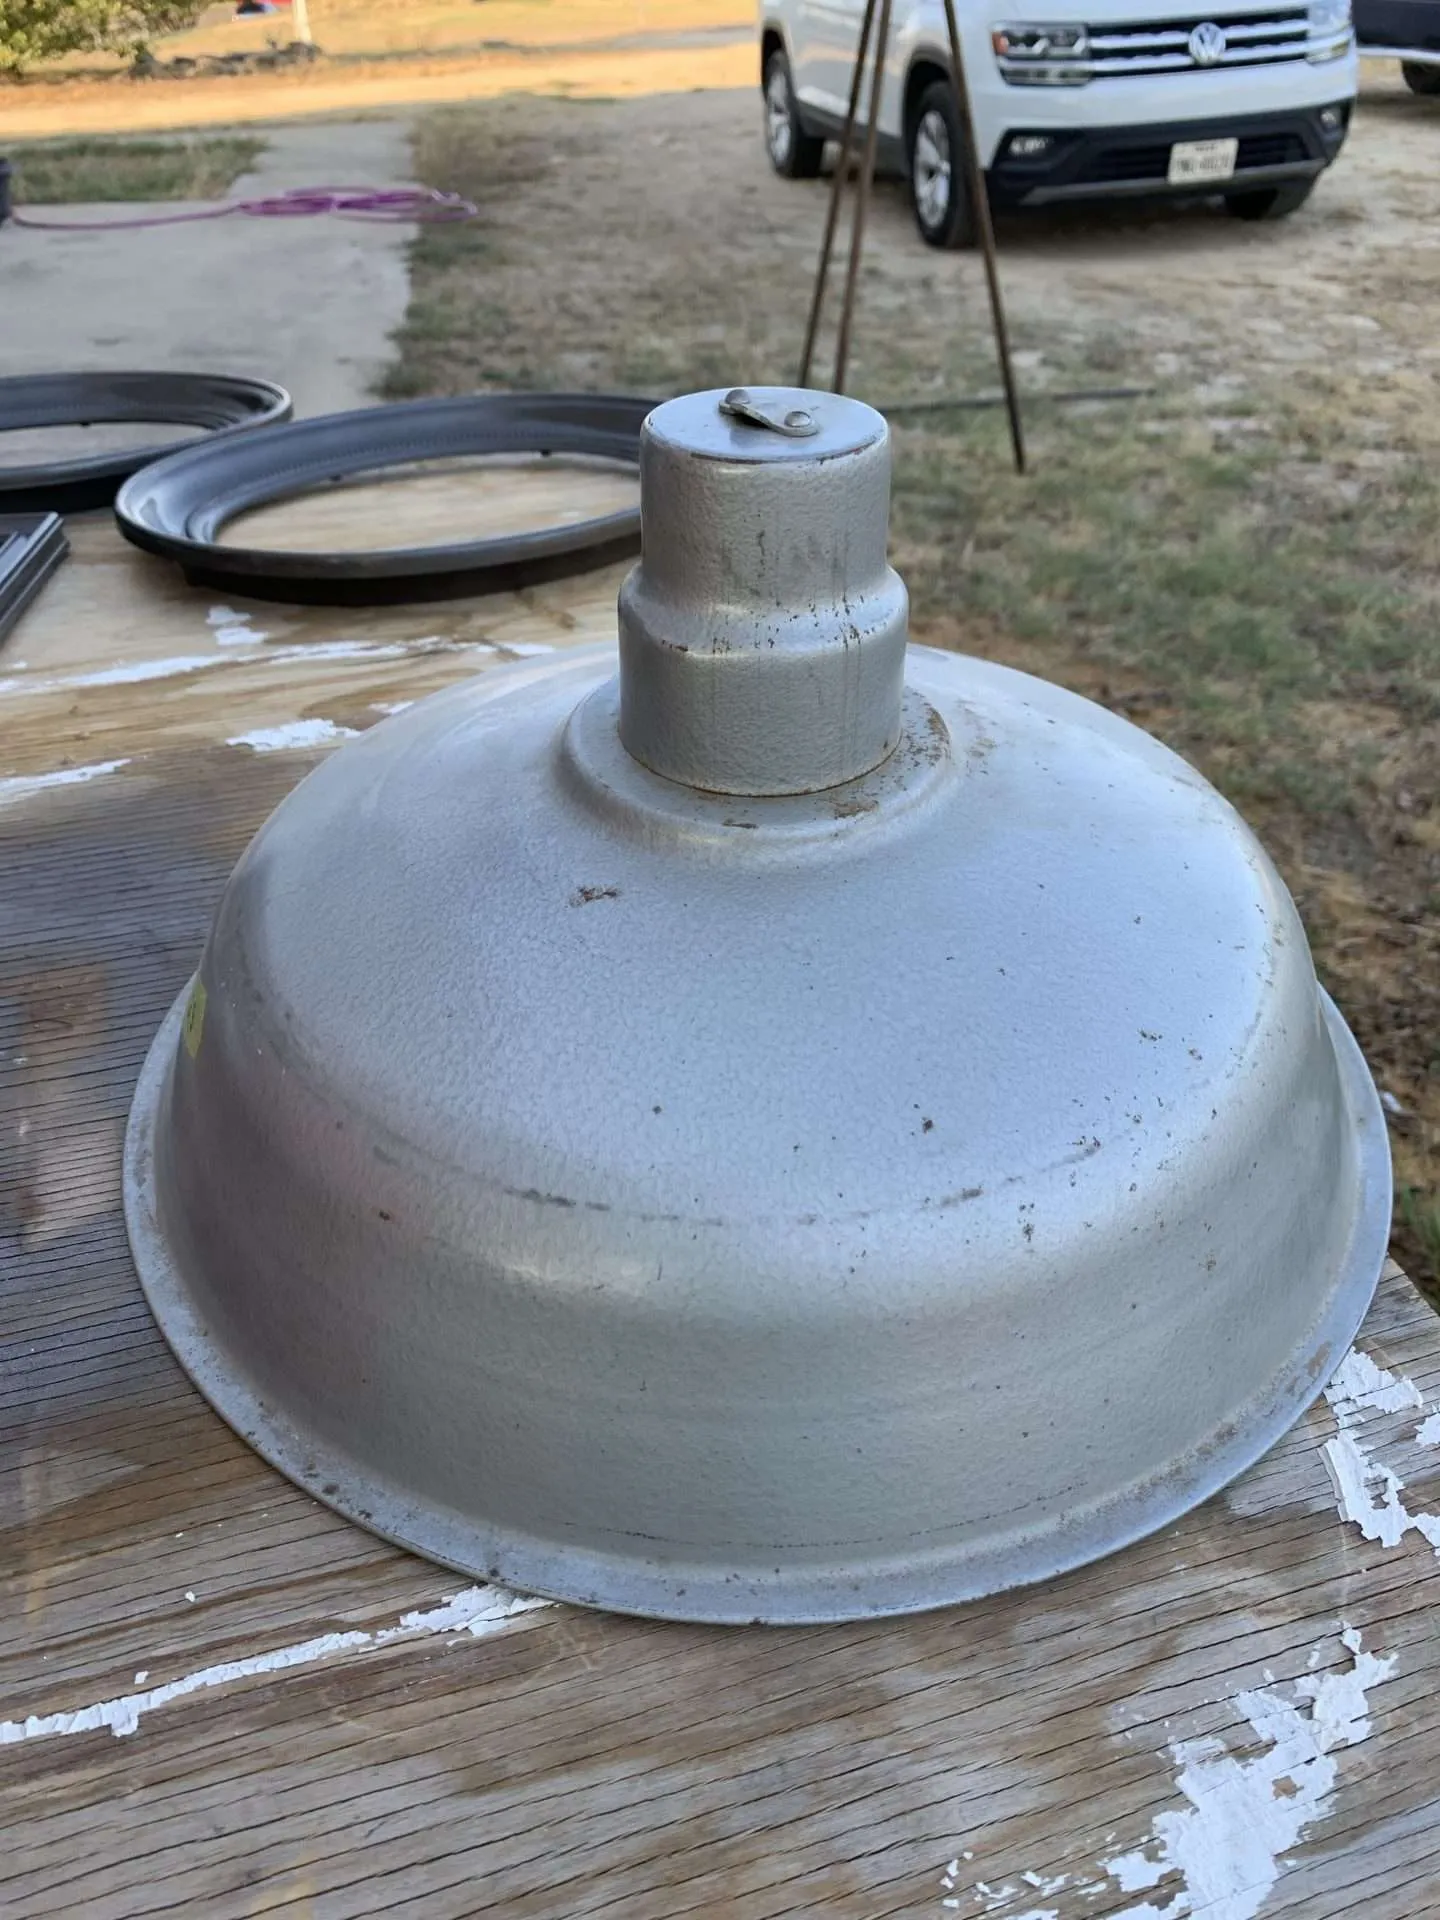
- industrial light shade
- metal arm
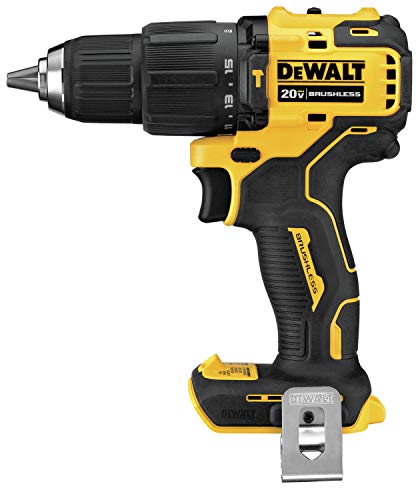
- drill
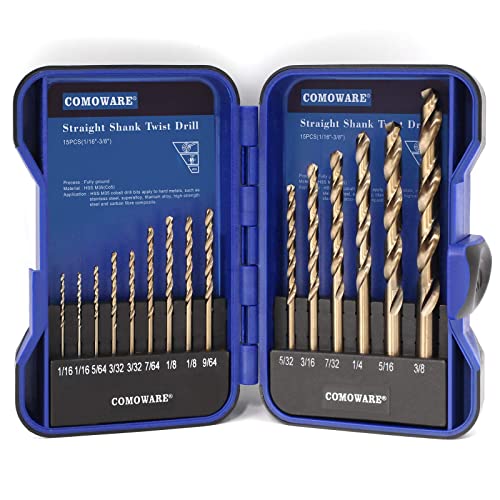
- carbide drill bits (cobalt drill bits would be better)
- bolts and nuts
- lamp kit
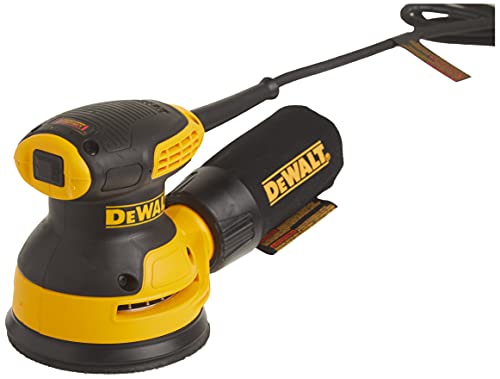
- orbital sander and sanding nets
- wood stain (I used Minwax Wood Finish in Early American.)
- spray paint (I used Rustoleum’s Hammered Brown.)
Step 1: Making a Plan
The hardest part of this whole project was figuring out how to mount an arm onto the tripod that would hold the light away from the base.
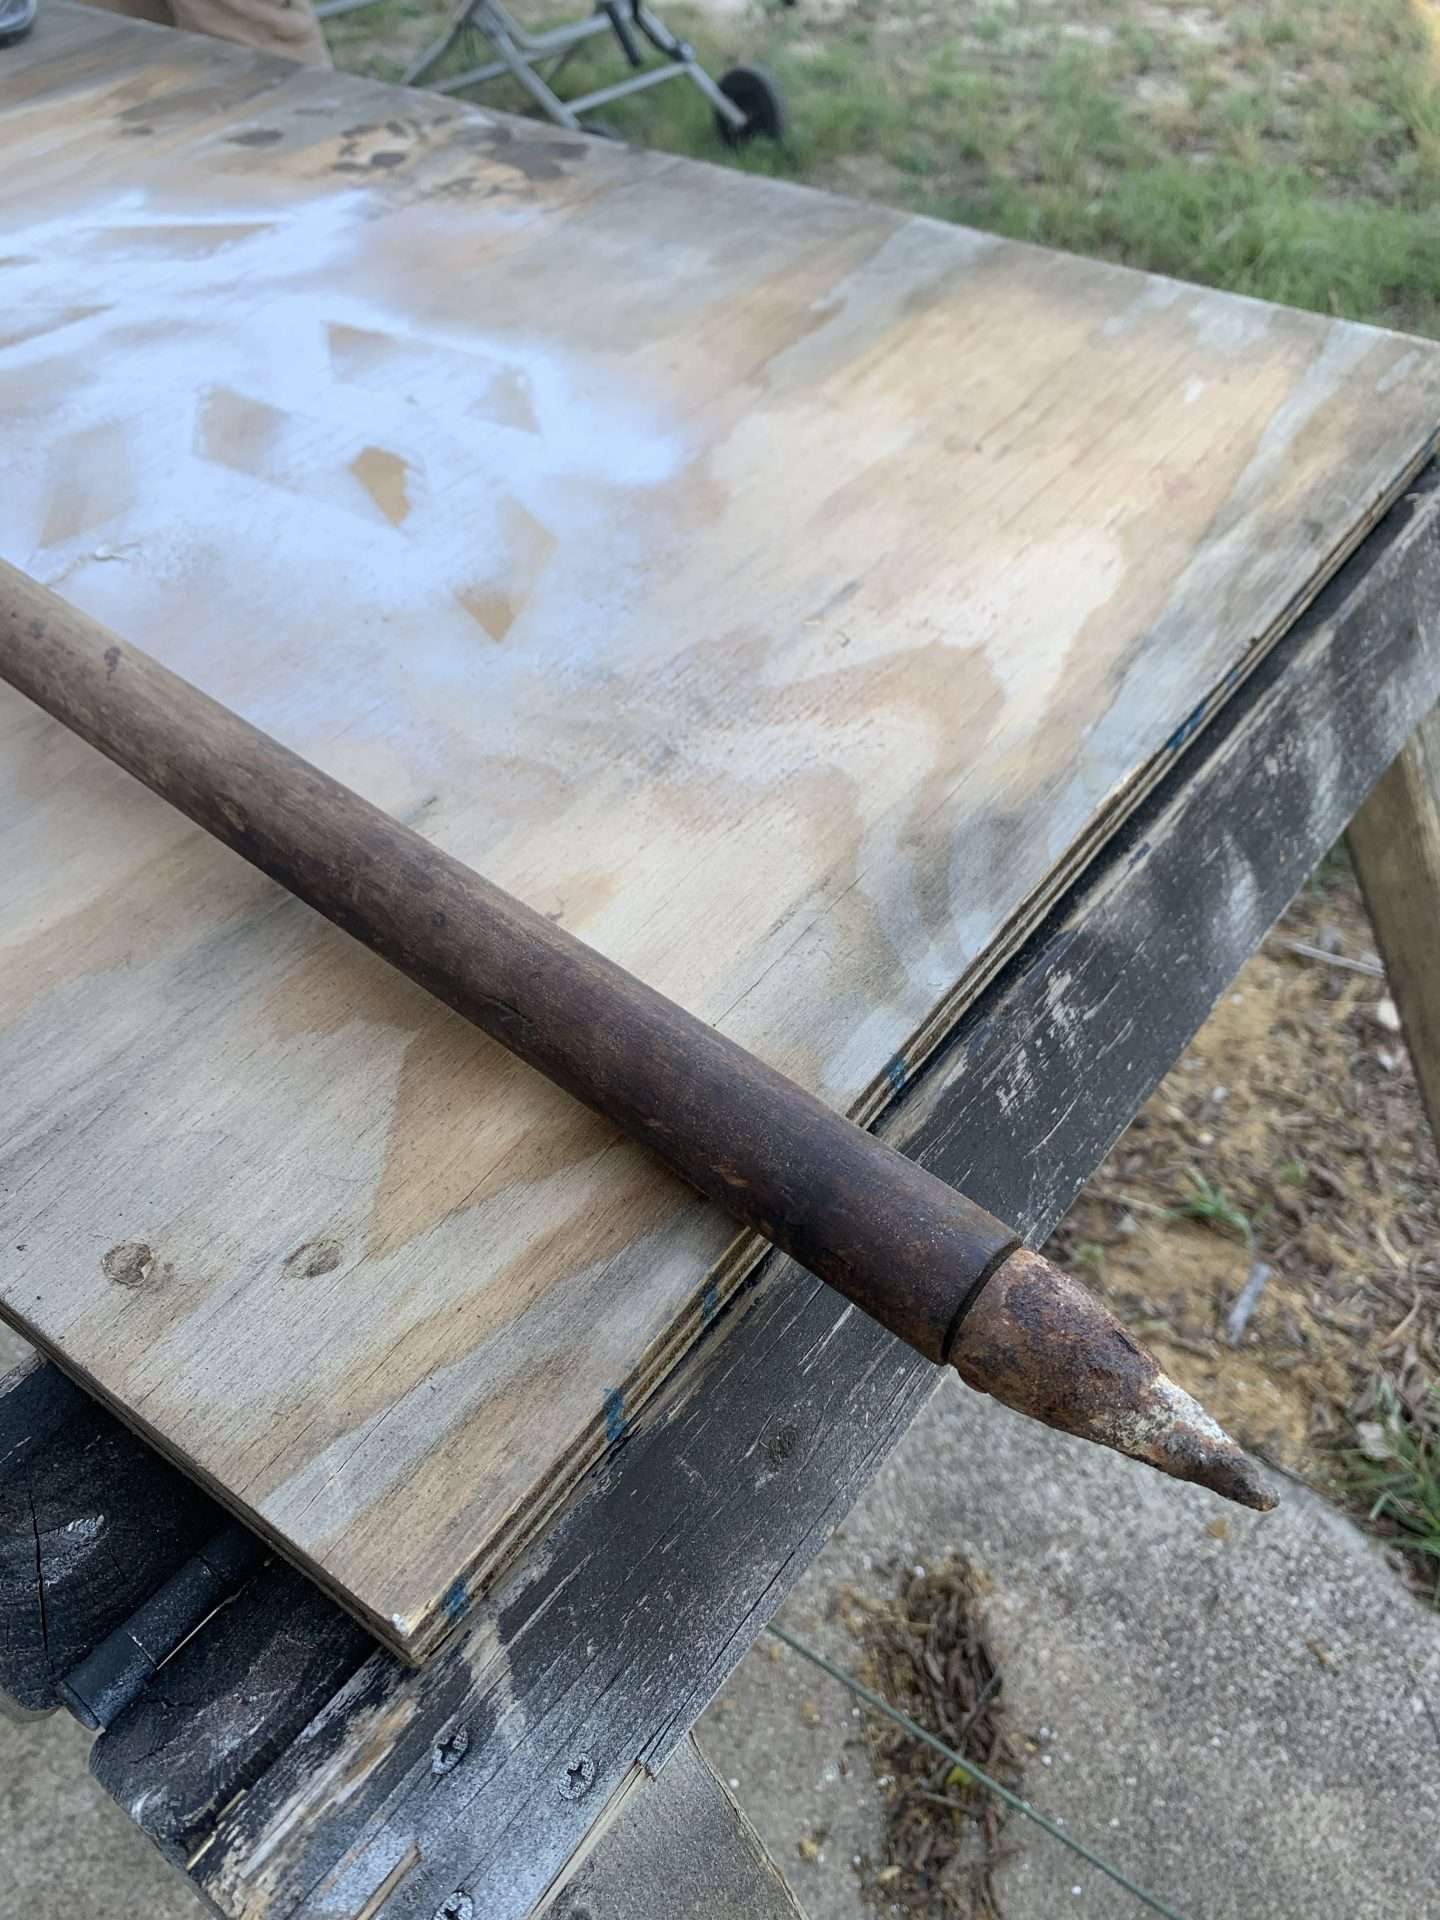
Initially, we wanted to use a wooden fuel measuring stick. However, we couldn’t figure out a cheap or easy way to mount it on the tripod.
My husband had a 1940s Craftsman table saw stand. He had planned to make a table out of it, but 4 or 5 years later, it was still sitting in the garage untouched. Being the sweet husband that he is, he let me have the metal arm that held the work light.
During this plan making step, we also took the tripod apart.


Step 2: Mount the Arm on the Tripod
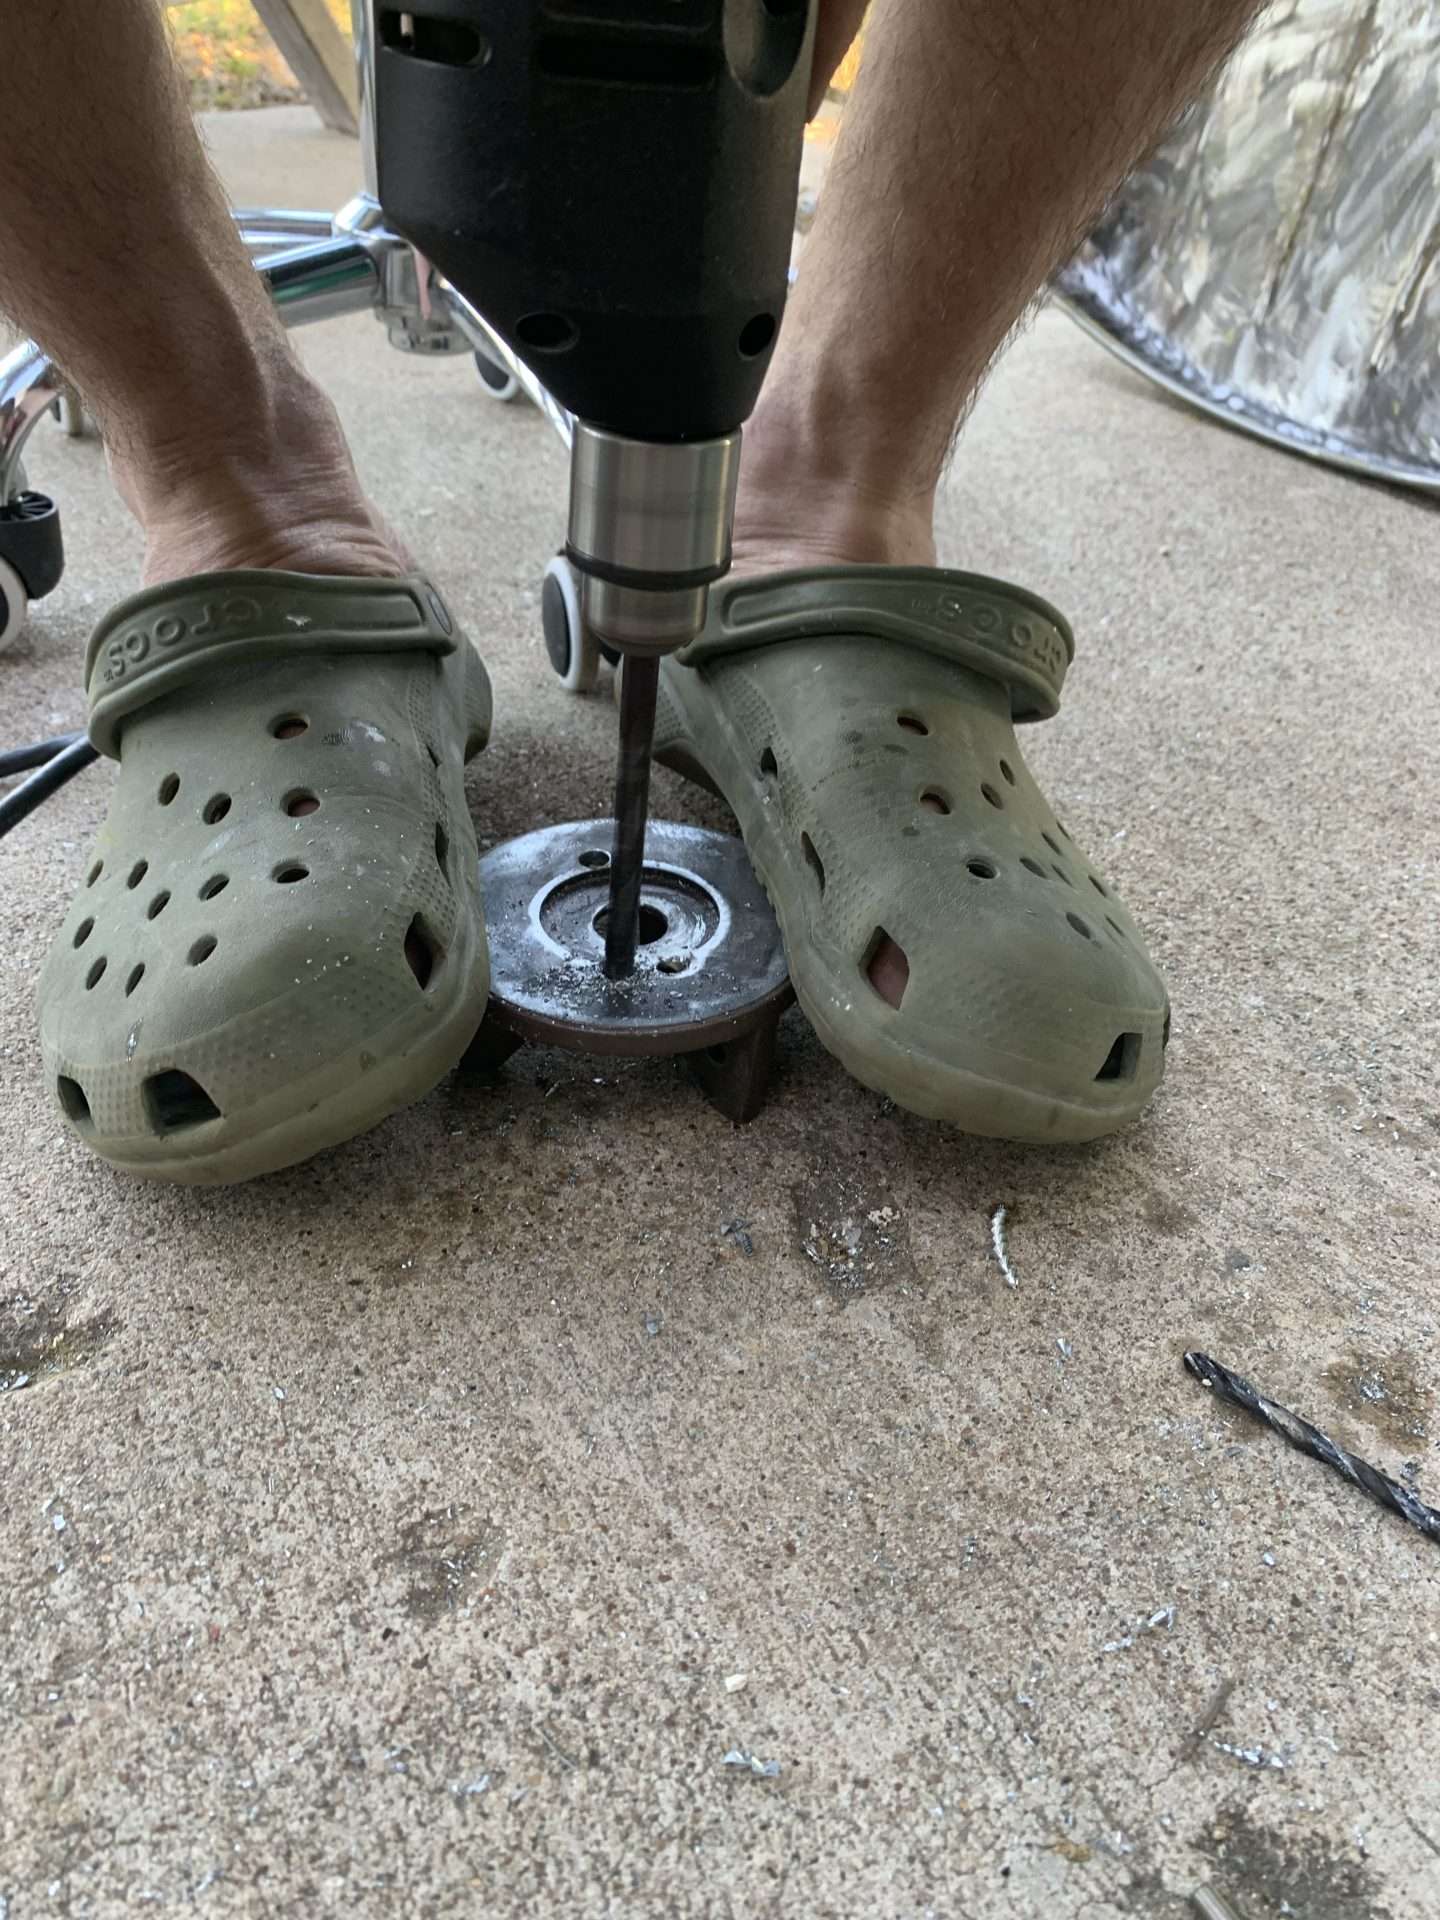
After we had a plan of action and (kind of) knew what we were doing, we had to figure out how to mount the metal arm from the table saw onto the tripod.
Our tripod has a 1/4″ thick metal plate at the top that the tripod legs are attached to. Drilling through this hardened steel was not an easy task.
With a lot of determination, Heff was able to drill 2 holes in the plate with his regular carbide drill bits. This task would have been much quicker and easier with cobalt drill bits that are made for metal-working, but we didn’t want to make the 30-minute (one-way) drive to the hardware store or spend more money. So, he made do with what we had on hand.
**Pro Tip** Pour tool oil onto the steel while you’re drilling to prevent the metal from getting too hot and damaging your drill bit.
After the holes were drilled, we mounted the metal arm from the table saw to the plate with 2 bolts and nuts.

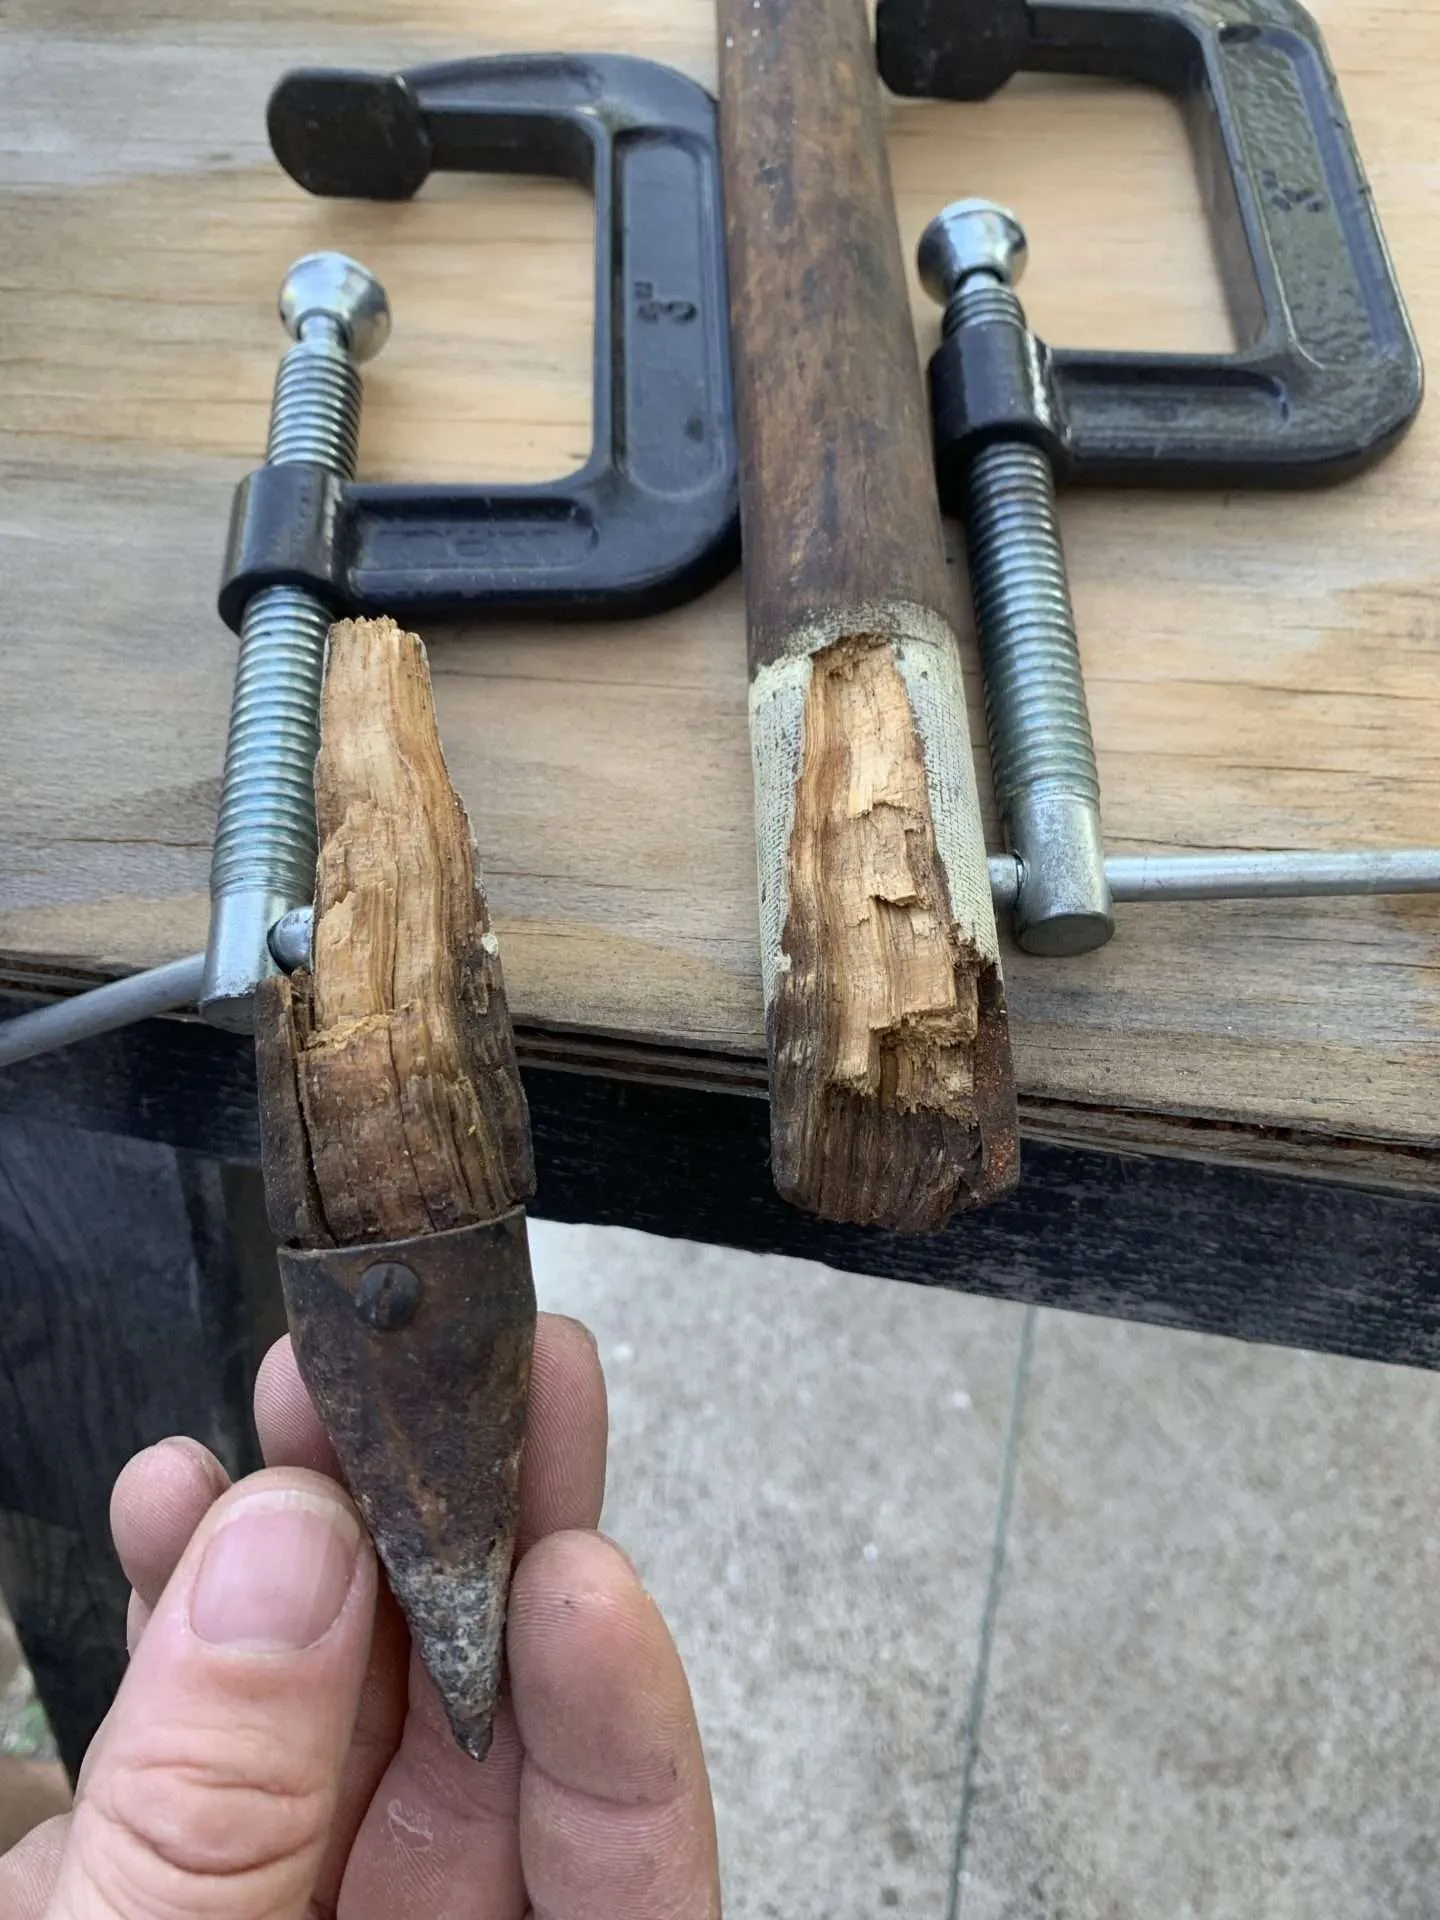
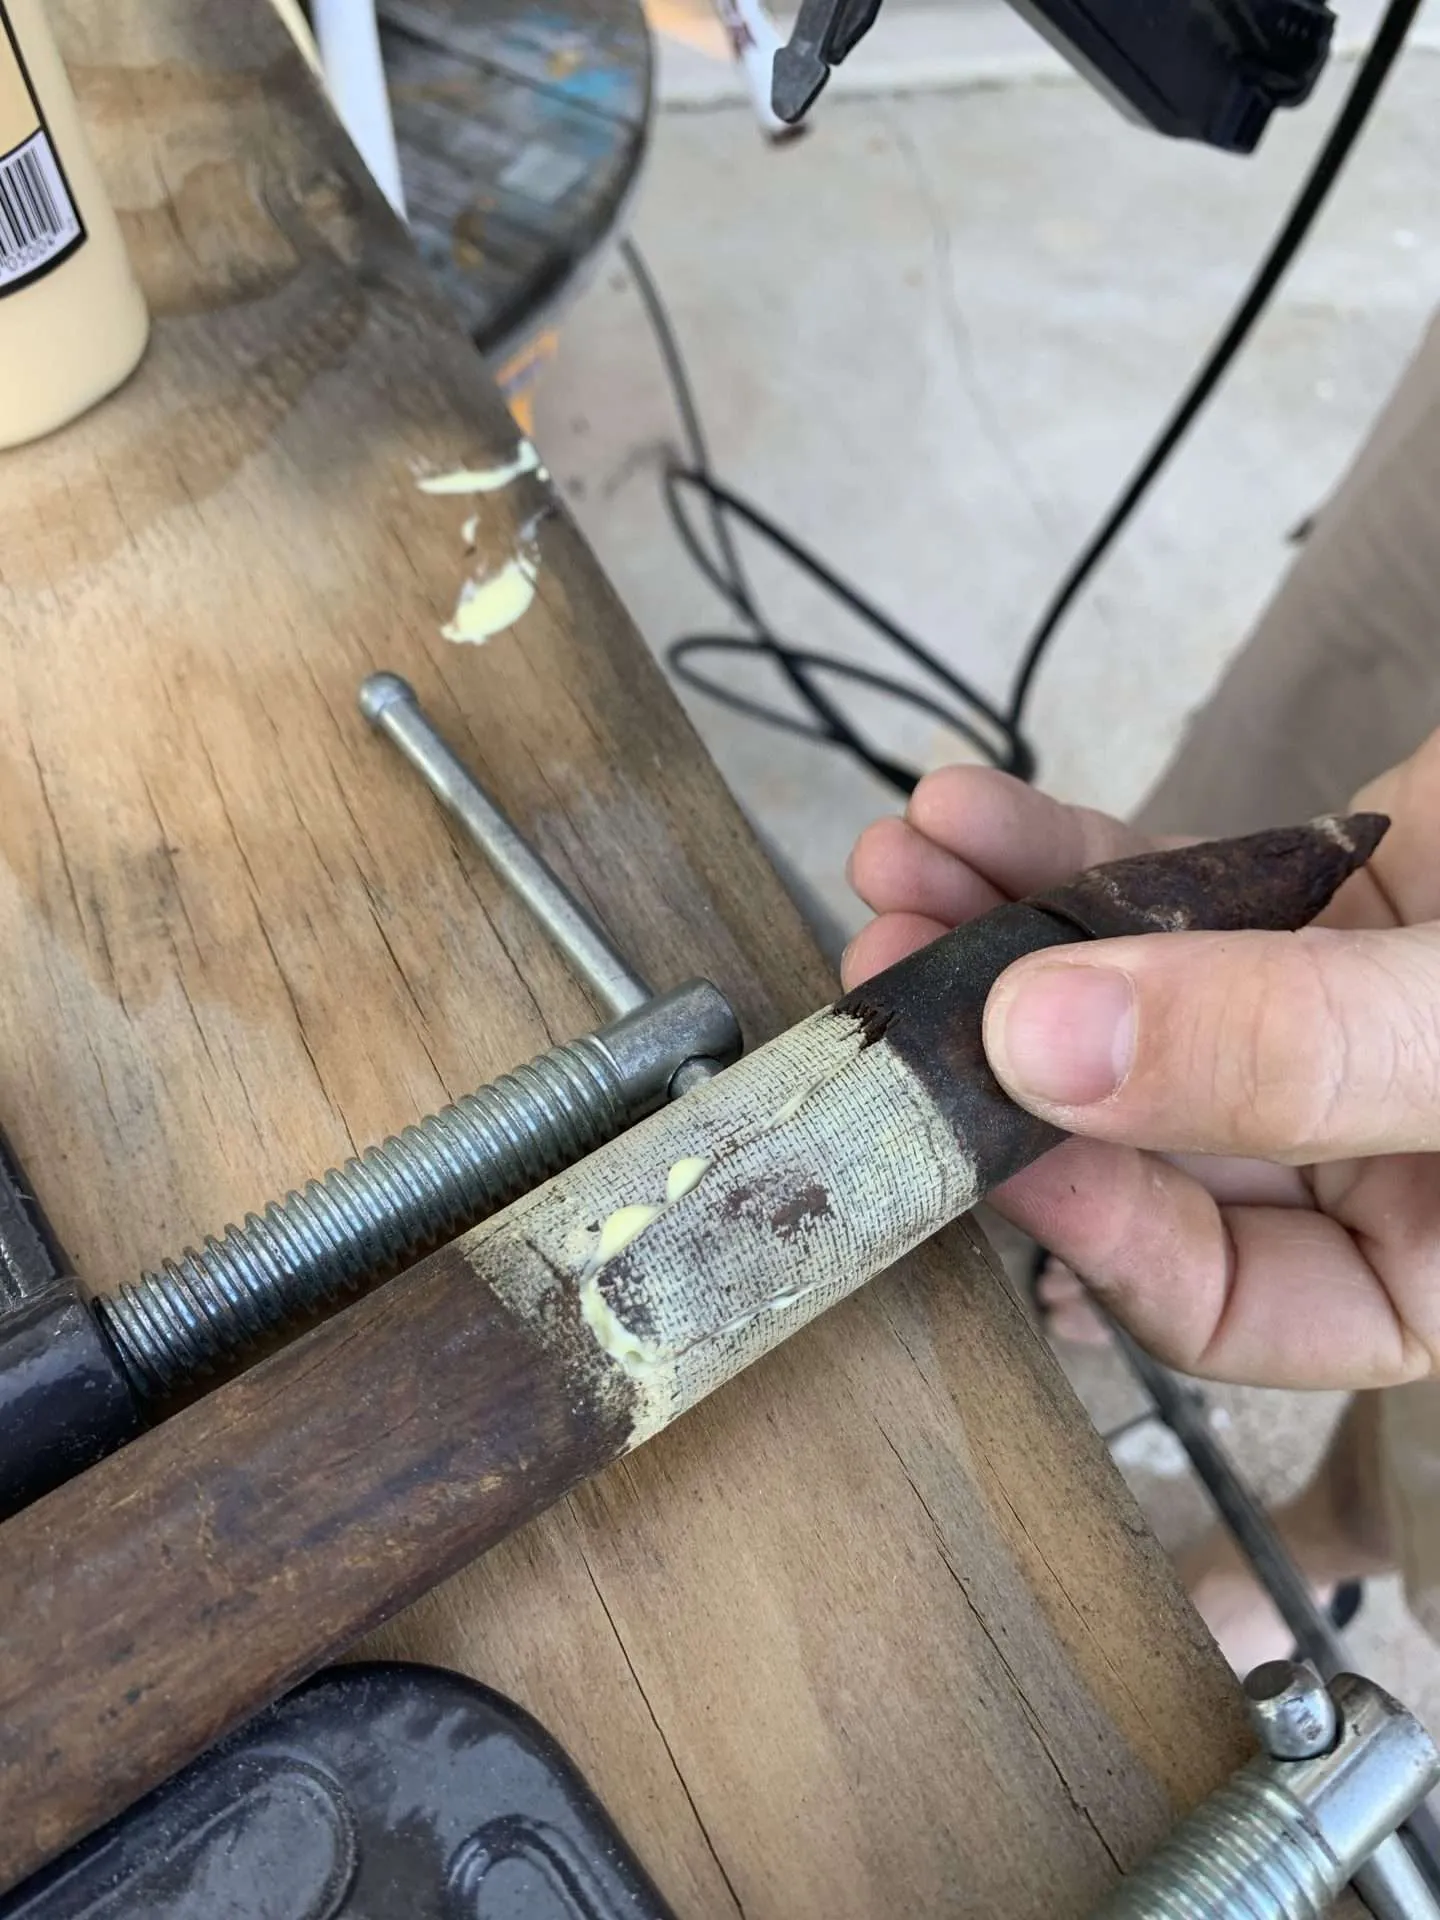
Step 3: Repair Broken Tripod Foot
We bought this antique surveyor’s tripod at a flea market for $15. The bottom of the one of the legs was wrapped in tape.
When we removed the tape, we discovered that the wood had split and the leg was broken.
Thankfully, it was an easy repair. We simply glued and clamped the pieces back together and added some brad nails to make sure it was secure.

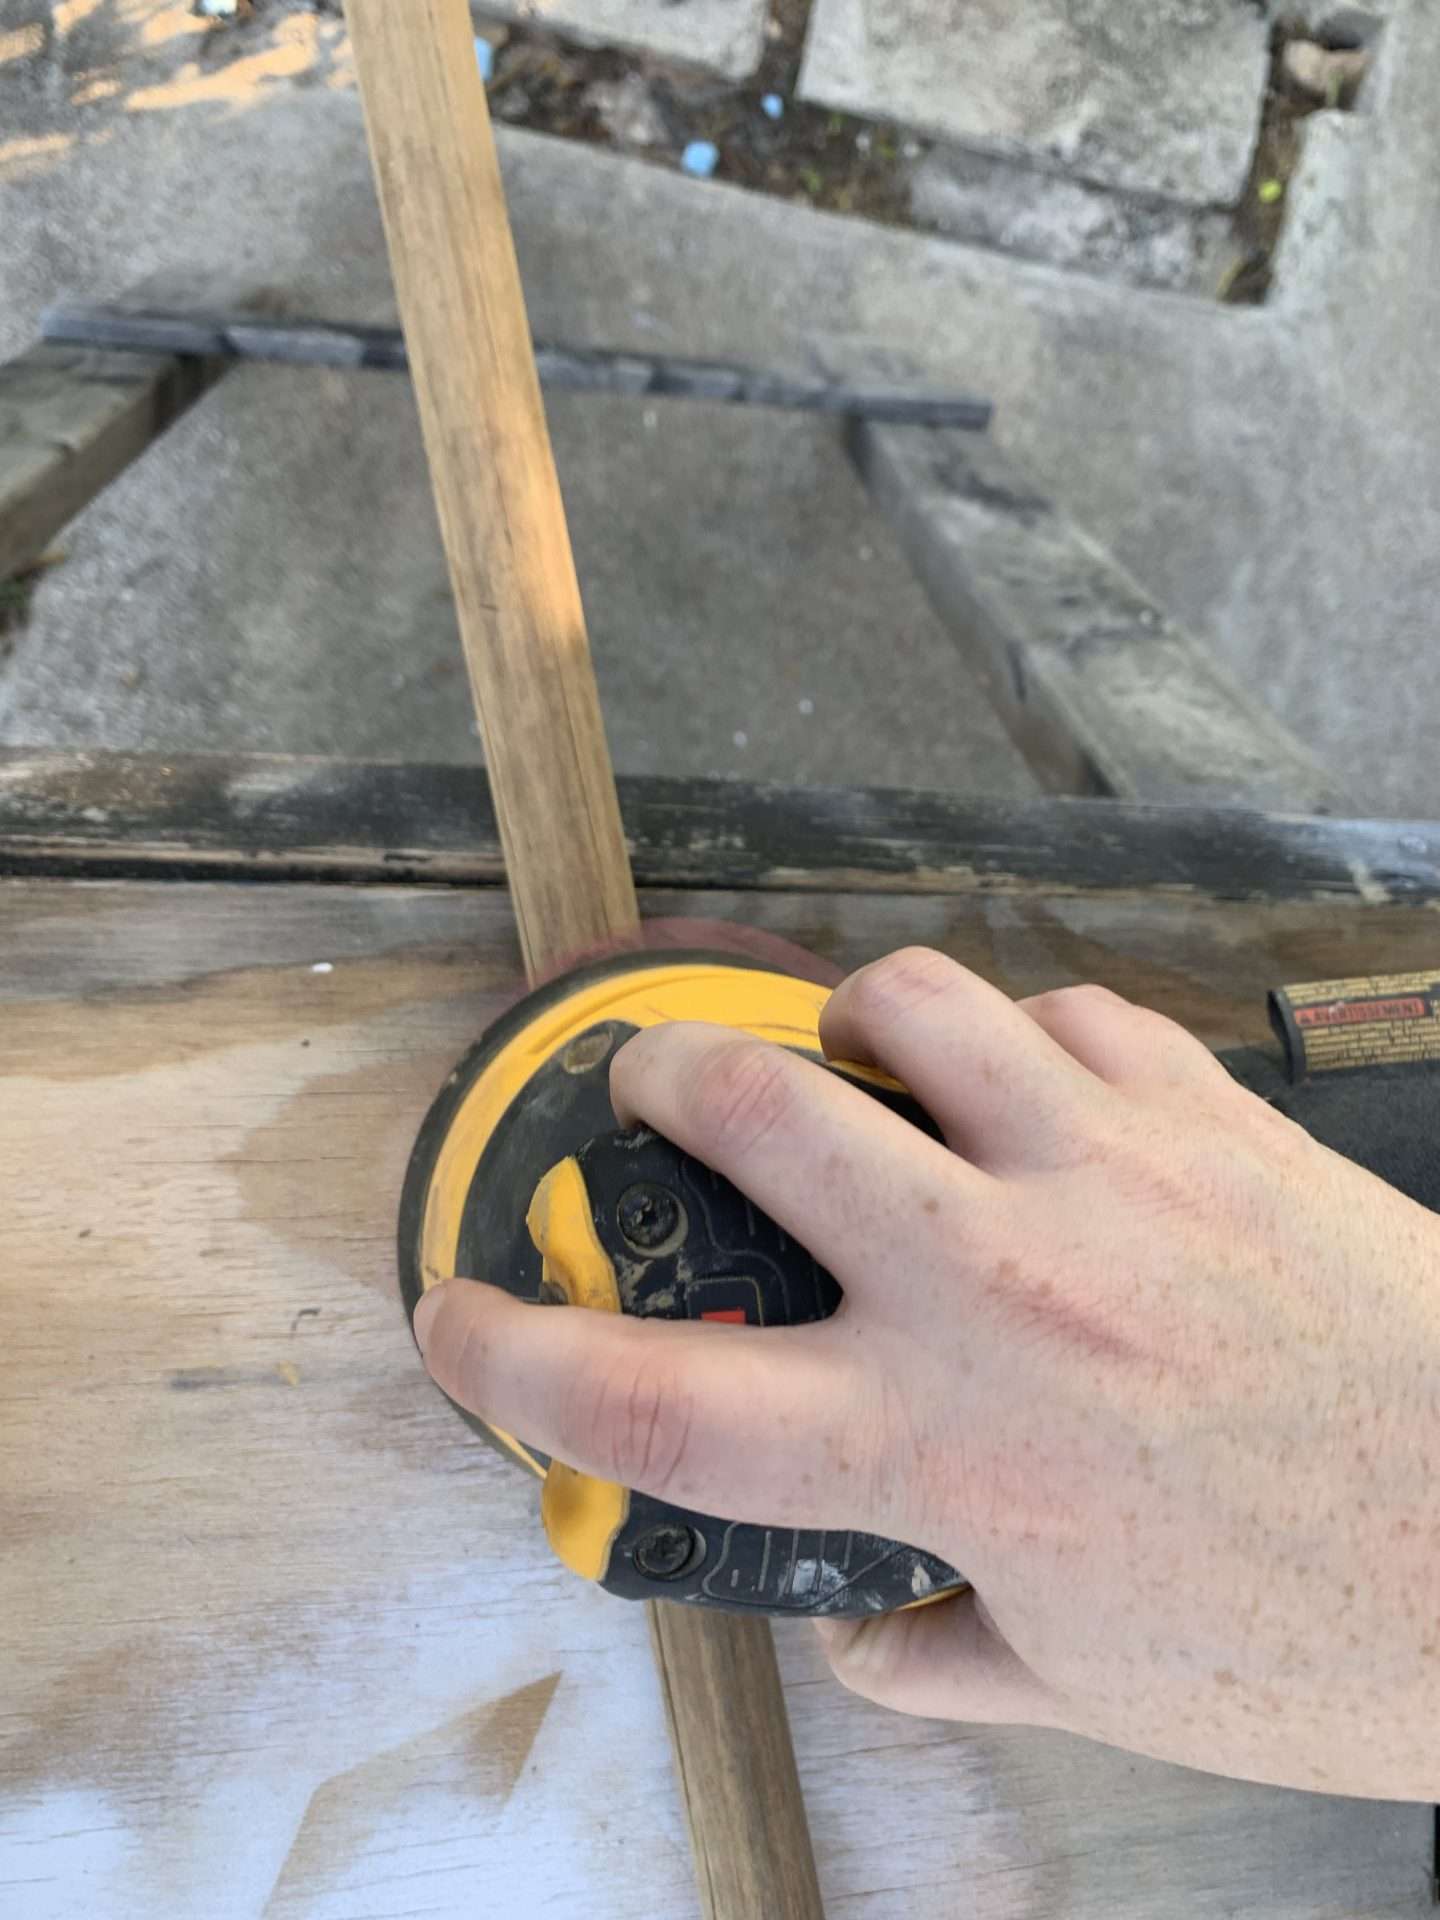
Step 4: Sand Tripod Legs & Light Shade
Once we knew that the lamp idea would actually work, it was time to start making it pretty.
I sanded the legs of the tripod until they were smooth. Starting with a 120-grit sanding net and working up to a 320-grit.
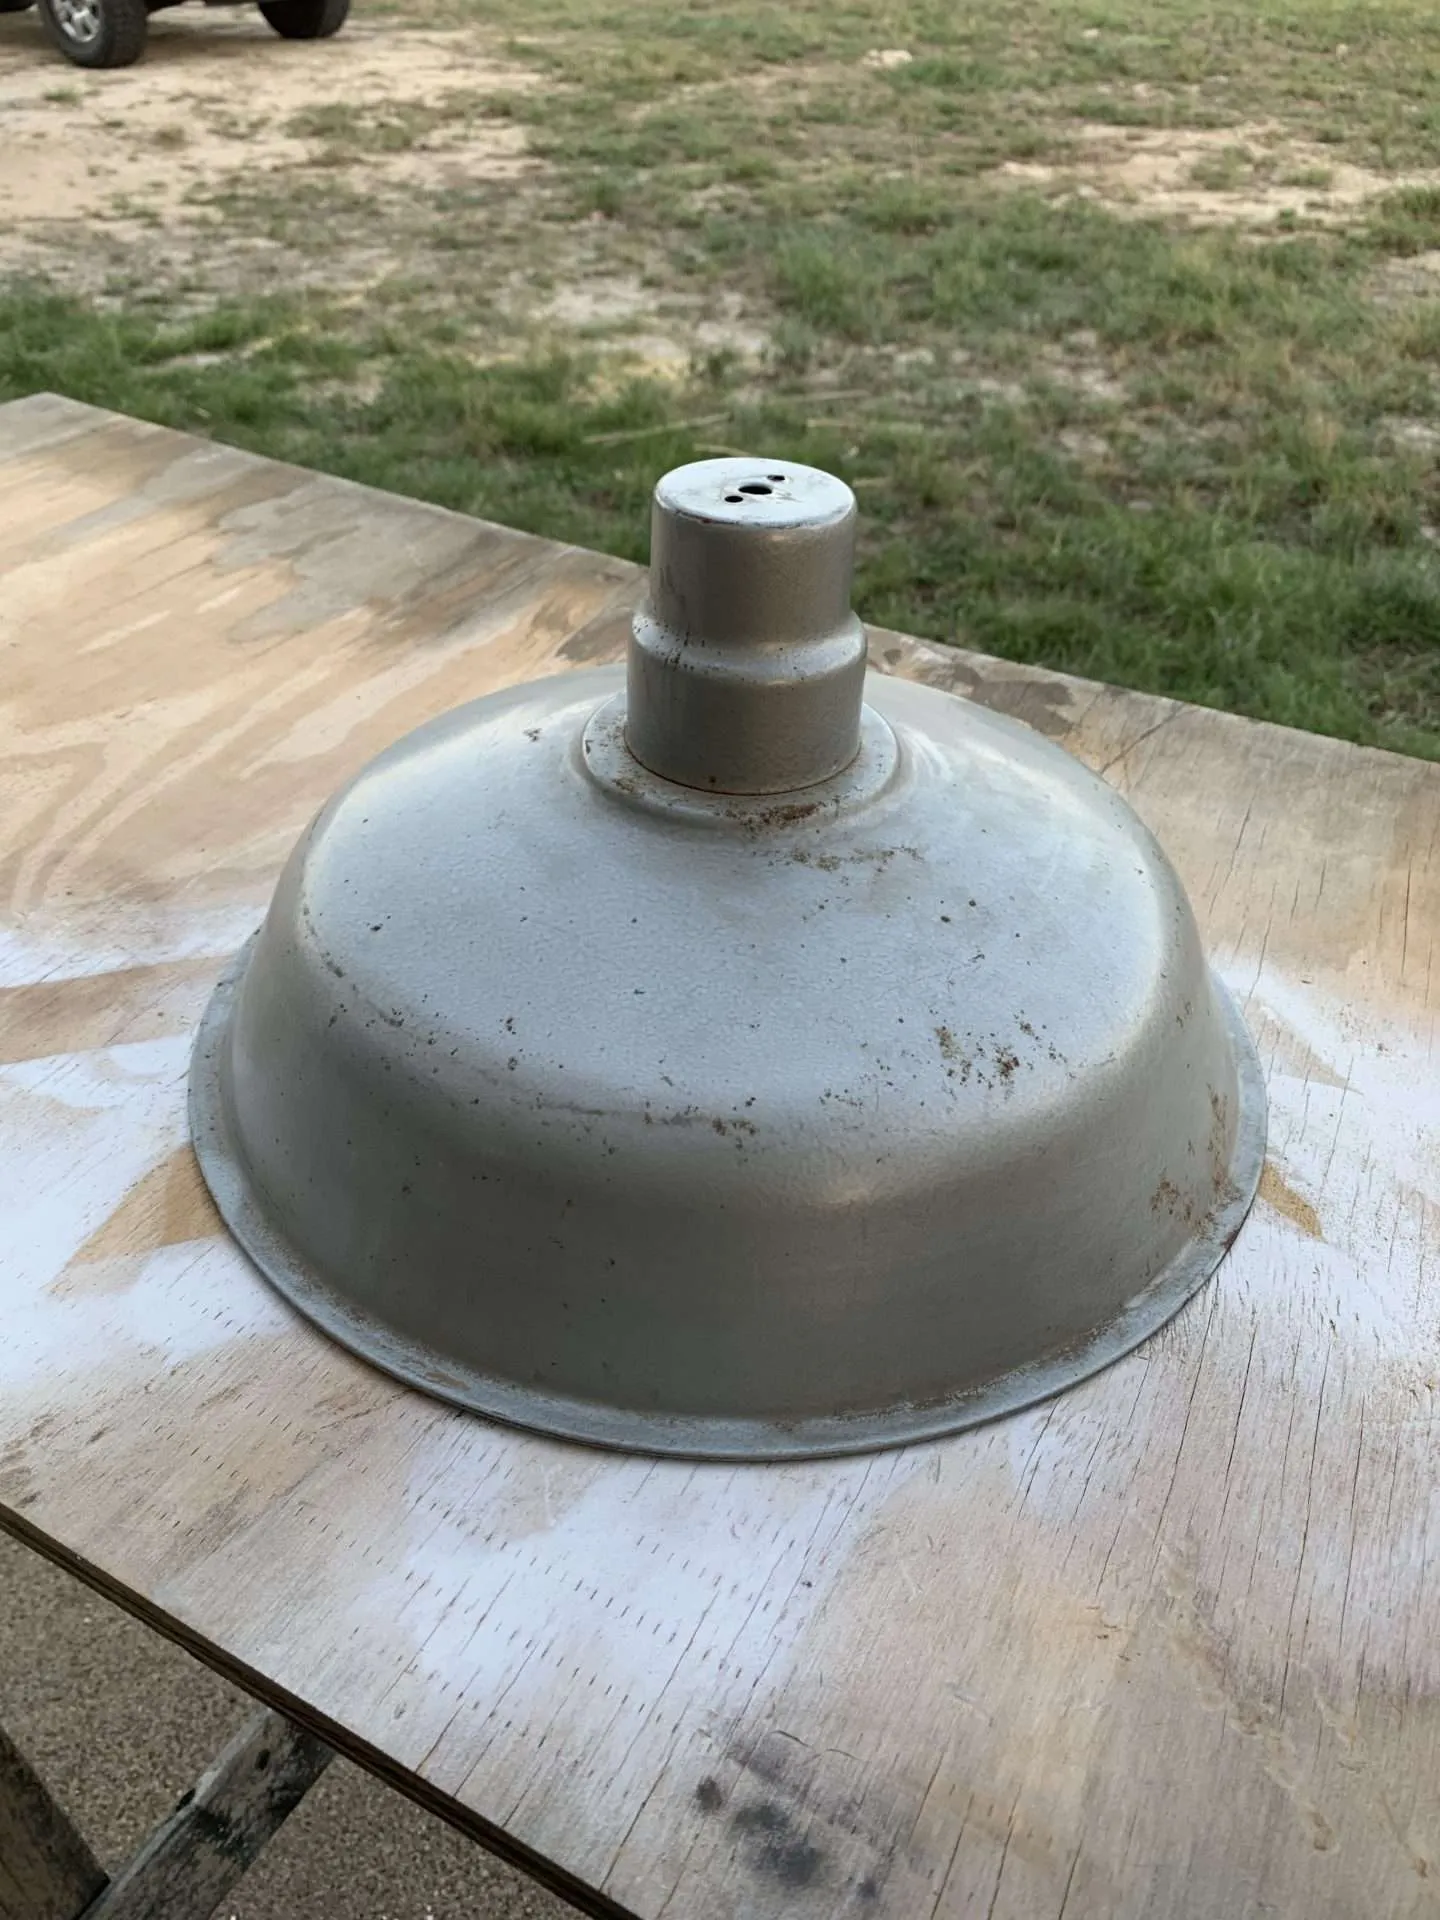
The industrial metal light shade was also a flea market find and I scuff-sanded it as well.


Step 5: Paint the Metal Pieces
Next, I taped off a few inches of the wooden legs above the feet of the tripod and painted the feet.
I painted the light shade, metal arm, and top plate all the same color. We used Rustoleum’s Hammered Brown spray paint. (It’s the same paint we used on our vintage metal glider.)
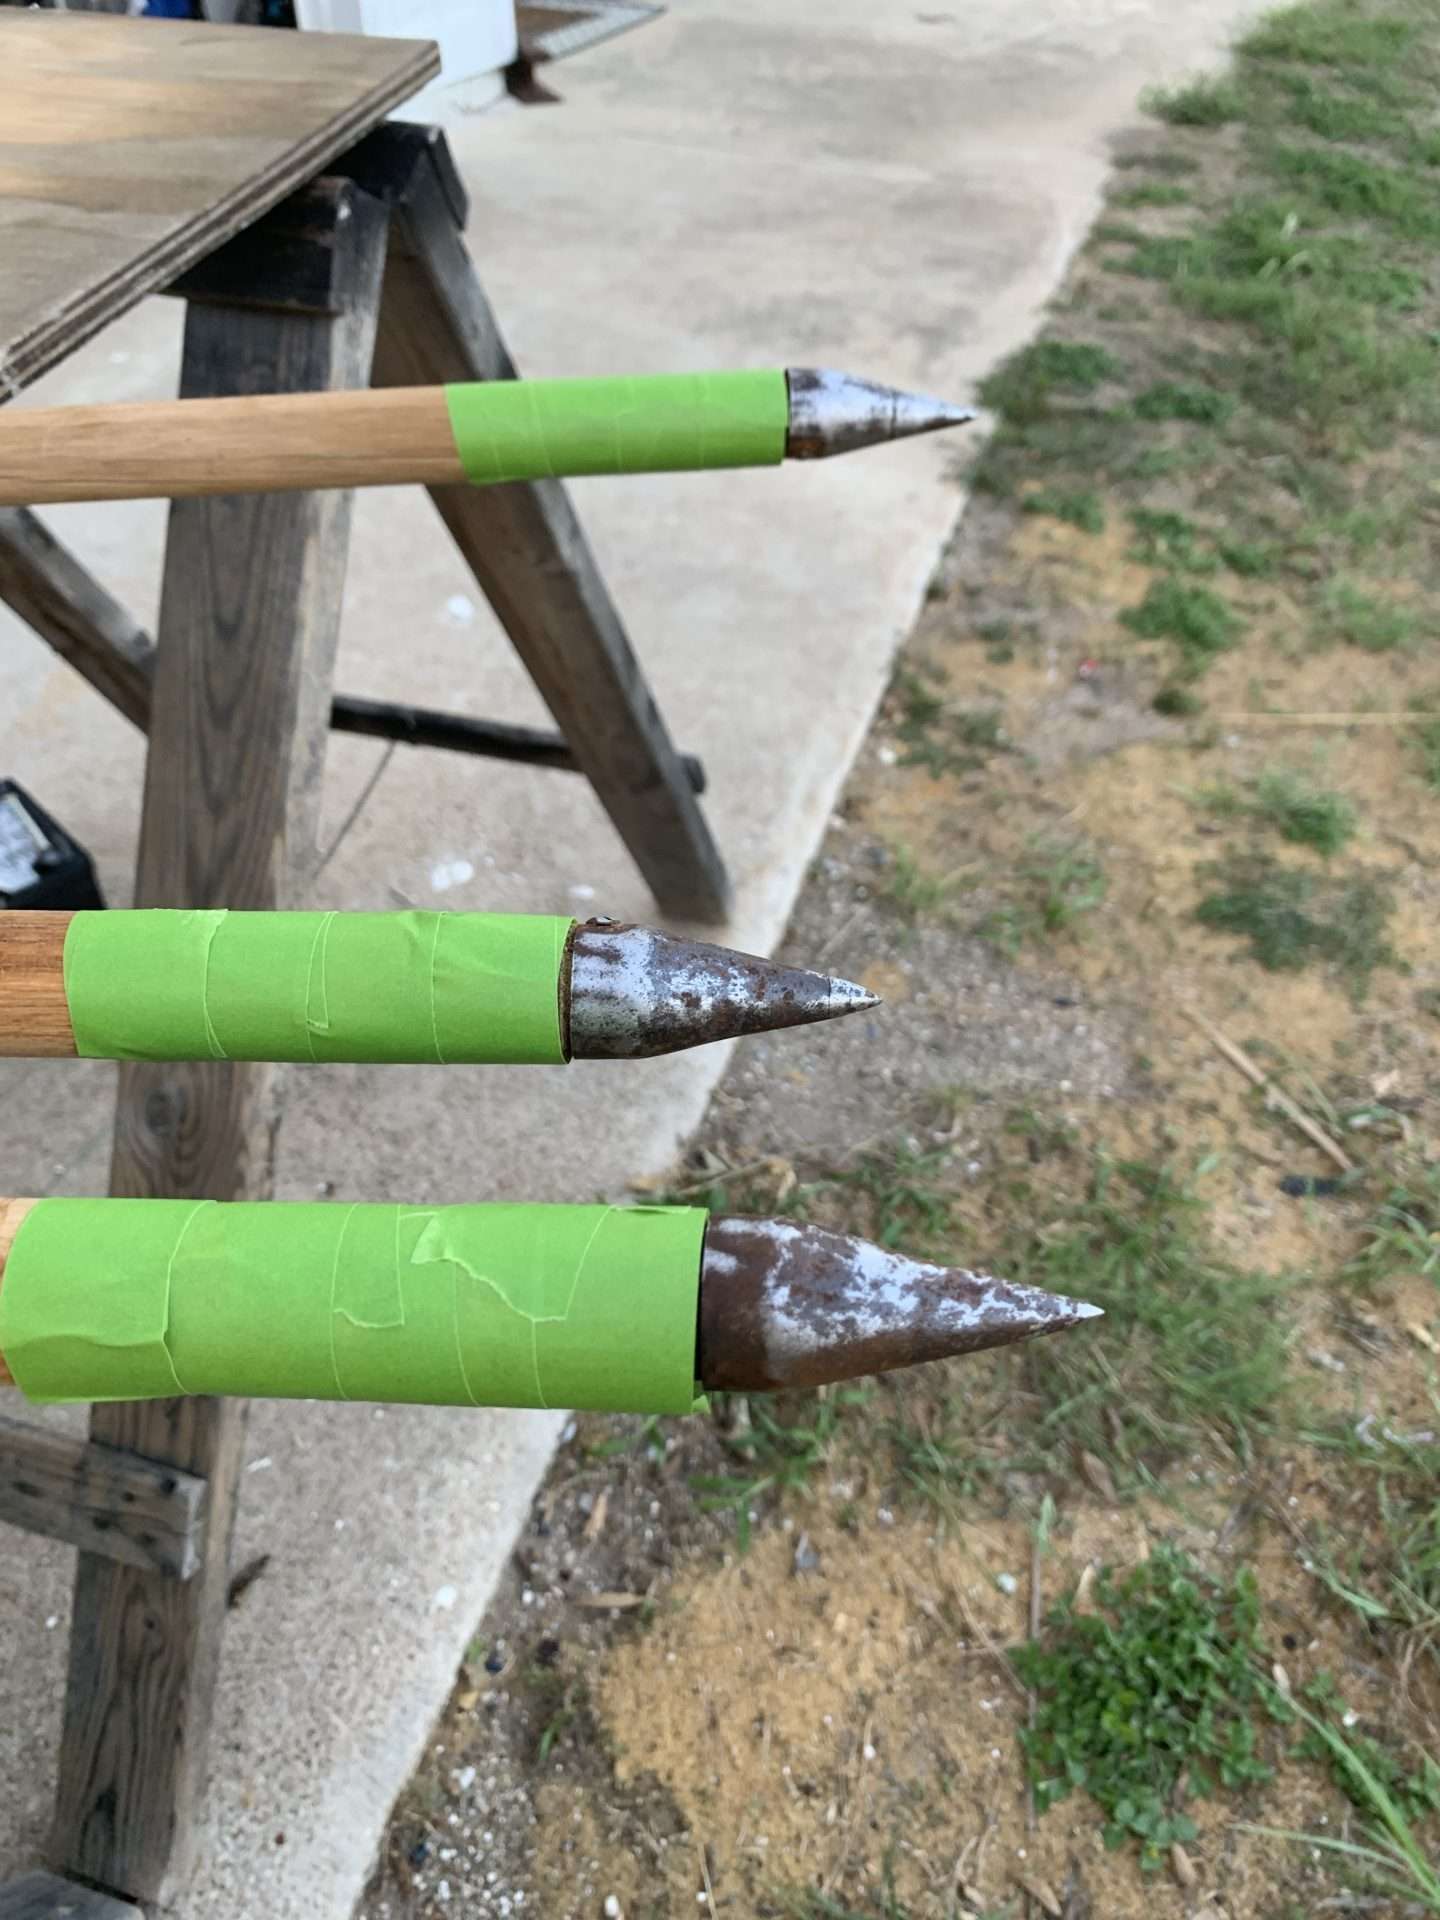


Step 6: Stain Tripod Lamp Legs
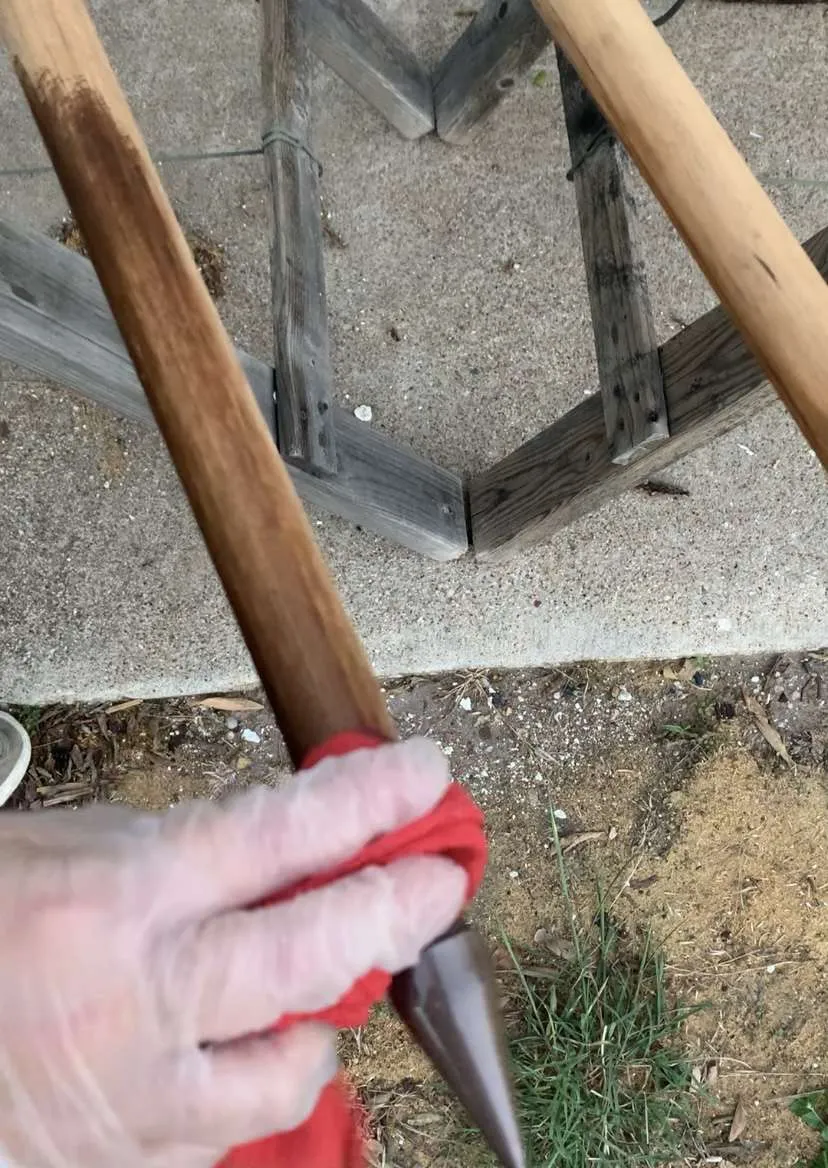
After the paint was dry, I stained the legs of the tripod using a rag and wood stain. I used Minwax Wood Finish in the color Early American.
Then we put the tripod back together and attached the arm and light shade.


Step 7: Wire the Light Shade
Since all the pieces were cleaned up and looking pretty, it was time to wire the light shade to turn this contraption into a tripod lamp!
This was much easier than I anticipated, as the lamp kit came with step-by-step instructions on how to put everything together.
Make sure you follow the instructions in your lamp kit very carefully. Incorrectly wired lighting can easily start a fire!


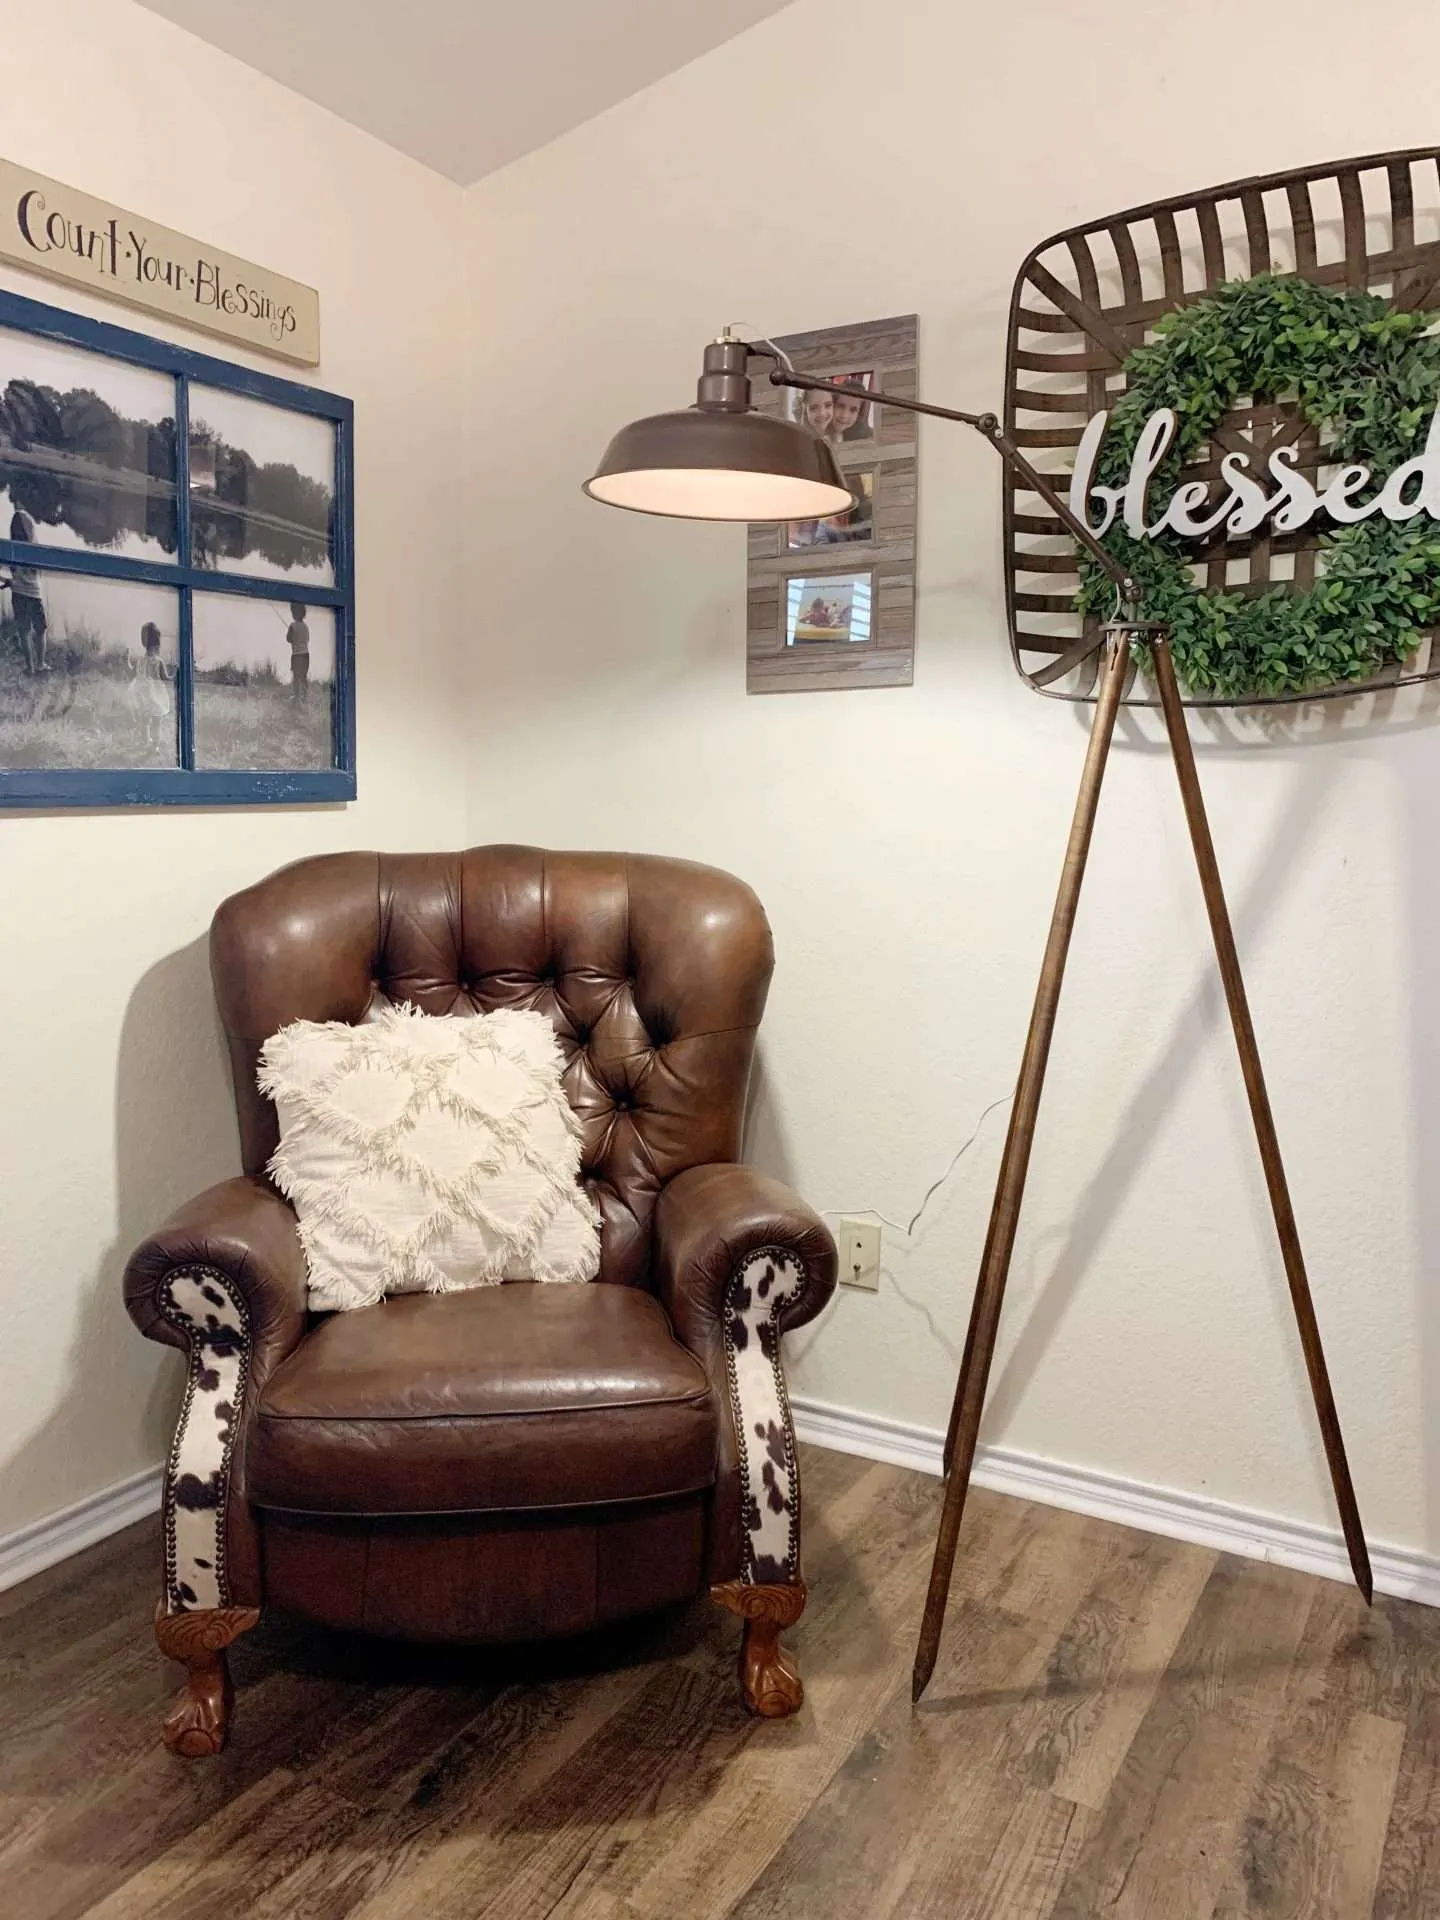
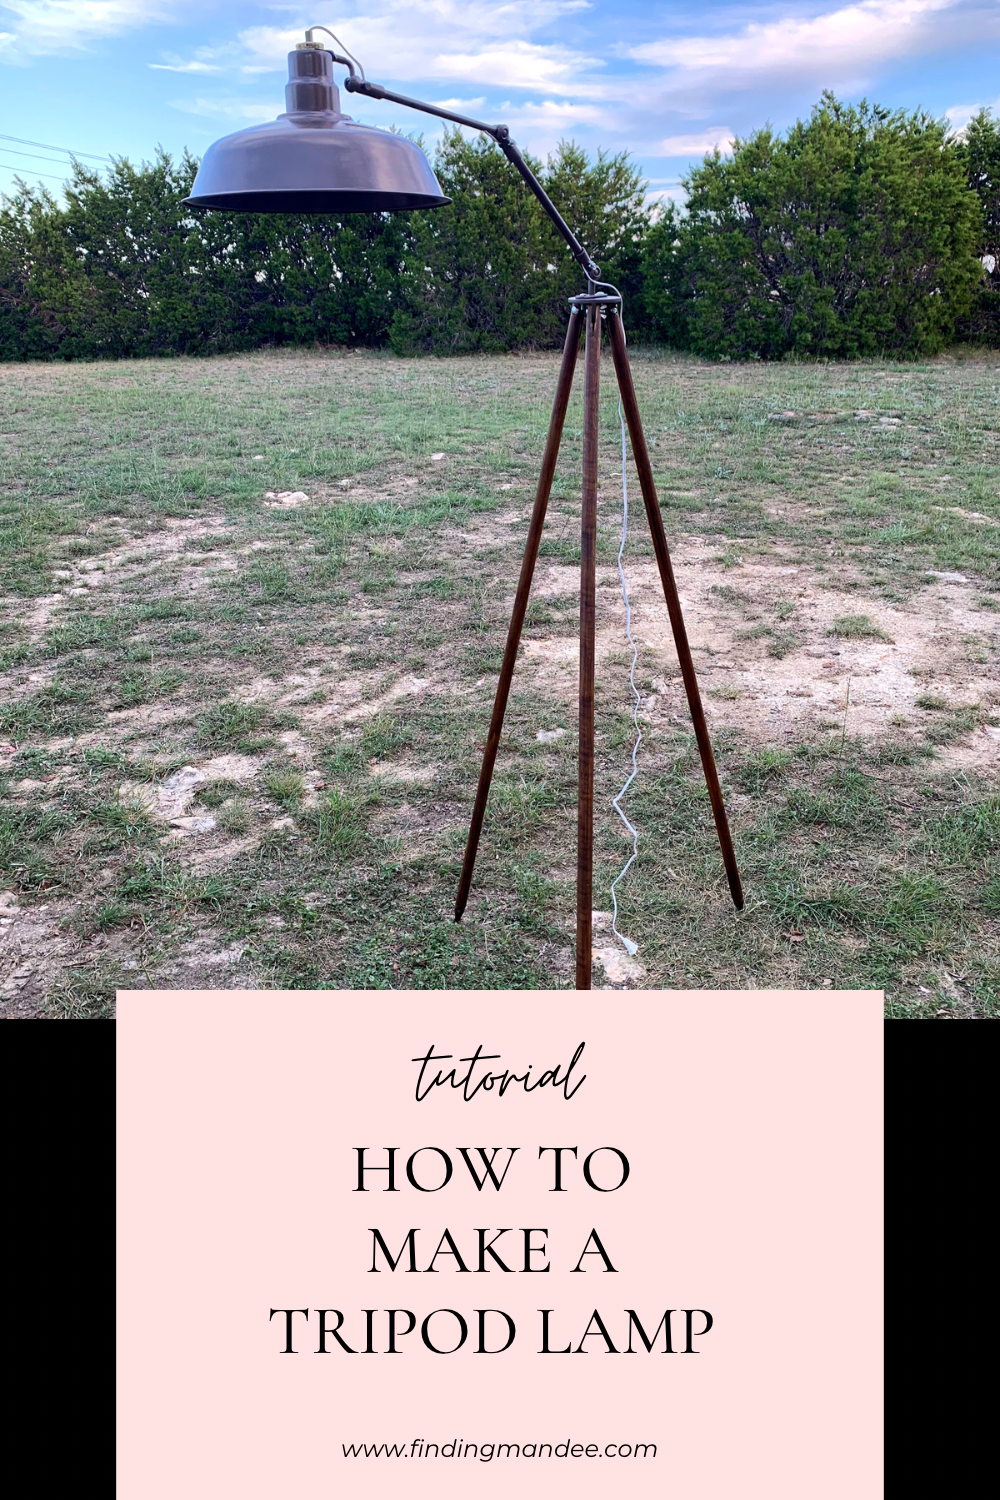
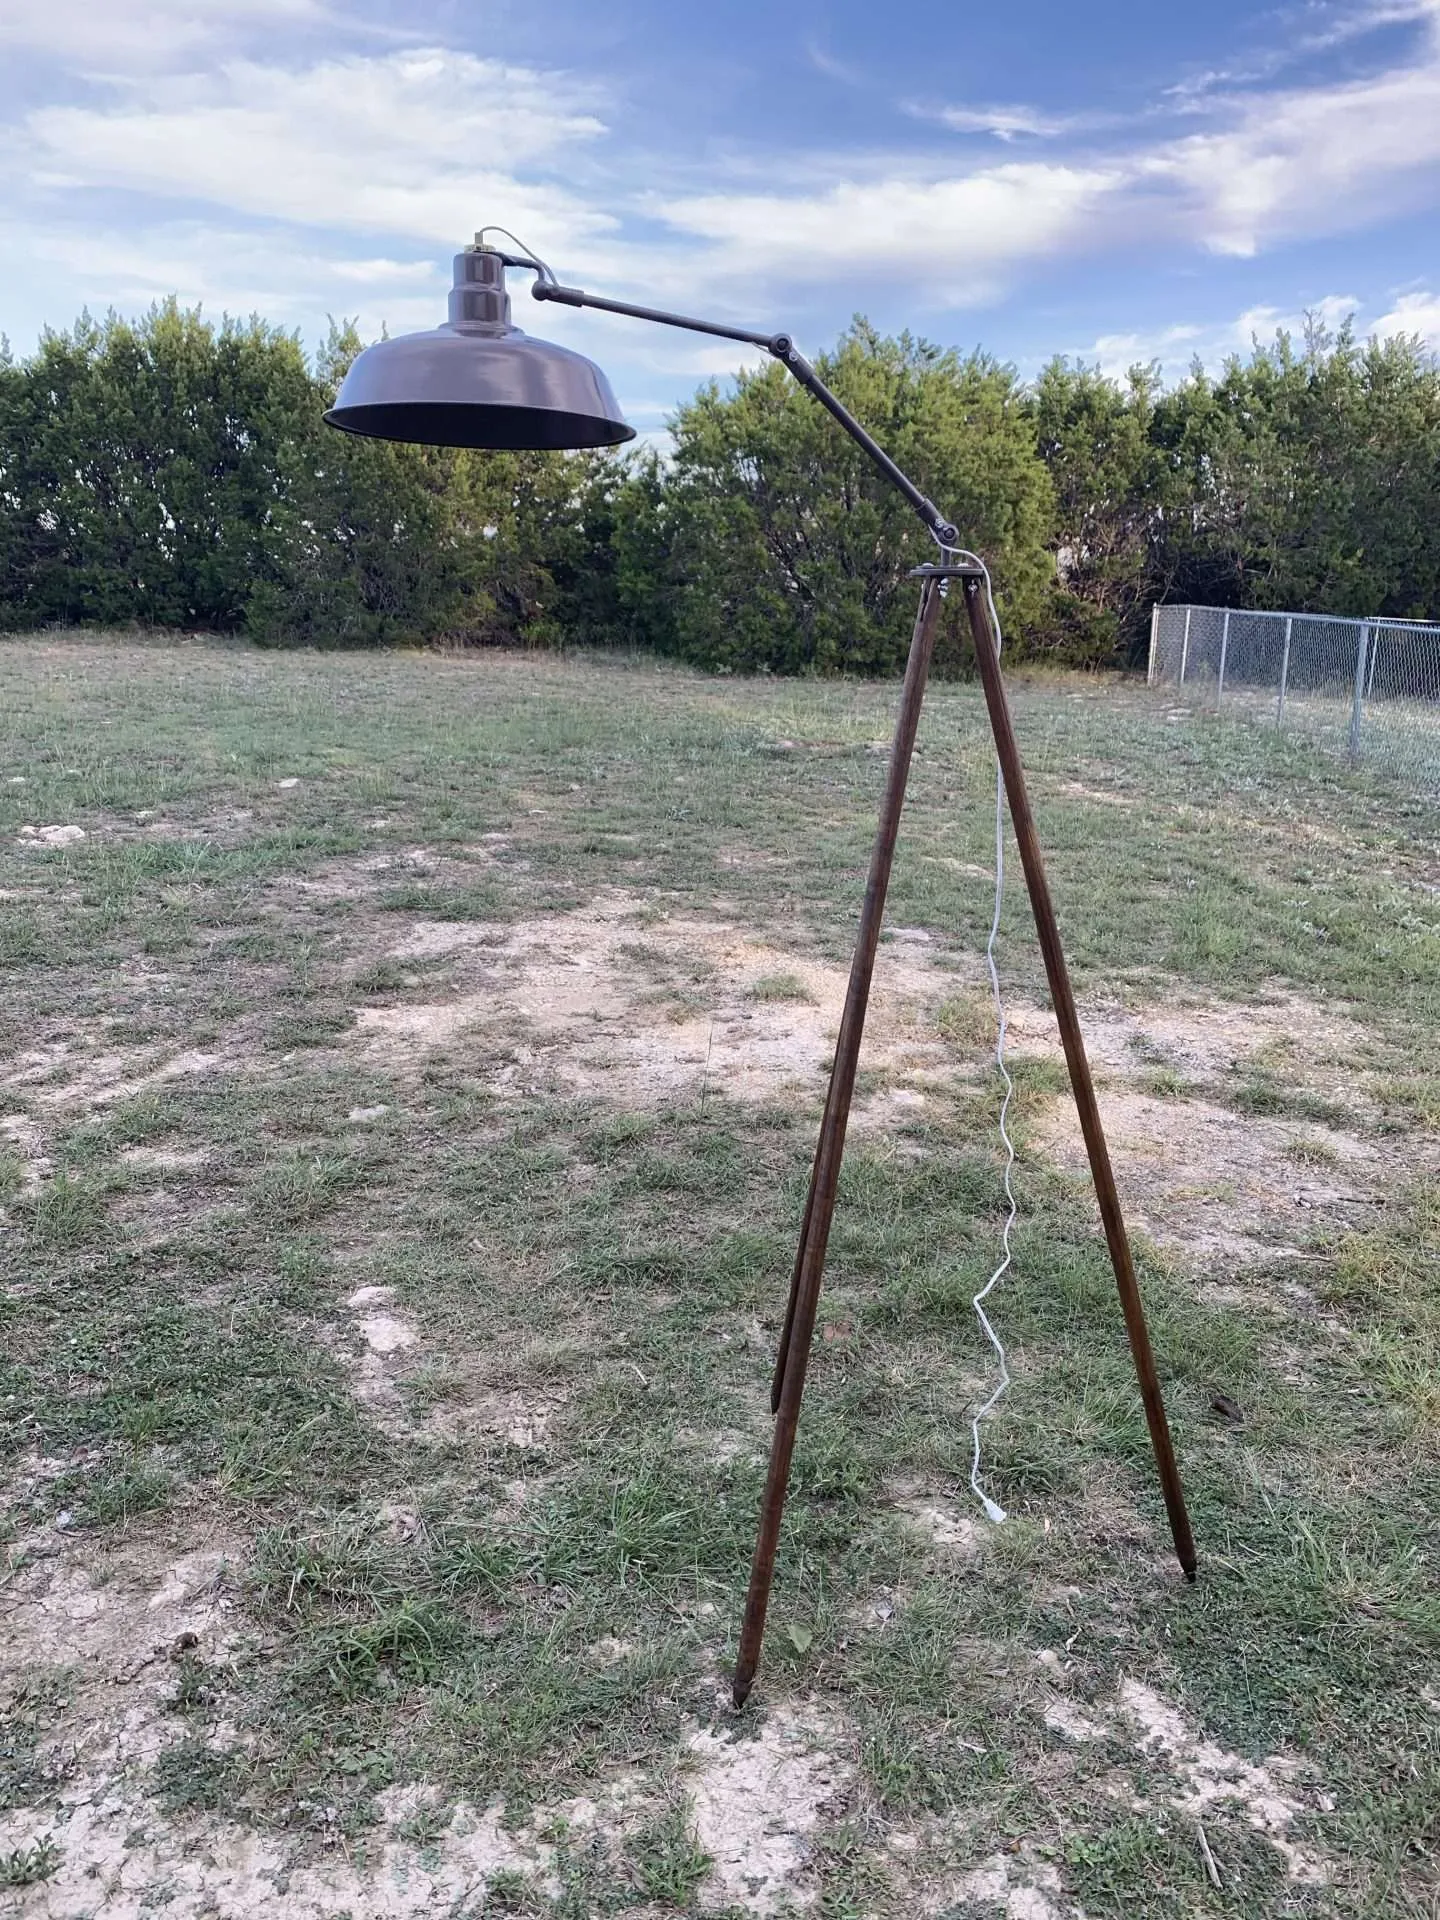
And it’s done!
I’m so happy with how this tripod lamp turned out! I know these instructions seem simple, but it took us quite a while to figure out how to get everything put together.
So, for us to put it together and it actually work felt like such an achievement!
I got to enjoy my ‘new’ tripod lamp for a whole 2 days before the movers came a packed it up for our PCS to Hawaii. But I know that it will be beautiful in our new home!