[Disclaimer: Finding Mandee is reader-supported, if you purchase through links on my site I may earn an affiliate commission at no additional cost to you. As an Amazon Associate, I earn from qualifying purchases.]
Over the weekend, we took another trip to our favorite antique show/flea market in Round Top and we came home with another truckload of goodies!
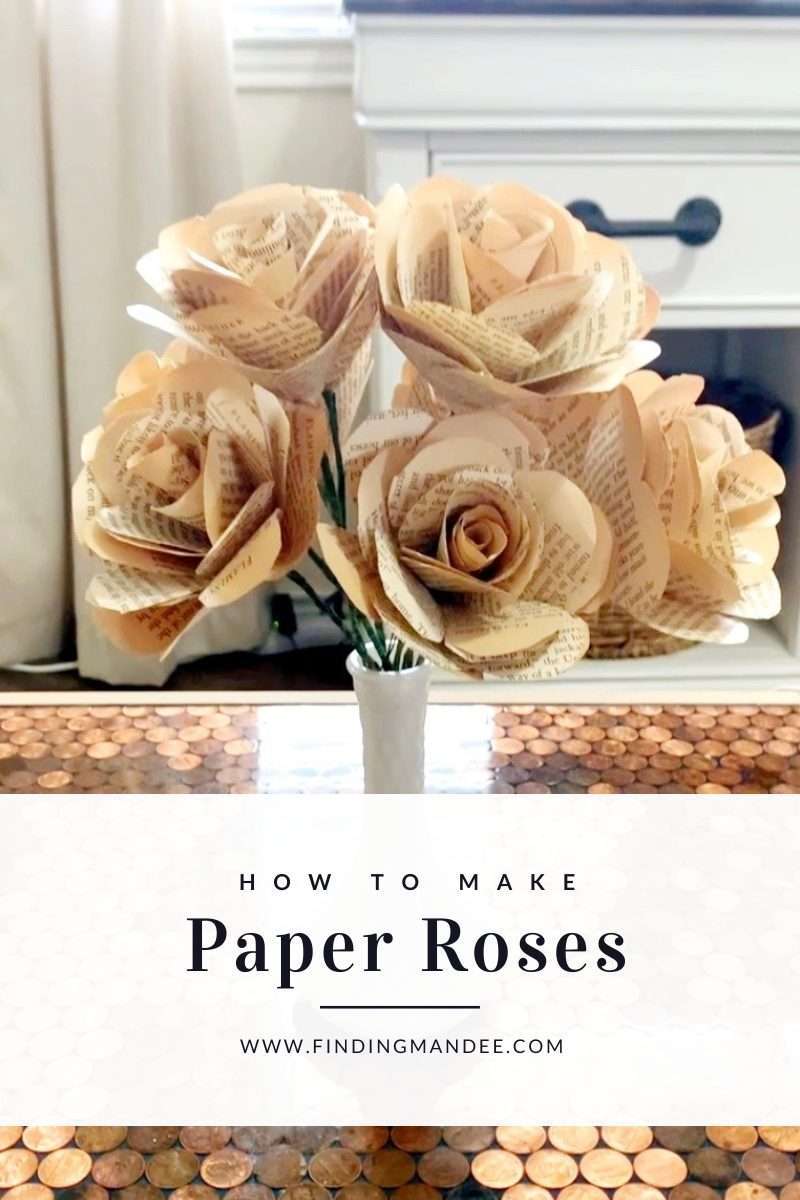
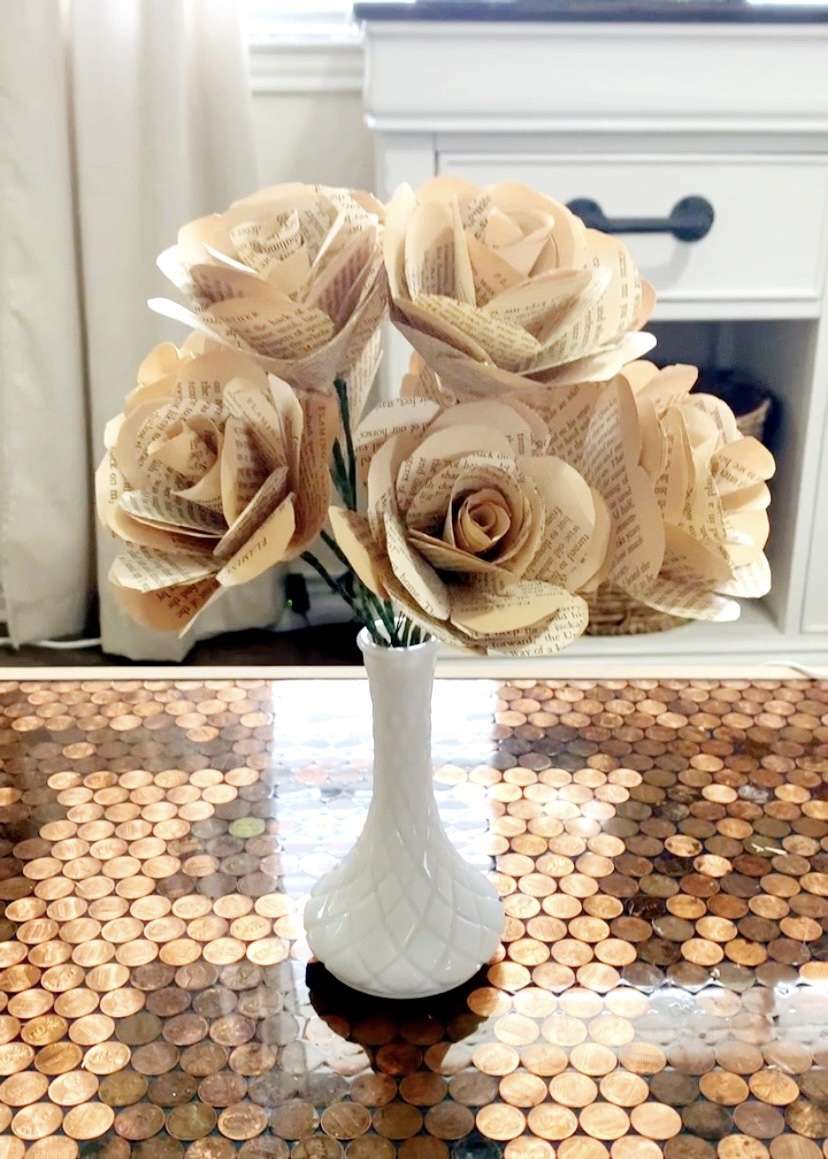
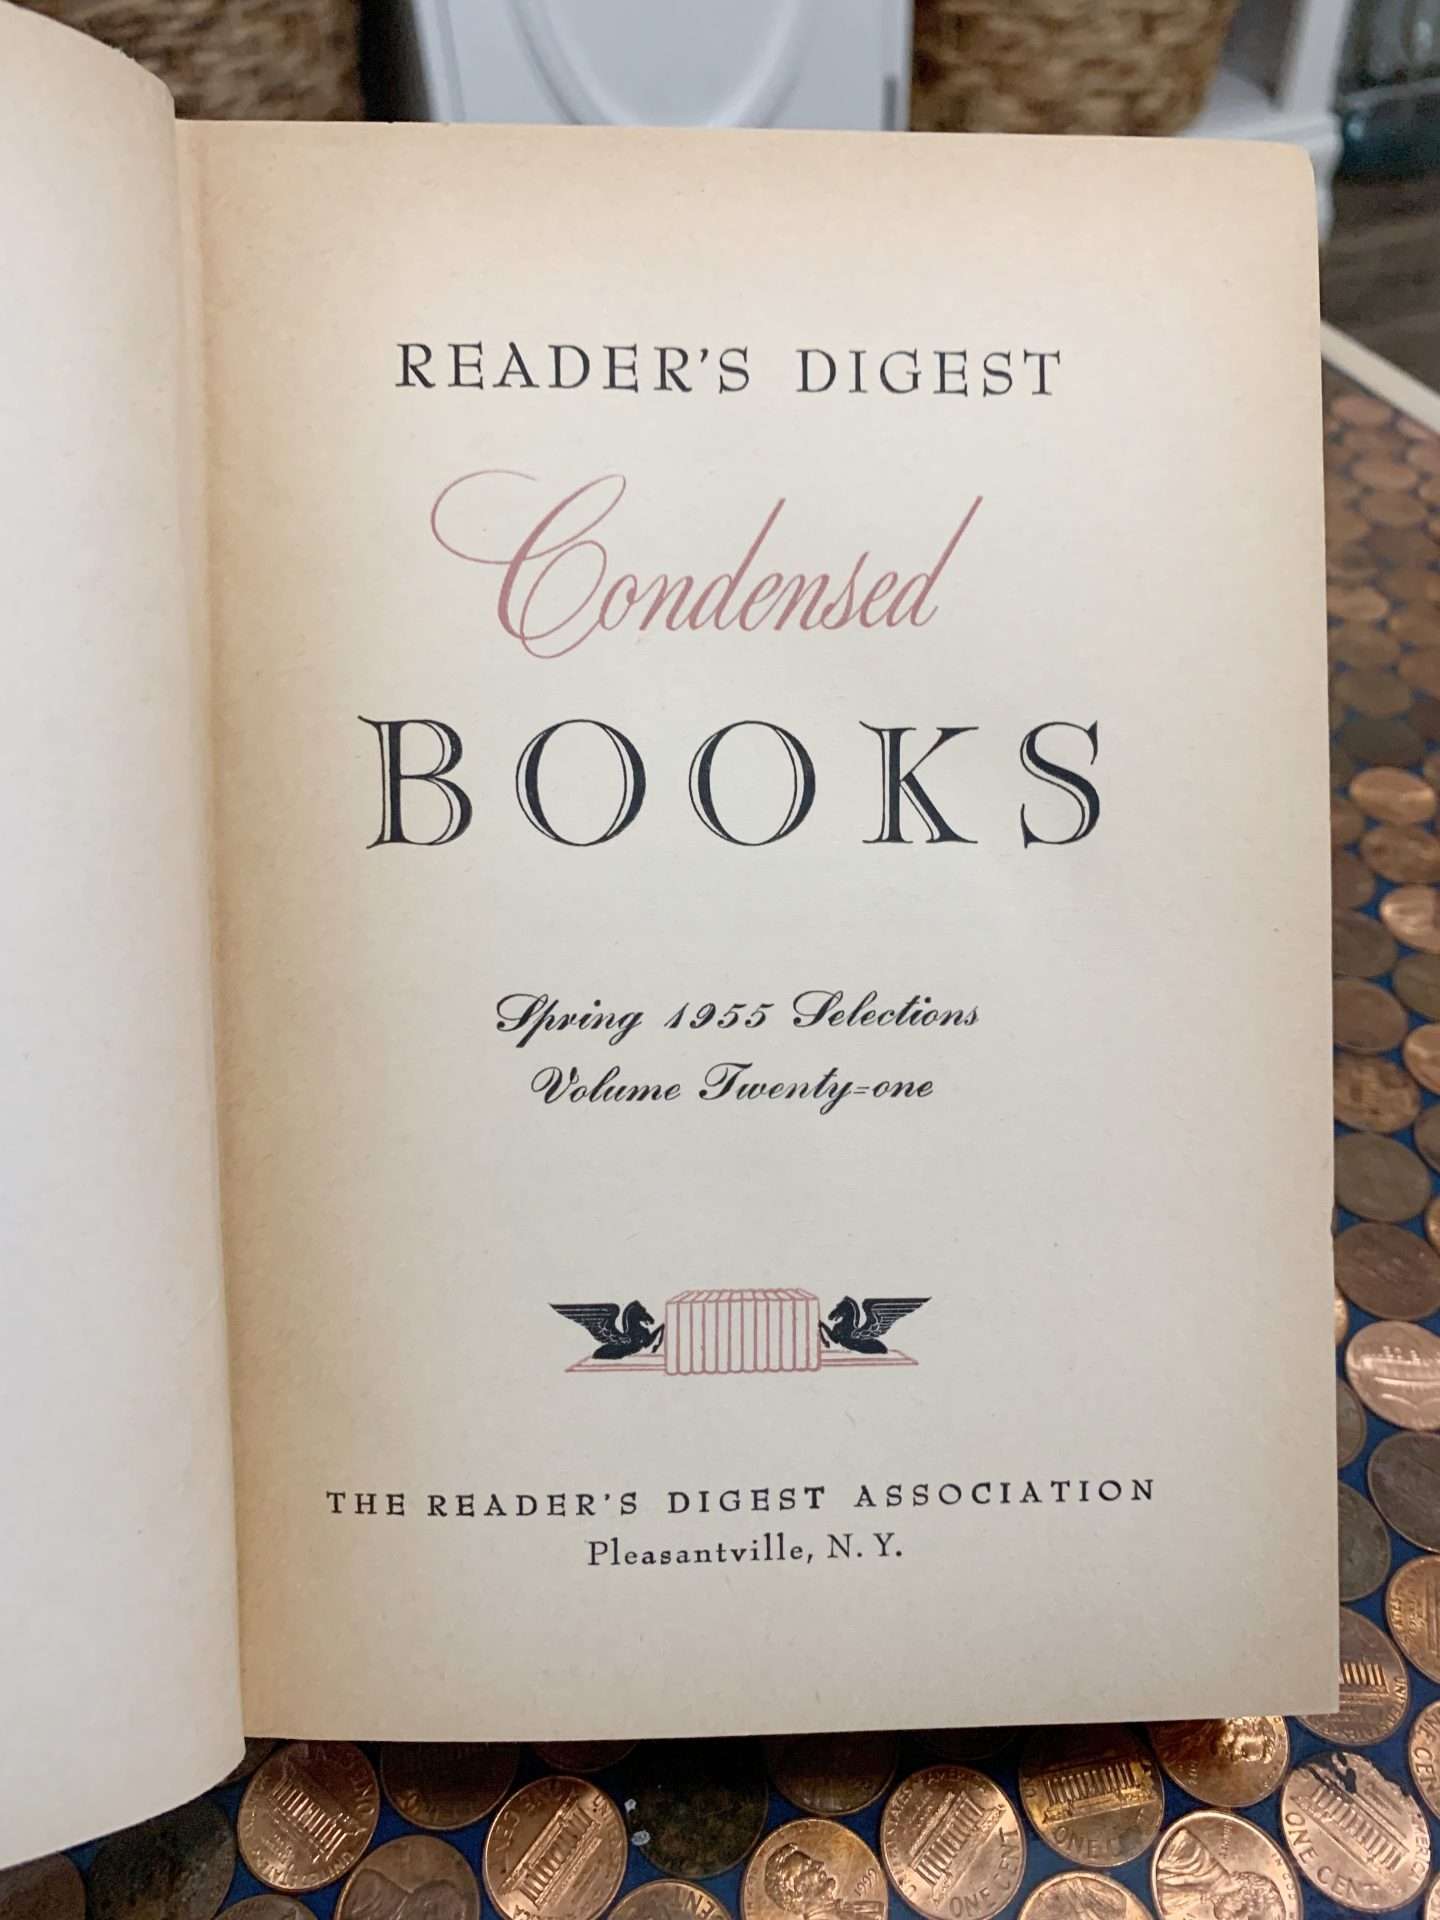
Some of my favorite finds were vintage books that I picked up for $2.50 each and a milk glass vase that I found for $5.
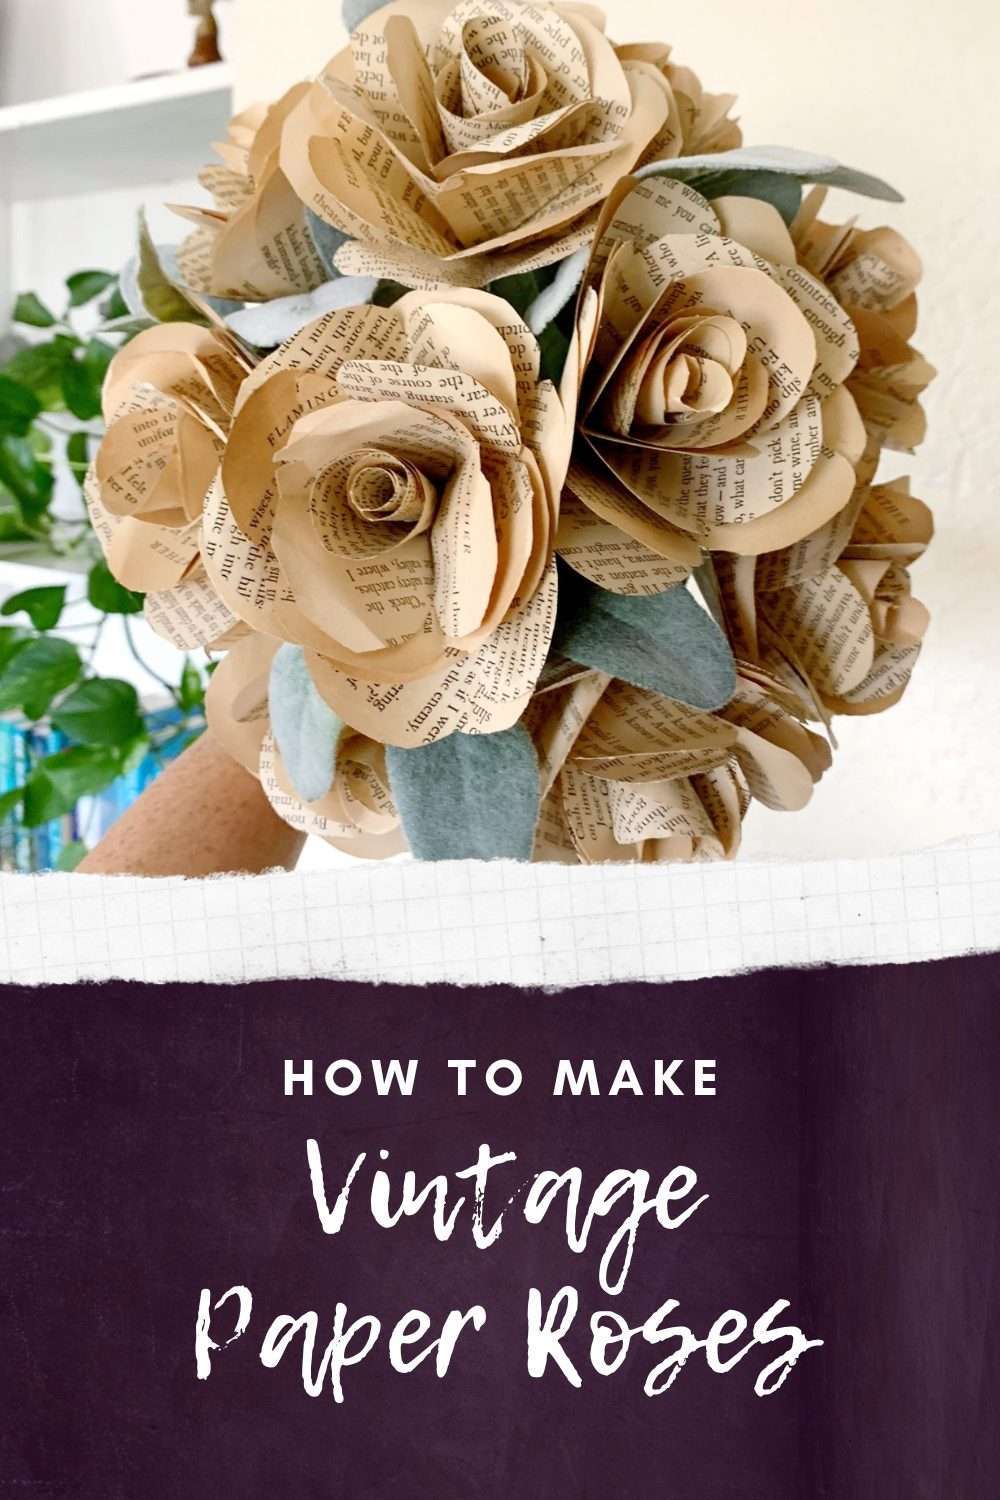
I have a few ideas of things to make with the pages from these vintage books, but I was most excited to make a bouquet of paper roses for our bookshelf. (I also made bookish Christmas ornaments with some of the paper!)
There are different tutorials available online and several different kinds of flowers that you can make, but I was most drawn to paper roses.
I tried a couple of different tutorials and techniques before settling on this one. The first rose took me almost an hour to make, but by the 4th or 5th flower, I was done in 12 minutes.
Here’s how I made these beautiful paper roses.
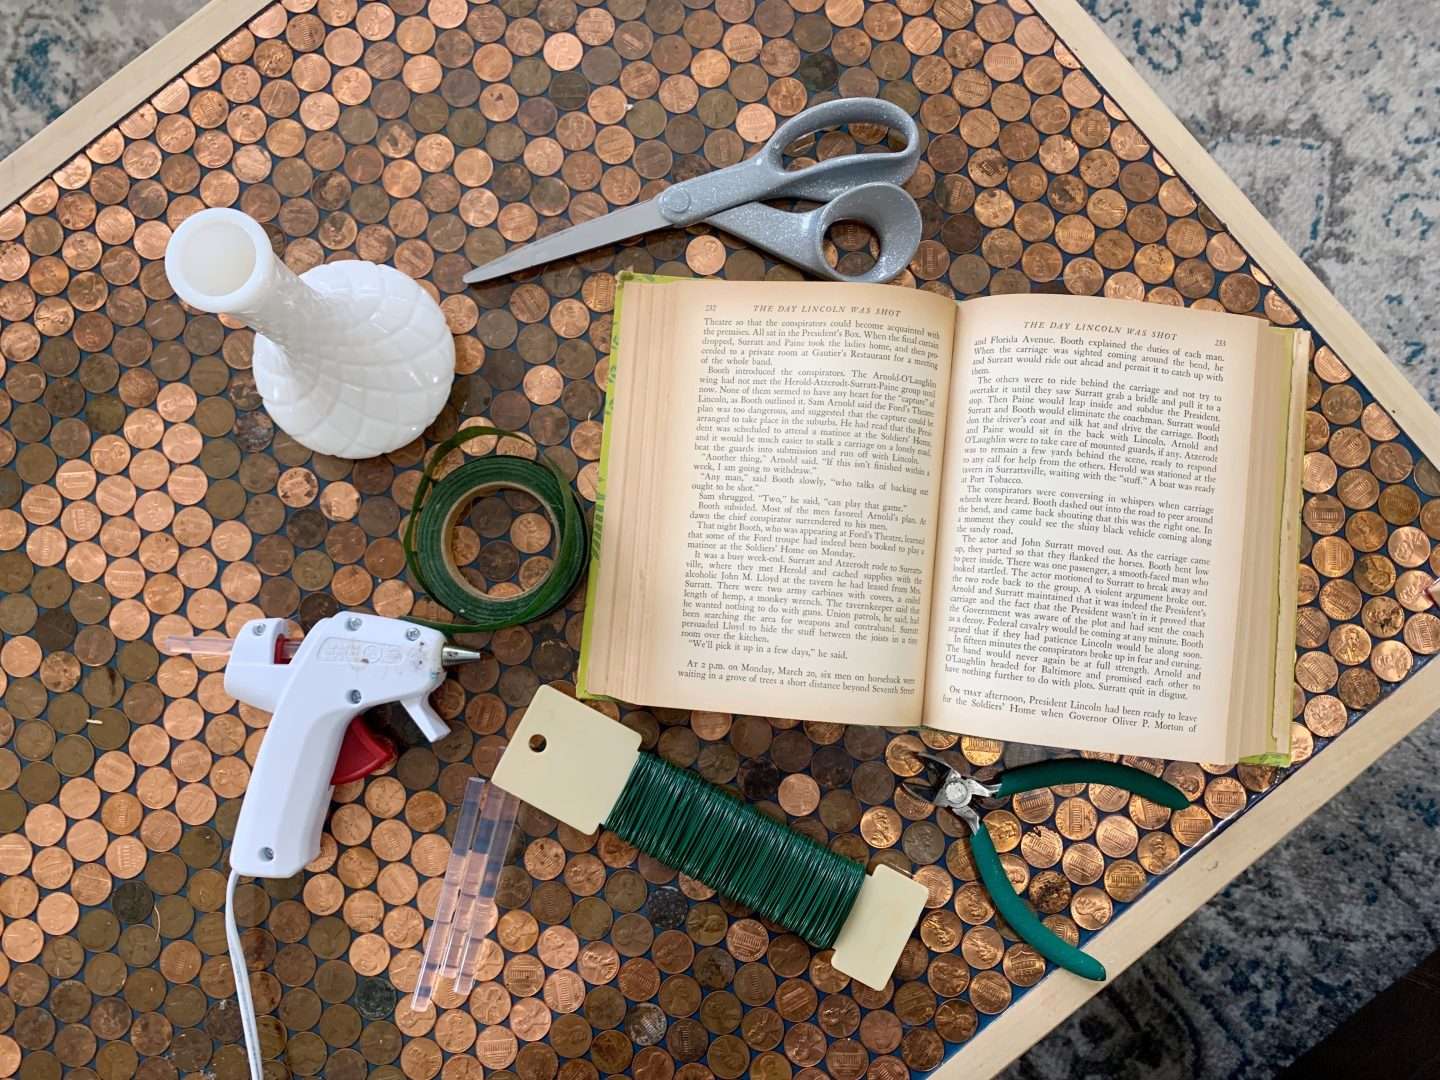
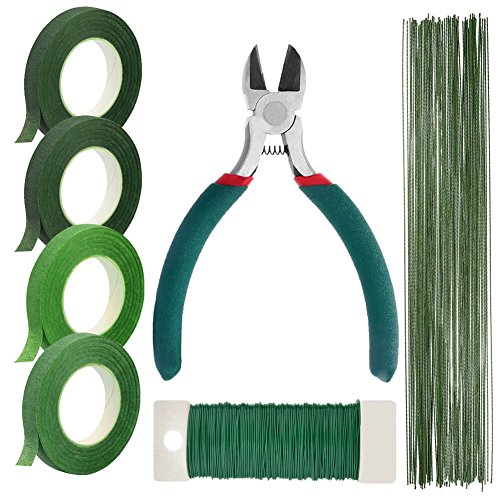
Gather Your Supplies
These paper flowers are pretty inexpensive to make. Here’s what you’ll need:
- vintage book paper
- scissors
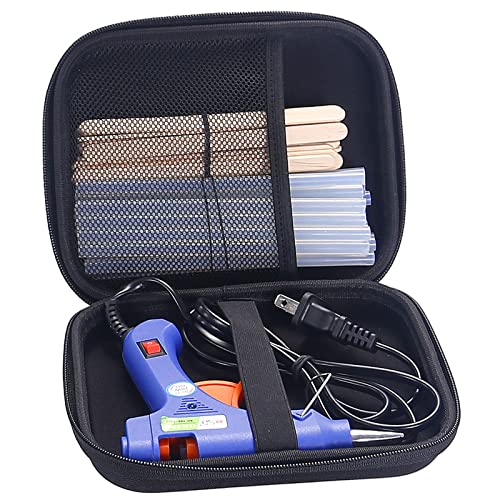
- hot glue gun & glue sticks
- floral wire & wire cutters
- floral tape
- a pretty vase
Book Paper Rose Bouquet Novel Flowers Literary Vintage Home Décor Christmas Anniversary Valentine’s Day Gift For Wife Fiancée Book Lover Wedding Paper Flower Bouquets Handmade (Bunch of 5-6)Literary Blooms Handmade Paper Flower Bouquet, Mini Paper Roses made from Agatha Christie Novels, Book Lovers Gifts for Anniversaries, Birthdays, Graduation, Mother’s Day- 6 Miniature Roses 1.5 Inch


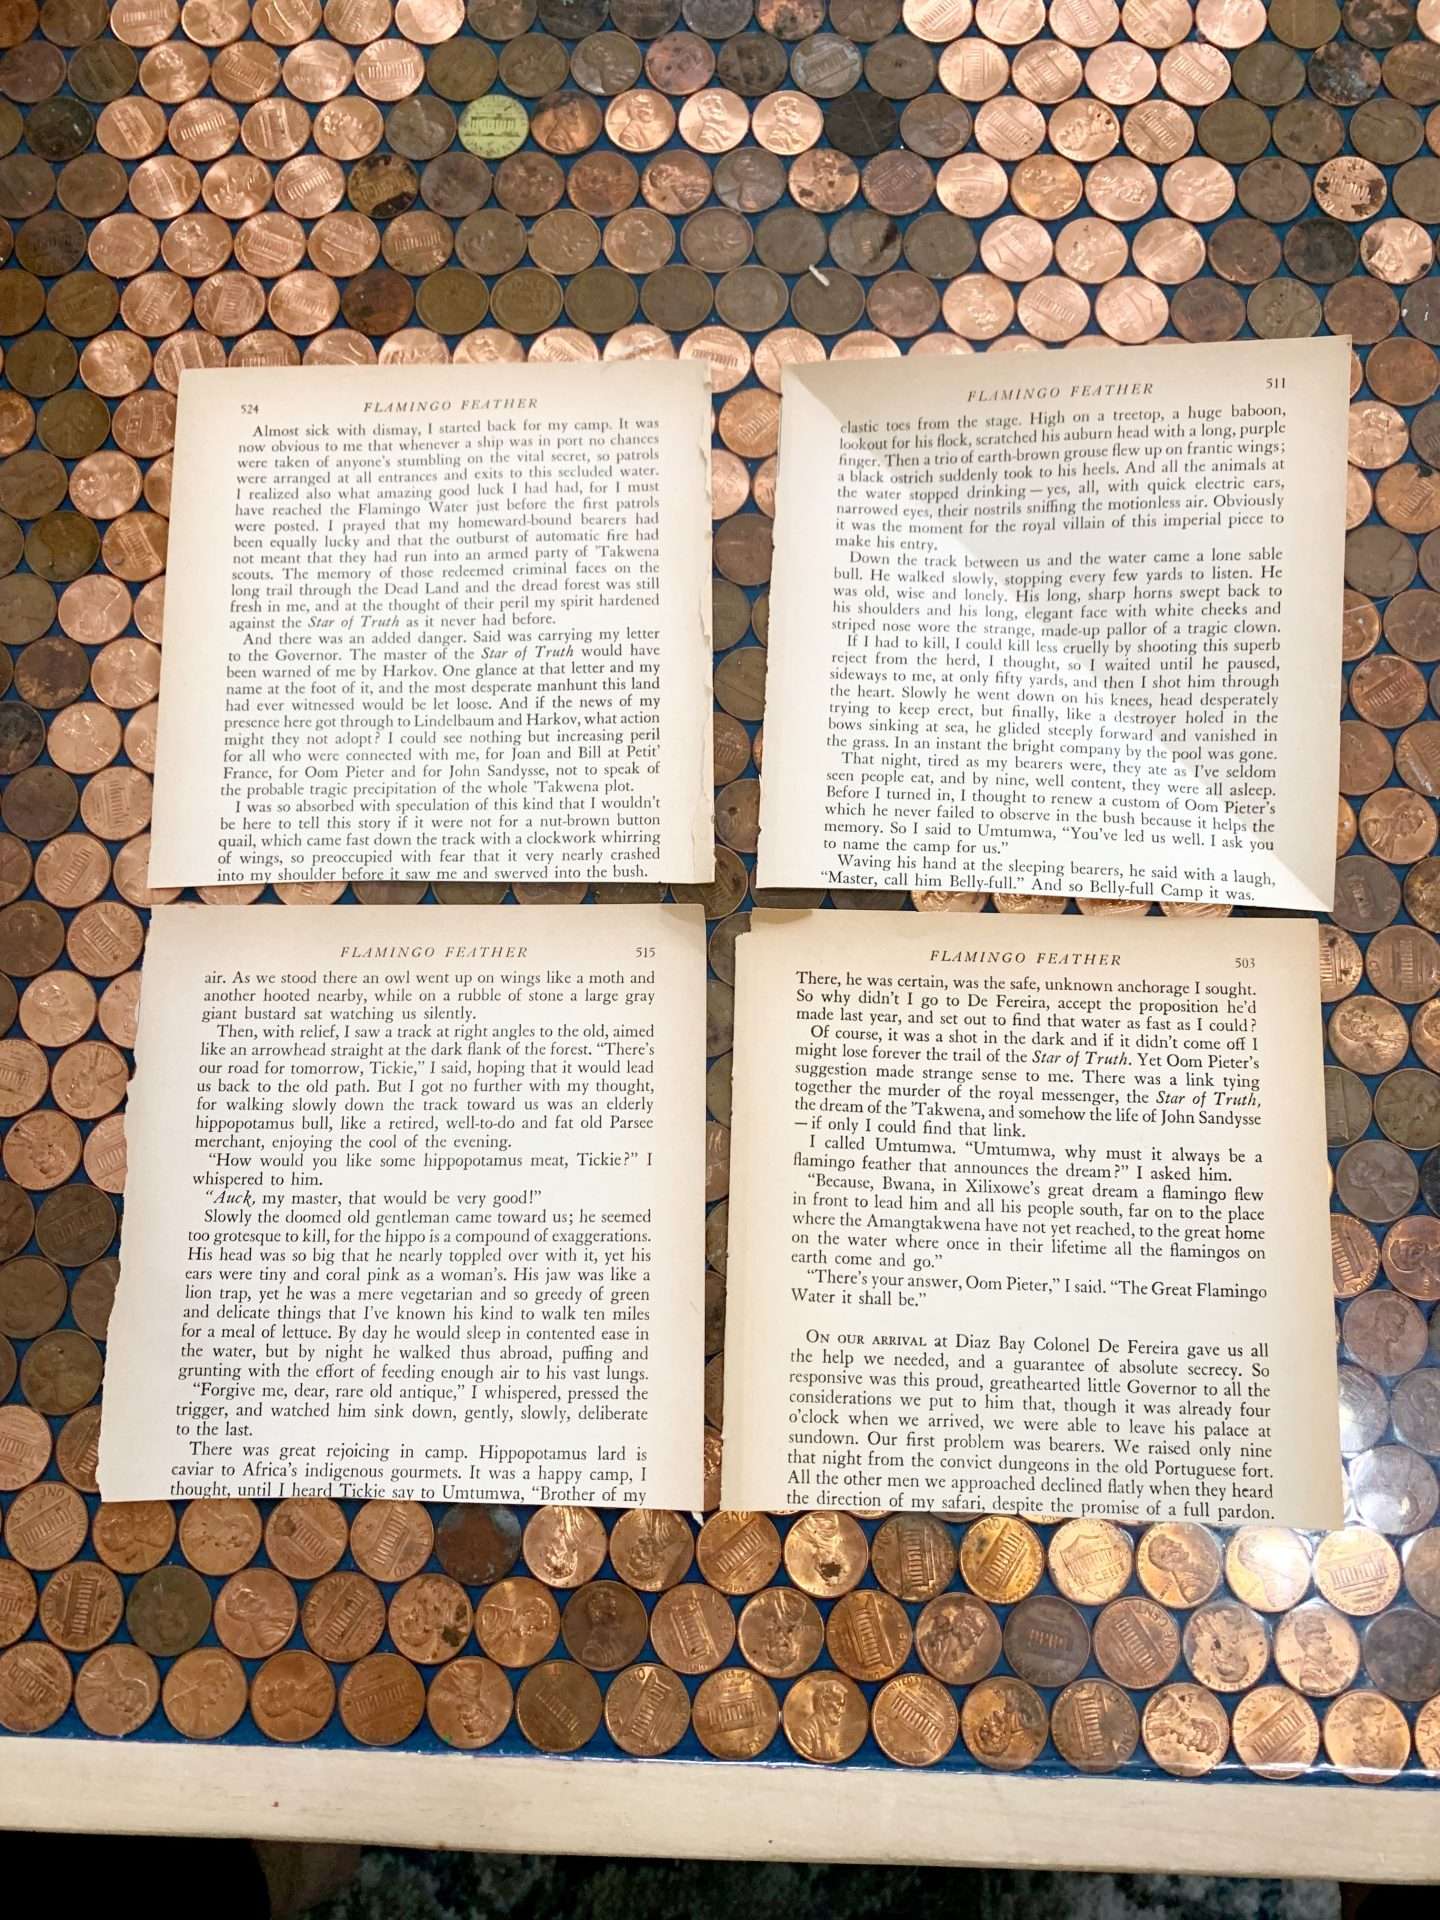
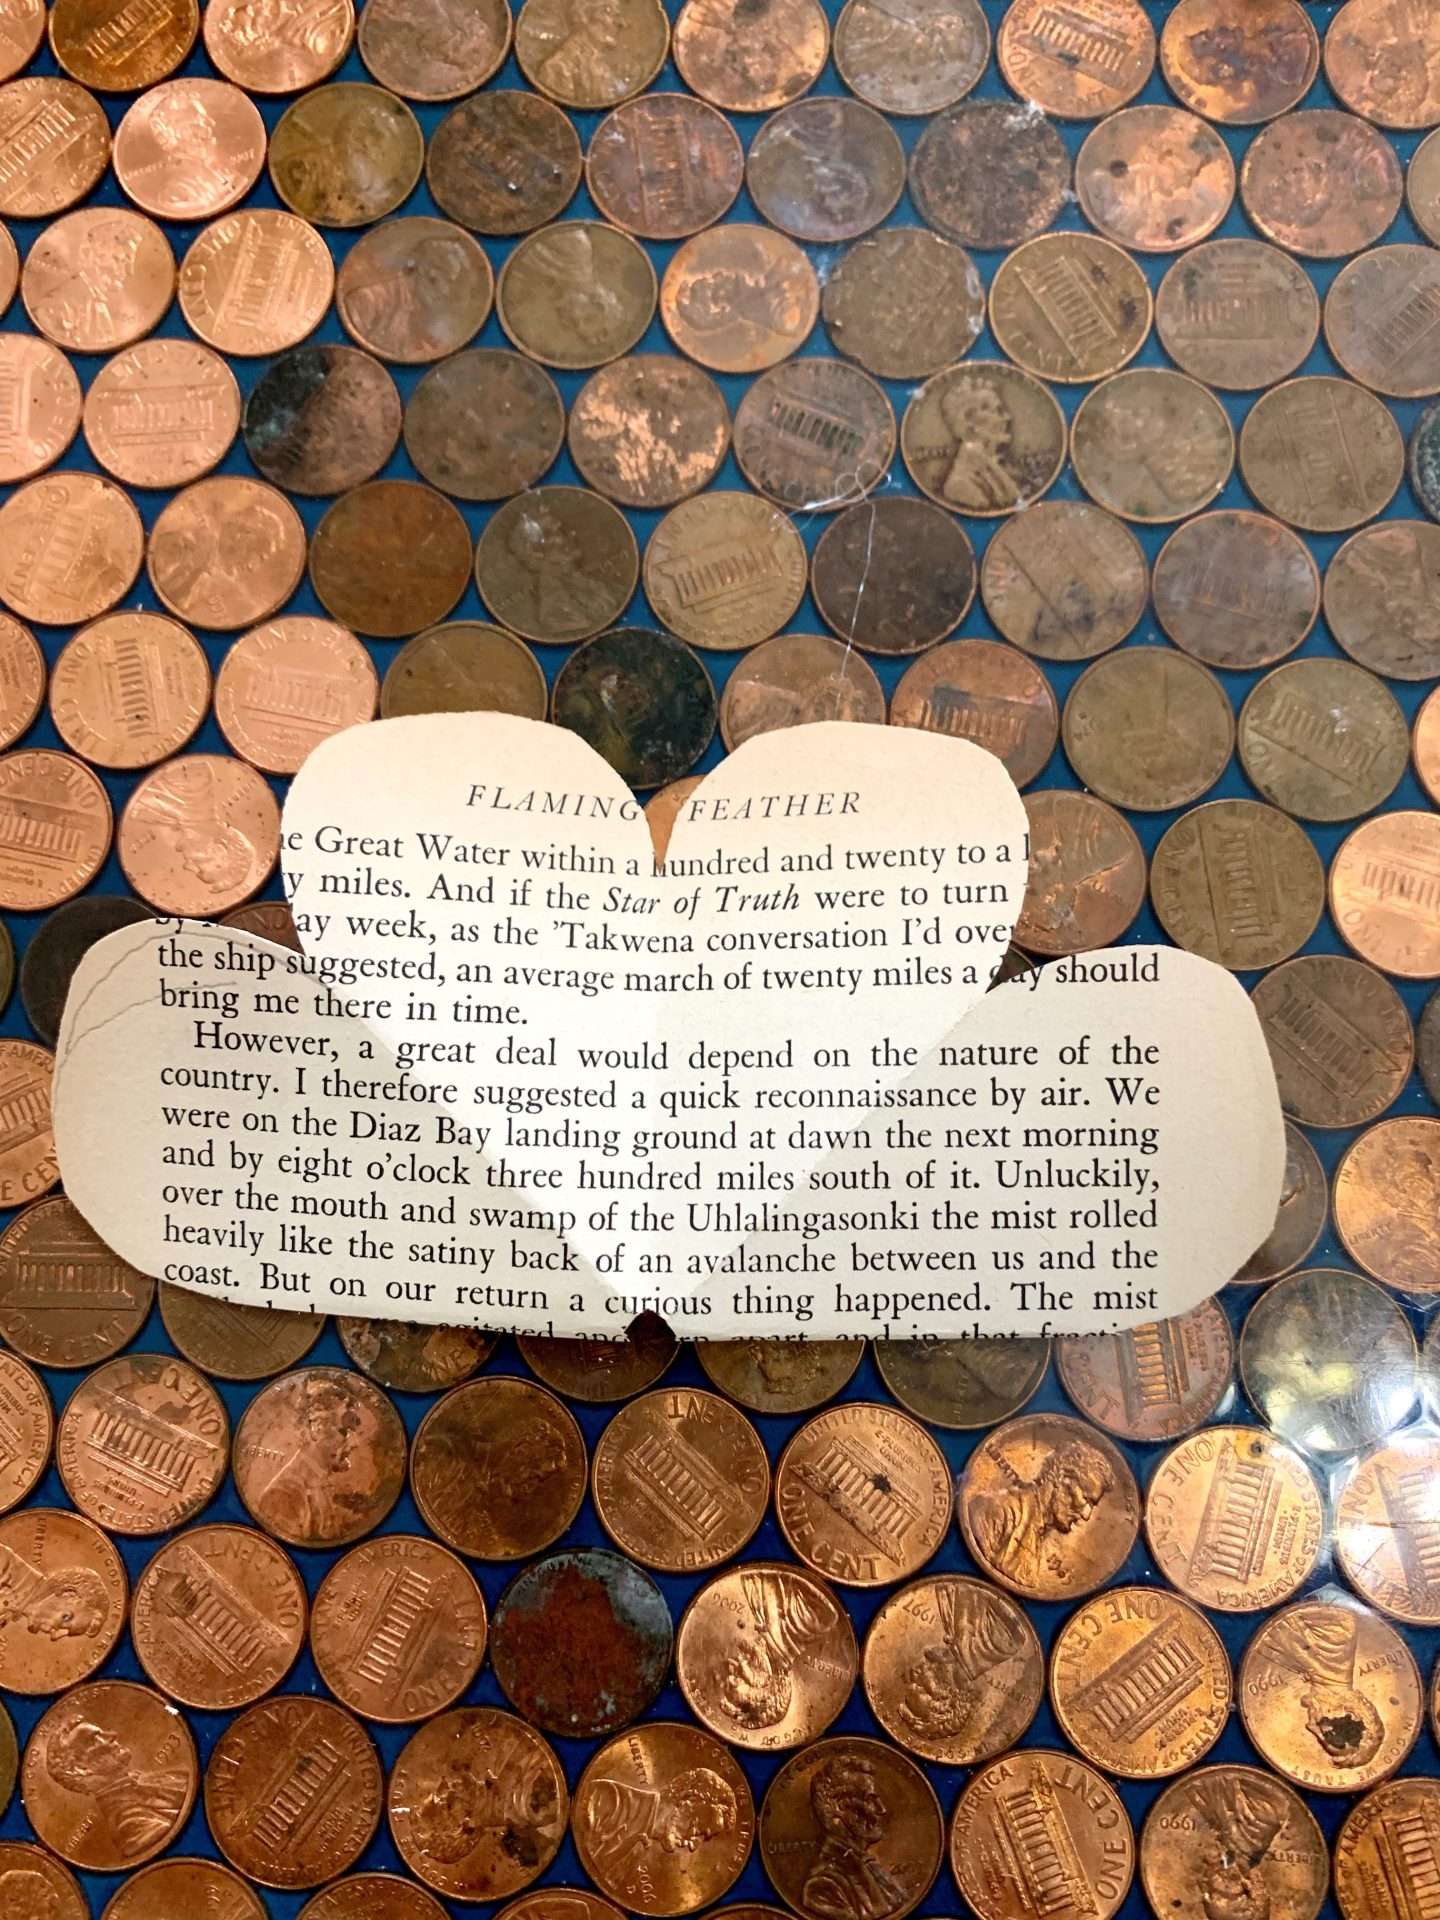
Prep the Pages
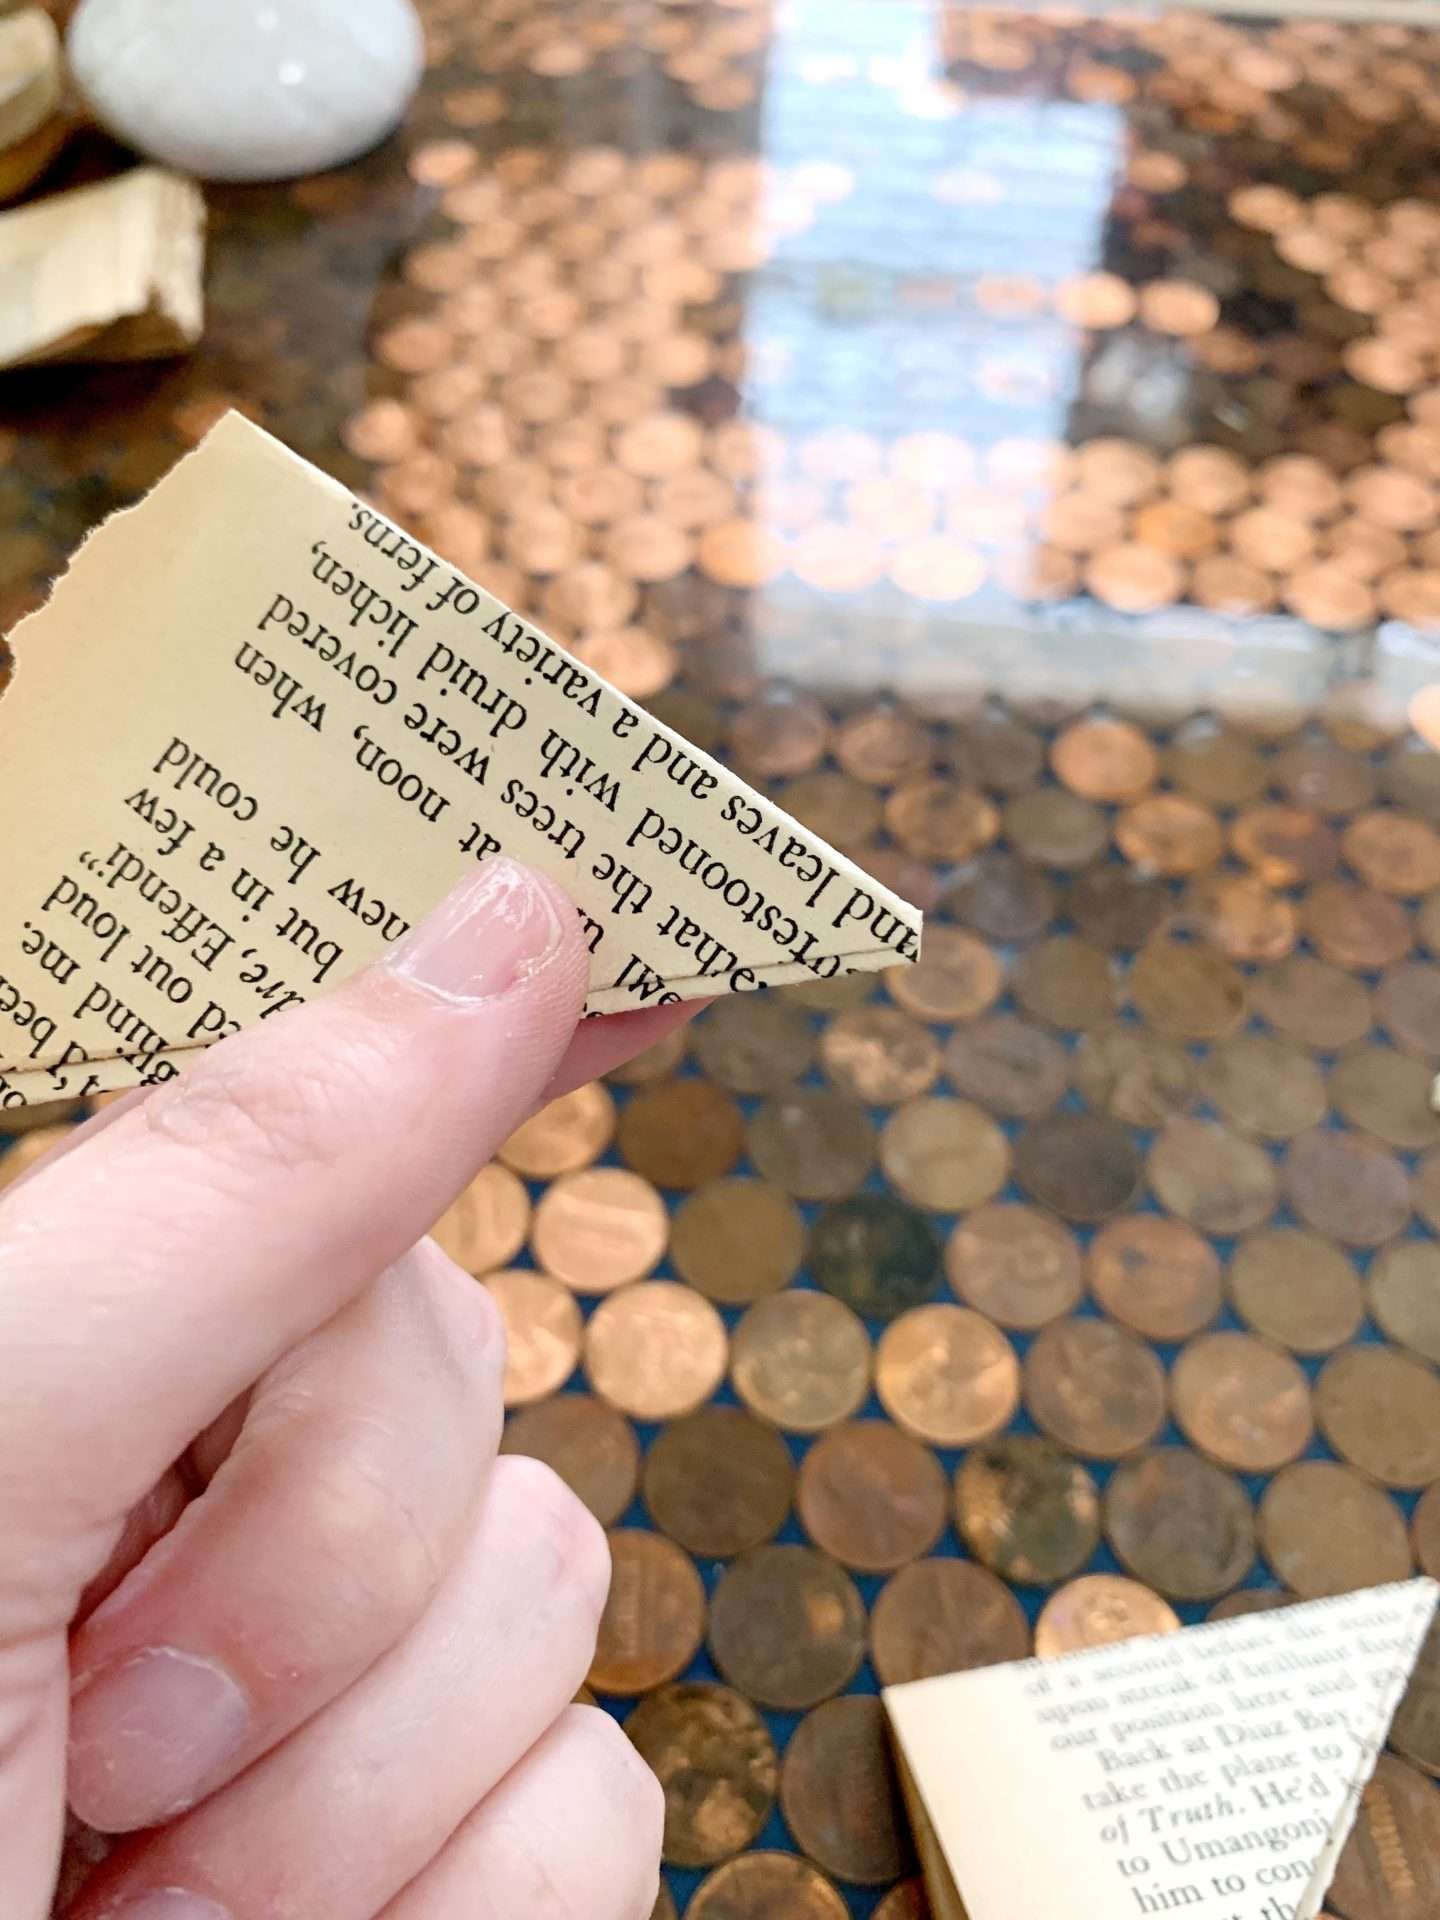
The first step to making paper roses is to prep the paper. Which is pretty easy.
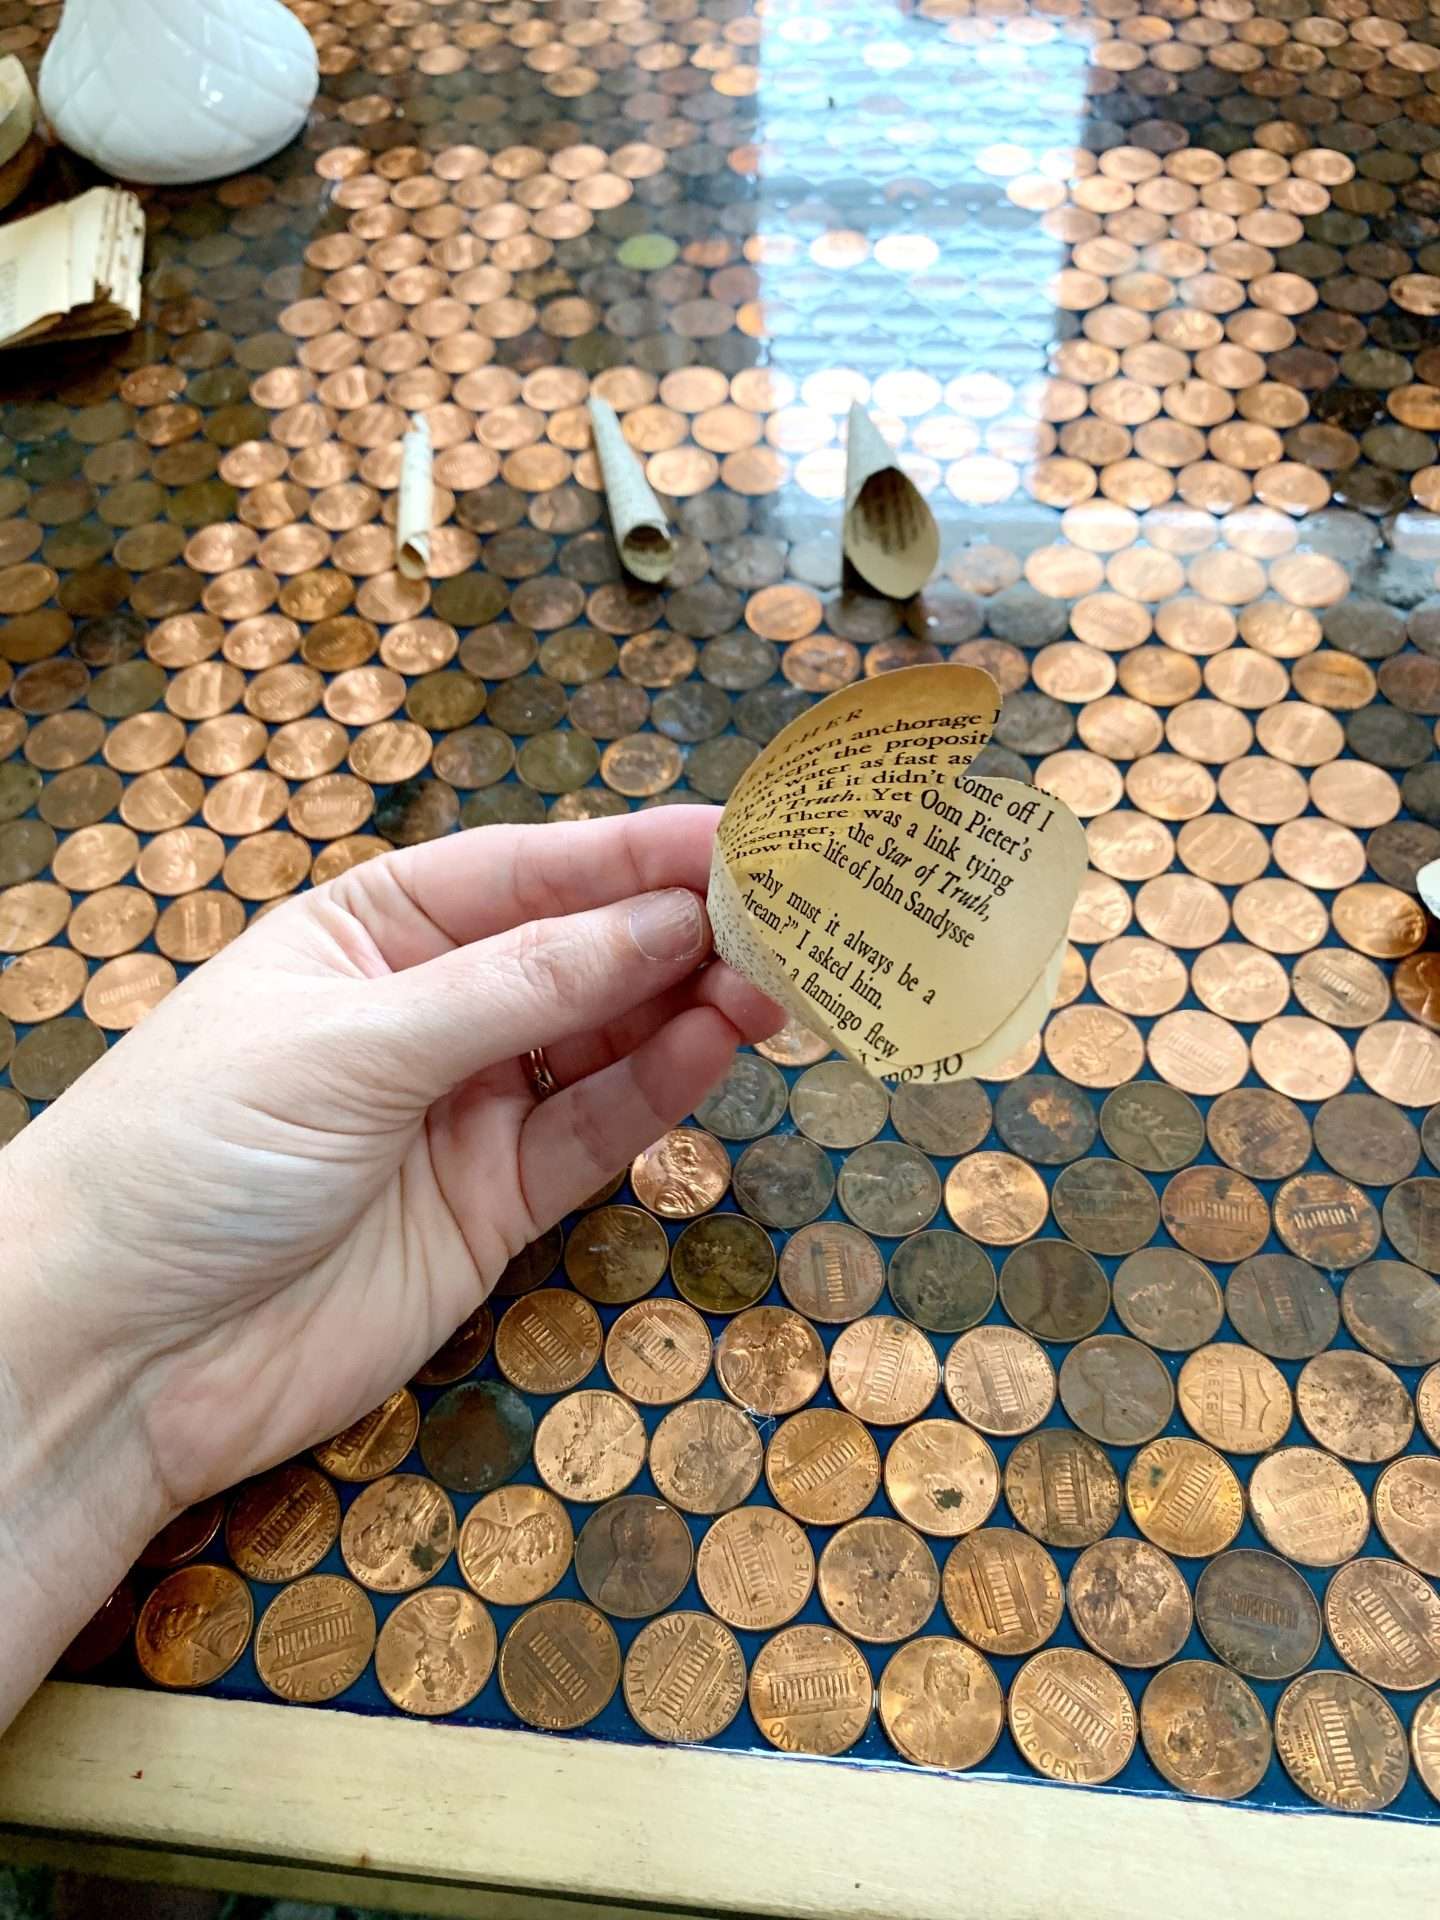
Simply tear 4 pages out of the book and cut it into squares.
**Pro Tip** Make sure the squares are at least 4 inches across. Anything smaller would be really hard to fold and roll.
**Pro Tip 2** Instead of cutting the top or bottom of the page (like I did) cut the square in the center of the page so the empty top or bottom margins aren’t showing.
120 Pcs Vintage Papers for Scrapbooking, Junk Journal Paper Scrapbooking Supplies, Retro Decoupage Paper for Journaling Aged Paper for Diary Bullet Journals Art Journal Gift Wrap (Sheet Music)114 Pcs Junk Journal Pages Vintage Ephemera Pack Kraft Paper, Junk Journal Vintage Paper for Scrapbooking and Decoupage


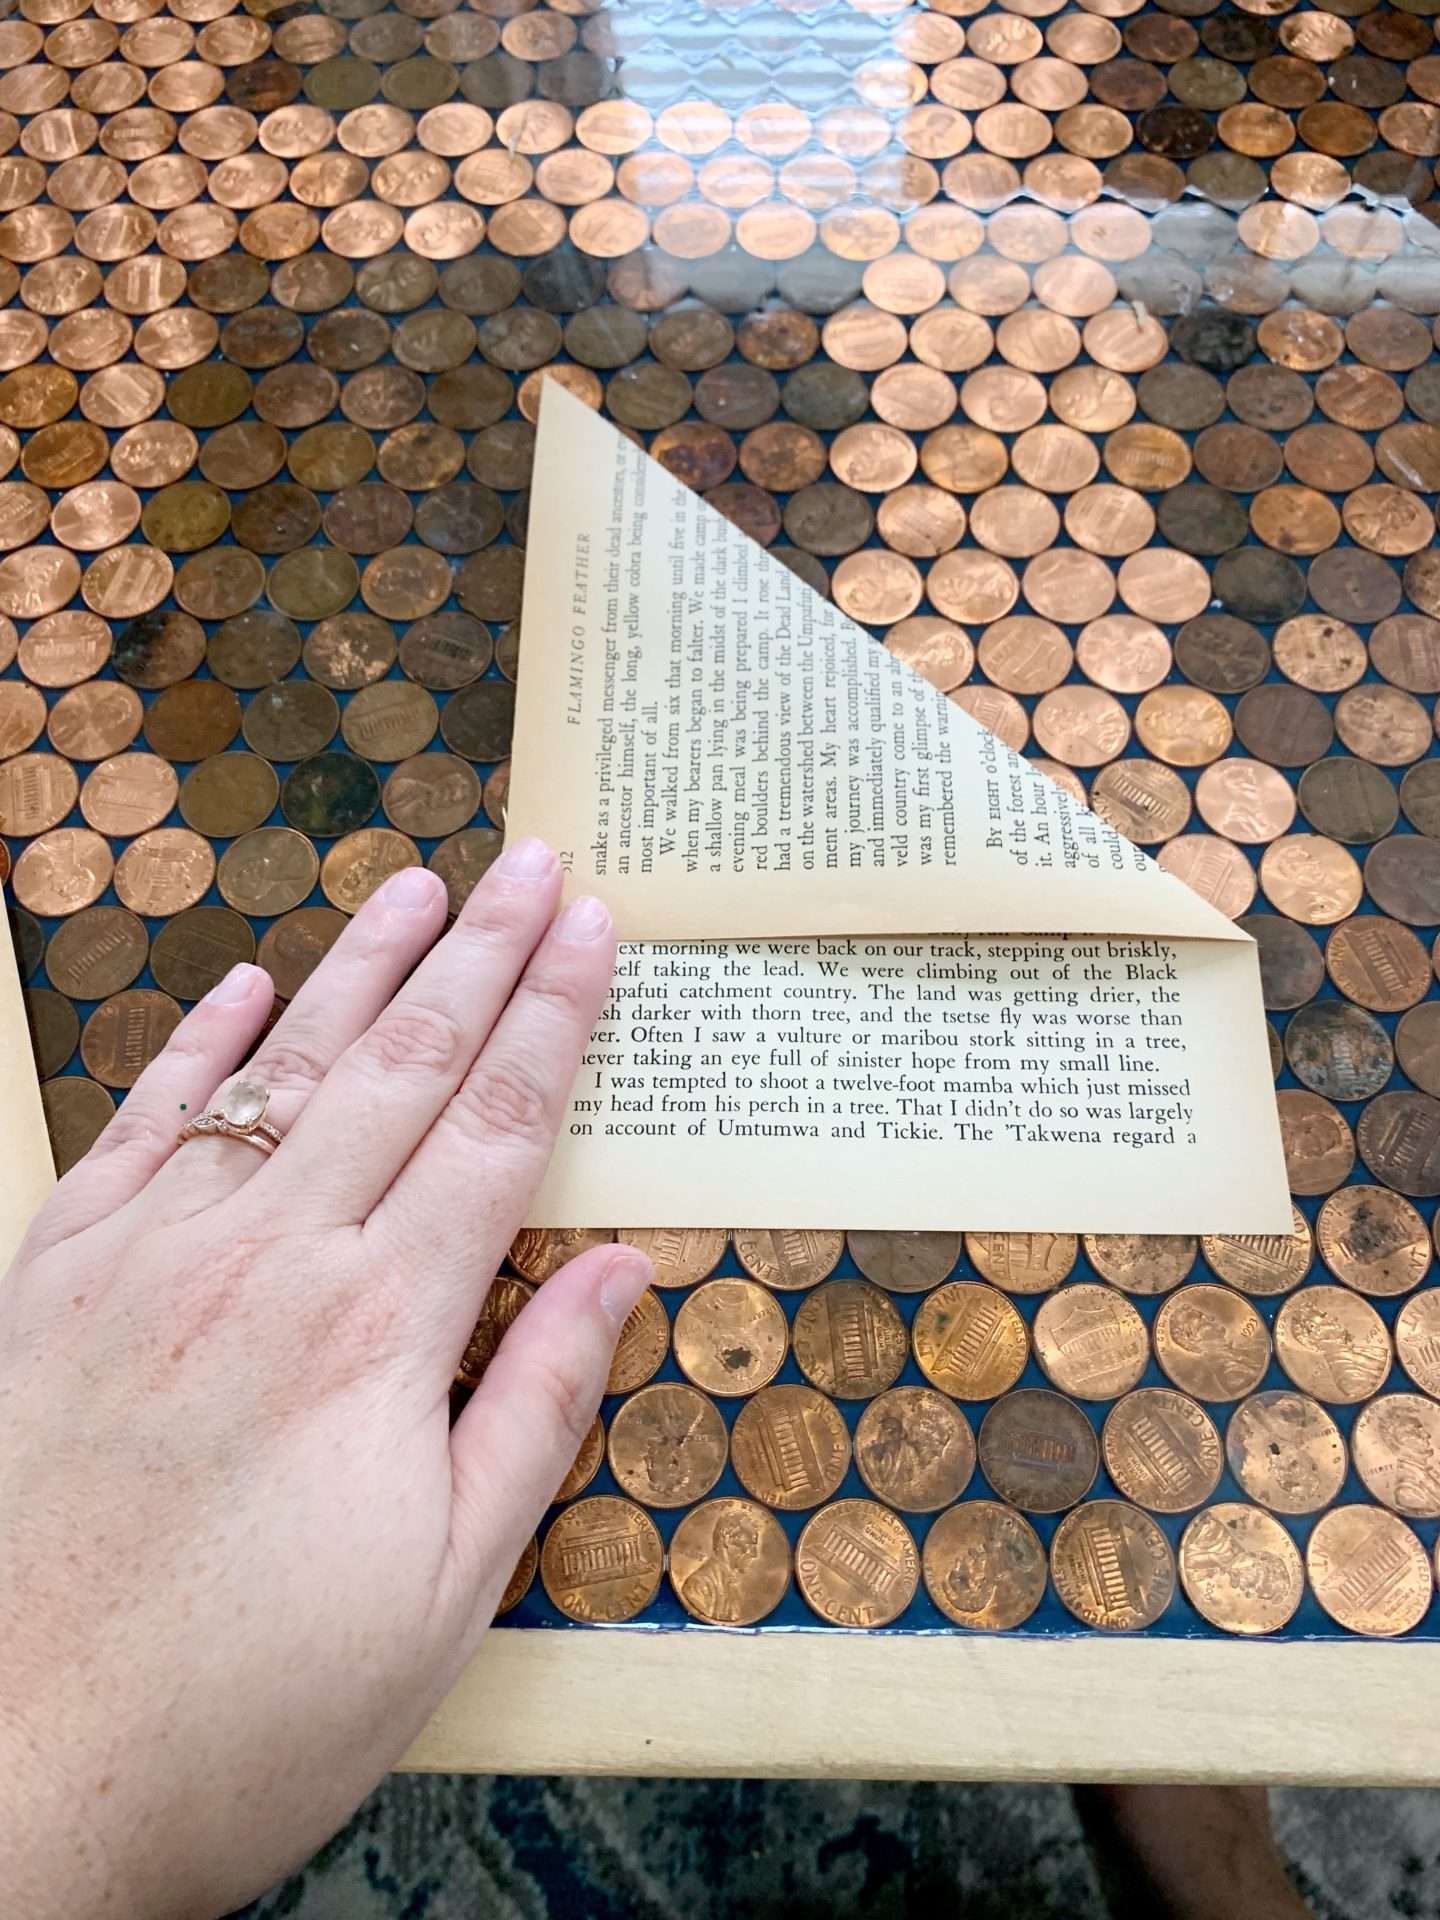
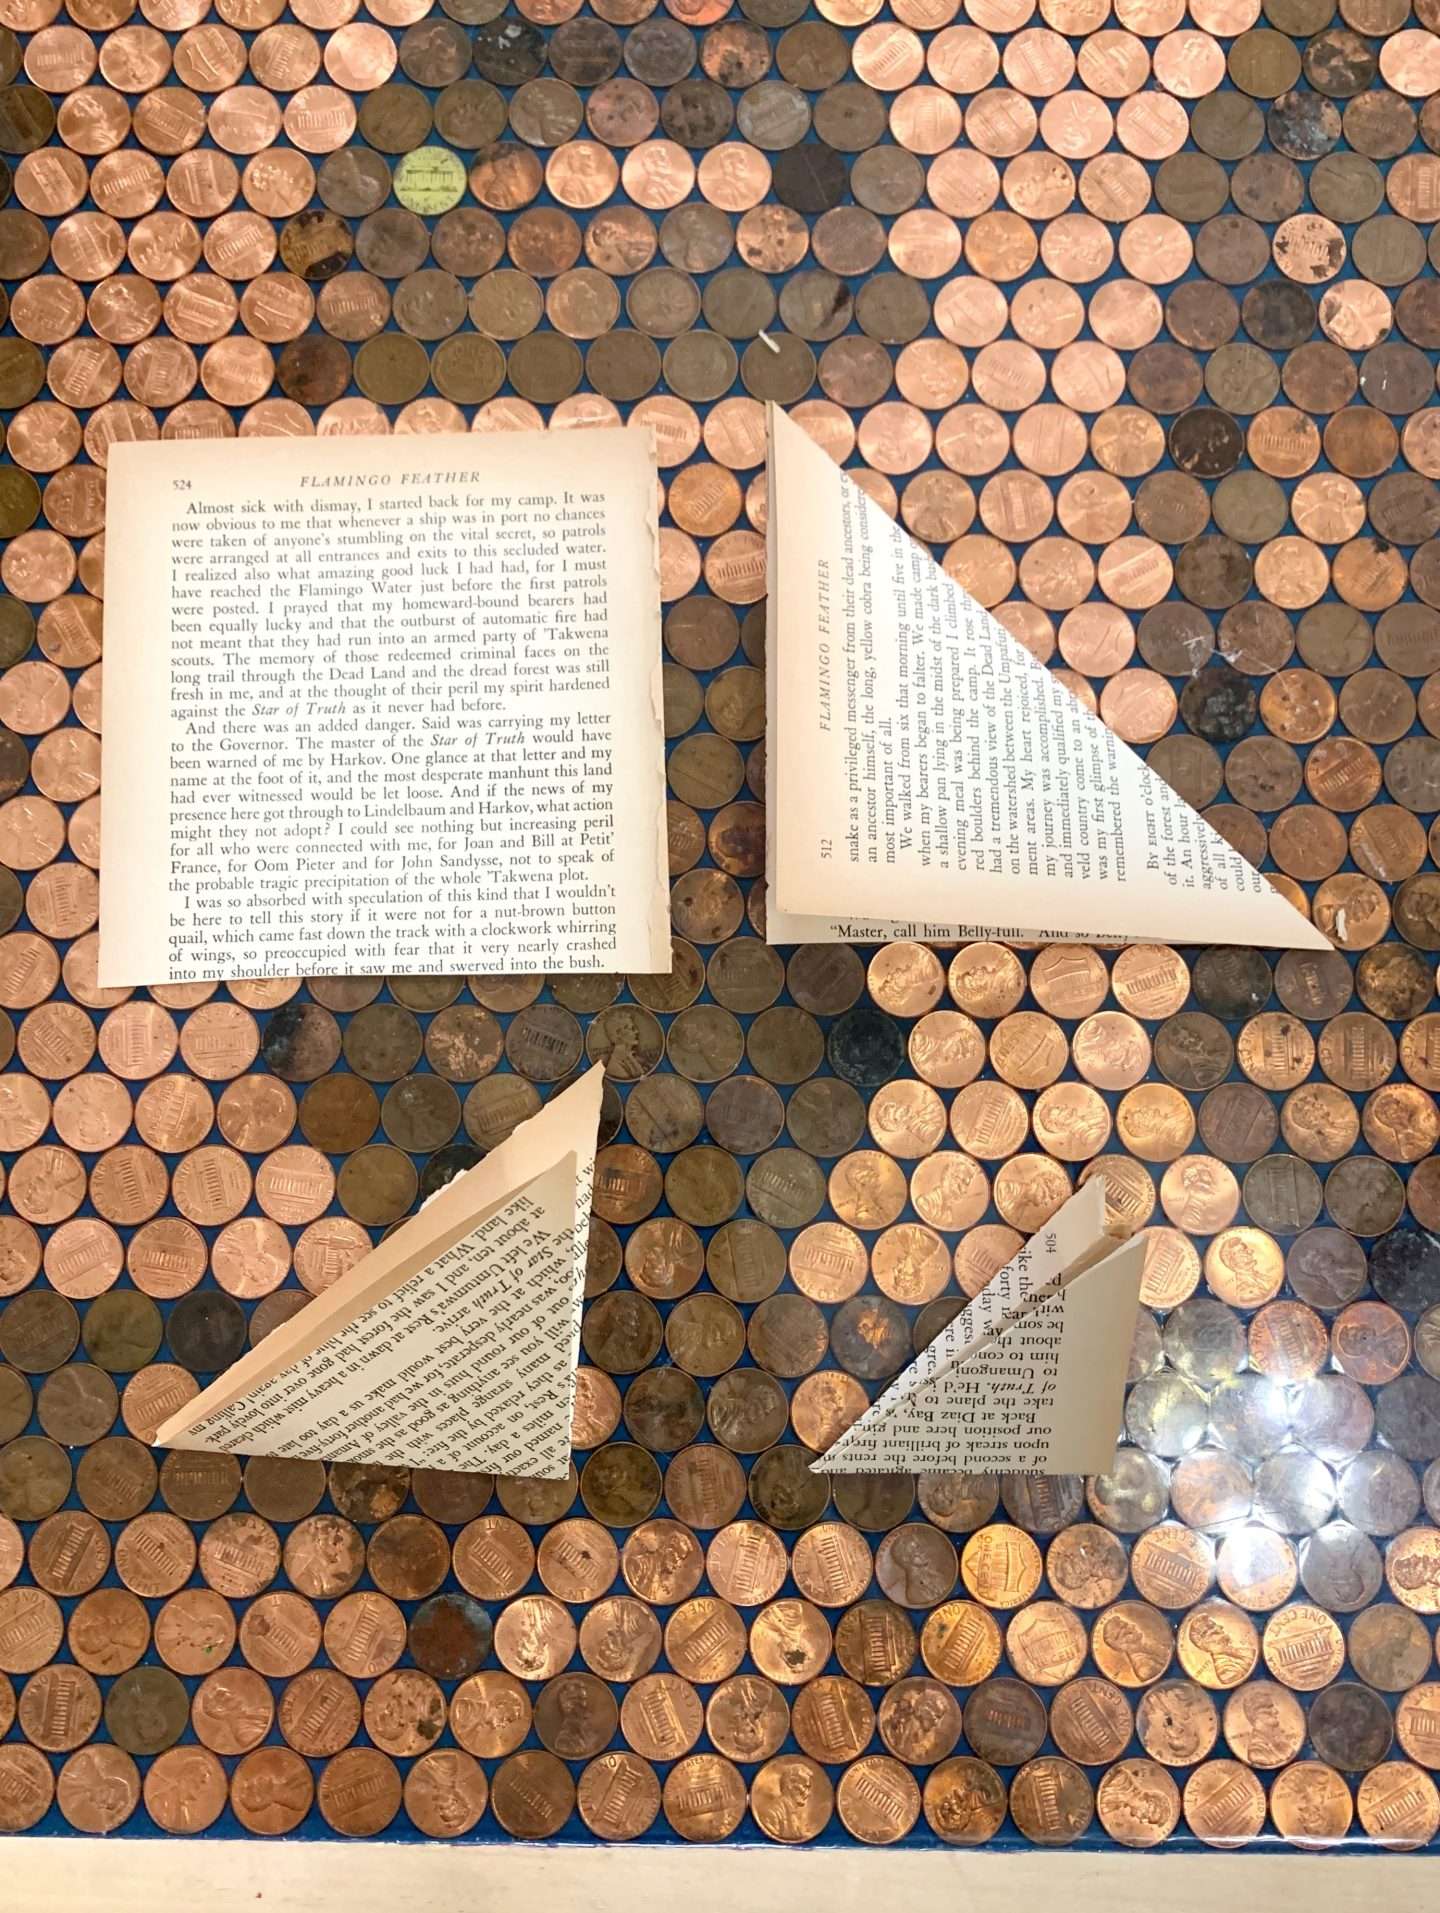
Make the Folds
Next, it’s time to make the folds.
Fold the square in half to make a triangle. Then fold it again. And then fold it again.
Consequently, you will fold each square 3 times.
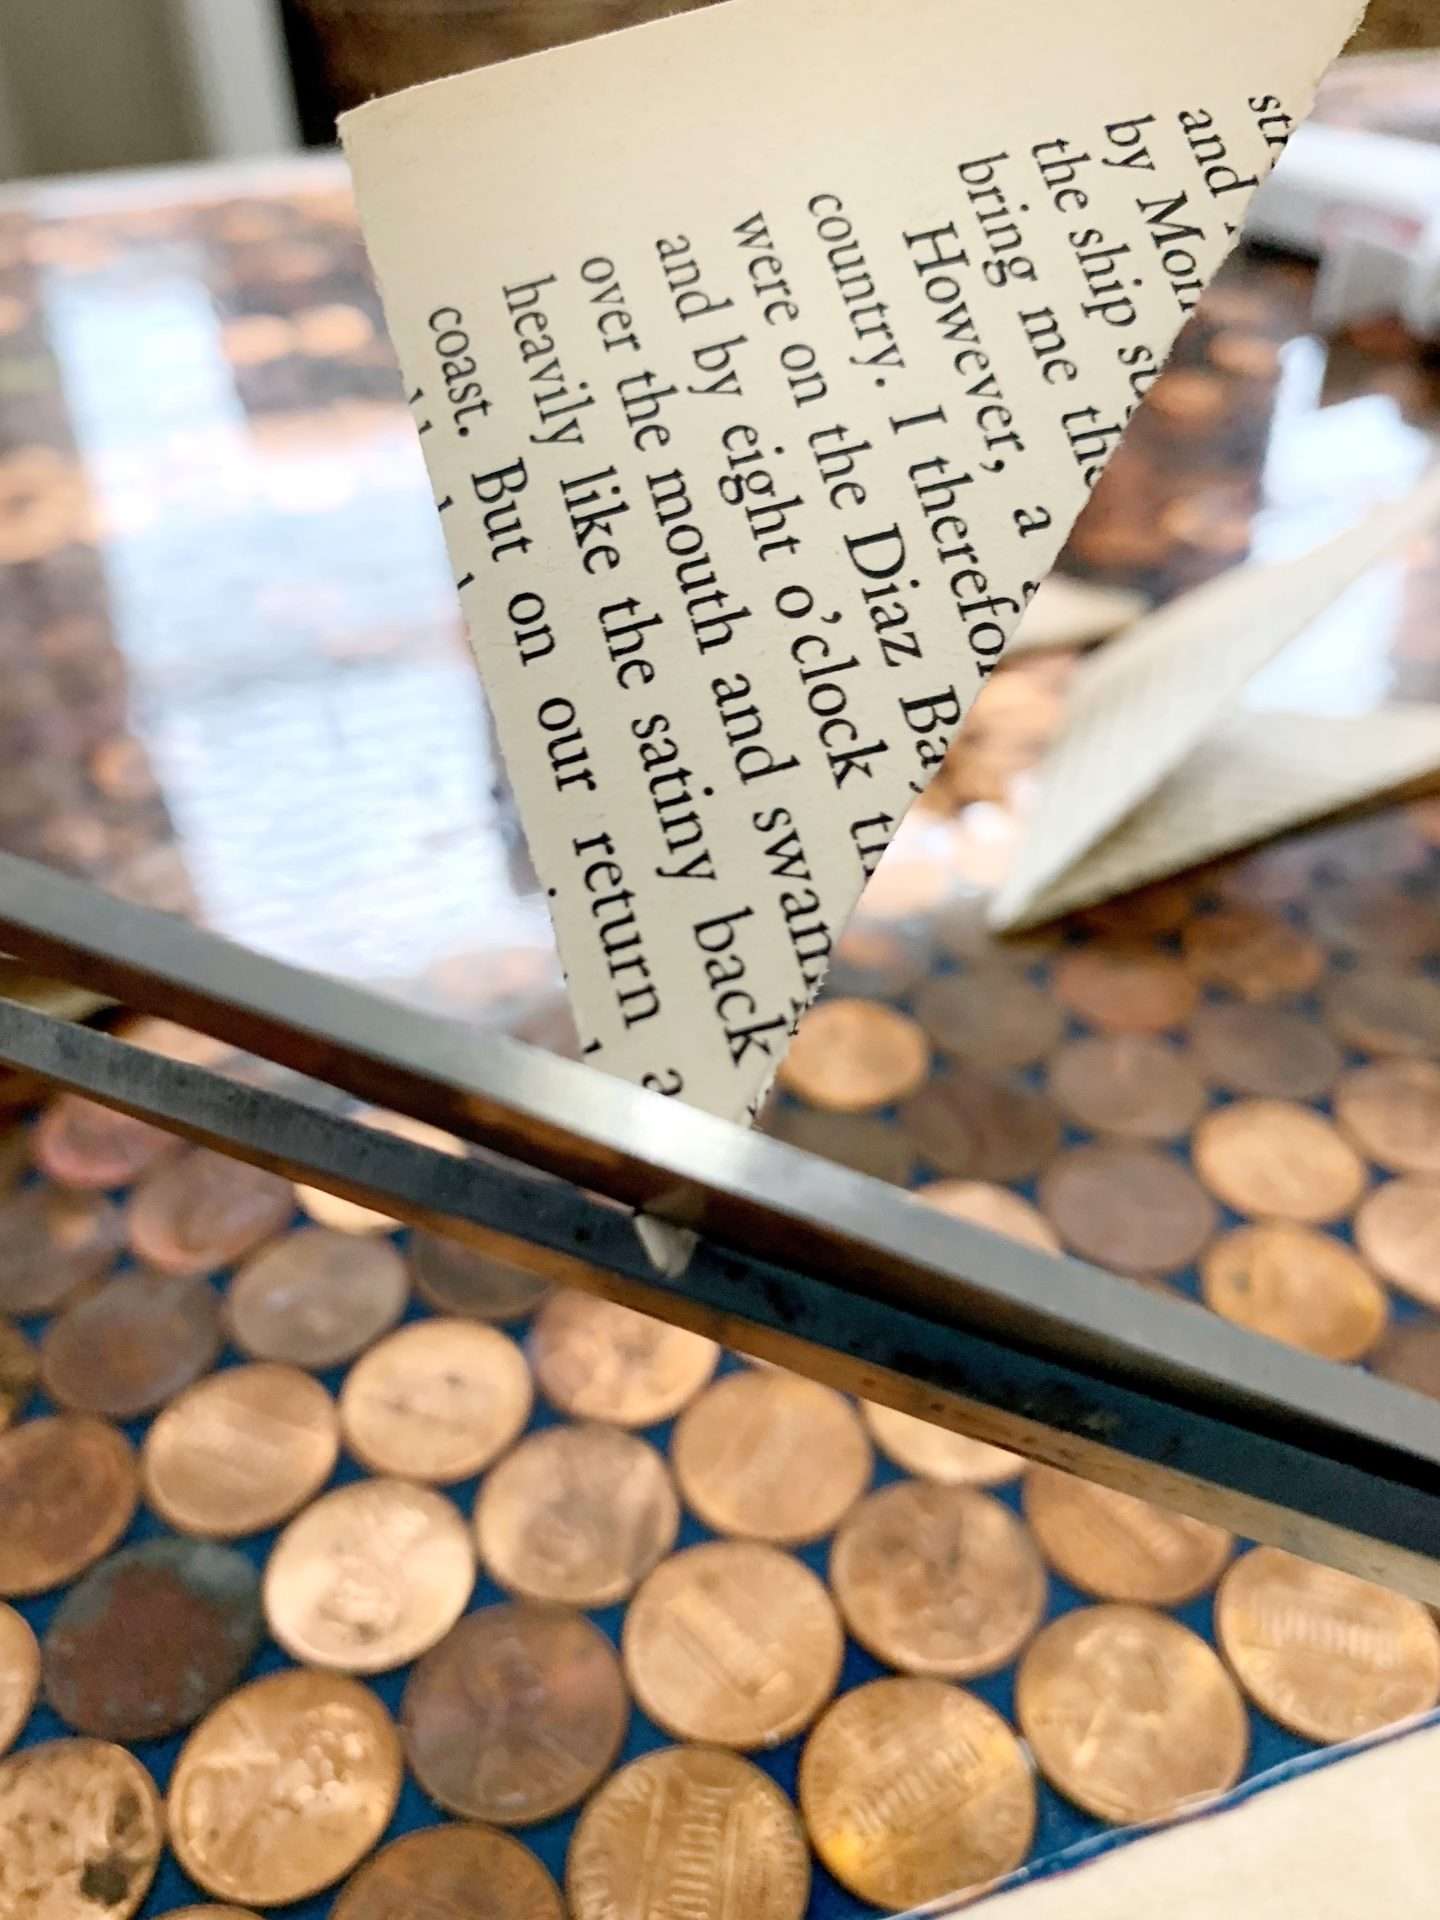
Cutting Corners
The next step is to cut a tiny hole in the center of the page. This is where the stem will be as the pages become a rose.
The corner you cut is the corner that has 2 folds going to it, with no loose edges.
Make sure you make a super tiny cut. If it’s too big, the flower will be too loose and wobbly on the stem.
Craft Scissors Set of 3 Pack, All Purpose Sharp Titanium Blades Shears Rubber Soft Grip Handle, Multipurpose Fabric Scissors Tool Great for Adults, Office, Sewing, School and Home Supplies, PurpleGlue gun and sticks set, Hot Melt Glue Gun Mini for Crafts with 20 Pcs Glue Sticks and 20 Wood Craft Sticks,Hot Mini Glue Guns with Hardshell Carrying Case for School DIY Arts, Craft

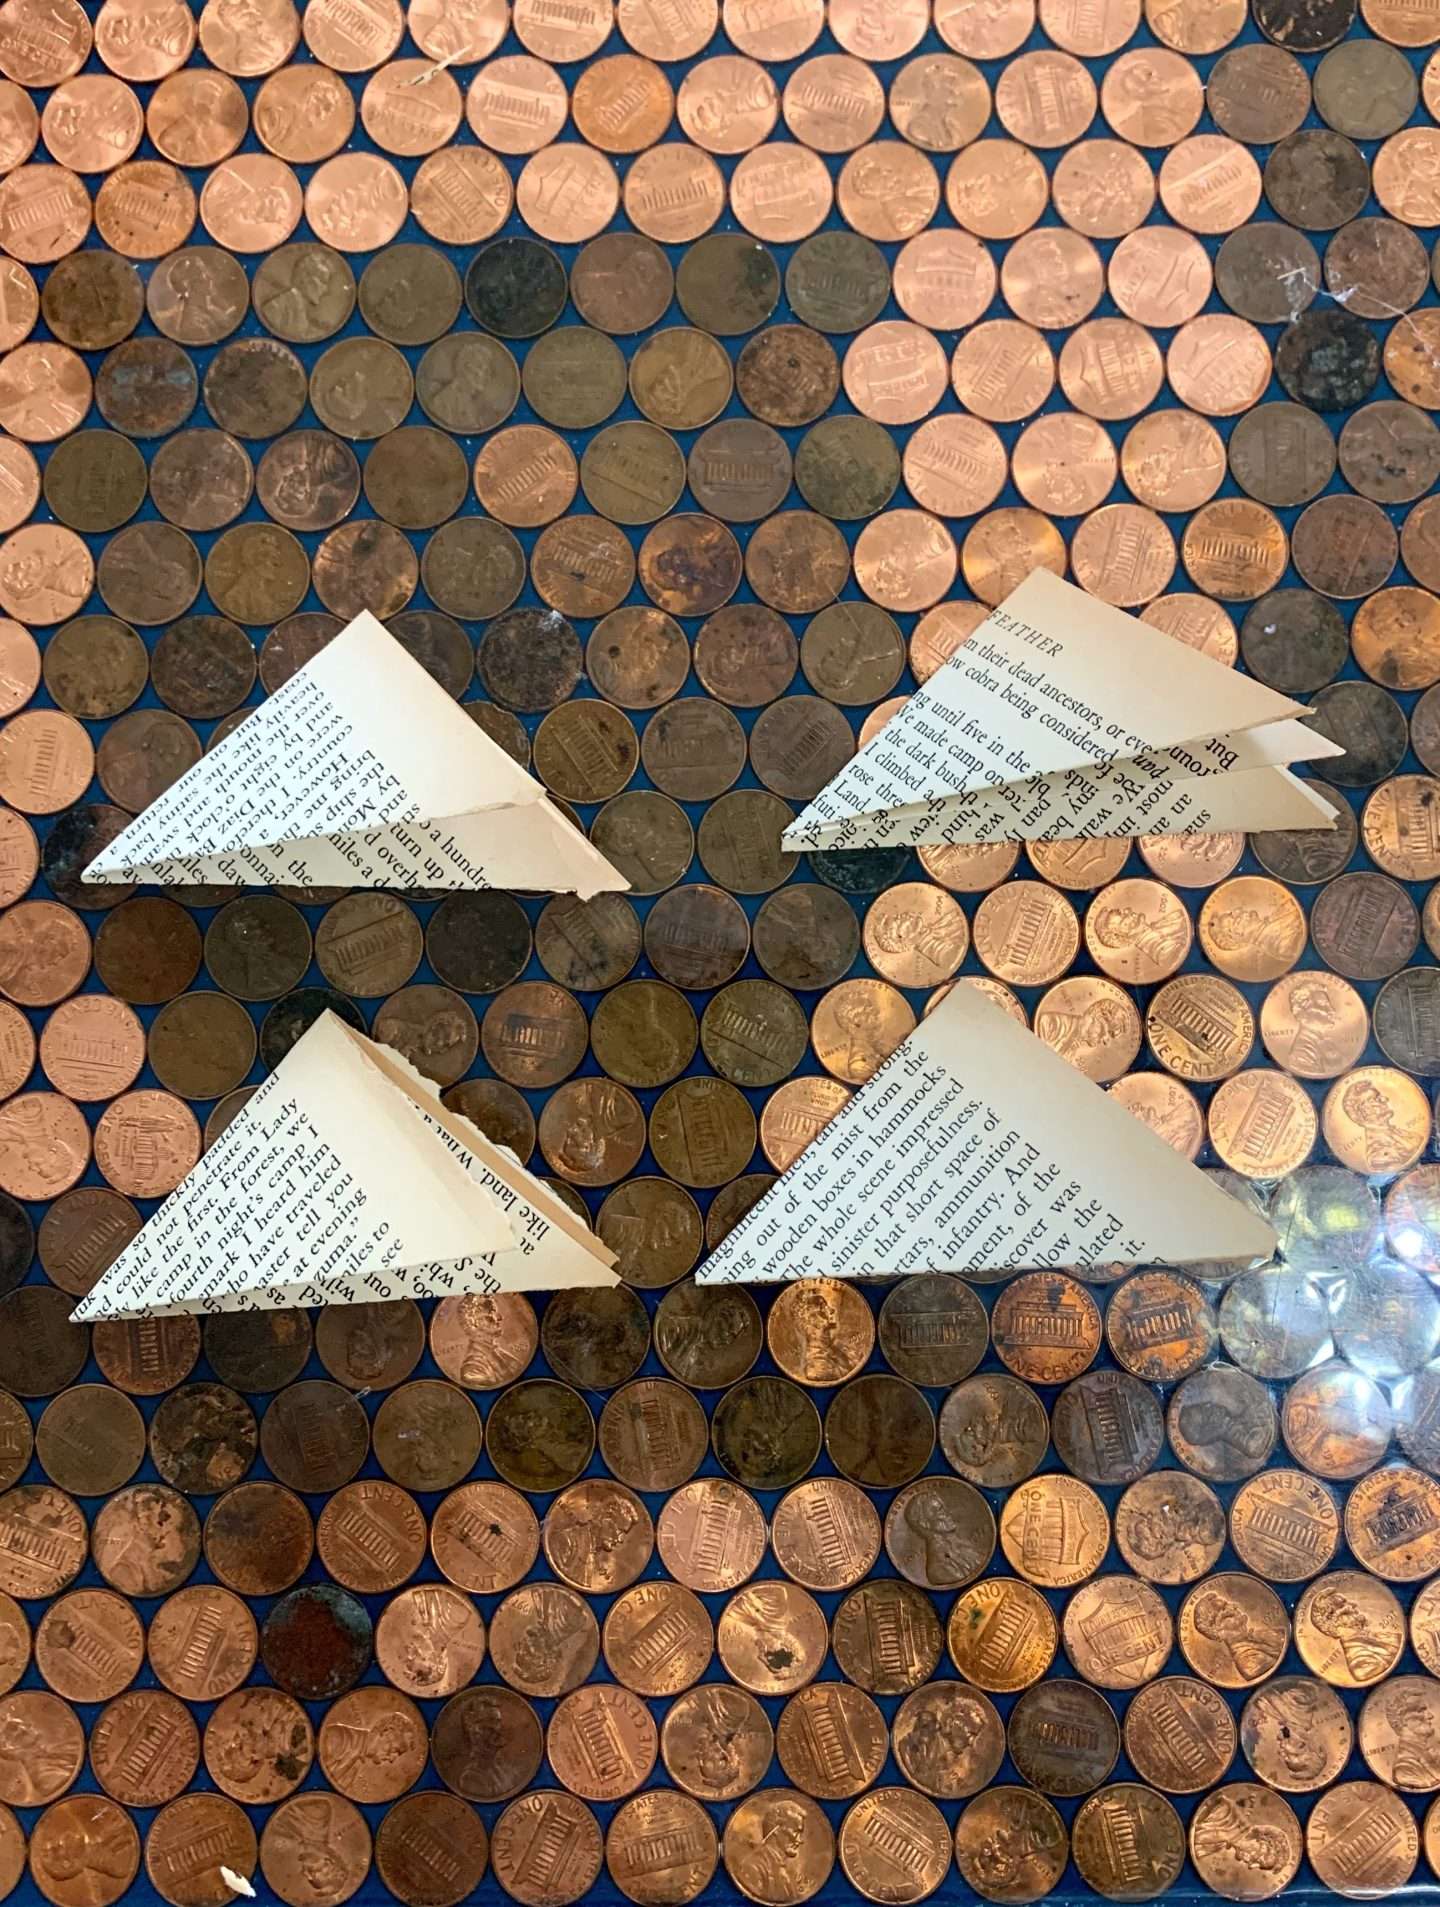
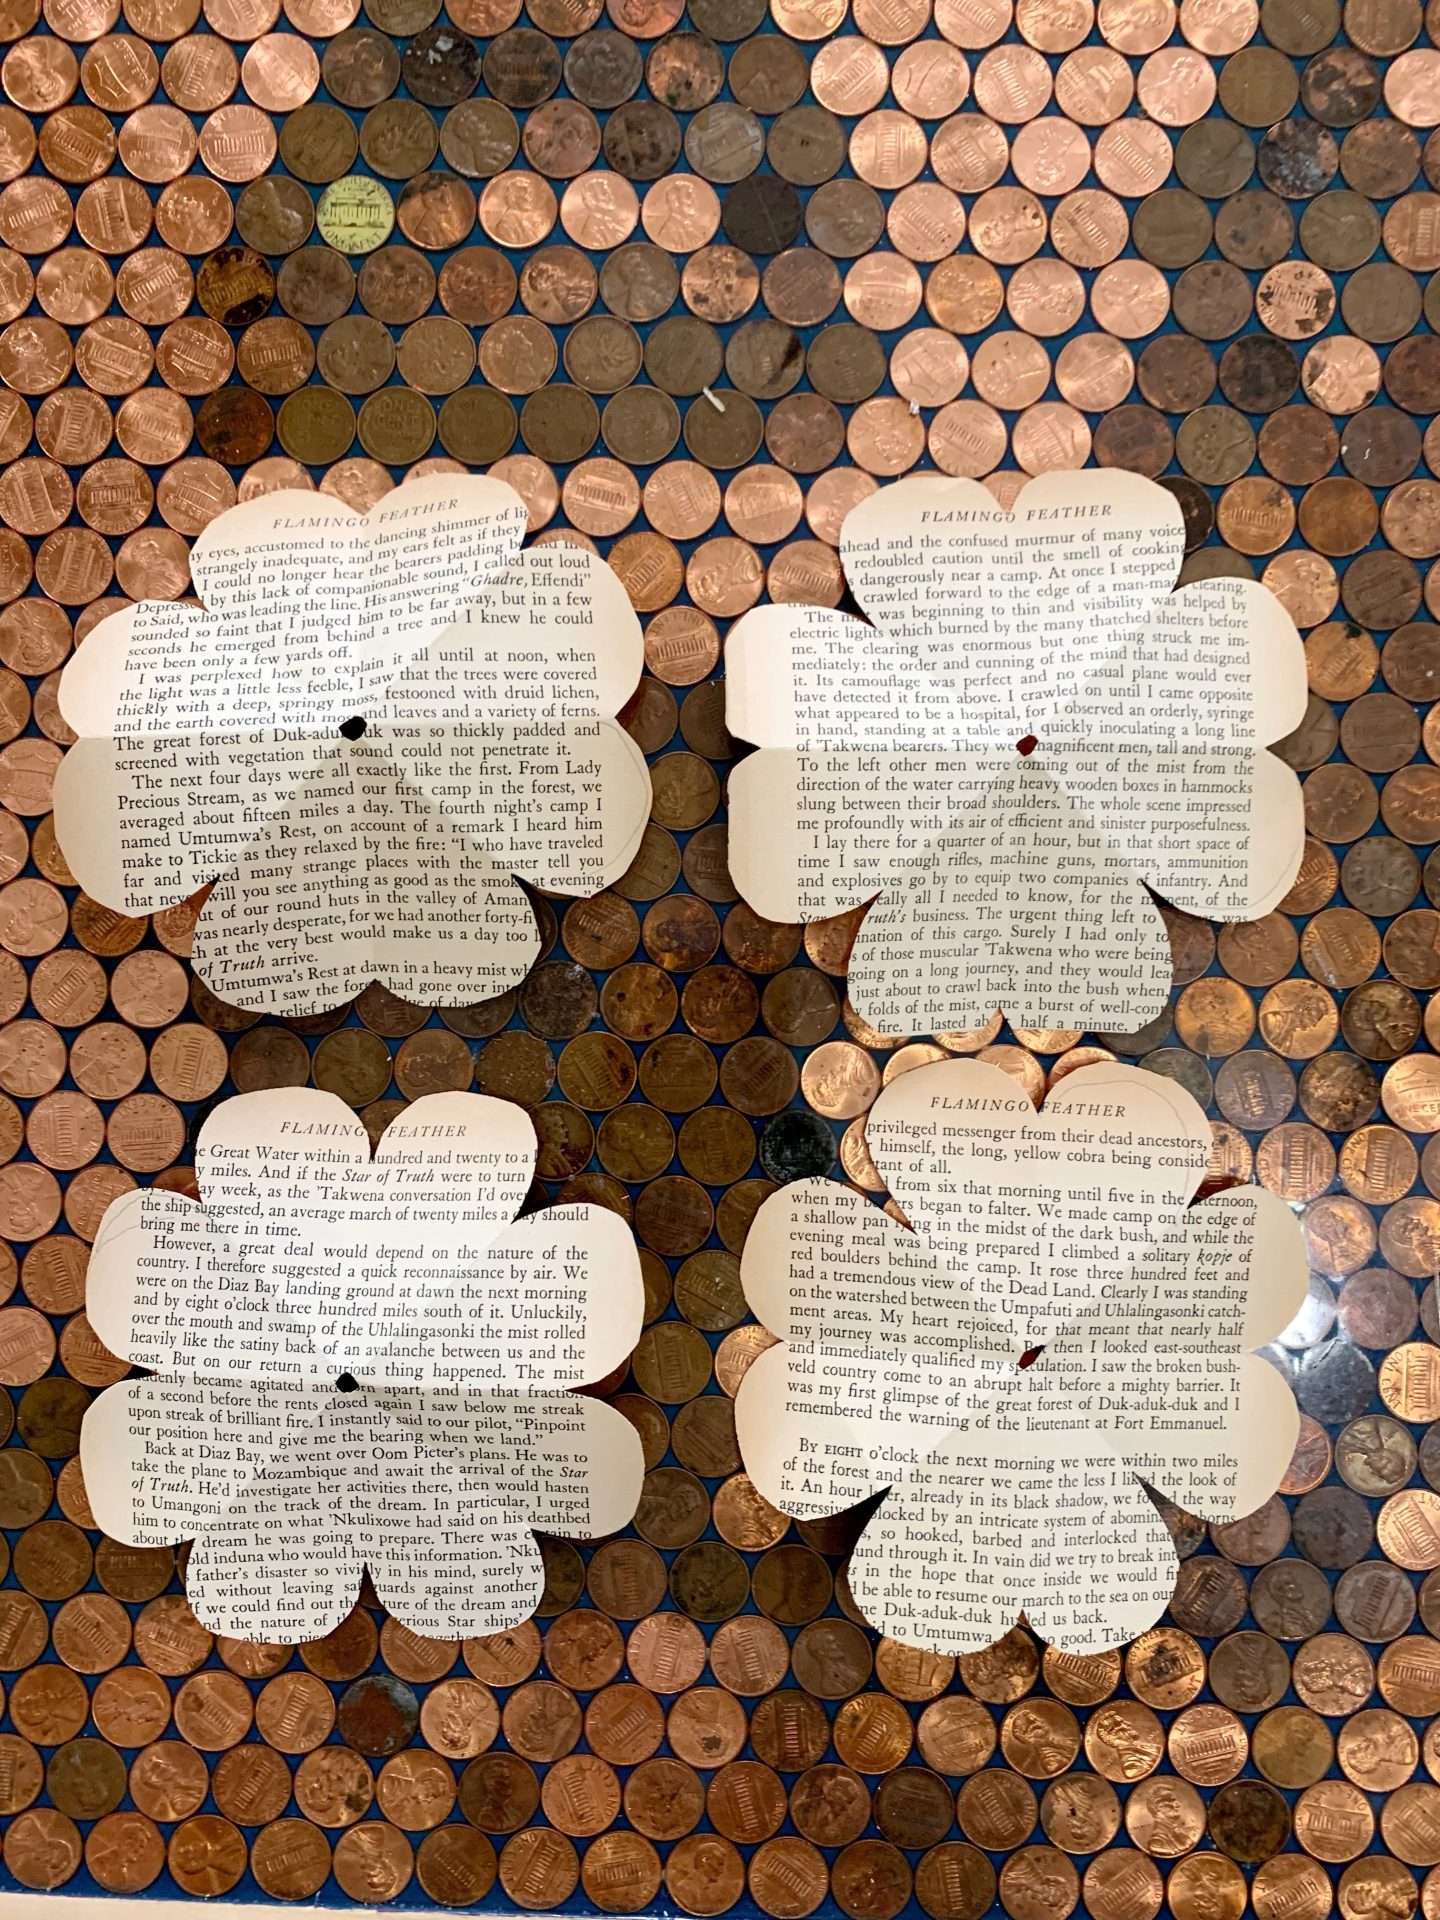
Making Petal Shapes
This is the point where you see where you can kinda start to see how these little triangles might become a flower.
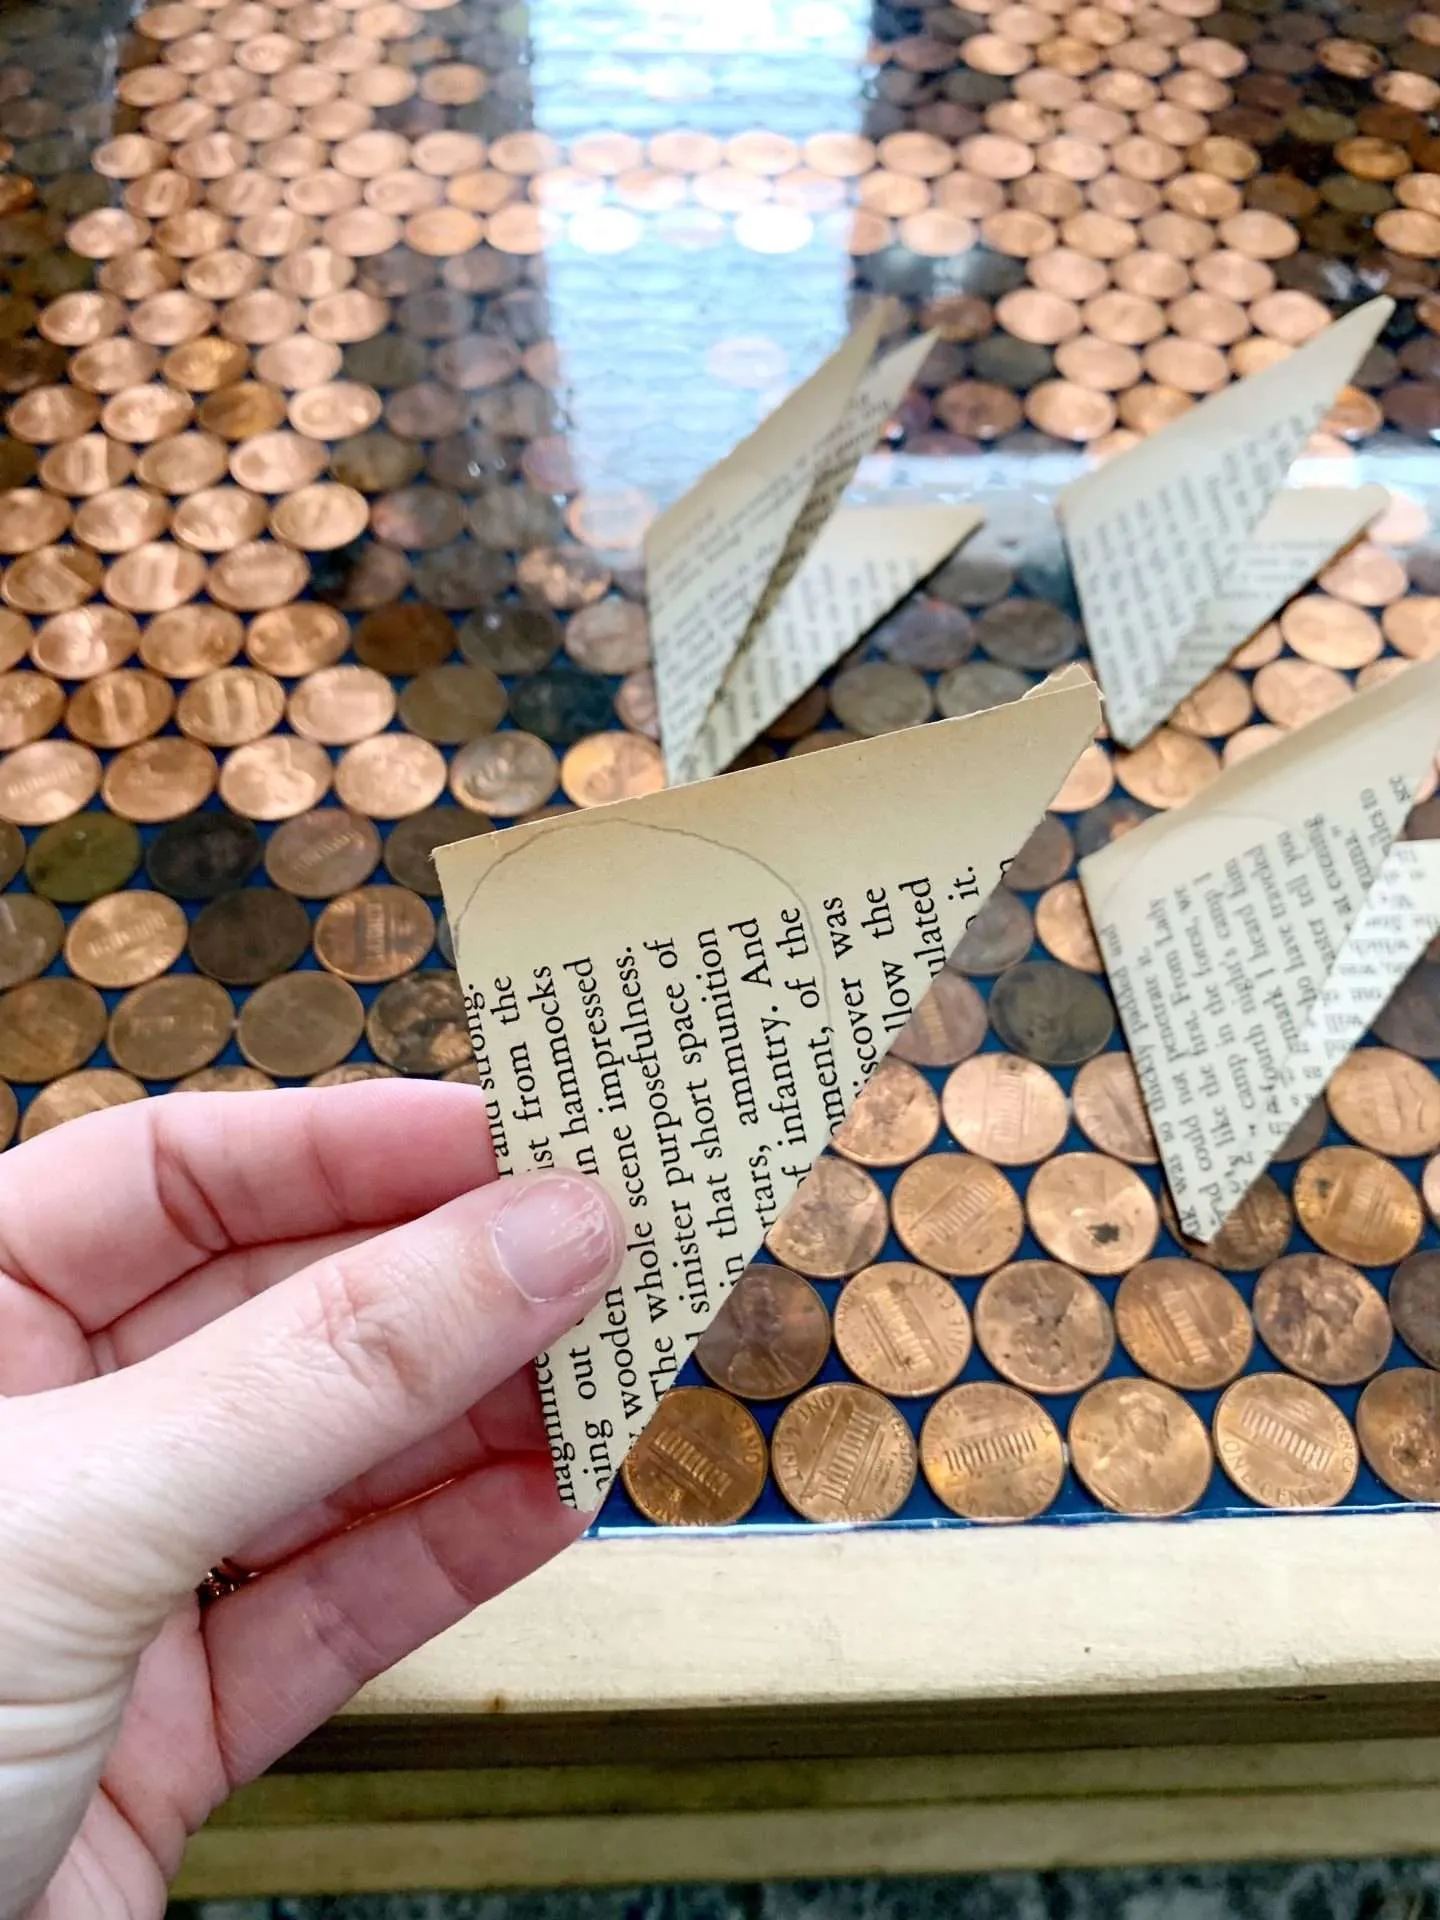
On the edge of the triangle that you cut for the hole, draw half of a heart with the tip of the heart being on the end that you snipped.
Cut the folded paper along that line.
As you can tell, I didn’t cut exactly on the line that I drew, but used it more as a guide.
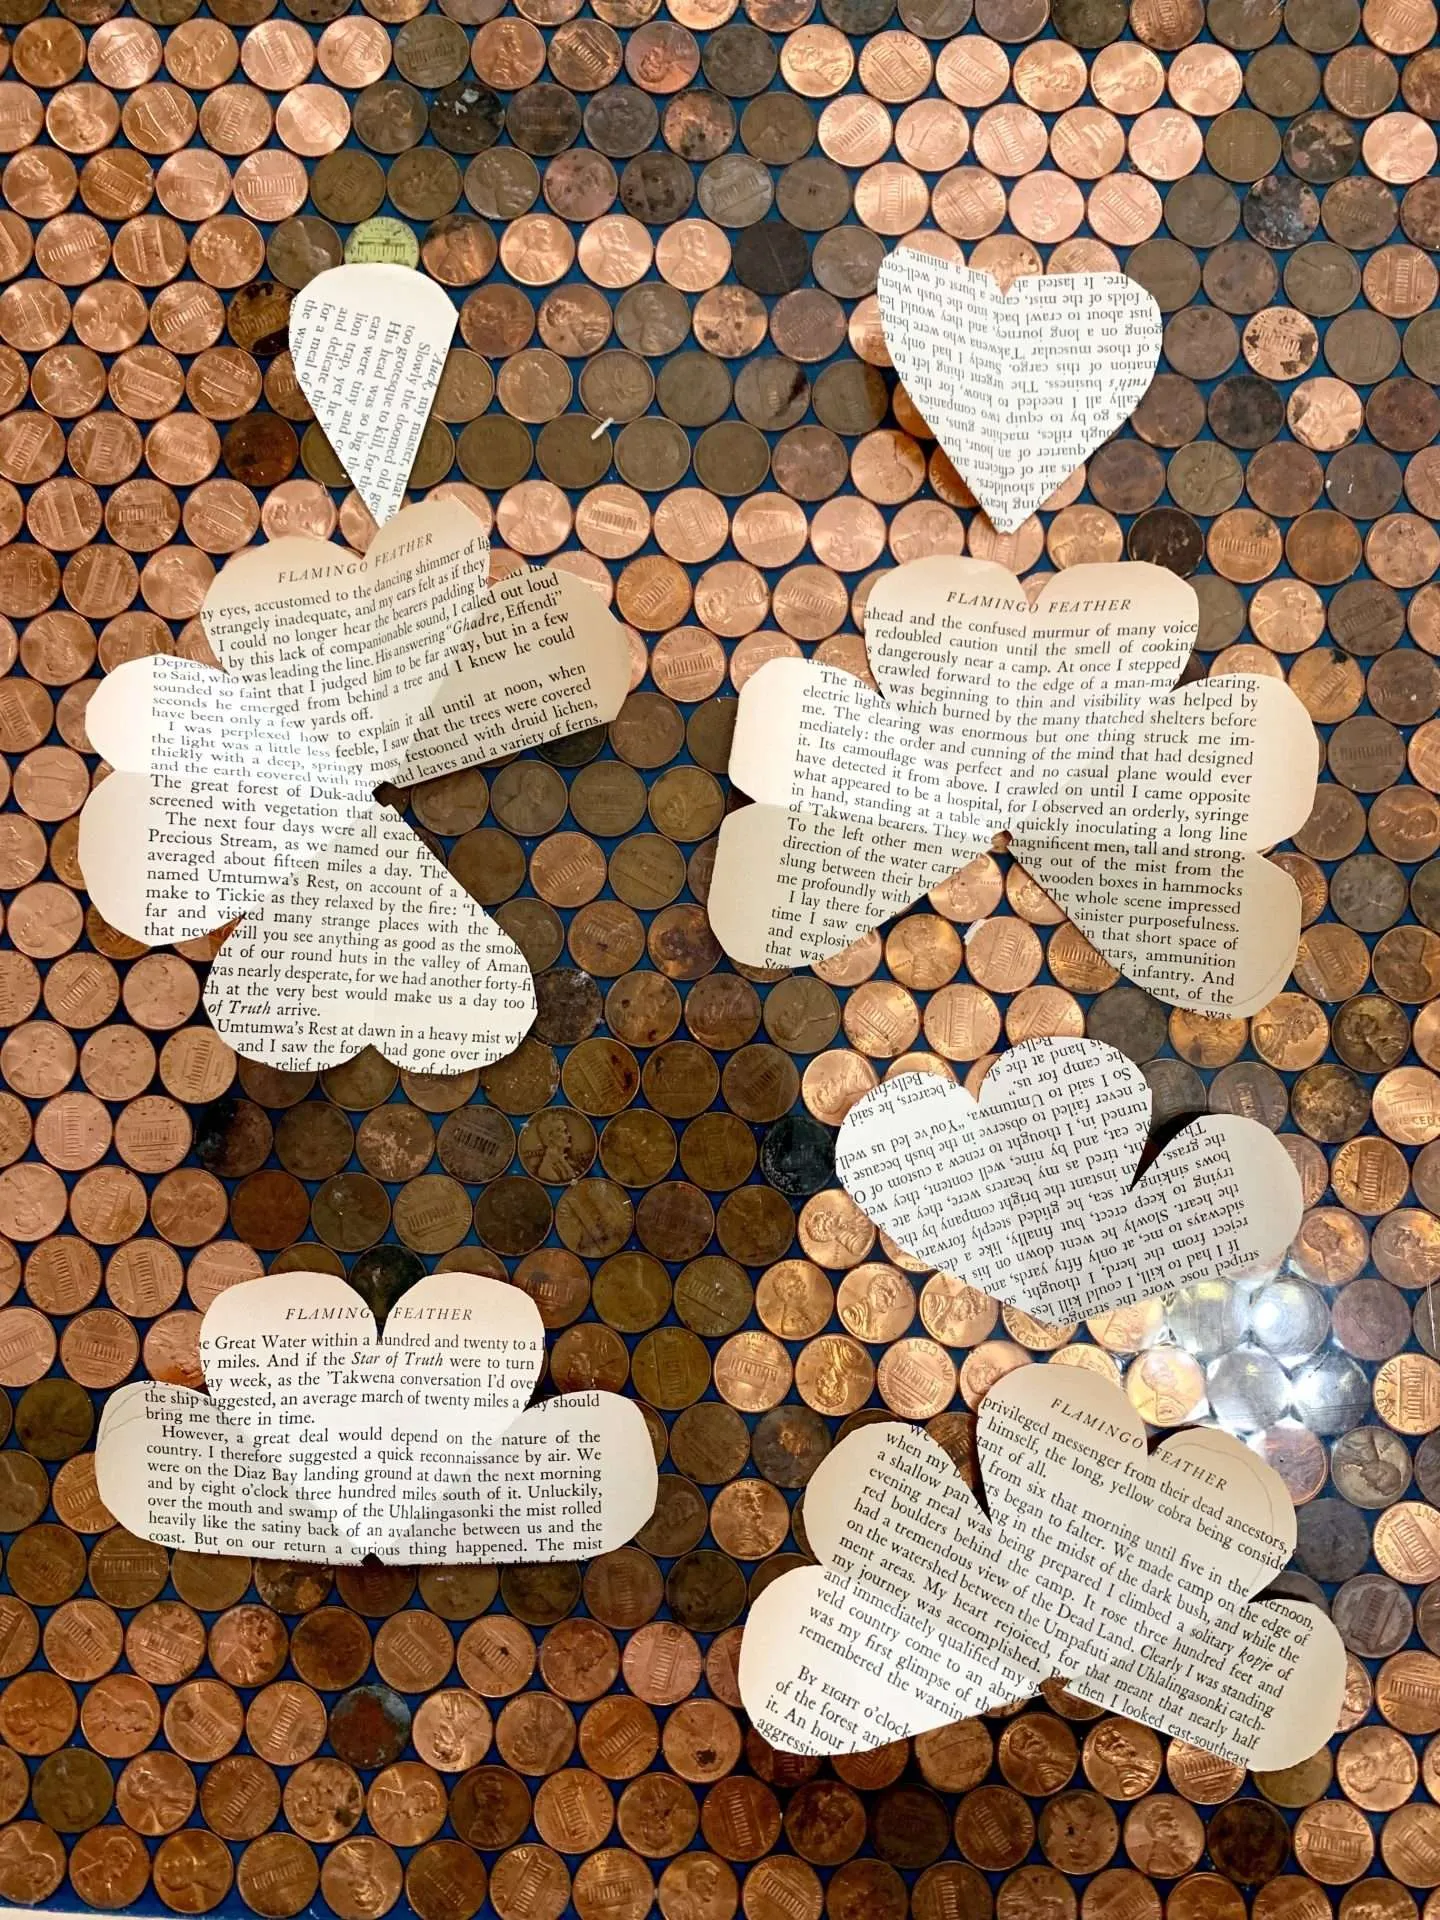
Make More Cuts
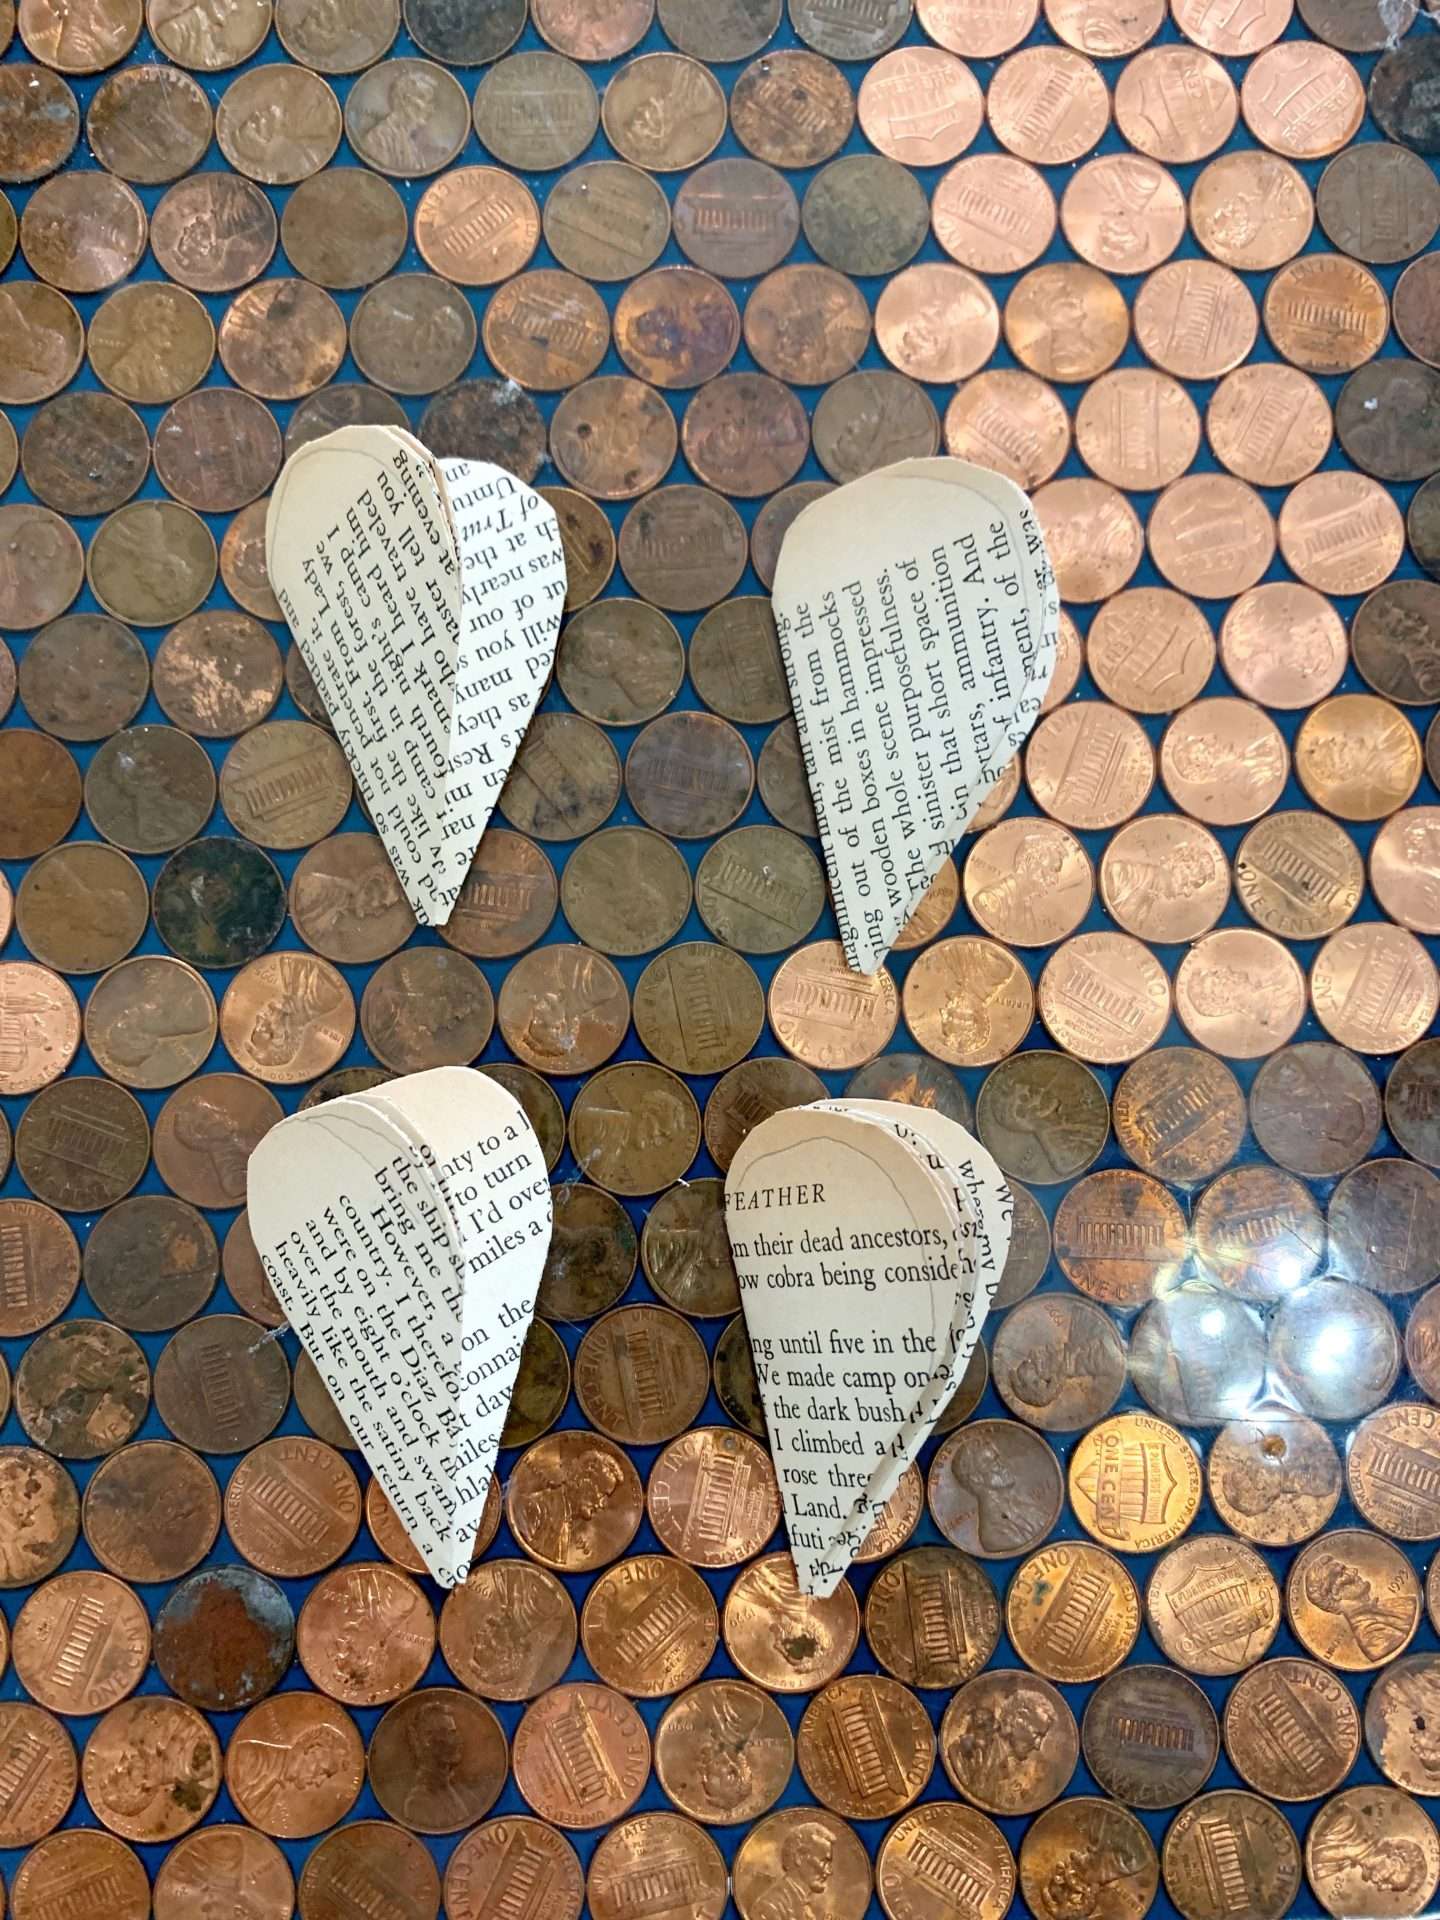
Unfold the pages.
From the first page, cut out one petal. Cut out the area from one crease to another, down to the hole in the center of the page. (Only cut one ‘hump’ at the top, not two!)
Then, cut out two petals from the second page. (Two ‘humps’ at the edge of the page.)
From the third page, cut out three petals. (Three ‘humps’.)
Finally, cut the fourth page in half. (You’ll have 4 ‘humps’.)
SAVE ALL OF THE CUT OUT PETALS! These will be used to make the center of the flower.
Literary Blooms Handmade Shakespeare Paper Flower, Book Page Rose made from His Complete Works- Literature Lovers Gift for Anniversaries, Birthdays, Graduations, Mother’s Day- 3 Inch SmallF. Scott Fitzgerald Poster Vintage Quote Wall Art for What It’s Worth Print Minimalist Flower Painting Vintage Literary Art Inspirational Quote Pictures Positive Encouragement Posters 16x24in


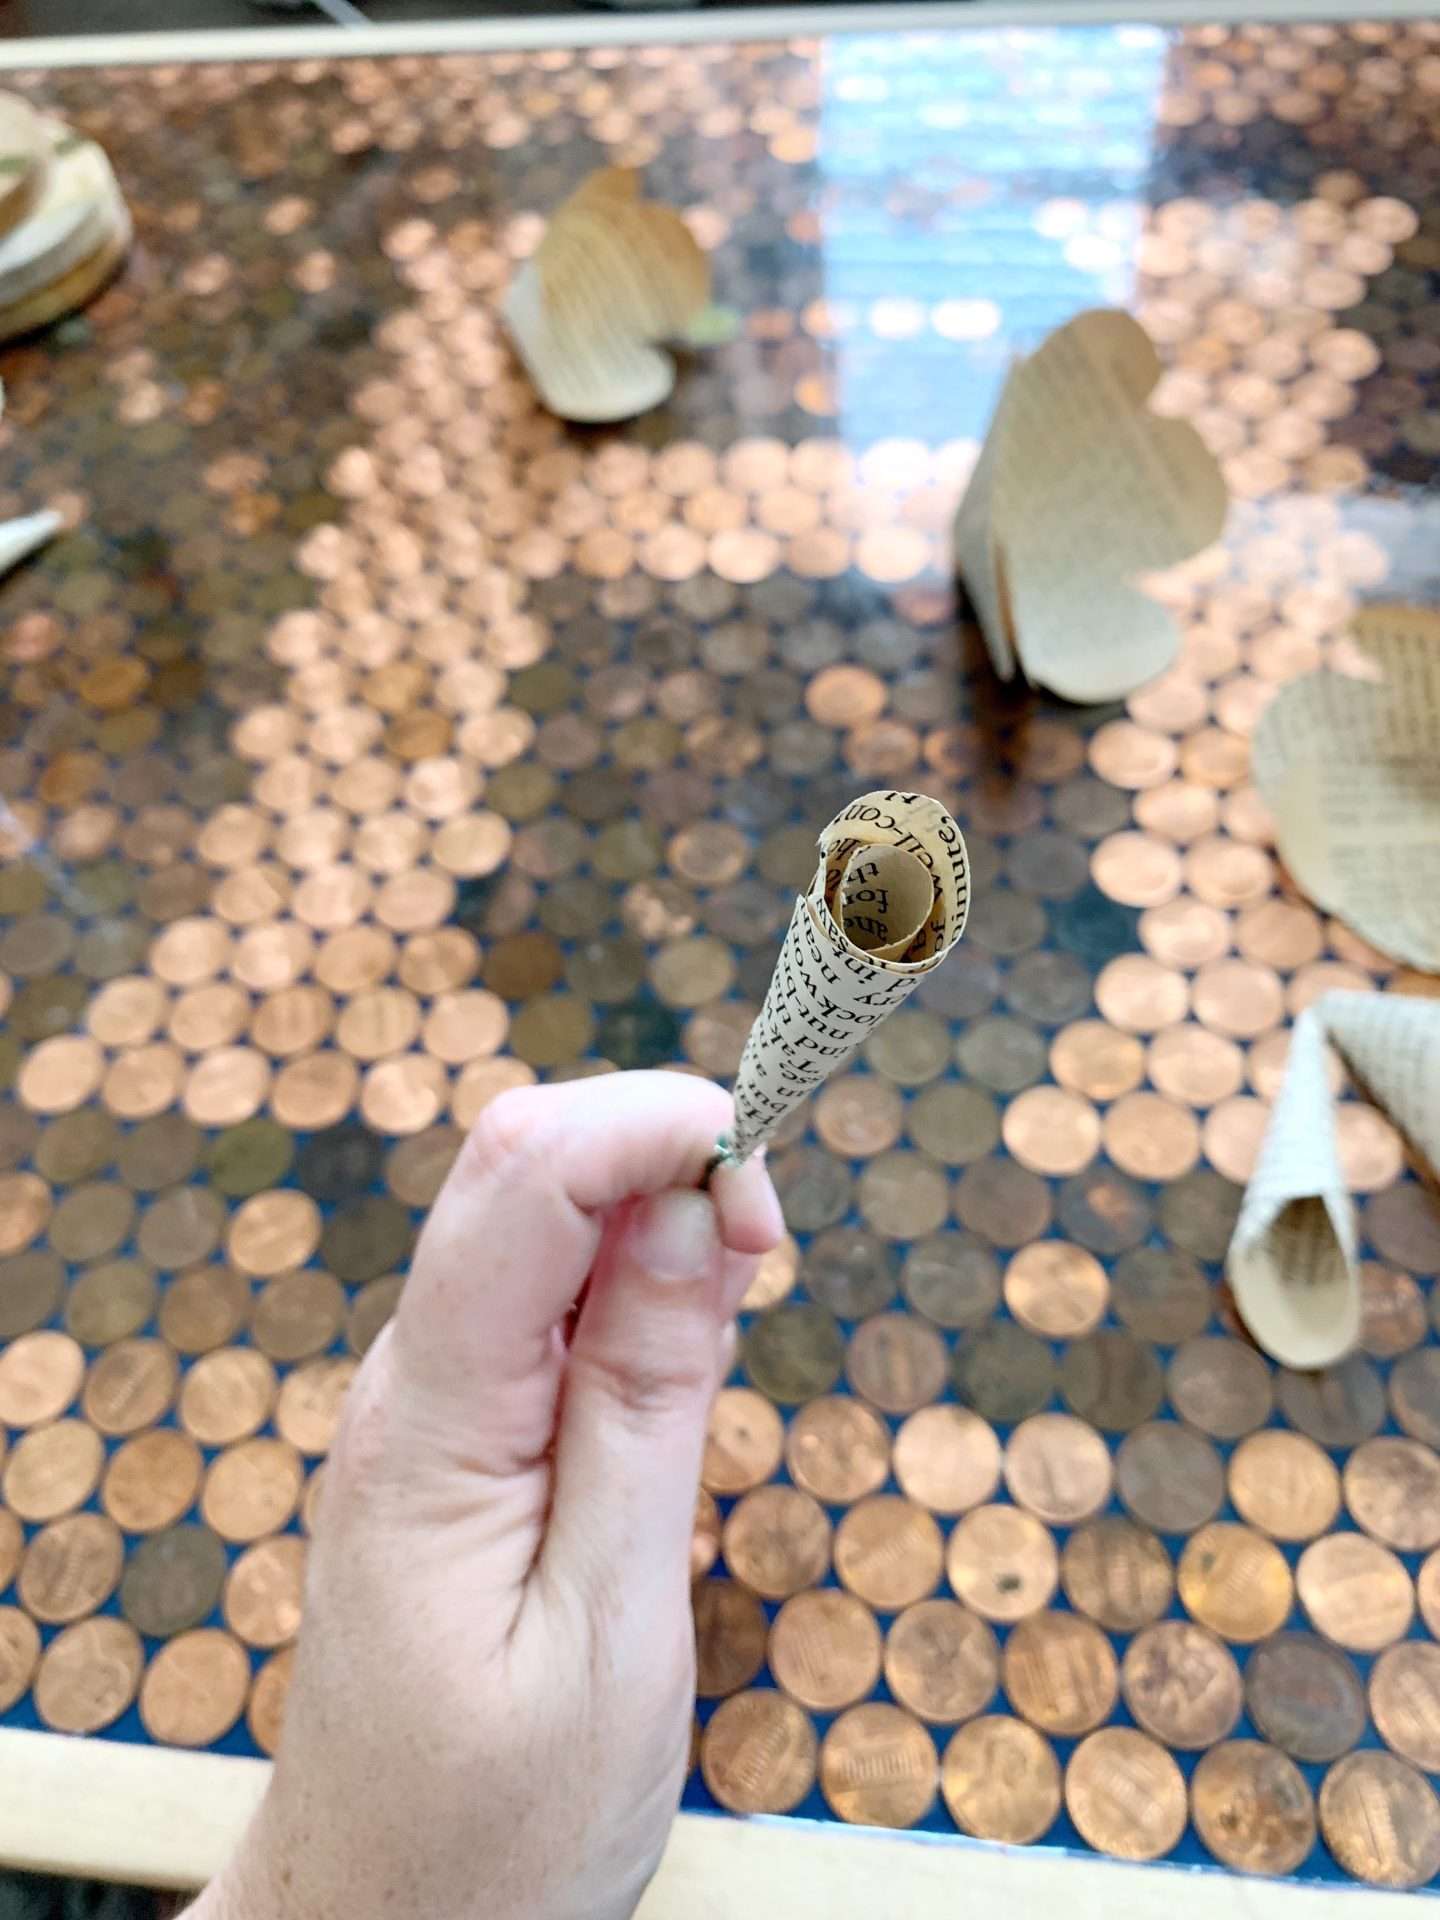
Roll the Center of the Rose
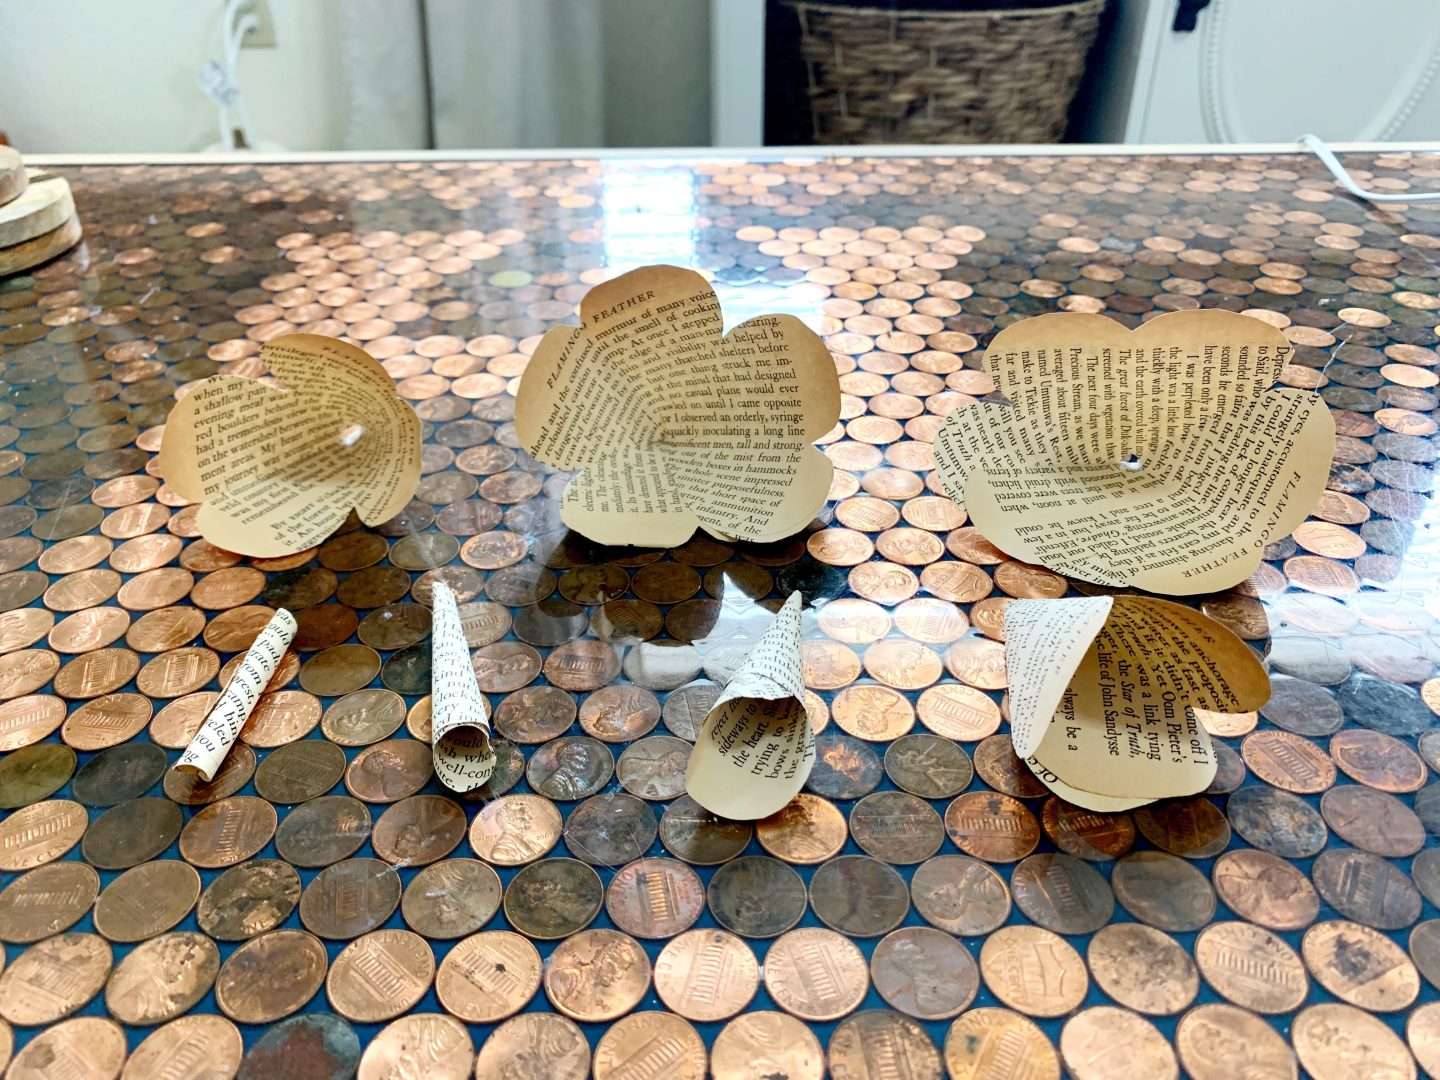
Starting with the smallest petal that you cut out, roll it into a cone shape and glue the edge to secure it.
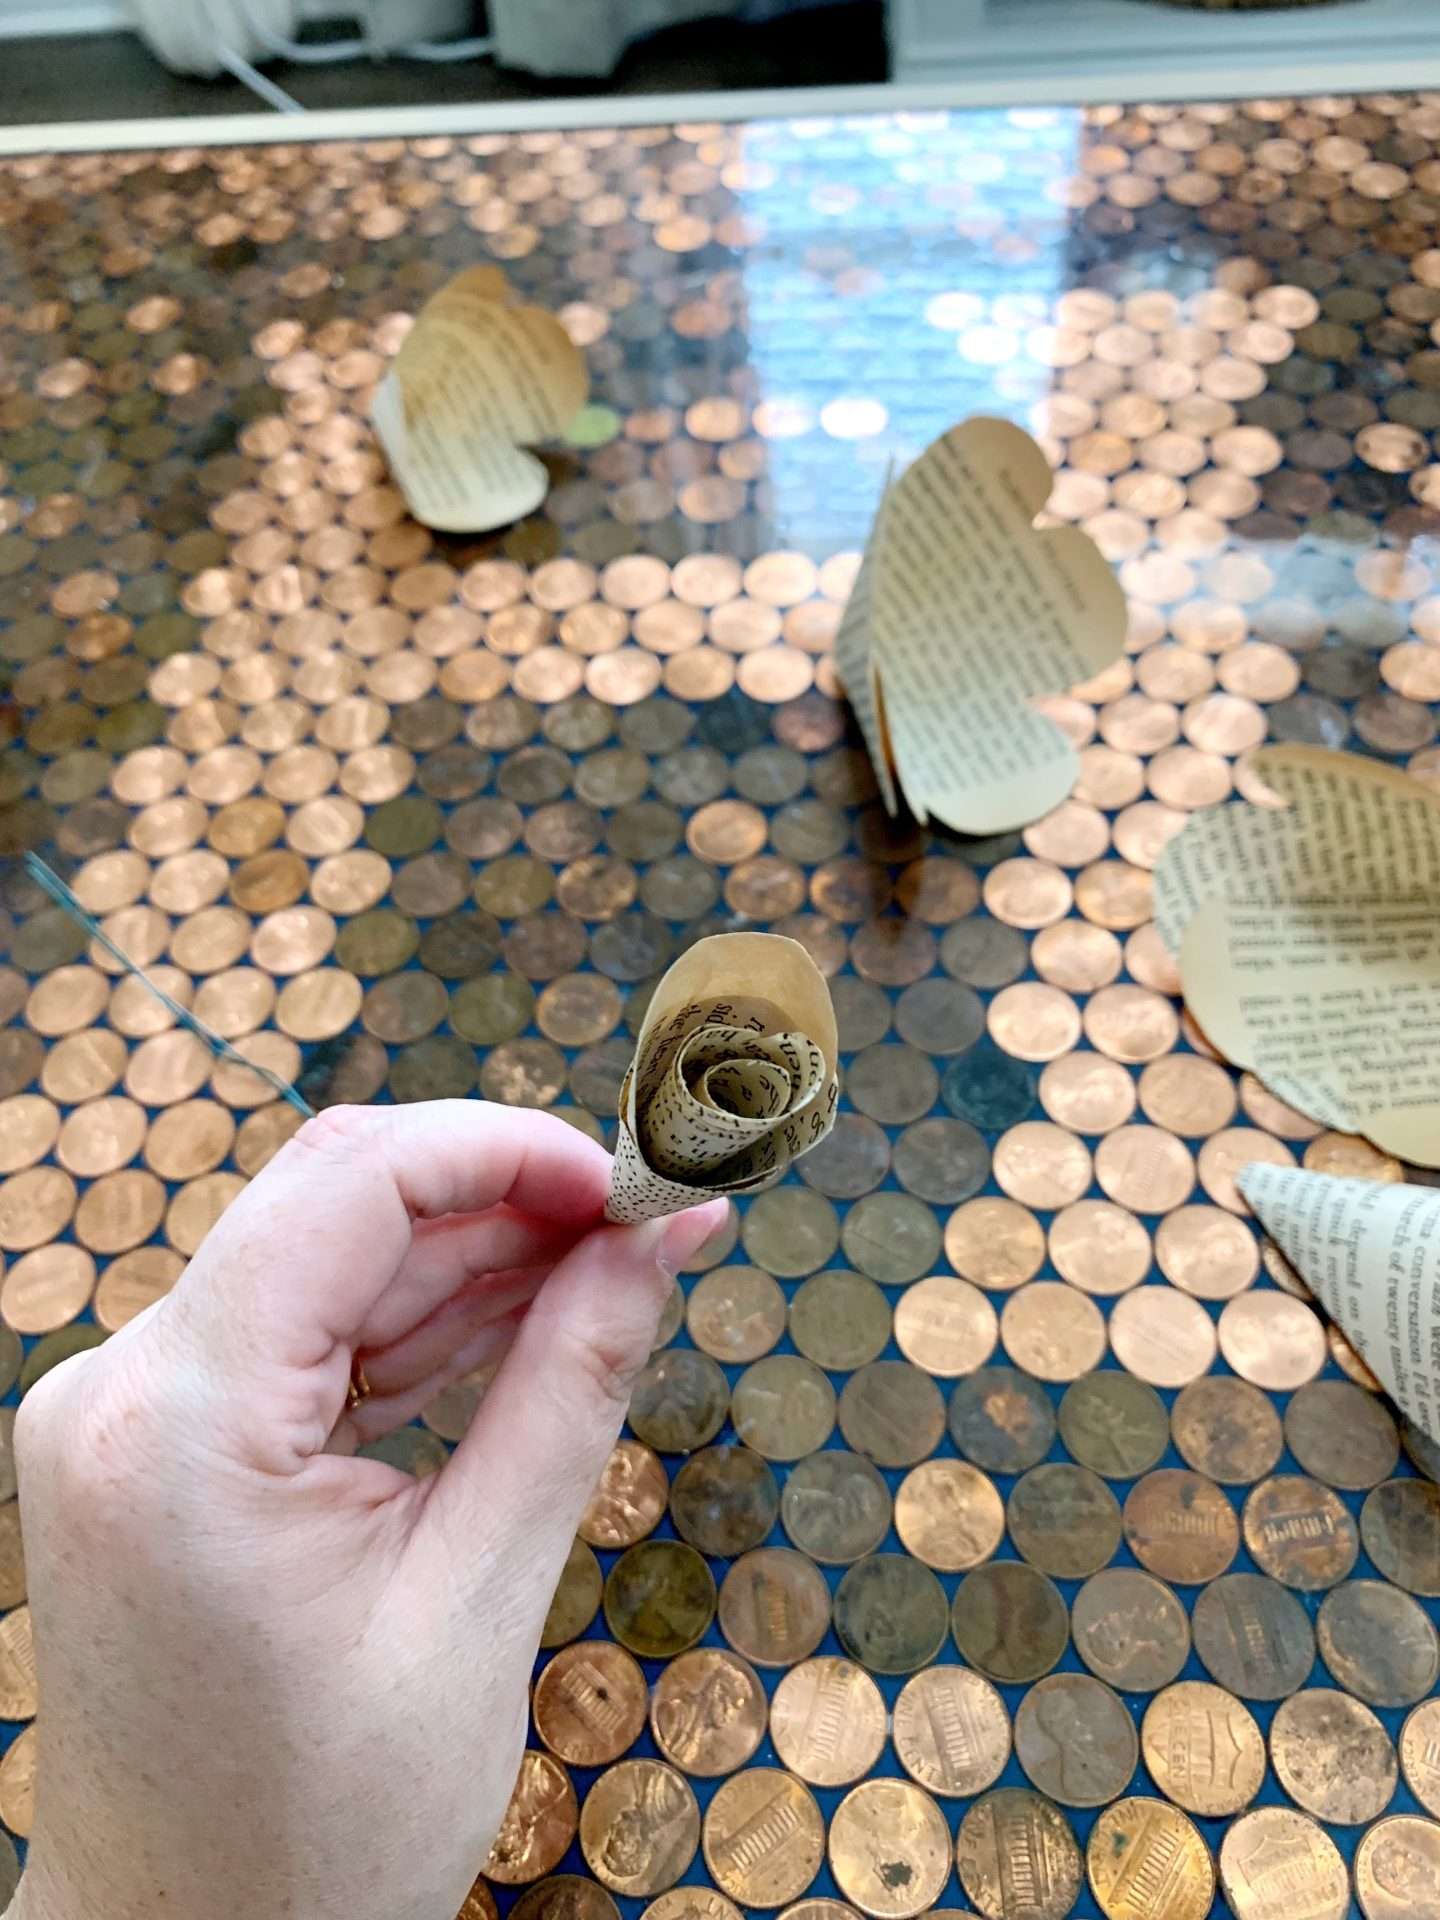
Likewise, roll the second and third smallest petals into cone shapes and glue them ‘shut’.
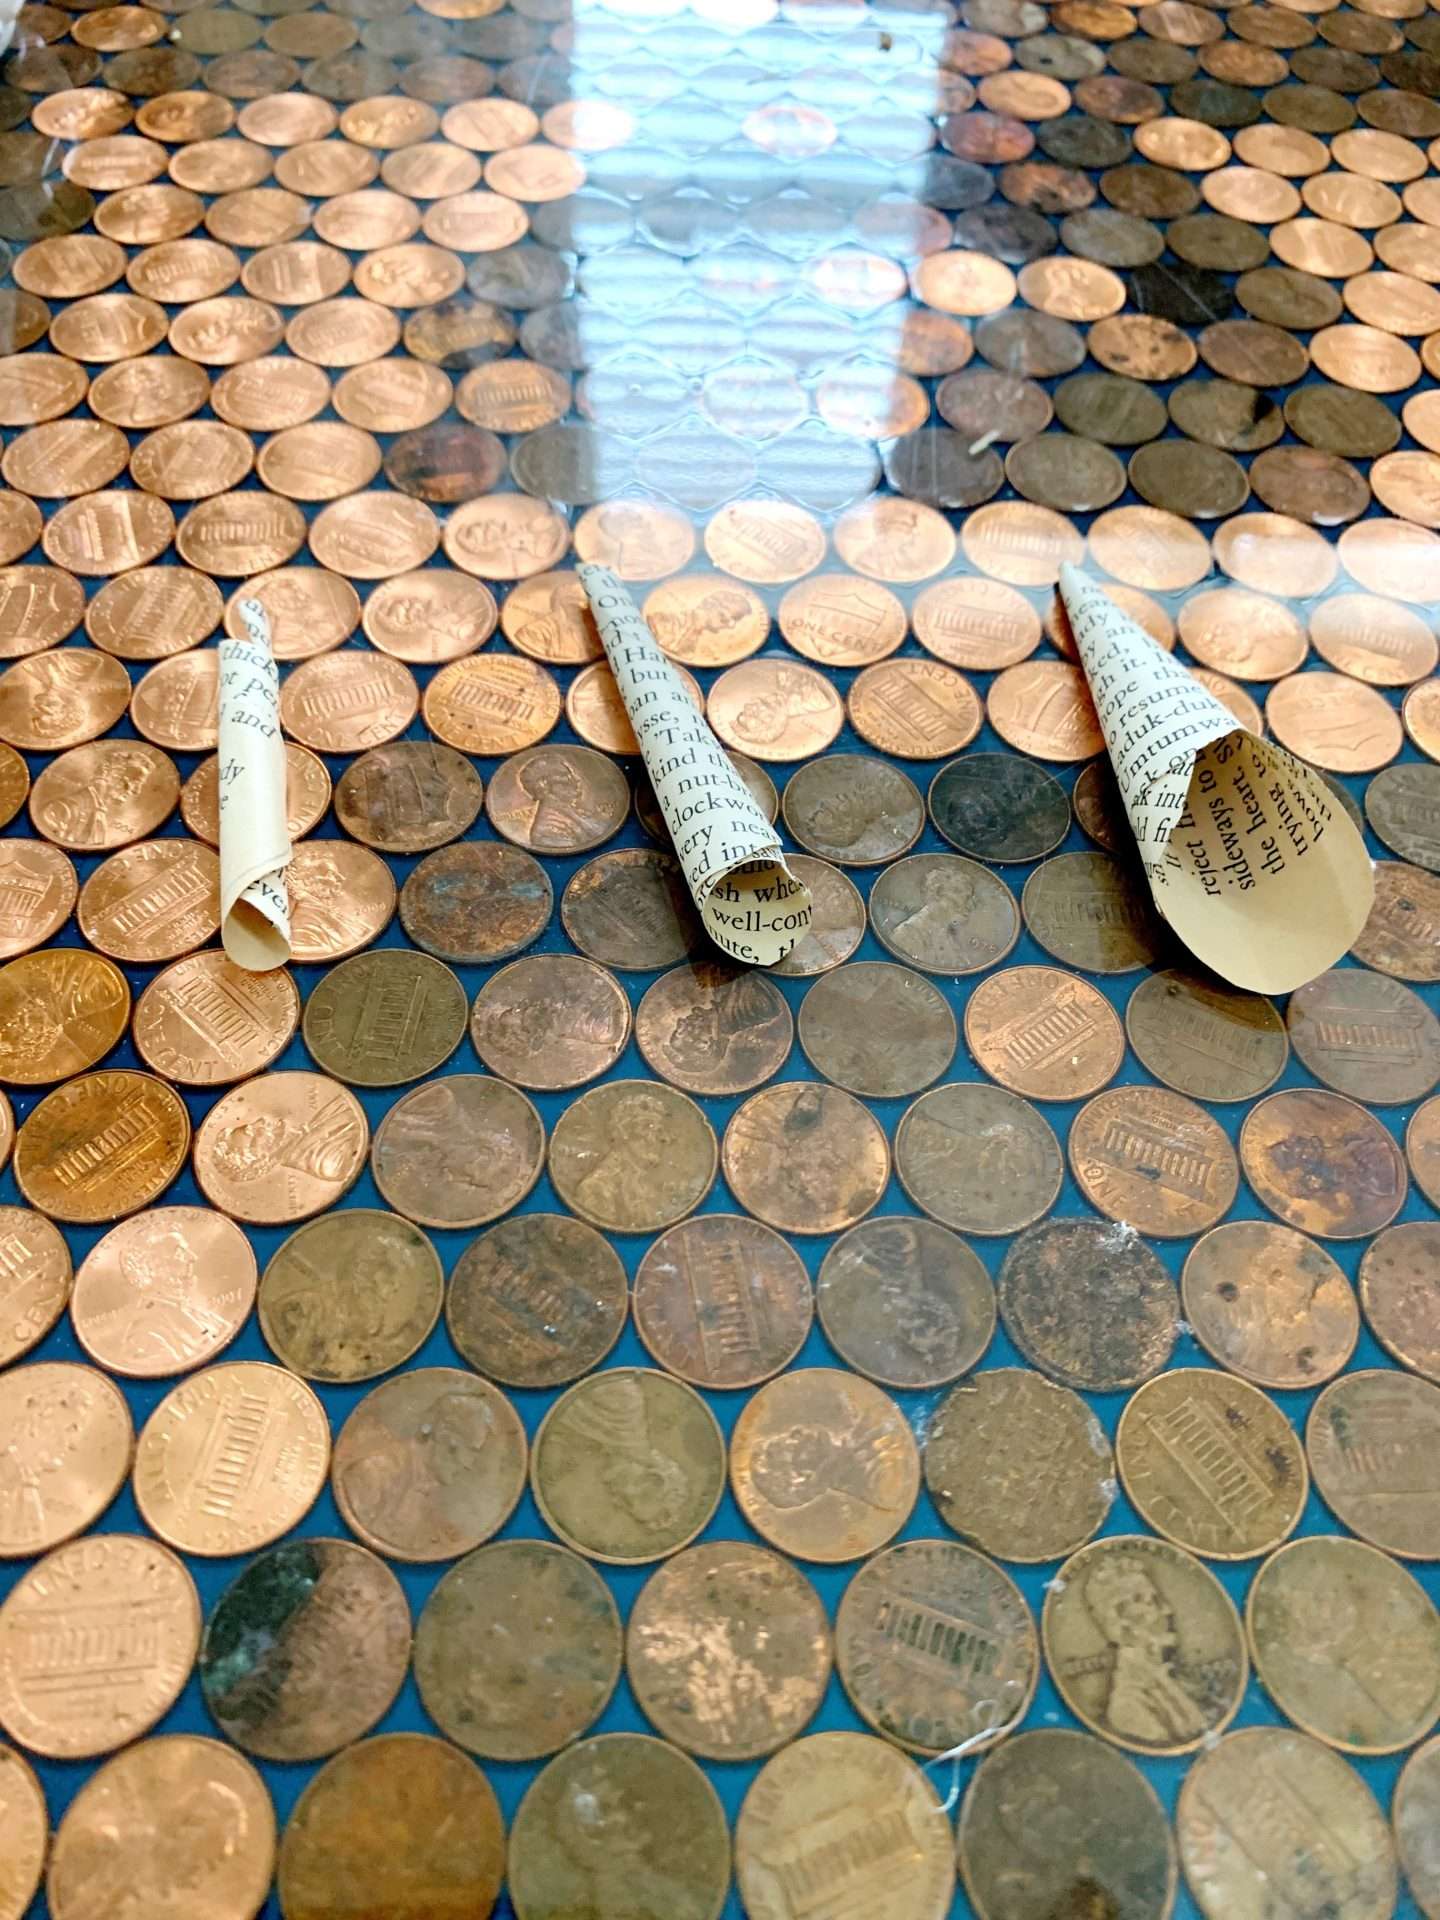
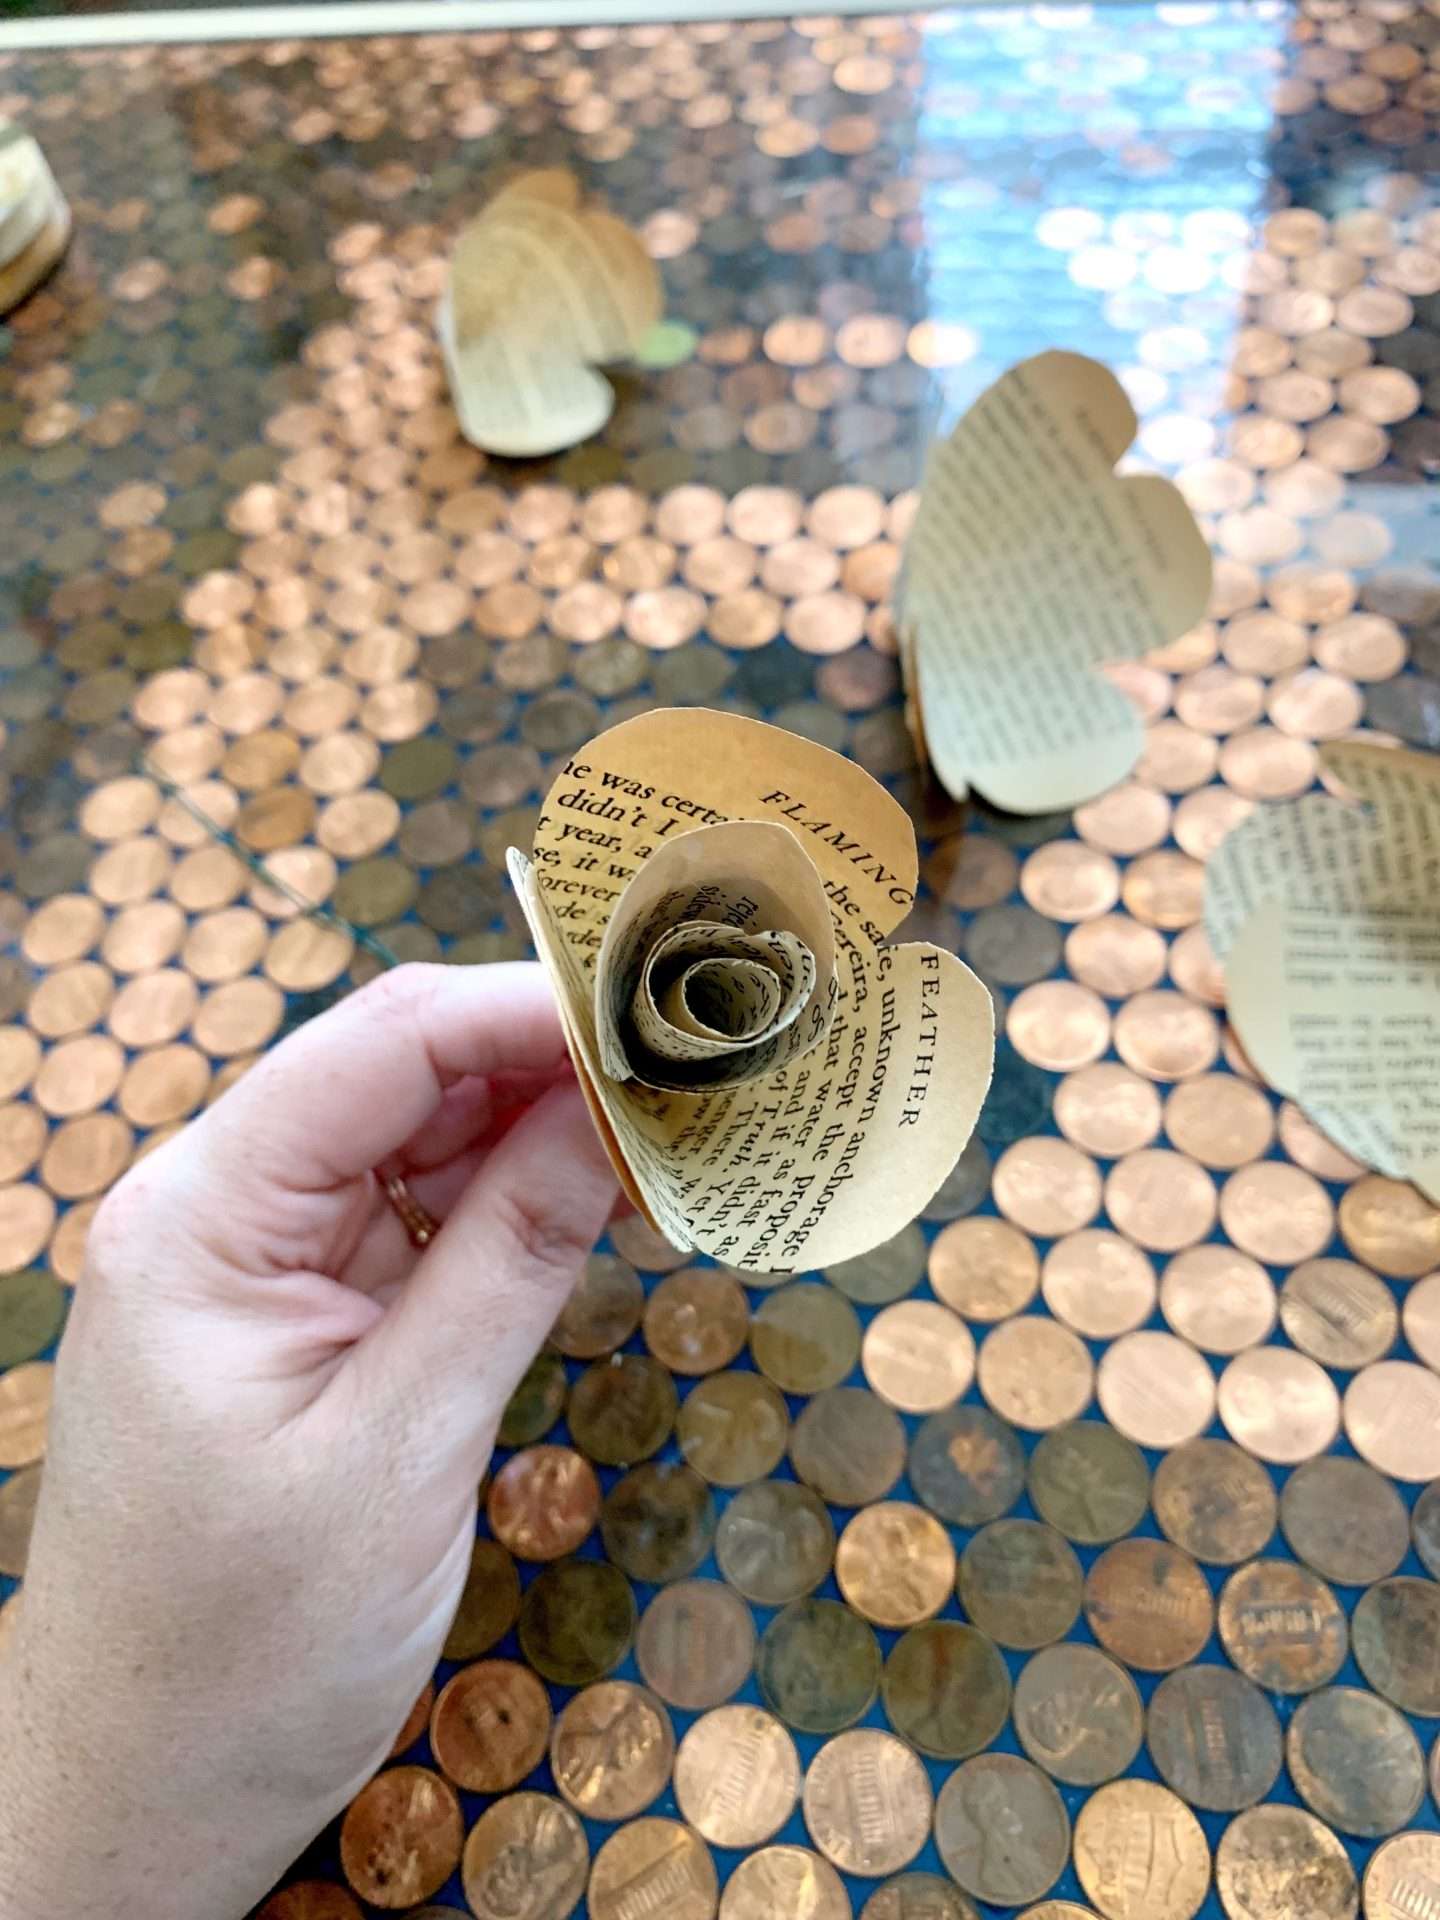
Create the Larger Petals
To create the larger petals, start with the half page.
Instead of rolling it like the smaller ones, overlap one whole petal over another and glue it together. So, instead of 4 petals, there will be 3.
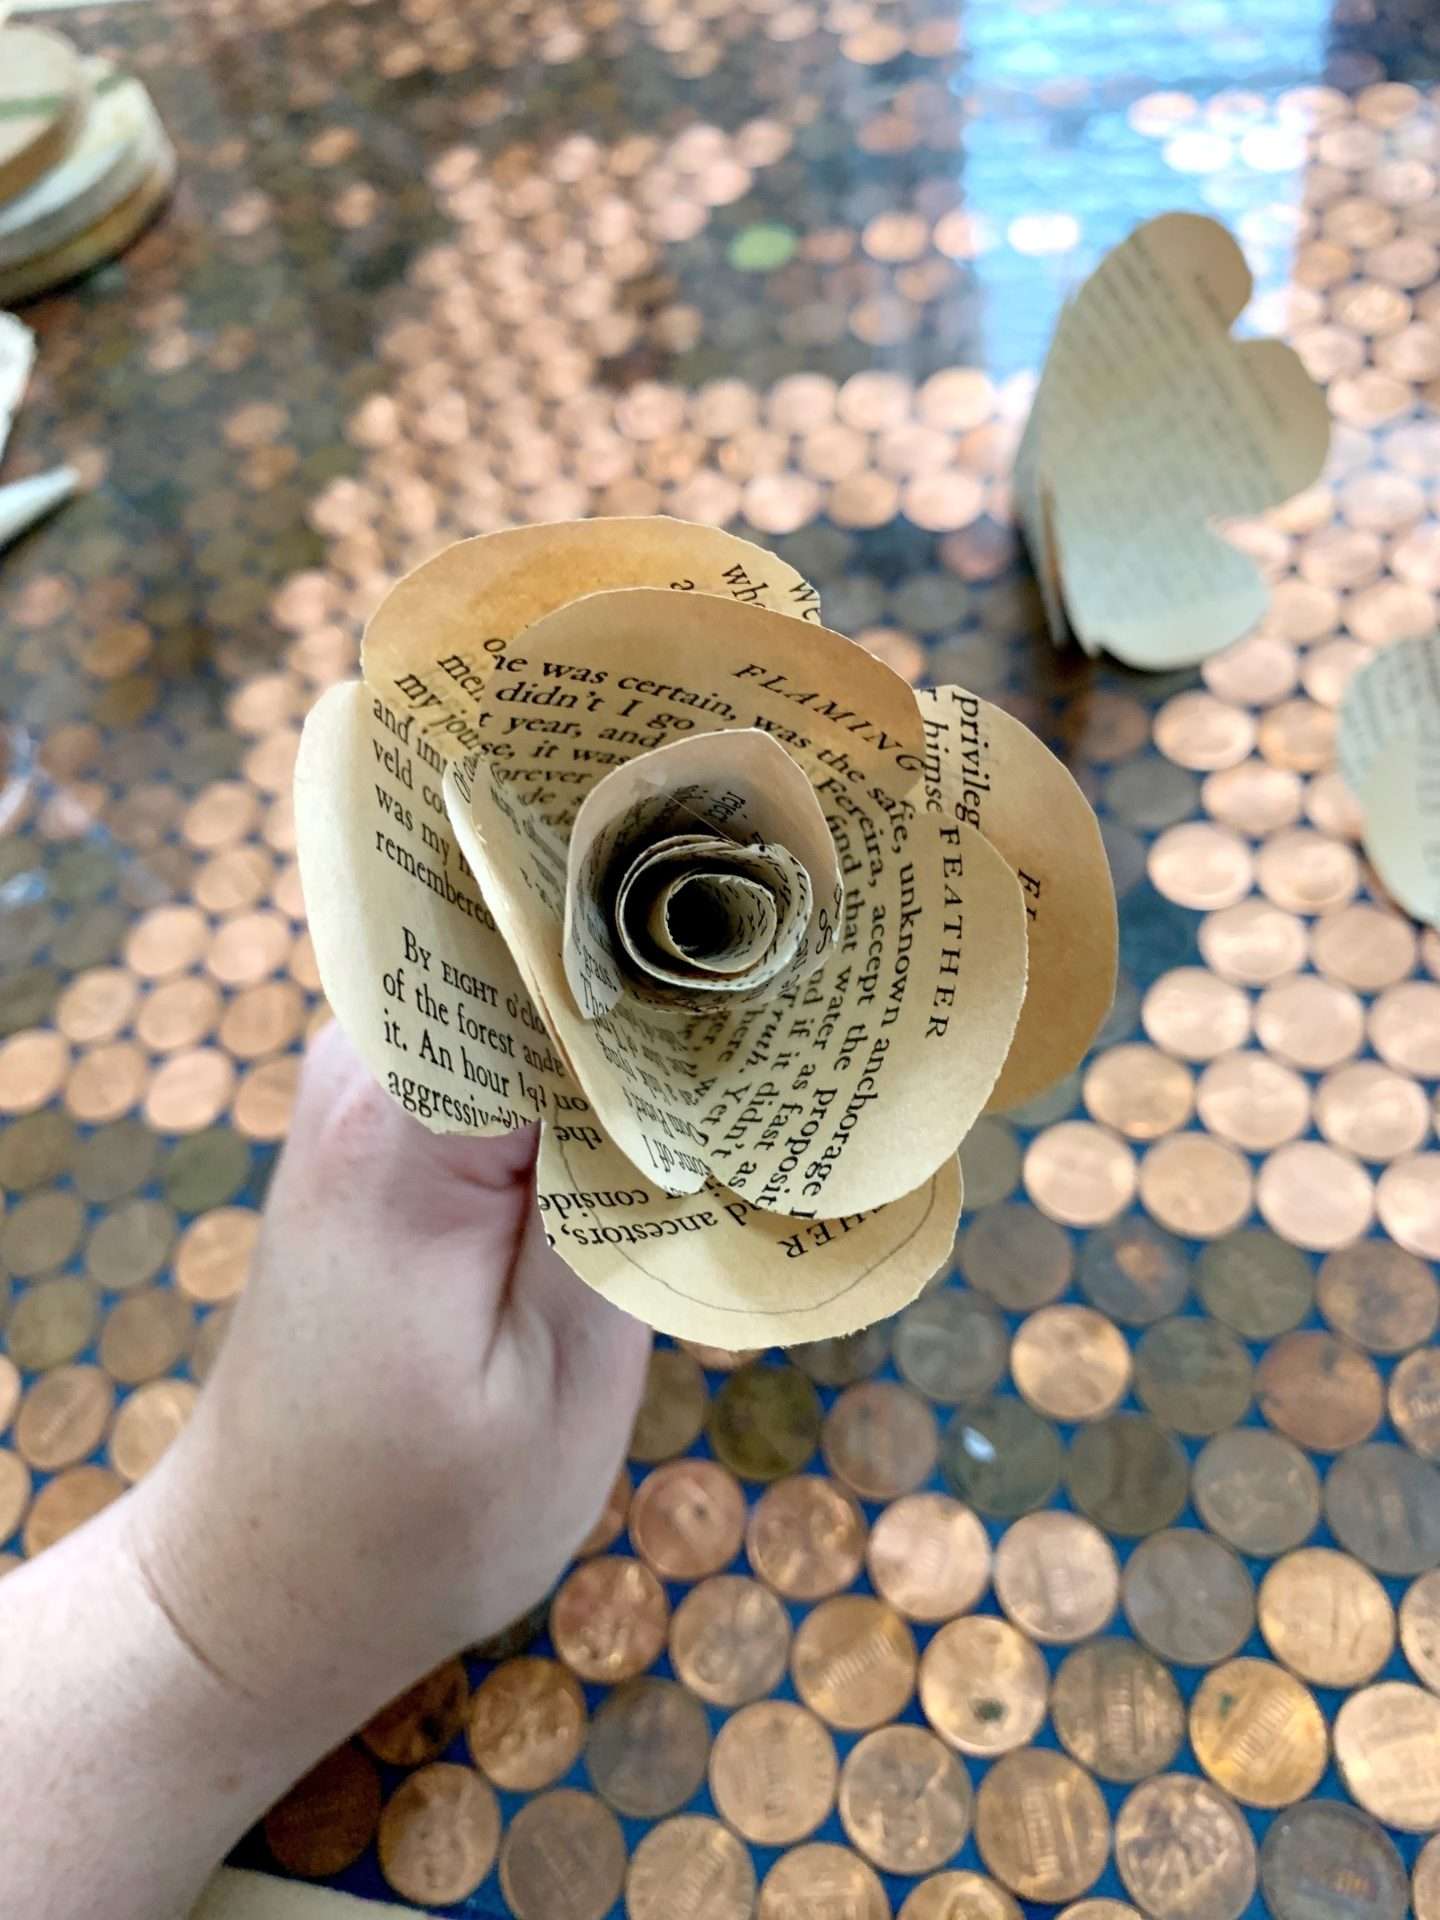
Repeat this process with the other three pages.
As a result, you will end up with ‘cones’ with 3, 4, 5, and 6 petals on them.
Glasseam Small White Bud Vase: Mini Vintage Glass Vase Set of 10 Crystal Flower Vases for Centerpieces Cute Decorative Vases for Flowers Bottles Wedding Table Centerpiece Home Dining Room DecorationsStars & Bars Milk Glass (5 7/8


Assemble the Rose
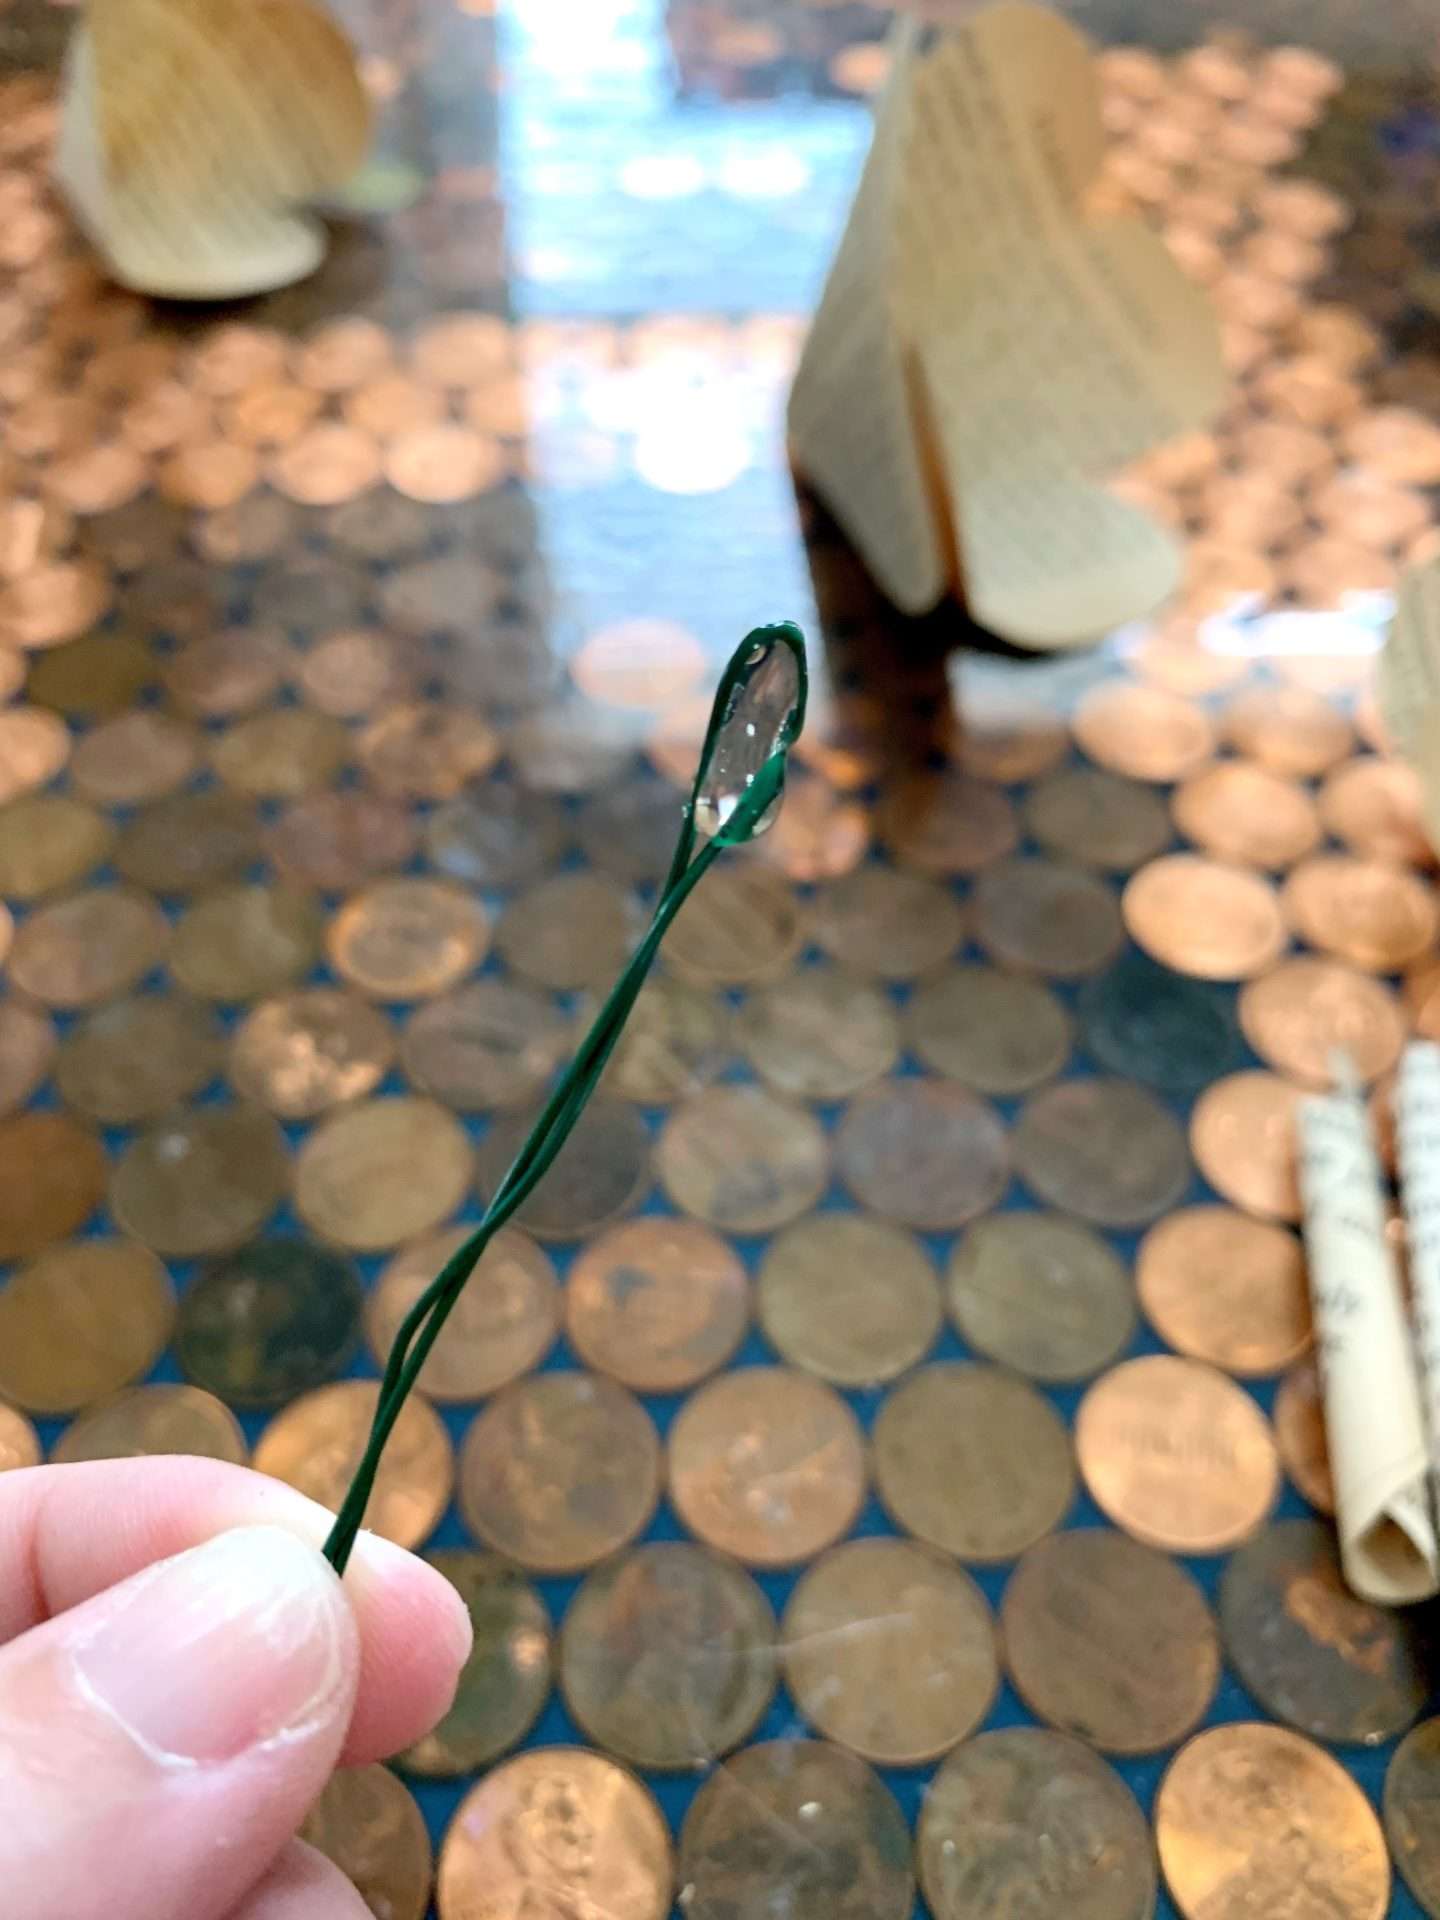
To begin assembling the paper rose, you first need to make a stem. Cut a long piece of wire and double it over.
Next, place a glue dot on the stem’s looped end and slide it into the smallest cone. Pinch it lightly until the glue sets.
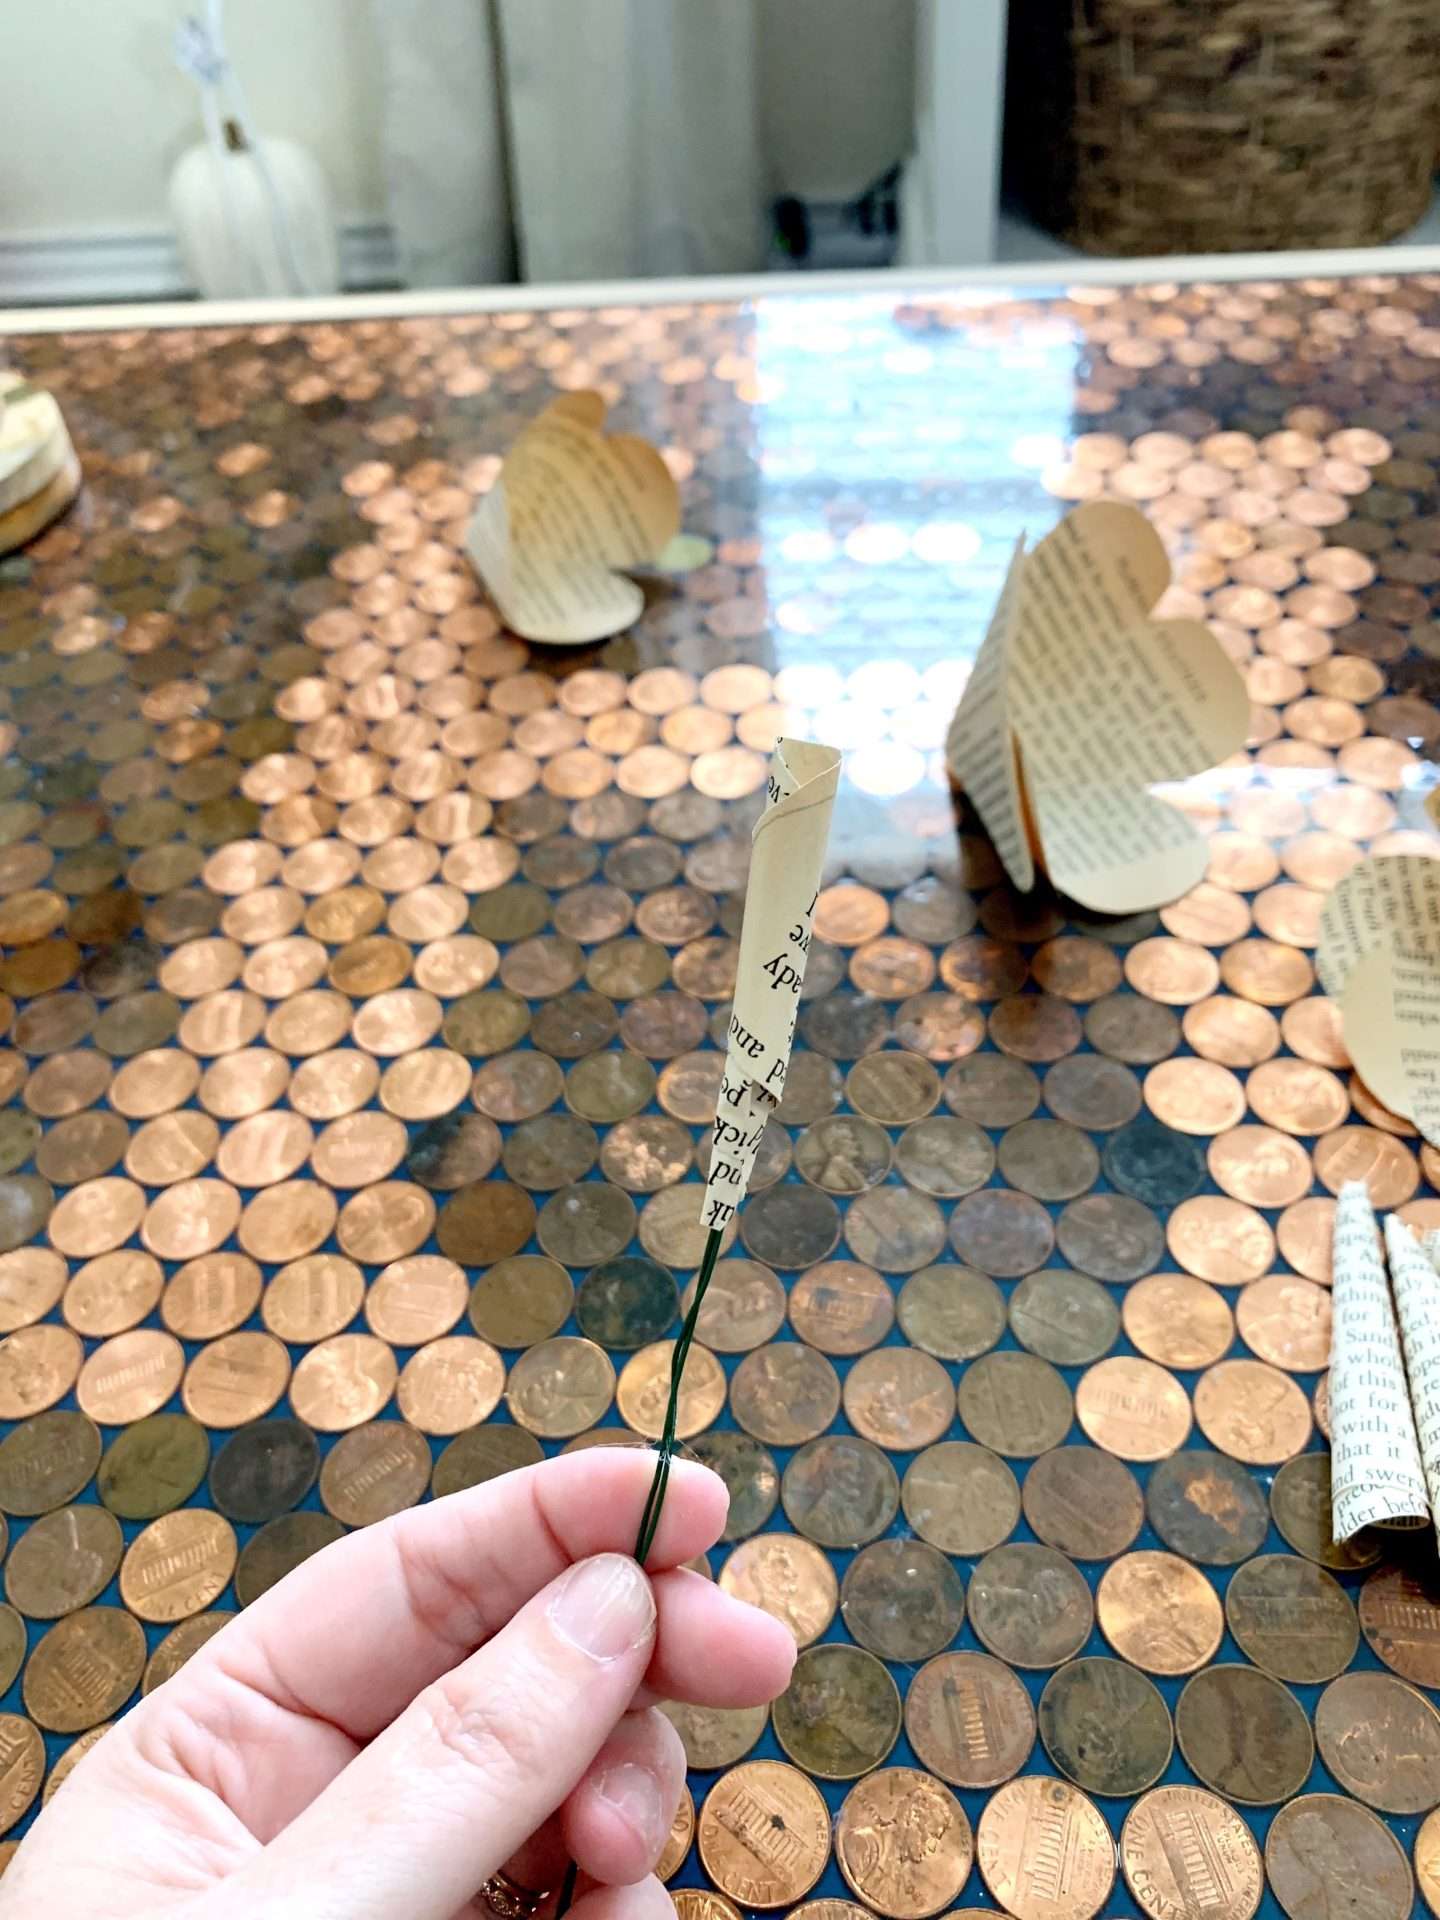
Apply glue on the base of the cone near the stem. Then put the stem into the two-petal cone, slide it up to the attached cone, and pinch it lightly until the glue sets.
Continue this process with all of the cones, from smallest to largest.
Don’t forget to apply glue between each ‘cone’ to keep the flower secure.

Paxcoo Floral Tape and Floral Wire Arrangement Tools Kit with Wire Cutter 26 Gauge Stem Wire and 22 Gauge Paddle Wire for Bouquet Stem Wrap FloristKUUQA 4 Rolls 1/2

Wrap the Stem
The last step is to wrap the stem with floral tape and you’re done!
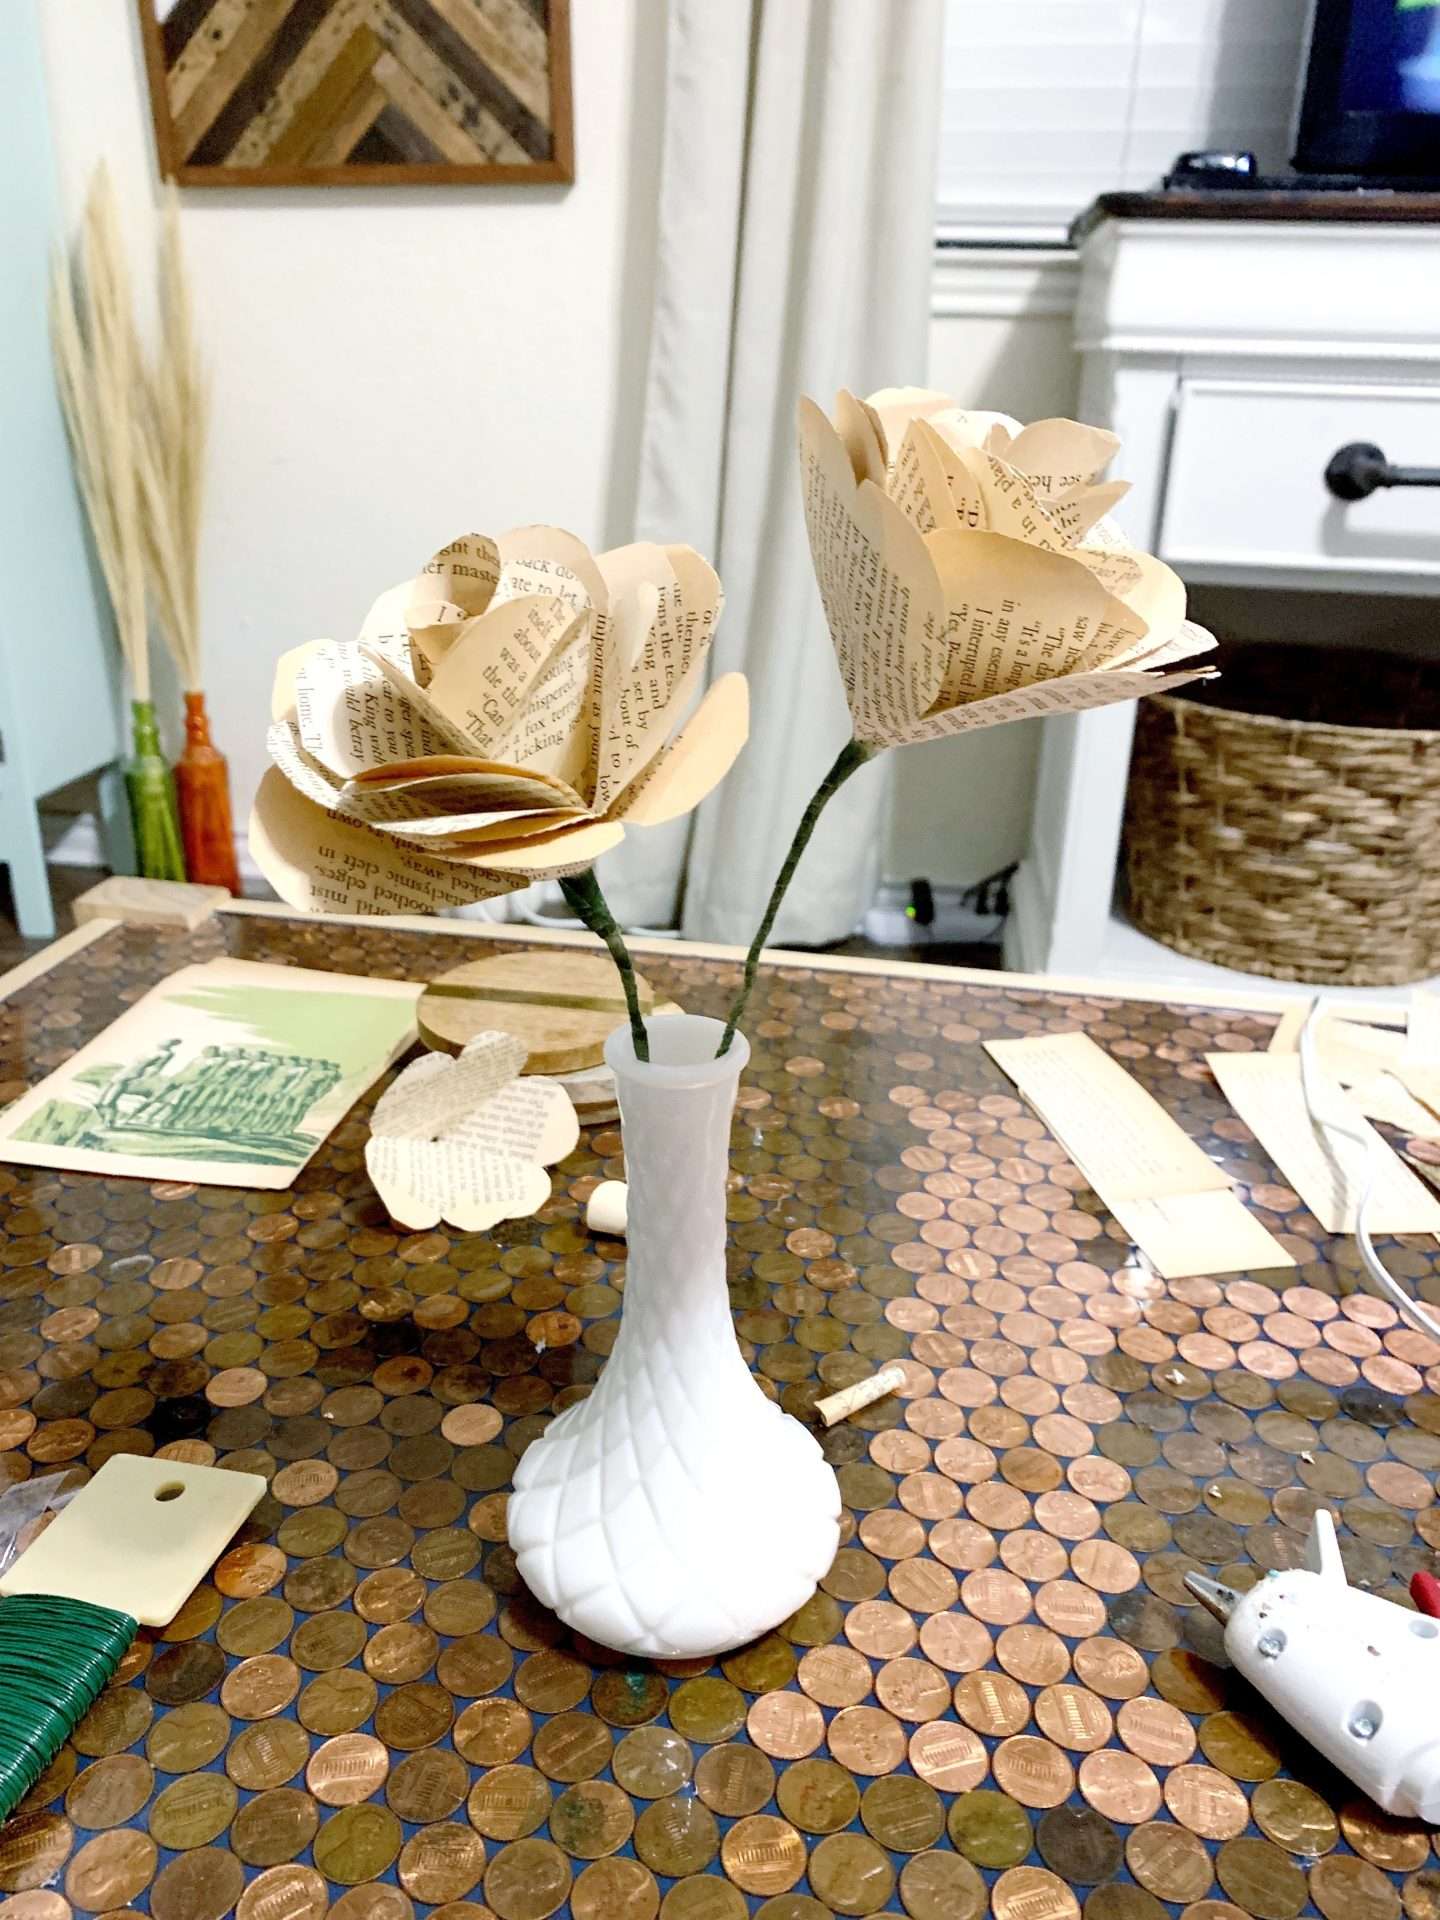
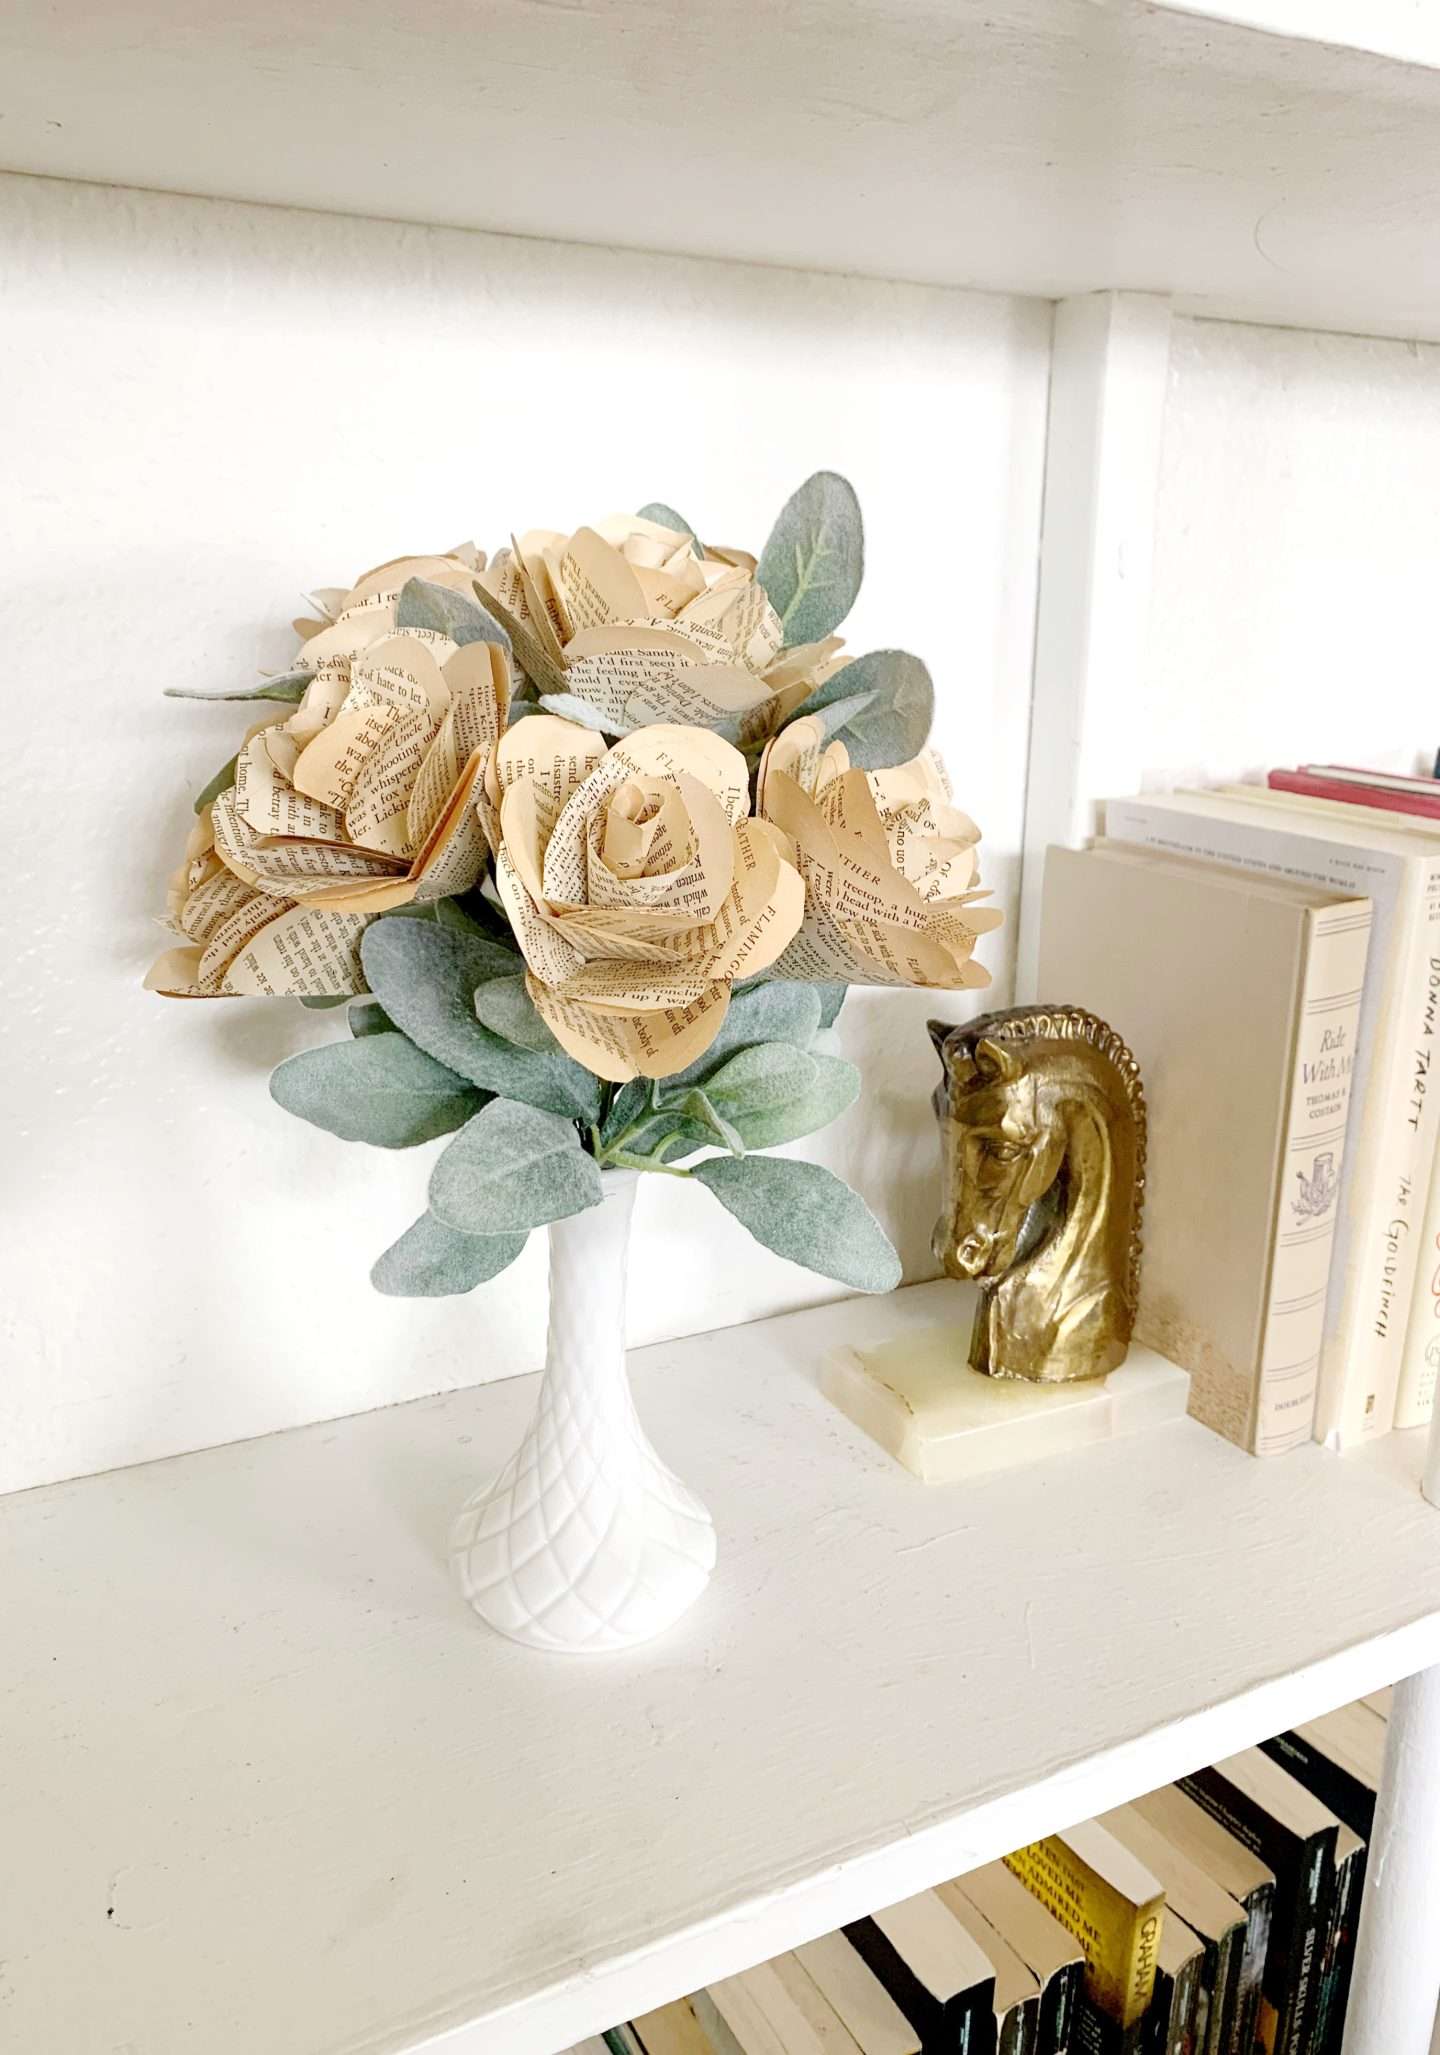
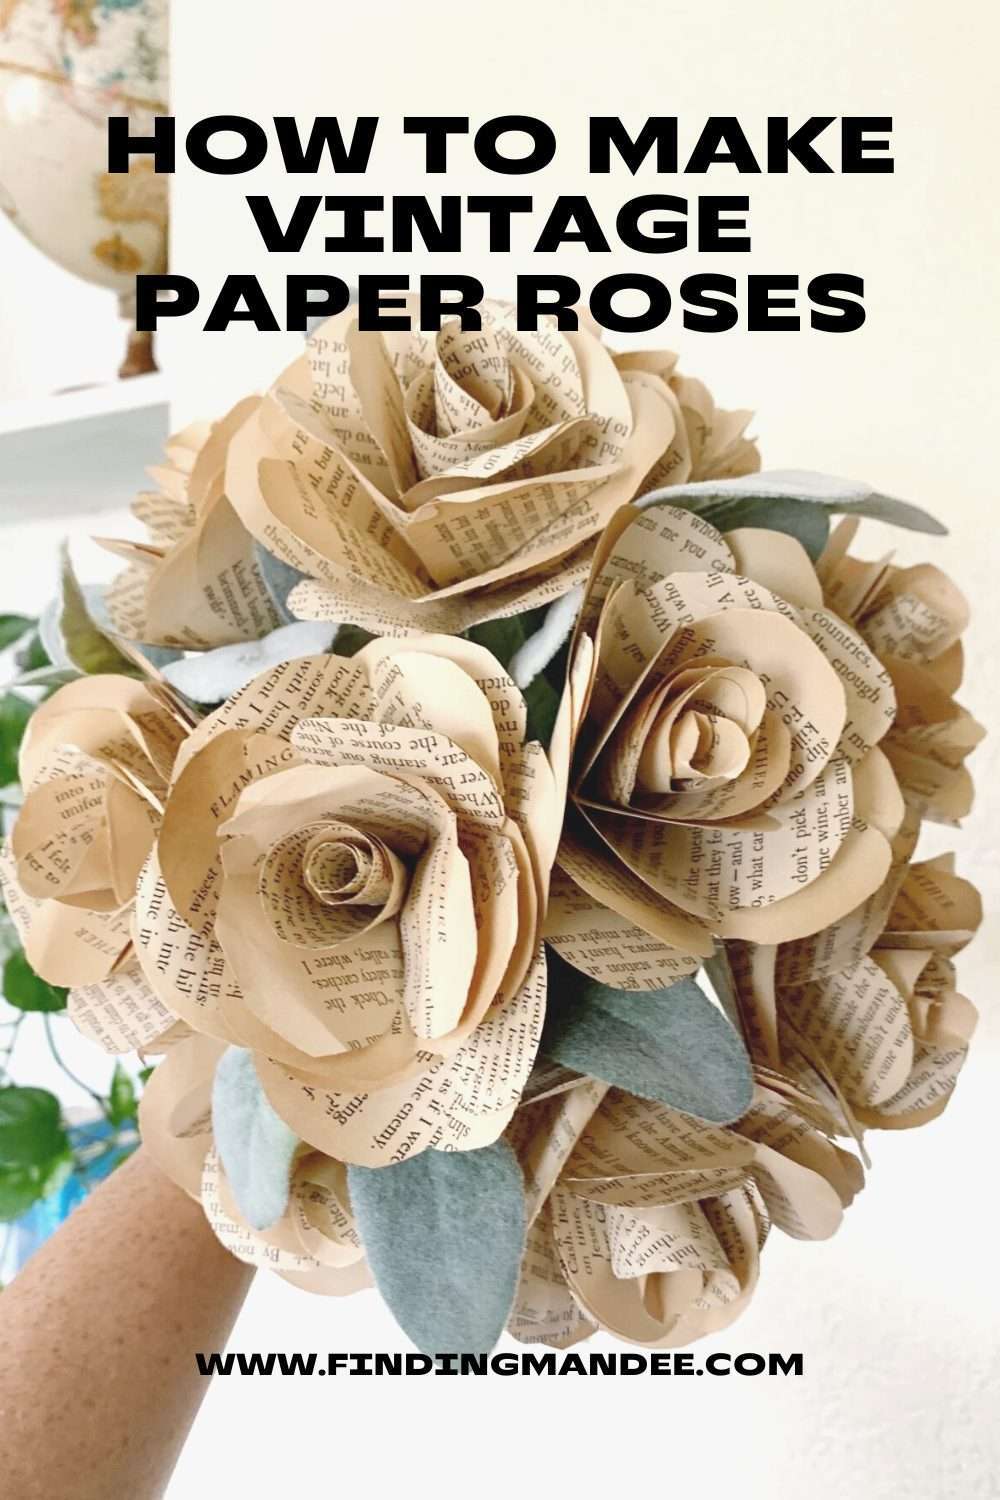
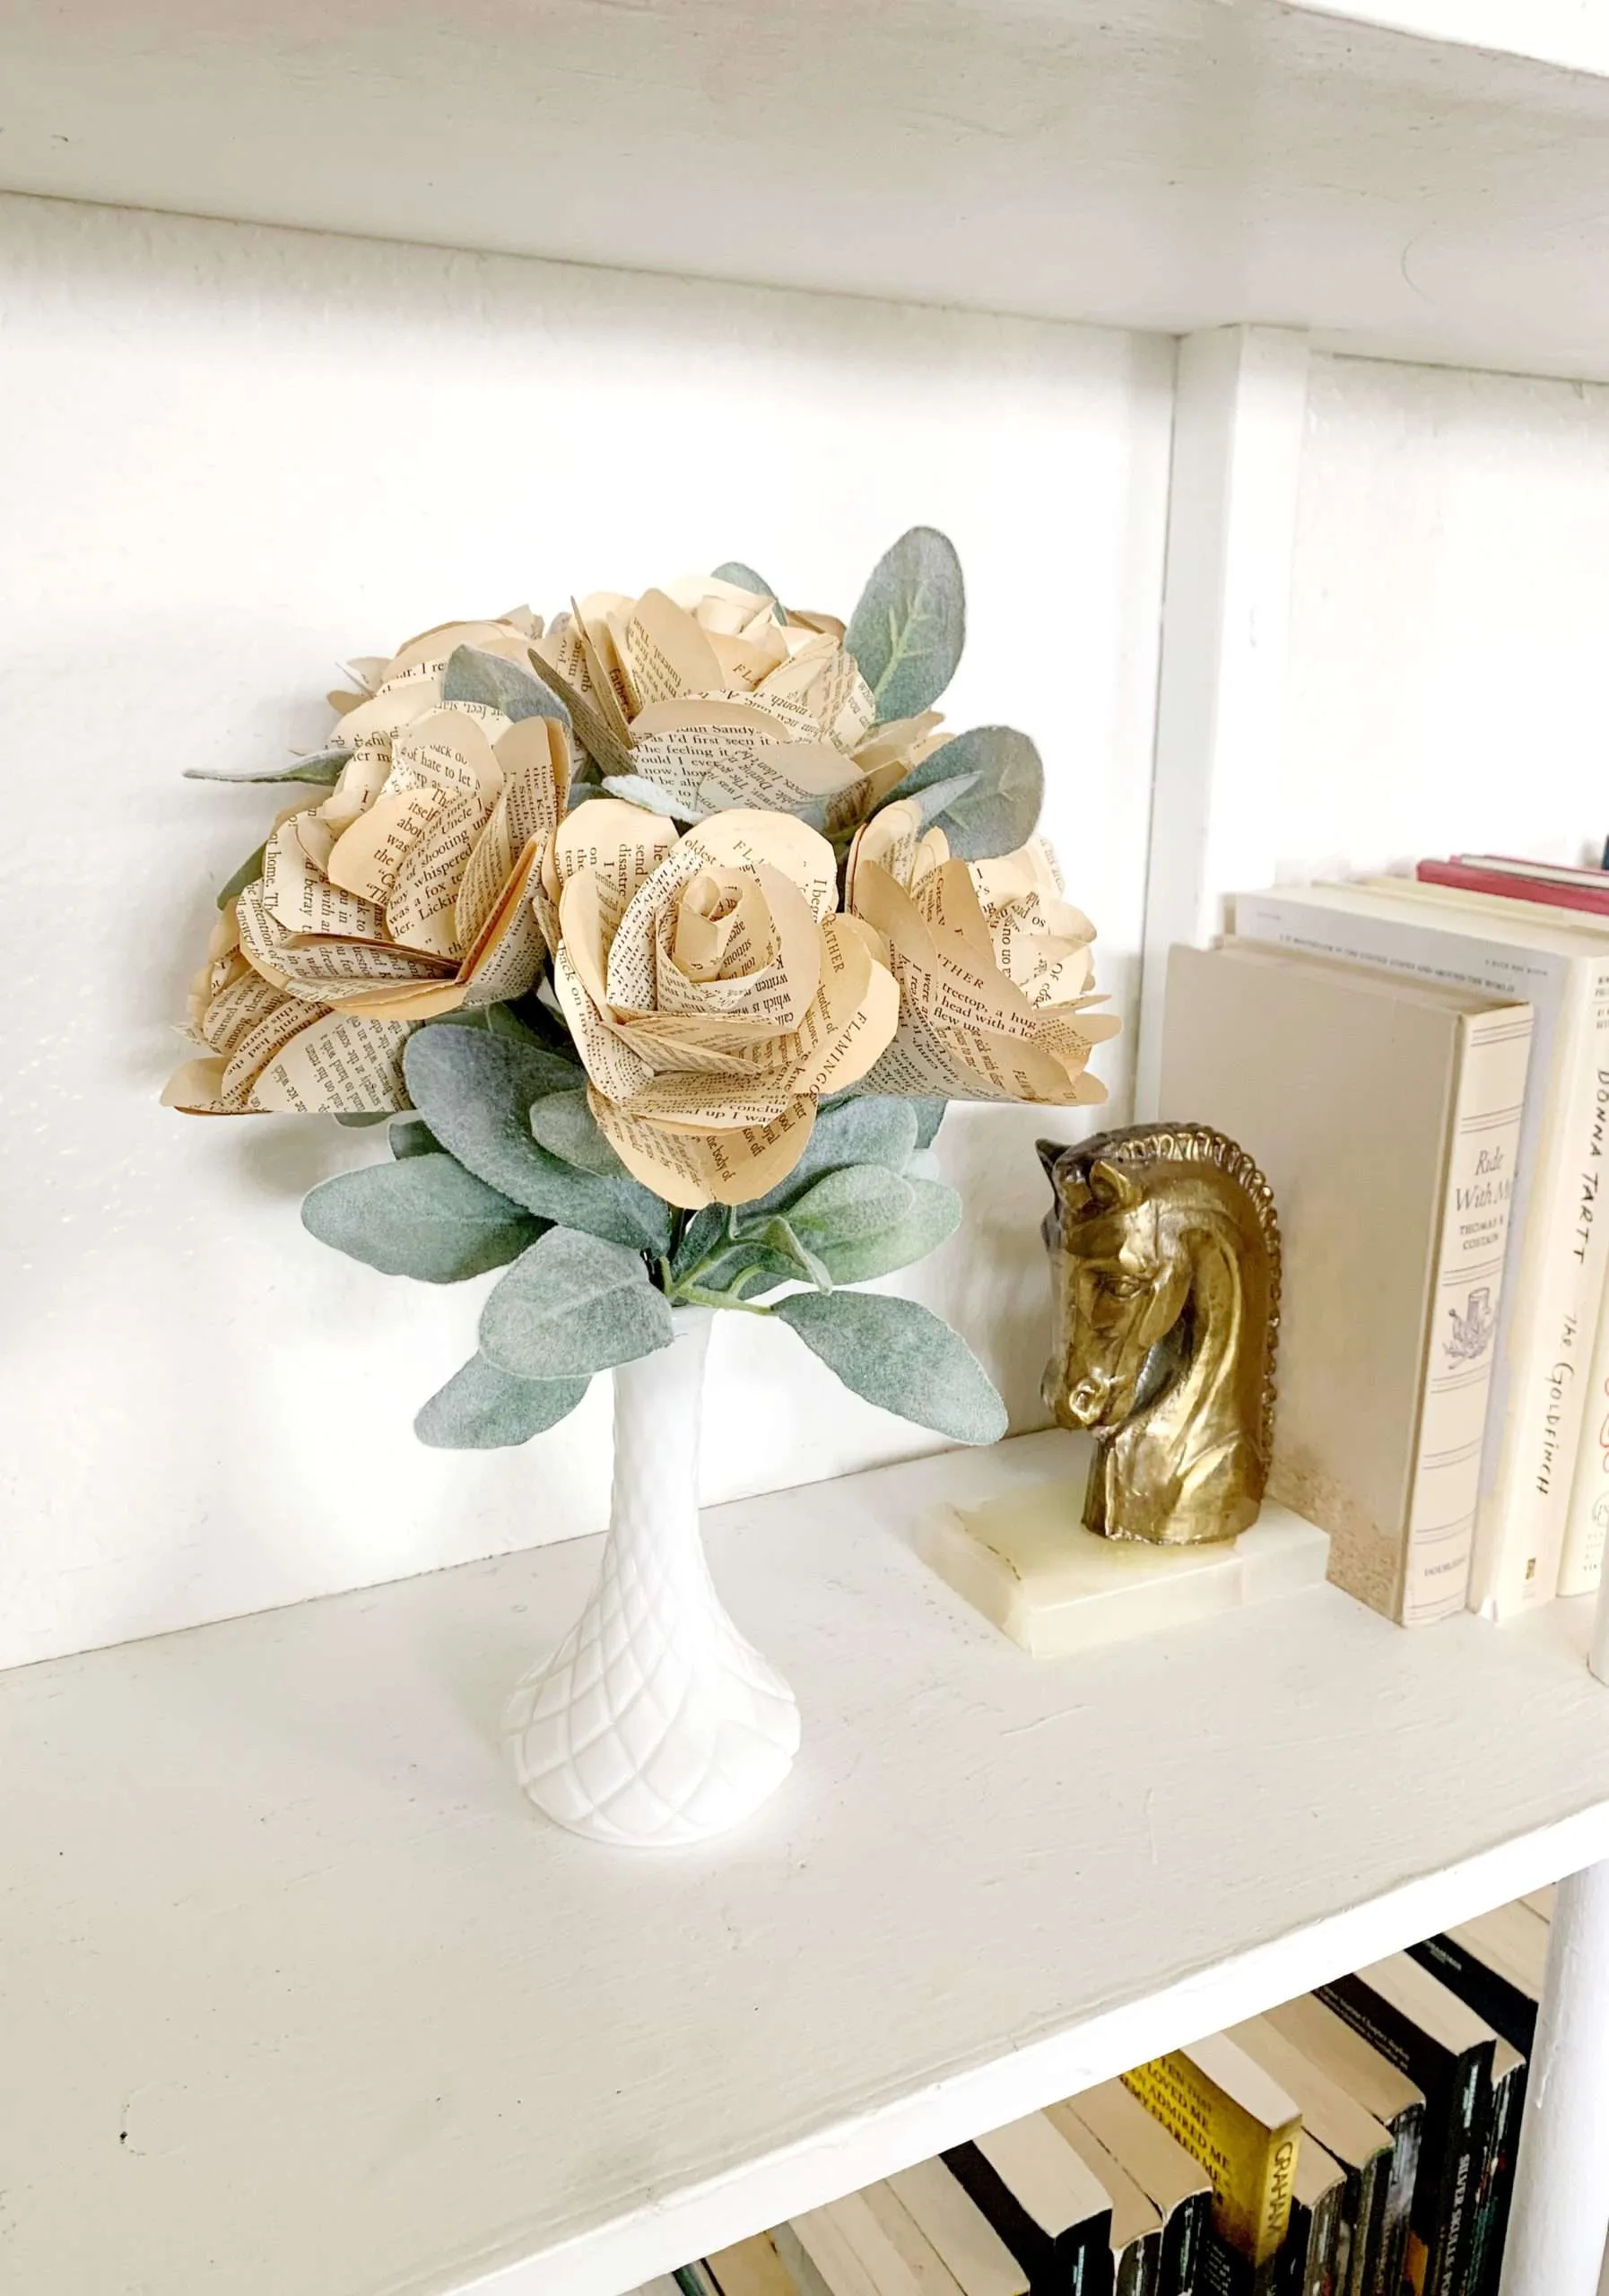
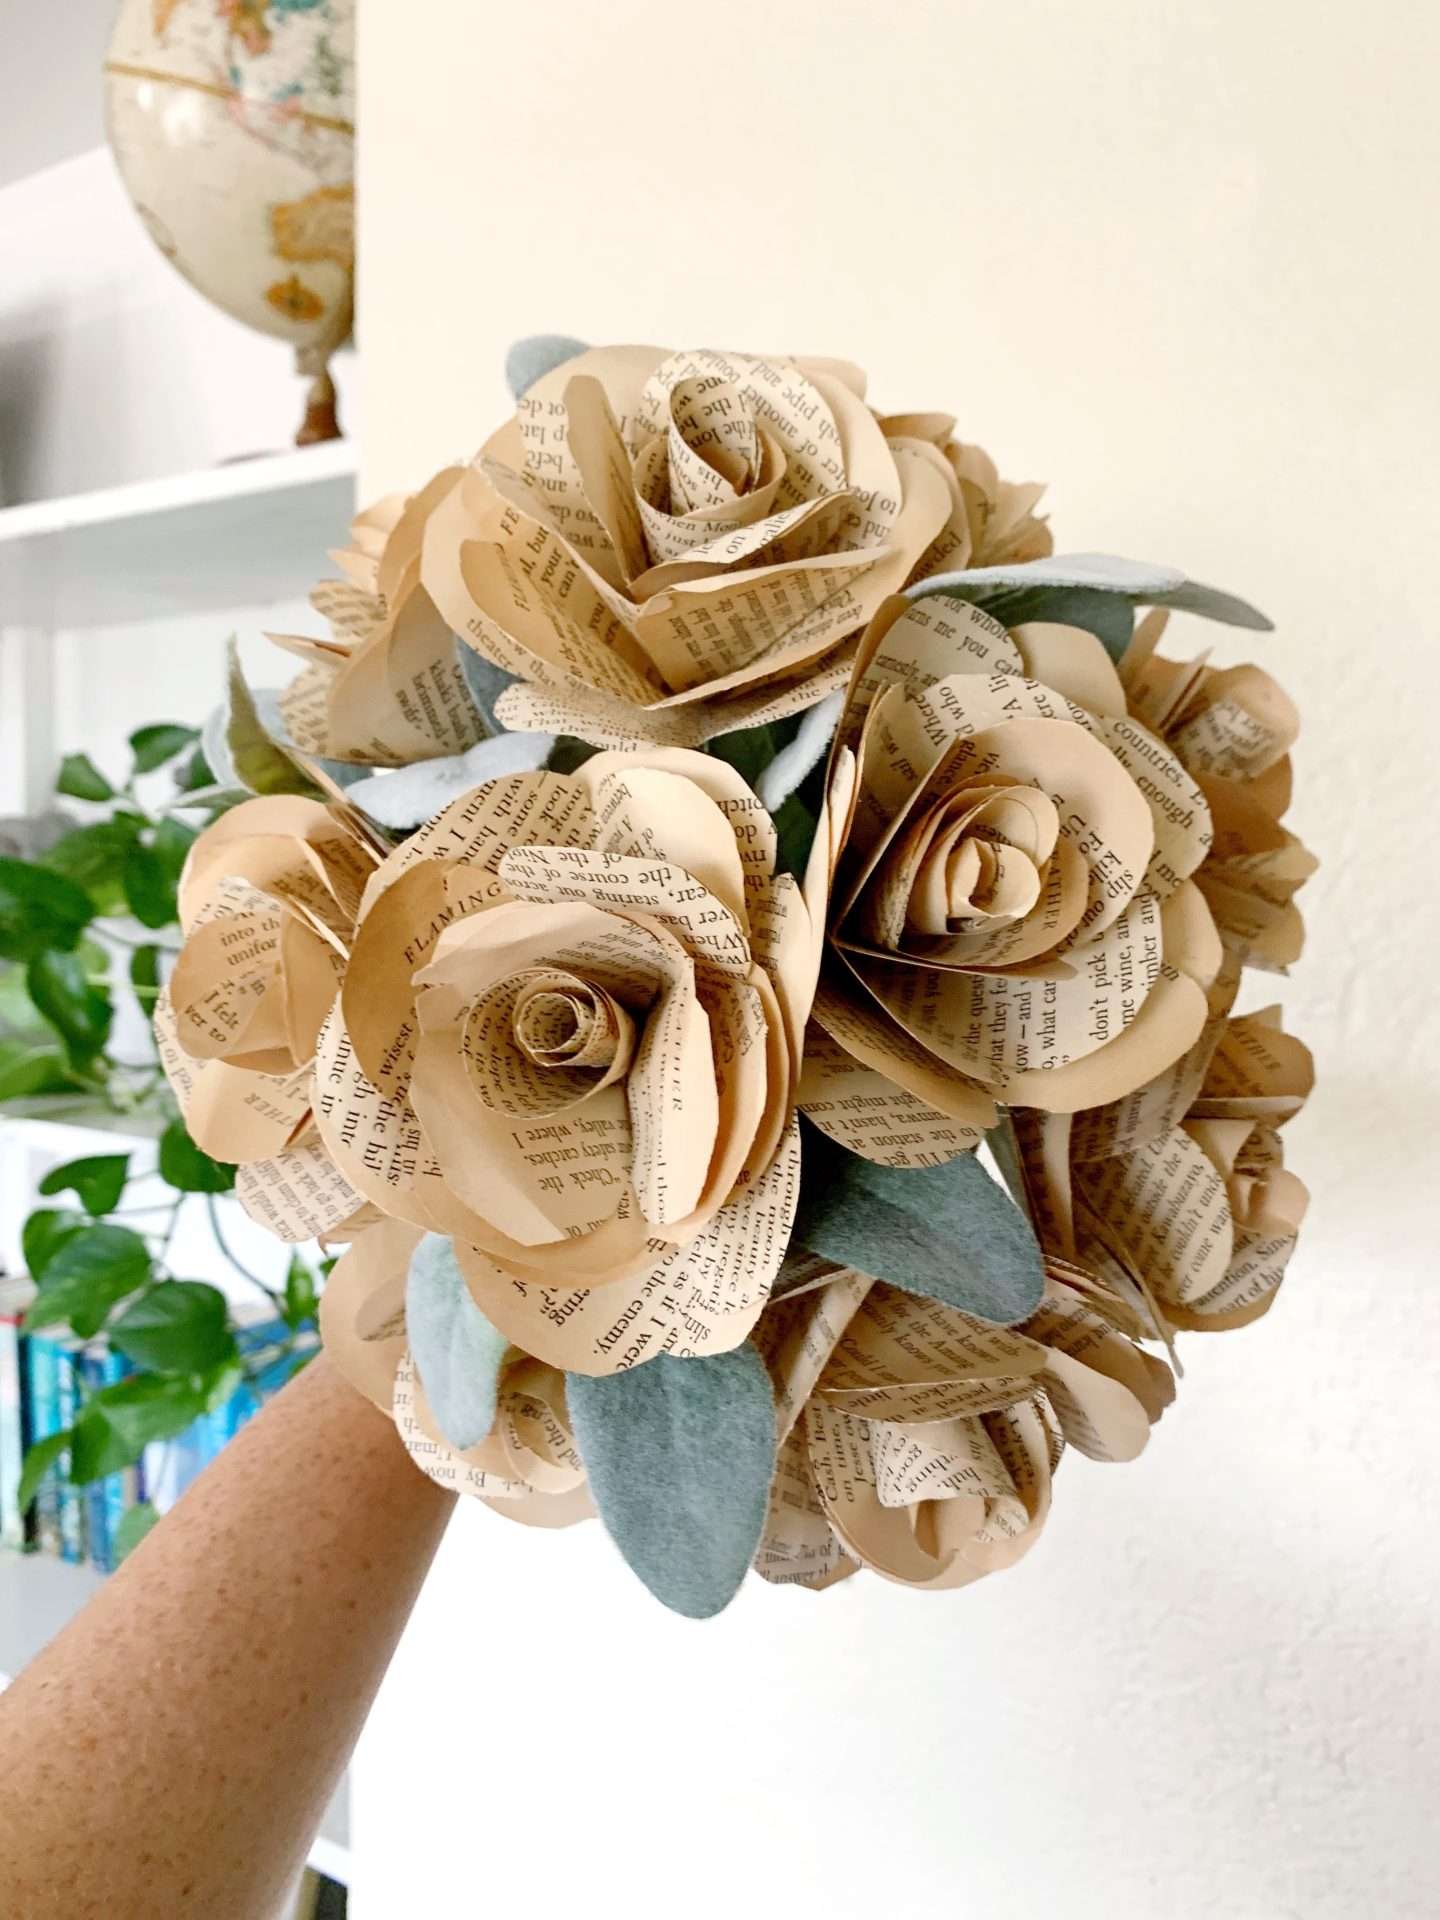
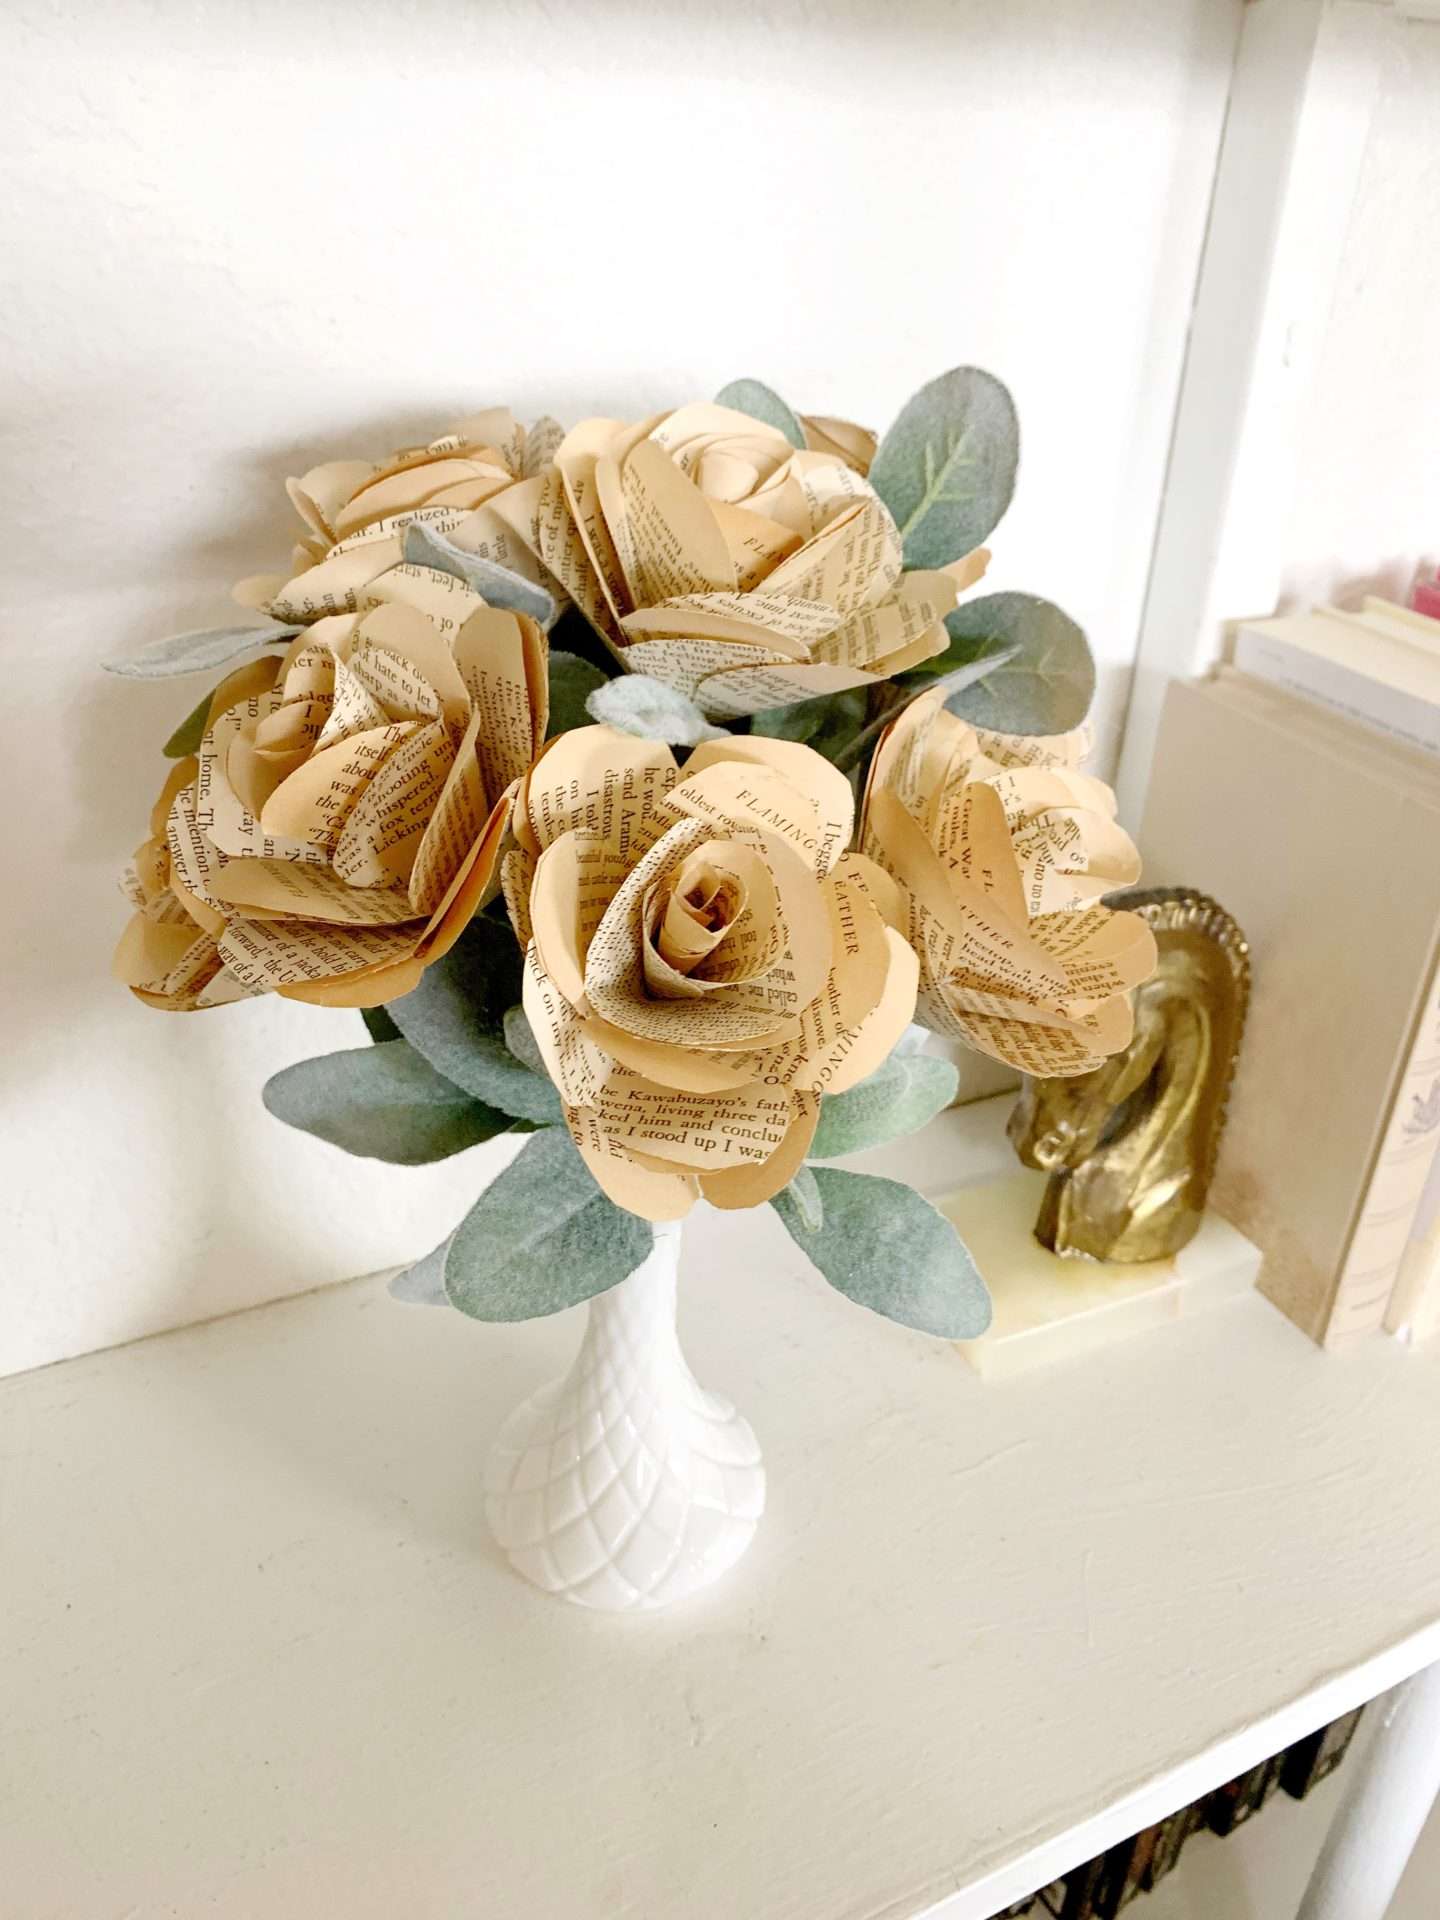
This paper rose bouquet turned out absolutely perfect!
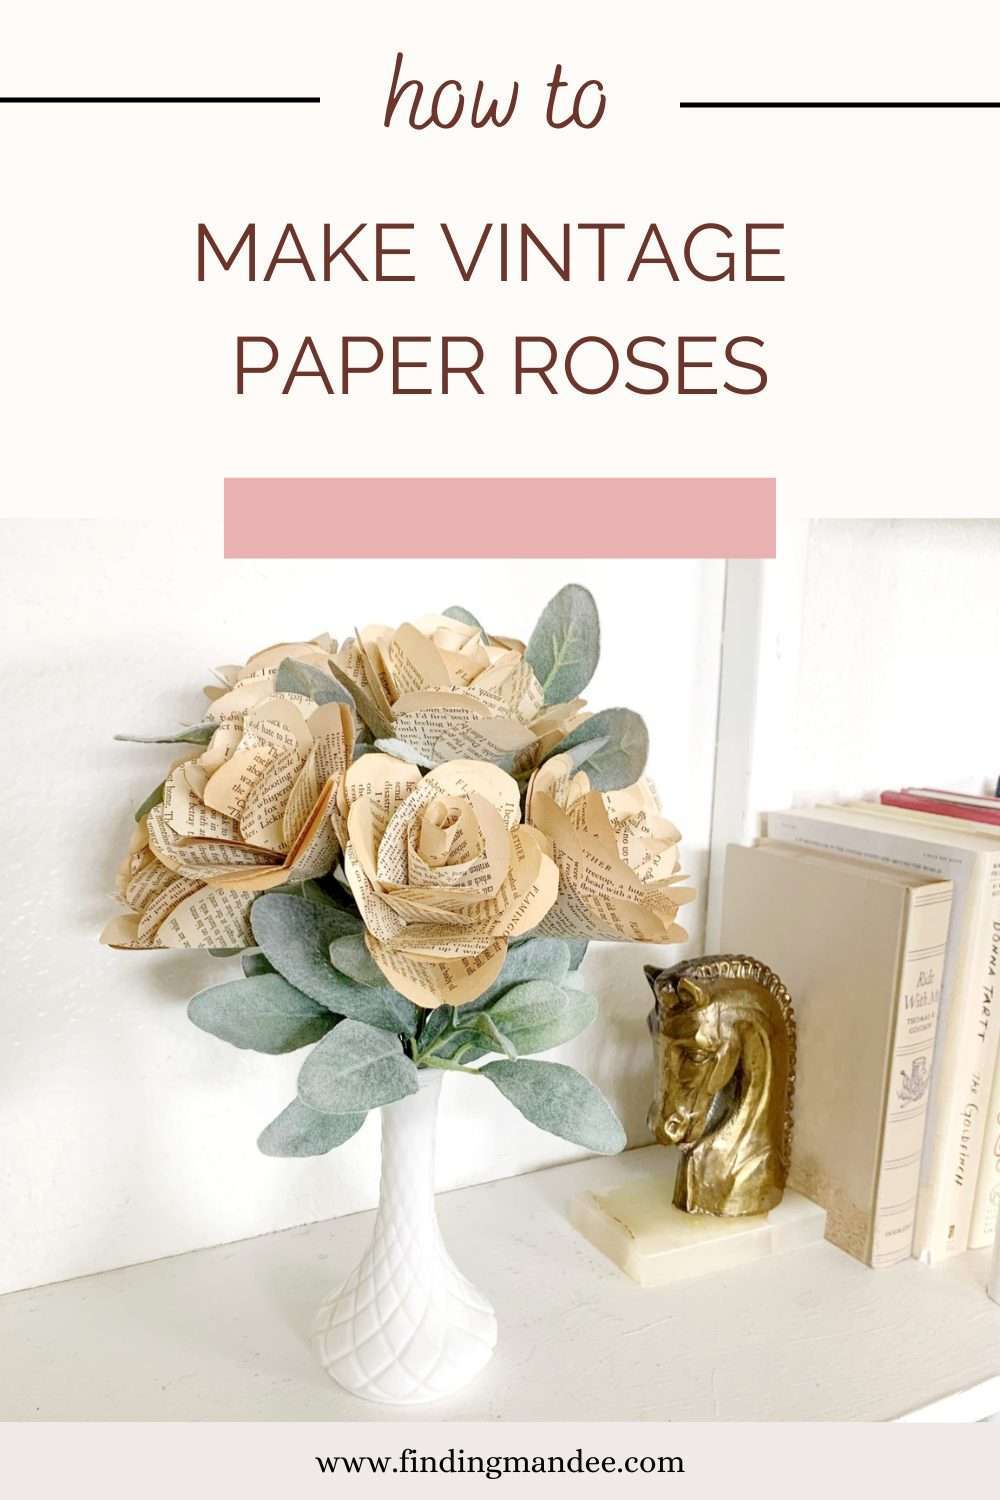
I didn’t like the look of the bare stems, so I added some stems of greenery around the bottom and throughout the bouquet.
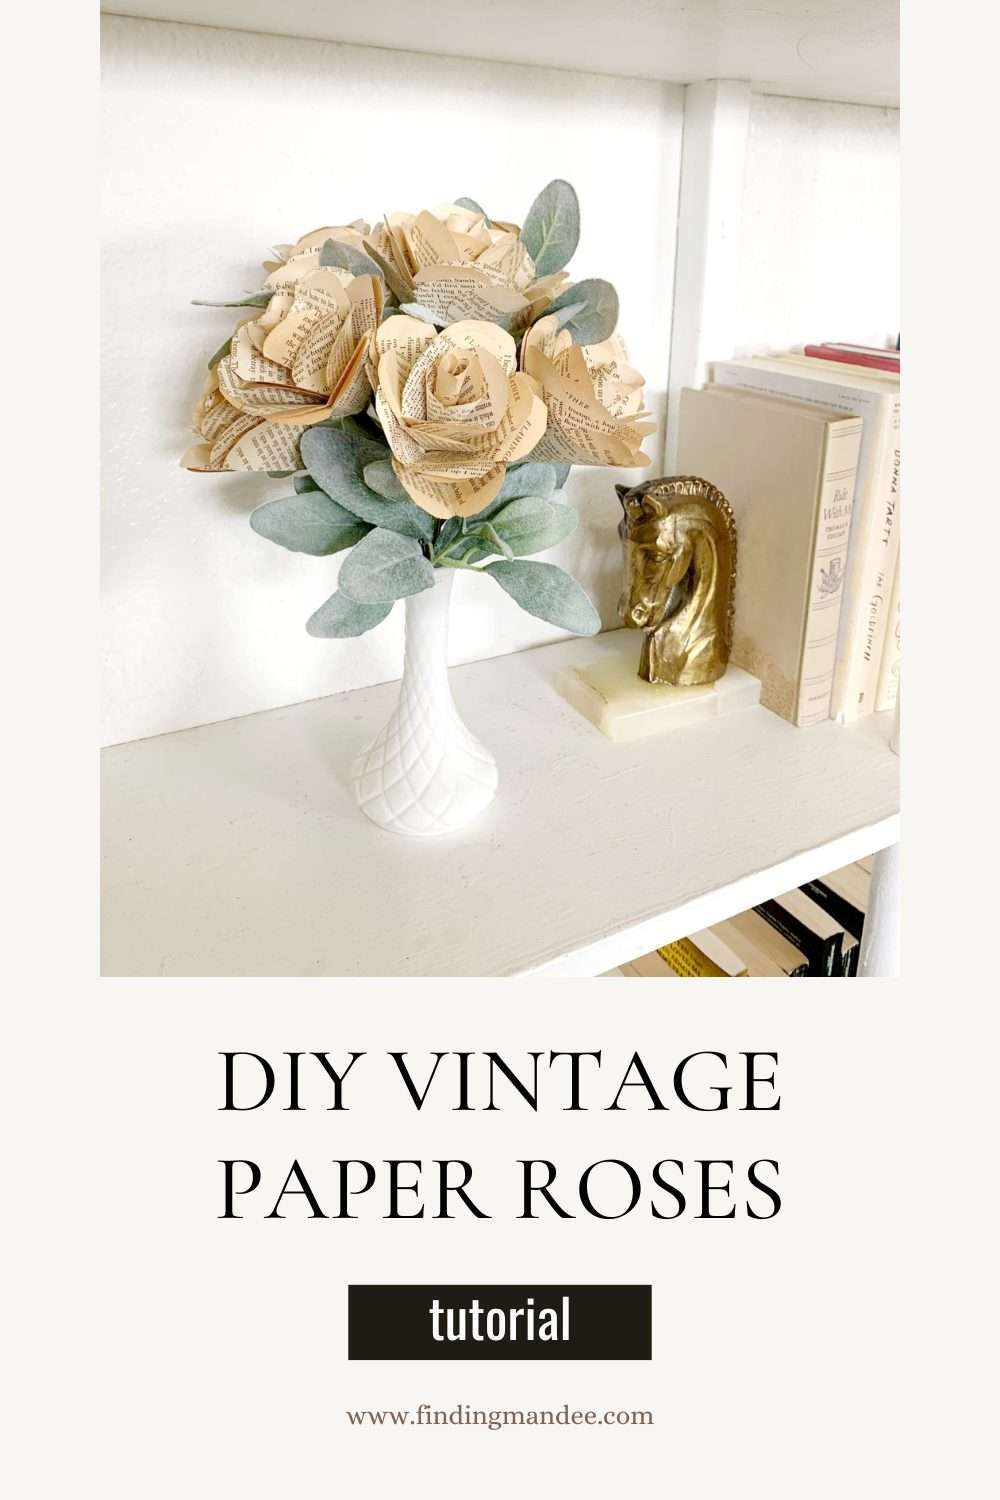
These paper roses are perfect for our bookshelf. In addition to being gorgeous, what could be a more bookish decoration?