[Disclaimer: Finding Mandee is reader-supported, if you purchase through links on my site I may earn an affiliate commission at no additional cost to you. As an Amazon Associate, I earn from qualifying purchases.]
Being an active-duty military family, we are no strangers to moving announcements. It seems I see a friend or acquaintance post on Facebook or Instagram that they have new orders at least once a month.
My favorite announcements are those cutesy, Instagram-y ones!
And when we received new orders, I couldn’t wait to make one of my own!
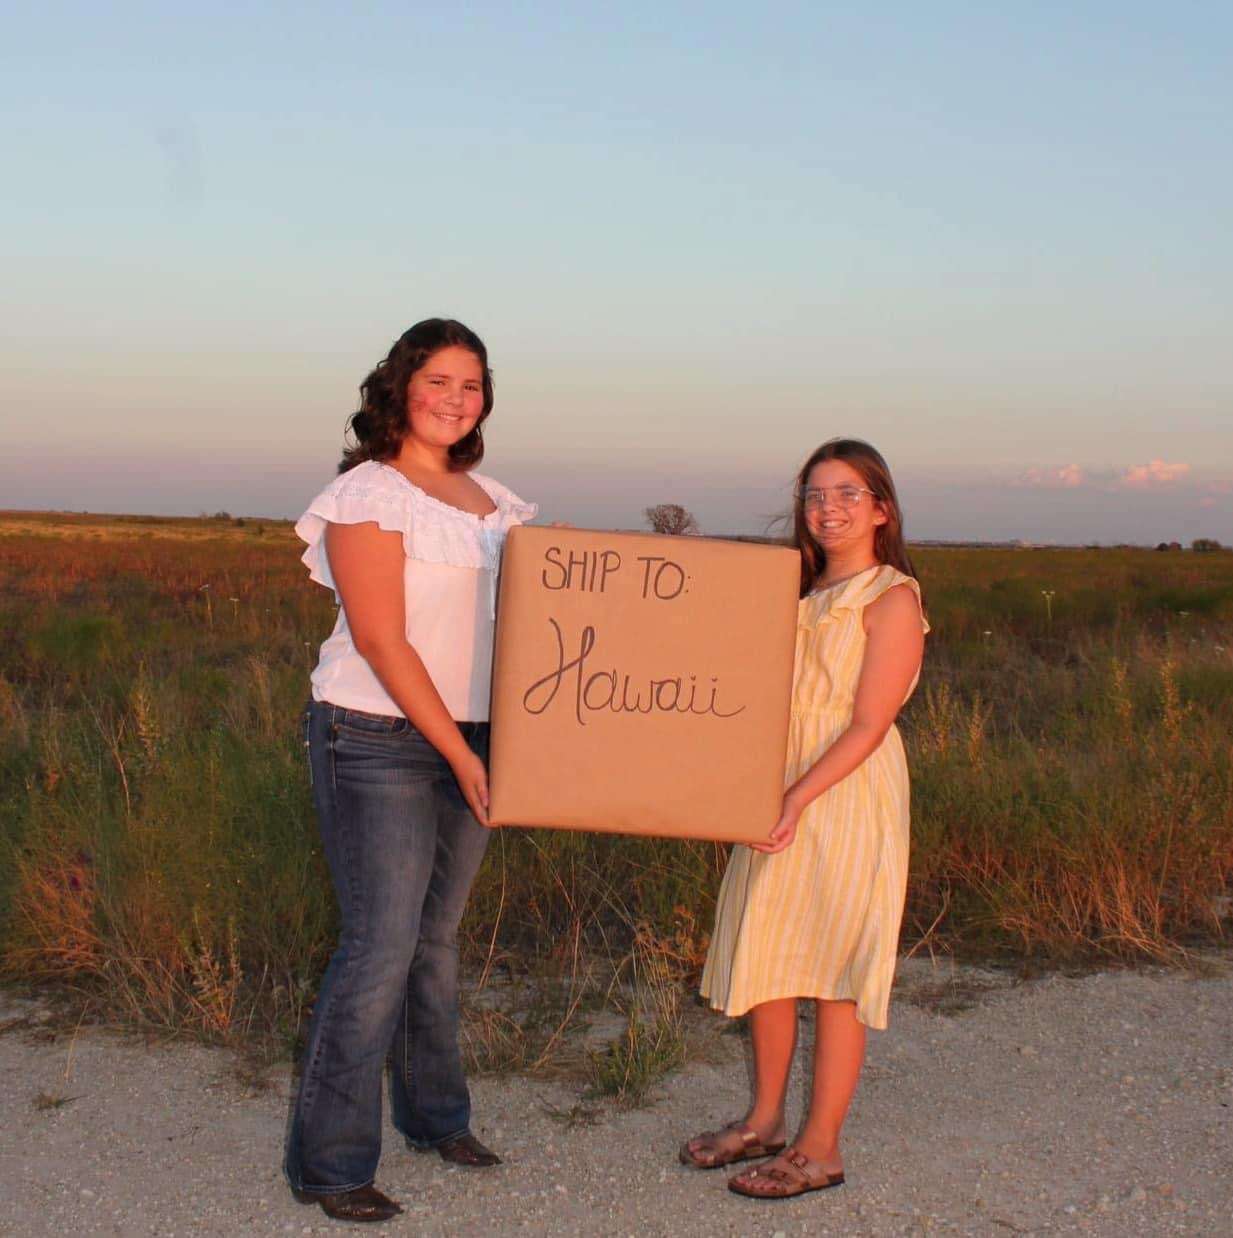
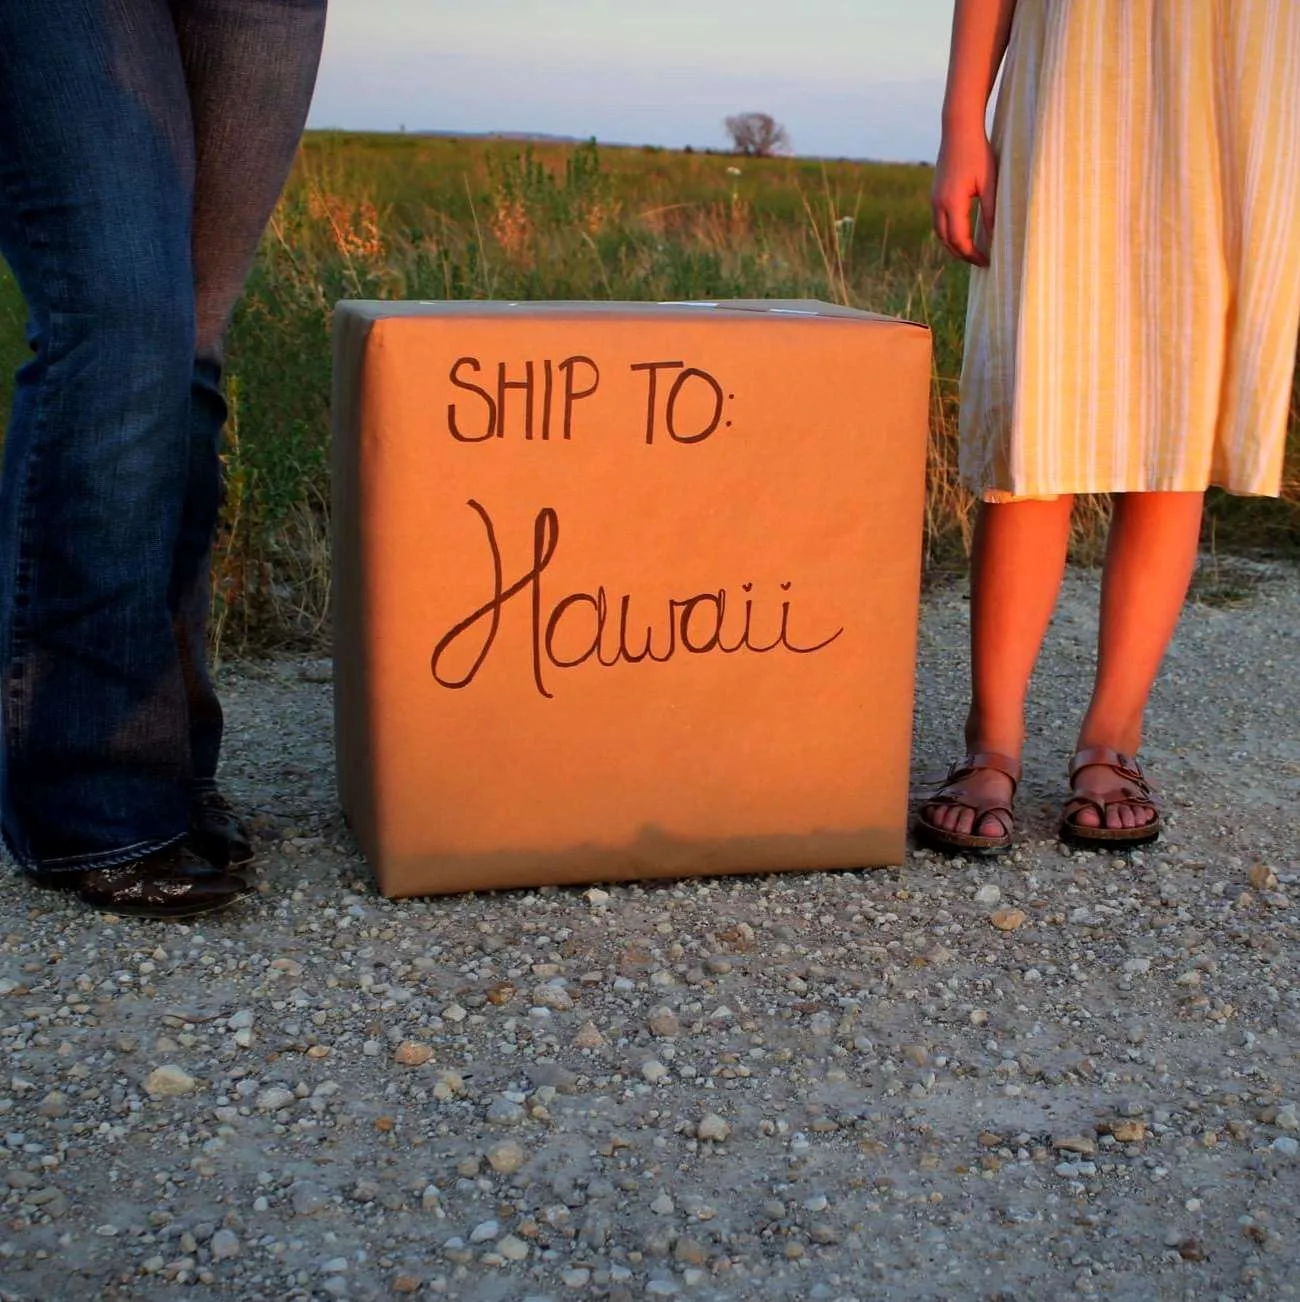
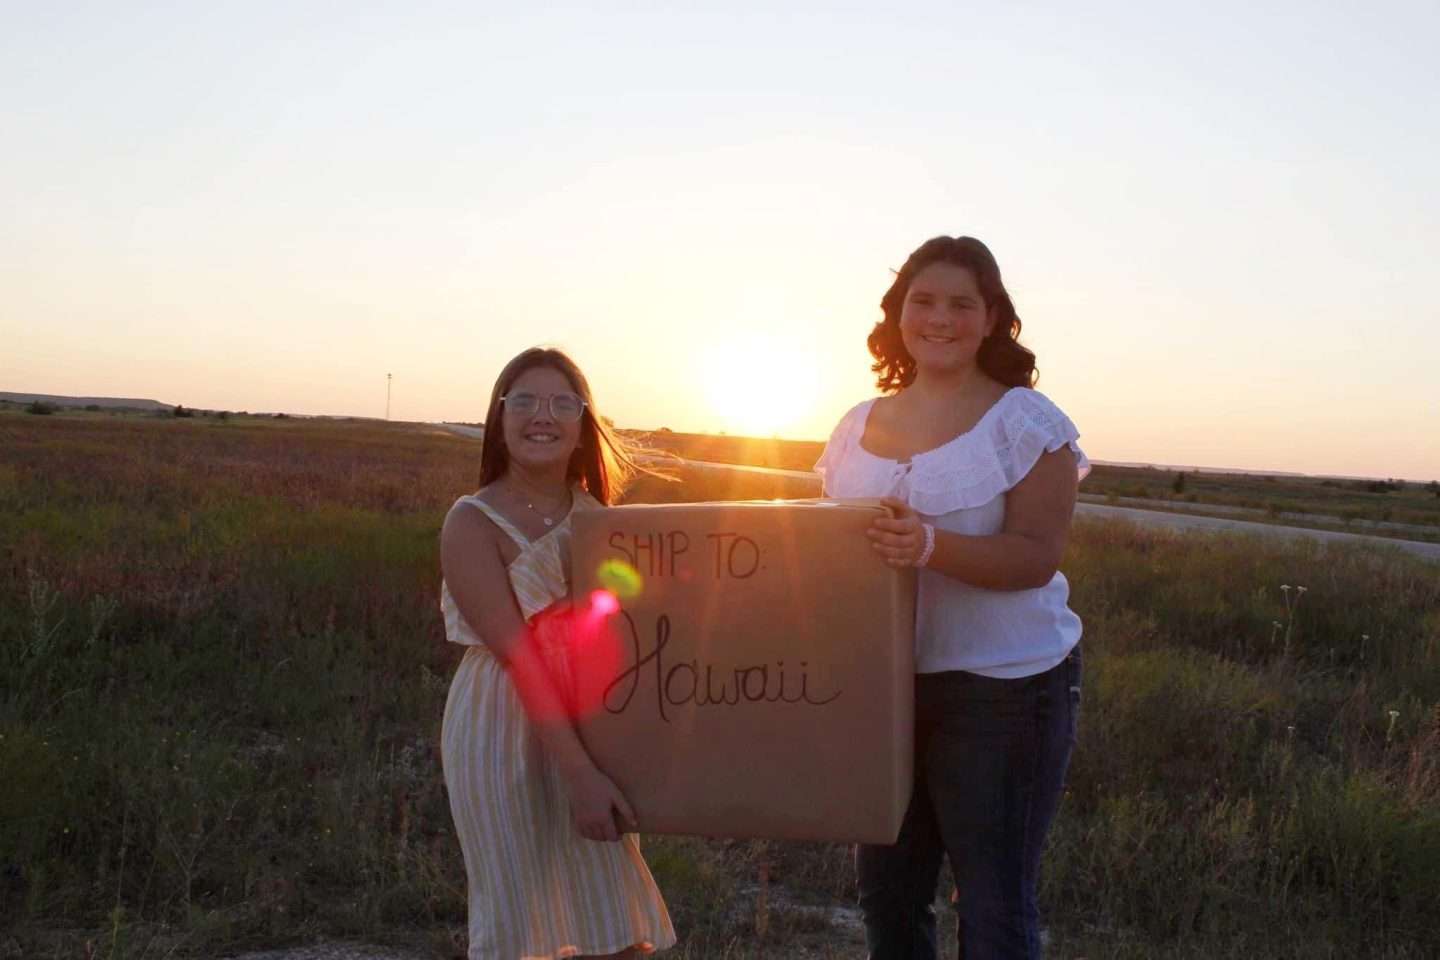
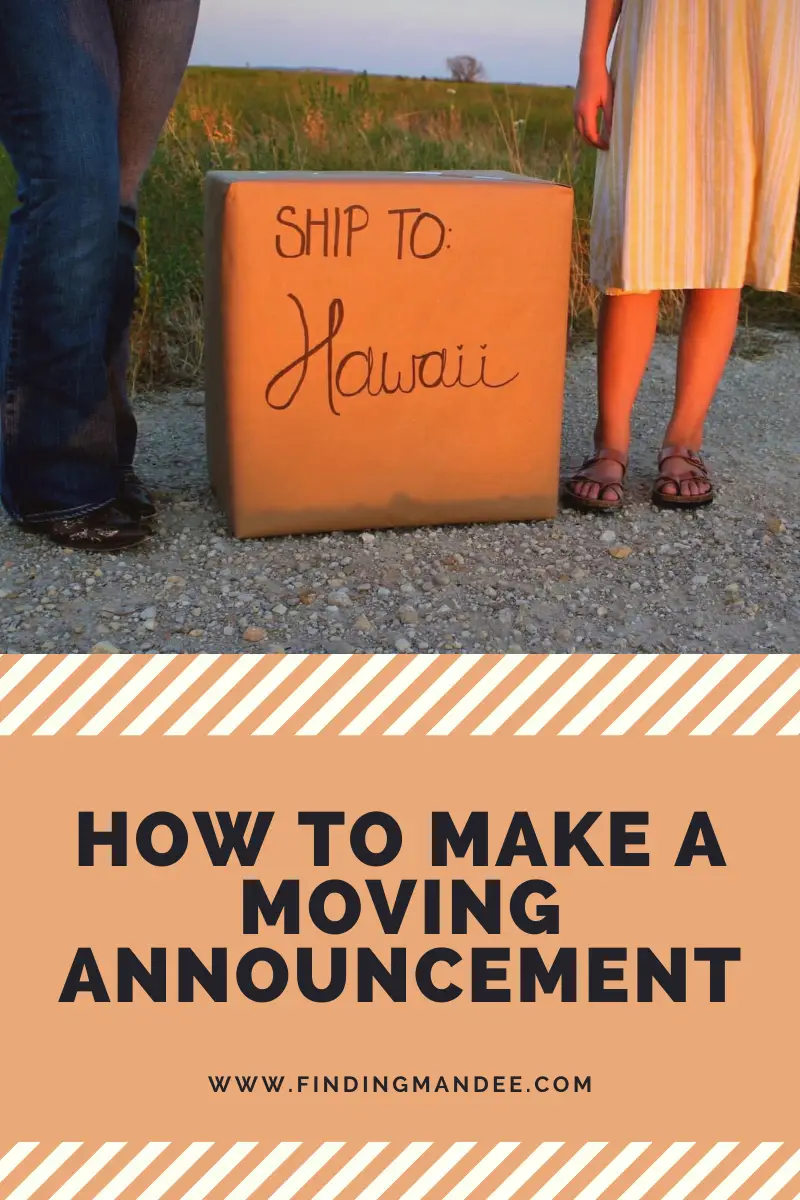
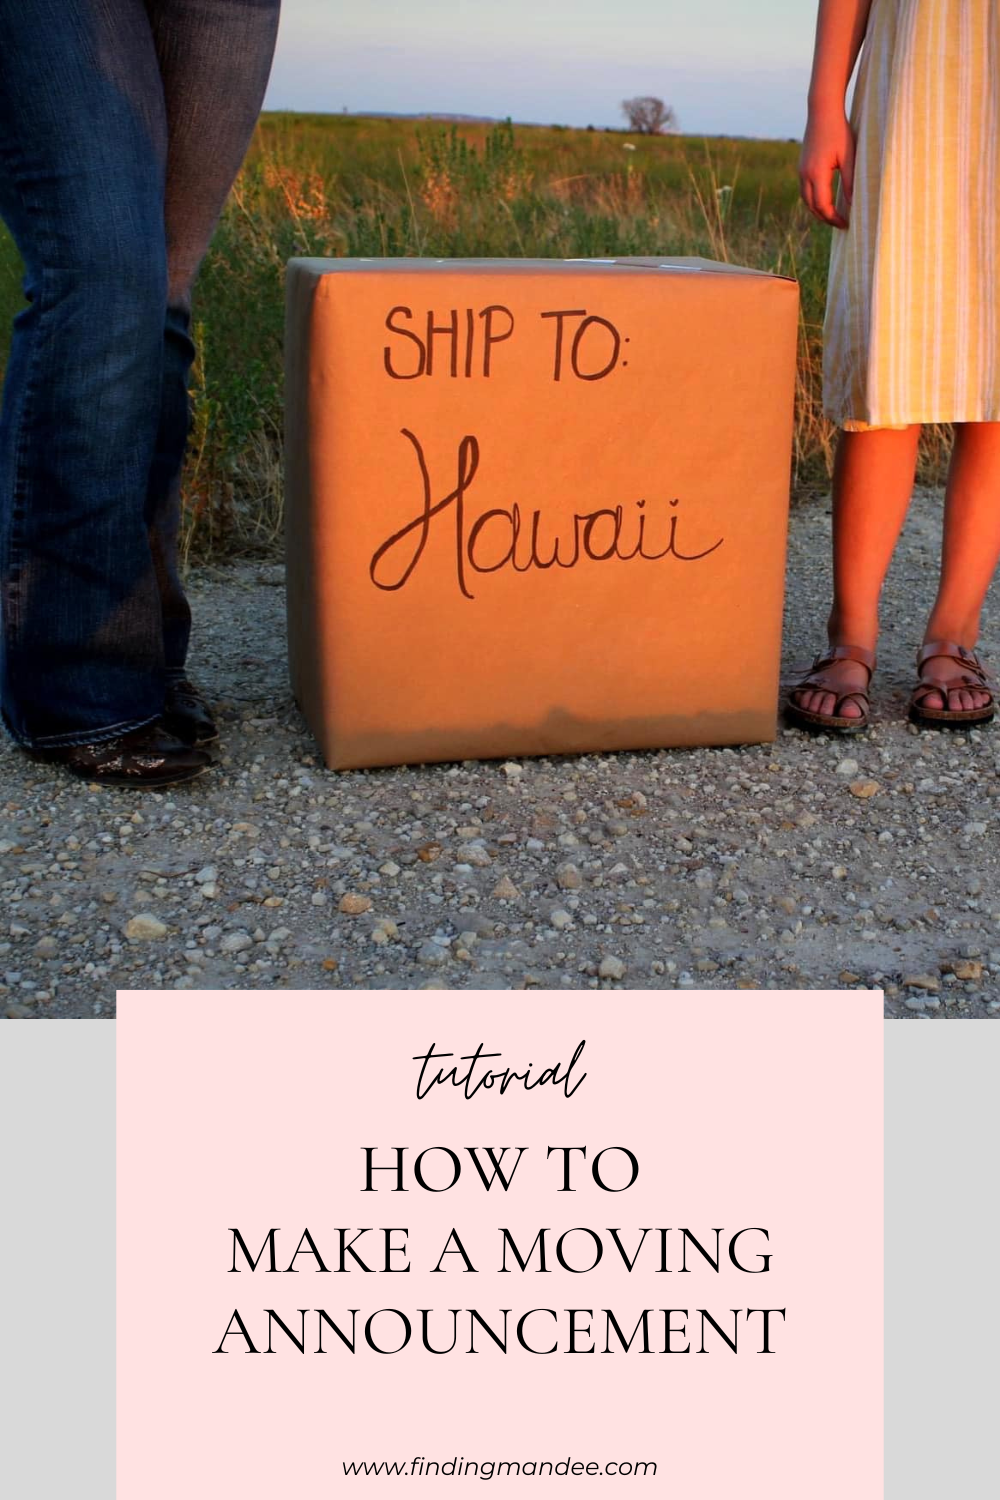
(We did a similar moving announcement when we PCS-ed from Texas to Hawaii!)
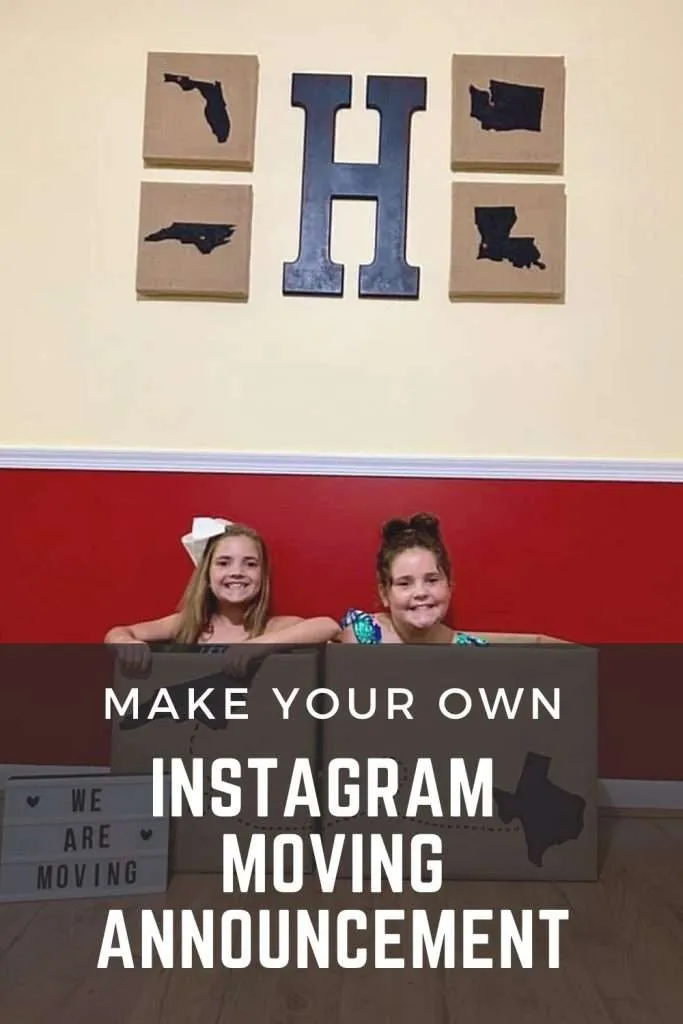
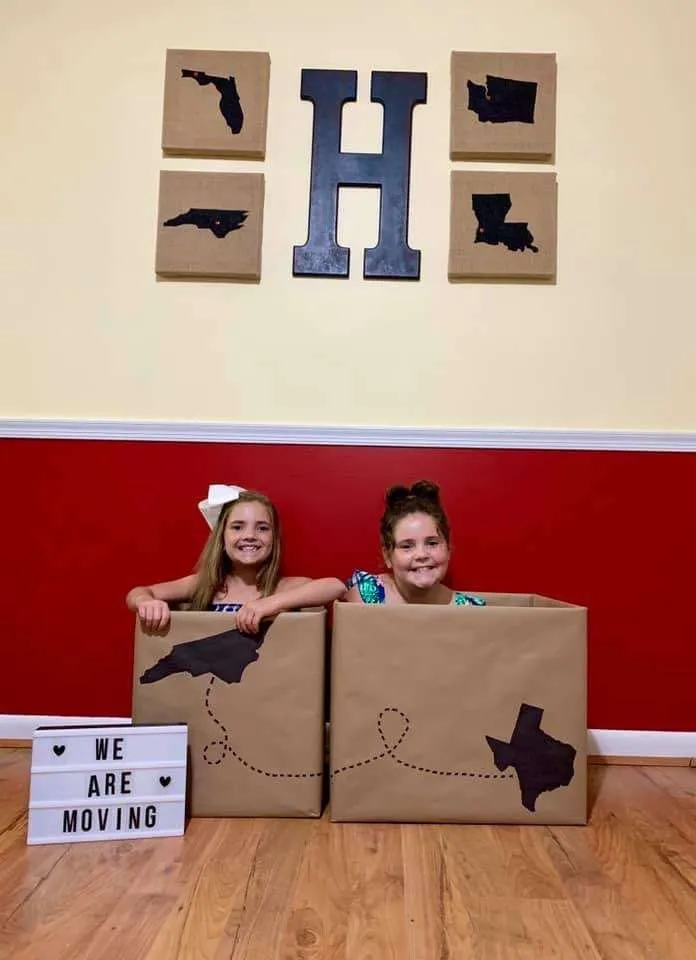
You can find the tutorials for the state silhouette wall art here. (But I’ve actually tossed those and replaced them with a smaller embroidered version.)
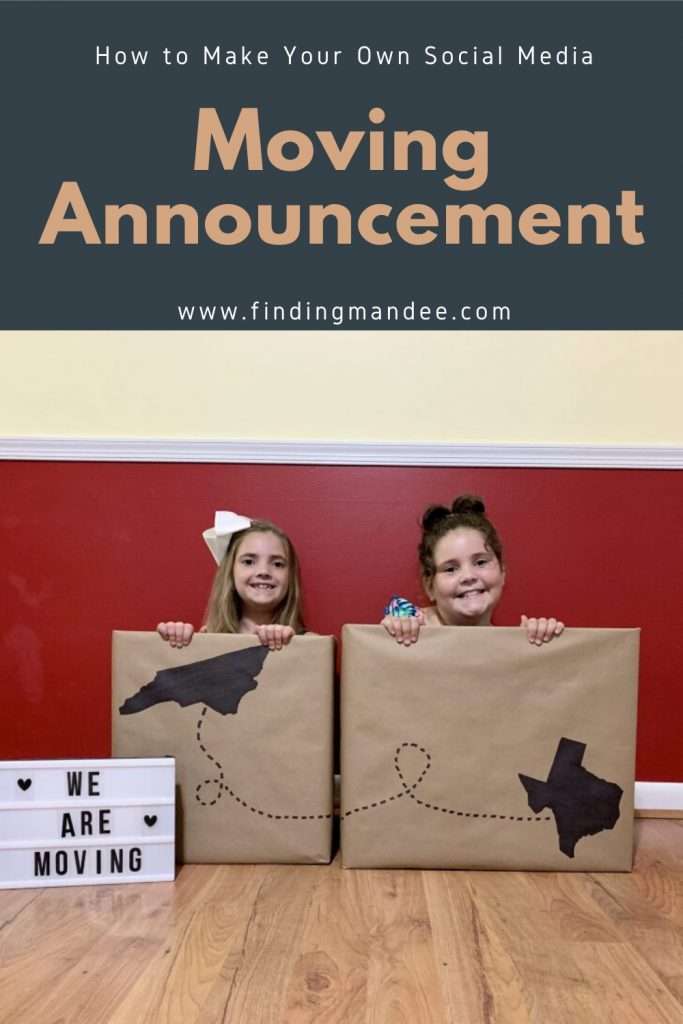
Here’s how I made a totally Instagrammable moving announcement!
Get a Box…or Two!
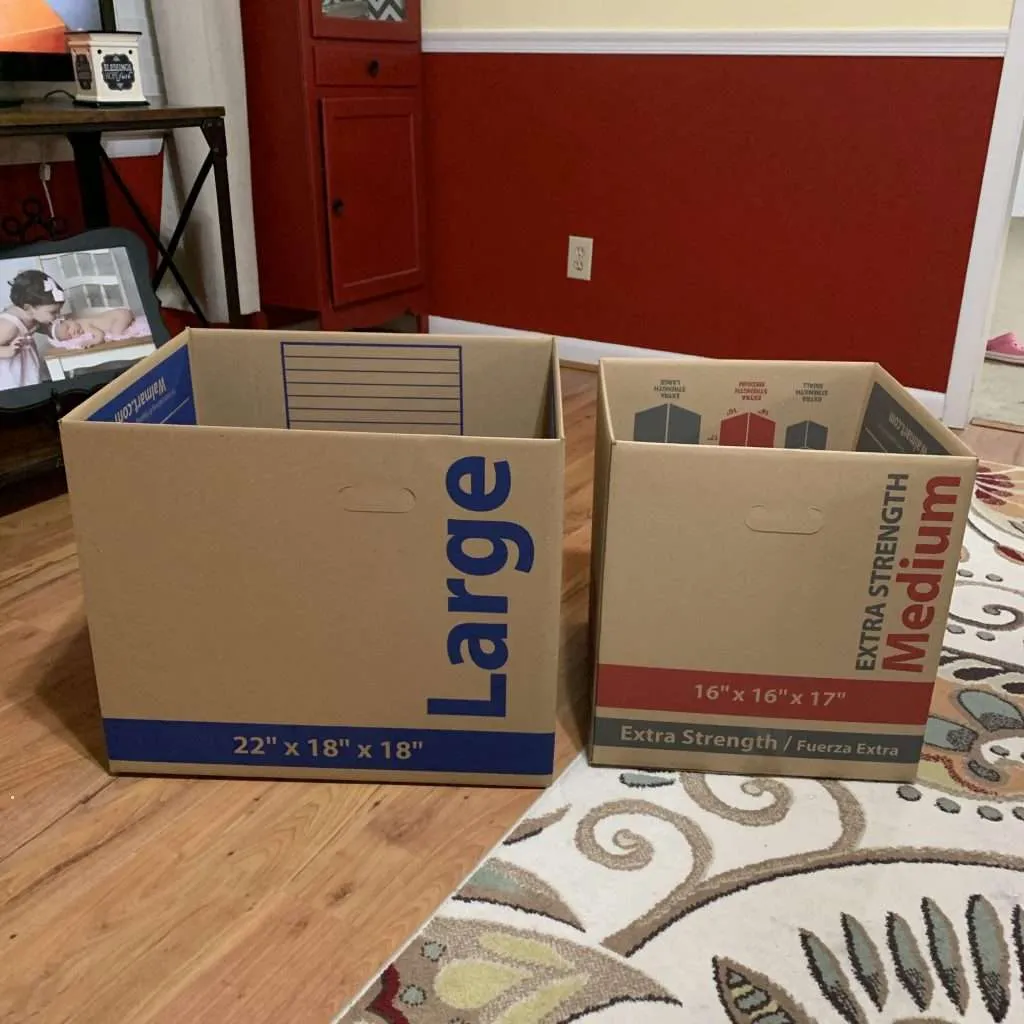
The first step to making your Instagrammable moving announcement is to gather your supplies. You will need:
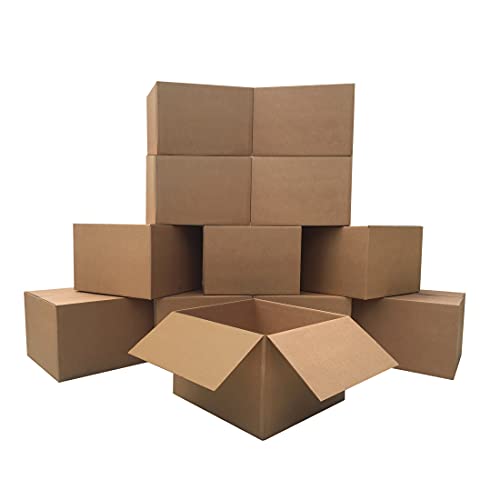
- boxes (usually 2 or 3)
- craft paper
- scissors
- tape
- markers
- camera
- cute kids, pets, or yourself!
uBoxes Large Moving Boxes 20Brown Paper Roll 15

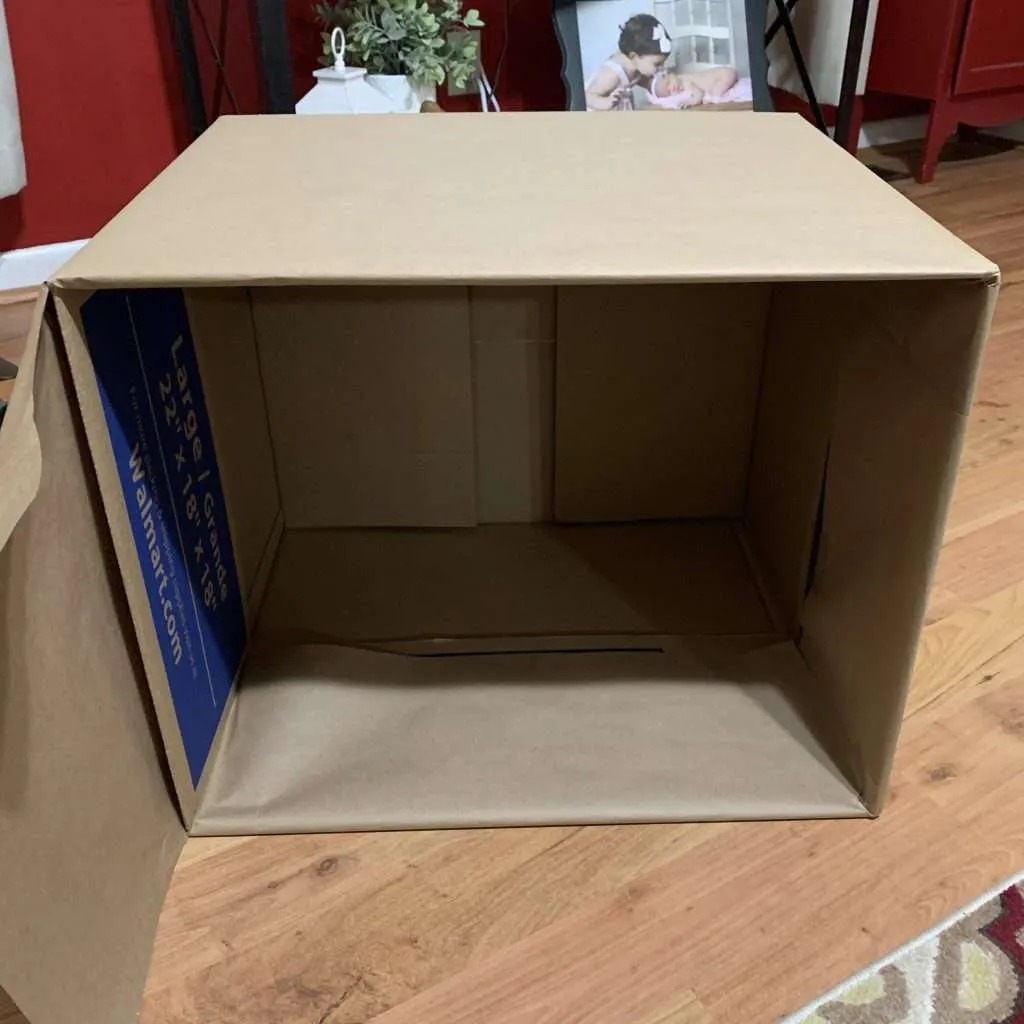
Wrap Your Boxes
After you have all of your supplies together, it’s time to wrap the boxes.
This step isn’t absolutely necessary, but it’s almost impossible to find plain brown boxes. And I didn’t want mine to be printed because I wanted to draw states on them.
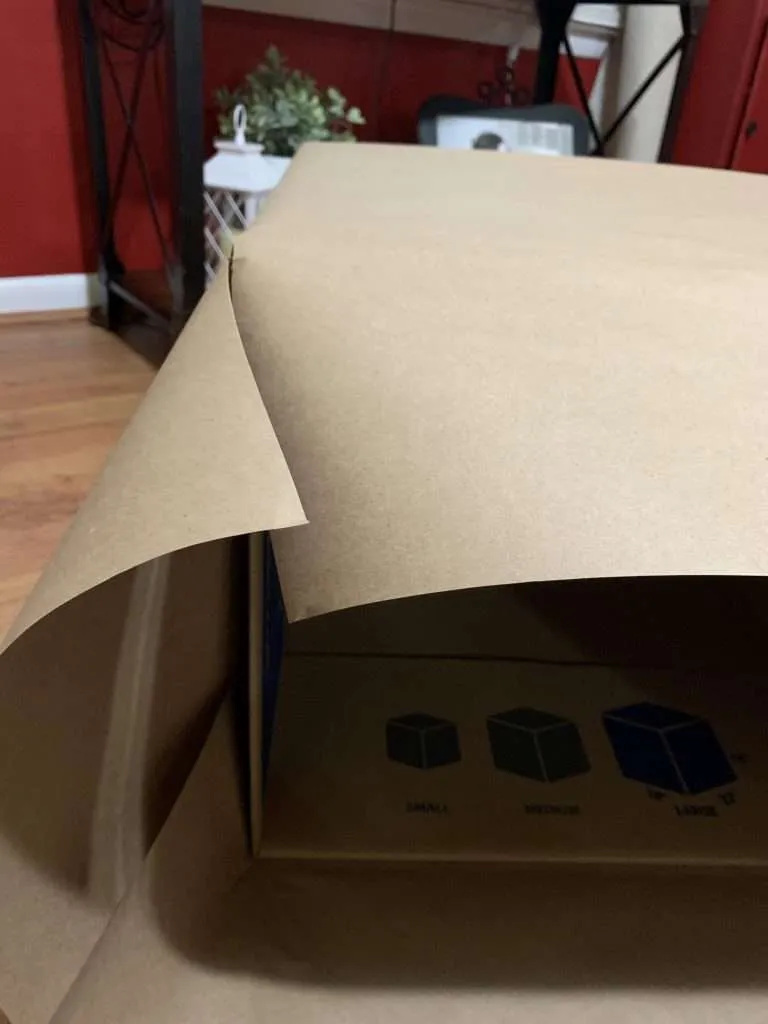
You pretty much wrap them just like you would a Christmas present, except that the top of the box is open. So, that can get a little tricky.
- Wrap the sides and bottom of the box just like you would a regular gift.
- Cut slits in the paper at the top corners of the box. Cut from the outer edge of the paper, down to the cardboard.
- Fold the paper into the top of the box and tape it down to the flaps of the box.

Fiskars Premier 8Scotch Heavy Duty Packaging Tape, 2 Inches x 800 Inches, Clear – 2 Count


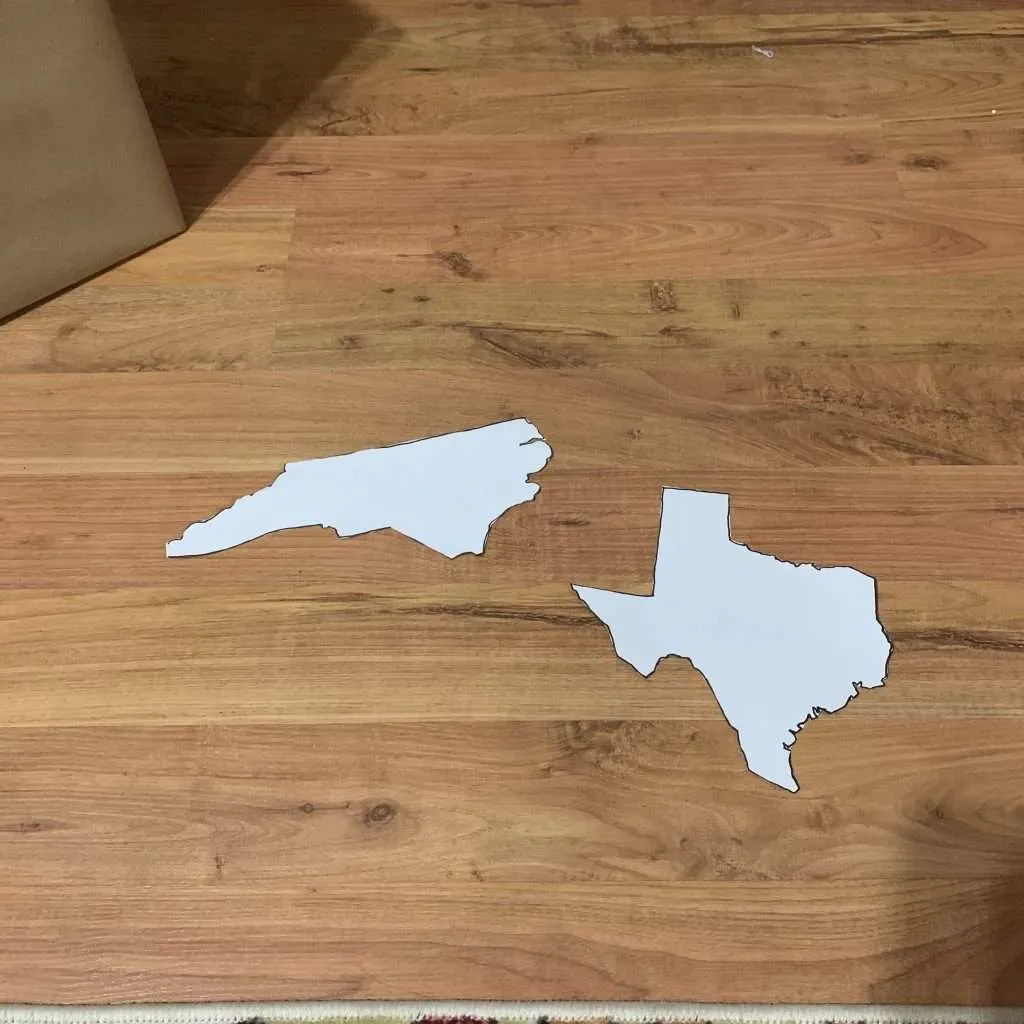
Get Your State Silhouettes
I wanted our Instagrammable moving announcement to have the state we were leaving and the state we were moving to. So, I Googled state silhouettes and traced them onto paper. (You can see the complicated process below, lol.)
You can also print out the silhouette, which is probably wayyy easier, but my printer is a pain.
After you have your silhouette ready, cut it out.

SHARPIE Permanent Markers, Chisel Tip, Black, 4 CountCinema Light Box with Letters – Vintage Cinematic Light Up Message Note Sign Board With 160 Letters, Numbers, Symbols – A5 Magnetic White LED Lightbox With Long Durable USB Cable for Home,Gift,Office & Room Decor

Trace the States Onto Your Boxes
Next, trace the states onto your boxes and color them in.
This step is a little time-consuming, but it’s pretty easy. And it goes by pretty fast if you’re watching a good TV show.
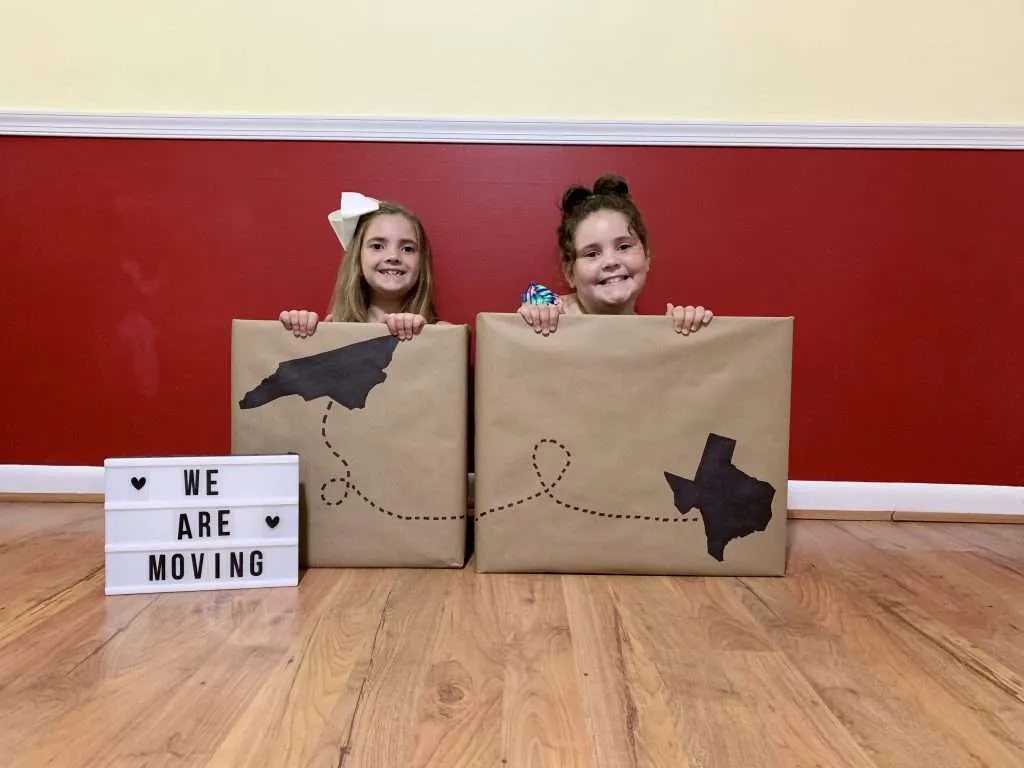
Once you have the states drawn on, draw a loopy, dotted line between them.
Finally, you’re done!
Then add some cute kids and a message light box and your announcement is ready for The Gram.