[Disclaimer: Finding Mandee is reader-supported, if you purchase through links on my site I may earn an affiliate commission at no additional cost to you. As an Amazon Associate, I earn from qualifying purchases.]
**Update 2022: I recently replaced these painted states with embroidered ones!**
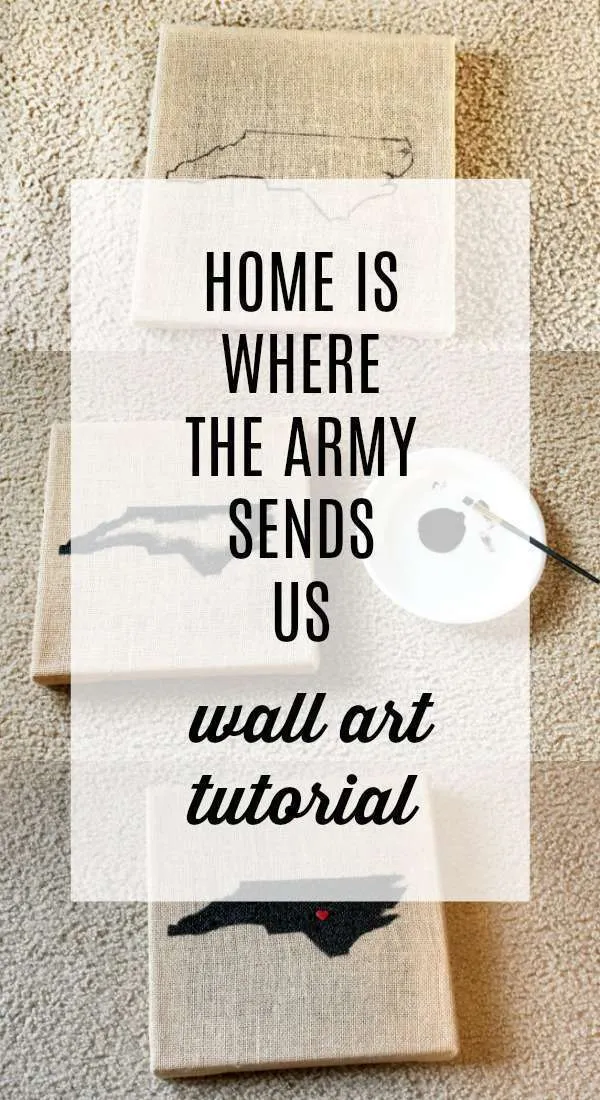
As an Army family, we move around quite a bit. Each new location slowly becomes our home and part of our family’s story. I wanted to dedicate a wall in our house to display each of our duty stations and our ‘home of record’, Florida.
(You can find more ideas for decorating military housing and rentals here!)
There are many different versions of these ‘home is where the Army sends us’ walls, but none that matched the rustic feel of our decor.
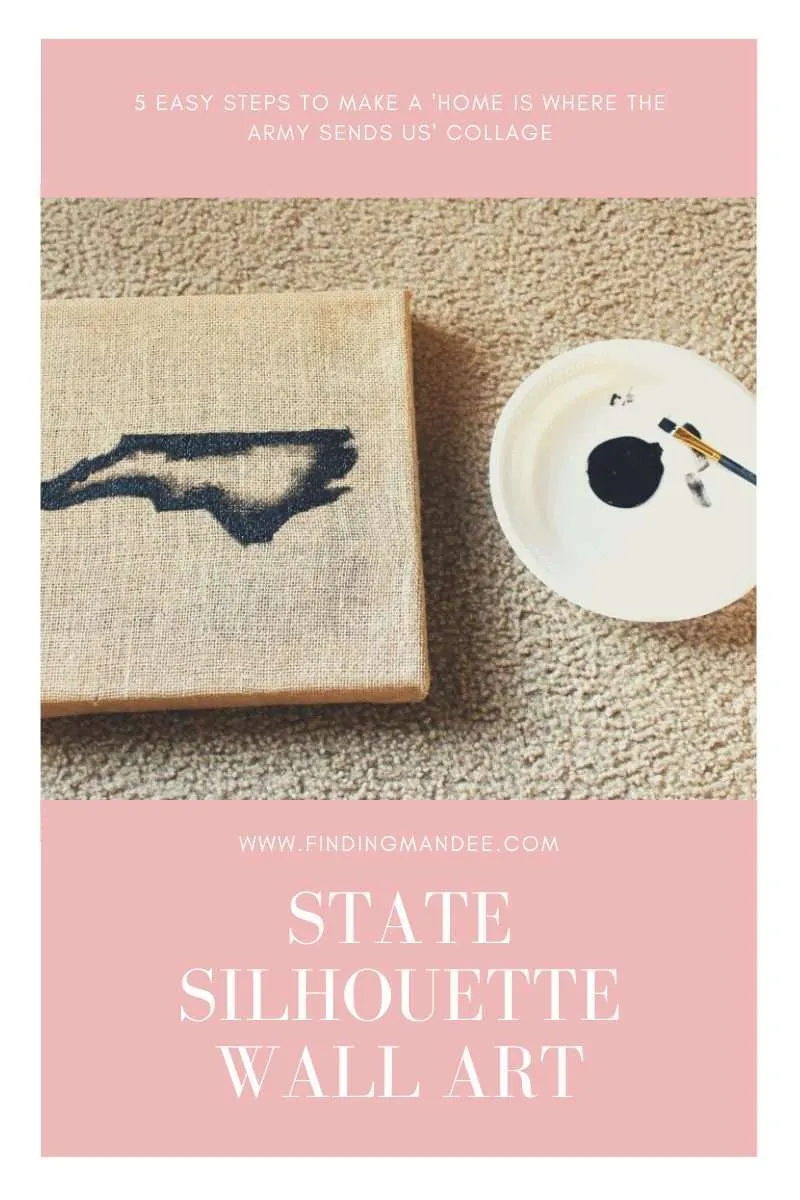
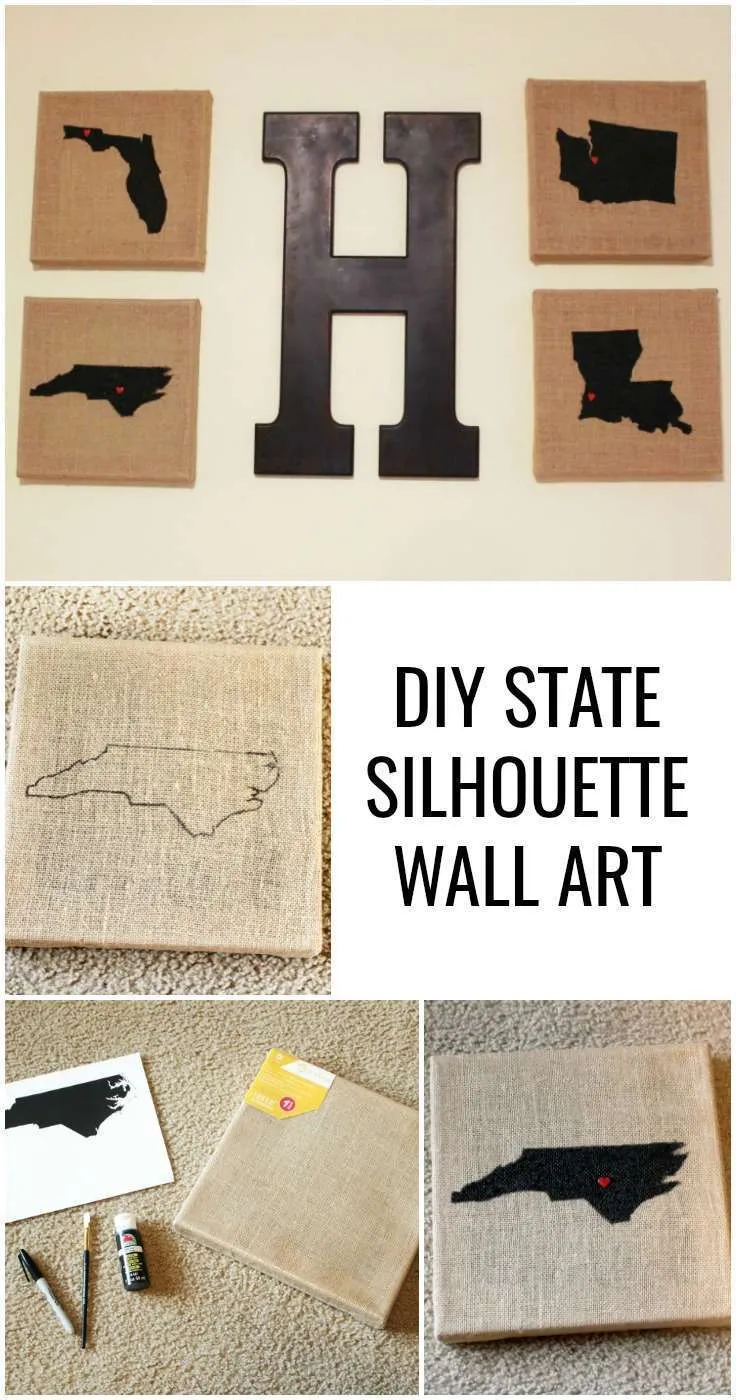
However, as soon as I saw these blank burlap canvases in the craft section at Wal-Mart, I knew that they would be perfect for this project. Here’s how I made a state silhouette wall collage.
How to Make State Silhouette Wall Art Decor
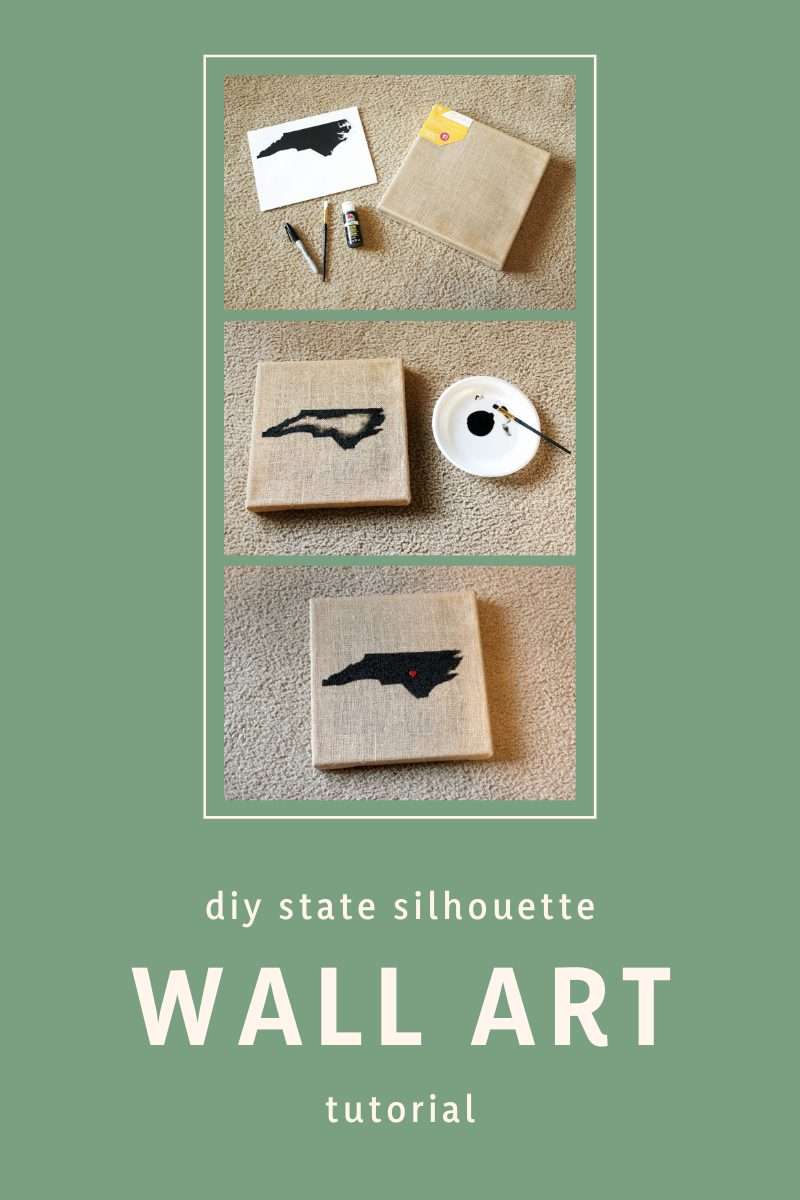
Step 1: Gather the Supplies
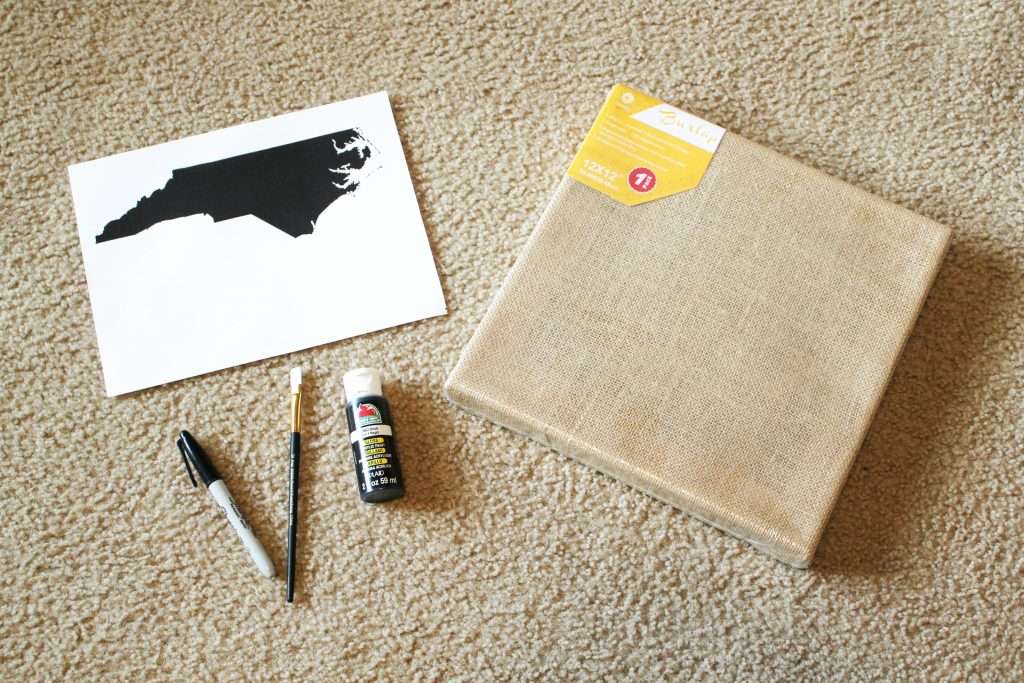
For this project, you will need:
- burlap canvas
- black paint (acrylic)
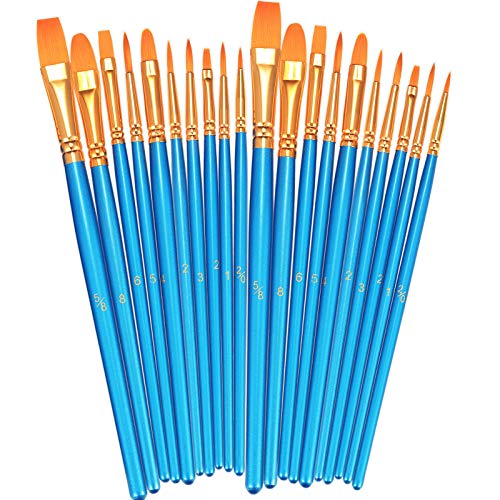
- paintbrush
- black marker
- printed silhouette of desired state(s)
A few comments on the supplies:
You can use any size canvas that you choose. I bought this 12×12 burlap canvas at Walmart, but they sell smaller sizes (which might be necessary if you plan on painting several different states).
To print the silhouette of the states that I needed, I went to http://www.supercoloring.com/silhouettes.
This site allows you to download and print the state silhouettes for FREE. Before printing the silhouettes, I changed the paper orientation to ‘landscape’. The default size ended up being perfect for this 12×12 canvas, but you may need to resize the silhouette for a smaller canvas.
Sargent Art Stretched Canvas, Burlap, 9Apple Barrel Black Paint 32 Fl Oz (Pack of 1)


Step 2: Cut Out Silhouette
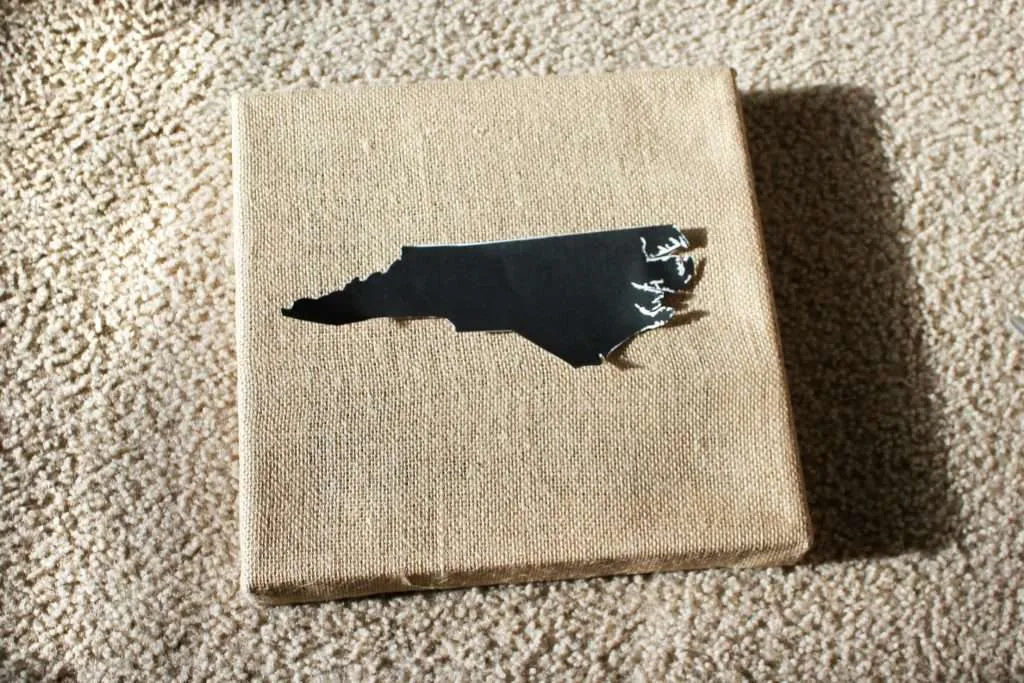
Cut out the silhouette of the state you are painting. It doesn’t have to be perfect, especially on the states (like North Carolina) with uneven coastlines.
After you’ve finished cutting out the silhouette, place the state in the center of the canvas.
Step 3: Trace the Outline of the State
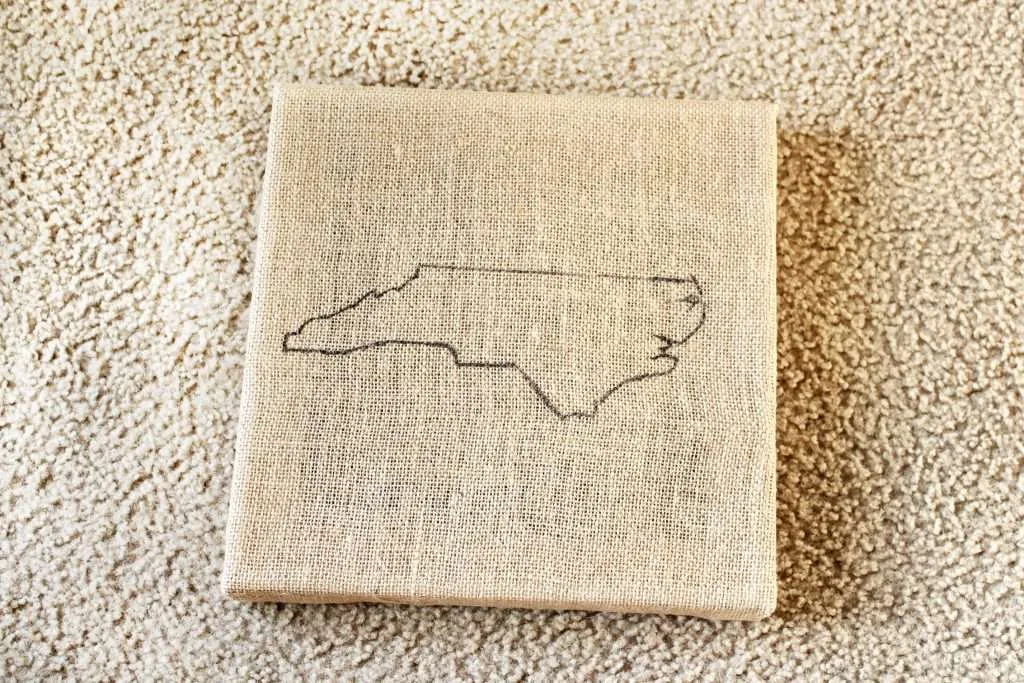
Using a black marker, trace the outline of the state’s silhouette onto the burlap canvas.
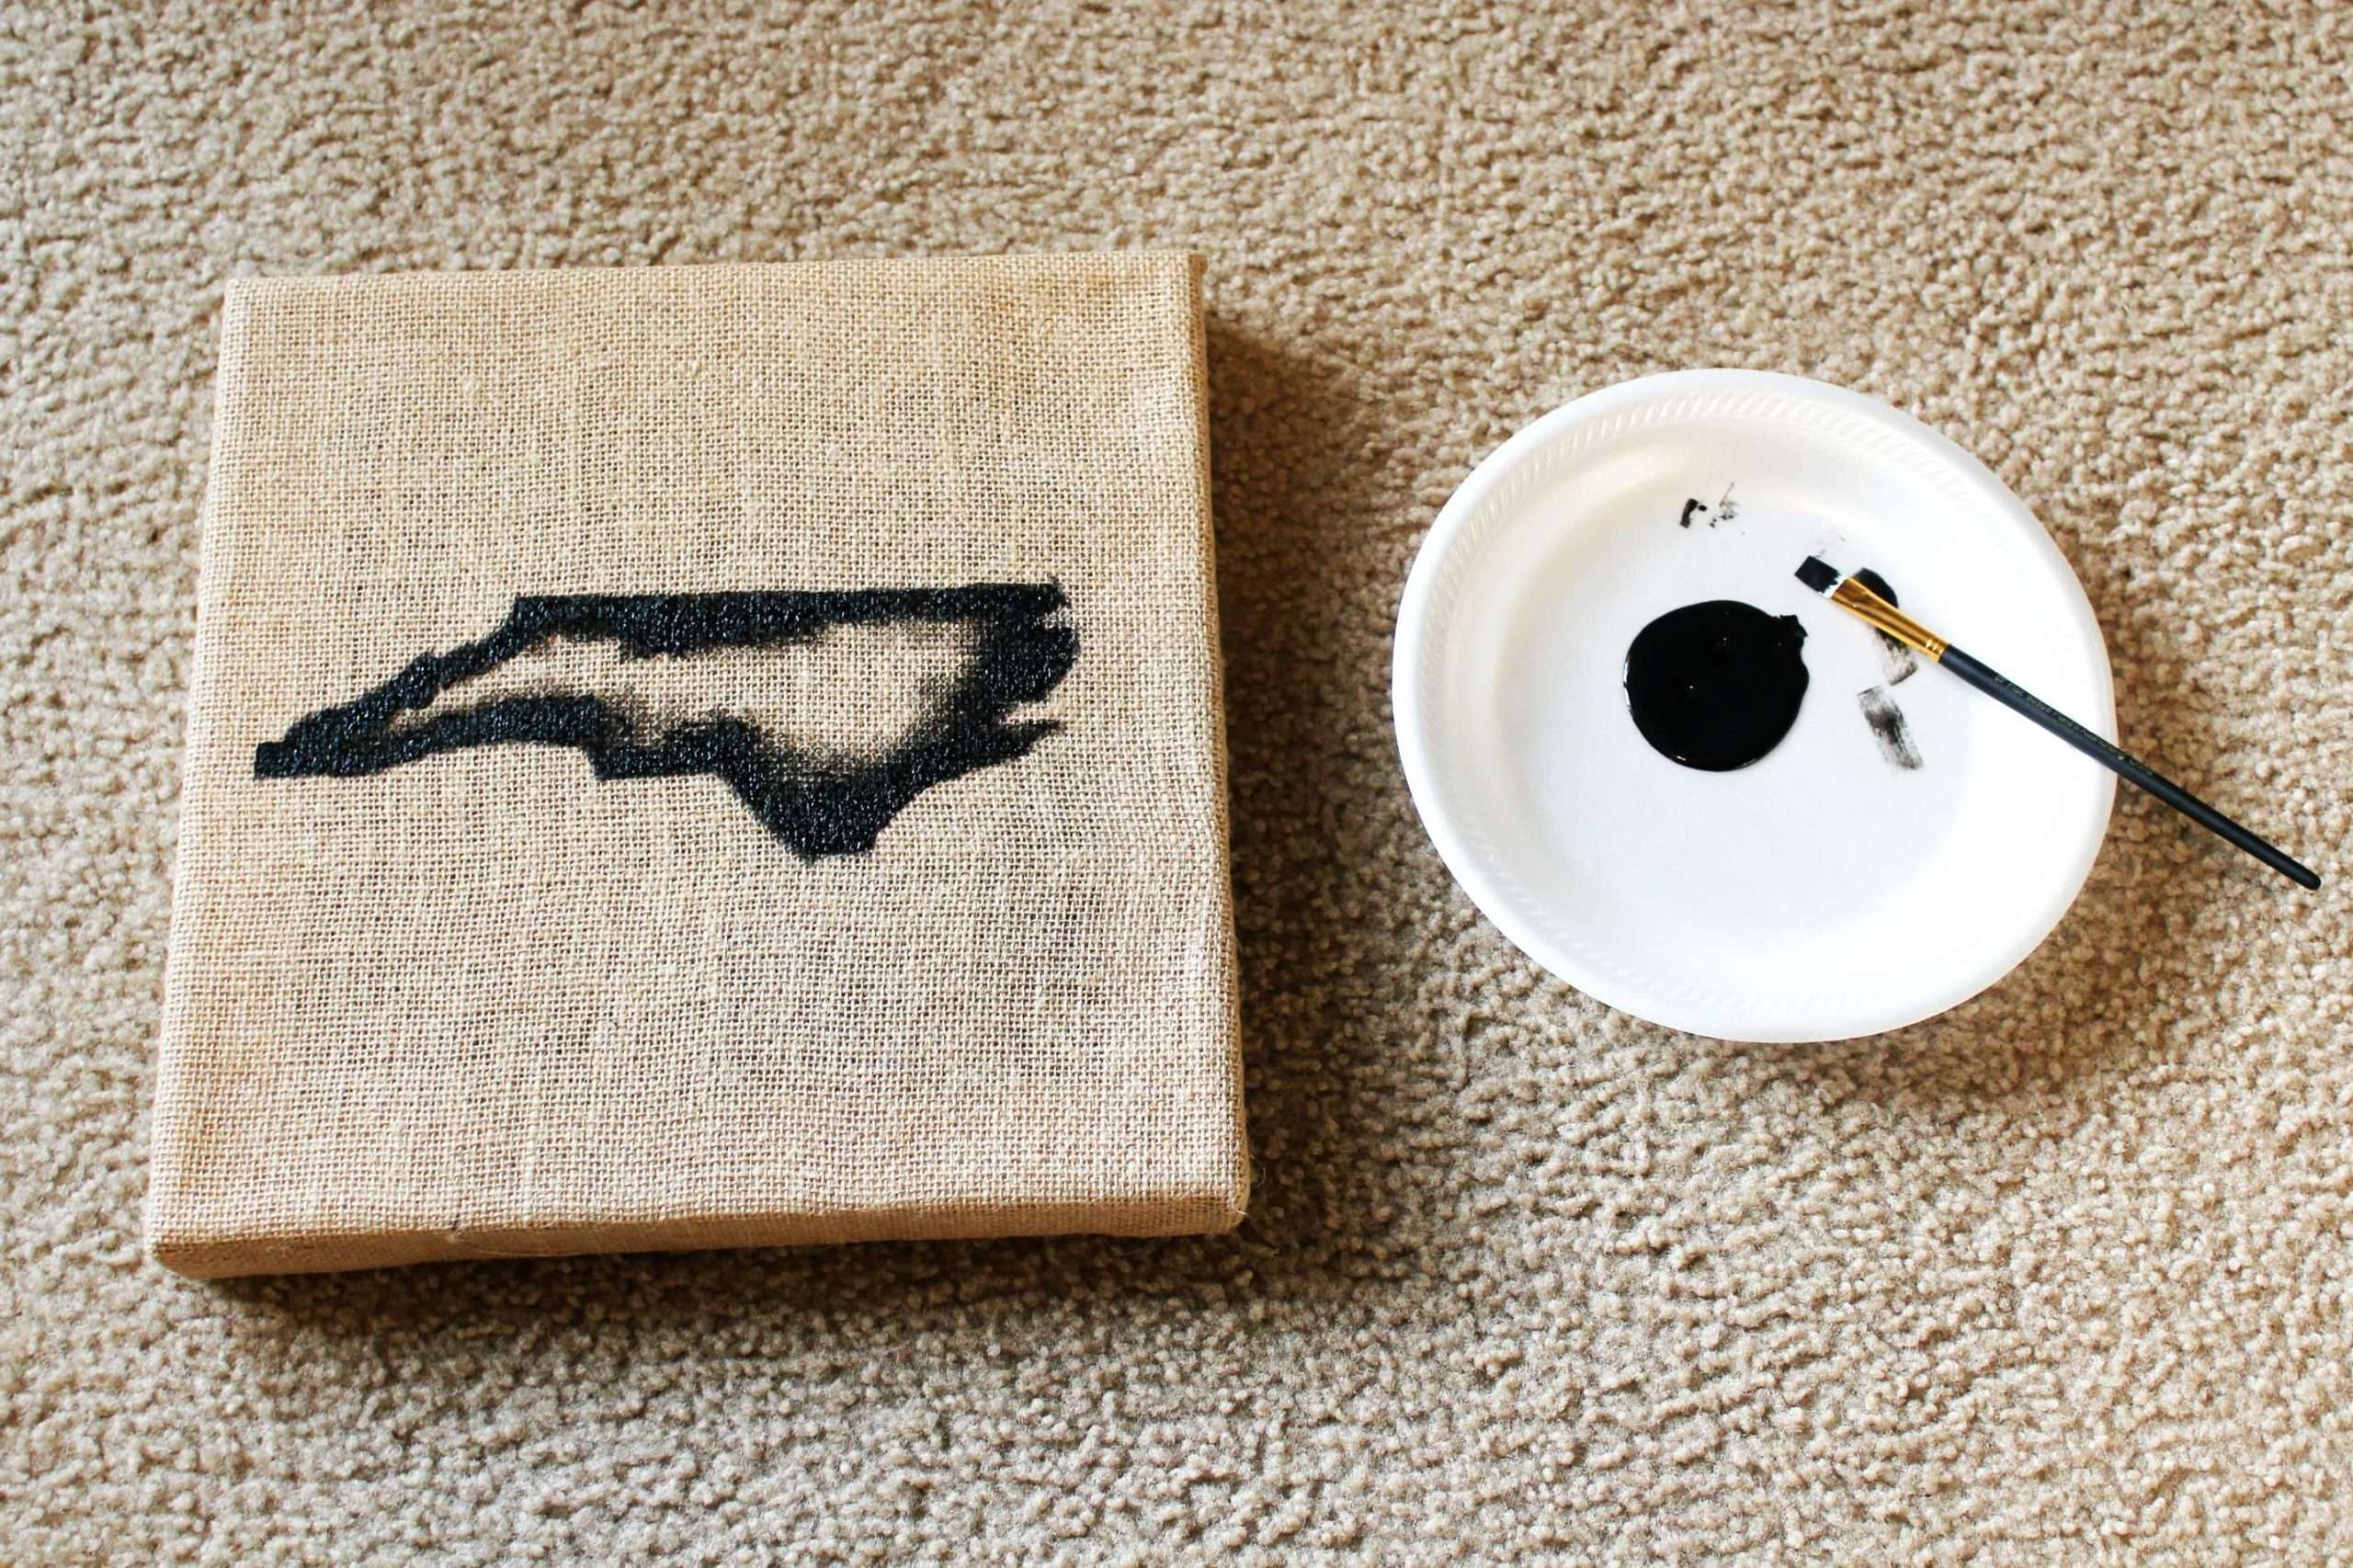
Step 4: Start Painting

Start filling in the outline of your state with paint.
I usually paint around all the edges first, then fill in the middle. It doesn’t matter how you choose to paint the silhouette, just make sure that it’s completely filled in.
Paint can drip through the little holes in the burlap. So, make sure you put down newspaper or a towel underneath the canvas to catch any drips.
BOSOBO Paint Brushes Set, 2 Pack 20 Pcs Round Pointed Tip Paintbrushes Nylon Hair Artist Acrylic Paint Brushes for Acrylic Oil Watercolor, Face Nail Art, Miniature Detailing and Rock Painting, BlueROYAL BRUSH RFOMW-4P Foam Brush, 4-Count

Step 5: Add a Heart
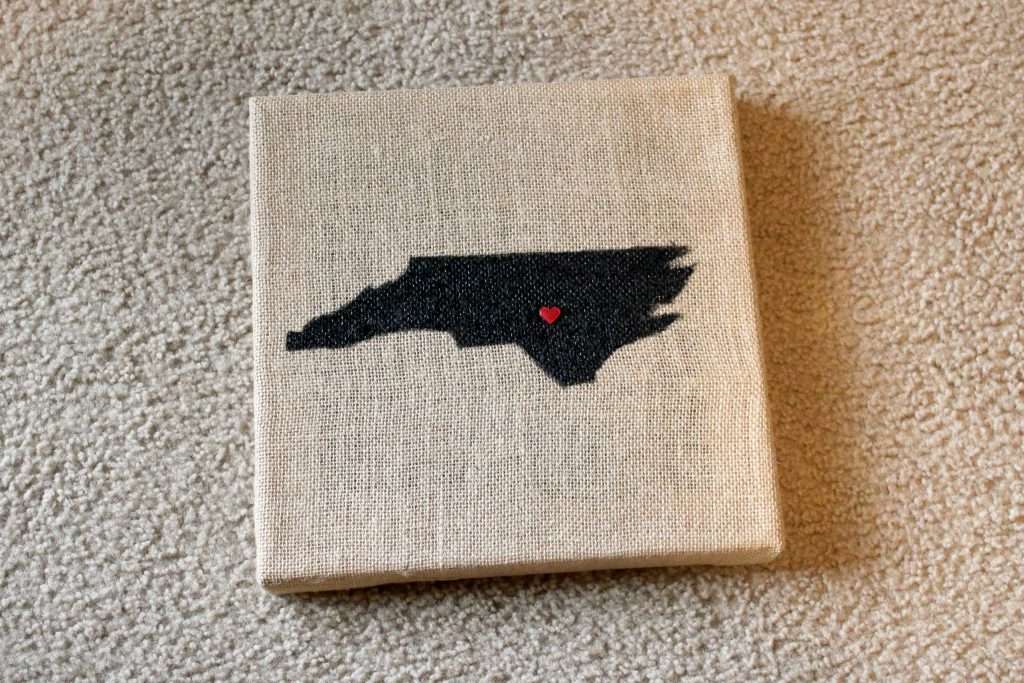
As the finishing touch to the canvas, I added a heart sticker over the city we live(d) in. (I just used a plain heart sticker from my scrapbooking supplies.)
Use a little hot glue or super glue to make sure that the sticker won’t fall off.
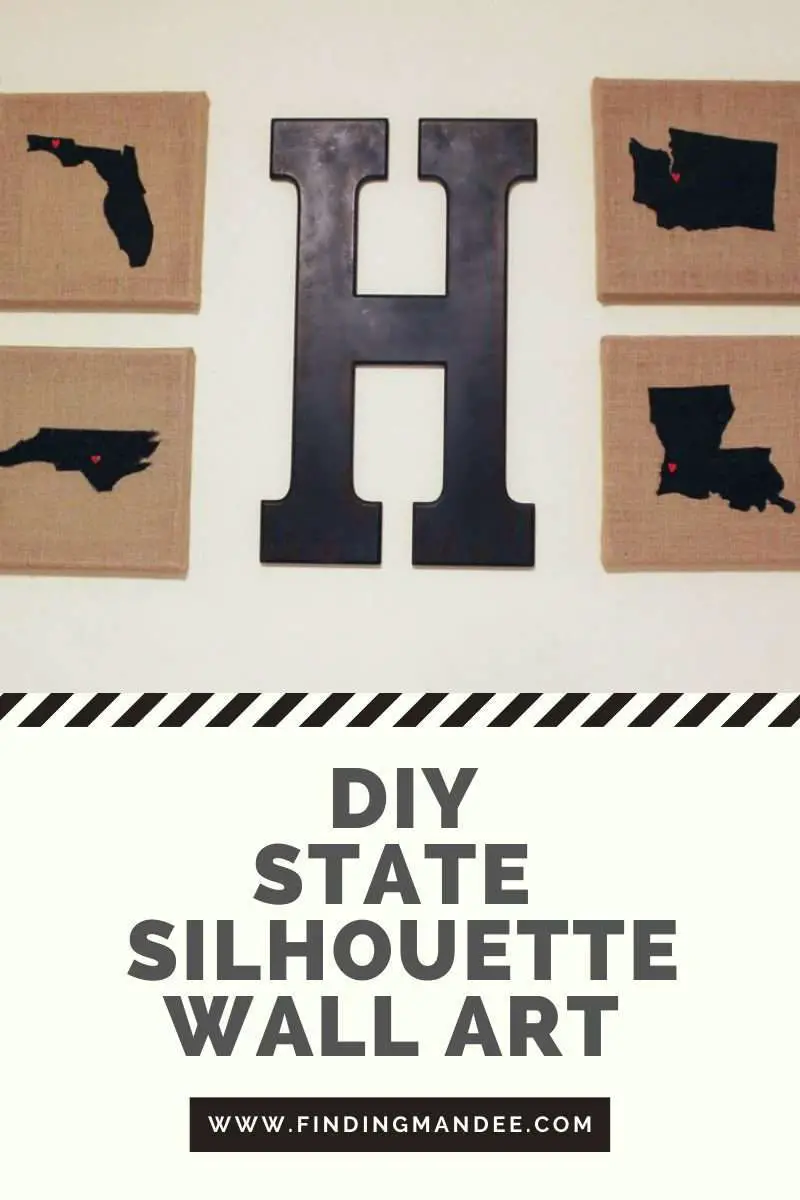
Step 6: Hang it on the Wall
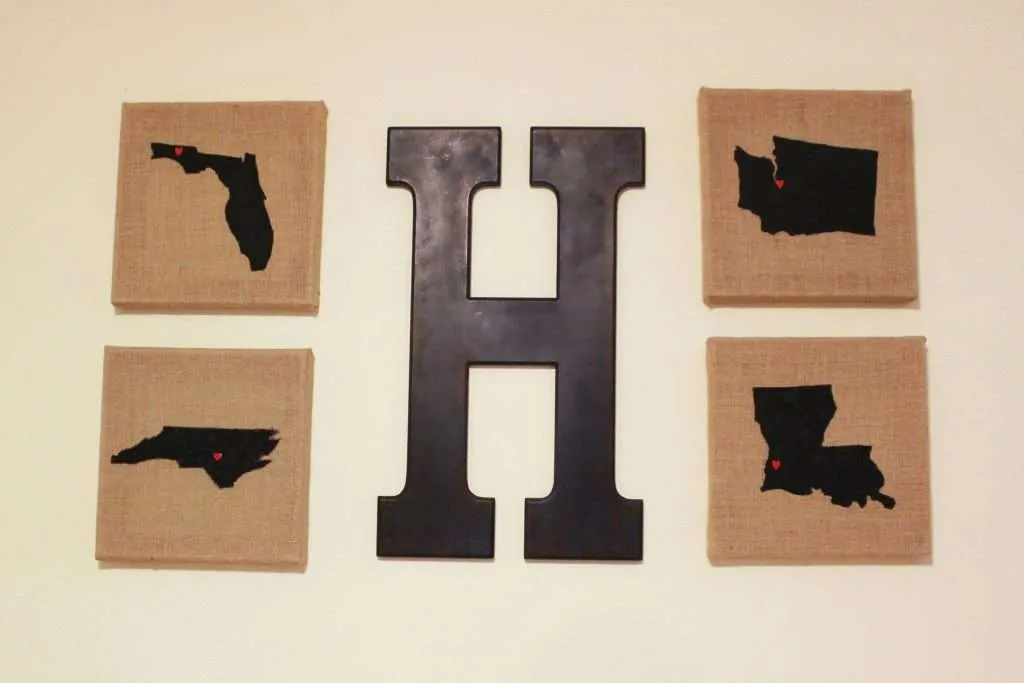
Now it’s time to put your masterpiece on display!
We have:
- our home state: Florida
- Joint Base Lewis-McChord, Washington
- Fort Johnson, Louisiana
- Fort Liberty, North Carolina
I added a big letter H to our collage, but I think it would look great with pictures. You can play with the arrangements and designs until you achieve the look you want.
This collage is sure to remind you of all the places you’ve called home and the memories you’ve made along the way. After all, home is where the Army sends us.