[Disclaimer: Finding Mandee is reader-supported, if you purchase through links on my site I may earn an affiliate commission at no additional cost to you. As an Amazon Associate, I earn from qualifying purchases.]
For years, our Halloween decor has been a hodgepodge of things that I’ve found on clearance after the holiday. I can never justify spending a lot of money on decorations that only stay up a few weeks out of the year.
Because our Halloween and fall decorations are a jumble of random things, I’m trying to be more intentional with my DIY projects and create a theme that I can build off of for future years.
I’m attempting to make the Halloween decorations more neutral so that they will work with anything that I happen to find on clearance in the years to come. (You can see the neutral/boho Halloween wreath that I made here.)
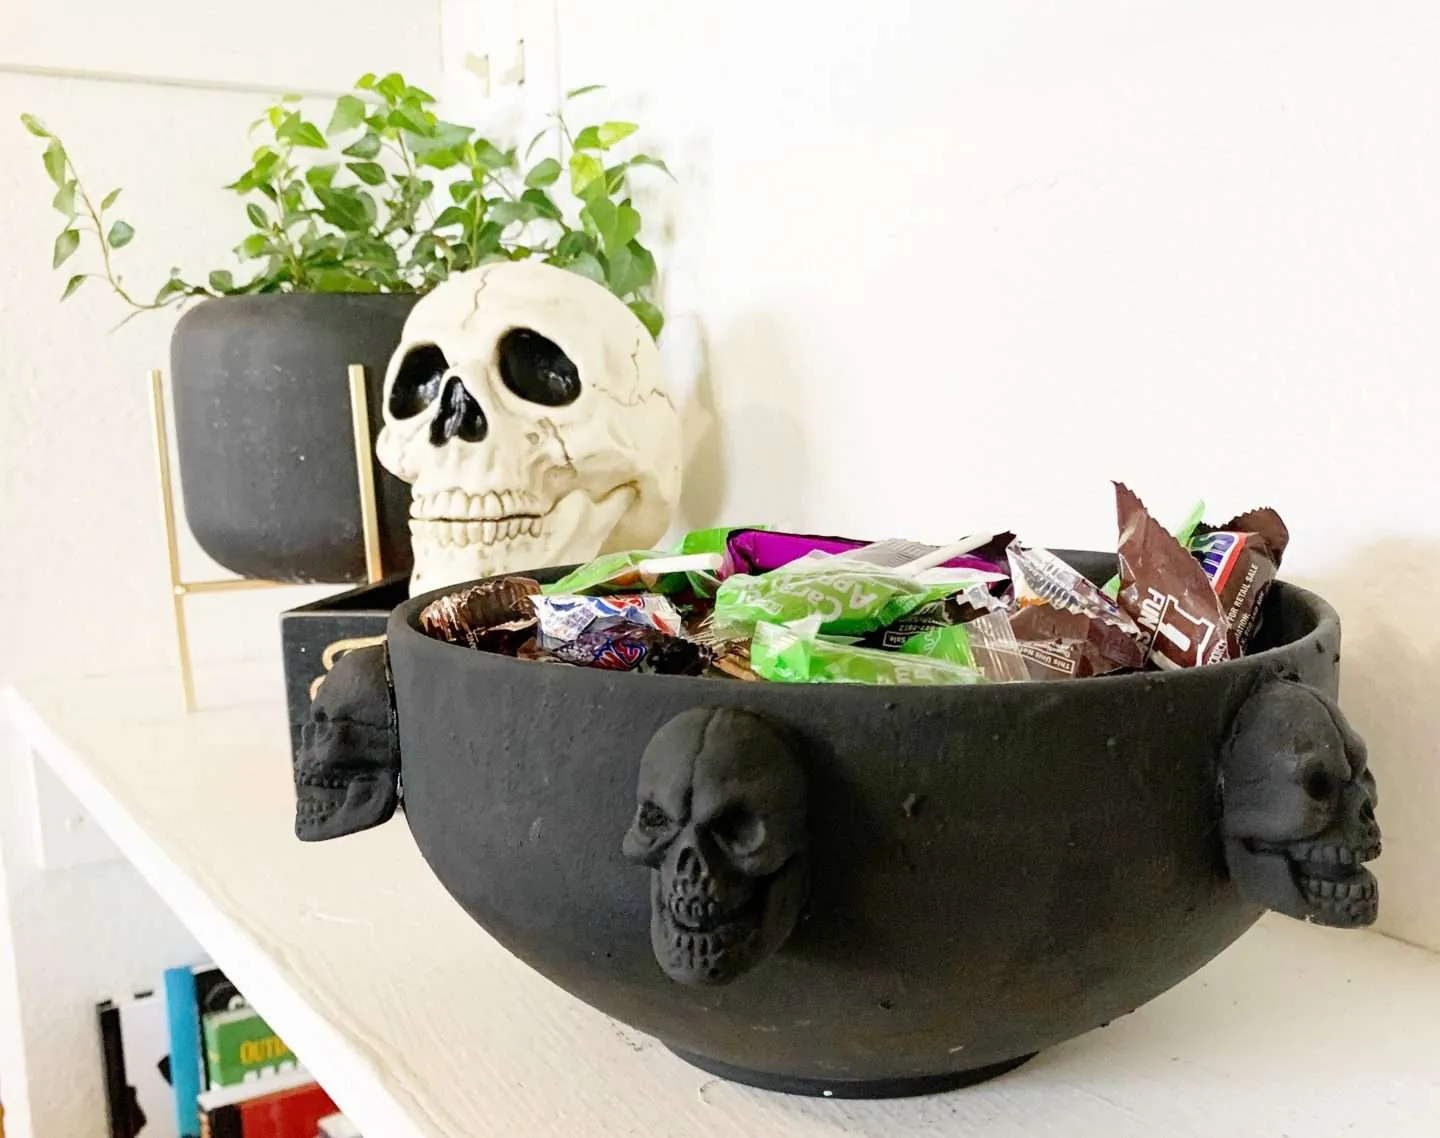
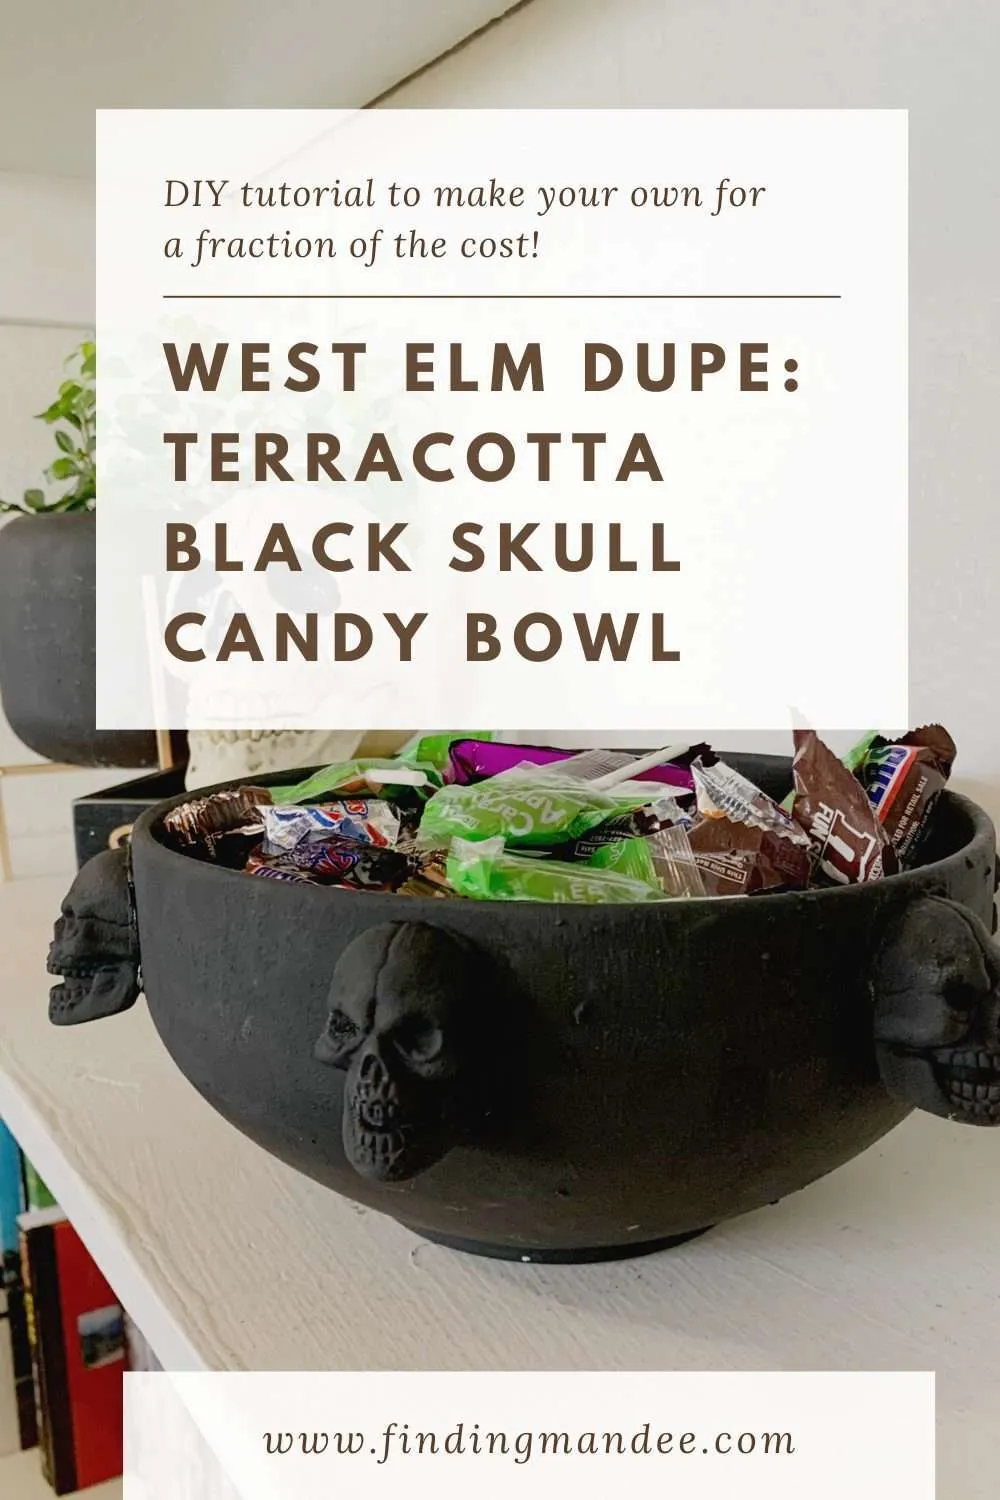
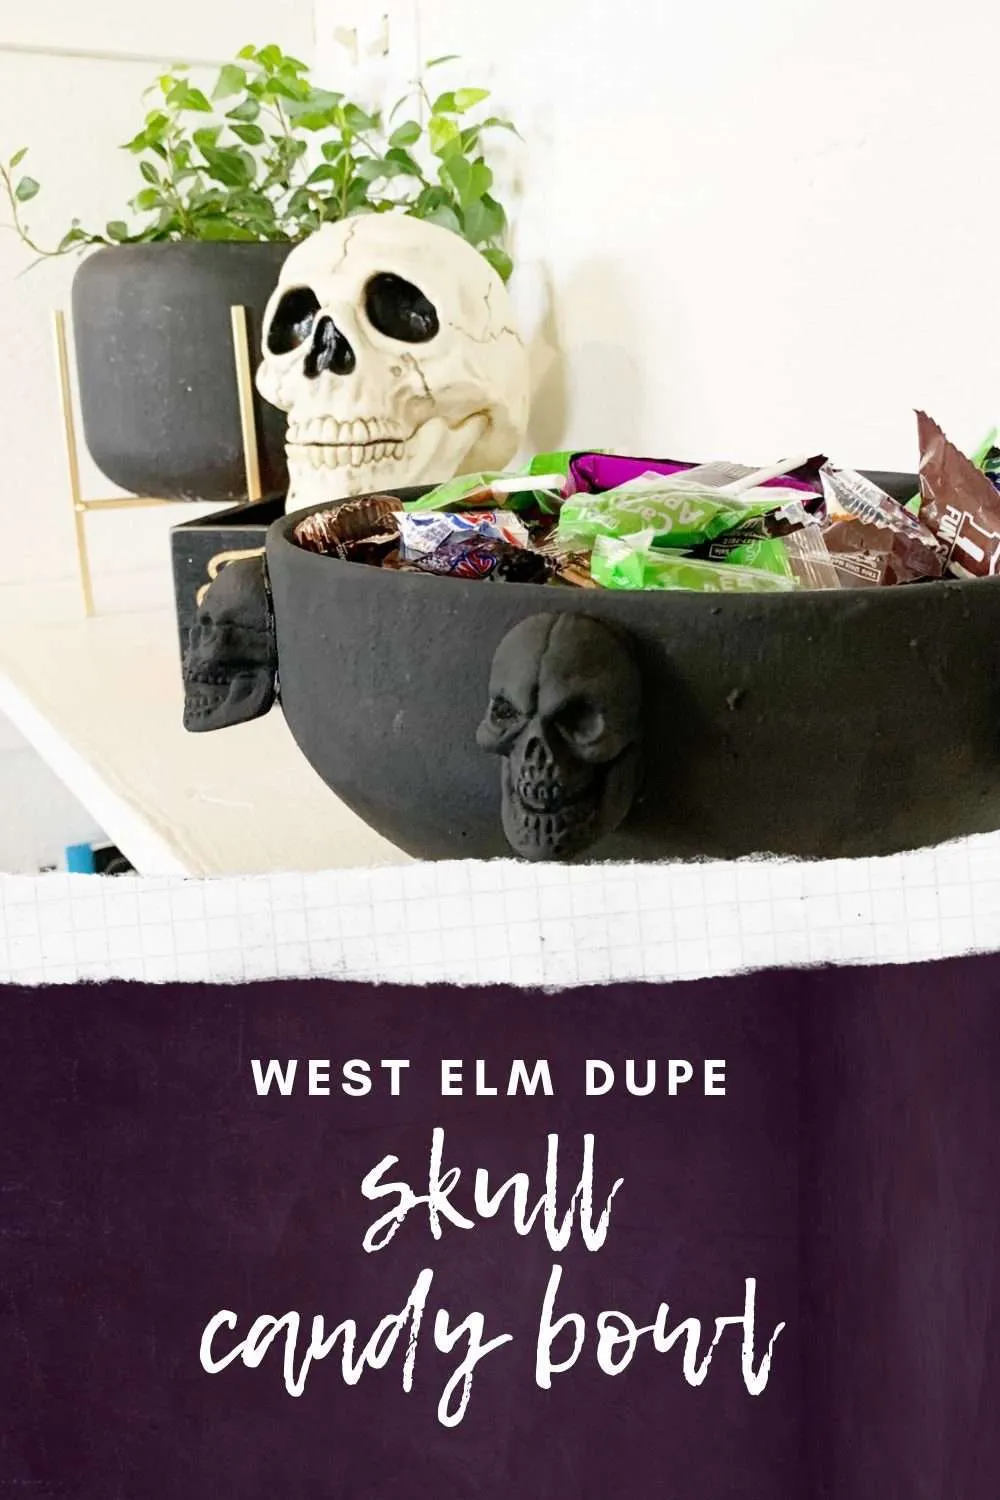
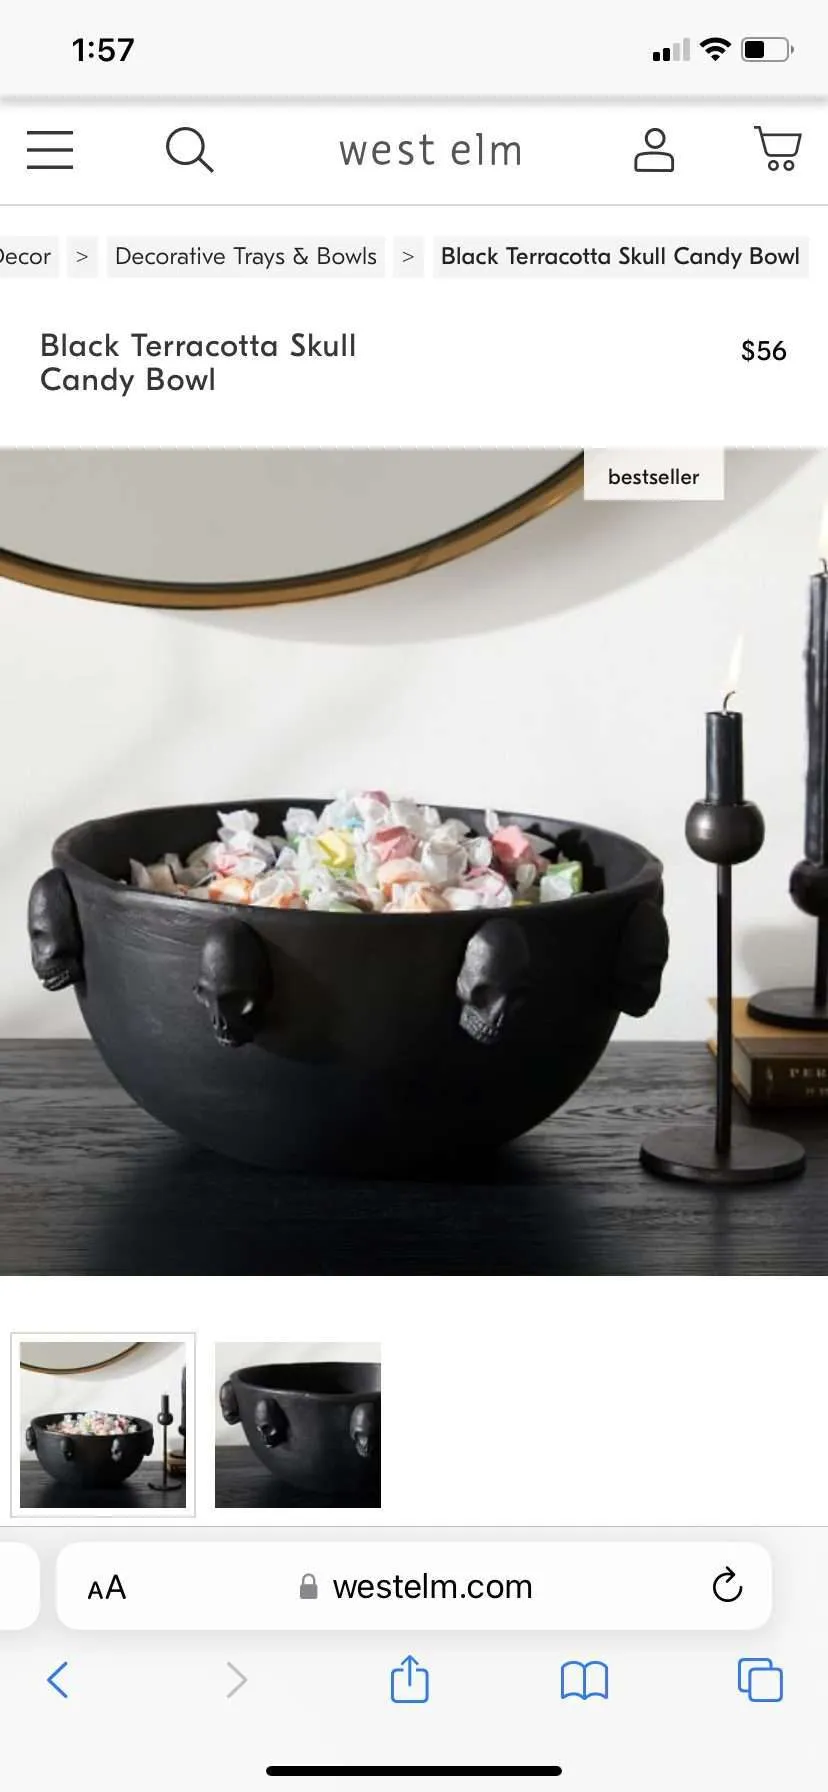
So, when I saw this West Elm skull candy bowl dupe all over Instagram, I knew the solid black and textured finish would be perfect for my new more neutral scheme.
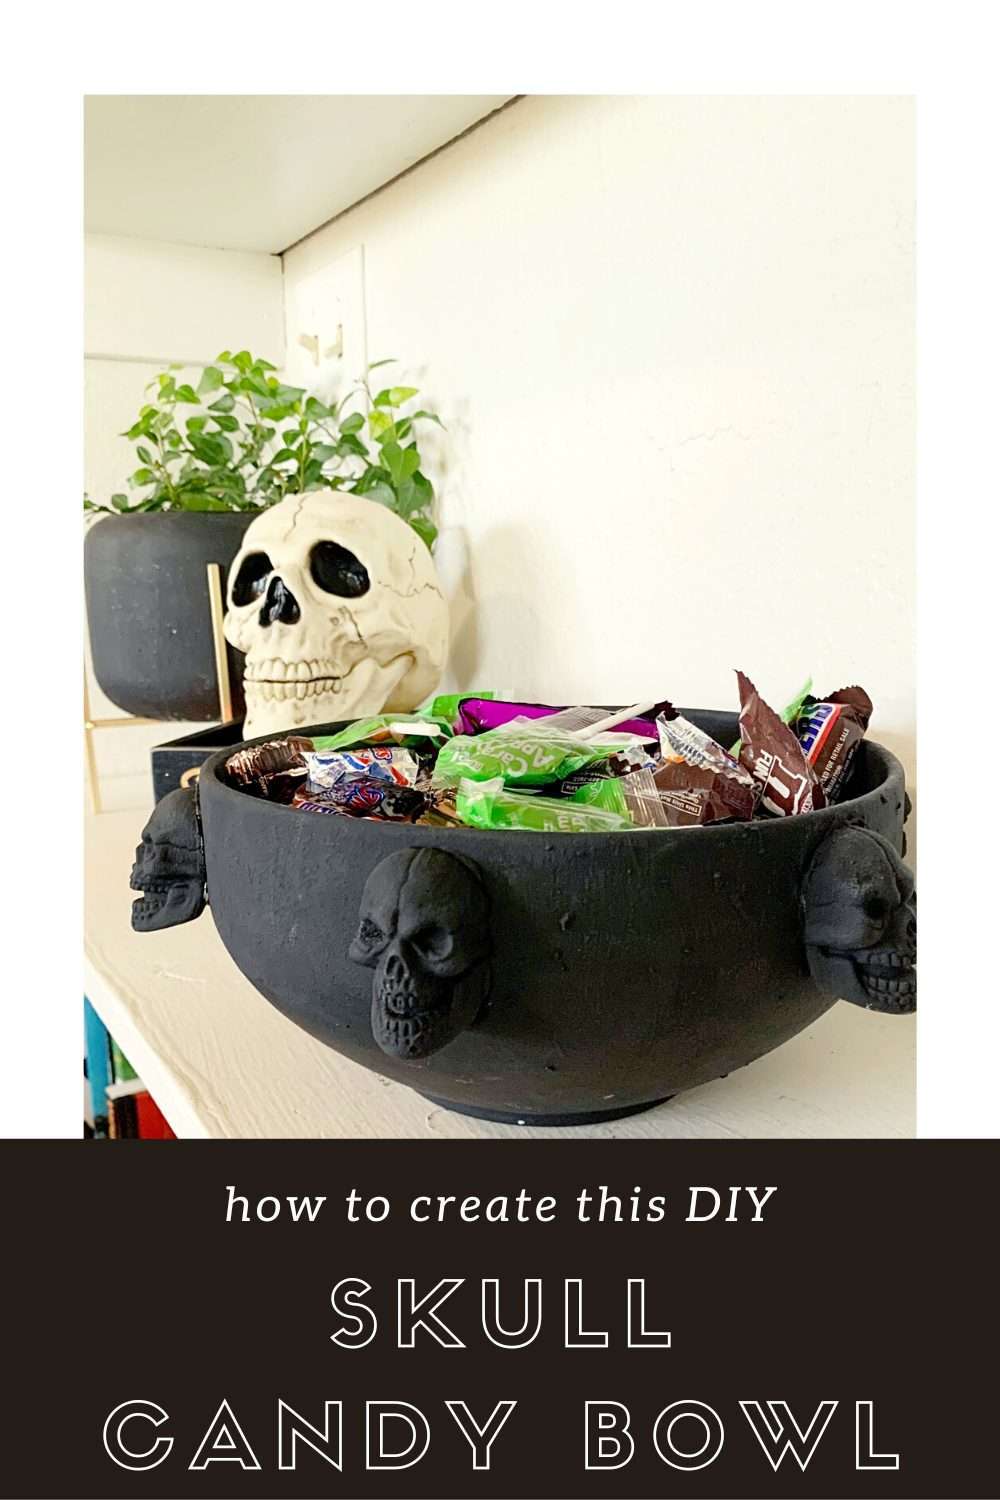
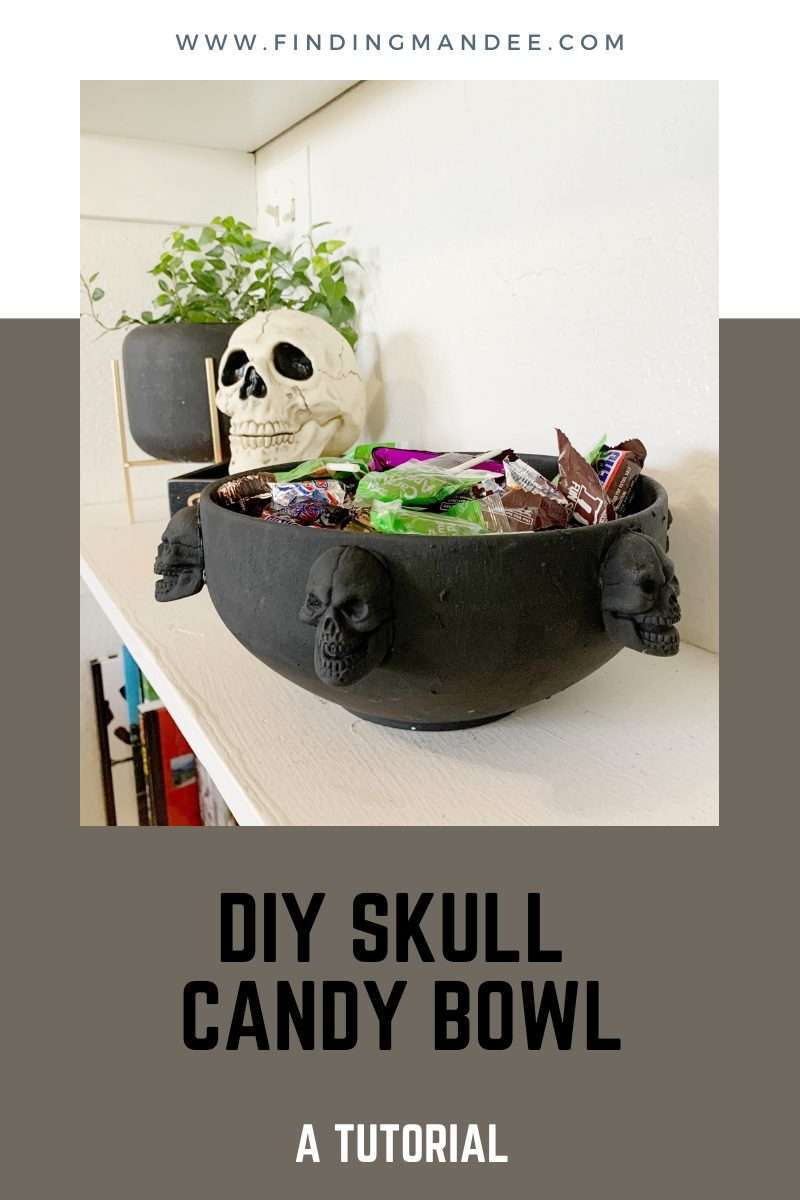
Here’s how I made it:
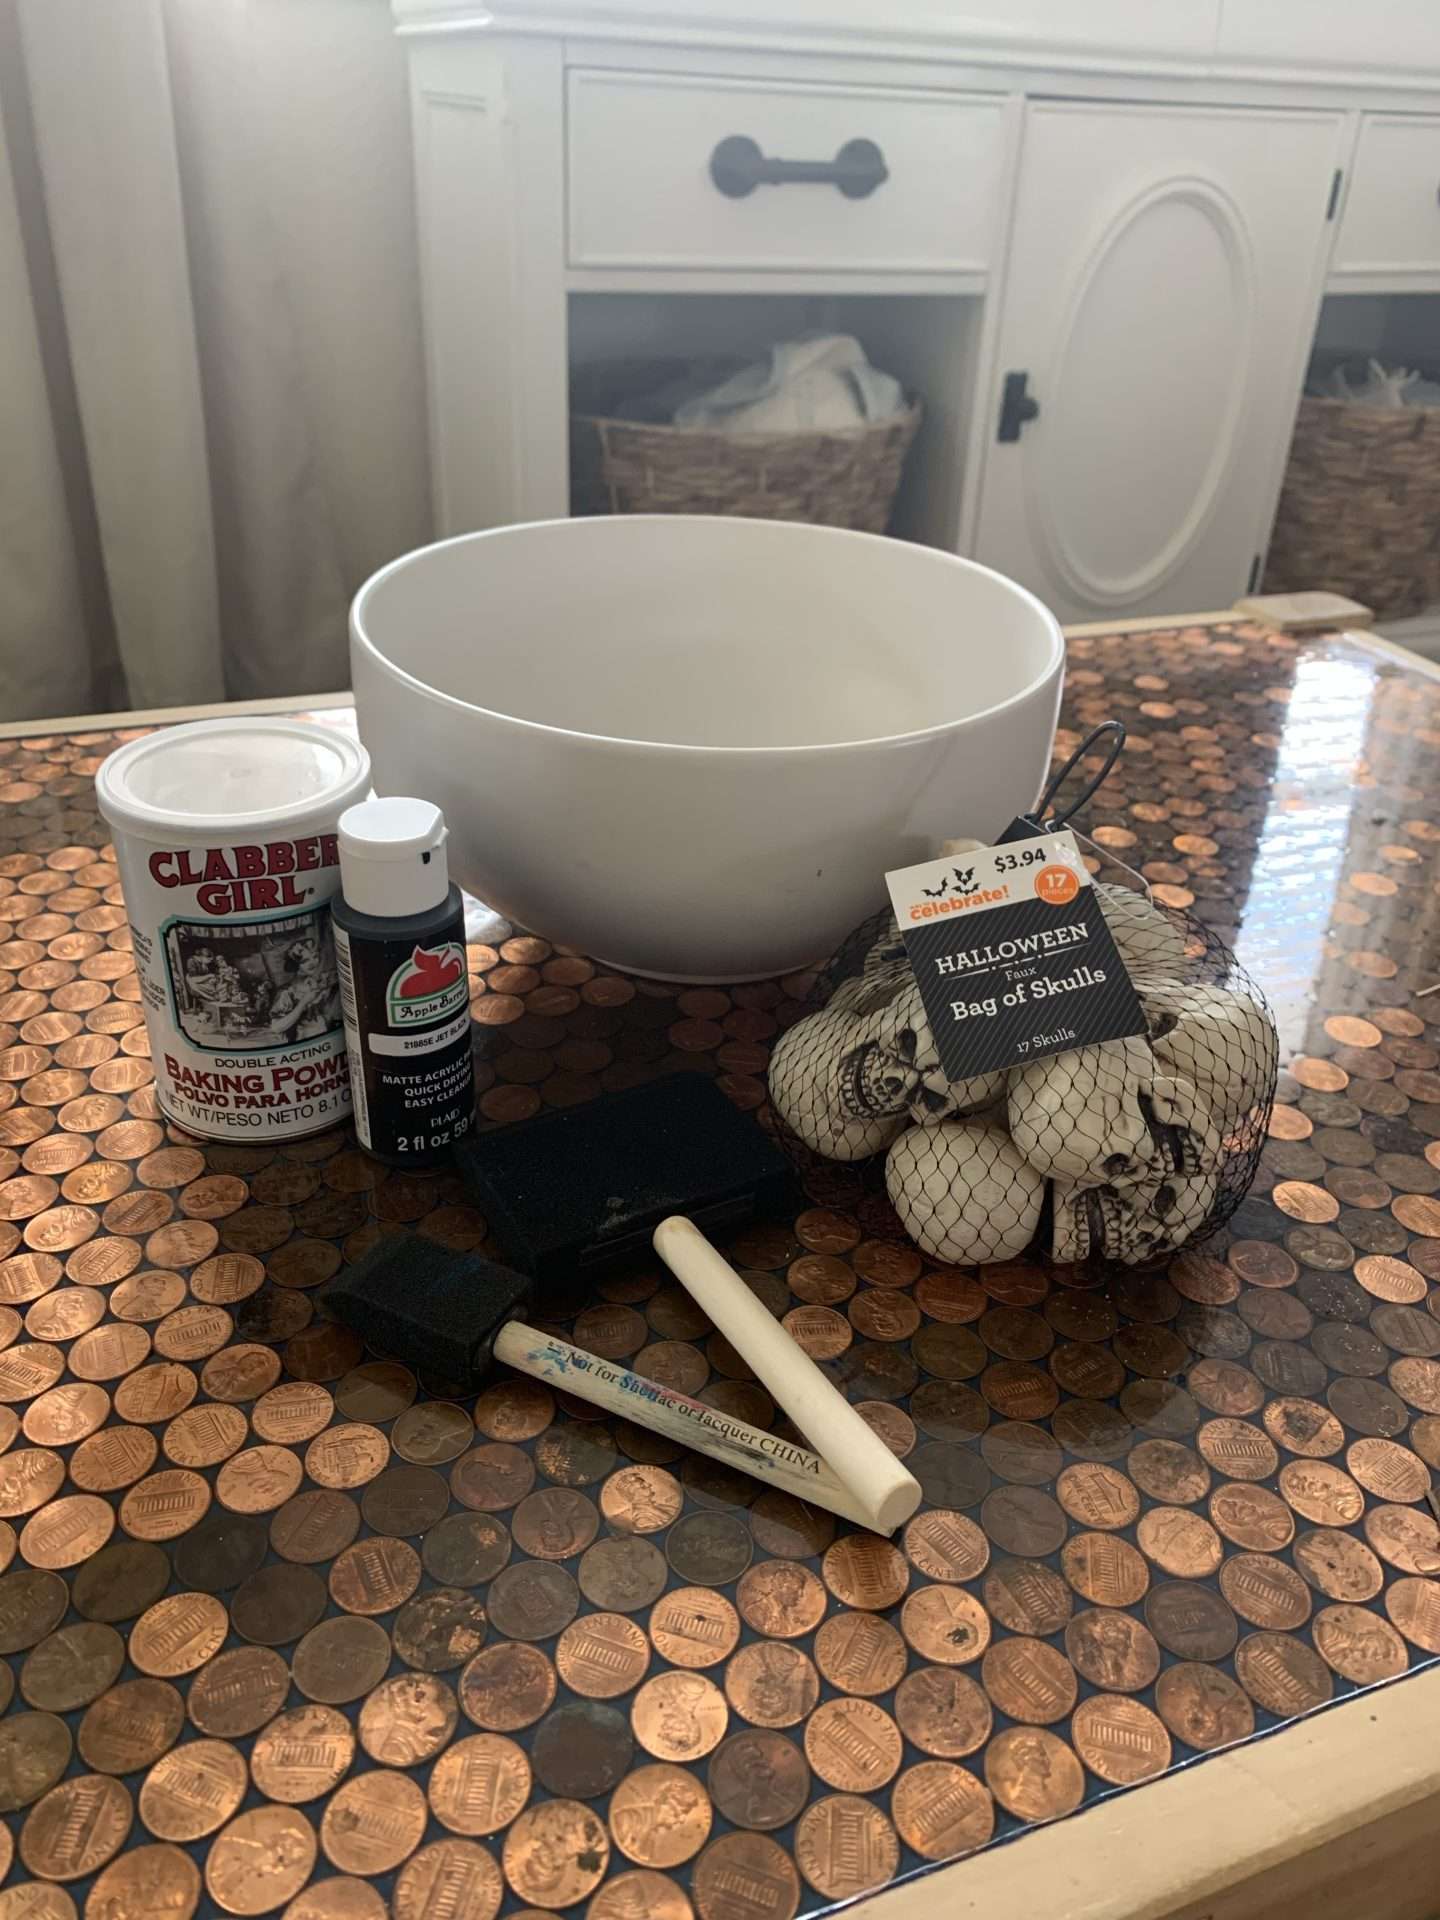
Supplies for the Skull Candy Bowl Dupe
As always, the first step is to gather the supplies. I lucked up and found the perfect bowl at Goodwill for $2.99.
In total, I only spent $7.50 for the whole project. Which is a far cry from the $56.00 price tag on the original bowl on the West Elm website!
For this project, you’ll need:
- large bowl (you can use glass or plastic)
- small plastic or foam skulls
- box cutter
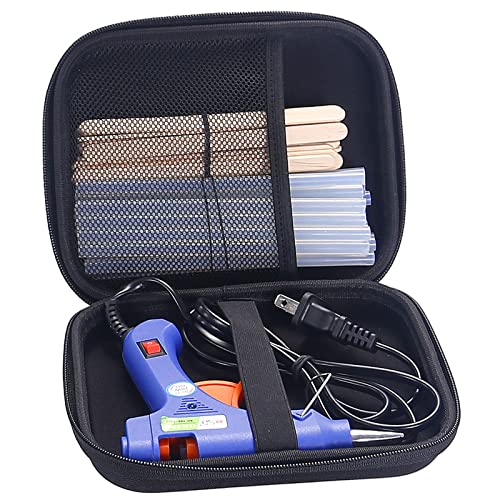
- hot glue gun & glue sticks
- black acrylic paint
- baking powder
- sponge brush
- candy
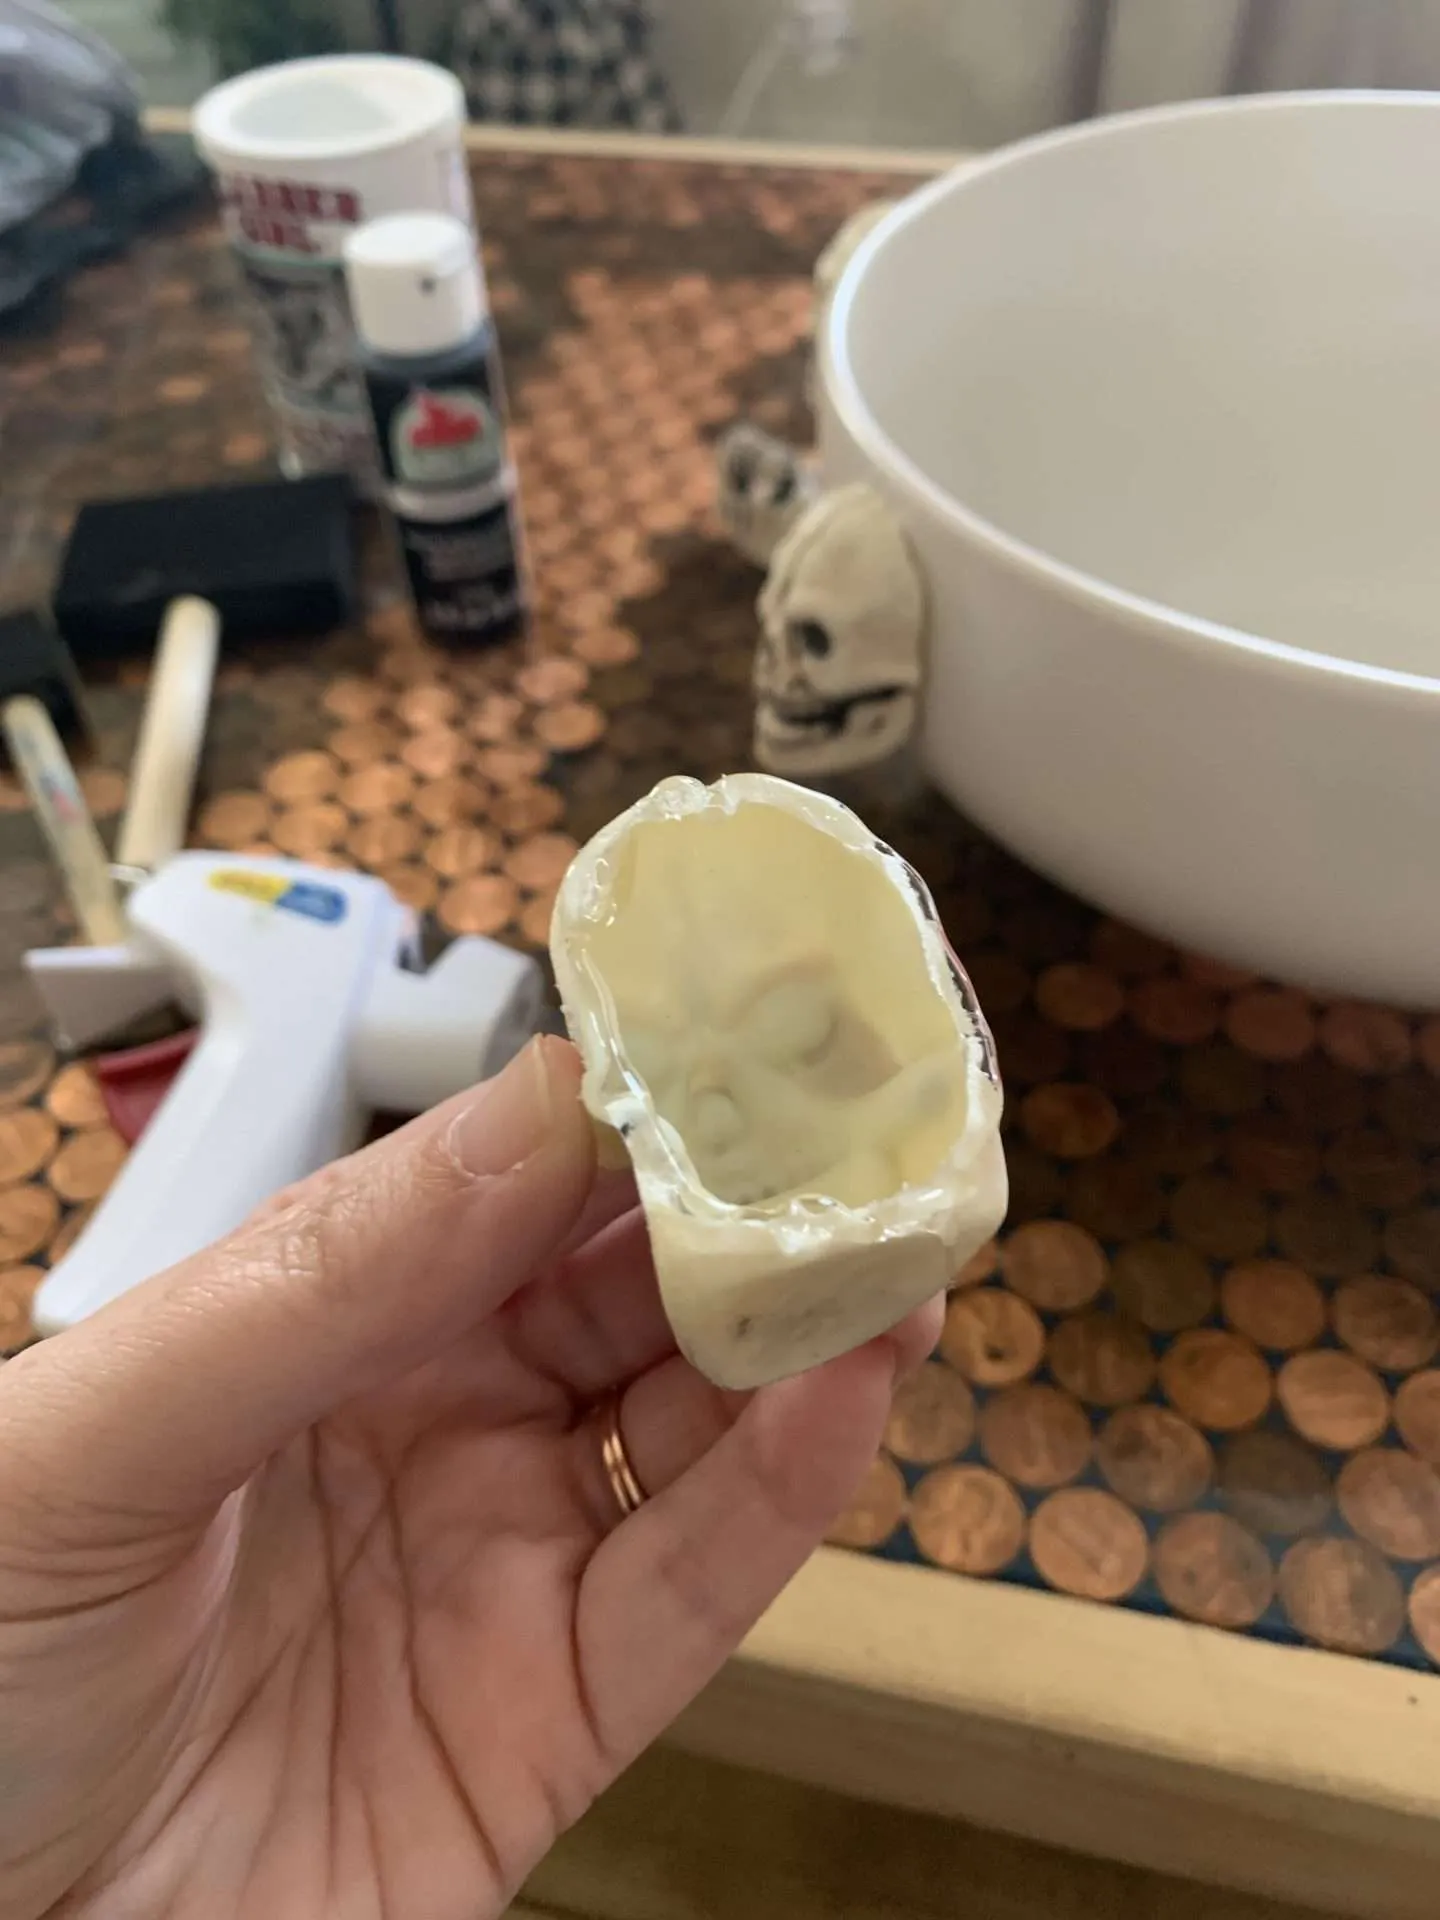
Cut Skulls in Half
The most difficult part of this project was cutting the skulls in half.
After trying and failing with both scissors and kitchen knives, I recruited my husband to help. He ended up cutting some of them with his Dremel tool and some of them with a box cutter. Both methods were equally aggravating.
If possible, you might try to find foam skulls. They would be much easier to cut and since you’re painting them with textured paint, you wouldn’t be able to tell they were foam anyway.
(The number of skulls you’ll need depends on the circumference of your bowl. I used 6 on mine.)

10 Pieces Halloween Skeleton Head Small Mini Skulls for Halloween Party, Halloween Decor Props, Table DecorAmscan Orange Trick-Or-Treat Large Plastic Bowl – 6 Quarts (1 Count) – Perfect for Collecting Candies while Trick-Or-Treating & Party Decor


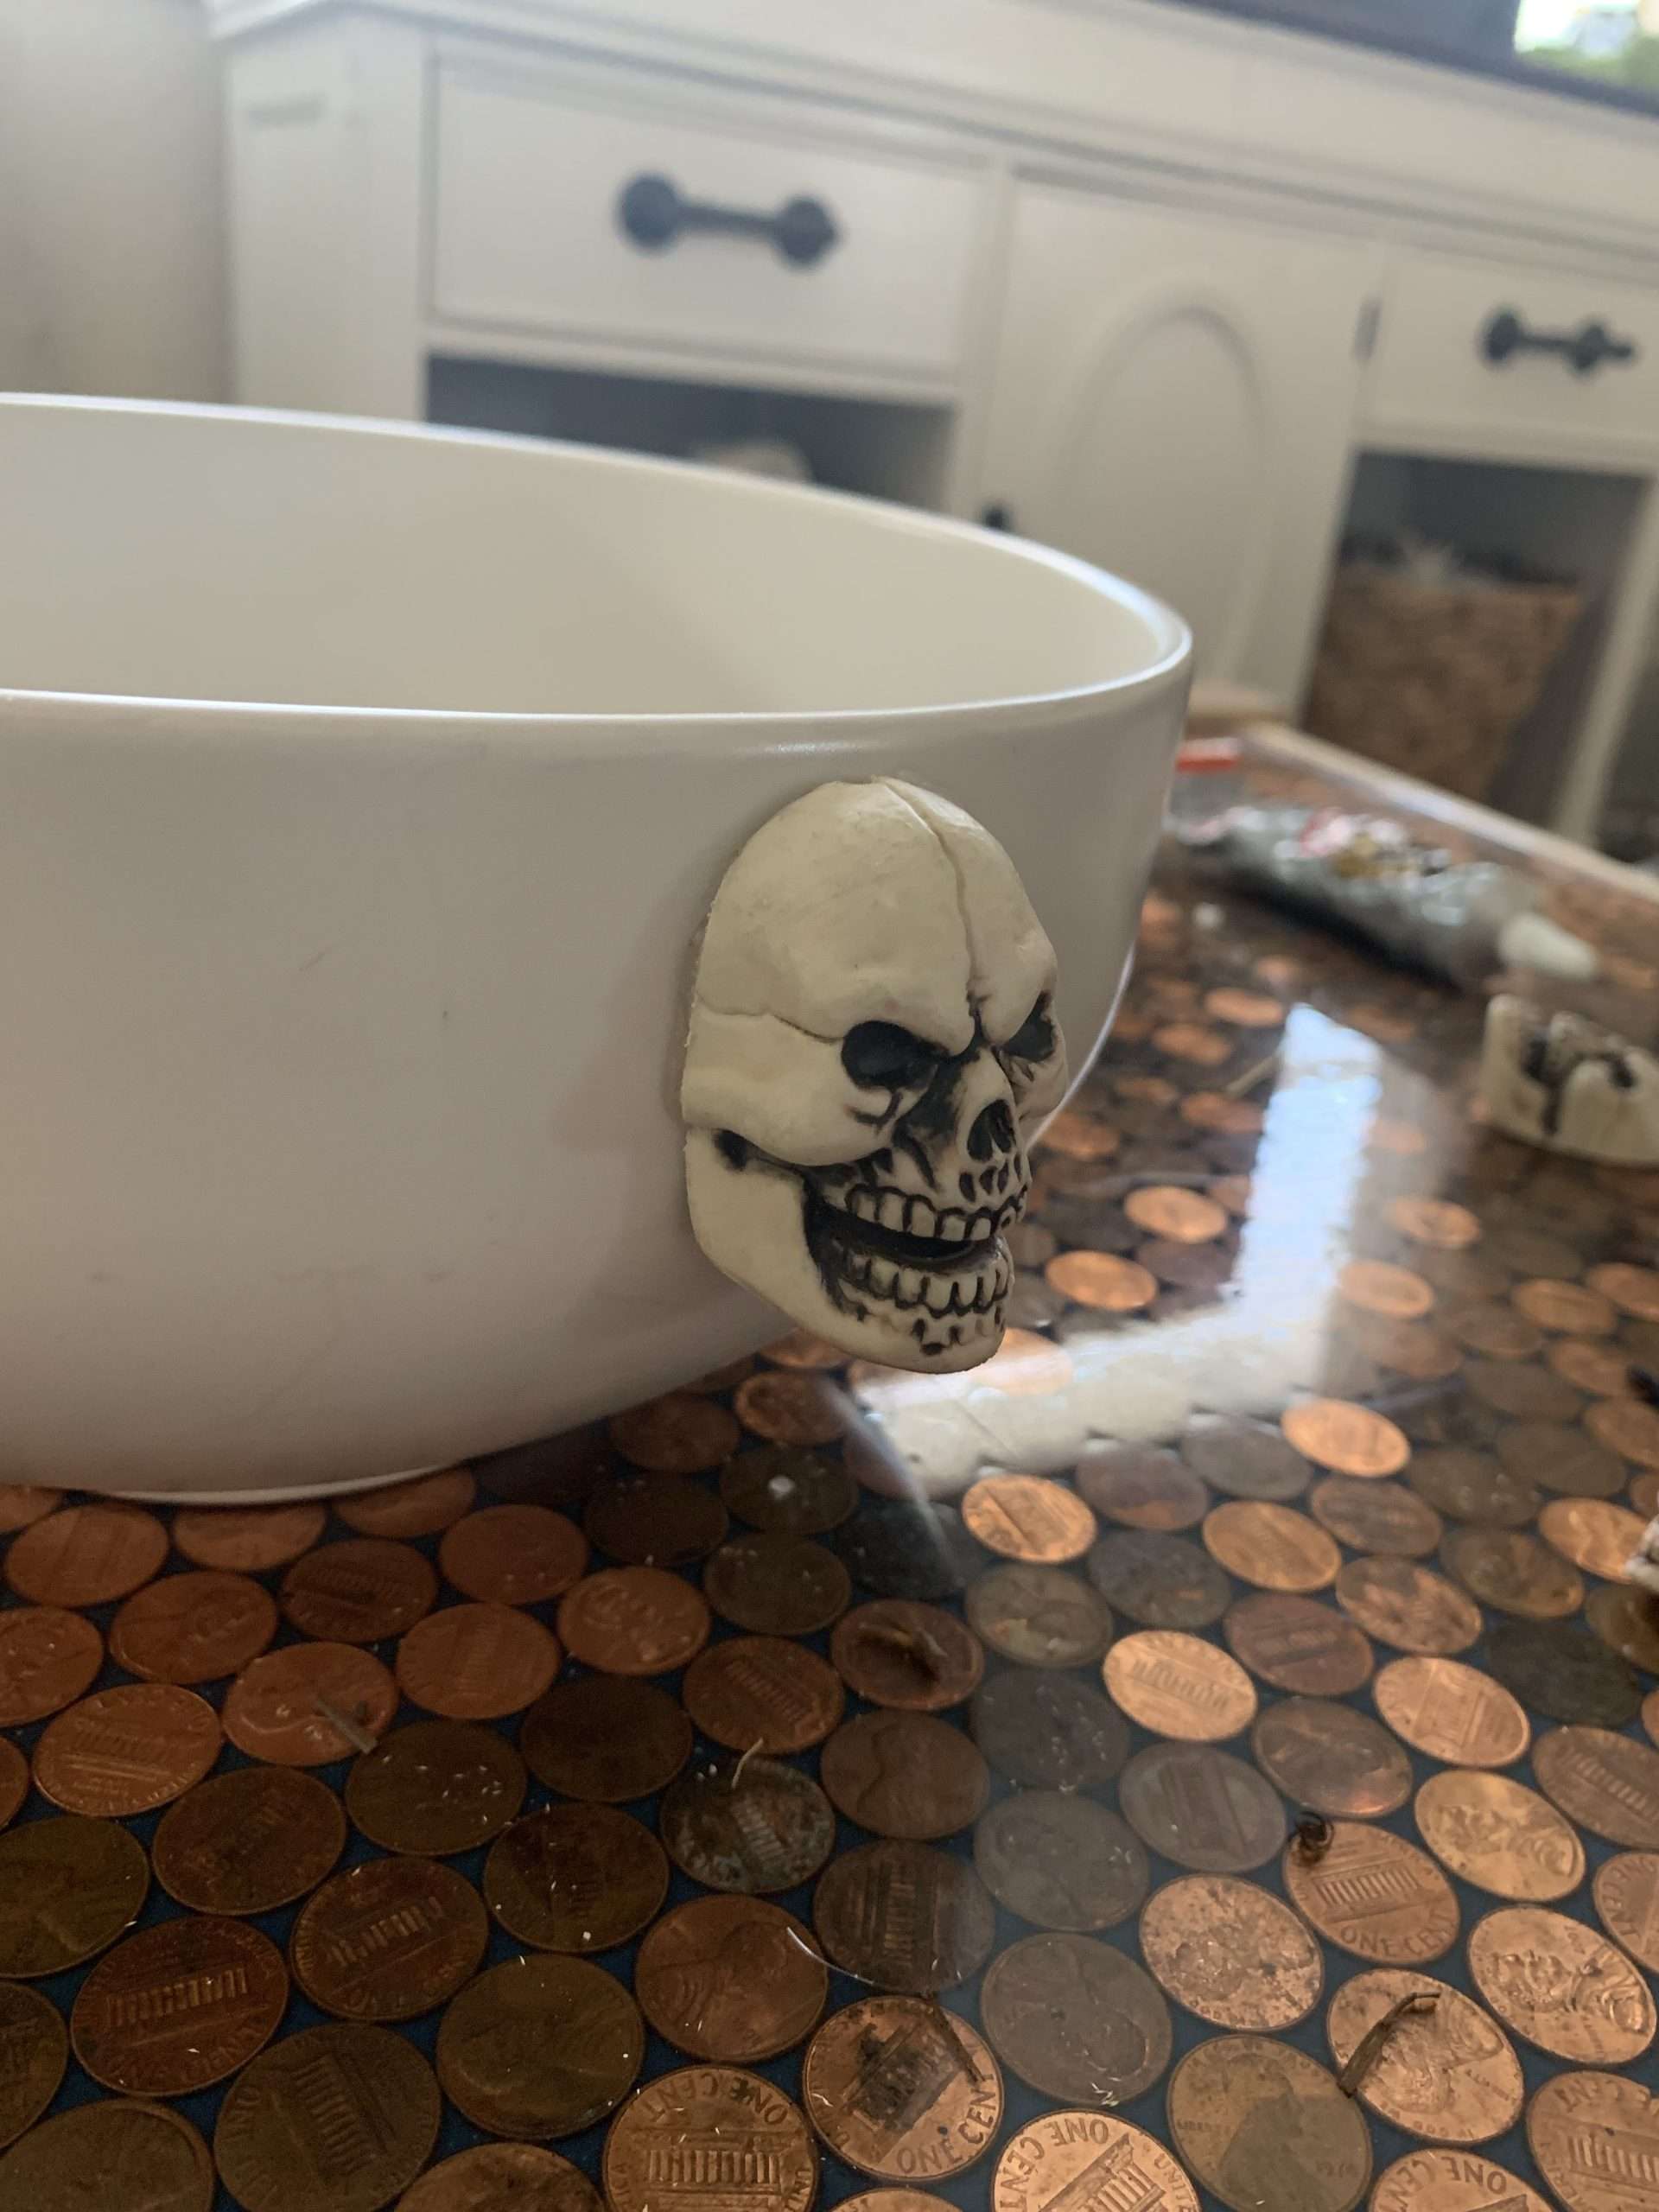
Glue Skulls to the Bowl
After the skulls are cut, glue them to the top of the bowl.
The only thing difficult about this step is getting the spacing even. After you know where you want to place them, put hot glue around the edge of the skull and stick it to the bowl.
Glue gun and sticks set, Hot Melt Glue Gun Mini for Crafts with 20 Pcs Glue Sticks and 20 Wood Craft Sticks,Hot Mini Glue Guns with Hardshell Carrying Case for School DIY Arts, CraftSUMMIT COLLECTION Bronze Resin Halloween Skull Candy Bowl Planter Dish Statue Sculpture Skeleton

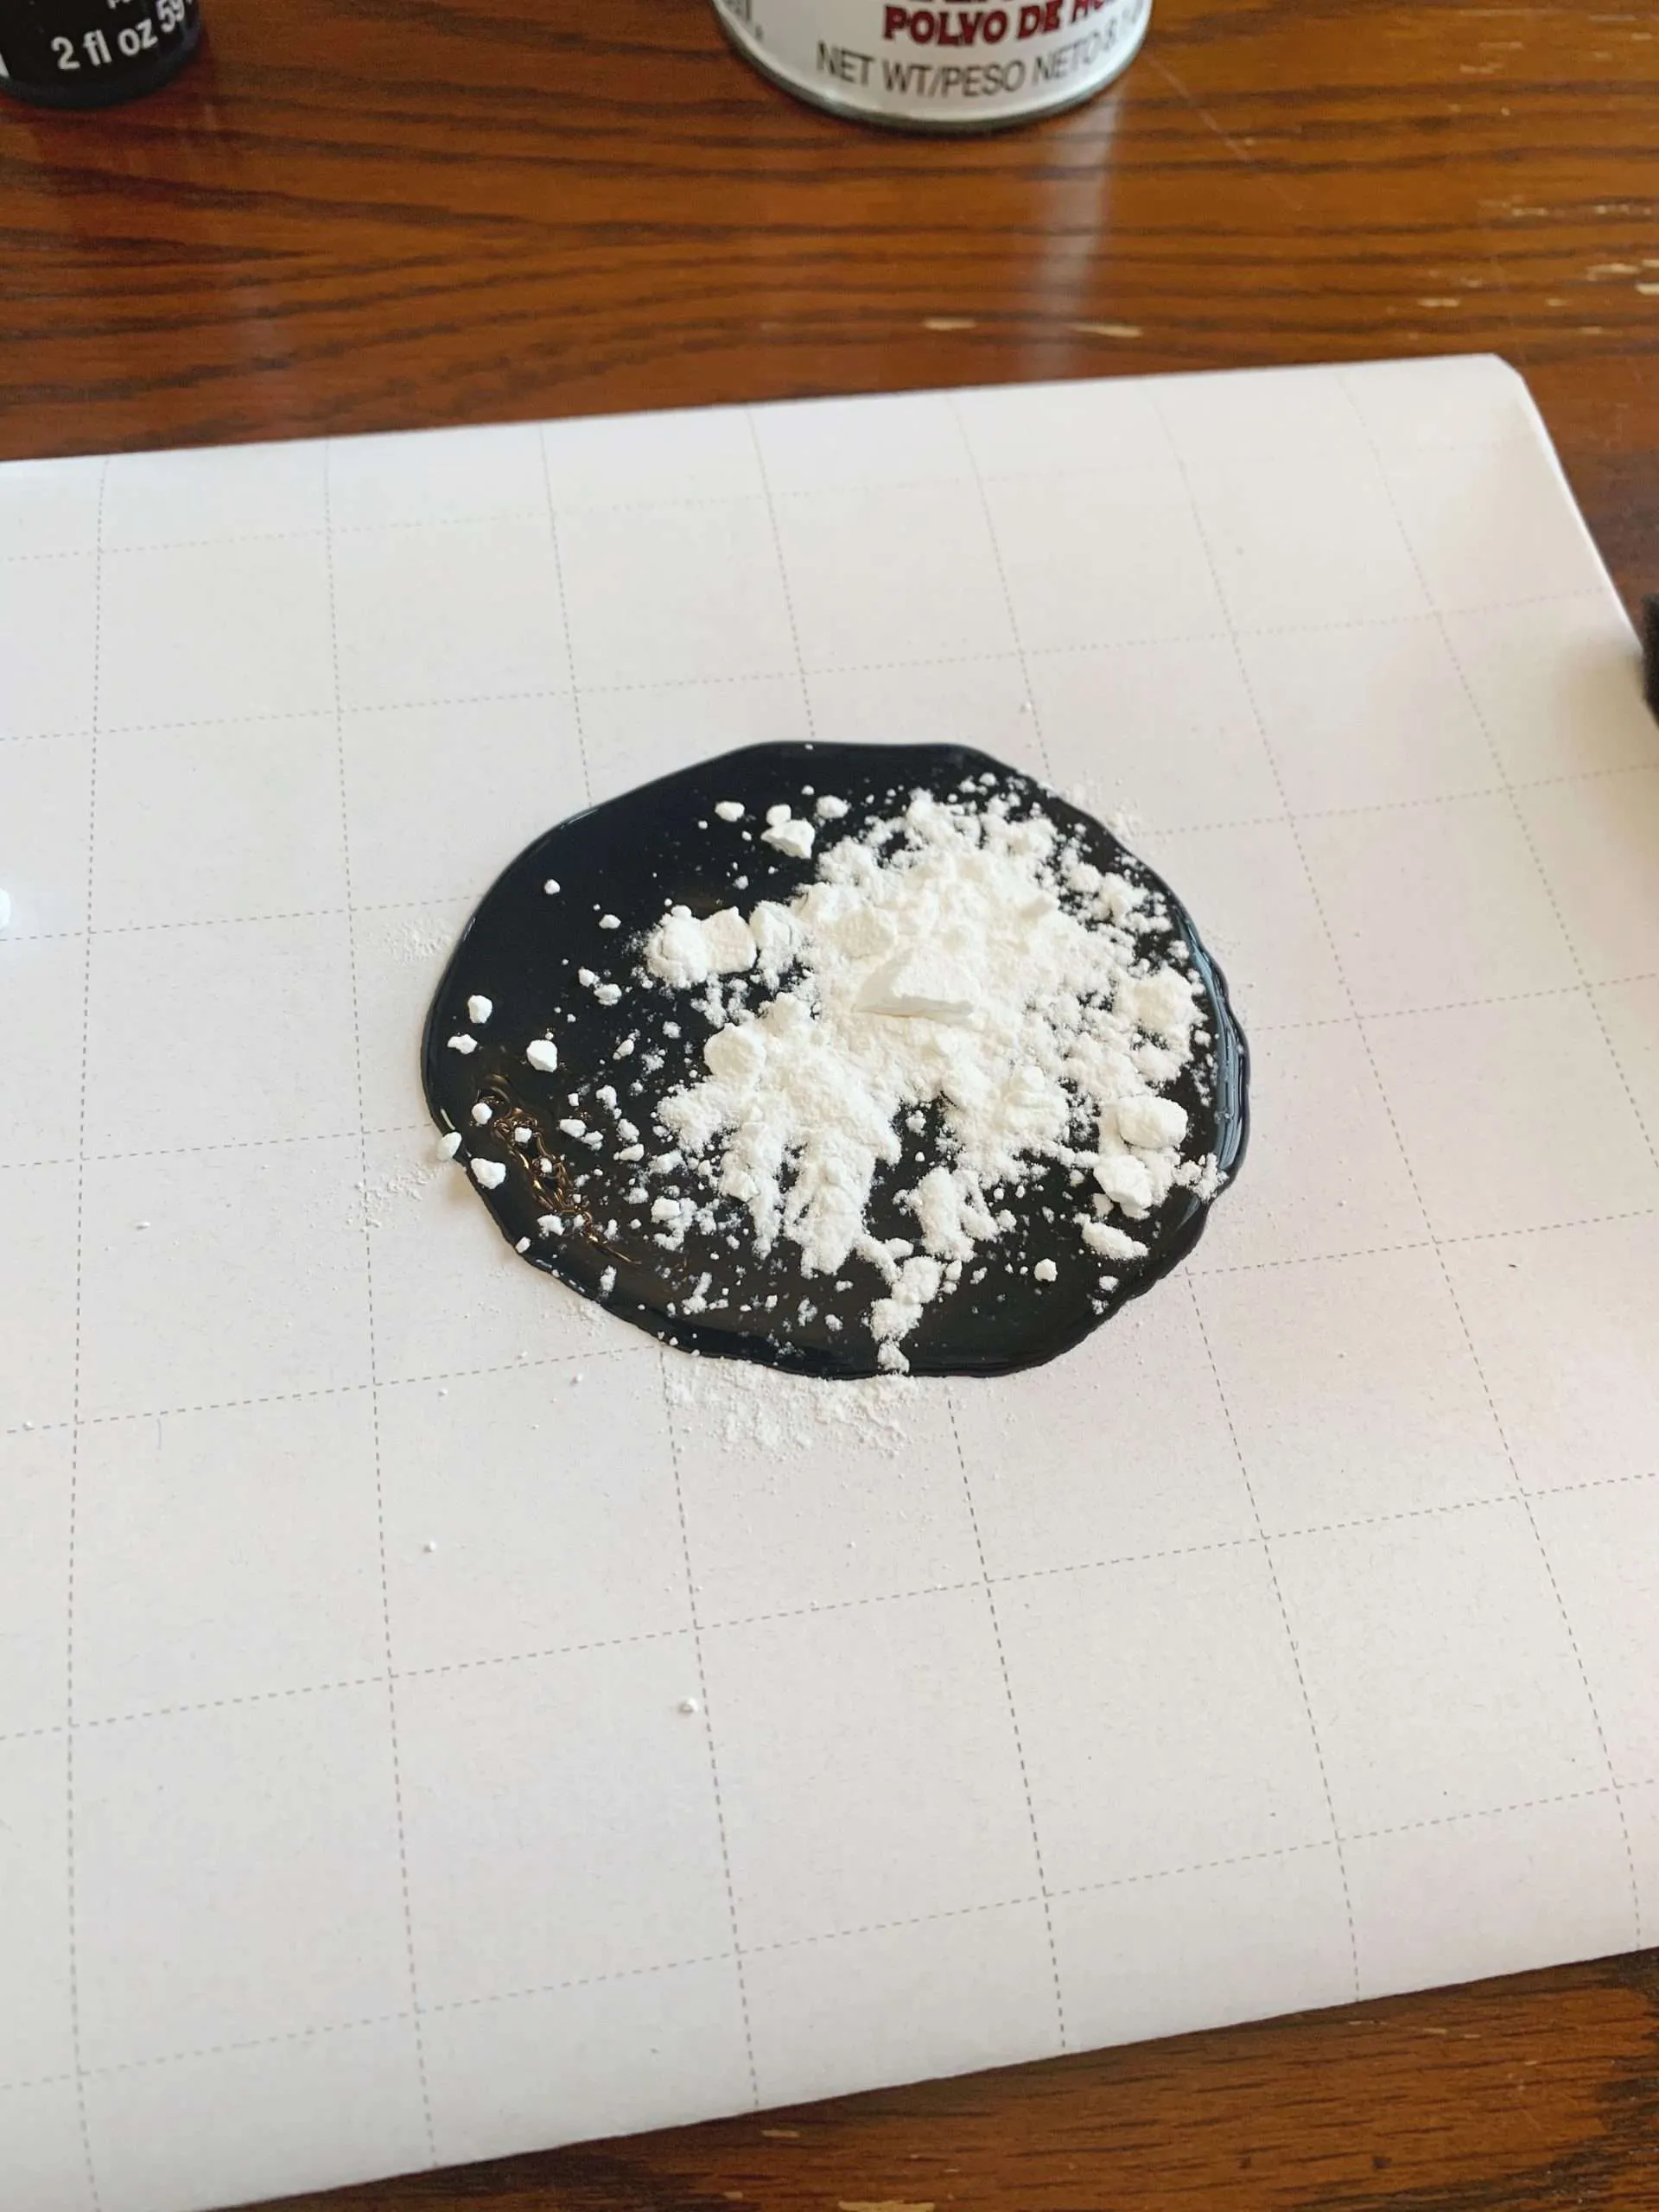
Paint the Bowl
Once the skulls are all on the bowl, paint it!
Mix the baking powder and paint to get a terracotta texture. (You can find more detailed instructions in this Trash to Terracotta tutorial.)
I did 2 full coats on my skull candy bowl dupe. Make sure you let the paint dry completely after the first coat before adding the second.
I did a few touch-ups with just black paint (no baking powder mixed in) after the second coat dried.
20 Pcs Foam Paint Brushes, 2 Inch Foam Brush, Wood Handle Sponge Brush, Sponge Brushes for Painting, Foam Brushes for Staining, Varnishes, and DIY Craft ProjectsApple Barrel Multi Surface Acrylic Paint, 2 oz, Black 2 Fl Oz


Add Candy
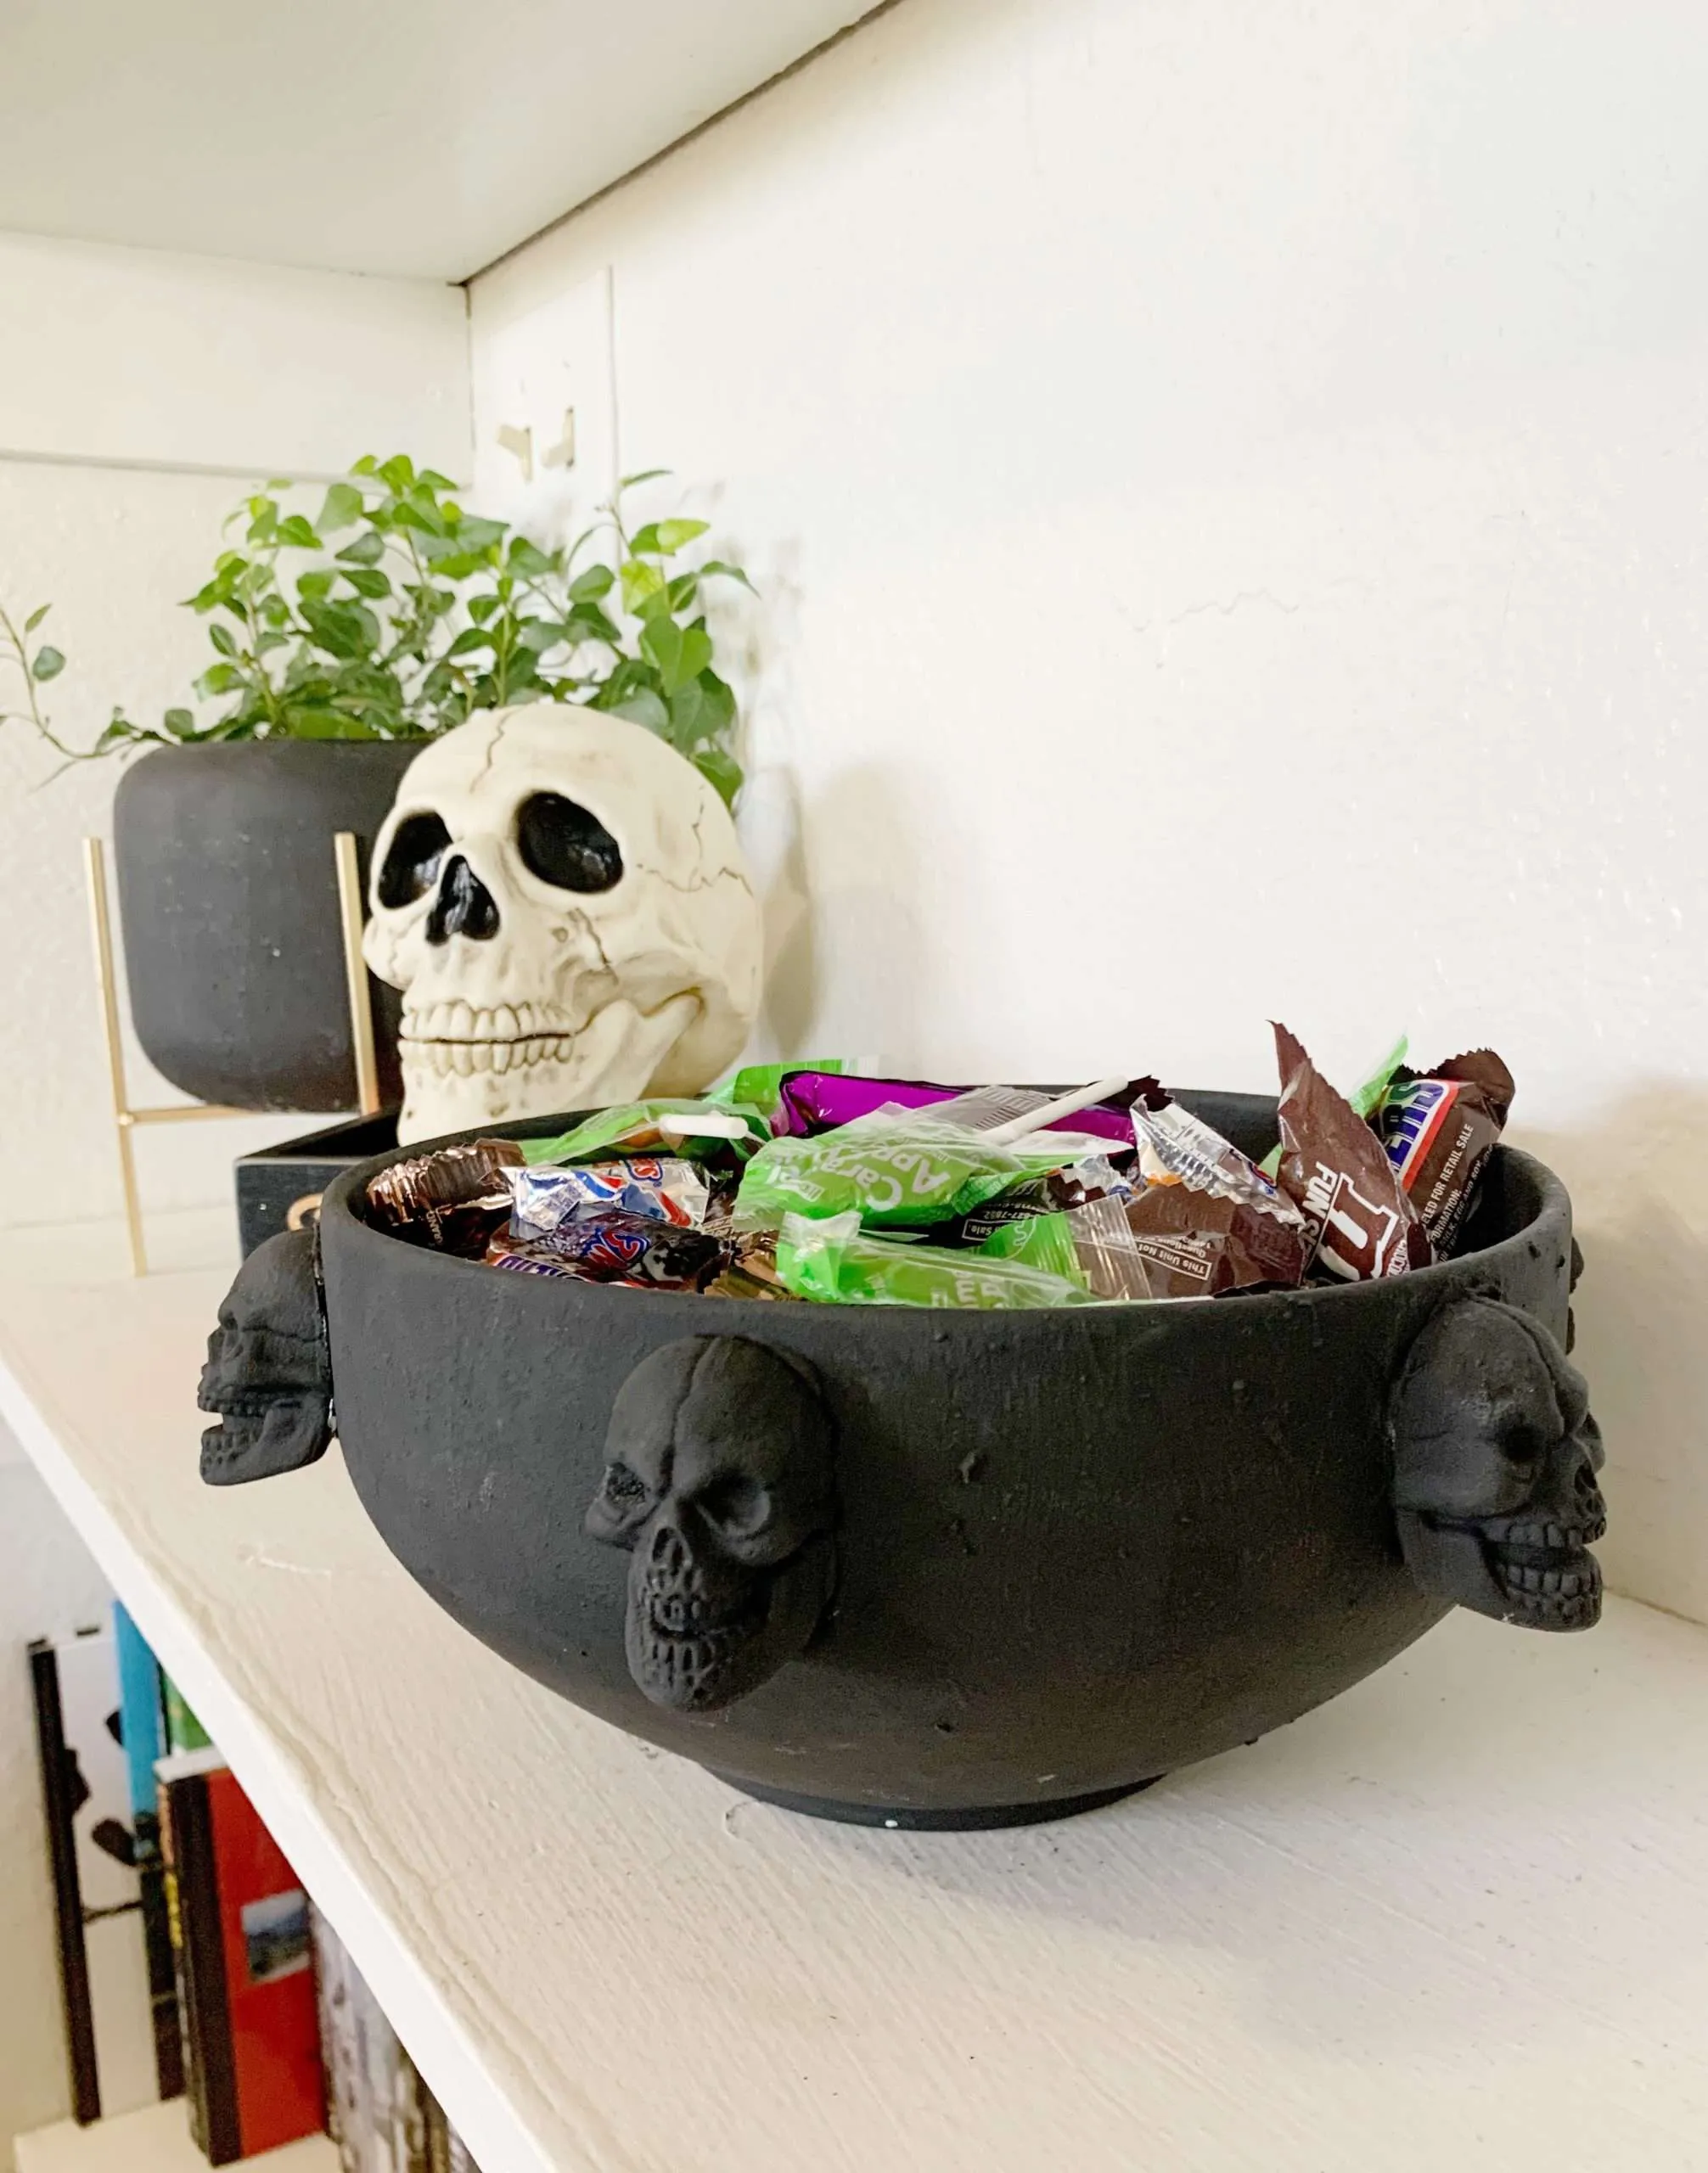
Add some candy to your new bowl and you’re done!
It was a pretty quick and easy DIY. I love the way it looks and the fact that it’s black, which is a pretty neutral color, especially for Halloween.
This skull candy bowl dupe is a great spooky addition to our coffee table and the kids love that it’s filled with candy!