[Disclaimer: Finding Mandee is reader-supported, if you purchase through links on my site I may earn an affiliate commission at no additional cost to you. As an Amazon Associate, I earn from qualifying purchases.]
While scrolling through my Pinterest feed I came across a beautiful nativity wreath for sale. It was an Etsy listing and cost $100.
I don’t like paying full price for anything, especially expensive wreaths. So, I decided that I would make my own and see how much I ended up spending. (I did the same thing with this boxwood wreath and it turned out MUCH cheaper, but just as pretty!)
I was able to find everything I needed for this wreath at my local Wal-Mart and Dollar General, which is always a win in my book! (Yay for not having to drive to the nearest craft store – 30 minutes away!)
Even better than not having to search for anything special at a craft store, was that the whole wreath cost me less than $25! (Yay for saving more than 75% off the retail price!)
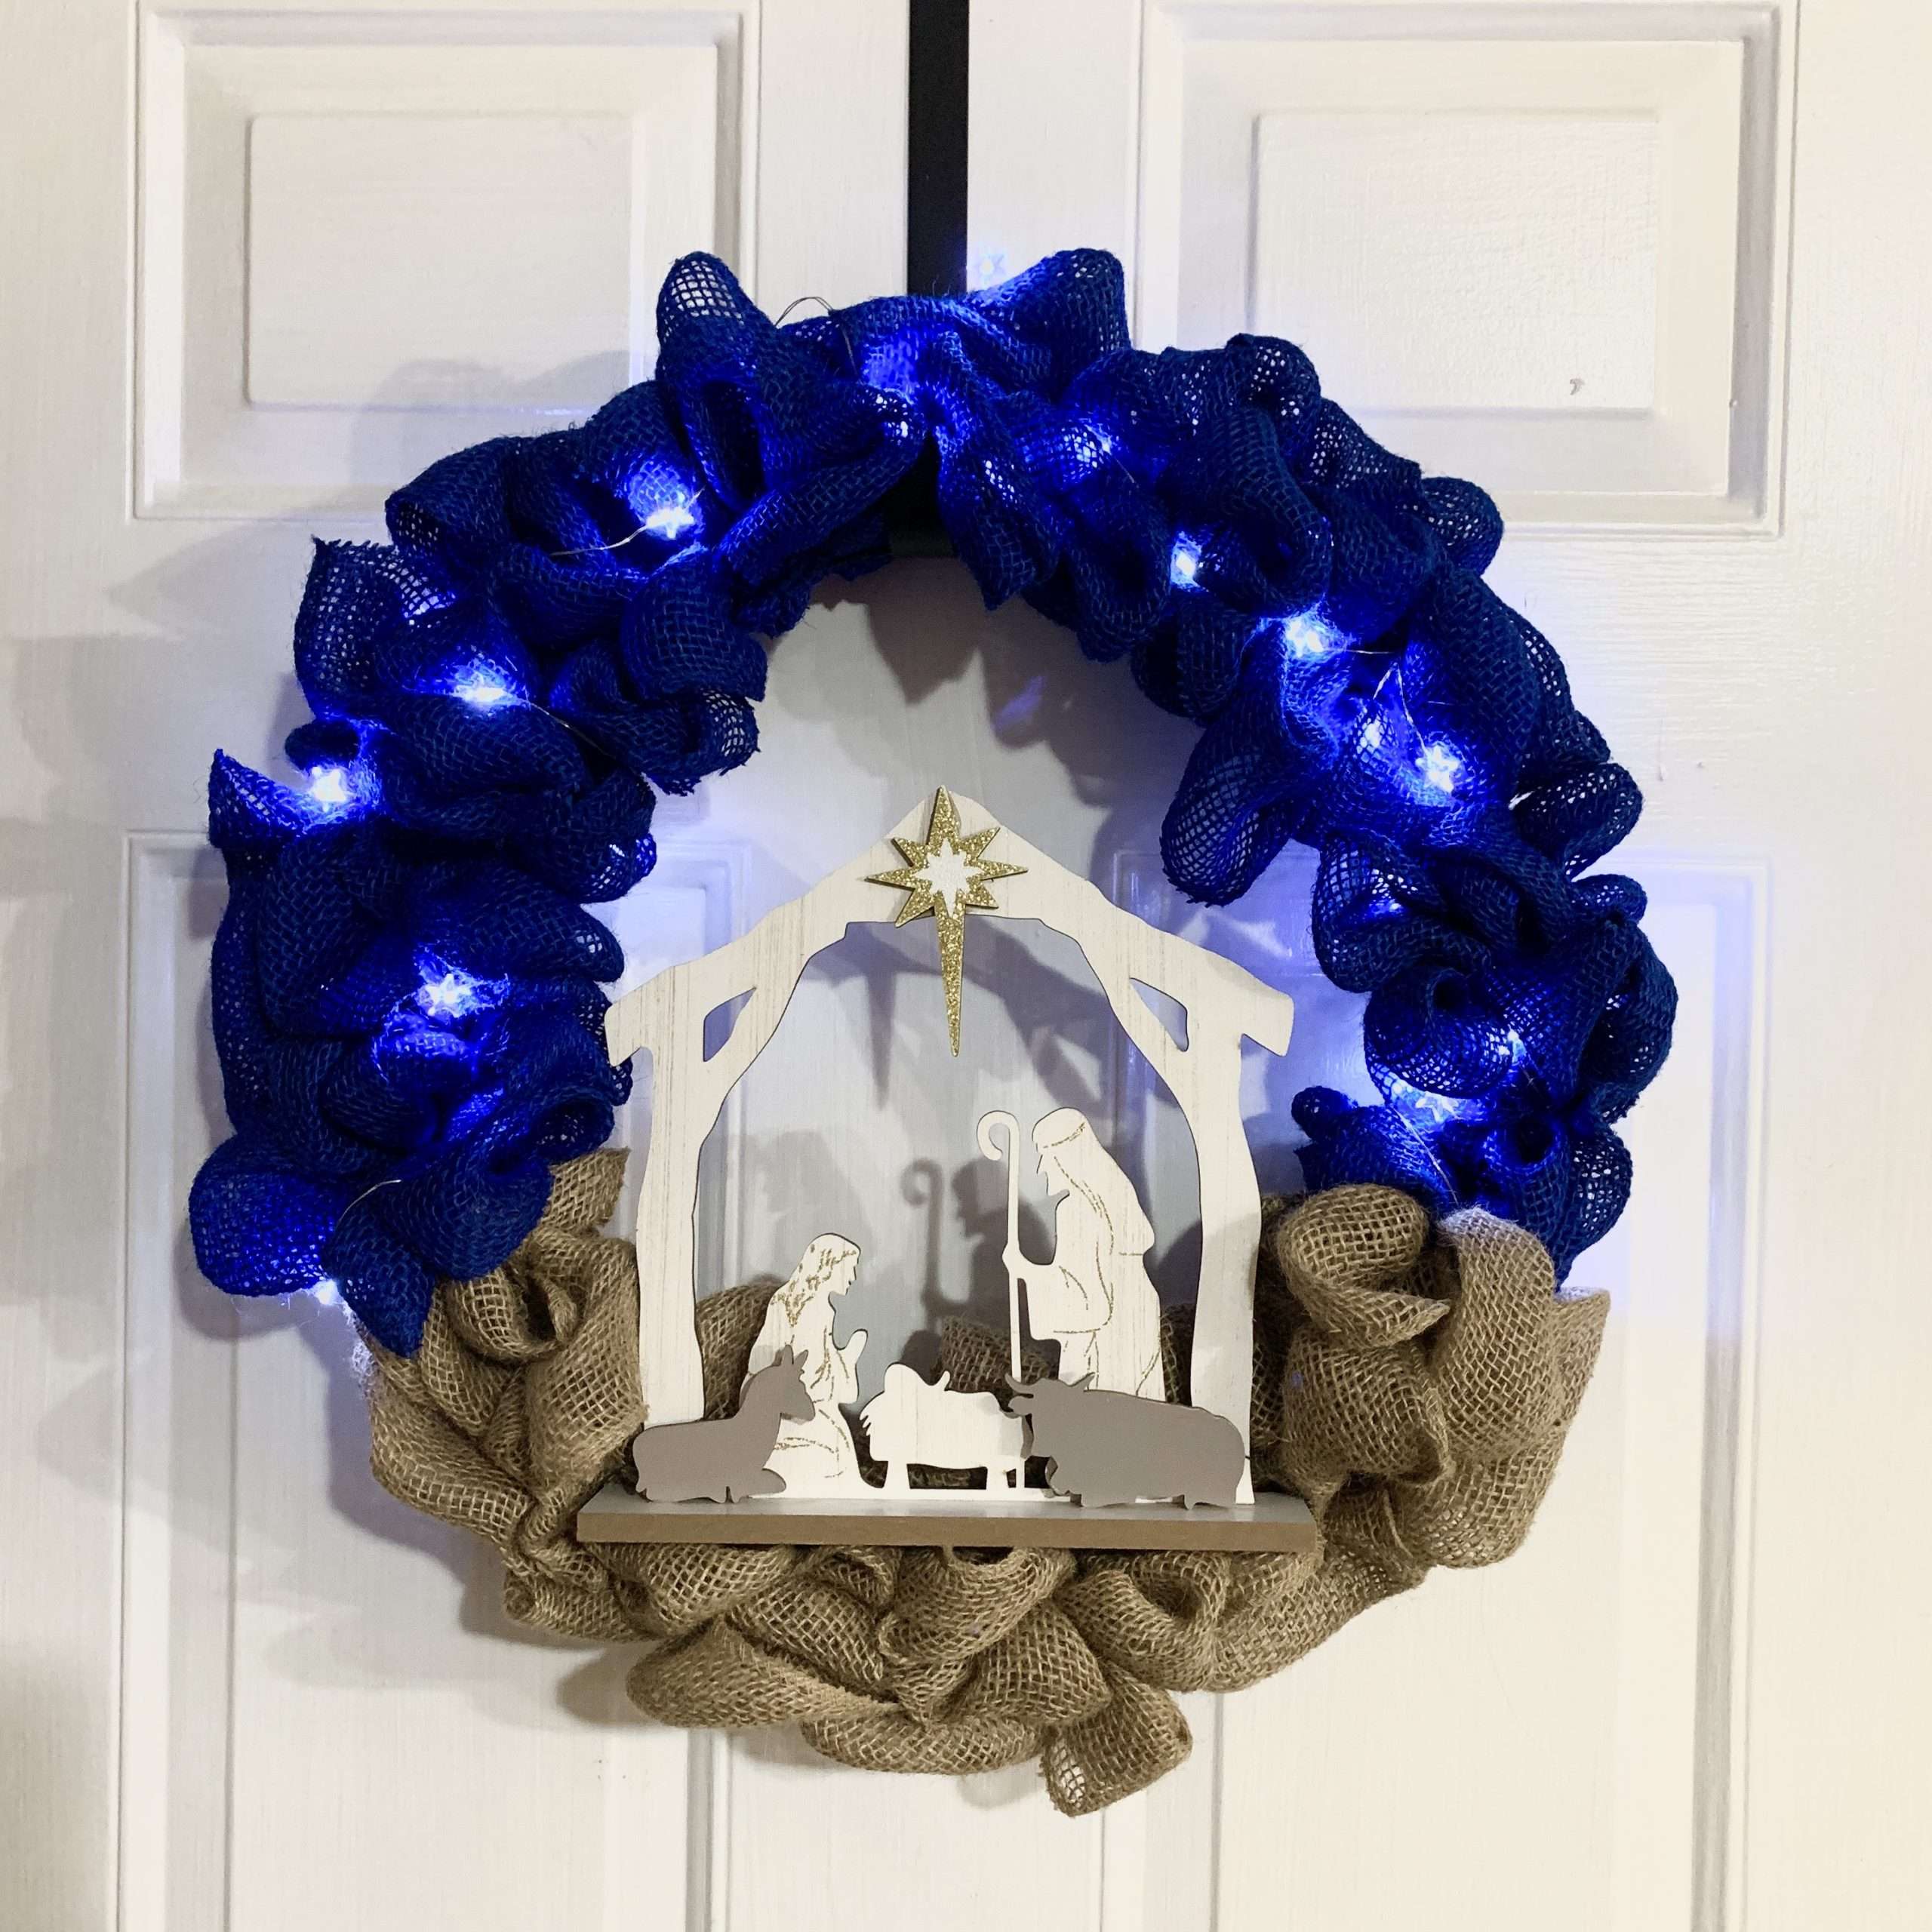
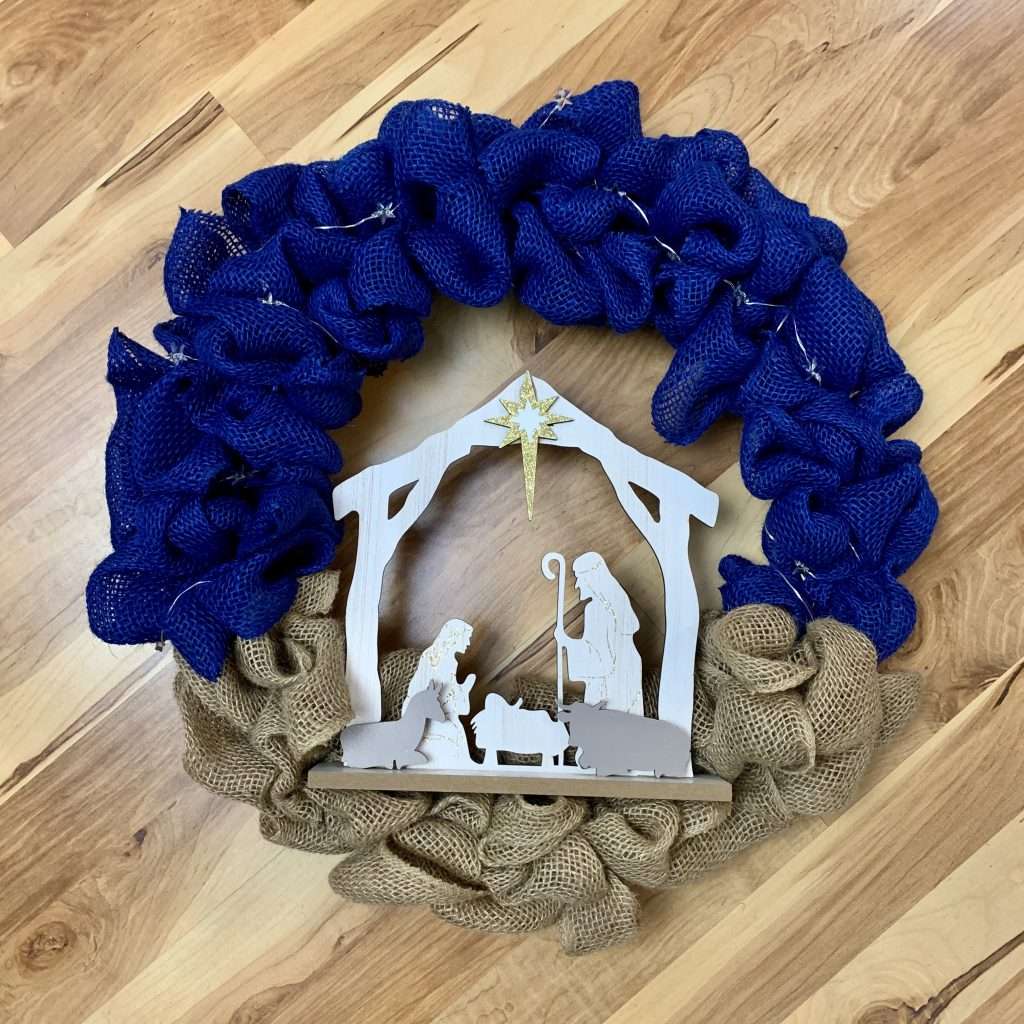
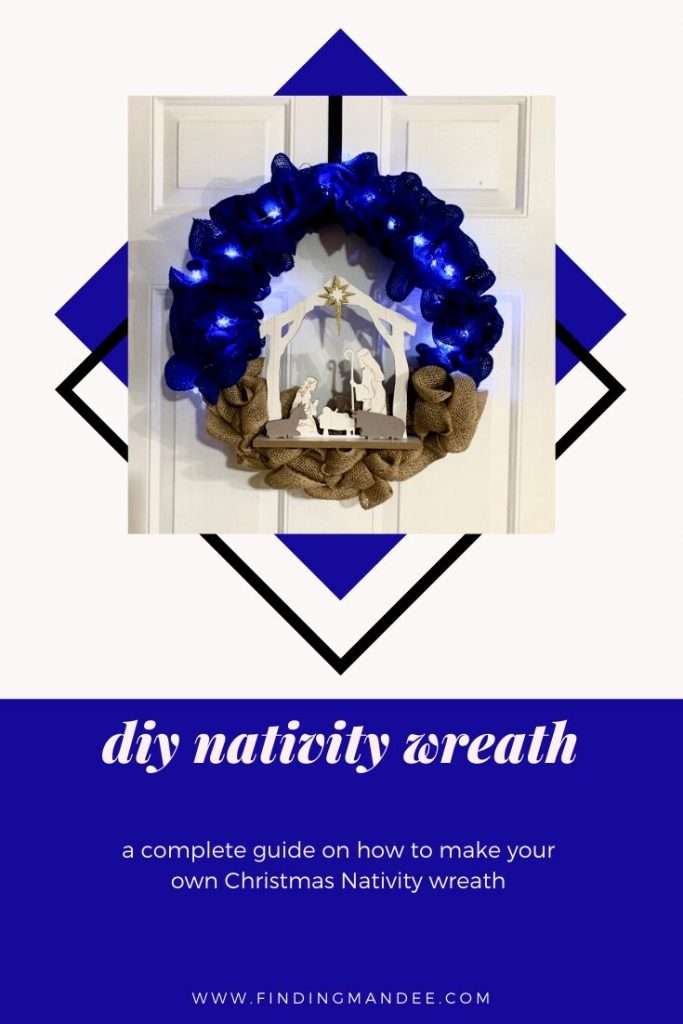
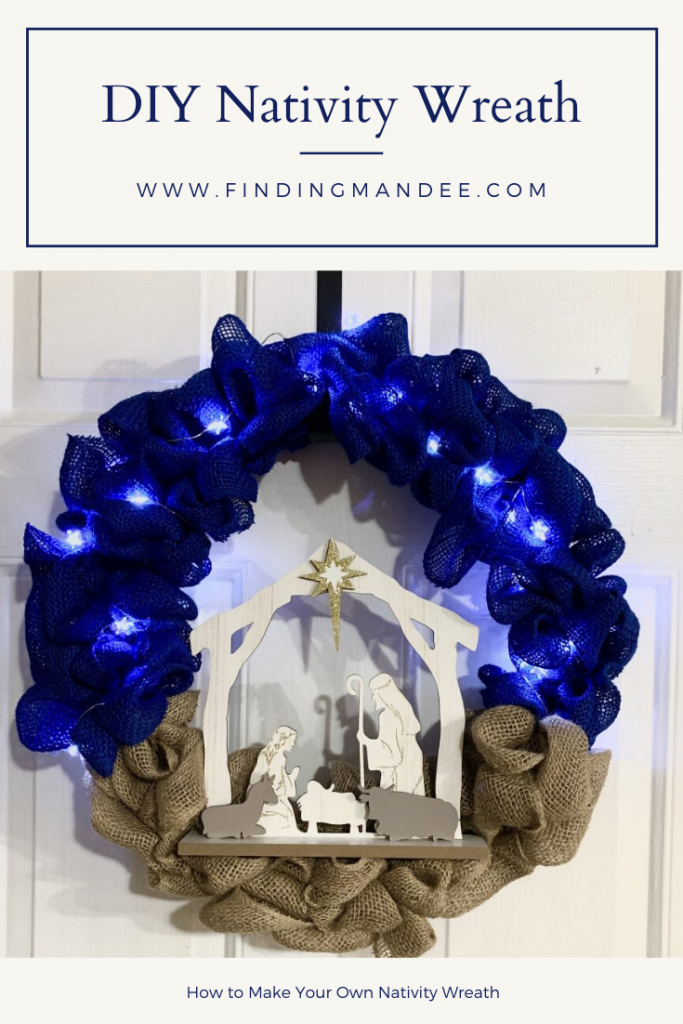
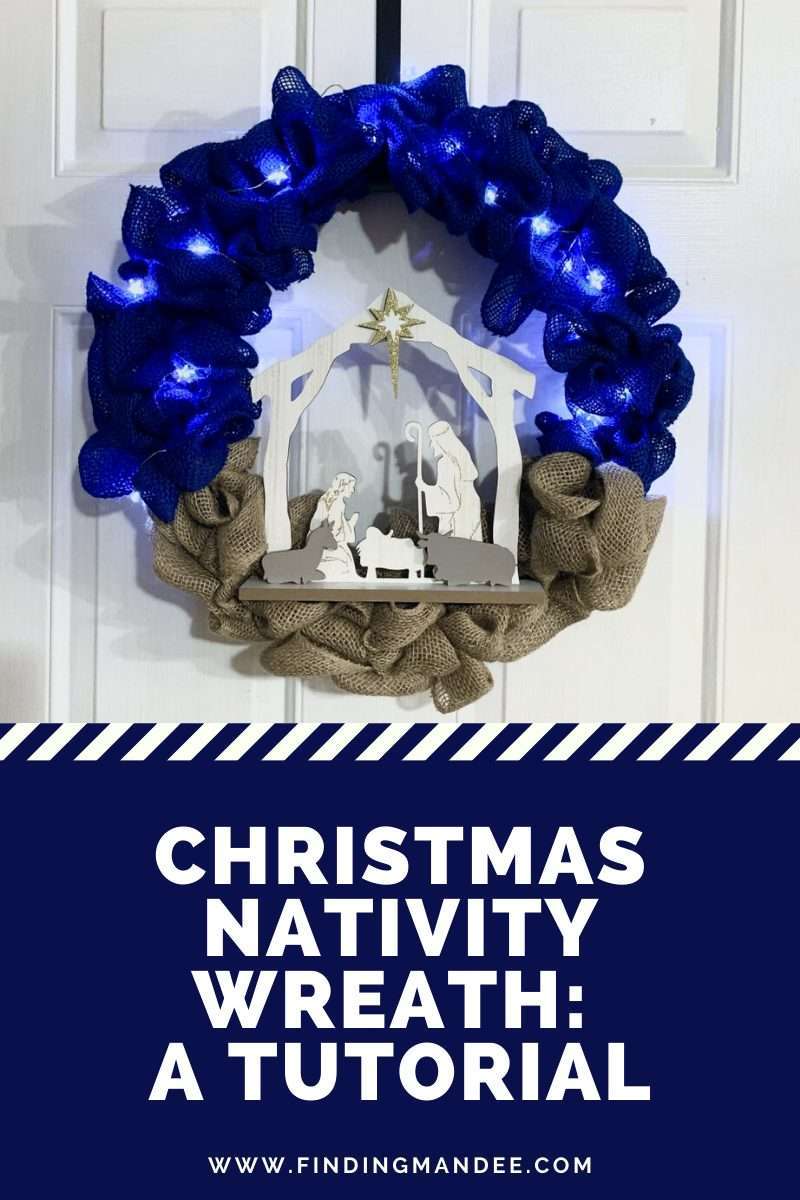
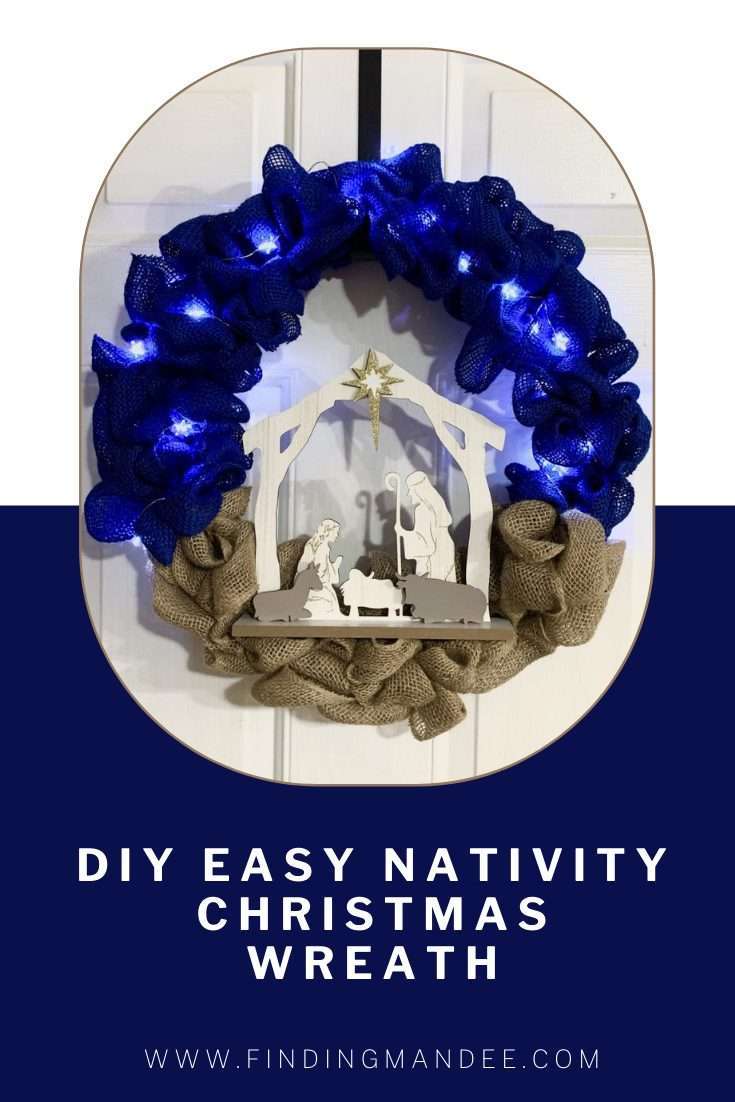
Here’s how to make this super easy Christmas nativity wreath.
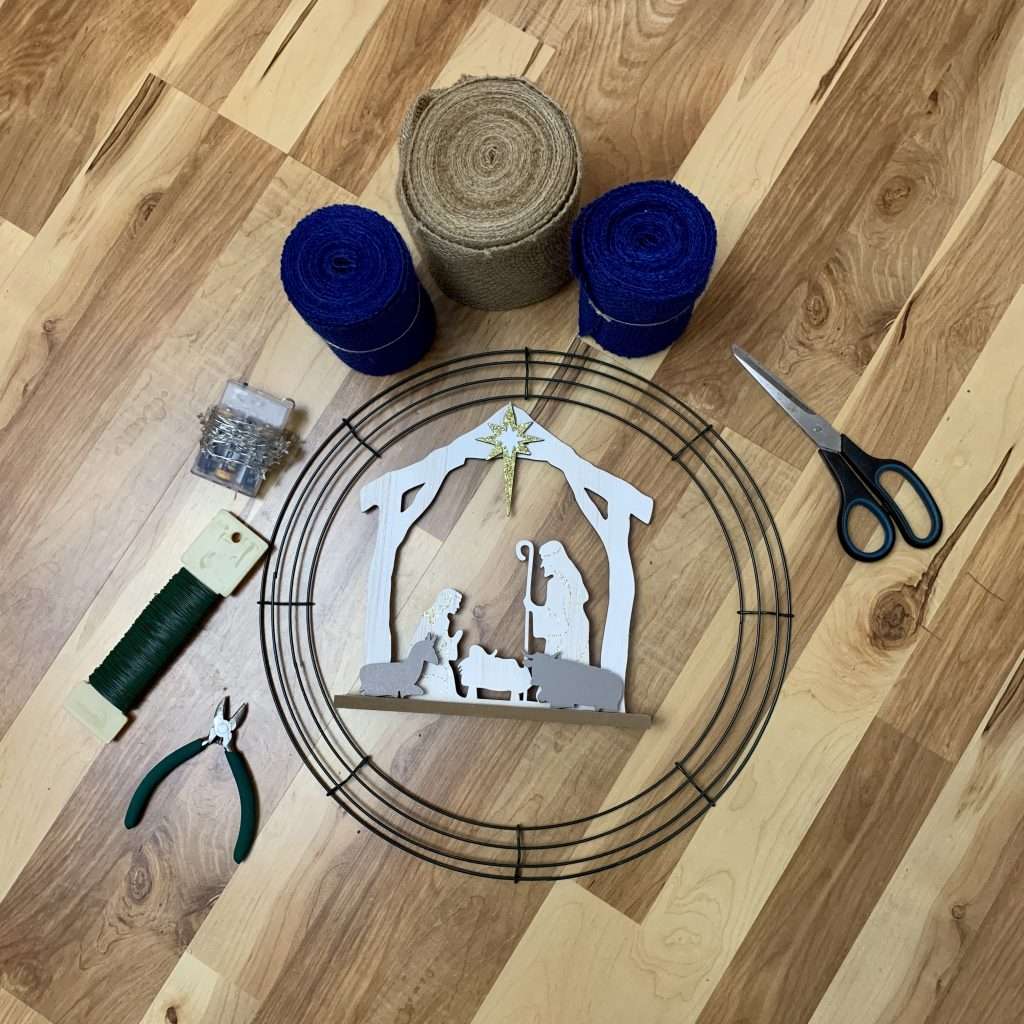
Step 1: Gather Nativity Wreath Supplies
- blue burlap ($10)
- brown burlap ($8)
- scissors
- floral wire
- wire cutters
- battery operated string lights ($4)
- nativity scene ($3)
- wreath form
I already had a lot of these supplies on hand – the wreath form, scissors, wire, wire cutters, and string lights. (However, I included the cost of the lights above because they came from the Target dollar spot and were super cute and cheap!)
I was able to pick up both kinds of burlap at my local Wal-Mart and the nativity scene was from Dollar General’s Christmas section.
Fiskars Premier 8Supla Floral Arrangement Kit Floral Tools Wire Cutter Stem Wire Floral Wire 26 Gauge and 22 Gauge Wire Green Floral Tapes for Bouquet Stem Wrap Florist


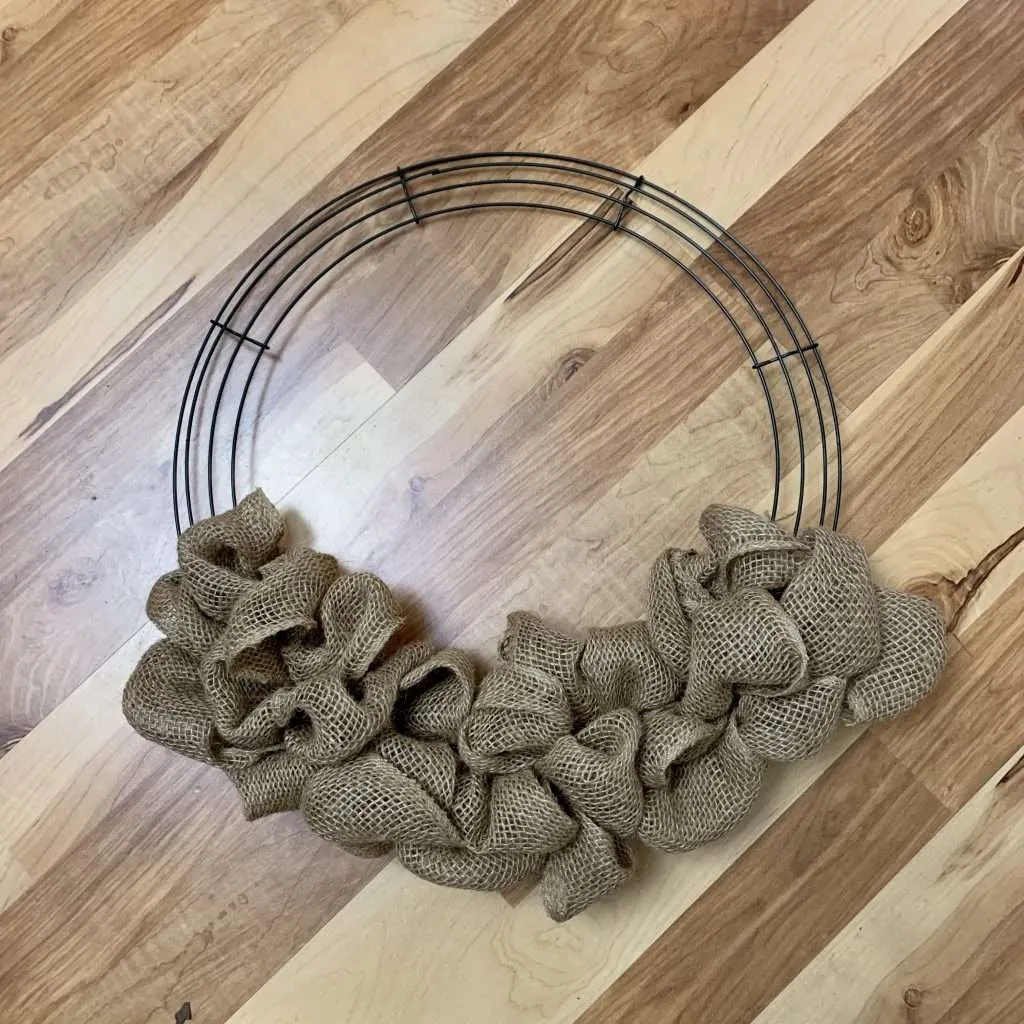
Step 2: Add Brown Burlap
I started making the nativity wreath by adding the brown burlap first.
Since there are dozens of burlap wreath tutorials online, I’m not going to get into the exact technique I used to make the fluffy burlap loops. However, I will direct you to this YouTube video, because I pull it up every time I put together a new burlap wreath.
I added brown burlap to 3 of the sections on the wreath form, which left 5 sections open for blue burlap.
LaRibbons 3PAXCOO 3 Pack 110 Yards Green Floral Wire 22 Gauge with Wire Cutter, Flexible Craft Paddle Wire Florist Wire for Wreaths Making, Crafts and Floral Flower Arrangements


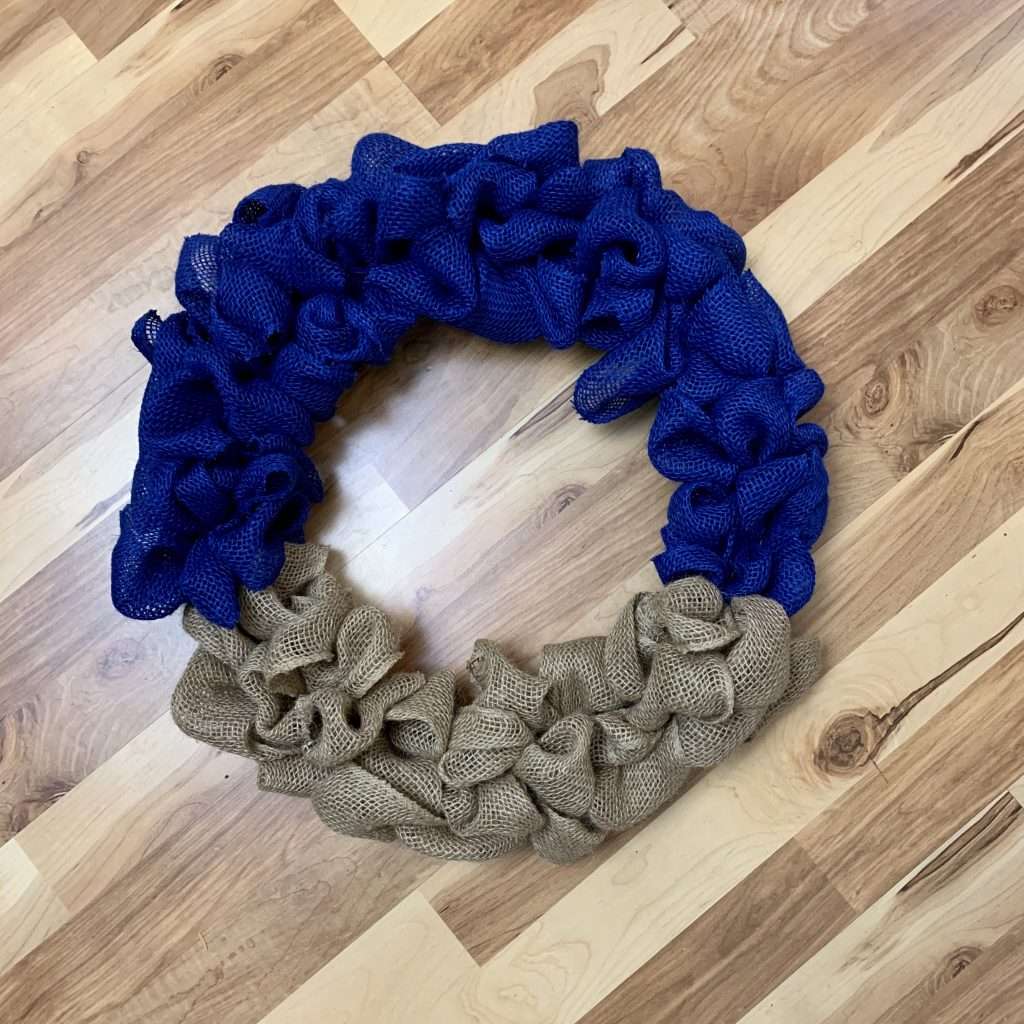
Step 3: Add Blue Burlap
Next, I added blue burlap to the remaining 5 sections of the wreath form.
I followed the same technique that I used to add the brown burlap to the wreath form. Make sure you tie the burlap off using floral wire.
Upstout Pack of 2 Wire Wreath Frame (14 Inch) with 10 Twist Ties – Round Metal Wreath Form for Crafts & Floral Decorations on Weddings Christmas Home Party Celebrations, Dark Green2 Rolls Navy Blue Burlap Ribbon,2.2 Inches Wide Ribbons for Crafts,Weave Finished Edge Ribbon for Indoor,Outdoor,Burlap Ribbon for Wreath,Bow


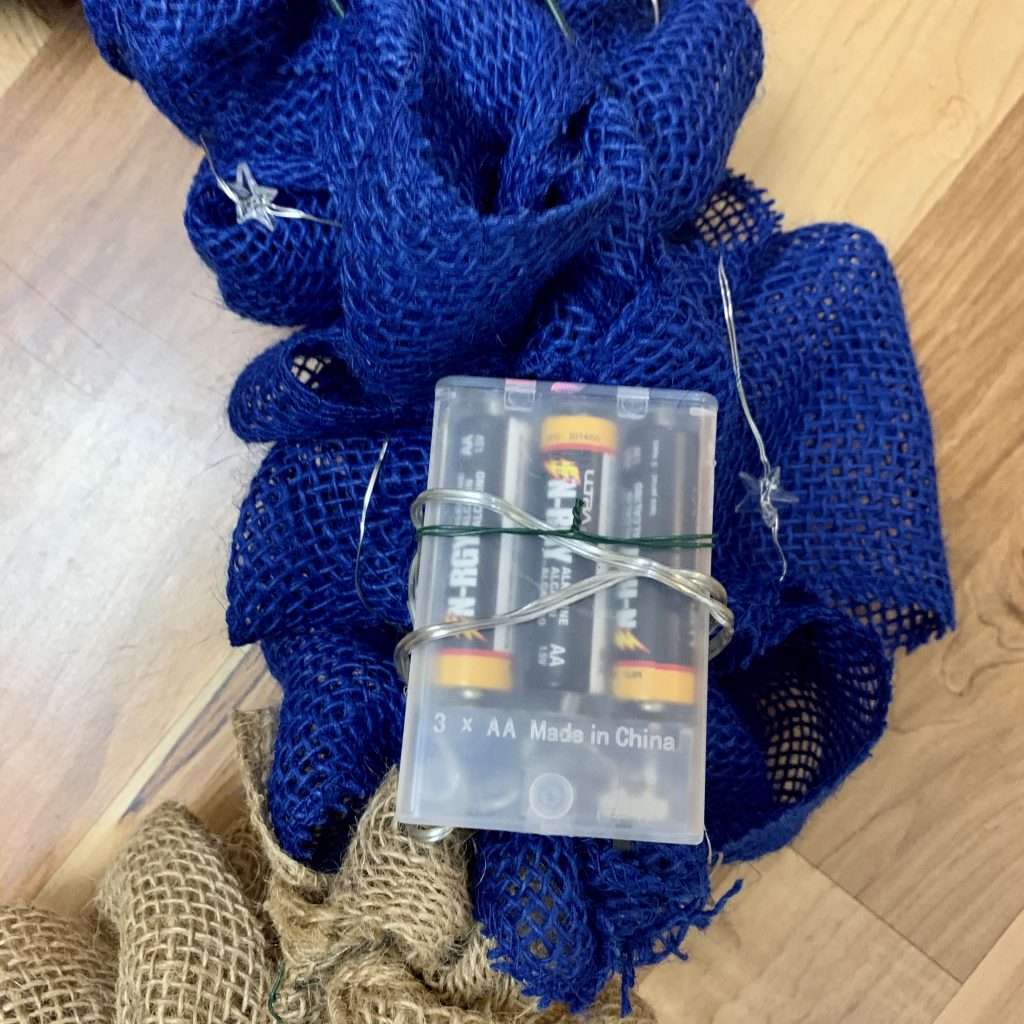
Step 4: Add the Lights
Next, I added lights to my wreath. To add the lights, I first secured the battery pack to the back of the wreath.
I wrapped one piece of floral wire around the battery pack and to both sides of the wire wreath form before tying it off. Just make sure that you pull the wire as tight as you can to make sure that the battery pack can’t slip out.
West Ivory 6 ft 10 LED Metal Rattan Style Star String Fairy Lights Garland, Battery Operated, Wedding Holiday Christmas Tree, Valentine Kid’s Room Bedroom Decorative, Indoor Outdoor, Warm WhiteANJAYLIA 20 LED Star String Lights 10 FT Fairy Christmas Lights Battery Operated for Indoor & Outdoor, Party, Wedding and Holiday Decorations Warm White


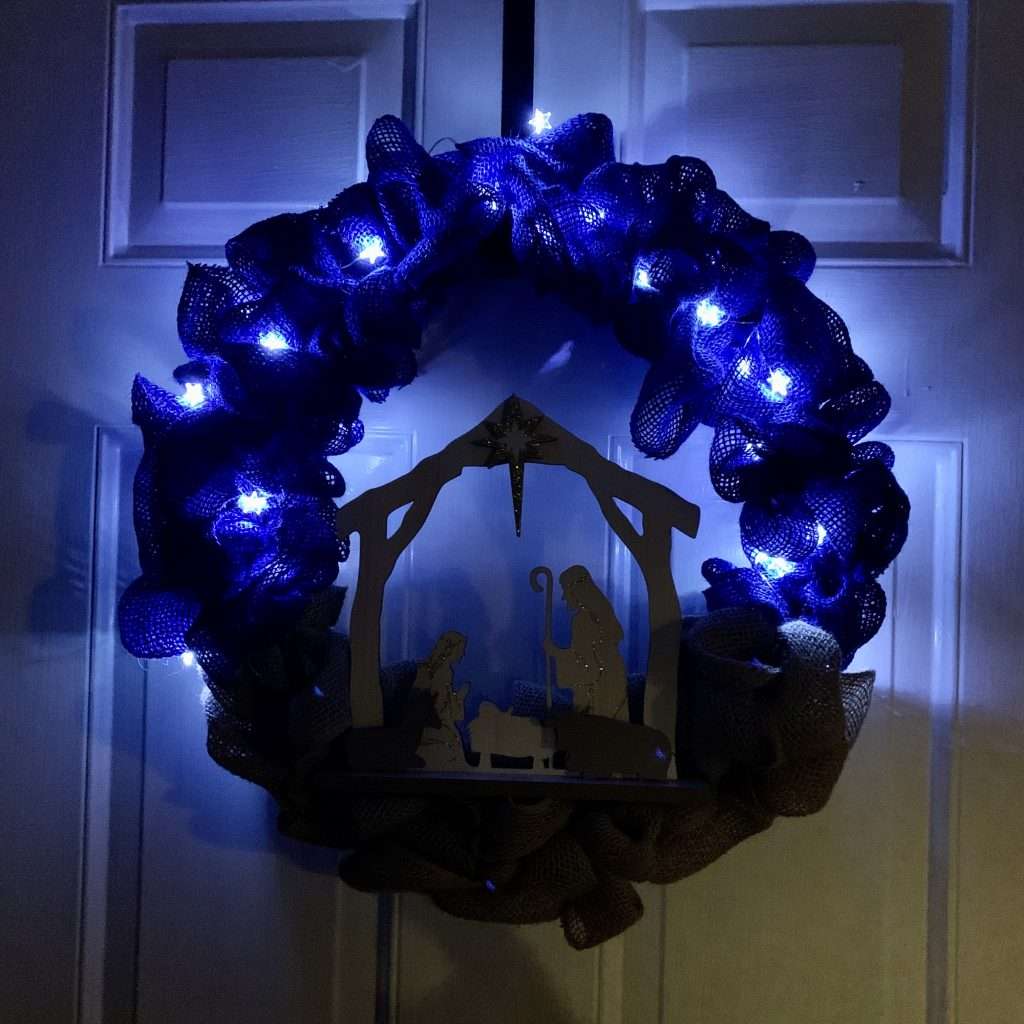
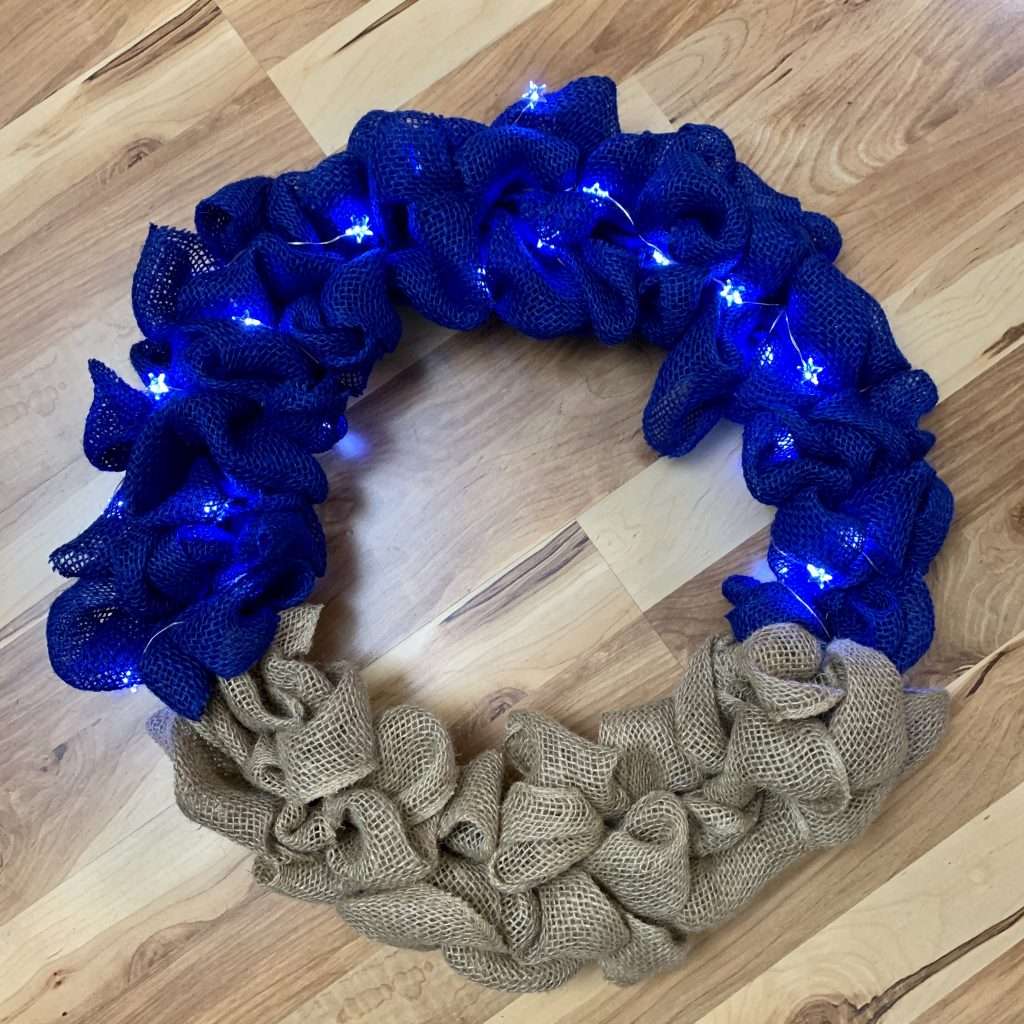
After securing the battery pack to the back of the wreath, I wove the lights through the burlap on the front of the wreath. This actually took me a few tries to get just right.
I didn’t secure the lights in any way to the front of the wreath. I just wove them through the burlap loops. Some of them were hidden behind the burlap, but they still glow through the fabric and look really pretty!
Step 5: Add the Nativity Scene
The final step to this DIY Nativity Wreath was adding the nativity scene. I wrapped floral wire around both sides of the nativity and secured them to the metal wreath form.
Luckily, I was able to hide the floral wire behind the animals of my nativity scene. I pulled the wire as tight as possible. I wanted to make sure that the nativity scene wouldn’t flop around with the opening and closing of the door.
Burton and Burton A King Is Born Holy Family OrnamentCreawoo Nativity Christmas Tree Ornaments, Navity Scene Decorations, Wooden Hanging Ornaments, Religious Inspirational Gift for Christian, Friends and Family, Celebrate The Birth of Jesus 2023


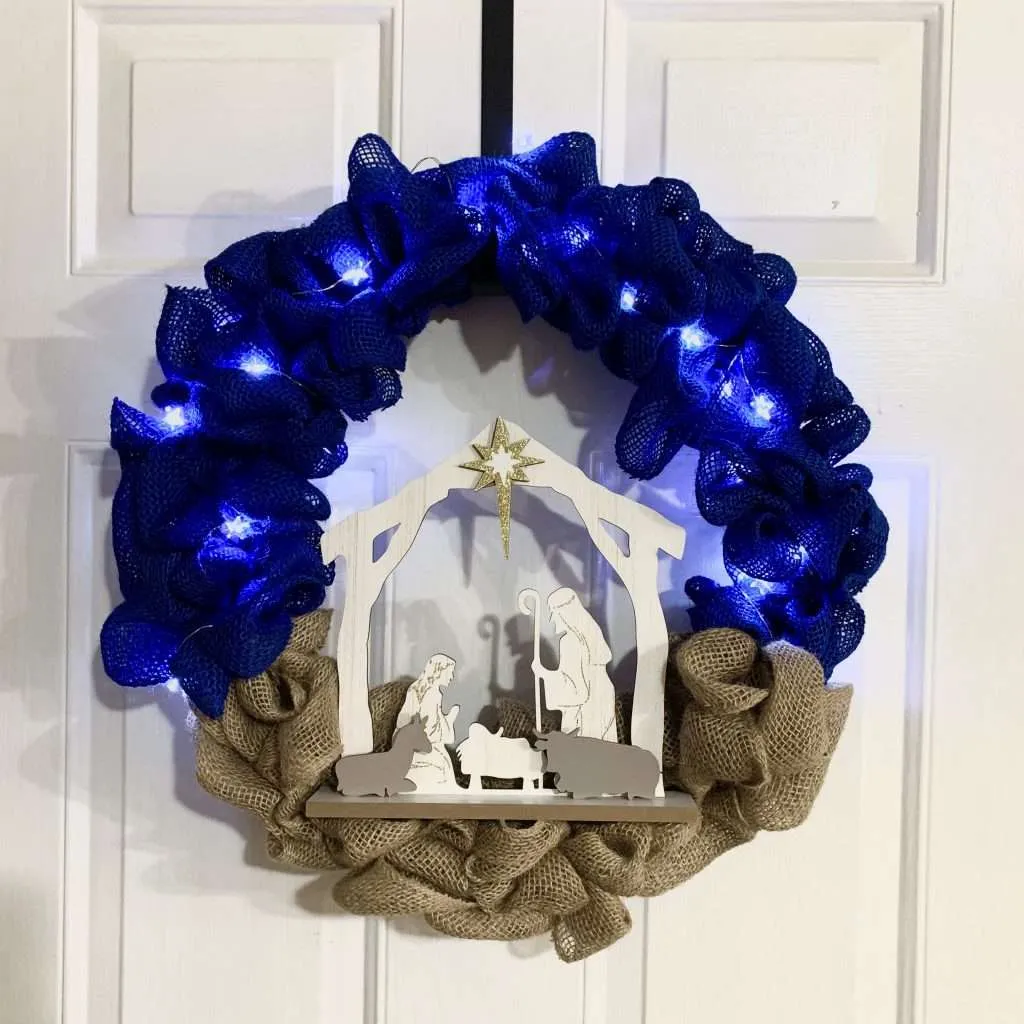
And that’s it – your DIY Nativity Wreath is done!
This is one of my favorite Christmas wreaths that I’ve ever made. I love the thought of having our faith displayed on the front door of our home during the holidays.
Plus, the fact that it was cheap and easy makes it all the better!
Merry Christmas, y’all!

About how big is the nativity scene?
I haven’t measured it, but it’s probably around 6-8 inches tall.
What size wreath form is this?
I believe it’s 12 inches. I bought it at Wal-Mart and it was the biggest size they had there.
How much of each of the colors of burlap do we need for the nativity wreath?
For the blue burlap, I used 1 entire 15 feet roll and part of the 2nd roll, so maybe 18 feet? And for the brown burlap, I used probably 15 feet. It depends on how full you want your wreath to look too. You could probably use less.