[Disclaimer: Finding Mandee is reader-supported, if you purchase through links on my site I may earn an affiliate commission at no additional cost to you. As an Amazon Associate, I earn from qualifying purchases.]
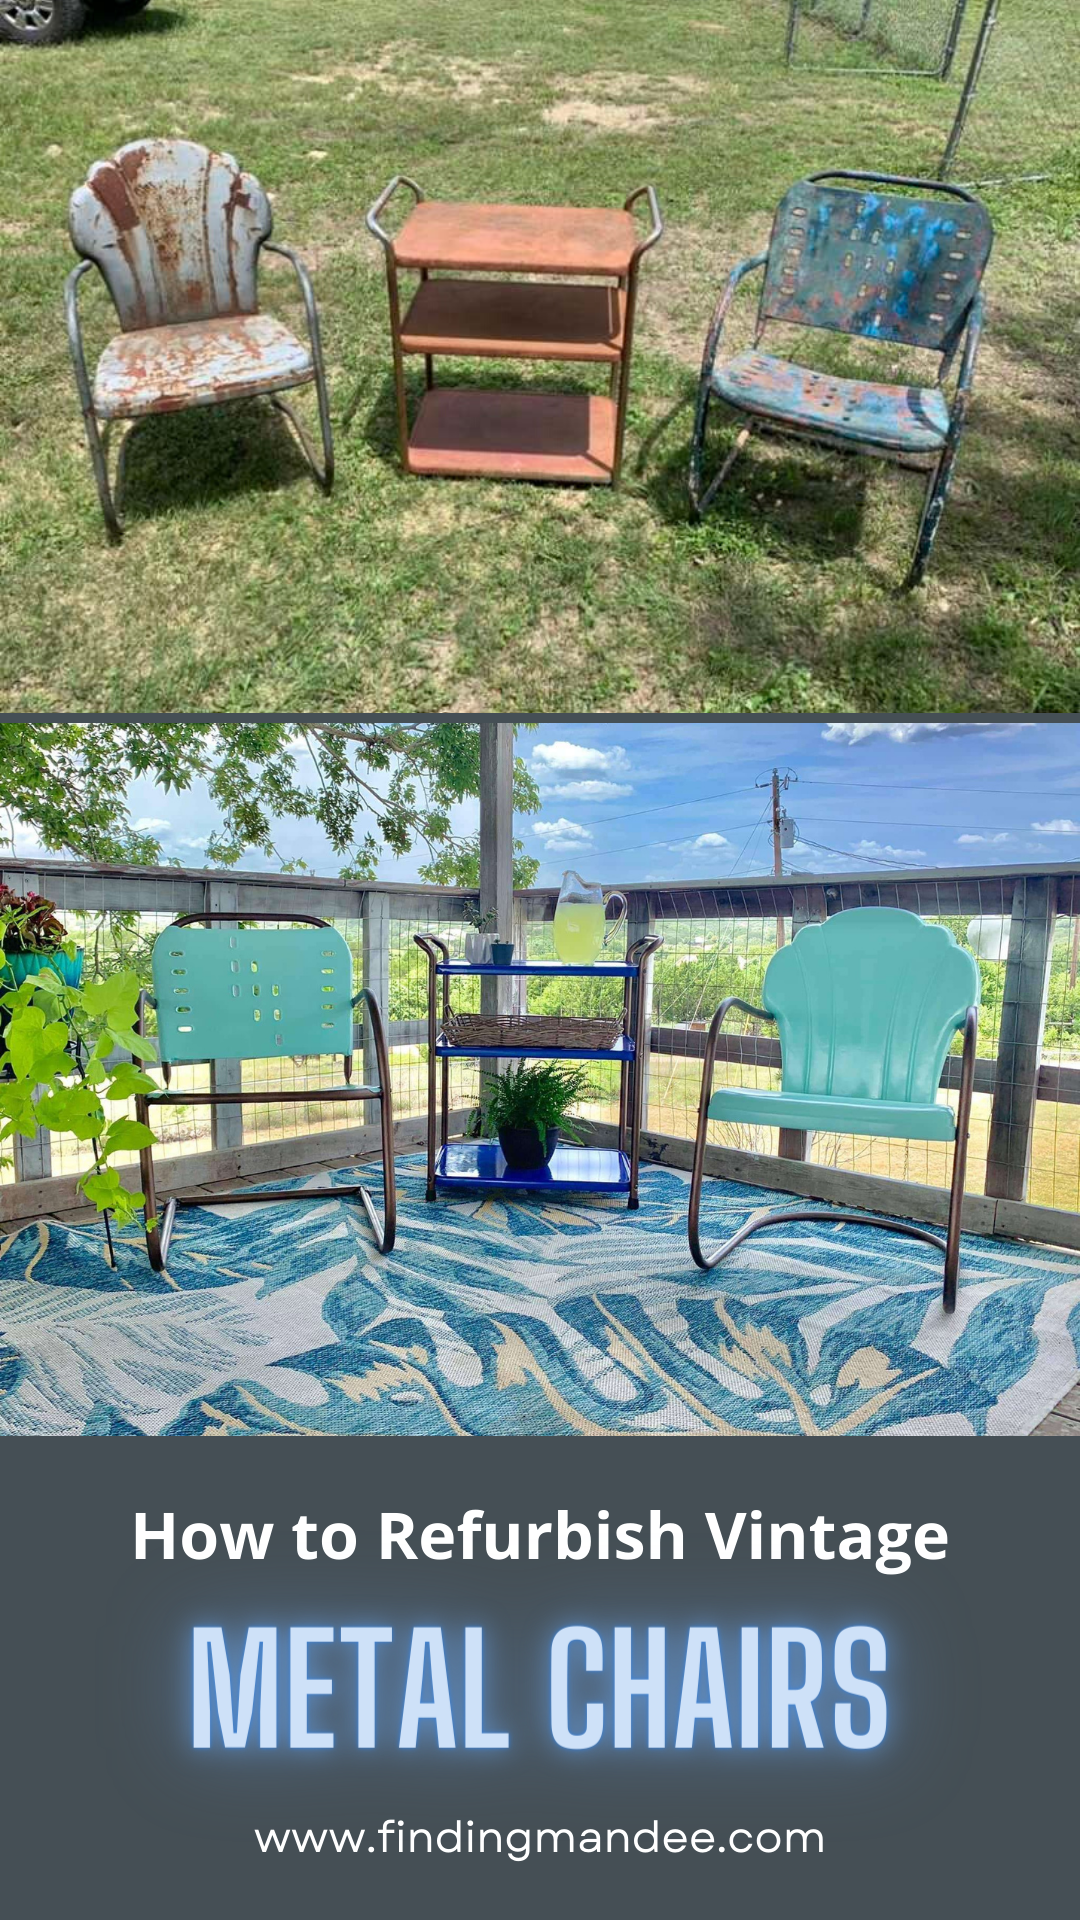
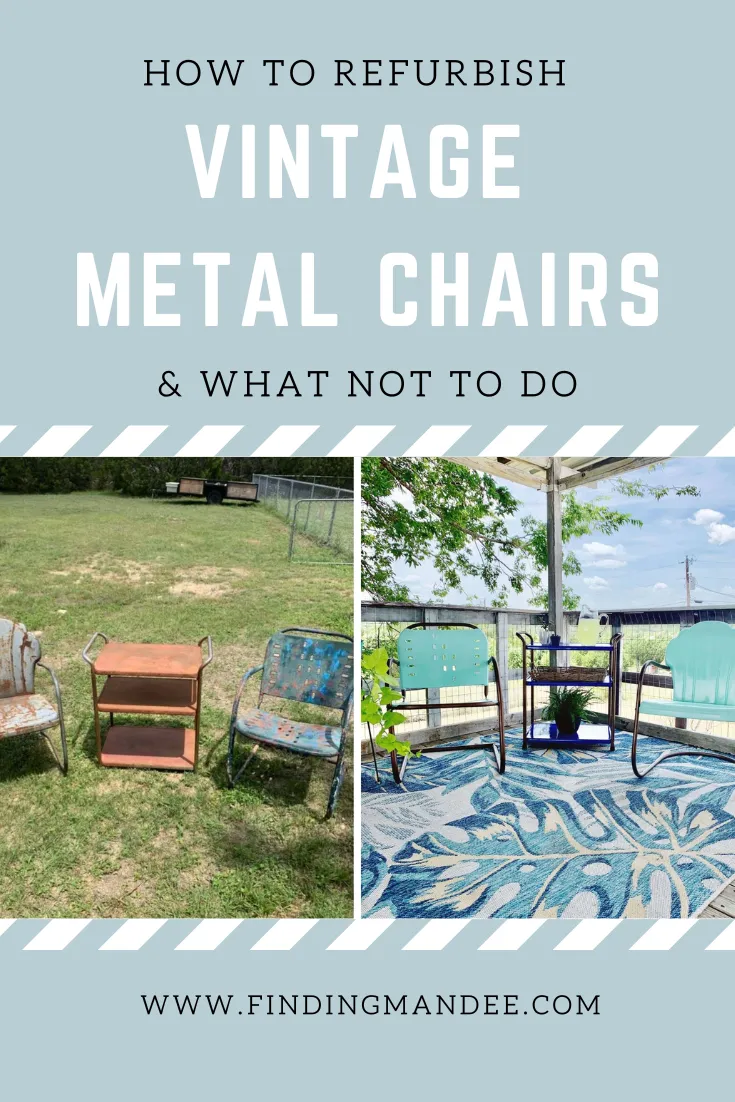
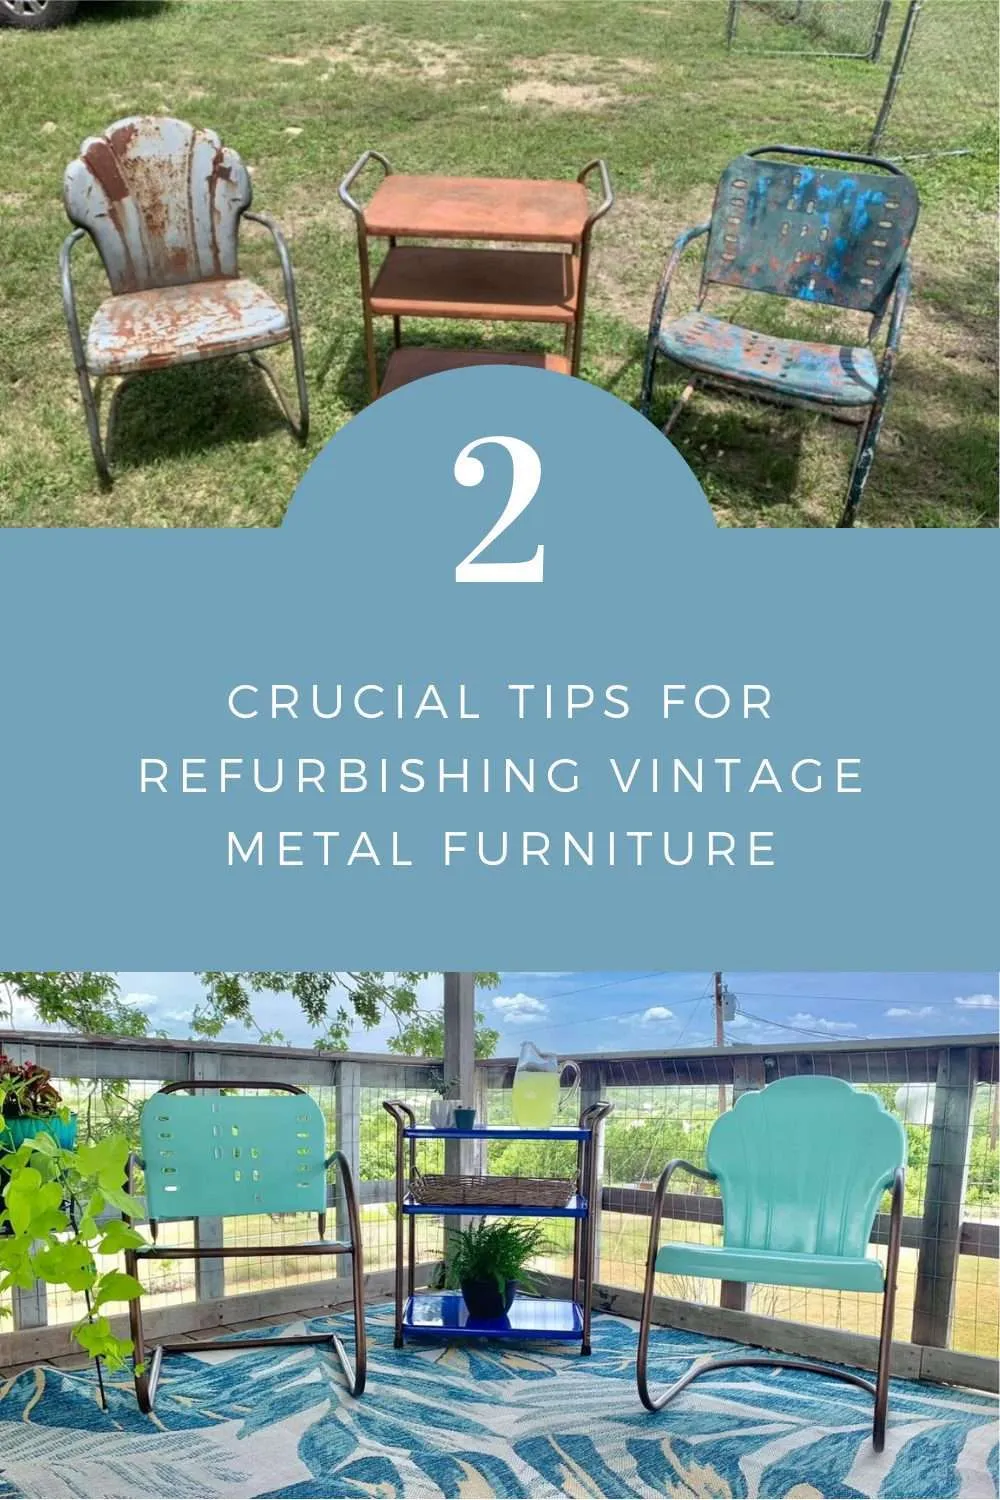
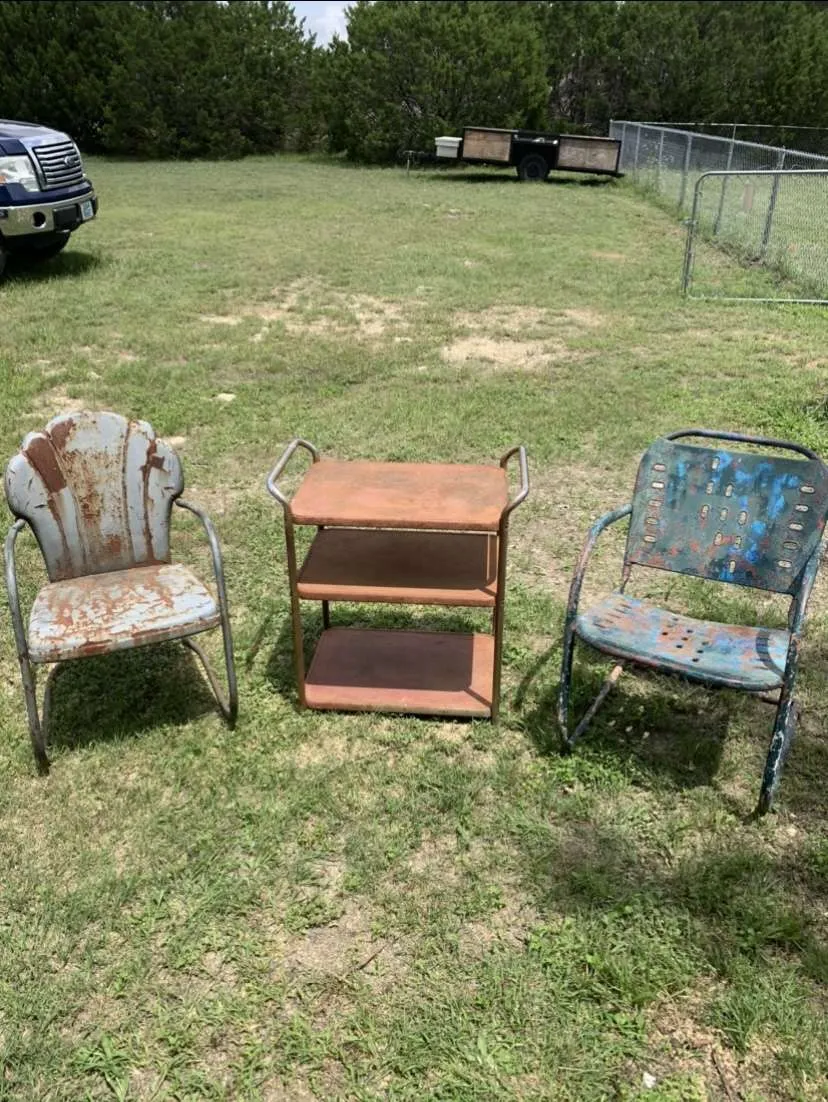
I have been on the lookout for vintage metal chairs for a looonnggg time. But every time I found some, they were either too rusty to salvage or too expensive.
Apparently, these chairs are popular right now during this mid-century modern craze!
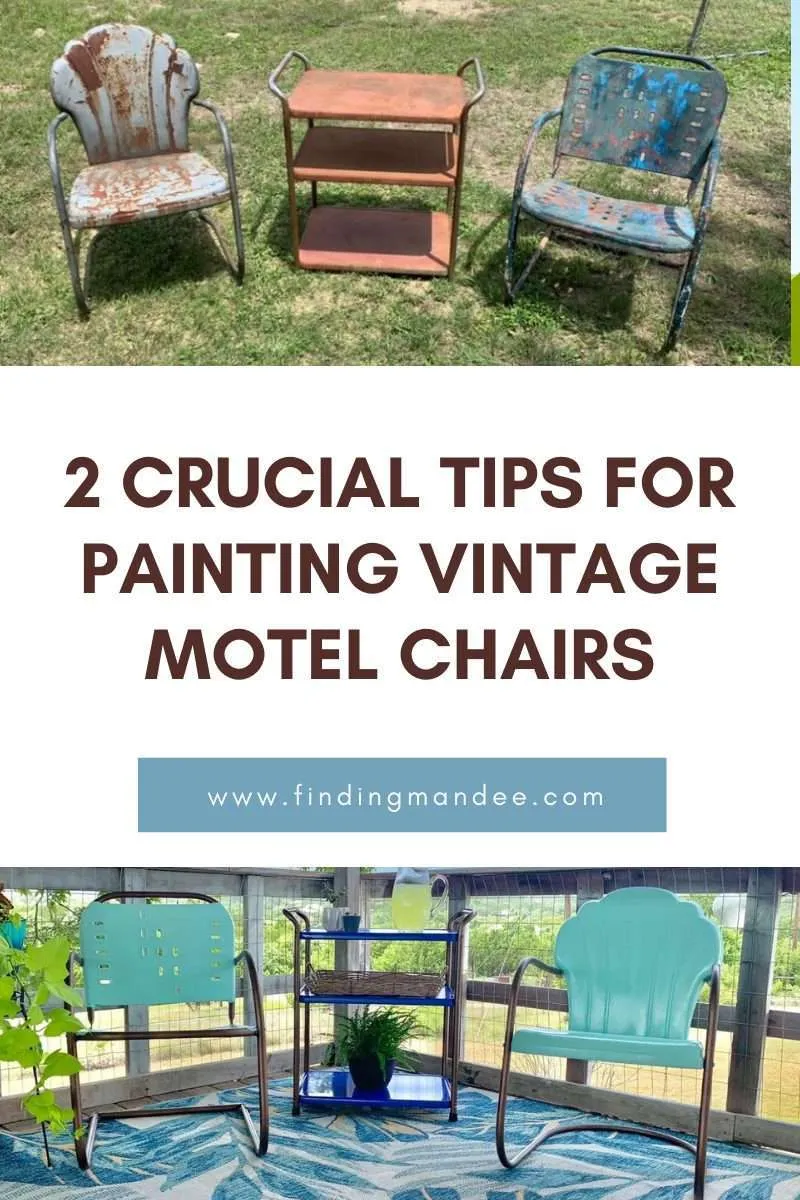
I found some during our first trip to the Round Top Antique Show. They’re not a matching pair, but I was still excited! I only paid $45 each; it was my favorite find of the whole weekend.
This project was pretty straightforward.
Refurbishing these vintage metal chairs was a “simple” 2-step process:
- remove rust
- paint
However, here are some things that we learned during this process that made it easier.


Supplies
Skip the Sander
What?
But sanding is arguably the most important part of prepping any refurbish project???
That is true.
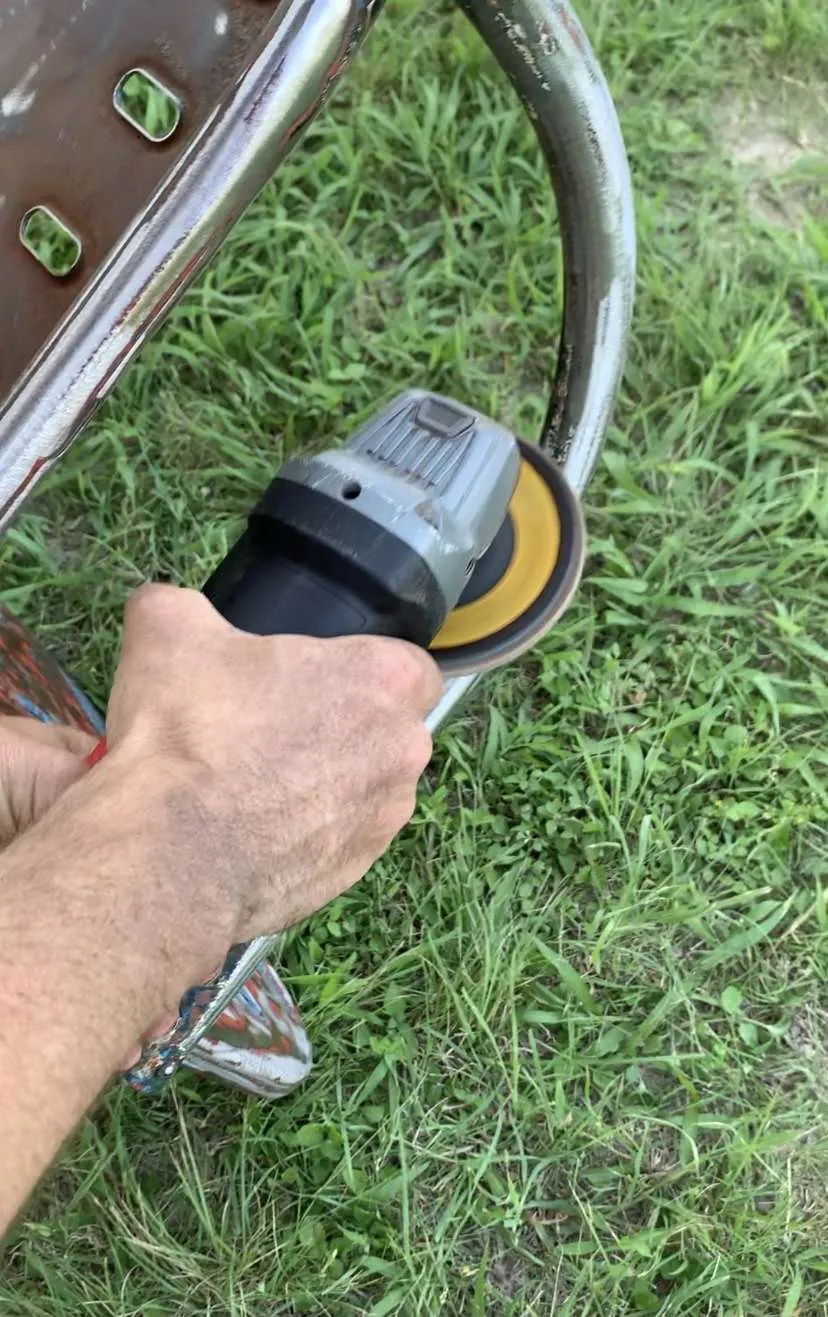
However, these chairs had 70-ish years of rust and MULTIPLE layers of paint on them. My orbital sander didn’t stand a chance.
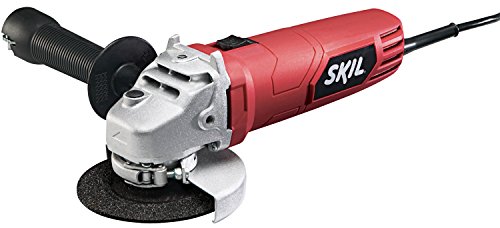
I wasted way too much time trying to sand these things down before my husband saved the day. We ended up using his angle grinder and flap discs to get the job done.
Switching out these two tools, cut our prep time in half!
If you are ever trying to remove yearsss of rust and paint from metal surfaces, I highly recommend this approach. We were able to get these chairs back to their bare metal surfaces. This gave us a beautiful finish after painting.


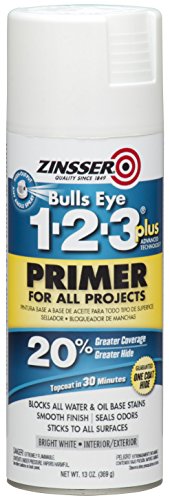
Use Primer
Unfortunately, this was a lesson that we had to learn the hard way.
We thought since we had removed virtually all of the rust and bought a spray paint/primer combination that we didn’t need to use a primer.
However, lead paint (especially red) is HARD to cover. No matter how many coats of paint we put on these chairs, an orange-y, pink stain bled through.
After about 4 coats, we did a light scuff sanding and added a coat of primer. FINALLY, we were able to cover those stains.
It would have saved us SO much time (and paint!) if we had started with primer at the beginning!

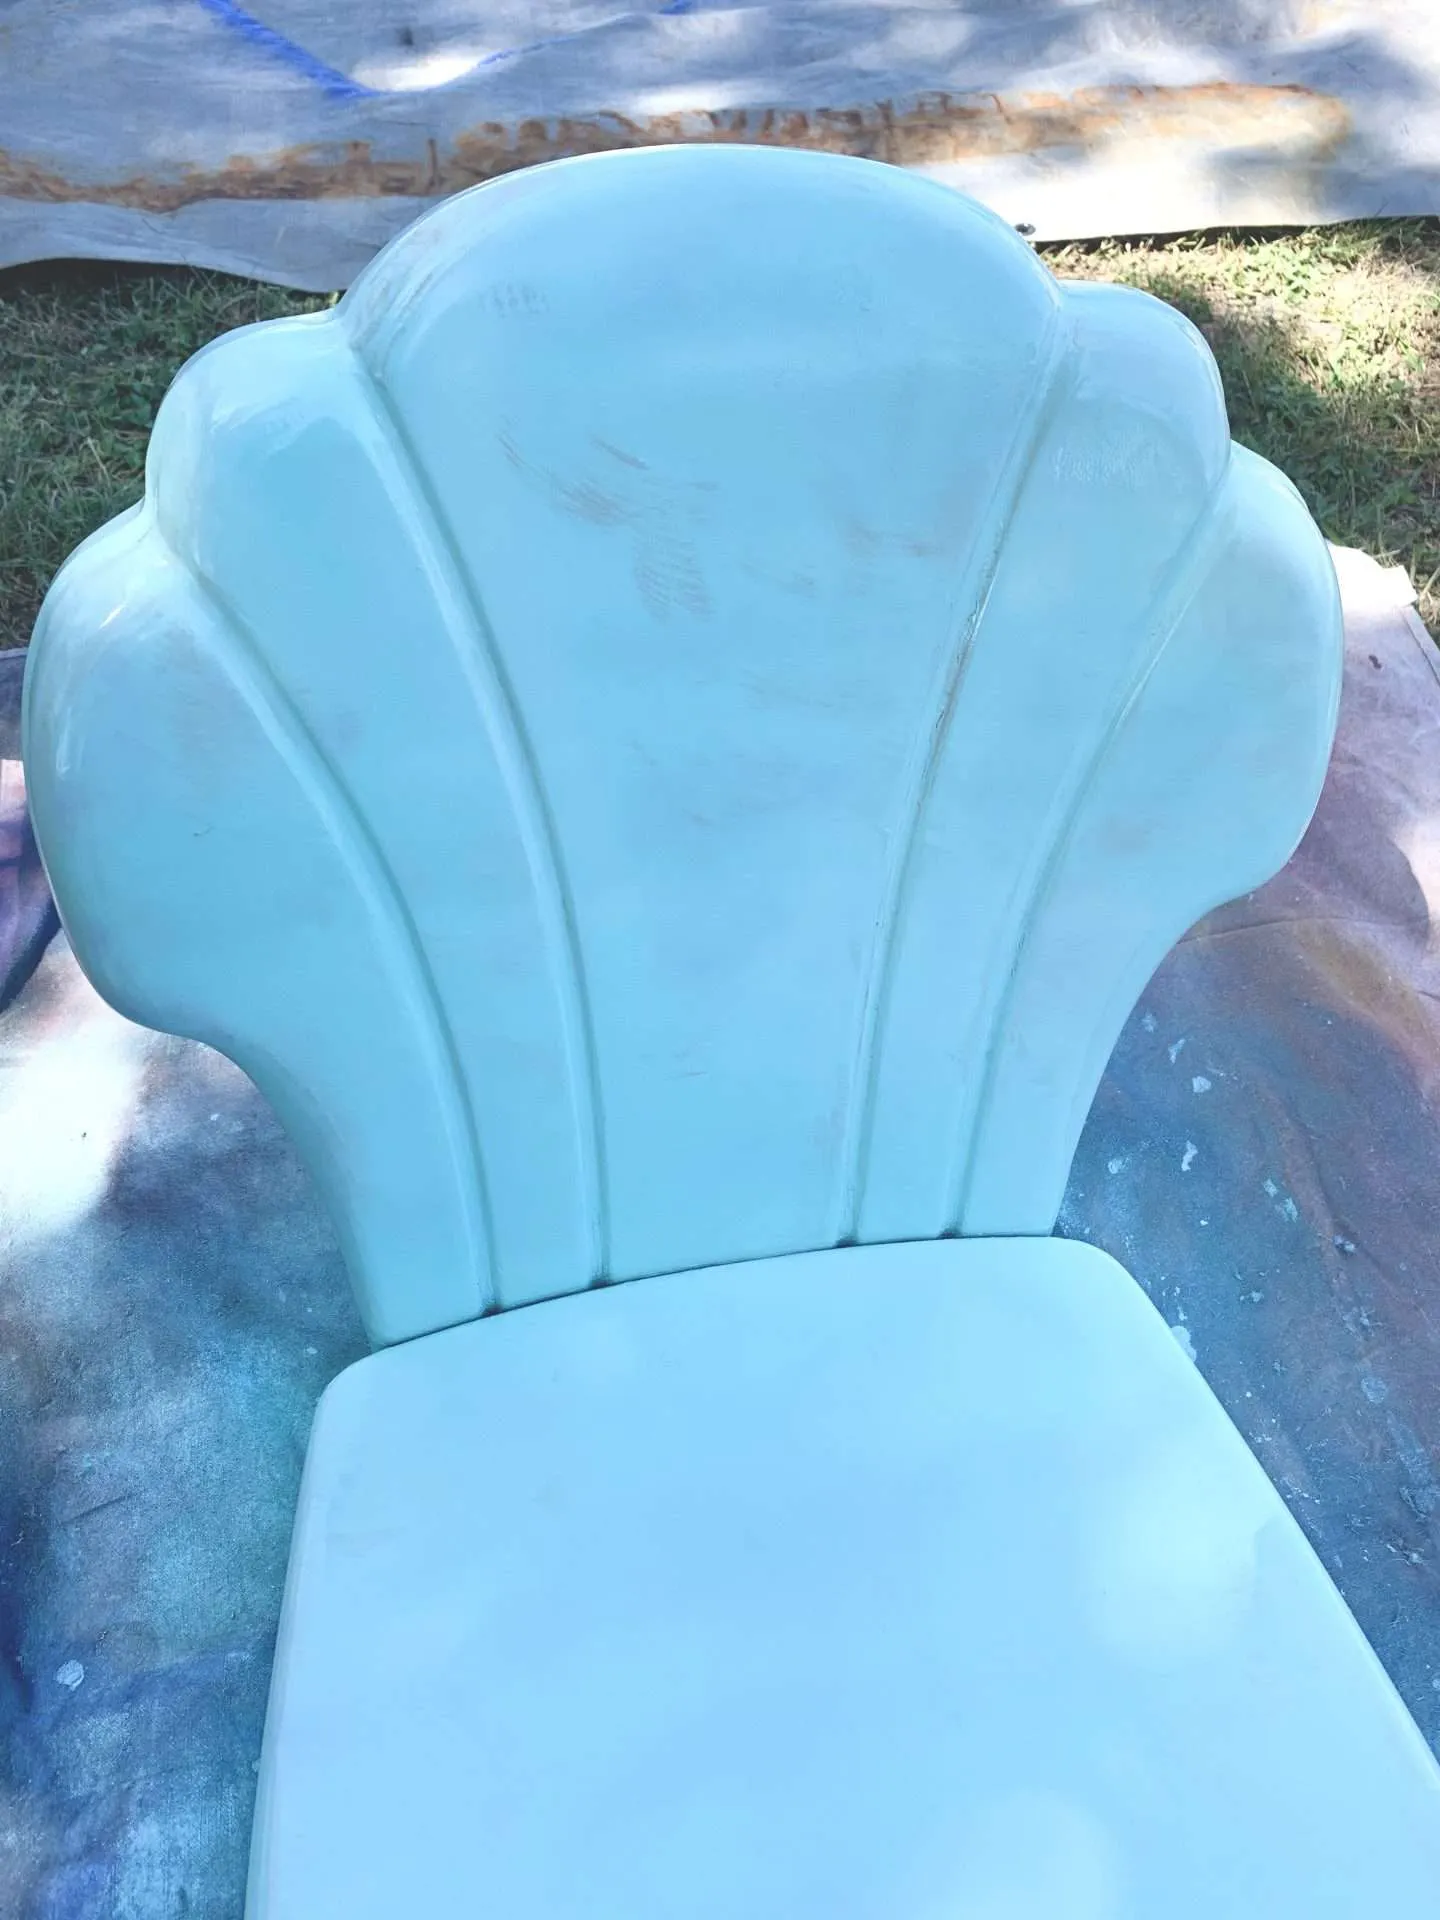


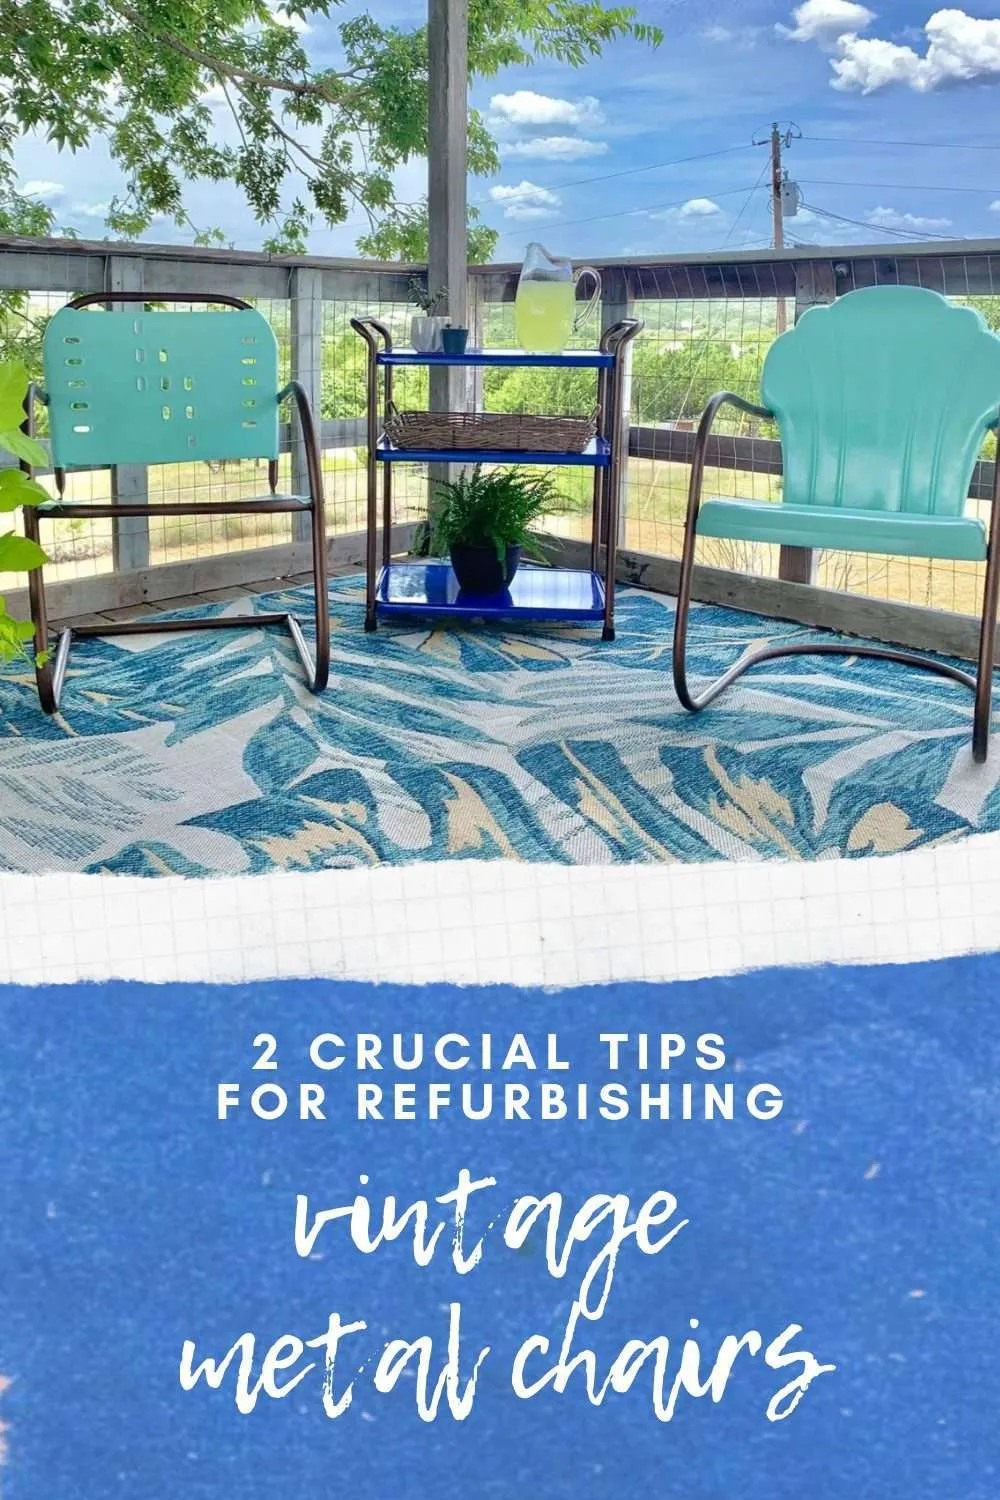
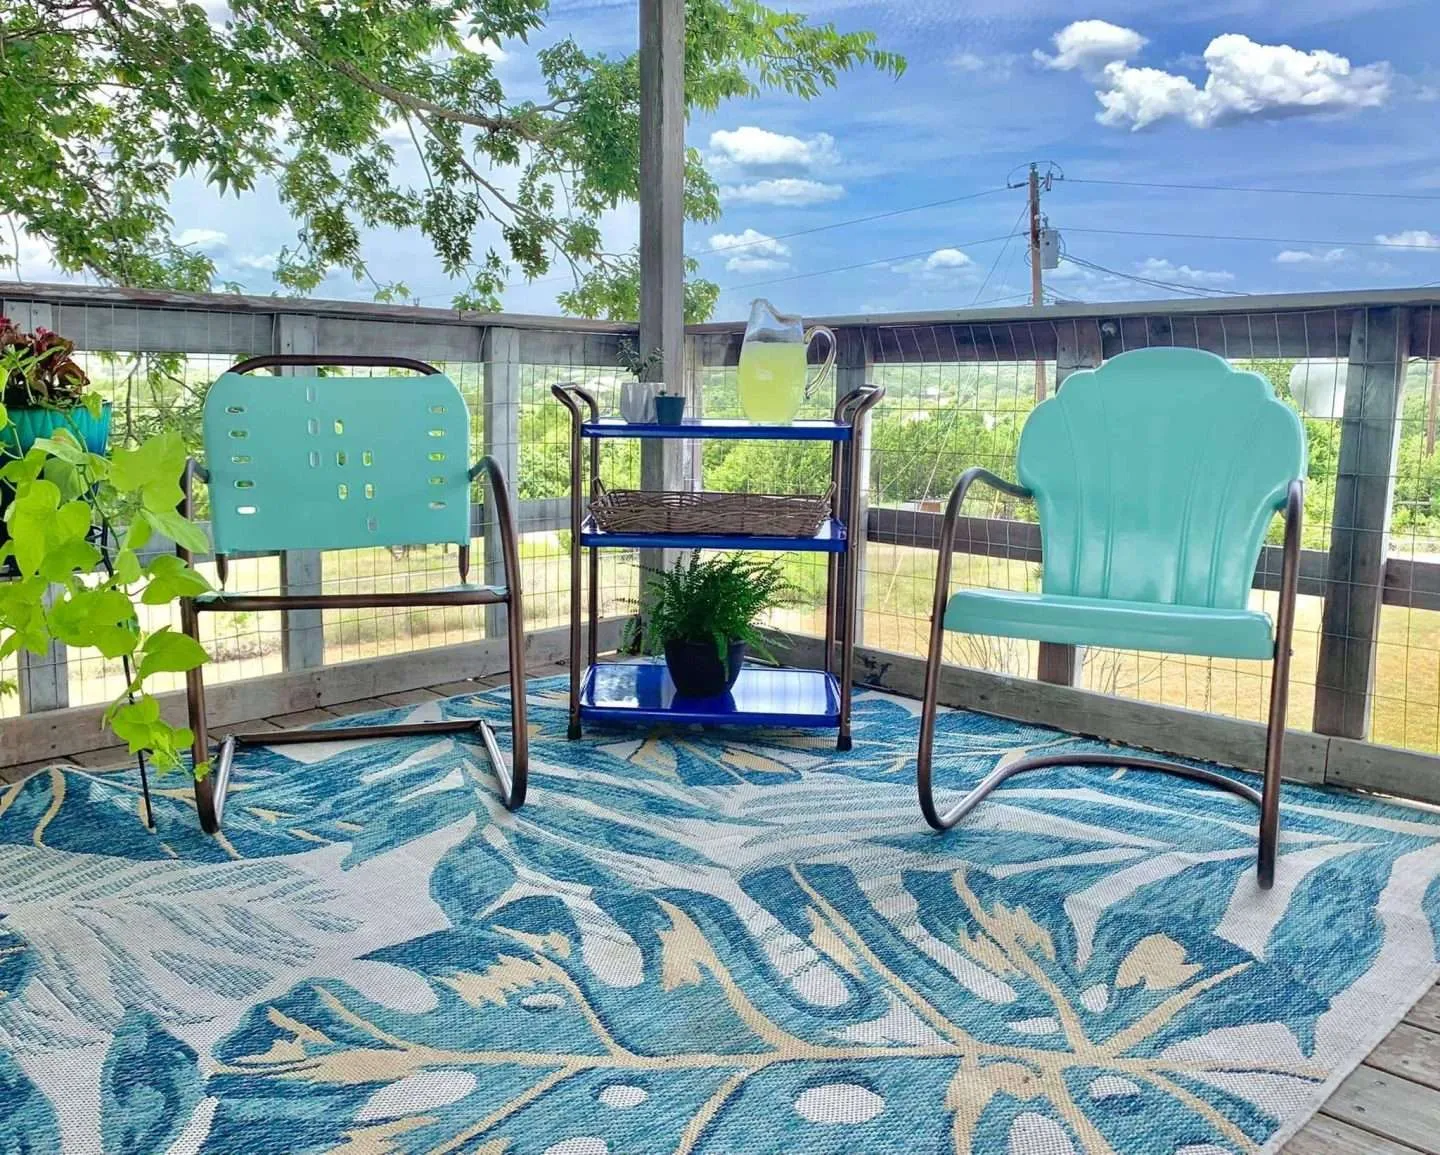
I absolutely LOVE how these chairs turned out!
They are a bright, beautiful addition to our back deck and the finish is nearly FLAWLESS.
These vintage metal chairs were a lot of work and hard to find, but they were worth the wait!