[Disclaimer: Finding Mandee is reader-supported, if you purchase through links on my site I may earn an affiliate commission at no additional cost to you. As an Amazon Associate, I earn from qualifying purchases.]
One company has aggressively advertised on my Facebook lately and it has me obsessed.
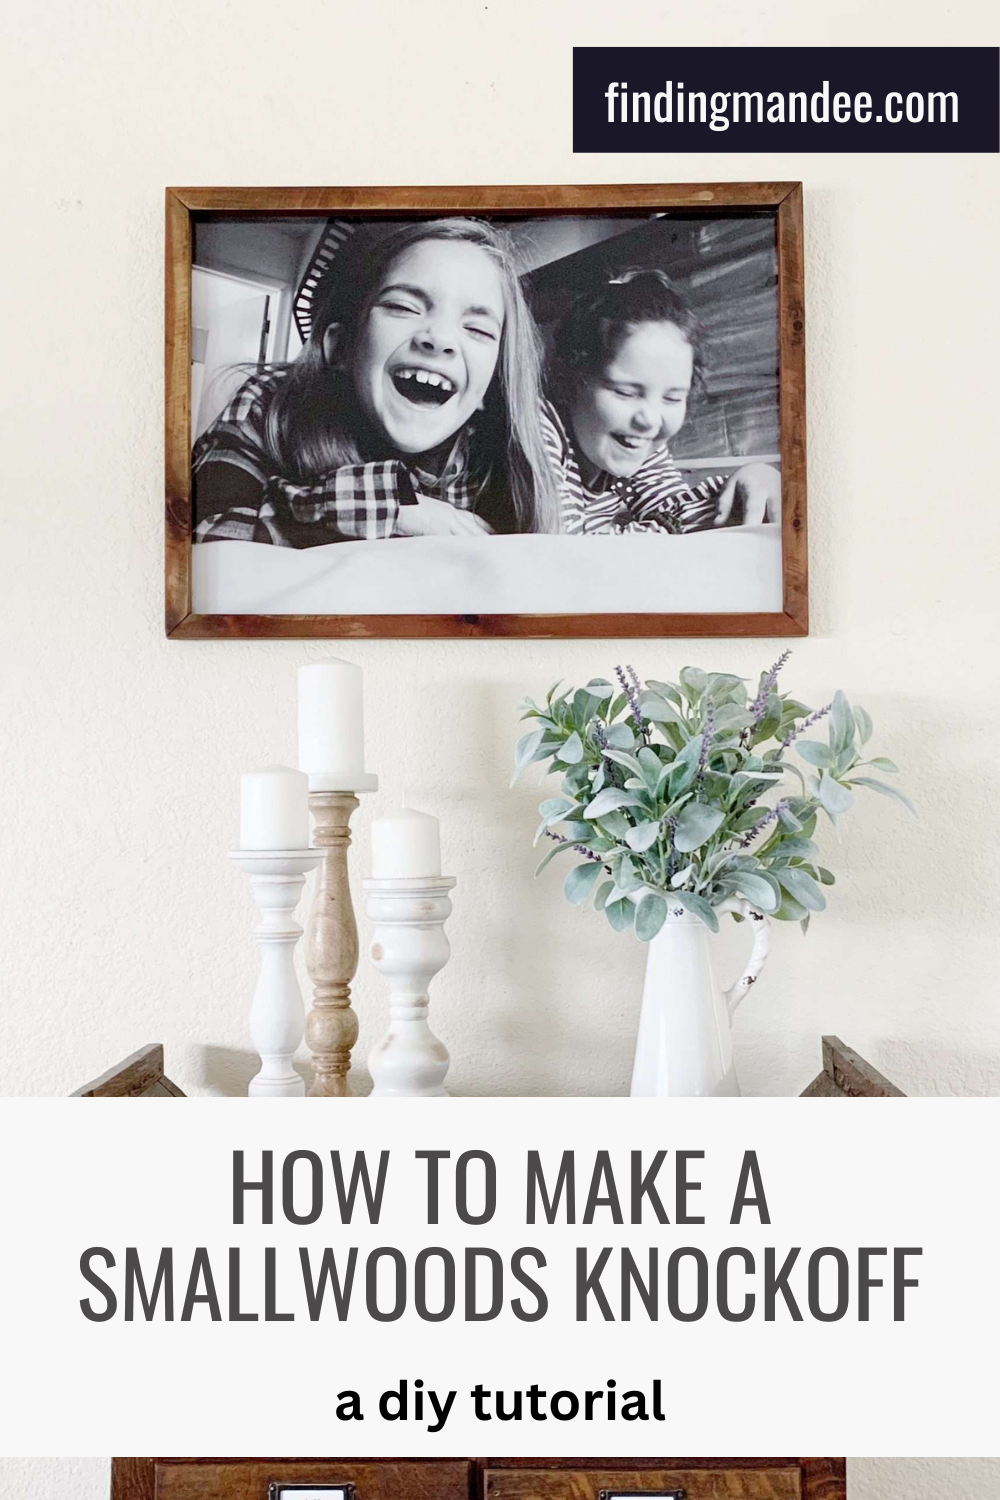
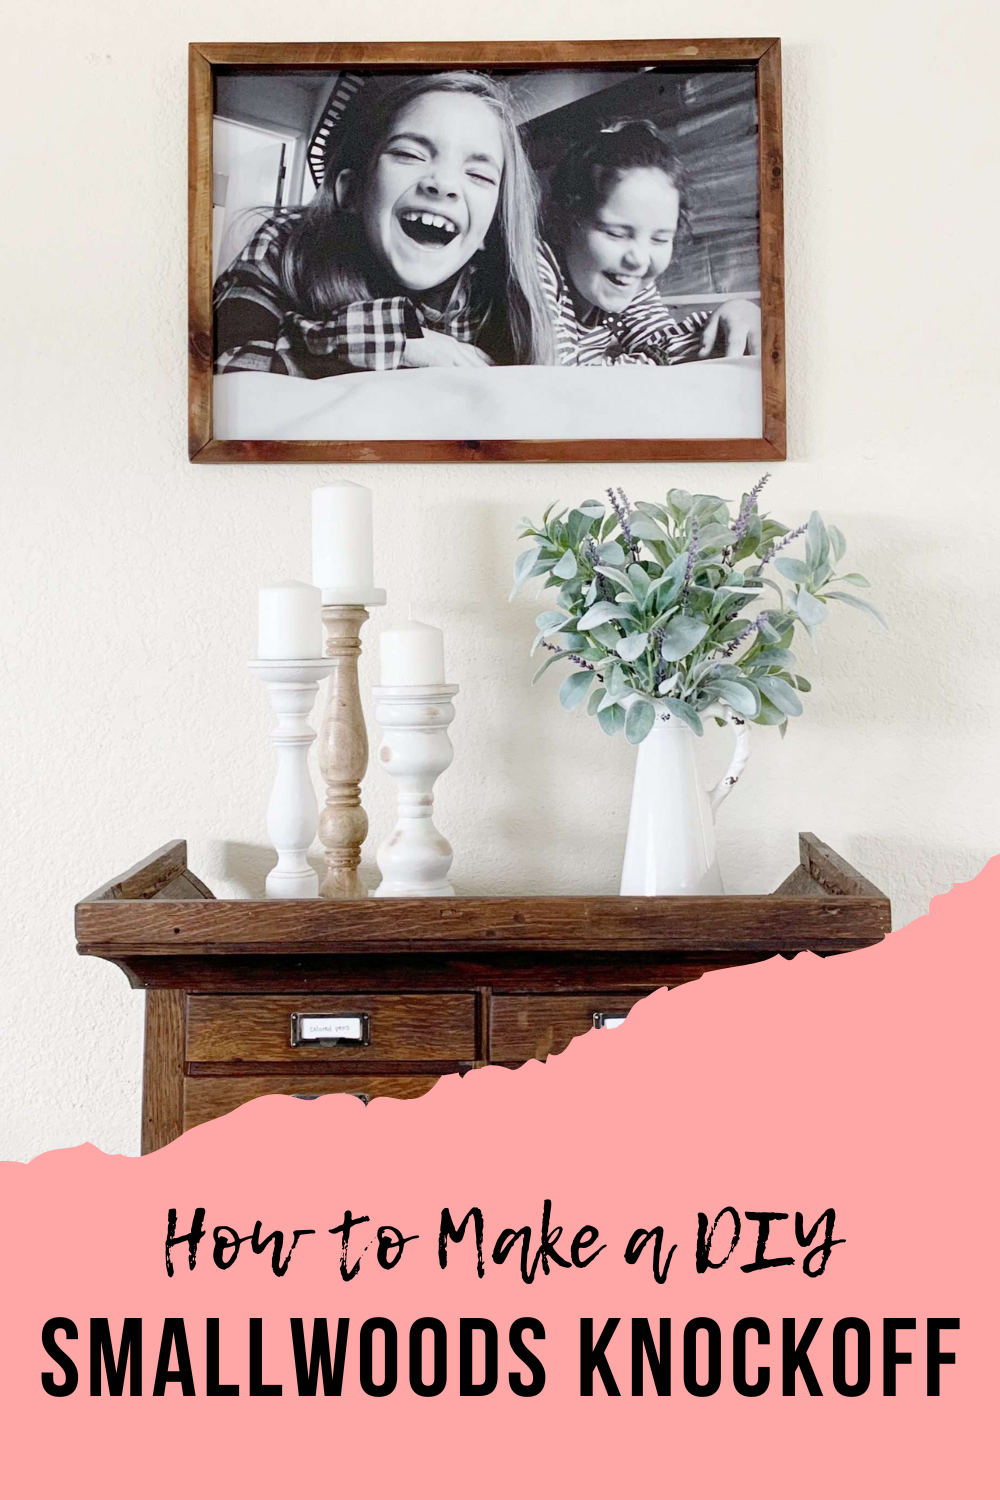
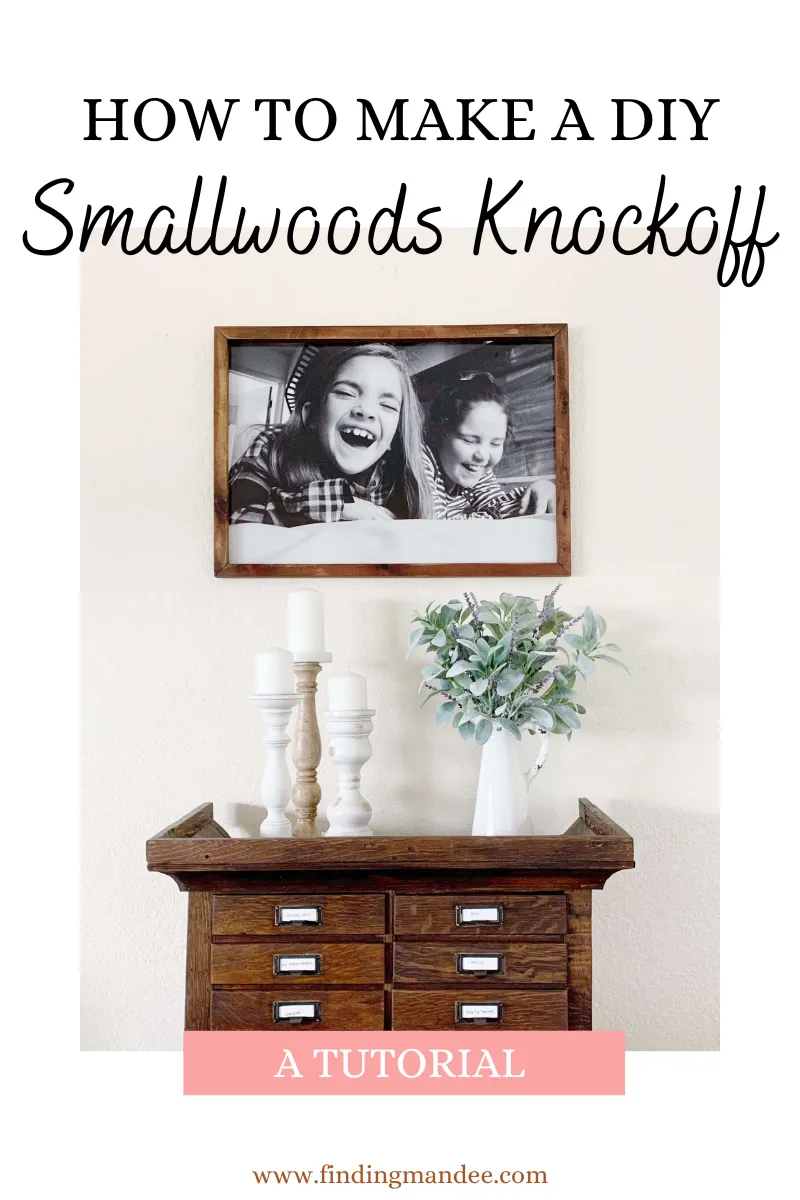
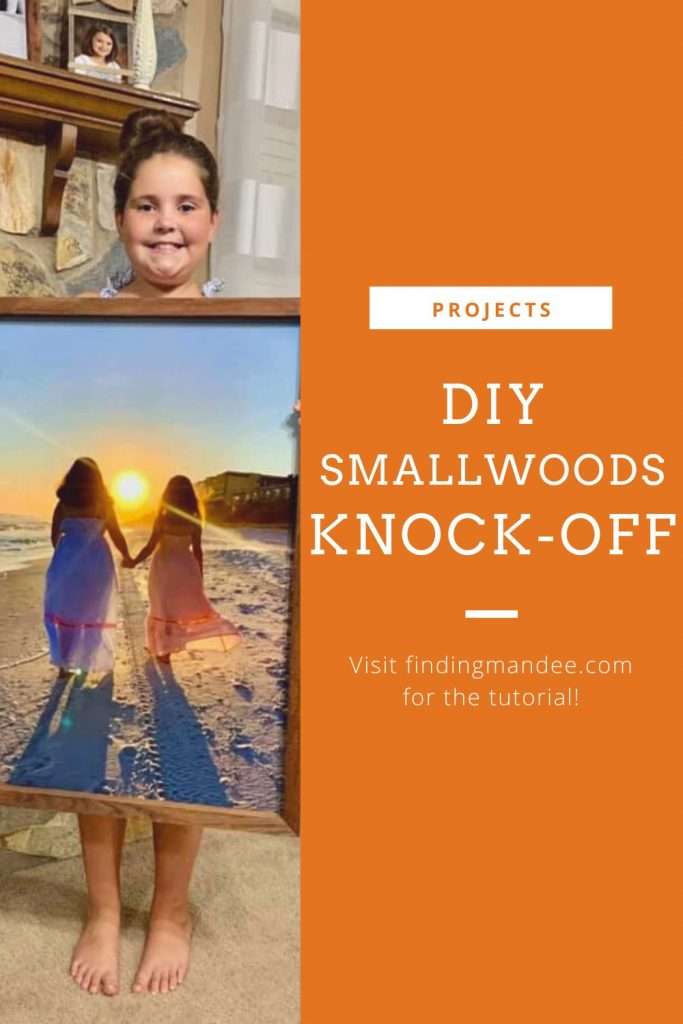
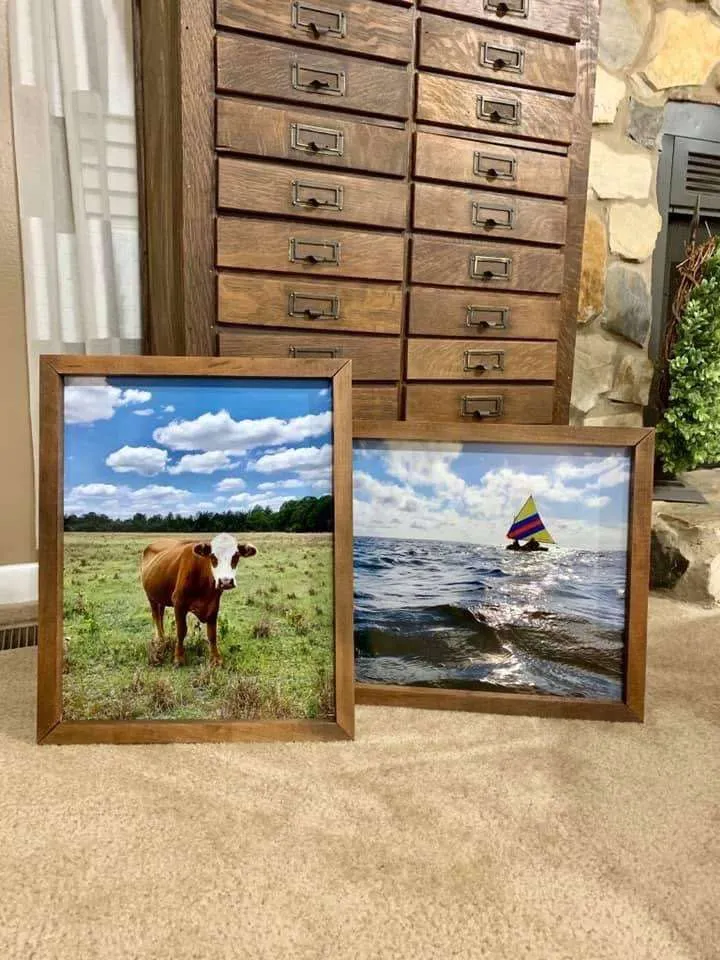
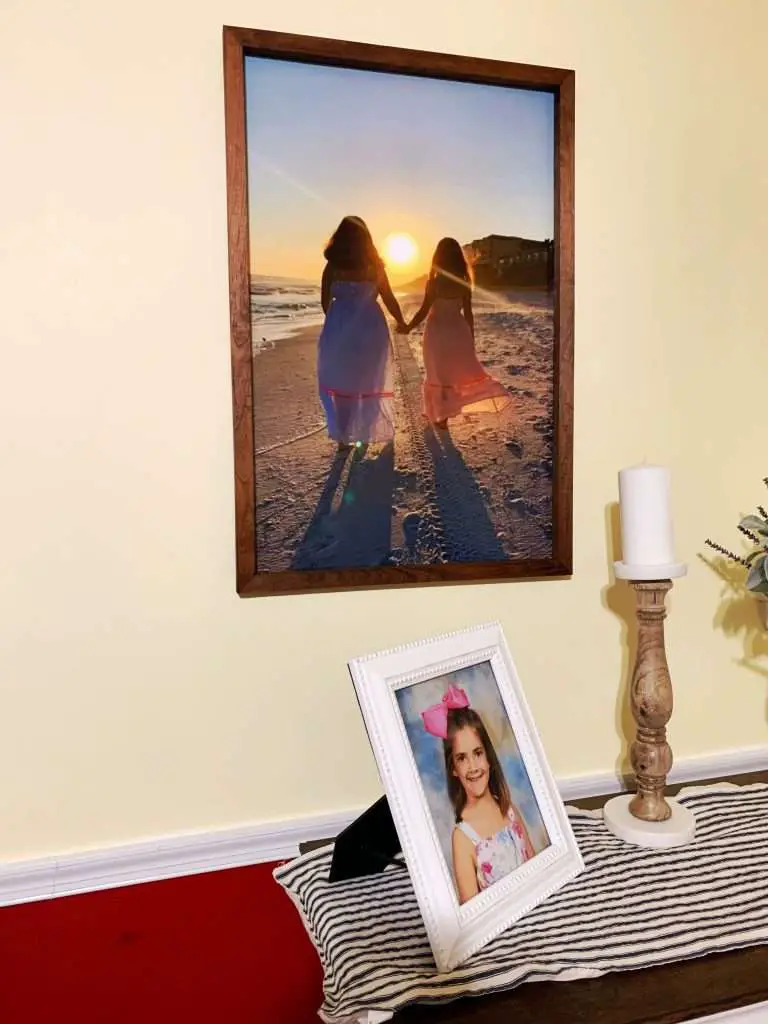
Smallwoods, the company that makes beautiful, giant photo prints for your home, has me swooning. I love all their gallery walls and giant prints. I wanted some for myself, but after seeing the price tag, I knew it just wasn’t meant to be.
That was until I found a way to do it myself. And for way cheaper than the real thing too!
Here’s how I made a DIY Smallwoods knock-off!


(I’ve made several of these, not only for my house but for my mom too. They are so easy to make!)
DIY Smallwoods Knock-Off Supplies
- your favorite picture(s) – turned into posters
- (2-3) 1x2x8 boards
- table saw
- orbital sander
- 120- to 220-grit sanding pads
- wood stain
- rags
- brad nailer & nails
- 1/4″ plywood
- mod podge & sponge brush
- staple gun & staples
- picture hangers
If you can’t build your own frame, you can find one on Amazon! There are so many different kinds, including the simple the simple rustic look that I was going for. You can also find them in gold or black.
Or you can buy frames that are matted or these minimalist poster hangers to achieve a similar look.


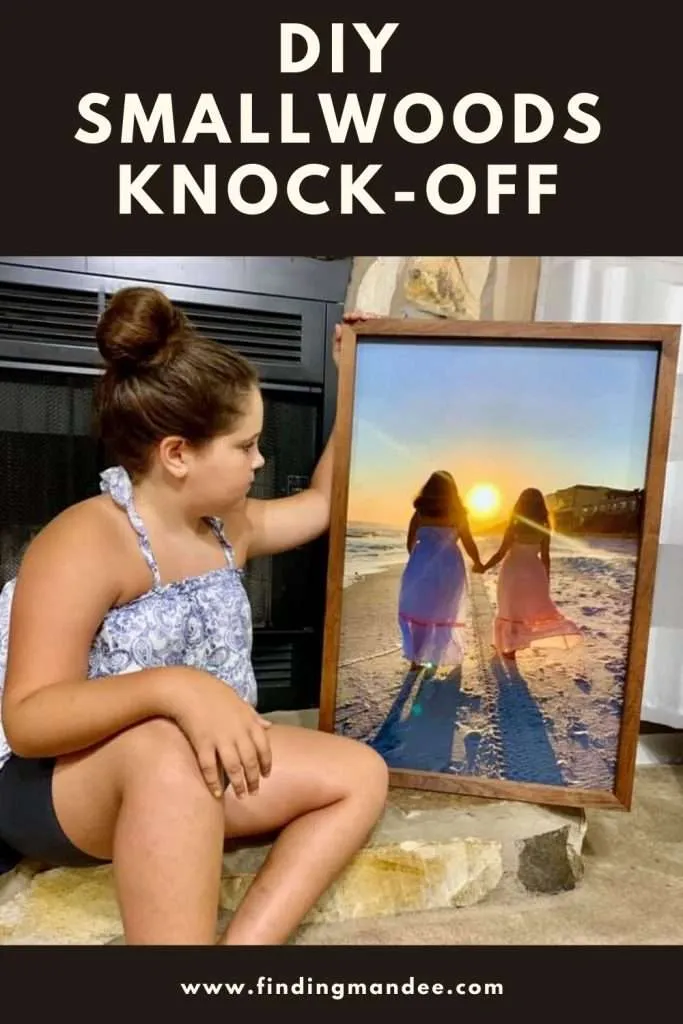
Step 1: Choose a Picture
If you’re anything like me, then this is probably the most difficult step of the whole process.
I have so many pictures of my girls, that it’s hard to choose just one (or three!) to use for this project.
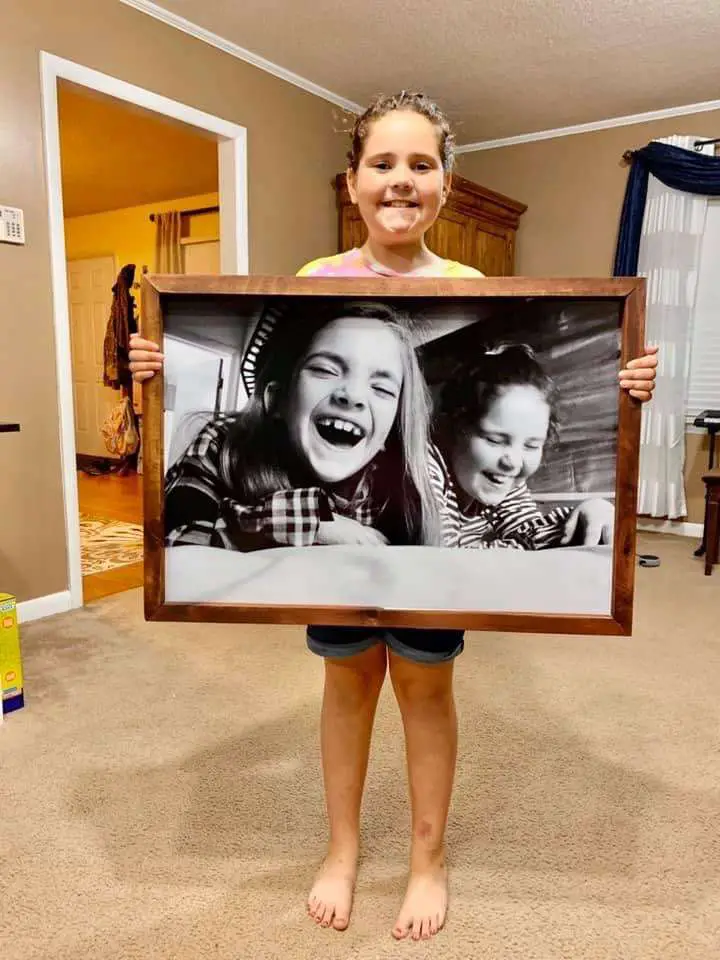
When choosing a picture for your DIY Smallwoods knock-off, make sure you choose something with good resolution. A picture with good lighting and crisp lines is ideal.
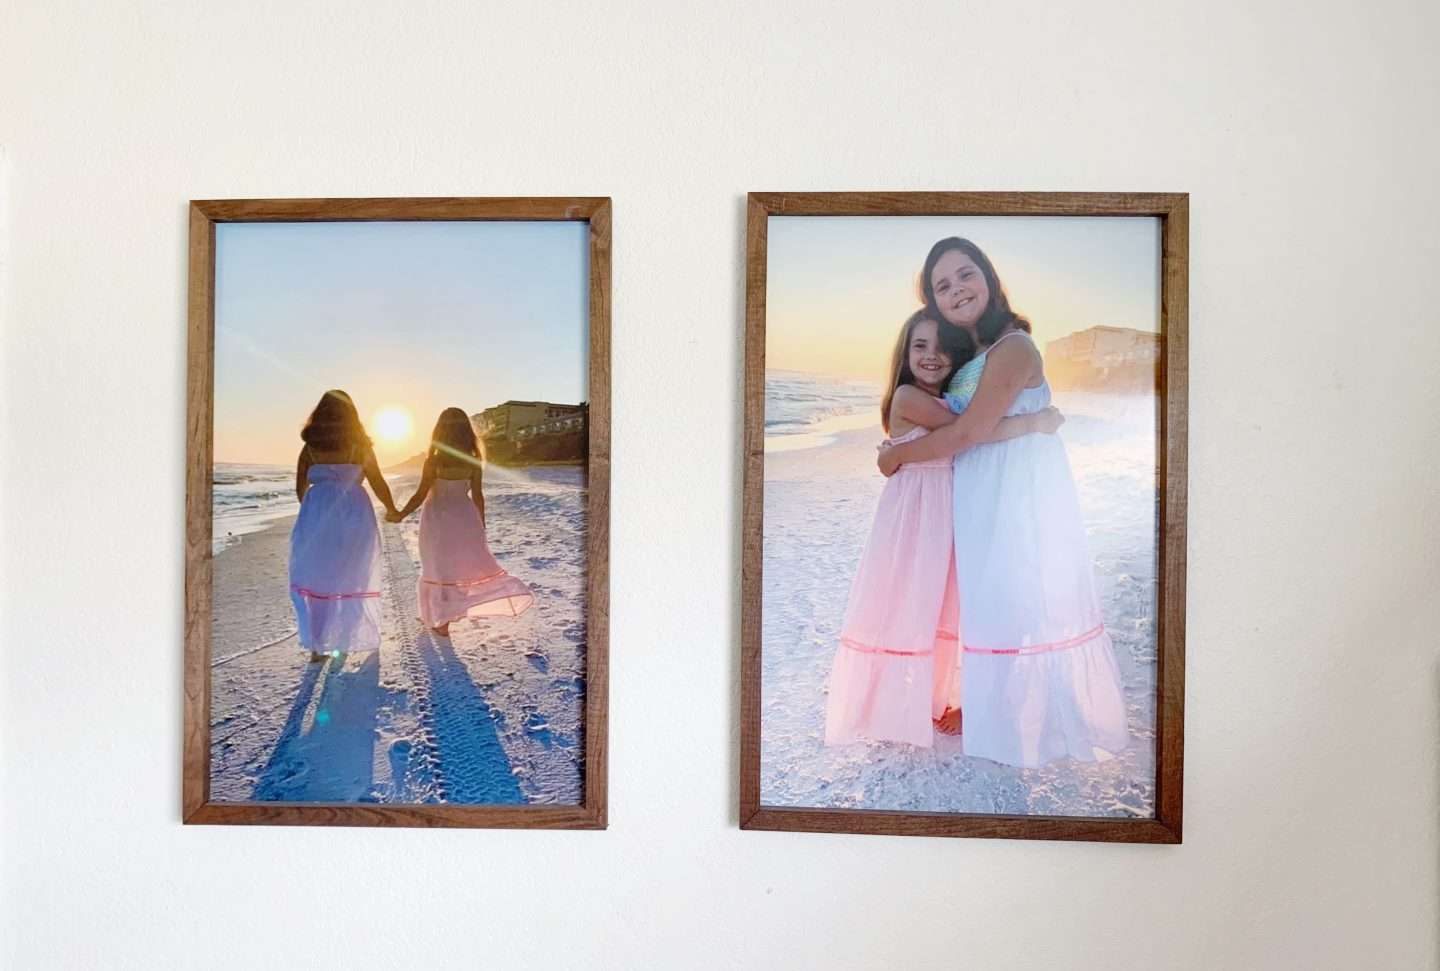
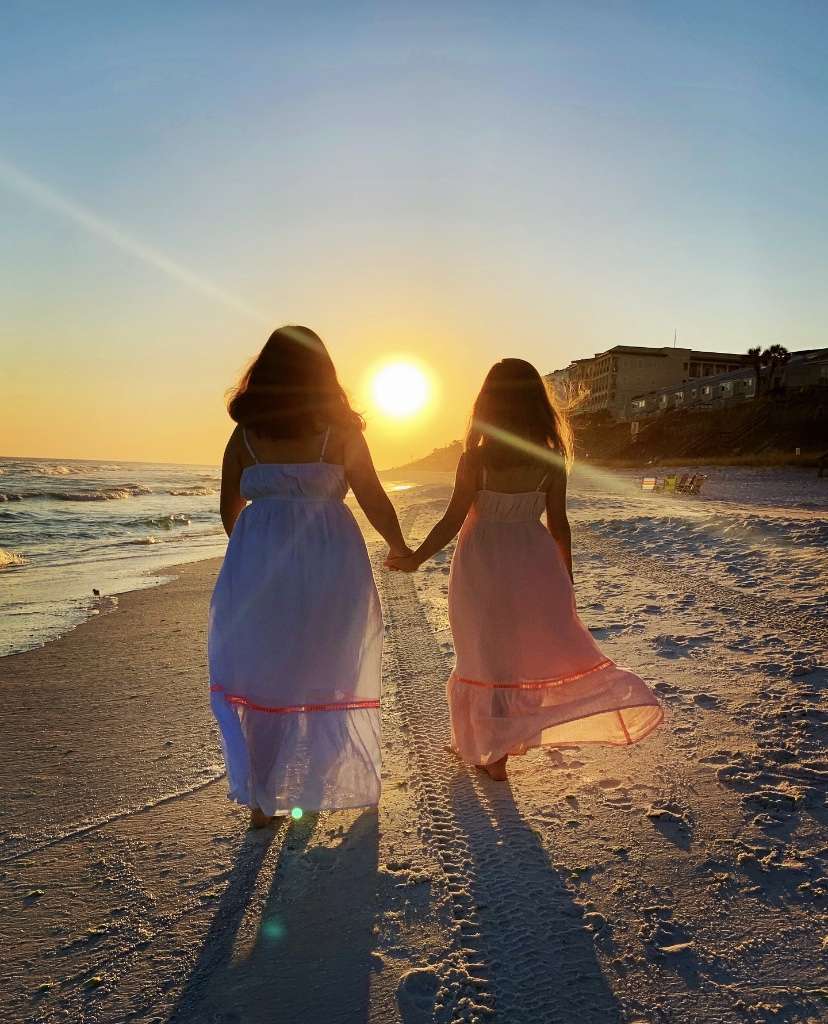
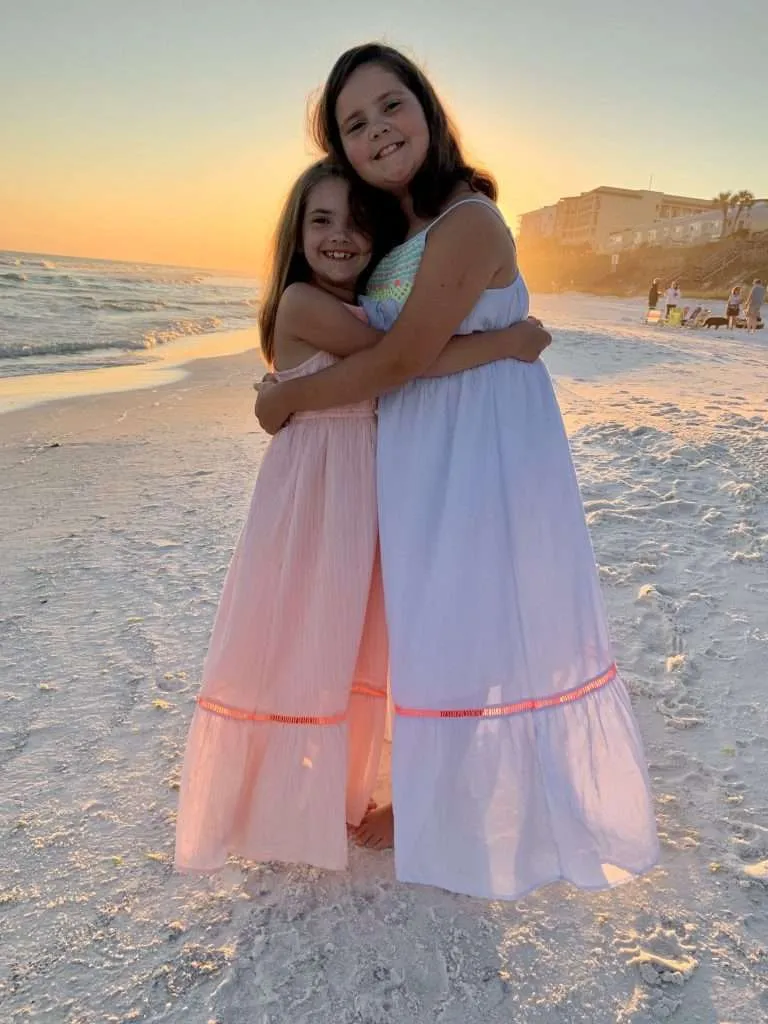
The beach pictures that I printed were taken with my iPhone. The one of the girls walking away looks great, but the one of them facing the camera is a little blurry/pixelated when printed as a poster.


Step 2: Order the Print
The next step is to order your picture. And this is where you save money!
I ordered my prints from Walgreens. Go to their Photo section and click on Posters. There are several options, but I used the plain Poster option (no designs, text, or adhesive).
There are 5 sizes to choose from. I used the second largest option (20″x 30″) for all 3 of my prints. These are normally $25.99 plus tax, however, I found coupon codes that made them 50% off. (At times, you can even find codes for 60% off!)
That means I got both beach prints for $25! Even on sale, ONE print from Smallwoods costs $50+.
When you’re ordering your posters, Walgreens’ website may alert you that your image has low resolution. It gave me this alert on all 3 prints, even on the two prints that turned out good.


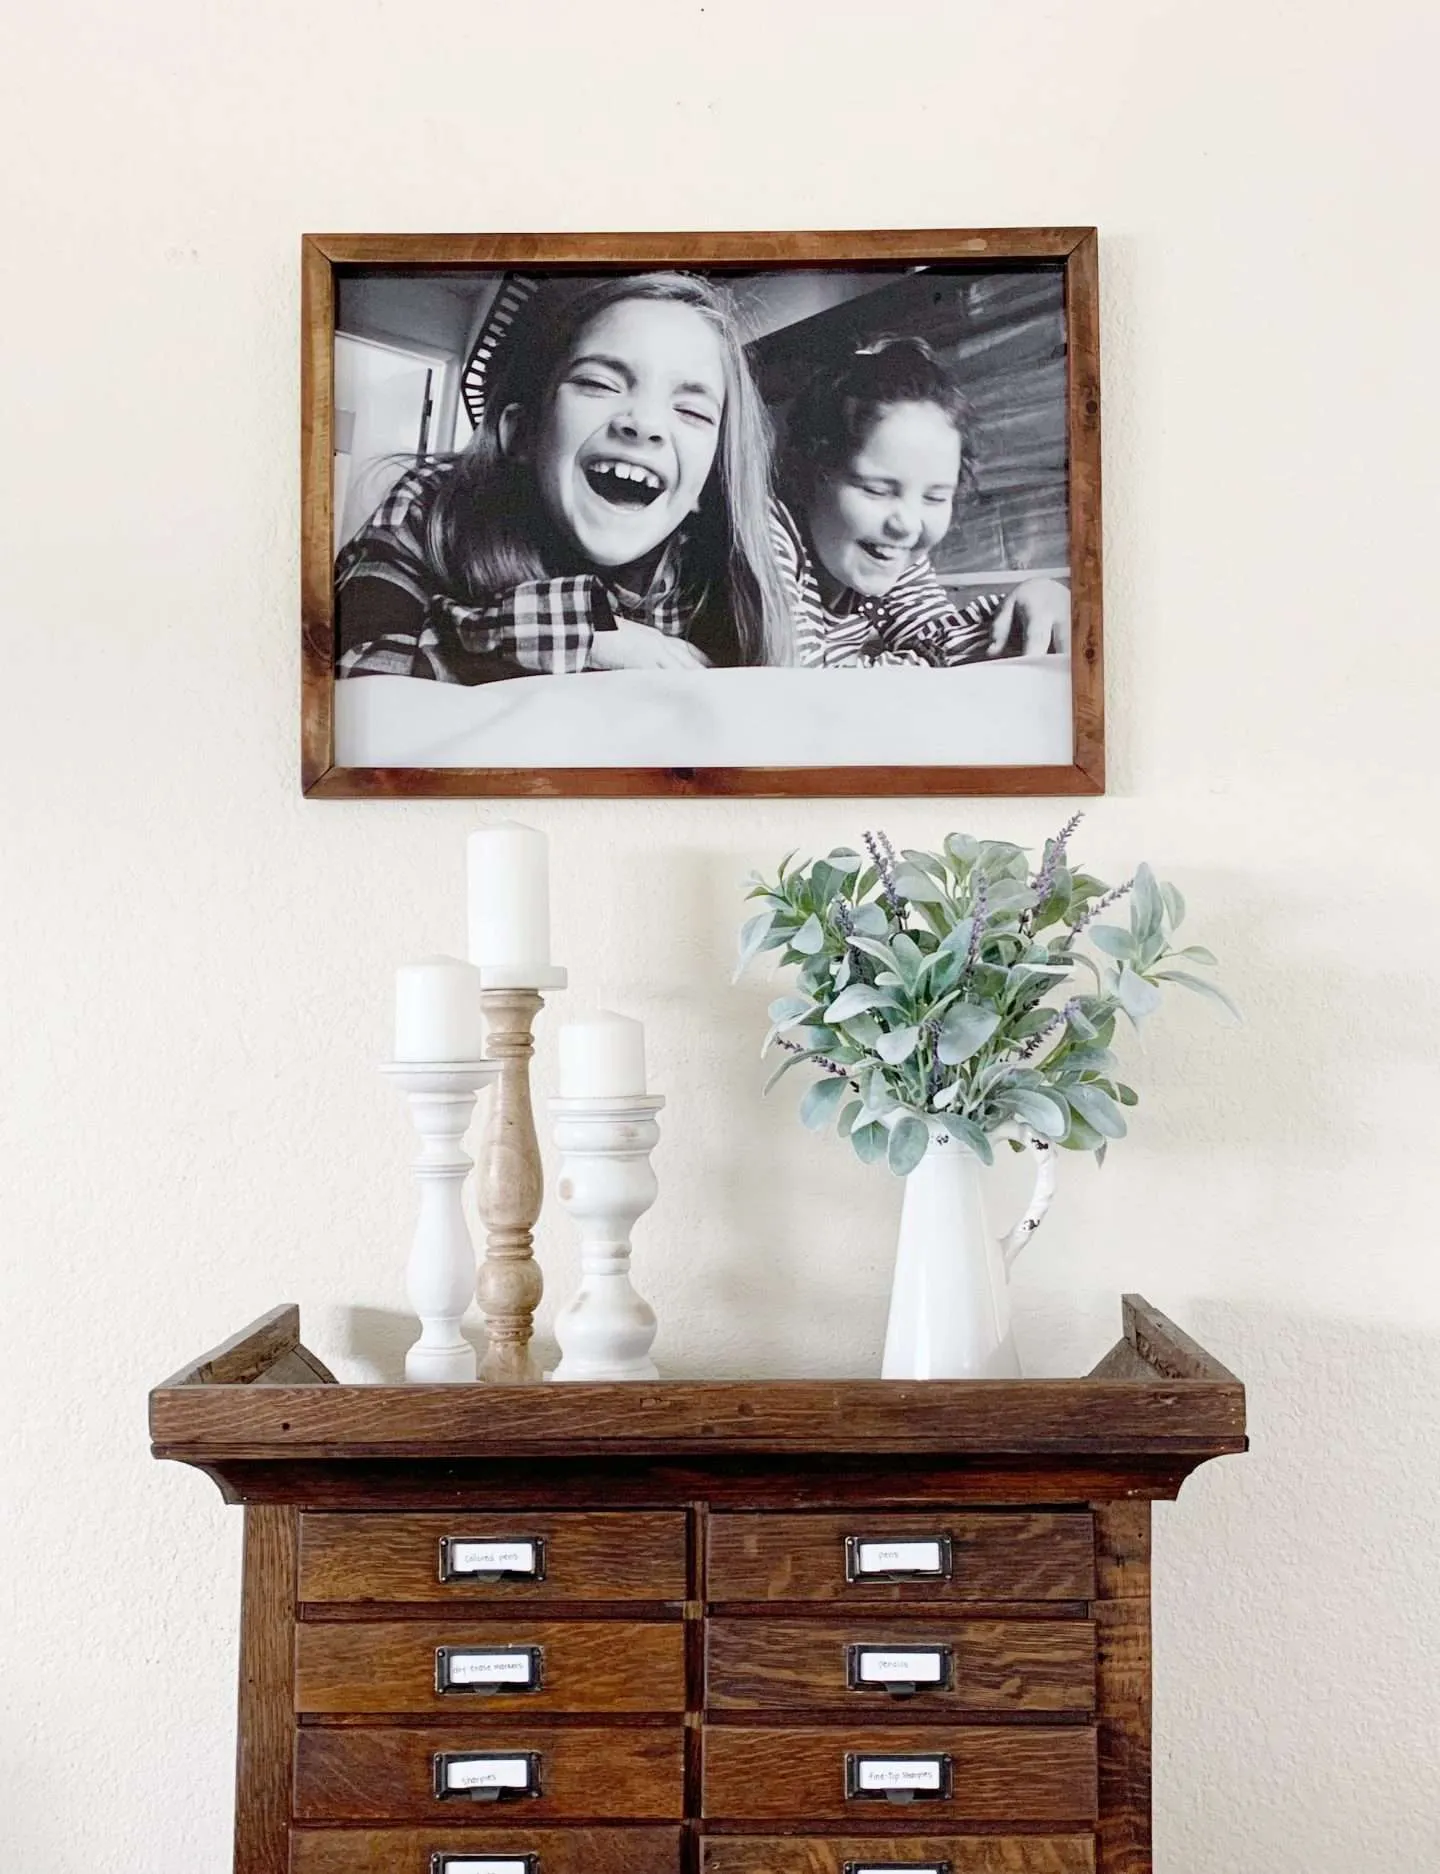
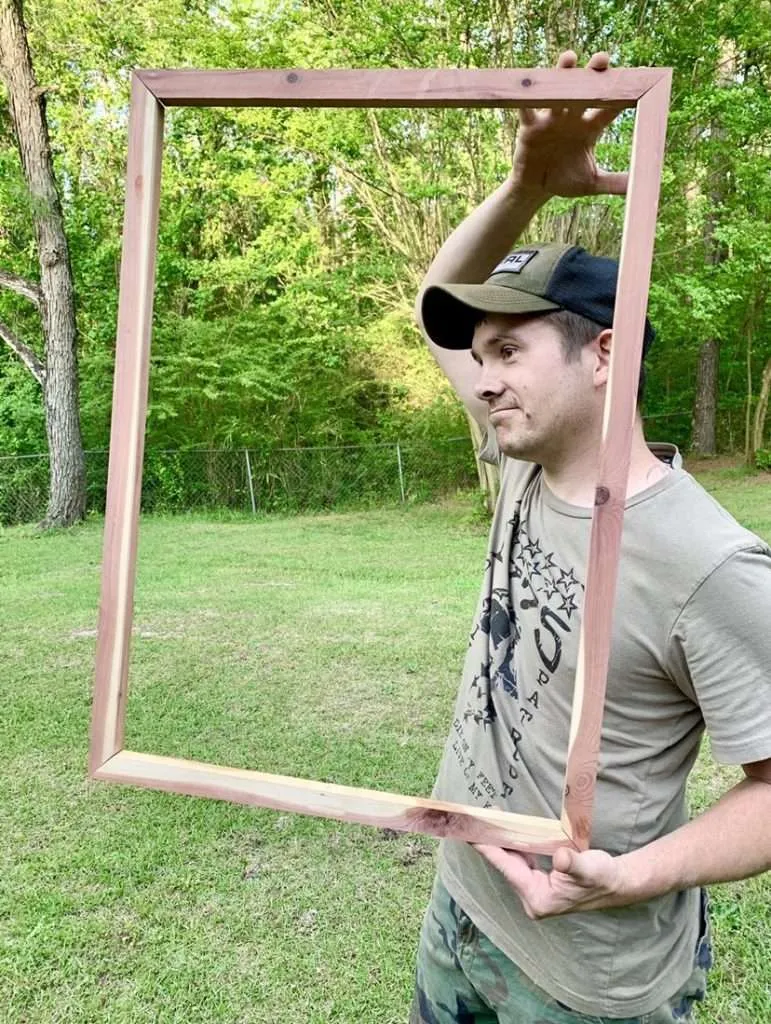
Step 3: Build & Stain the Frame
The next step to making your own DIY Smallwoods knock-off is building the frame.
For our frames, we used a piece of ‘scrap’ cedar that my husband had out in the garage. But you could easily use a 1x2x8 pine board from Lowes.

For two 20×30 pictures, you will need 2 boards. For two large pictures (24×36), you will need 3 boards.
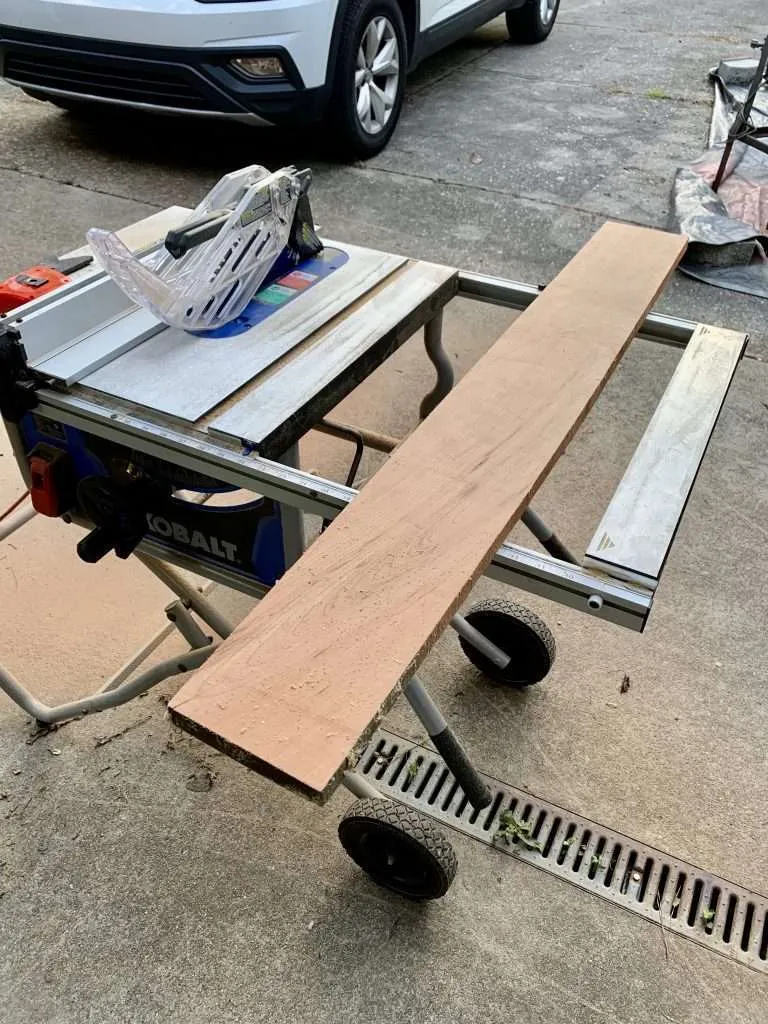
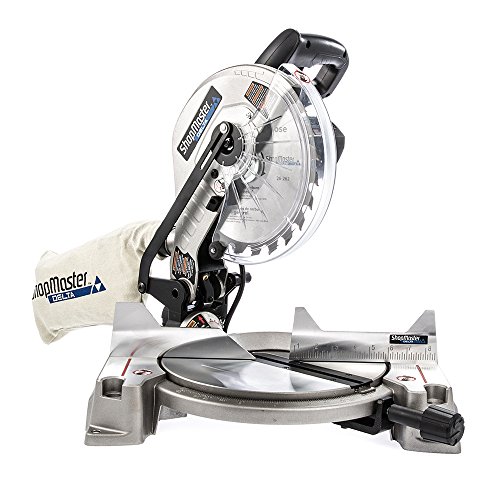
First, rip your wood into 1-inch strips using a table saw.
Then cut your boards to length. We cut the boards to one inch larger than the photo prints. So, we ended up with 4 pieces at 21 inches and 4 pieces at 31 inches.
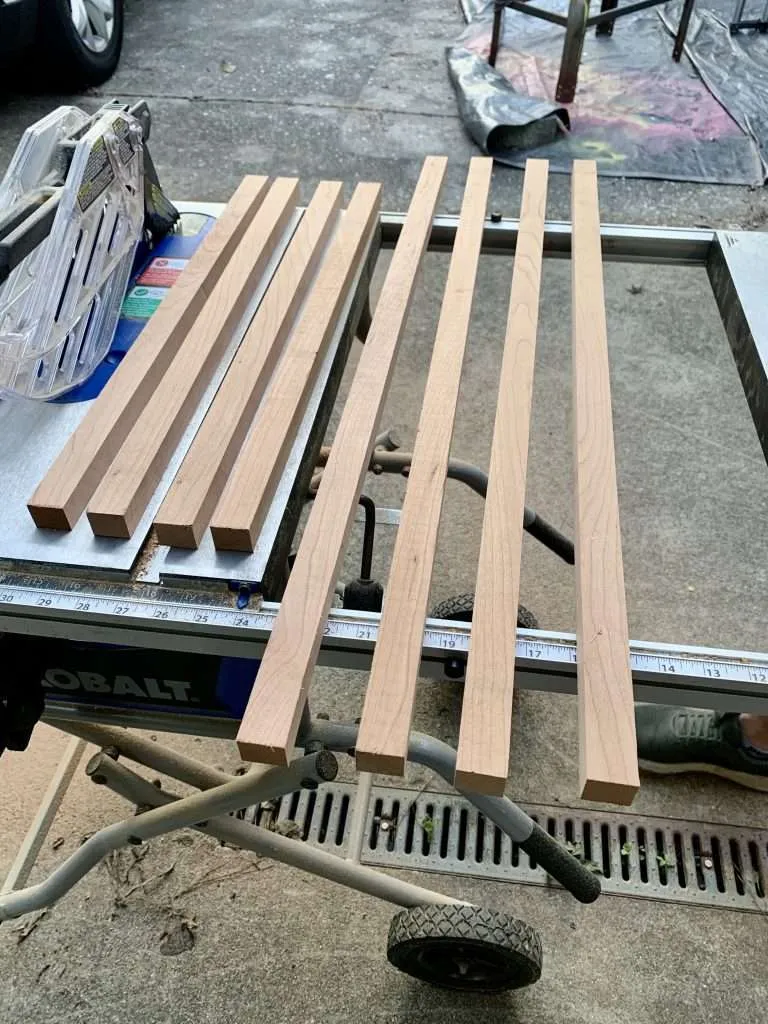
After cutting the boards to length, we cut the ends of each board at a 45-degree angle.
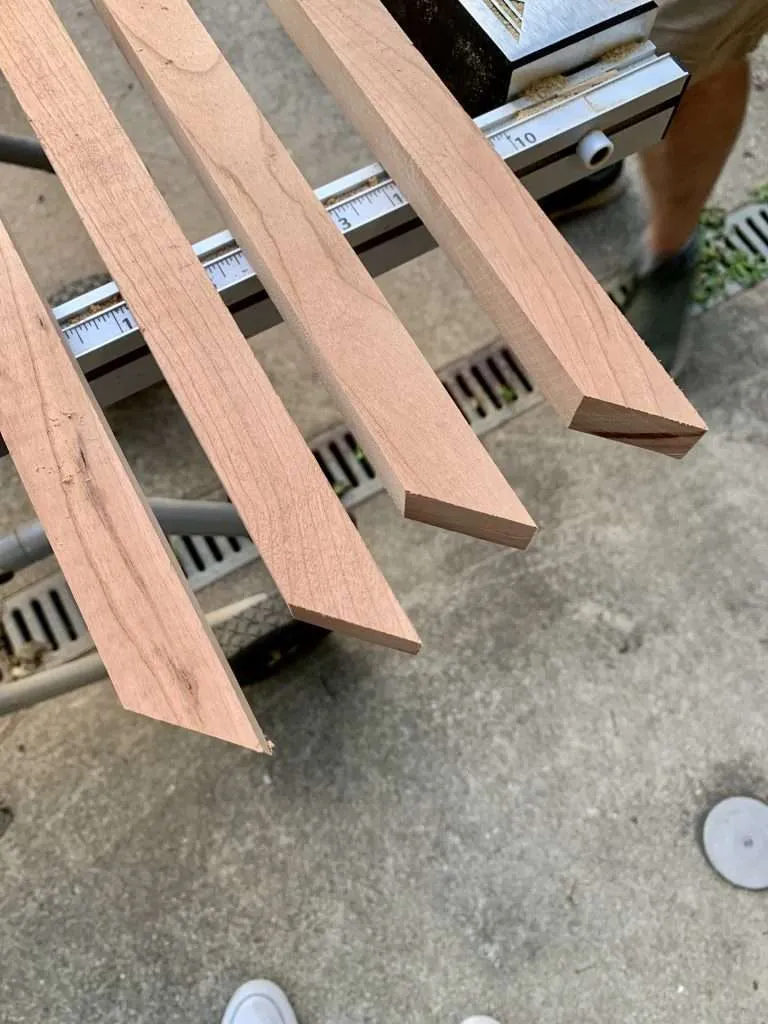

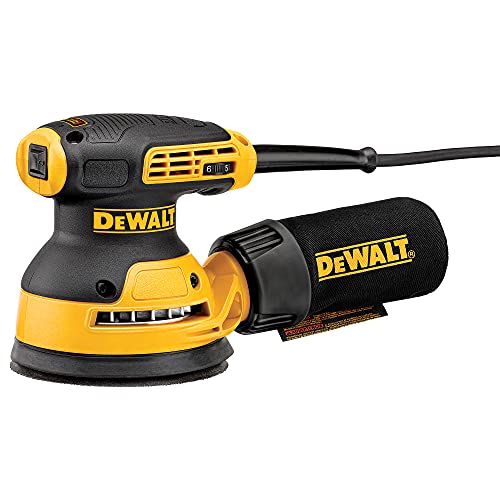
After making your cuts, sand each piece with an orbital sander. I used a 220-grit sanding pad.
Then, clean and stain the pieces in the color of your choice. We used Minwax Wood Finish in Provincial.
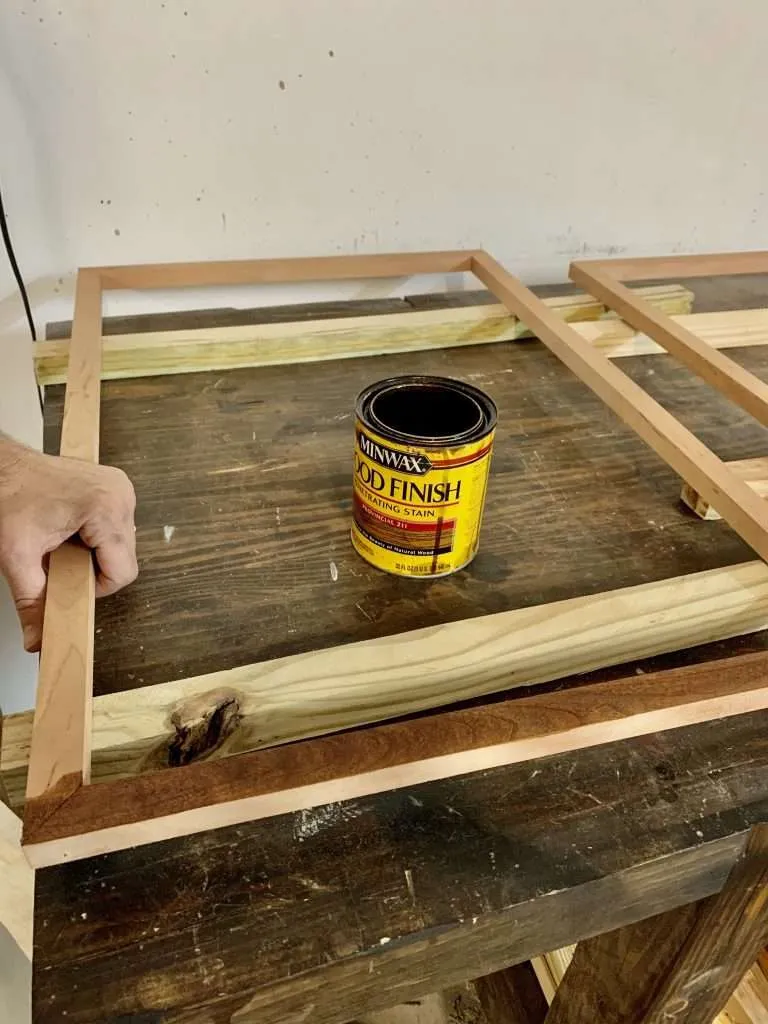
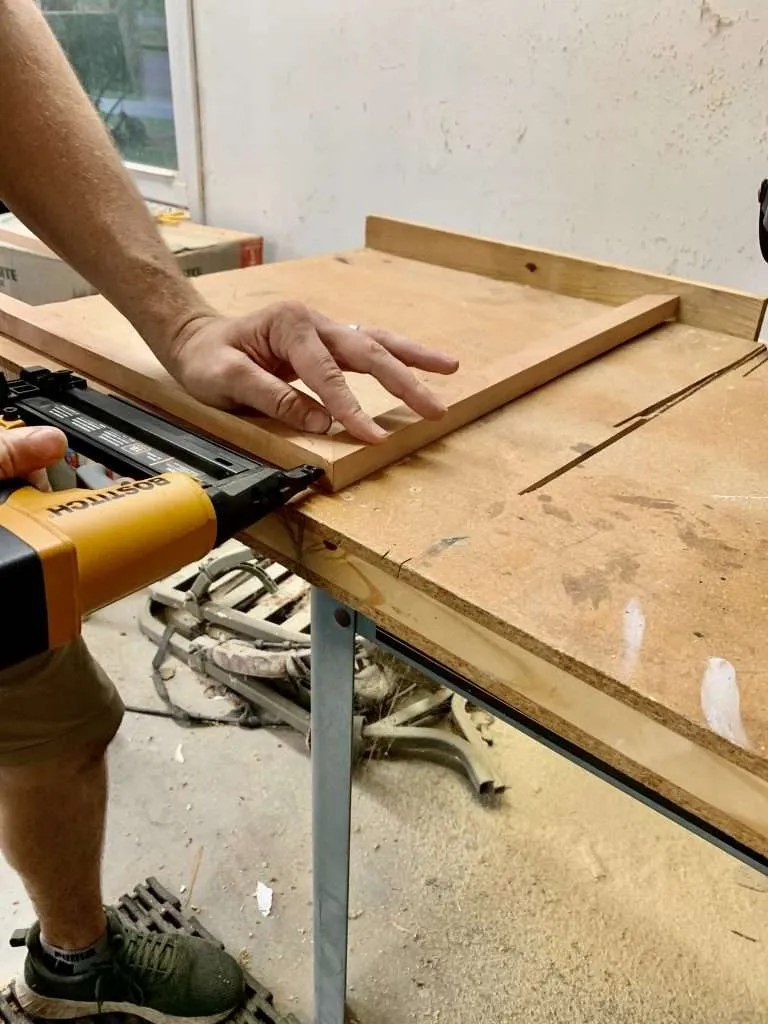
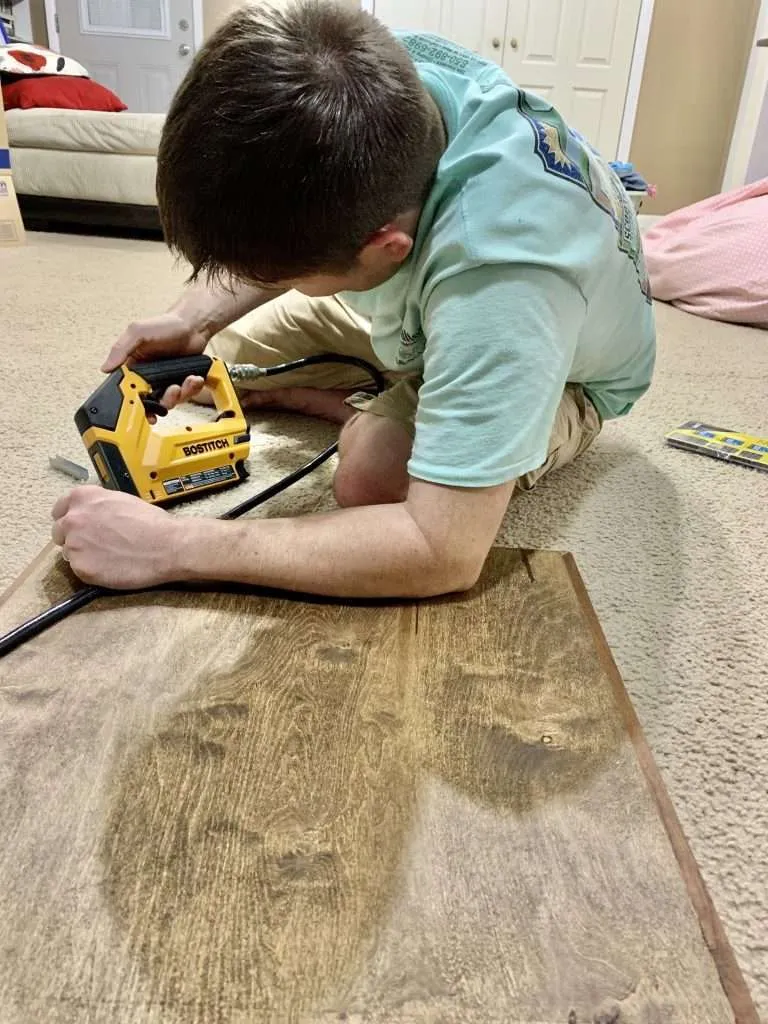
Finally, use a finish nailer to put the frames together.


Step 4: Prepare & Attach the Picture
Once your frames are built, it’s time to prepare your posters.
First, we had to cut a backing for the frame. We used a 1/4″ piece of scrap plywood cut to the size of the print (20×30) because it’s what we had on hand.
You could also use thinner Lauan plywood underlayment that comes in 2×4 sheets. Not only would it make the frame lighter, but it would also be easier to manage when cutting.

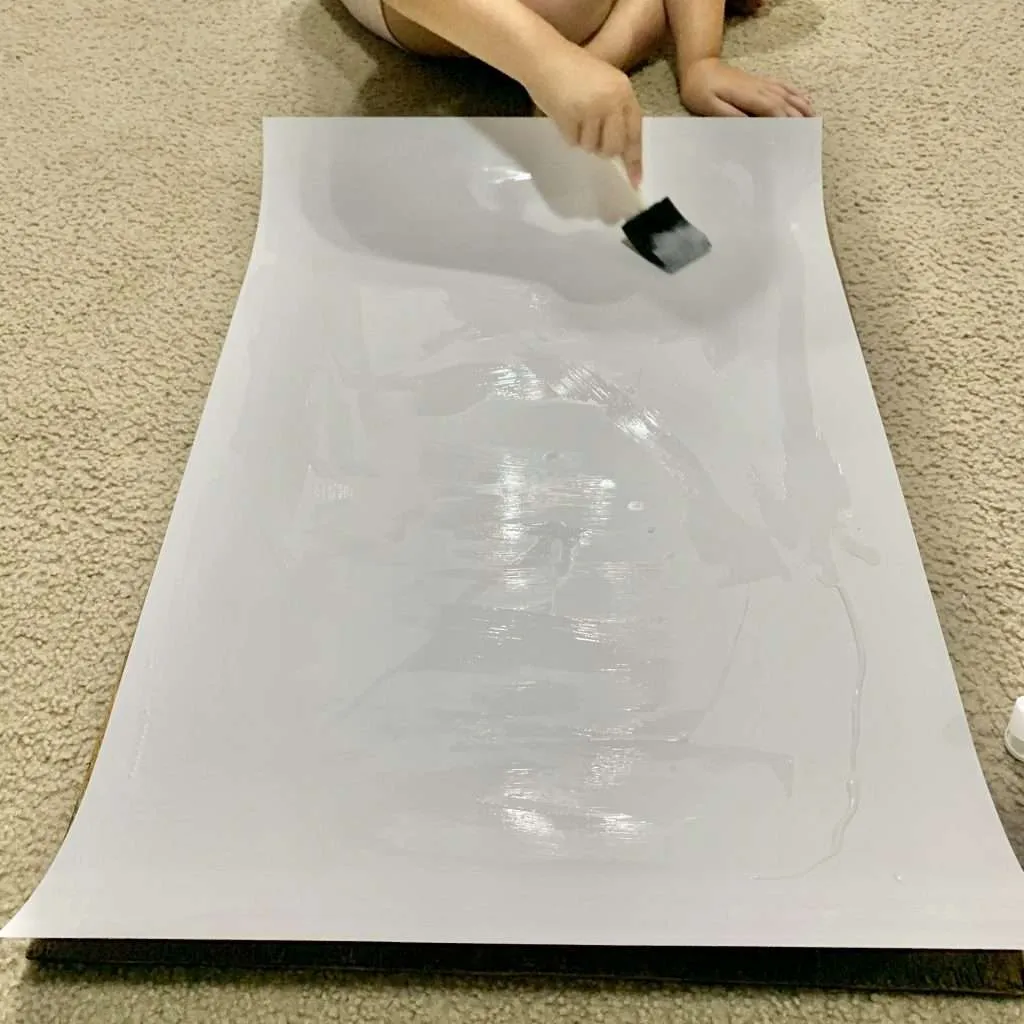
Next, Mod Podge the picture to the plywood.
Simply use a sponge brush to spread the Mod Podge onto the back of the picture, then flip it right side up and smooth it down onto the plywood backing.


After getting the print smoothed out, we stapled the backing to the frame.
Finally, attach picture hangers to the top of the frame and you’re done!
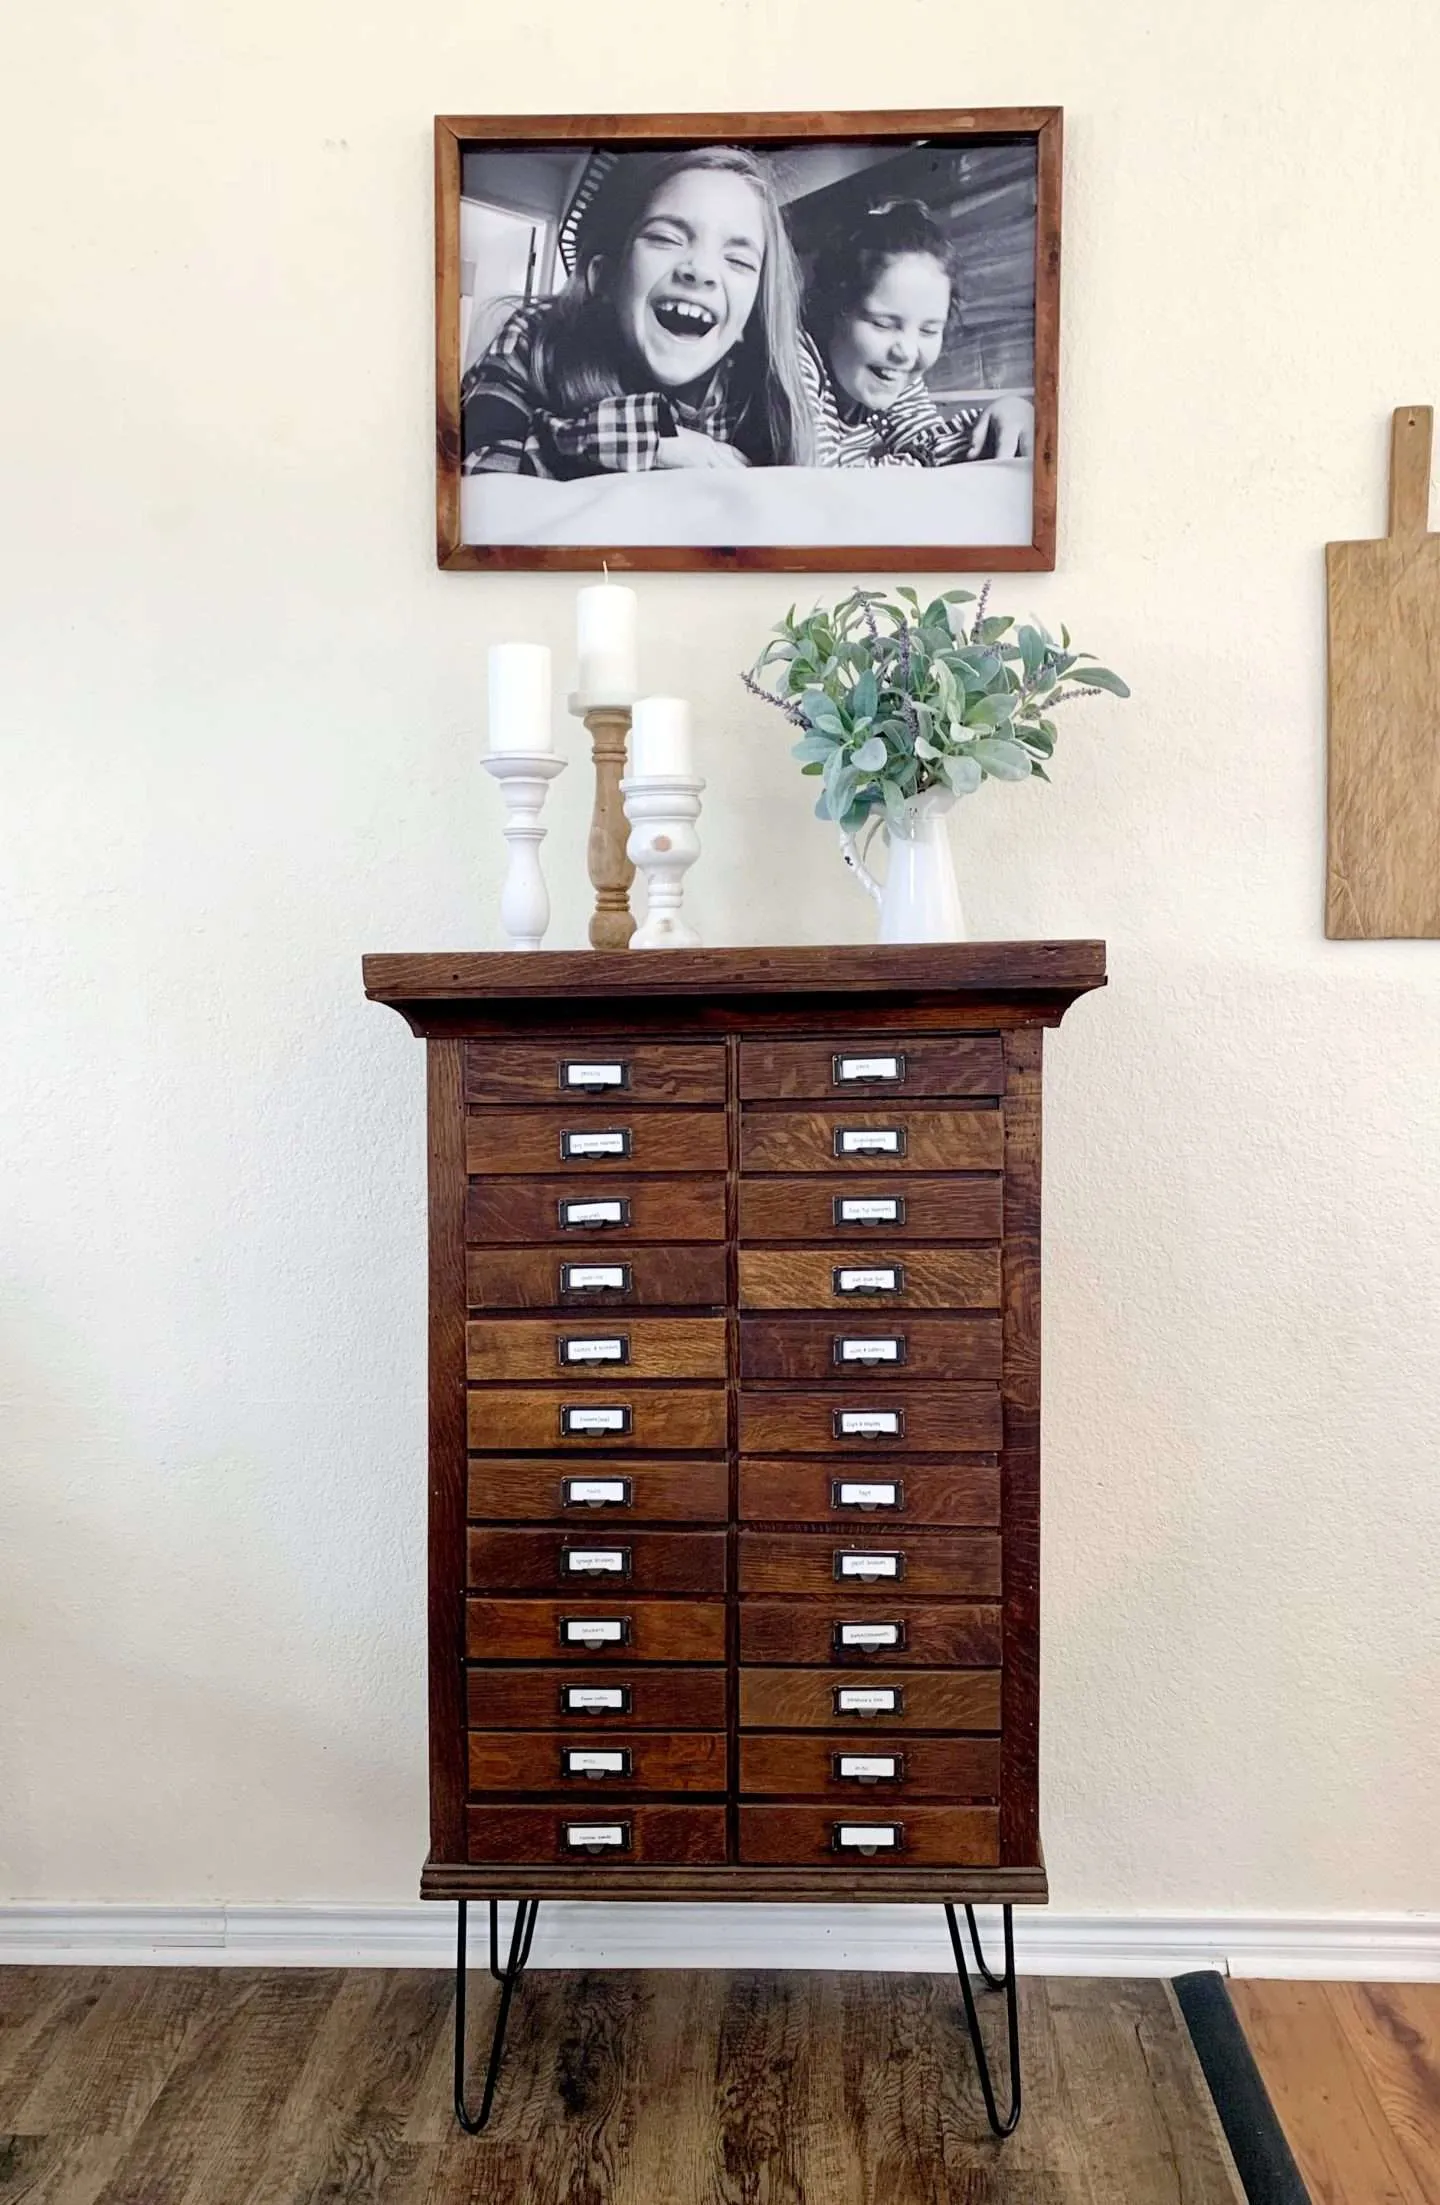
These DIY Smallwoods knockoffs are fairly easy to make and cost less than half of a real one!
They are now my favorite decorations in the whole house!

If you love DIY projects as much as I do, check out my latest projects:
- How to Refurbish a Vintage Hardware Cabinet
- DIY Peony Wreath
- From Drab to Fab: The Vintage Trunk Makeover