[Disclaimer: Finding Mandee is reader-supported, if you purchase through links on my site I may earn an affiliate commission at no additional cost to you. As an Amazon Associate, I earn from qualifying purchases.]
Spring is my absolute favorite season! I love it when all the plants start to sprout, temperatures warm up, and the trees turn green again. It just makes everything seem so bright after a dreary winter.
When it was time to dig out my spring decor, I noticed that my yellow tulip wreath was looking a little faded. So, I decided to make a new one.
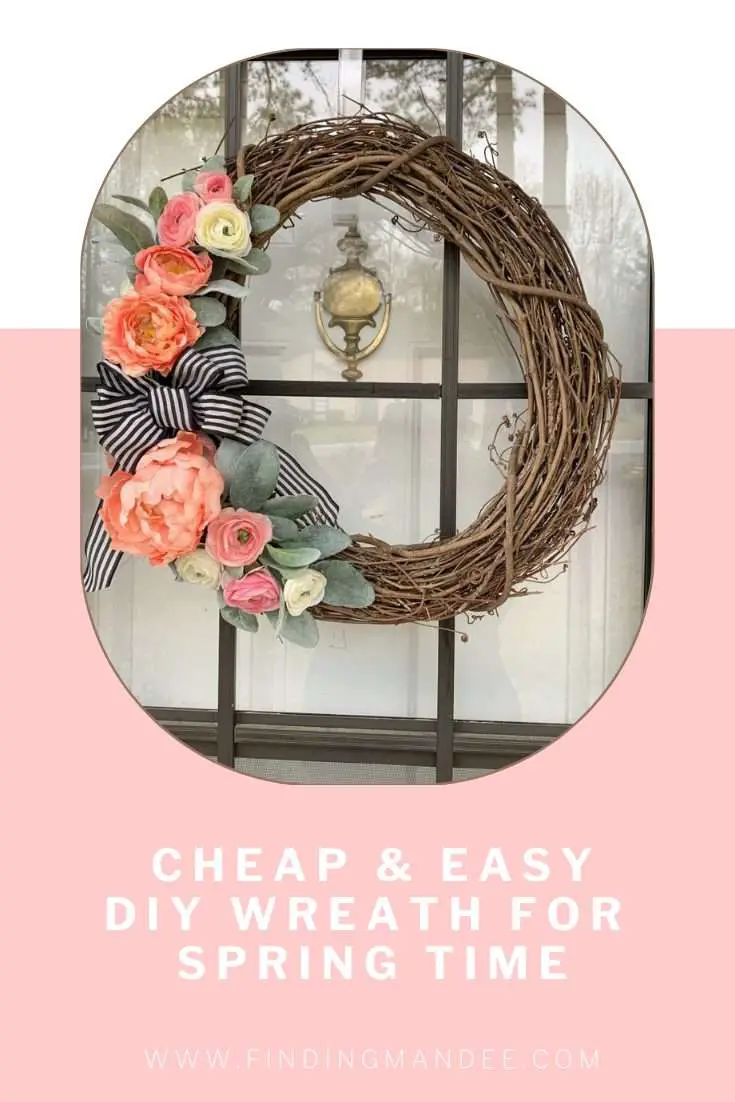
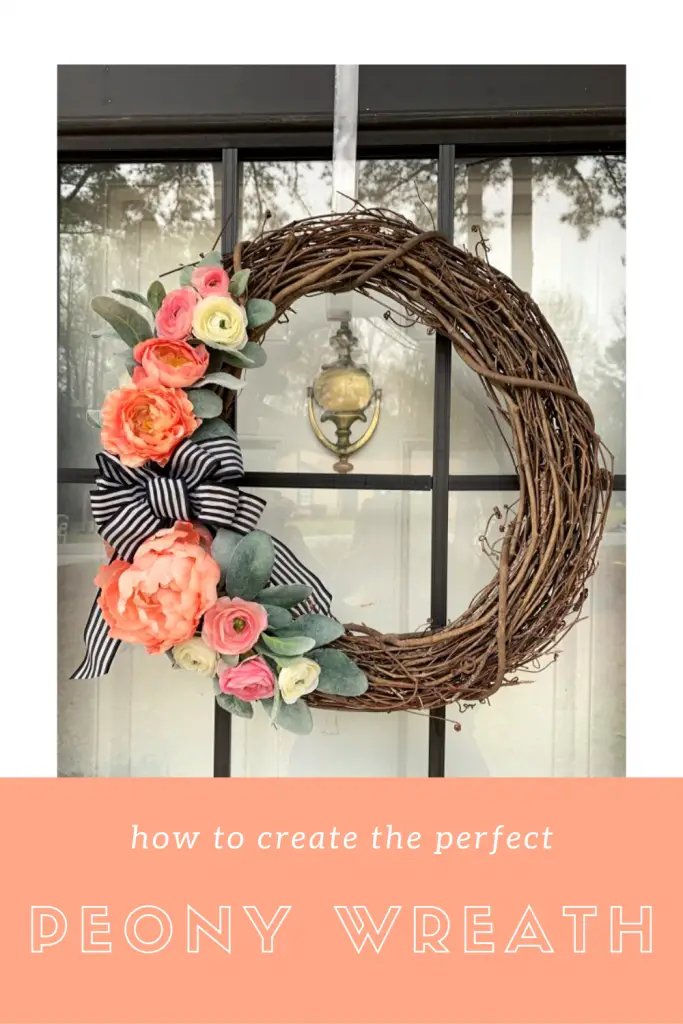
I have seen a bunch of peony wreaths on Pinterest and I love the way they look! So, I headed to Hobby Lobby to get supplies. Here’s how I made a peony wreath:
Step 1: Gather Your Supplies
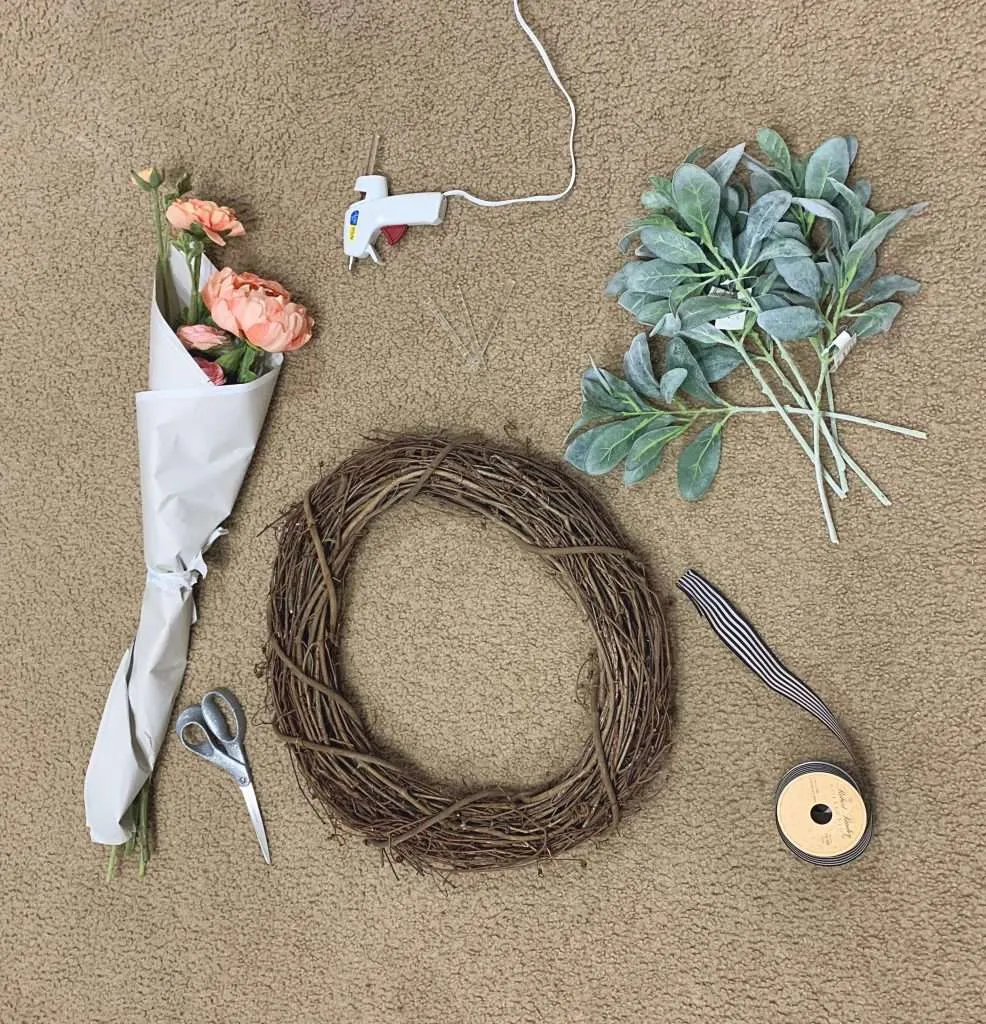
To make a peony wreath you will need:
- grapevine wreath form
- multiple sized peonies
- Lambs Ear stems
- ribbon
- hot glue gun and glue sticks
- scissors
- wire cutters (not pictured)
Luckily, I already had all of these supplies on hand, except for the flowers and ribbon. So, this wreath didn’t cost me very much to make.
Step 2: Cut Peonies from Stems
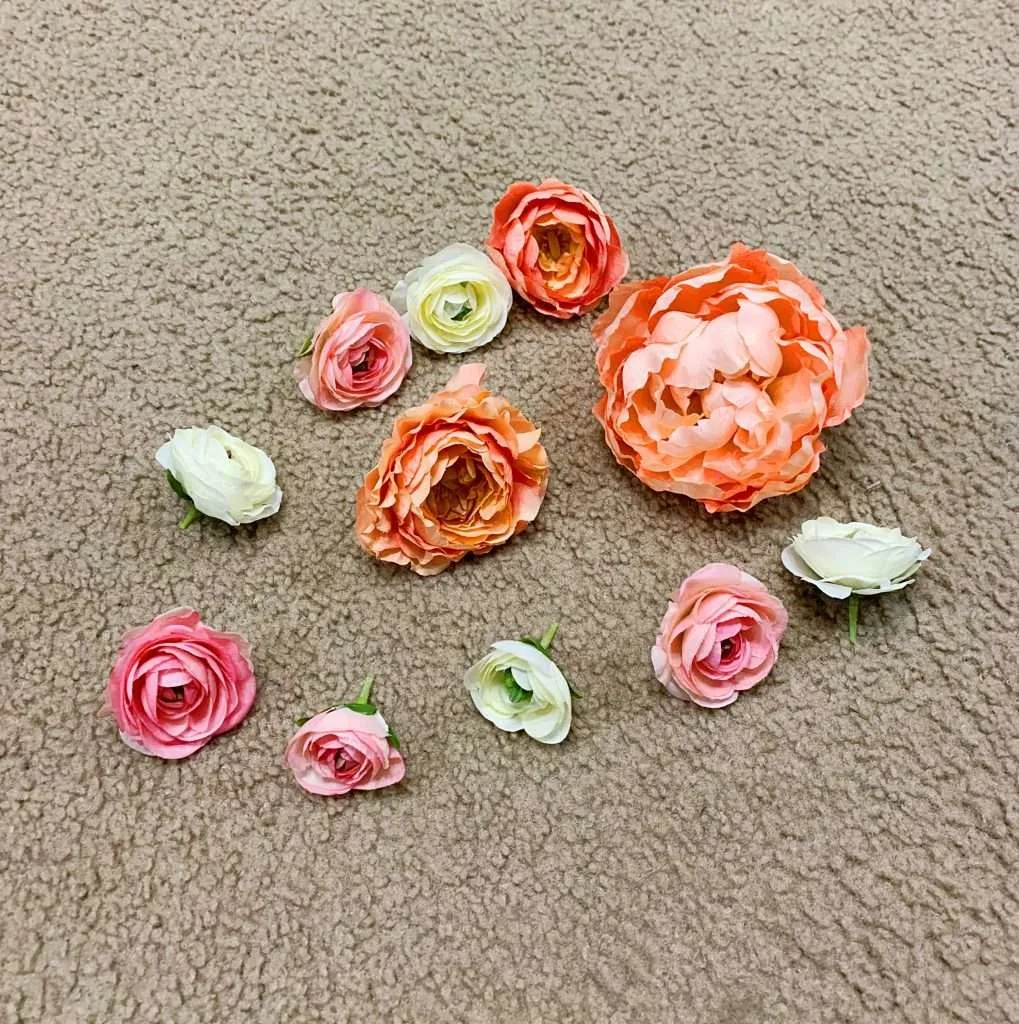
The next step is to cut down the peony stems. This is what you will likely need the wire cutters for. The peonies I bought were too thick to cut with regular scissors.
Make sure you leave about 0.5-1-inch of stem on the flowers. This will give you something to apply the hot glue to when it’s time to attach them to the wreath.
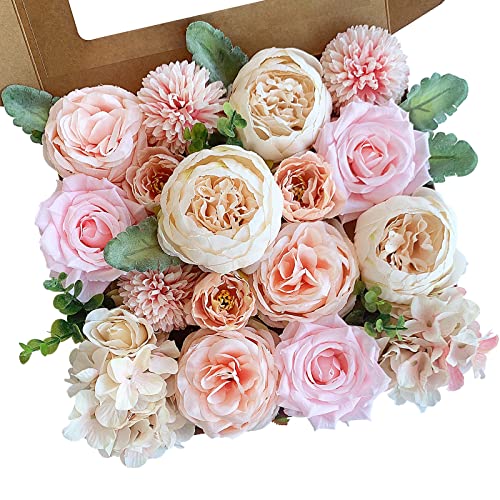
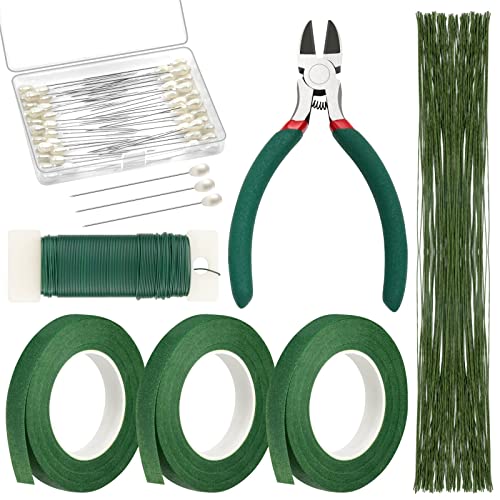
FACINOC Peonies Artificial Flowers Pink Silk Roses Bulk for DIY Wedding Bouquet Bridal Shower Decorations Fake Floral Arrangements Party Table Centerpieces Home Decor Indoor Blush Peach Box 20pcsPAXCOO Floral Arrangement Kit with Green Tape and Wire, Boutonniere Flower pin, Wire Cutter for Wreath Making Supplies
Step 3: Attach Greenery

Next, decide where you want your arrangement to be on the wreath. I knew I wanted 2 flower arrangements separated by a bow.
I used one stem of Lamb’s Ear greenery for the base of each arrangement. (These stems were left over from my farmhouse pumpkin mantel arrangement.)
I used the wire cutters to trim the stems to an appropriate length, so they wouldn’t stick out past the wreath form. After trimming them, glue them down.
2 Pack Wreath Ring 16 Inches Rattan Grapevine Wreath Ring Natural Farmhouse Front Door Wreaths Base Frame DIY Wreath Making Supplies Kit for Crafts Easter Fall Halloween Christmas Holiday Decorpizarra Faux Lambs Ear Stems 5Pcs Flocked Artificial Greenery Solid Spray Rabbit Ear Leaves Wedding DIY Craft


Step 4: Add Flowers
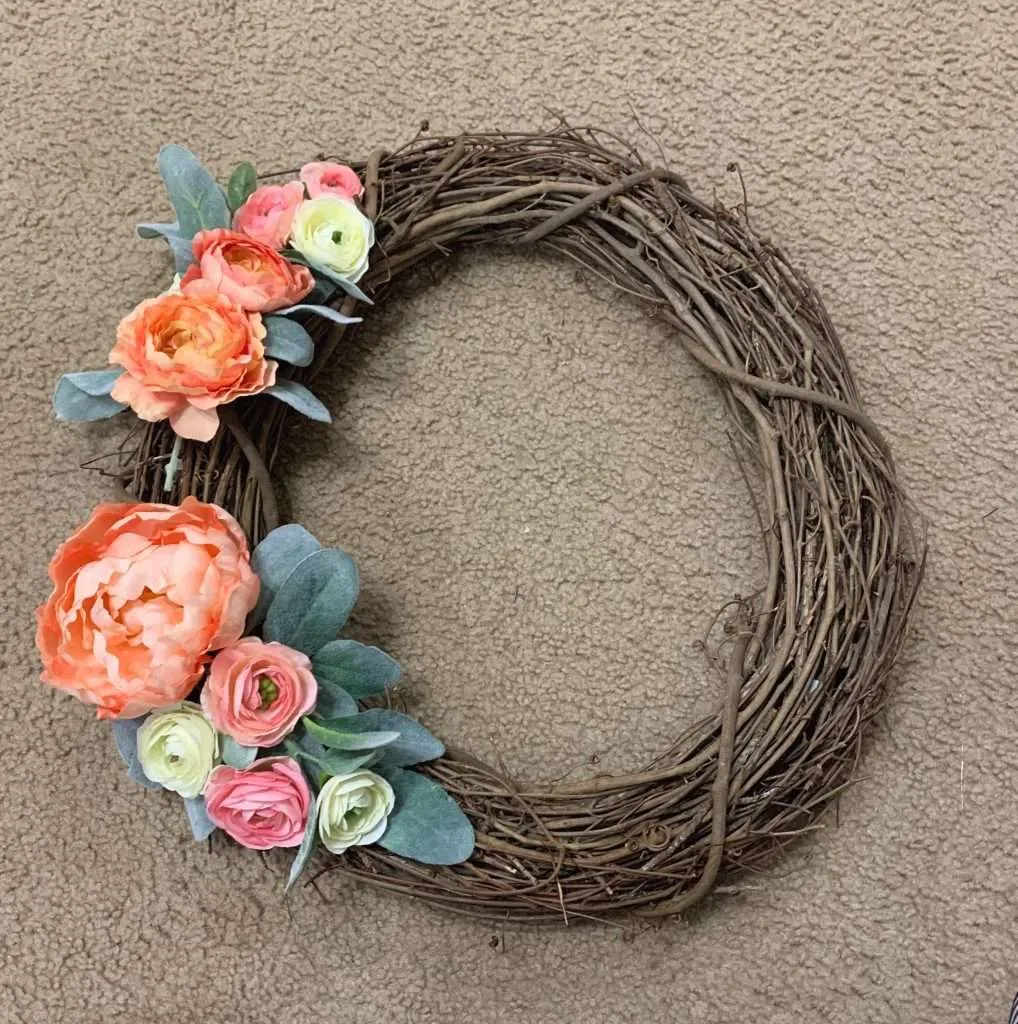
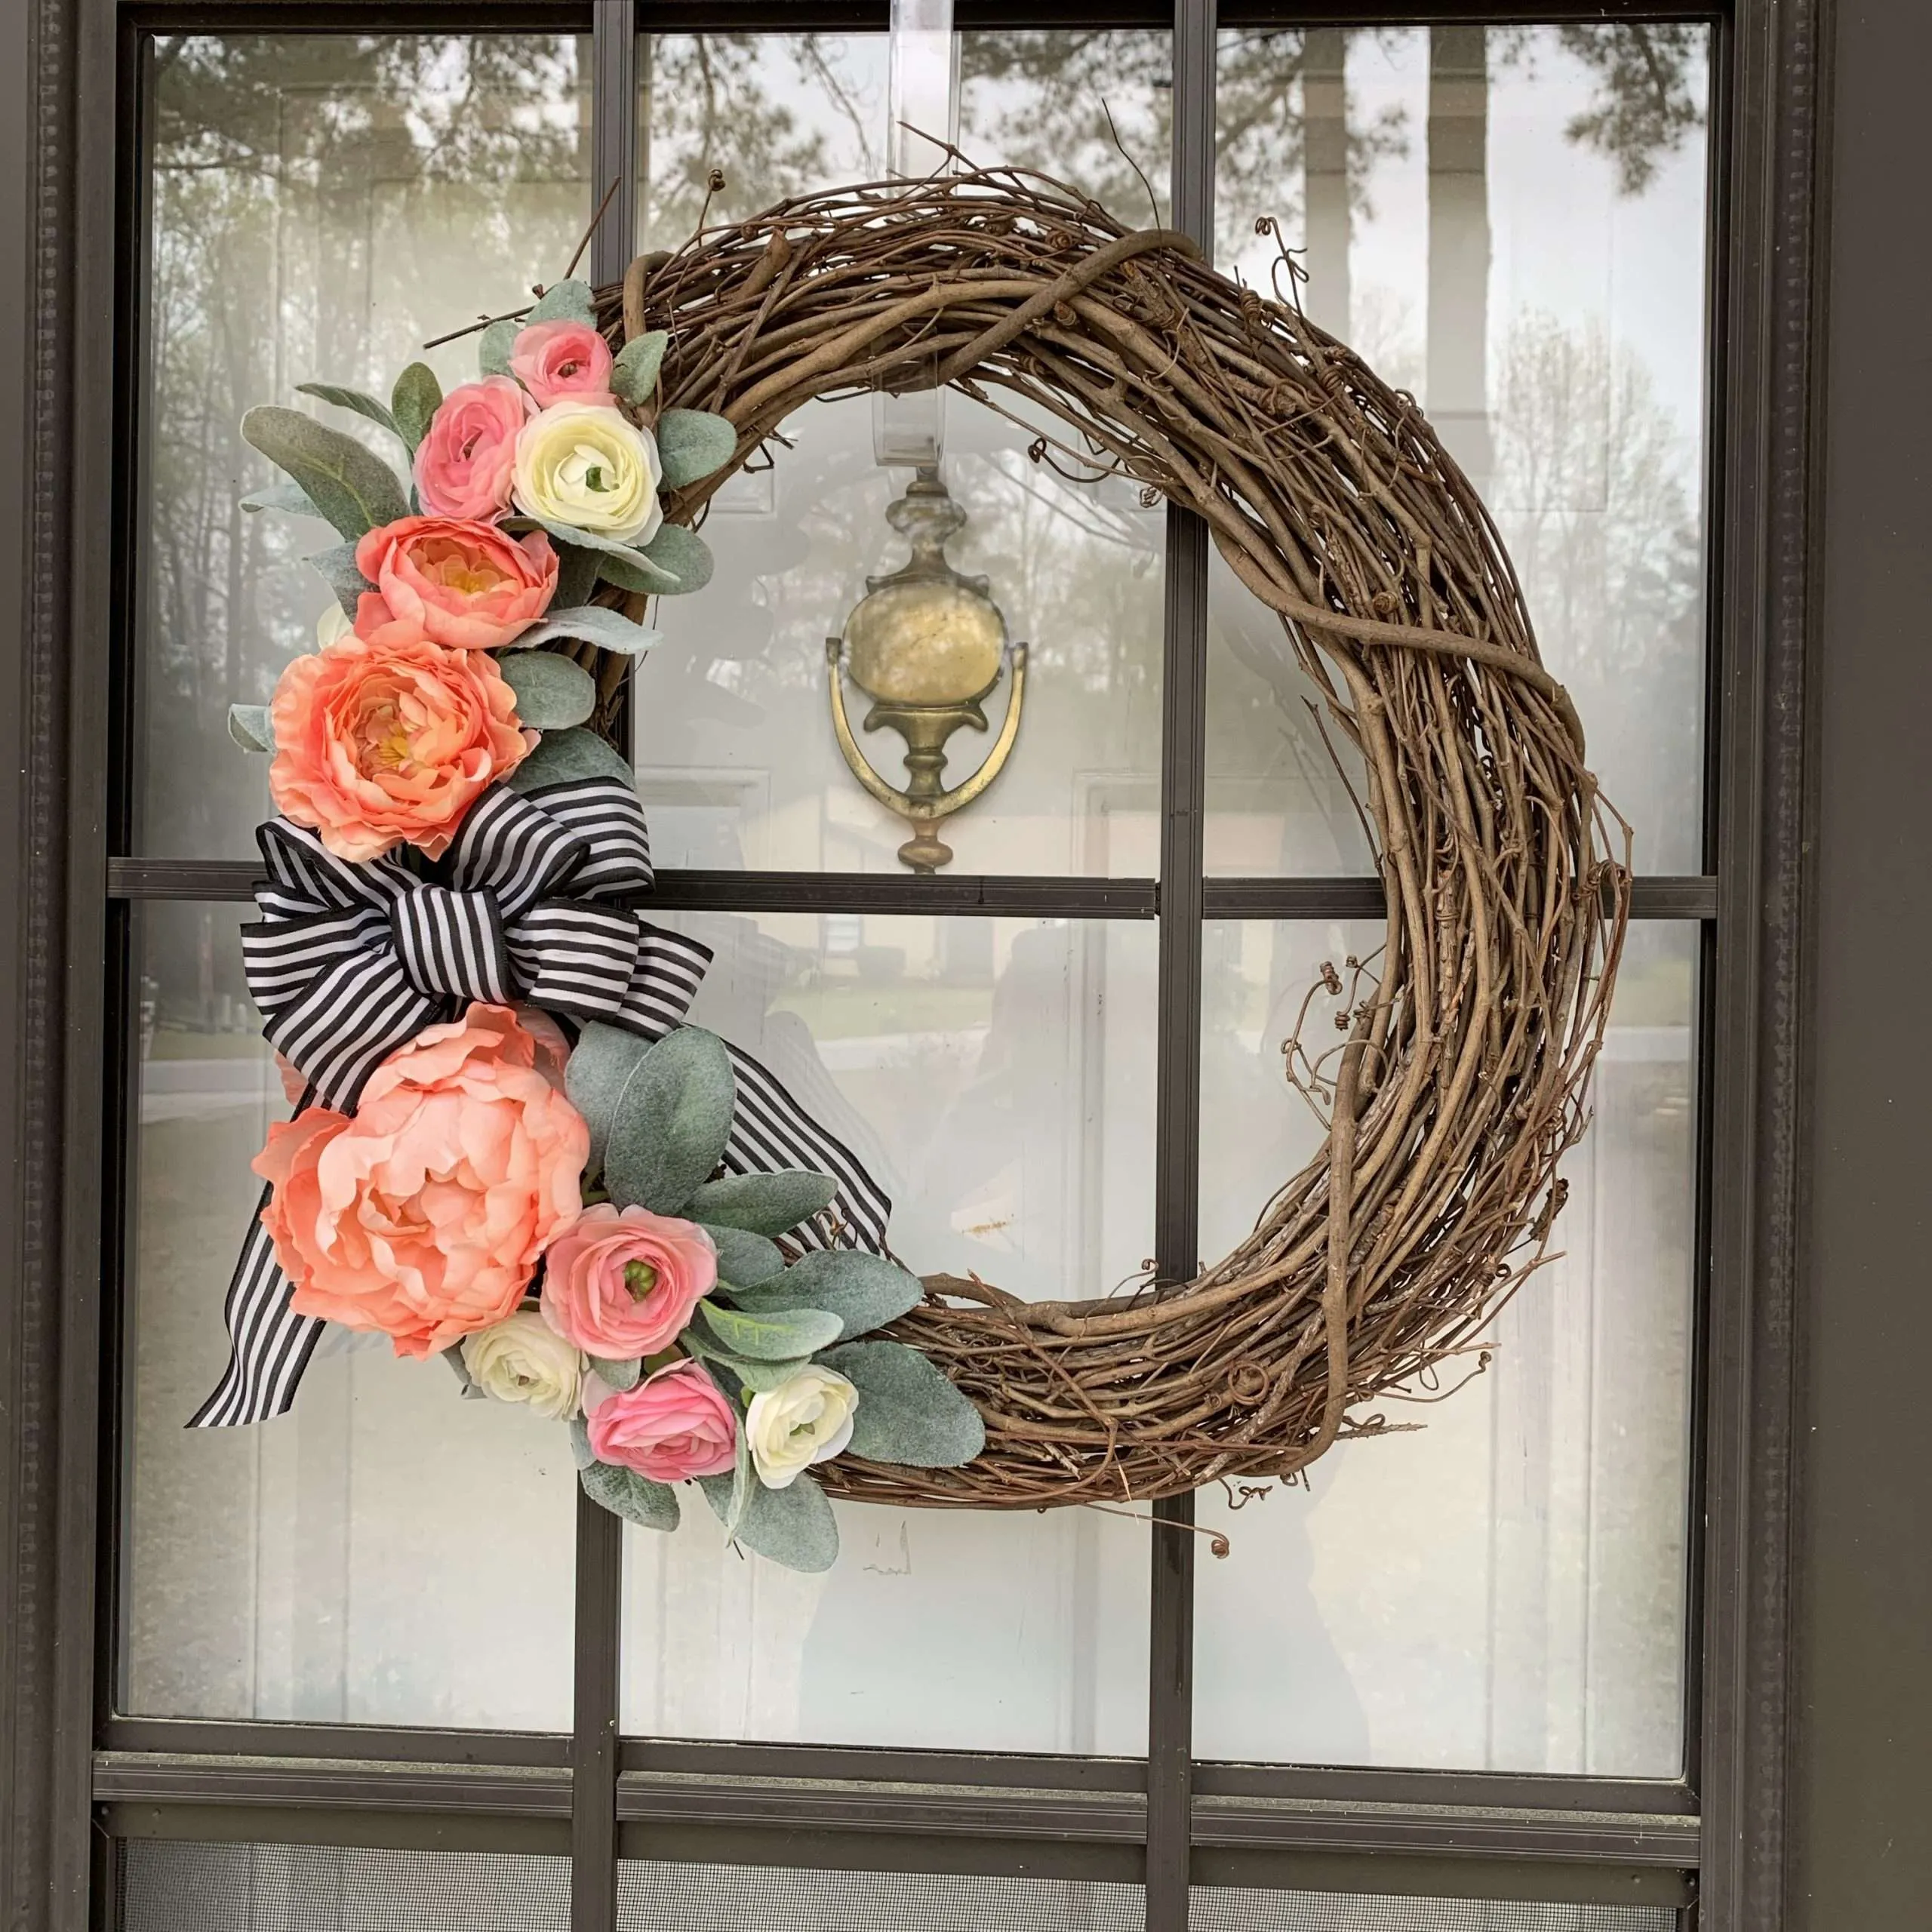
Take your time and arrange the peonies on top of the greenery.
I played with the arrangements for 20 minutes before I got them just right. I placed the biggest flowers closest to the bow and the smaller ones farther away to give the arrangements a tapered look.
After your flowers are arranged, glue them into place.
Liumai Hot Glue Gun Kit with 30pcs Glue Sticks, Mini Hot Melt Glue Gun with Carrying Case for Crafts, School DIY Arts, and Home Repair (30Watts, Pink)Floralsecret 1 Pack Artificial Peony Fake Flowers Silk Peonies Flowers Vintage Home Decoration Office Wedding Decor (Spring Rose Pink)


Step 5: Add a Bow
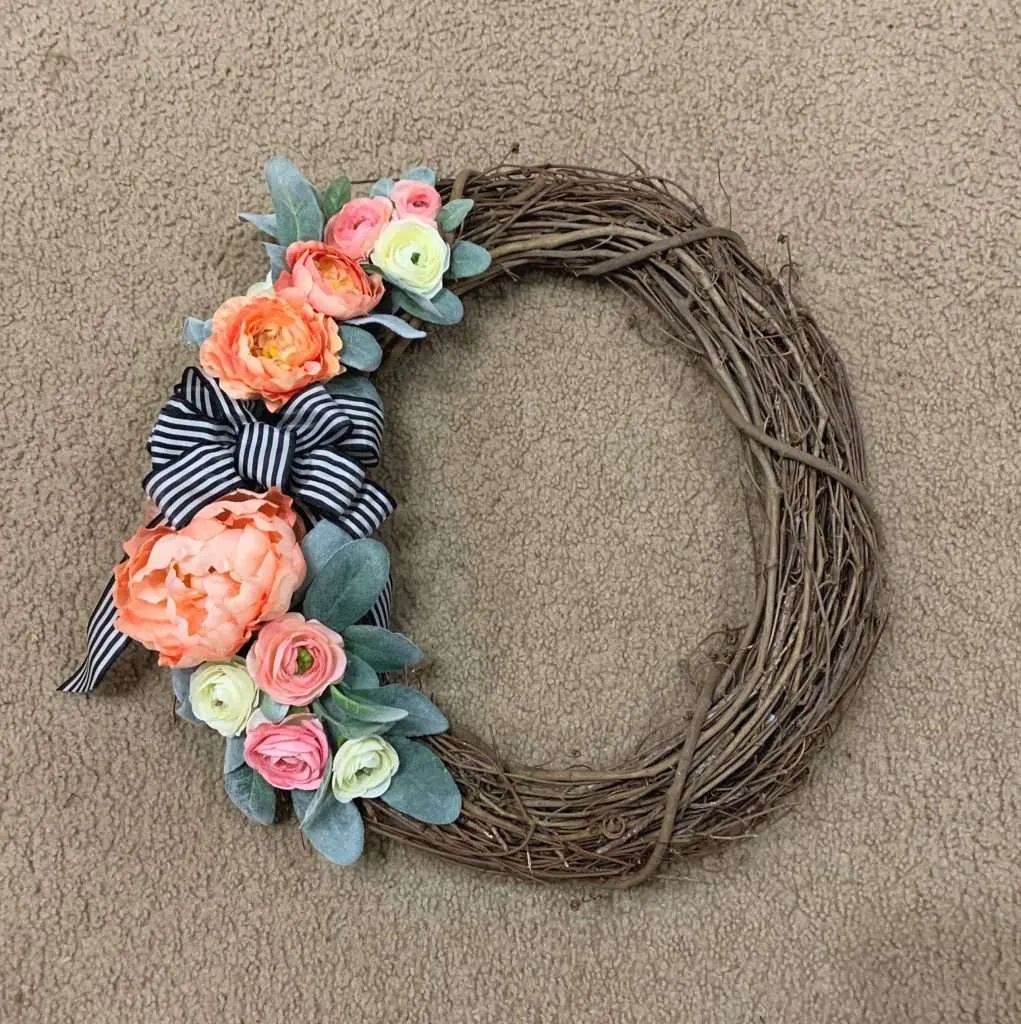
To be honest, I am not a good bow maker. I have to YouTube bow-making tutorials every time I need to make one. But after 3 frustrating, hand-cramping tries, I was able to come up with this….and it’s good enough!
After you get your bow ready, glue it to the wreath. I also added a few extra Lamb’s Ear leaves to fill in a few spots.
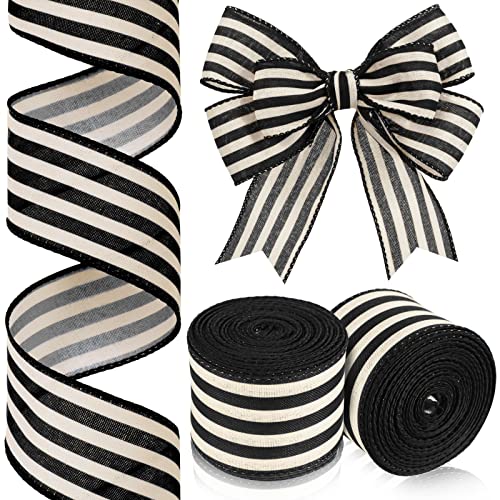
2 Rolls 20 Yard Christmas Black and White Stripes Wired Edge Ribbon Rustic Ivory Ribbon Boho Ribbon for DIY Crafts Home Decor Gift Wrapping Bow Wreath Making Xmas Wedding Party Decorations(2 Inch)Fiskars Premier 8

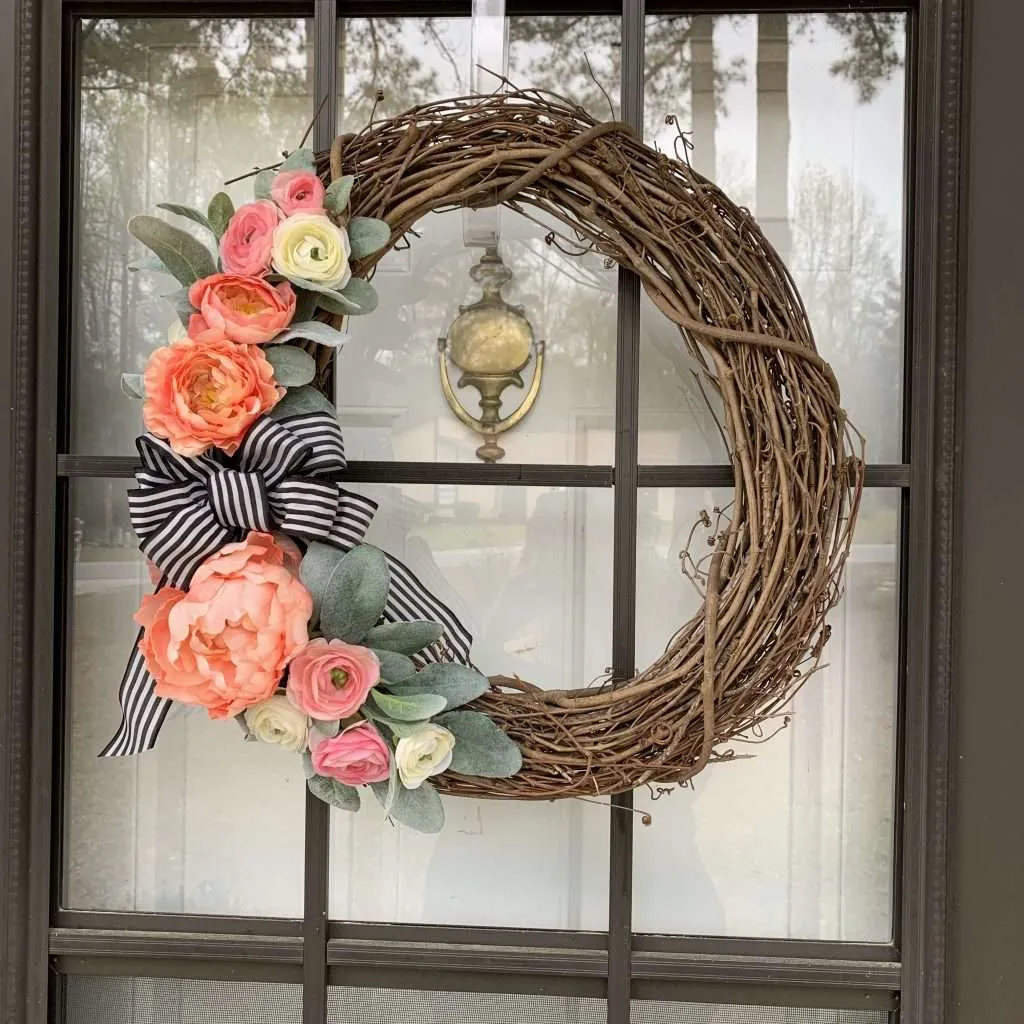
And voila!
Your new peony wreath is ready for the front door!