


DIY Plant Markers: How to Make Cute Name Tags for Houseplants
Over the past couple of years, I have developed a little bit of a green thumb. I haven’t tried my hand at vegetable gardening yet, but I love a pretty houseplant.
So much so, that I often name them when I bring a new one home! Mine are named after the women of classic country music!
In an effort to not mix up their names, I made DIY plant markers as name tags for them. And they are the cutest things!
Here’s how I did it:


(I named this one Crystal Gayle because of her long, luscious vines!)


(And this one had to be Reba because of her bright red flowers!)
Supply List

OWDEN Professional 36Pcs. Steel Metal Stamp Set,(1/4”) 6mm,Steel Number and Letter Punch Set,Alloy Steel Made HRC 58-62 for Jewelry Craft Stamping.The Original Pink Box 16oz Steel Rip Claw Hammer, Pink | One Piece Forged with Smooth Face & Slip Resistant Handle, Pink


Step 1: Tape
To keep my letters as even as possible, I placed a piece of washi tape across the bottom of the plant marker.
You could use regular tape, but I have washi tape and it shows up better in these pictures.
This step is optional, but I found it helpful since I can’t even write straight if I’m not using lined paper.

Step 2: Punch
Next, I began to ‘punch’ my letters. It’s super easy!
Find the letter you need, place it facedown (make sure it’s not upside down) on the plant marker, and then whack it a couple of times with the hammer.
The only trick here is to make sure you hold the punch very still between hammer taps, or you’ll make double impressions. Honestly, the fewer hammer taps the better. If you’re brave enough, one hard blow would do it, but I didn’t trust my aim enough to risk my fingers like that!
I started with three hard taps, then reduced it to two as I gained more confidence.
Keep in mind that these DIY plant markers are handmade, so they’re not going to be perfect. Hand-punched letters may be a little wonky and unevenly spaced, but it just adds character!

A Few Helpful Tips


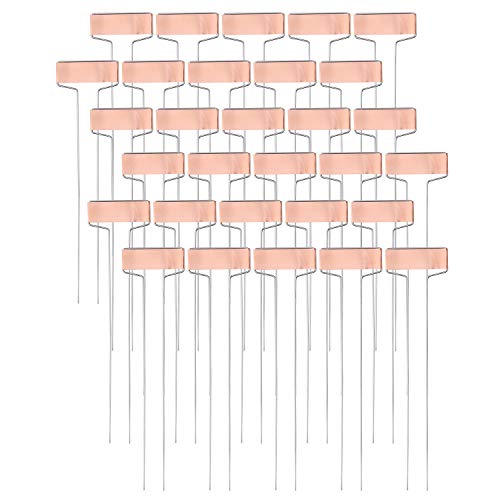
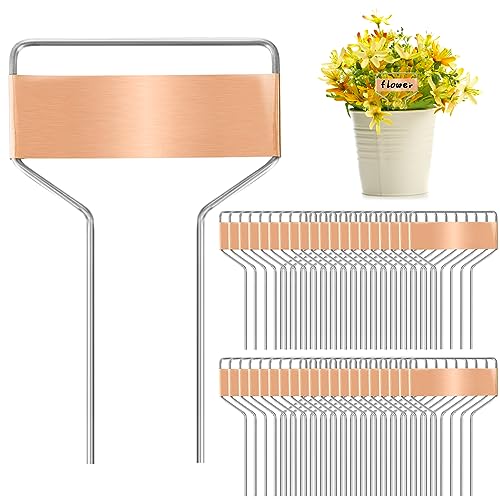
Foraineam 30 Pack 10 Inch High Copper Plate Metal Plant Labels Garden Stake Tags Reusable Planting Gardening MarkersForaineam 40 Pack 4 Inch Plant Label Stakes, Weatherproof Copper Plant Markers Seedling Signs, Reusable Metal Nameplate Garden Nursery Stake Tags for Herbs Flowers Vegetables Potted Plants
Step 3: Fill
Once your letters are punched, it’s time to fill them in.
Go over the letters with a black permanent marker. Obviously, you will not be able to color perfectly inside those tiny little lines.

Don’t worry about it, that’s what the rubbing alcohol and the paper towel is for.
You should be able to wipe the excess marker off with just a dry paper towel. However, if it dried too quickly, then put a little bit of rubbing alcohol on your paper towel and wipe over the letters.
Make sure you don’t get down in the grooves and wipe off the marker that you want to keep.

HORUSDY 37-Piece Number and Letter Stamp Set 1/4 (6mm) (A-Z & 0-9 + Stars) Punch Perfect for Imprinting Metal Stamping kit, Plastic, Wood, LeatherAmazon Basics 8 oz Hammer, Turquoise


That’s it!
Place your finished DIY plant markers by your favorite plants.
And the best part is, you can name them anything you want. You could do characters from your favorite books, shows, movies, bands, or cartoons. (Or you could use the actual plant names, but where’s the fun in that?)
Happy crafting, friends!


(Even though Pam Tillis wasn’t a big lady, I had to name my monstera Big Pam, because this girl has GROWN!)
Check out more small project ideas


