DIY Sherpa Ghosts: The Cutest Halloween Decor You’ll Ever Make
It seems like every year, there is a trending holiday project. This year, the ones that I’m seeing all over Instagram are DIY Sherpa ghosts.
They’re cute and cuddly-looking, so of course I had to make one (or three)!
Here’s how I did it:


Step 1: Get Your Supplies
I was able to make 3 Sherpa ghosts from these supplies.
I picked up my craft supplies at Walmart, but you could always order them on Amazon and have them shipped to you.
Supply List

Foam Cone – 9.5 x 3.5 Inches – for Floral Arrangements, Centerpieces, and MoreFaux Fur Sherpa Fleece Fabric Material by the Yard by David Textiles | Solid Creamy White, Soft And Plush Feel, For Clothing, Diy Crafts, Sewing Projects


Step 2: Cut the Foam
To begin making my cuddly little Sherpa ghosts, I cut some of the foam pieces.
Using a knife, cut ONE of the foam balls in half. Then cut the rectangular foam block into 3 even sections.

Step 3: Glue the Foam Pieces Together
After your foam pieces are cut, it’s time to glue them together with the hot glue gun.
For the tallest ghost, glue the whole foam ball onto the top of a cone and a piece of the block onto the bottom.
For the medium-sized ghost, glue half of a foam ball onto the top of a cone and a piece of the block onto the bottom.
And for the shortest ghost, glue the other half of the foam ball onto the top of a cone. For this one, don’t put anything on the bottom.

Large Styrofoam Balls 6 Inch,4PC White Foam Balls for Crafts, Giant Foam Balls Smooth Solid Round Balls for Arts and Craft Project as Christmas DIY Ornaments (Styrofoam Balls 6in-4pc)Silverlake 8x12x2 Craft Foam for Styrofoam Block Projects (3-Pack)


Step 4: Cut the Sherpa Fabric
This was the most frustrating and messy part of the whole project. Measure the height of the tallest ghost and double it. That’s how big of a circle you’re going to need.
If your ghost is 12″ tall, then you’ll need to cut a circle that is 24″ wide.
I measured with a stem of pampas grass I had lying around instead of getting the tape measure. It did the job, though!
I was shocked by how much of the fabric this used!
There technically wasn’t enough fabric left to finish the shortest ghost. Since it’s going on the bookshelf, against a wall, I used a piece of scrap fabric to fill in the back. (I mean, who’s gonna know?)

Once the fabric is cut, drape it over your cone sculptures. Aren’t they starting to look like ghosts now?
Step 5: Make the Eyes
Now, it’s time to make the ghost eyes!
Cut ovals out of the black felt. It took me a couple of tries to get it right. Once you get a shape that you like, use it as a template to cut out the other eyes.
I used some of the scraps as mouths for my ghosts. To me, they look cuter with a little smile!
After you have the eyes cut out, glue them onto the fabric.

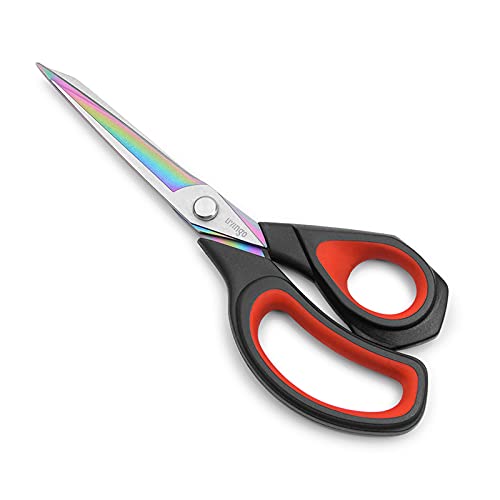
HaoFeiJH 10Pcs Black Felt Sheets,A4 Size Felt Fabric Sheets, Sewing Felt Squares for Patchwork,Crafts DIY Patchwork Sewing School Projects DecorationLIVINGO Premium Tailor Scissors Heavy Duty Multi-Purpose Titanium Coating Forged Stainless Steel Sewing Fabric Leather Dressmaking Comfort Grip Shears Professional Crafting (9.5 INCH)

Step 6: Add the Accessories
The final step is the most fun…adding the accessories!
All of the Sherpa ghosts on Instagram are holding pumpkins. I used some old foam pumpkins I had for 2 of the ghosts. One of the pumpkins was white, so I painted it orange. (Every project has at least 1 ‘mini project’ that you have to do.)
And for the third ghost, I added a witch’s hat and a little cauldron. The hat was off a headband that I found in the holiday section at Walmart. The cauldron came from there, too. So, that ghost looks like a cute little trick-or-treater!
To add the accessories, I just hot-glued them to the fabric.
After the accessories are added, you are done!


Zhzrche Halloween Witch Hat Headband Cute Witch Feather Headpiece for Halloween Costume Dress up Masquerade Supplies (Black)Mud Pie Mini Crochet Double Leaf Pumpkin; Approx 3 3/4


Set your new little ghosties up with the rest of your Halloween decor.
Two of our Sherpa ghosts are on the entryway table, and the other ghost is on the bookshelf! They are the perfect addition to our spooky-but-cute Halloween decor!
Check out more DIY Halloween Decorations