DIY Vintage Metal Bar Cart Makeover: A Step-by-Step Tutorial
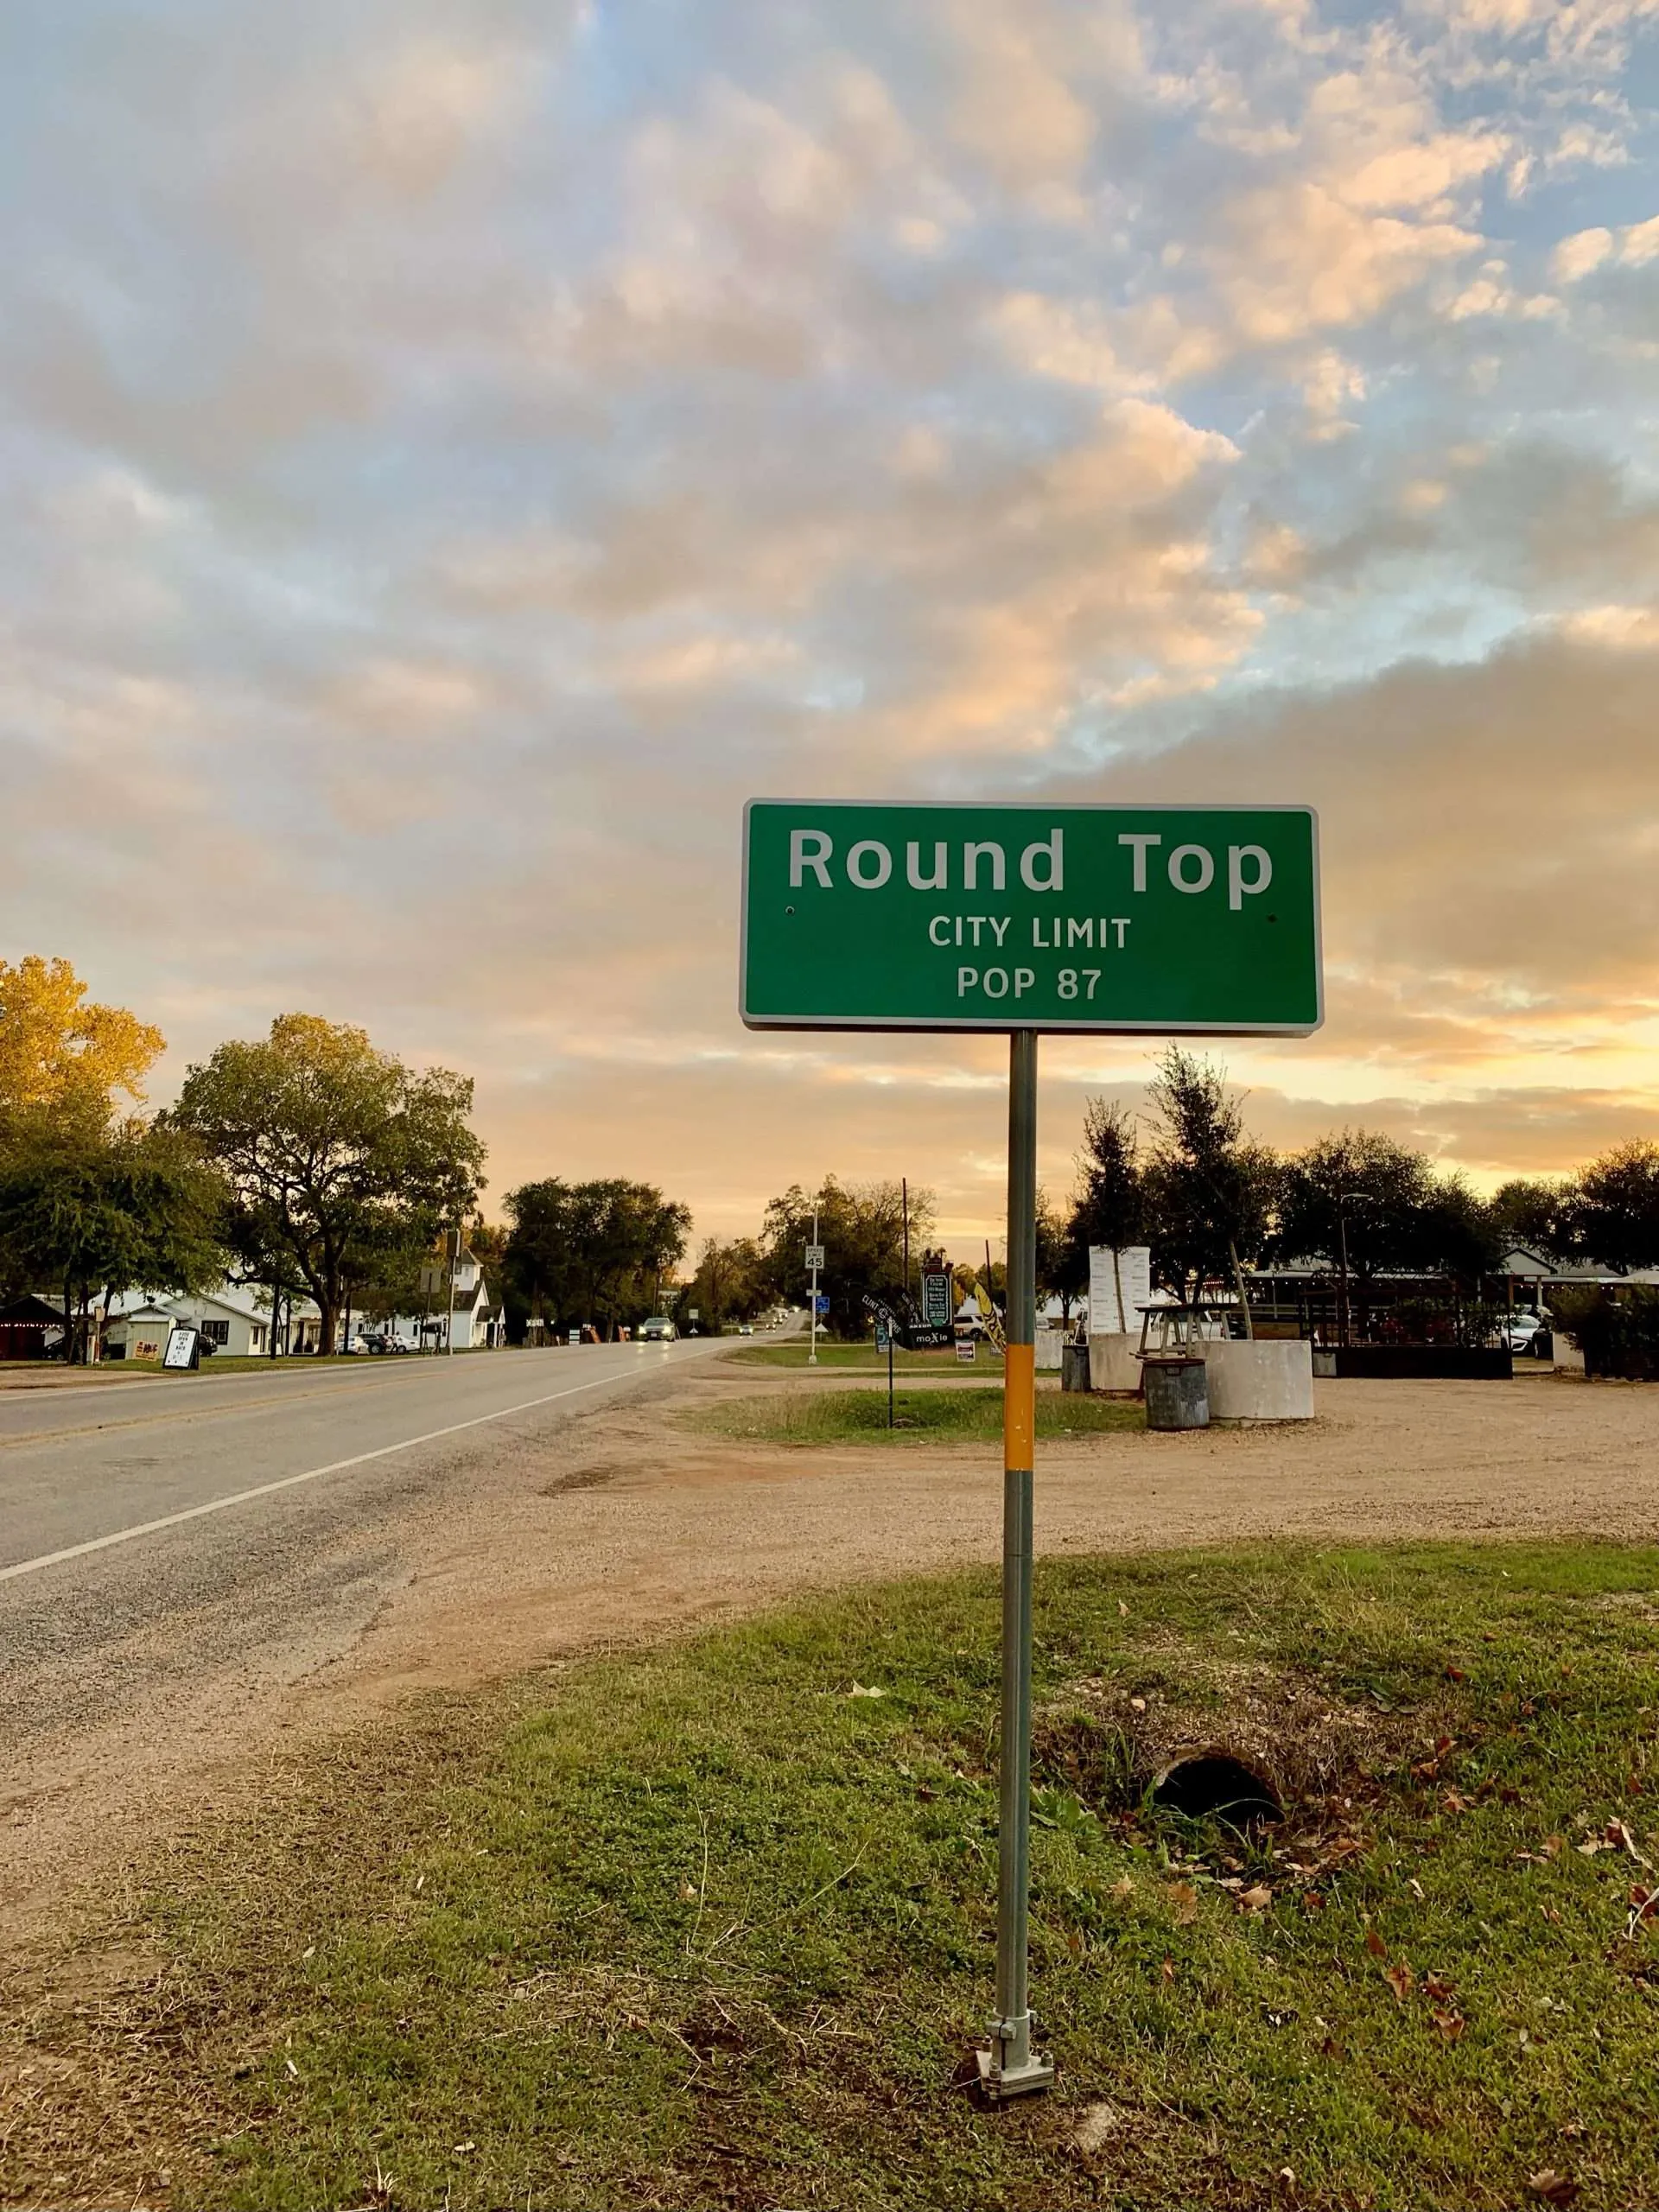
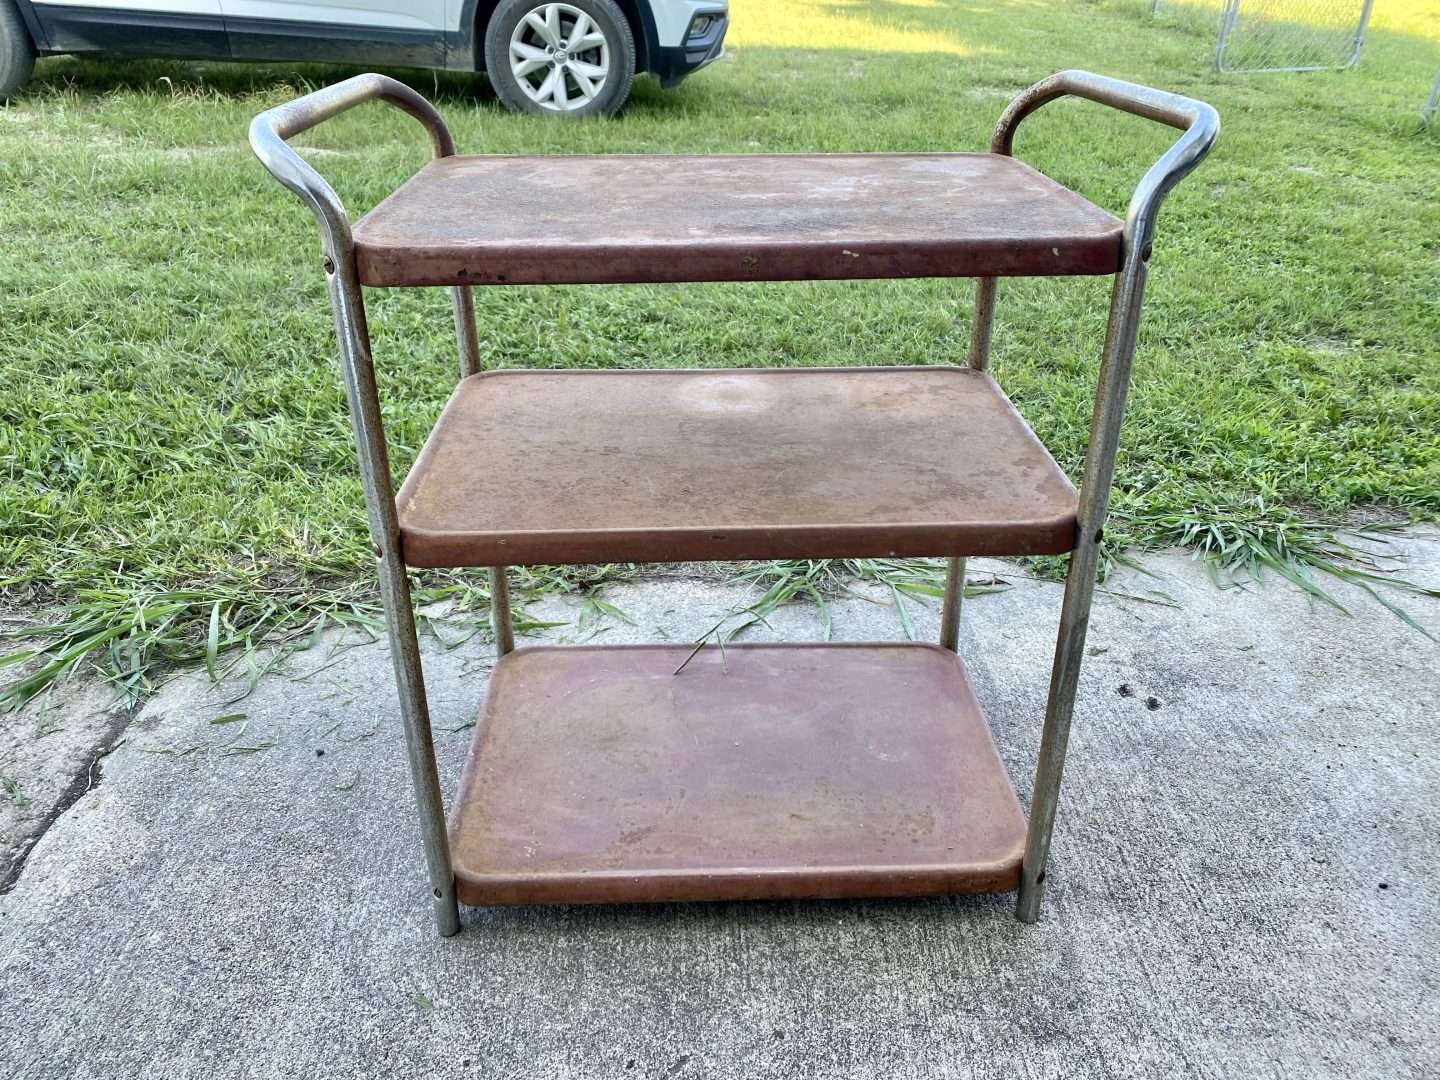
After searching high and low for vintage metal outdoor furniture (that we could afford), we brought home a whole (mismatched) set from the antique show in Round Top. Including a vintage metal bar cart!
I was so excited! Not only did I finally find one, but I only paid $10 for it!
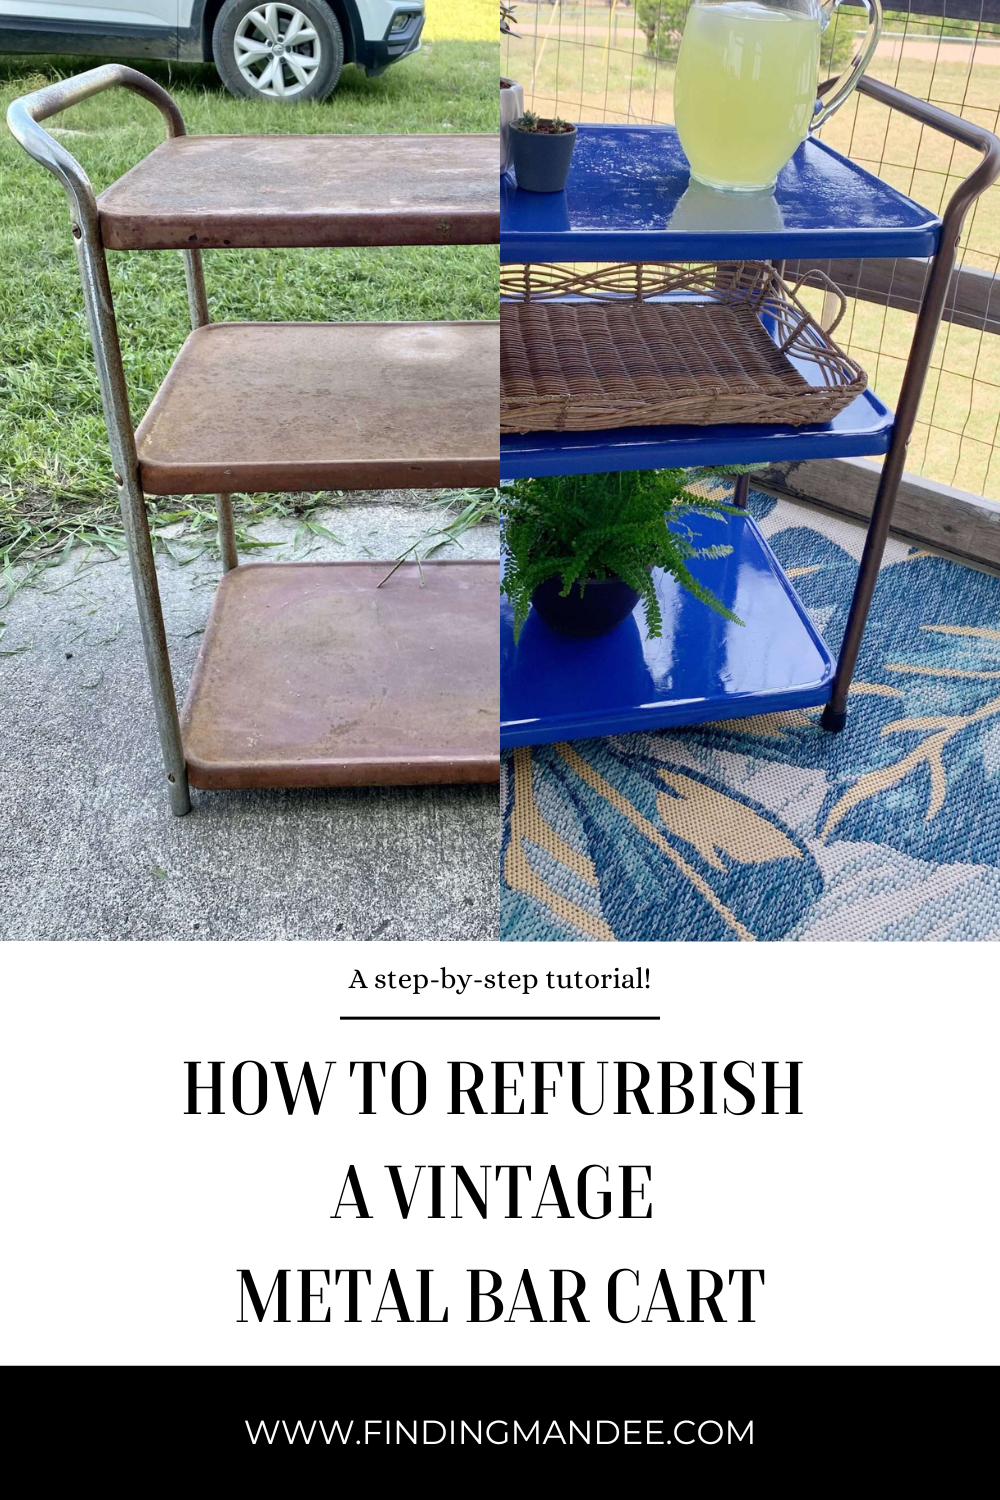
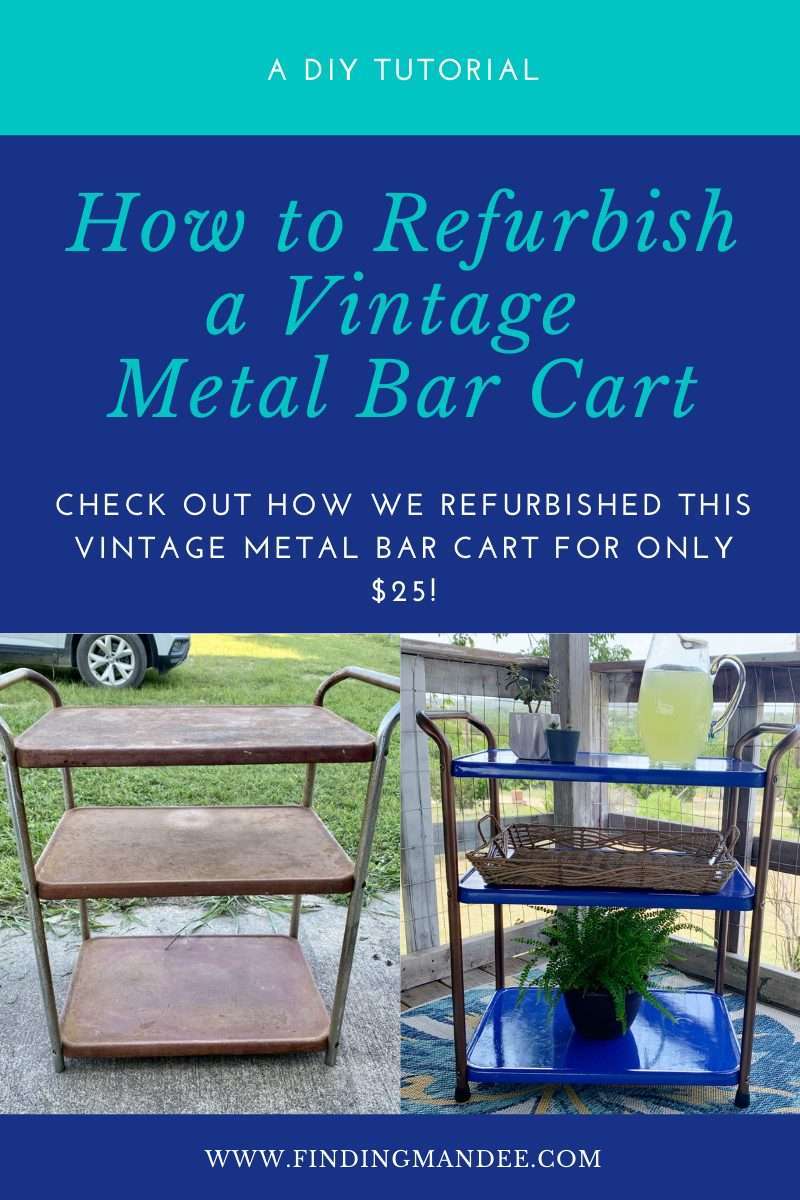
Of course, in true Mandee fashion, it was covered in rust and missing hardware, but that couldn’t dim my excitement. I couldn’t wait to get it home and give it a bar cart makeover!
Here’s how we turned this rusty trash into treasure:
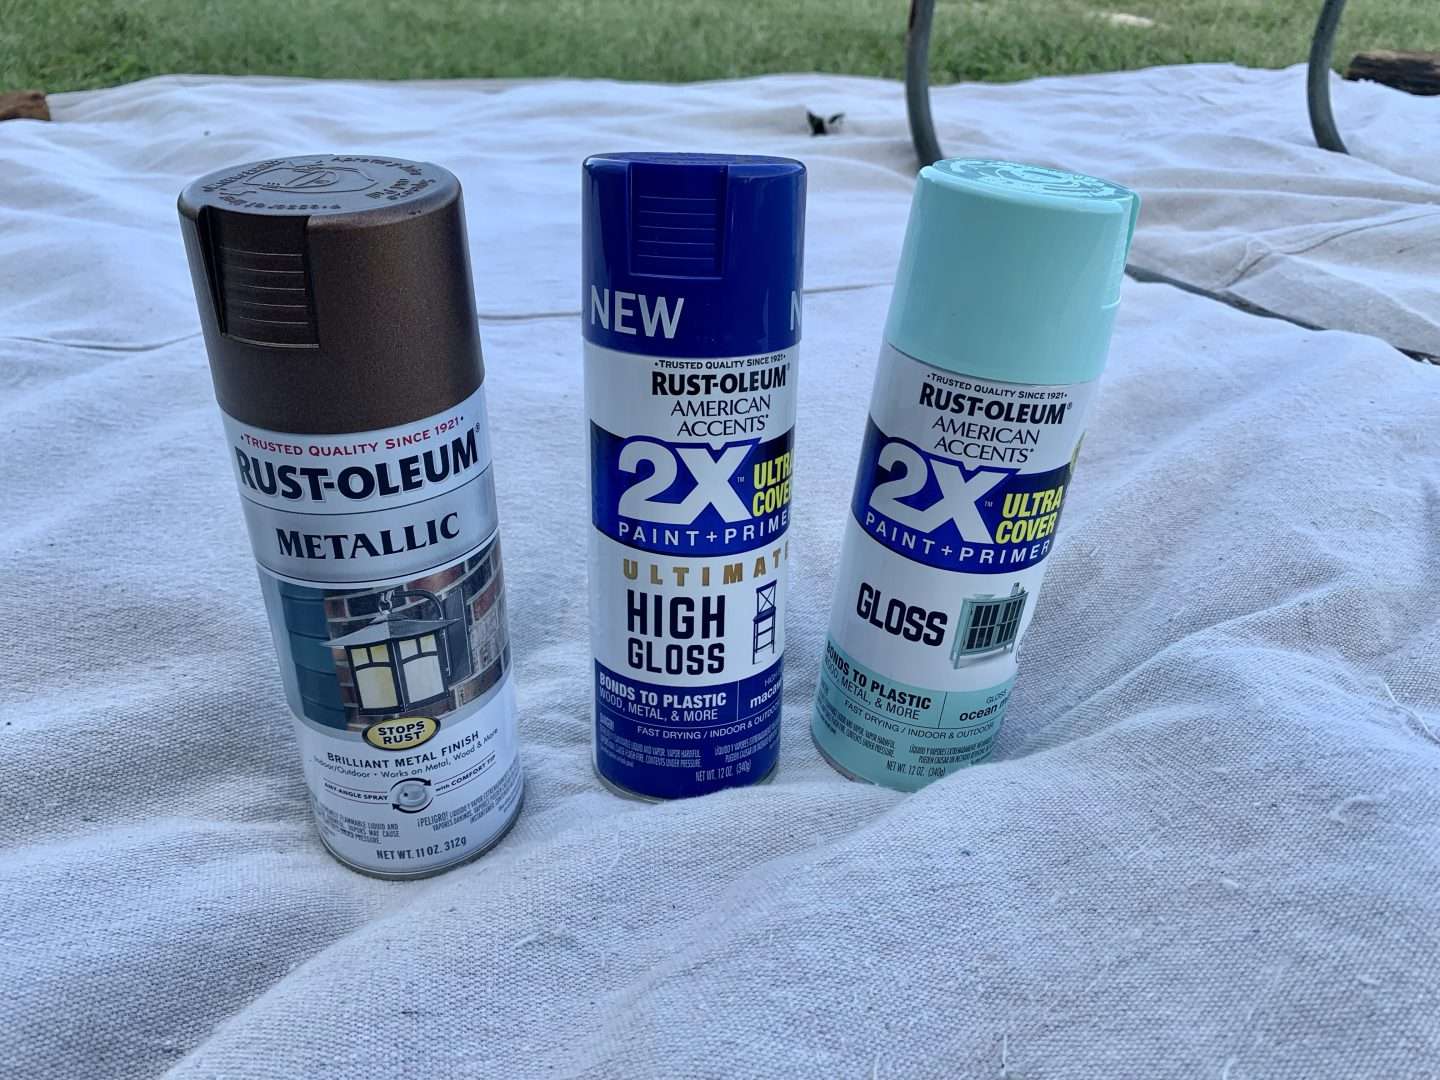
Supply List
Take It Apart
The first step in this bar cart makeover was to take it all apart.
It was a pretty simple process and only required a screwdriver and WD-40 for the stubborn screws that were rusted in there.
Grind Away the Rust
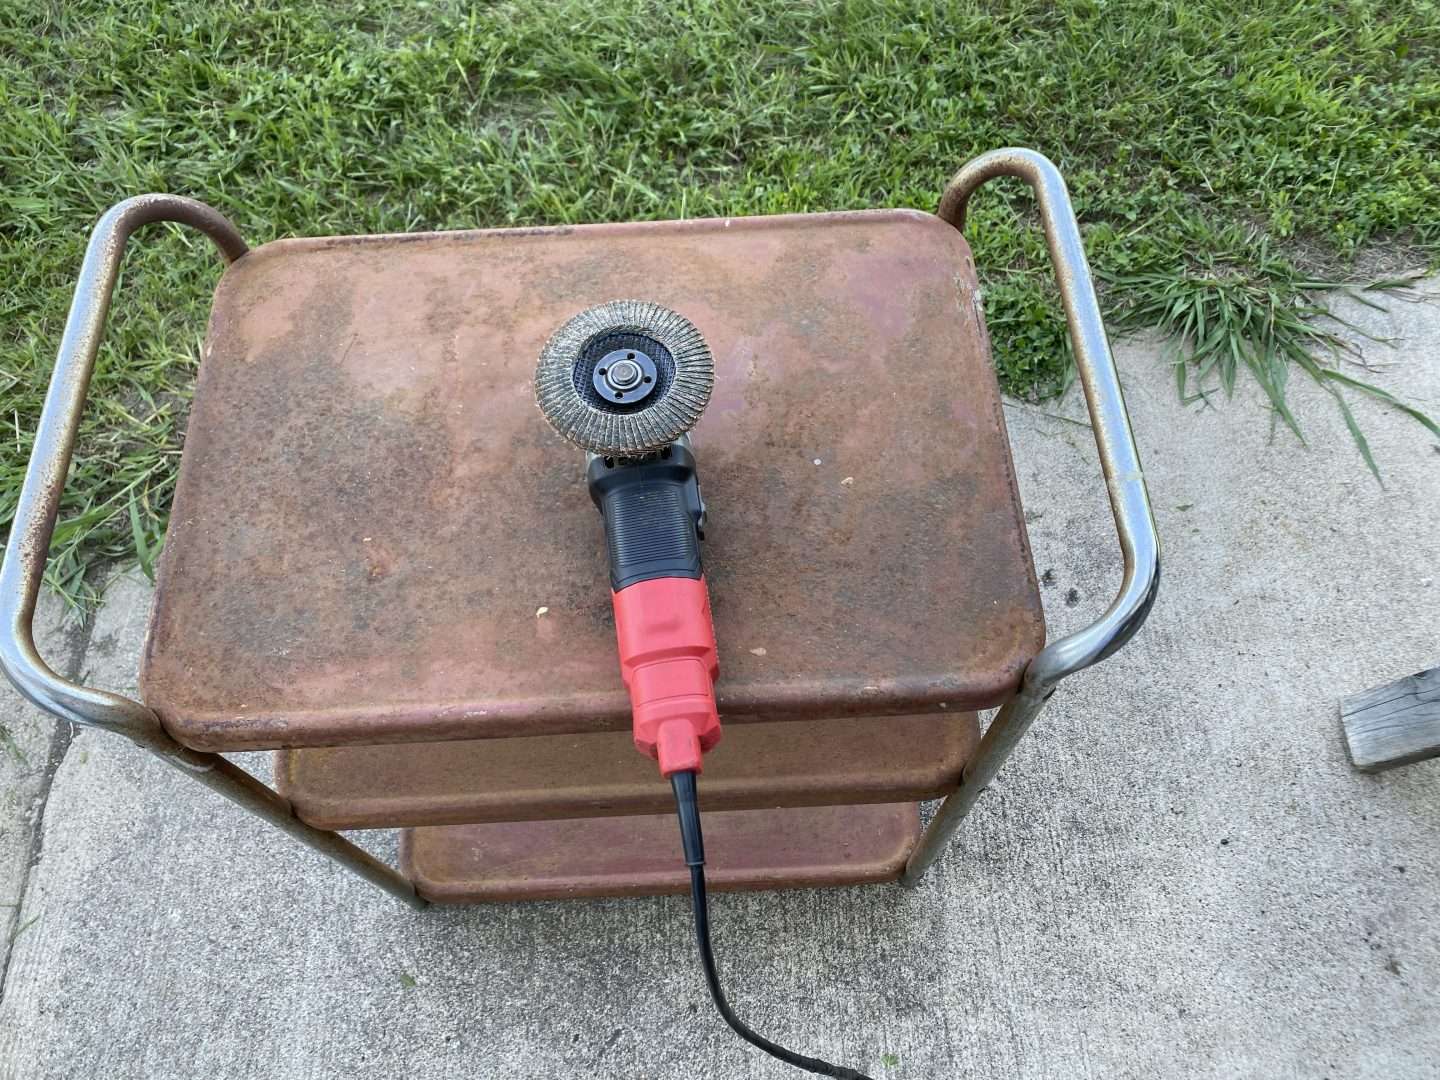
The next step was the most tedious. It was time to grind away the rust.
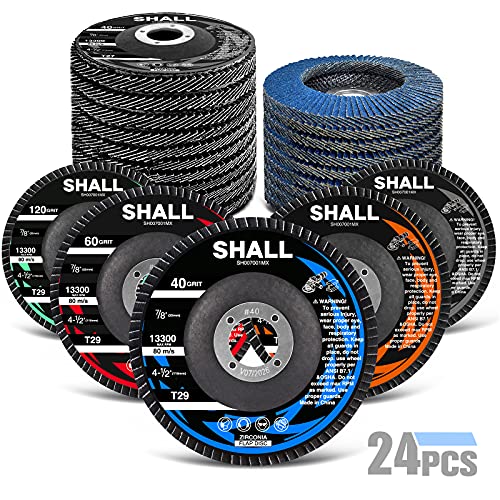
Initially, I started out using an orbital sander, but that just wasn’t getting the job done. So, just like we did with the vintage metal chairs, we used an angle grinder and flap discs to clean up the metal.
The bar cart was almost completely rust-free by the time we were done grinding. We used a wire brush to remove the rust that was hiding under the lip of the trays where the grinder couldn’t reach.
This method is SO MUCH FASTER than using a sander. I highly recommend using an angle grinder if you’re refurbishing metal furniture.
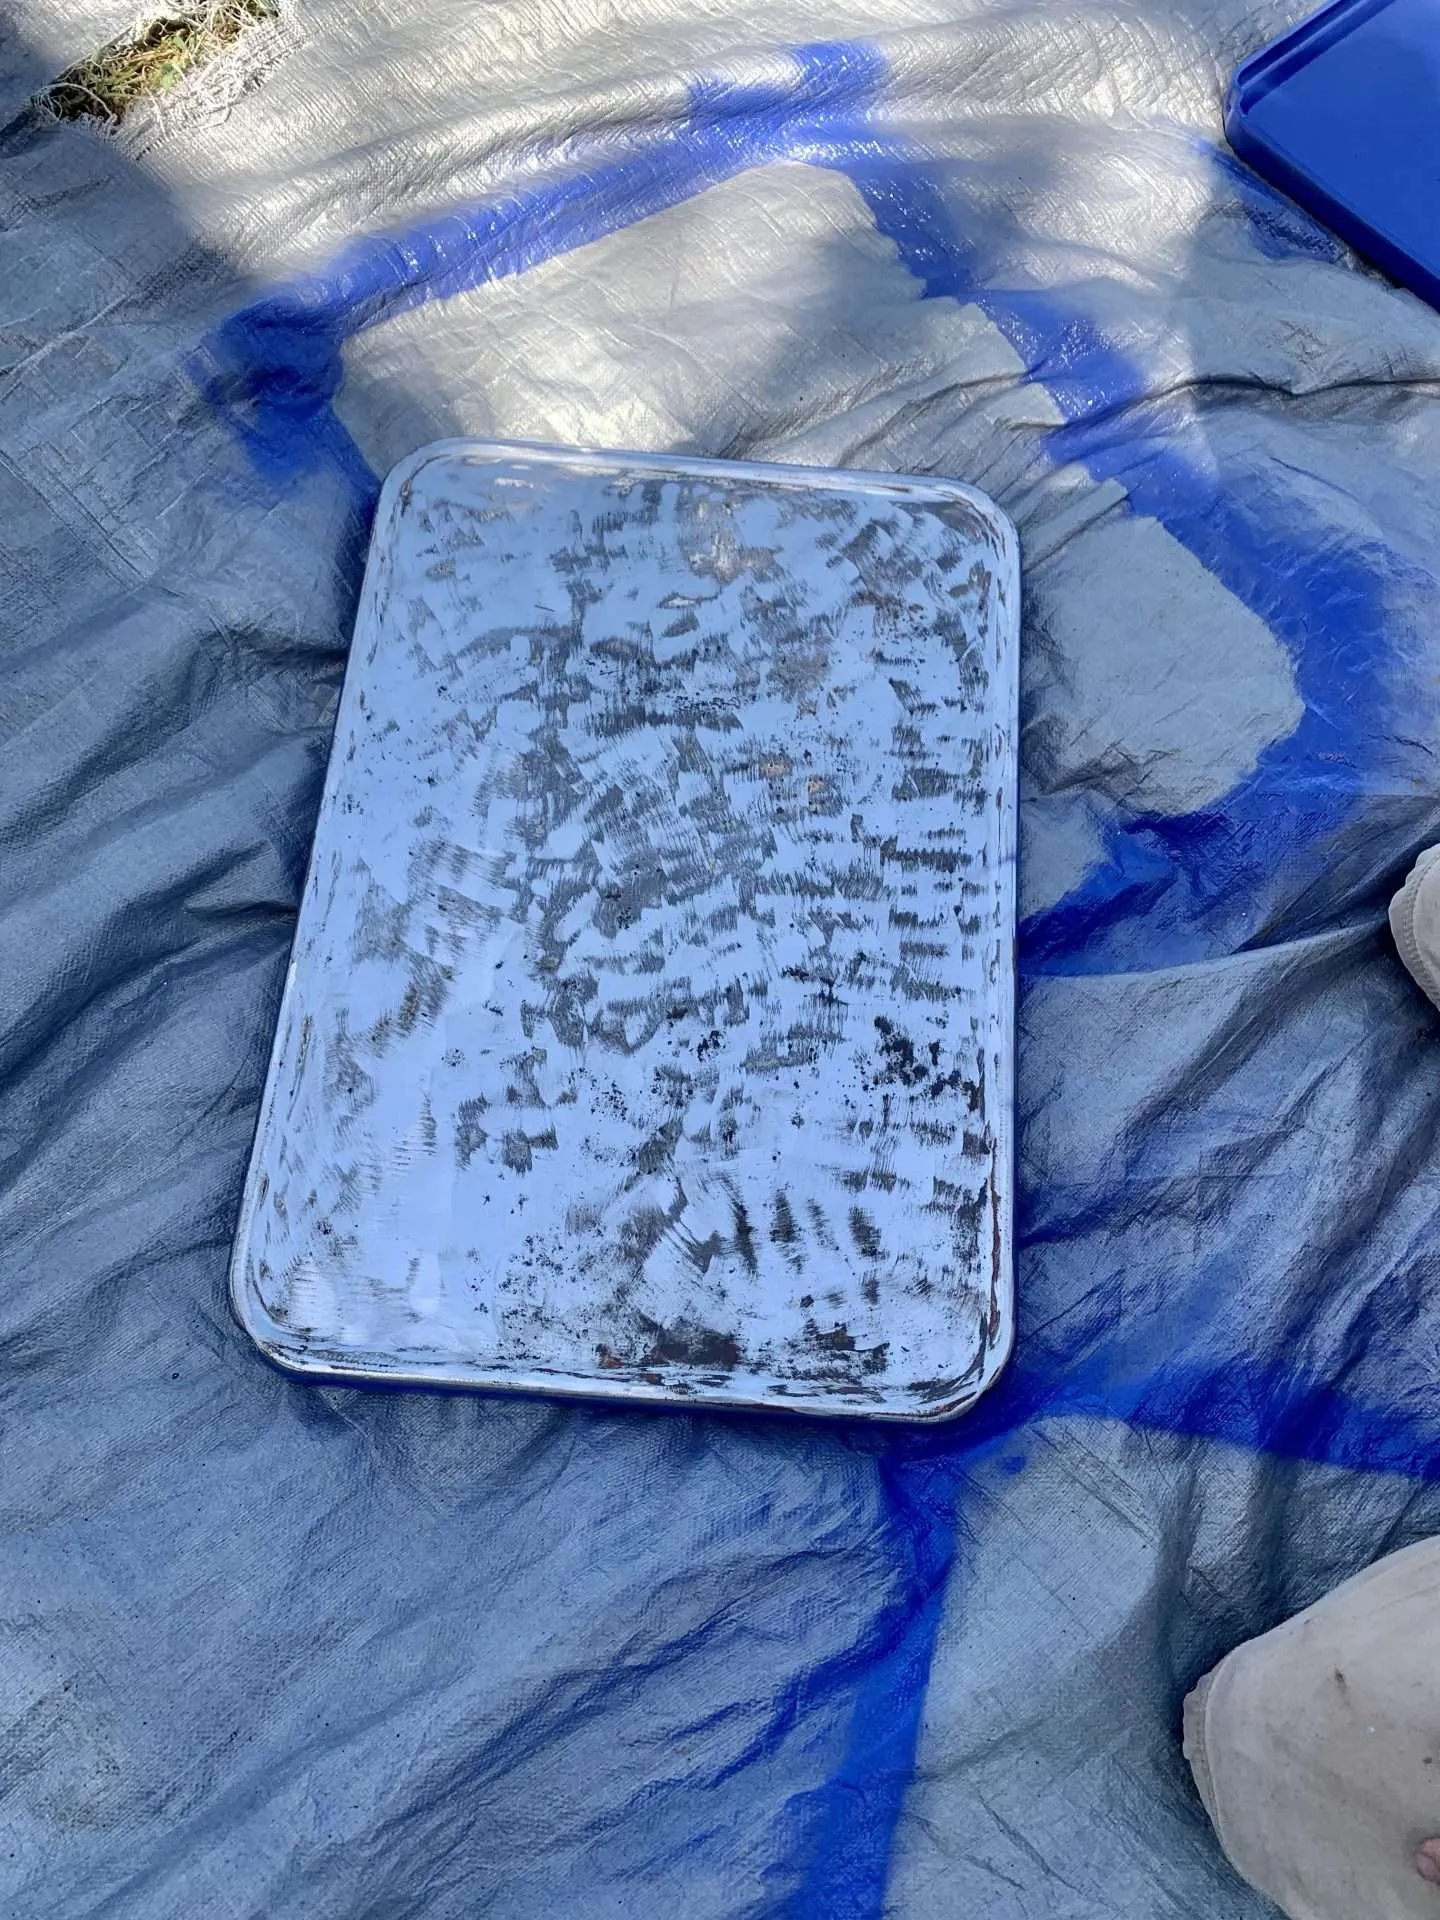
PORTER-CABLE Angle Grinder Tool, 4-1/2-Inch, 7.5-Amp (PC750AG), Grey,blackSHALL 24-Pack Flap Disc, 4-1/2
Paint & Seal
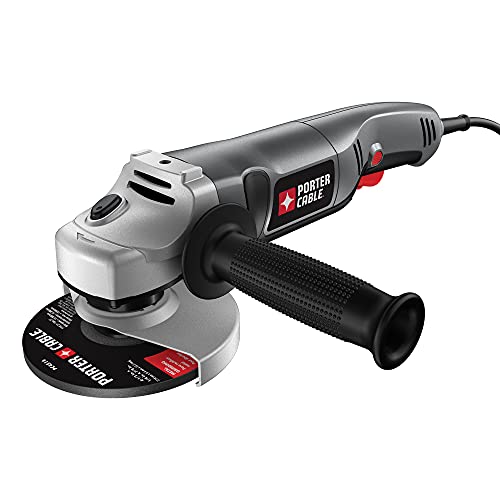
Finally, it’s time for the most rewarding step of the bar cart makeover….painting!
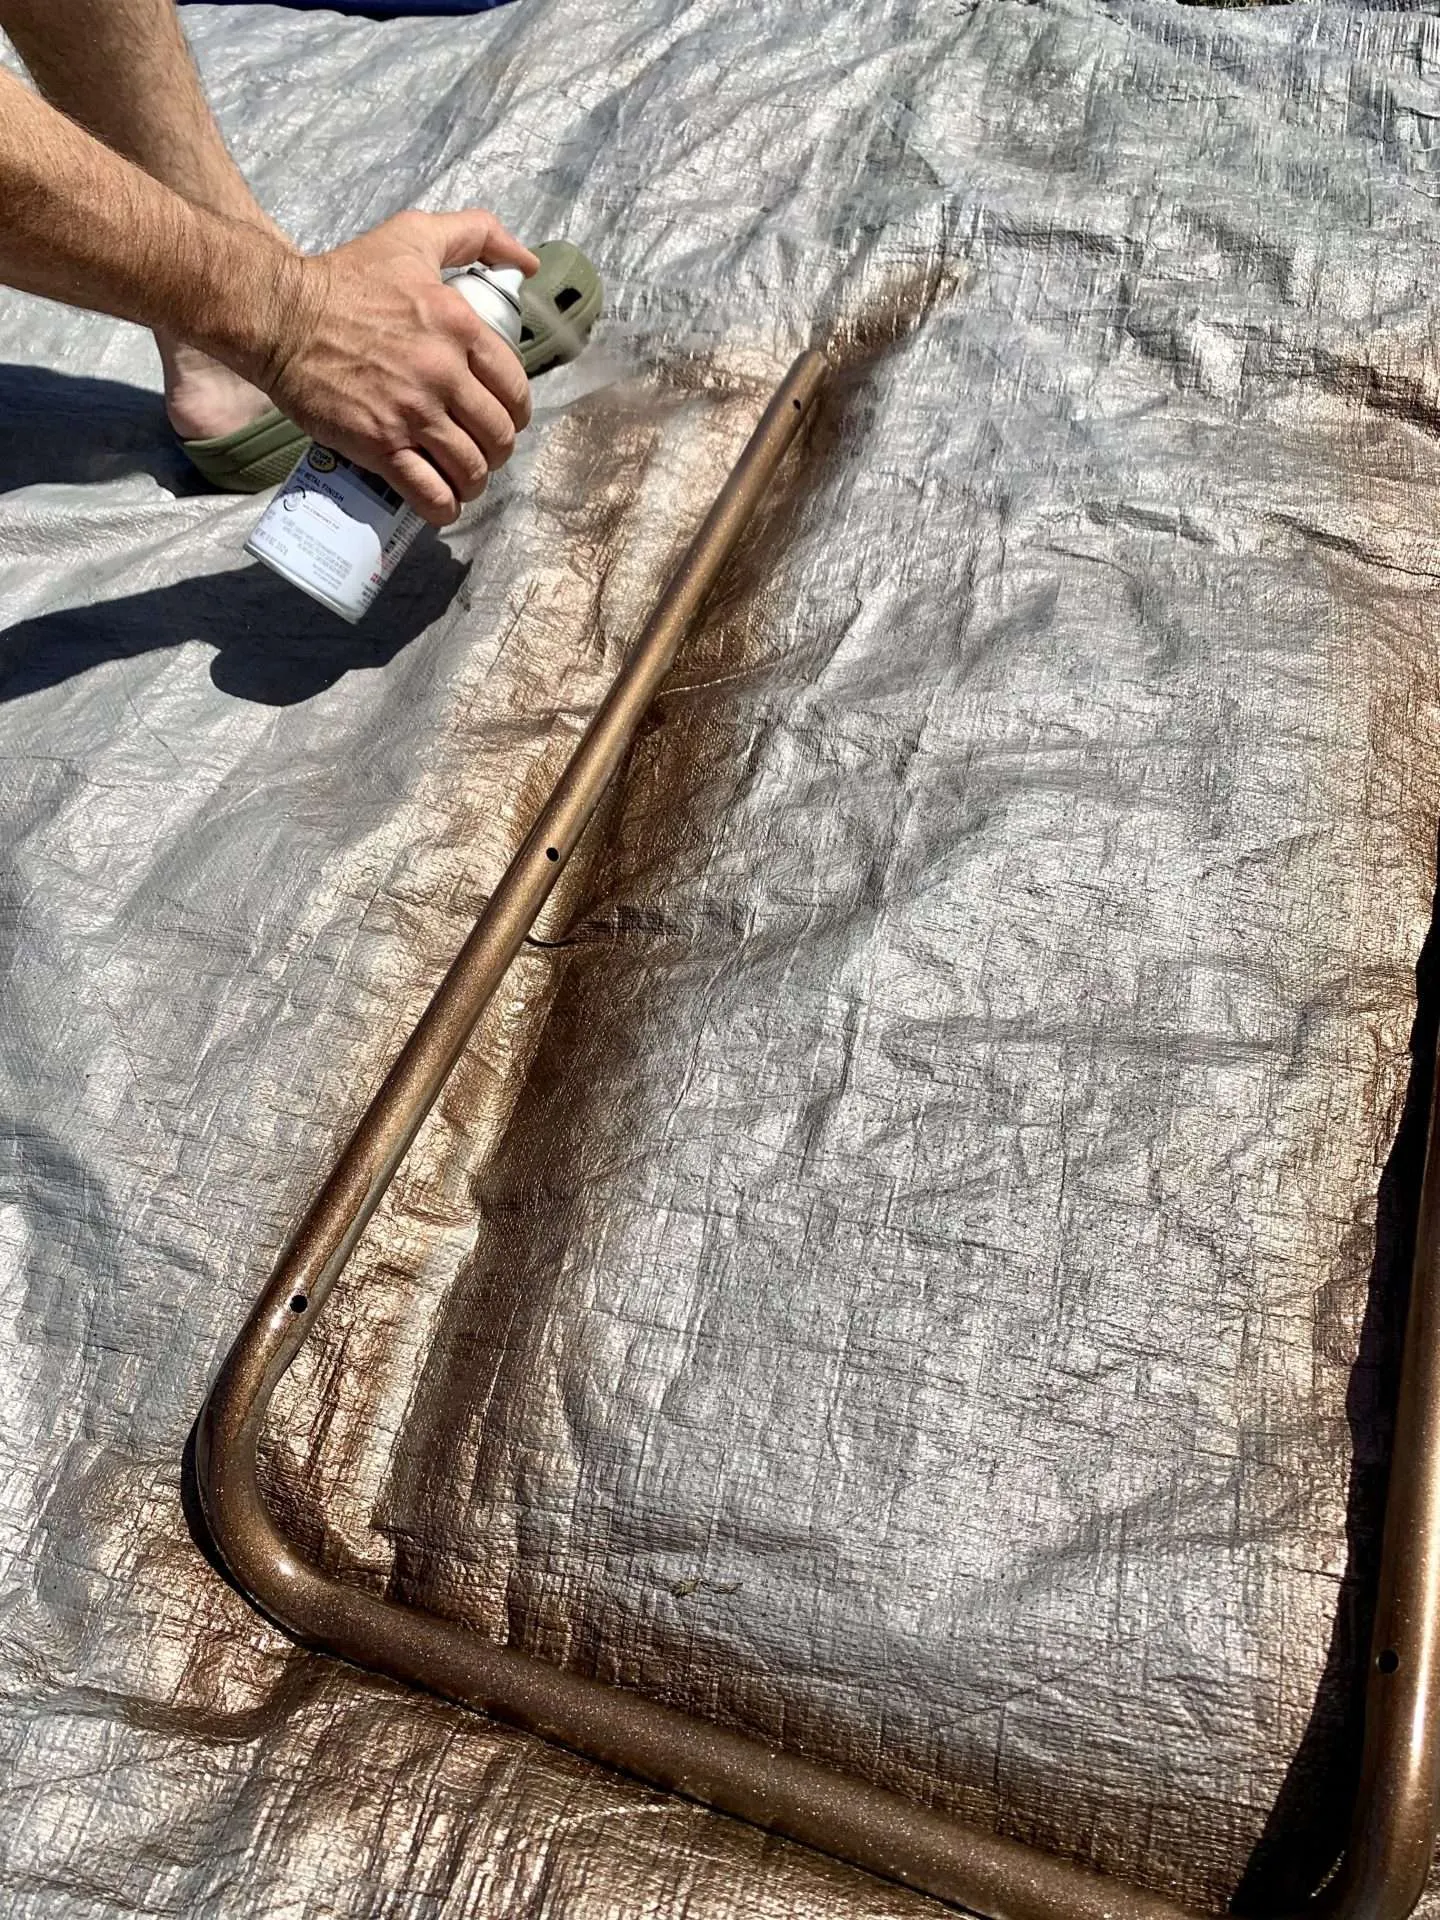
First, use a rust reformer spray instead of primer to help block any future rust. I cannot stress enough…USE RUST REFORMER! Then spray on your colored paint.

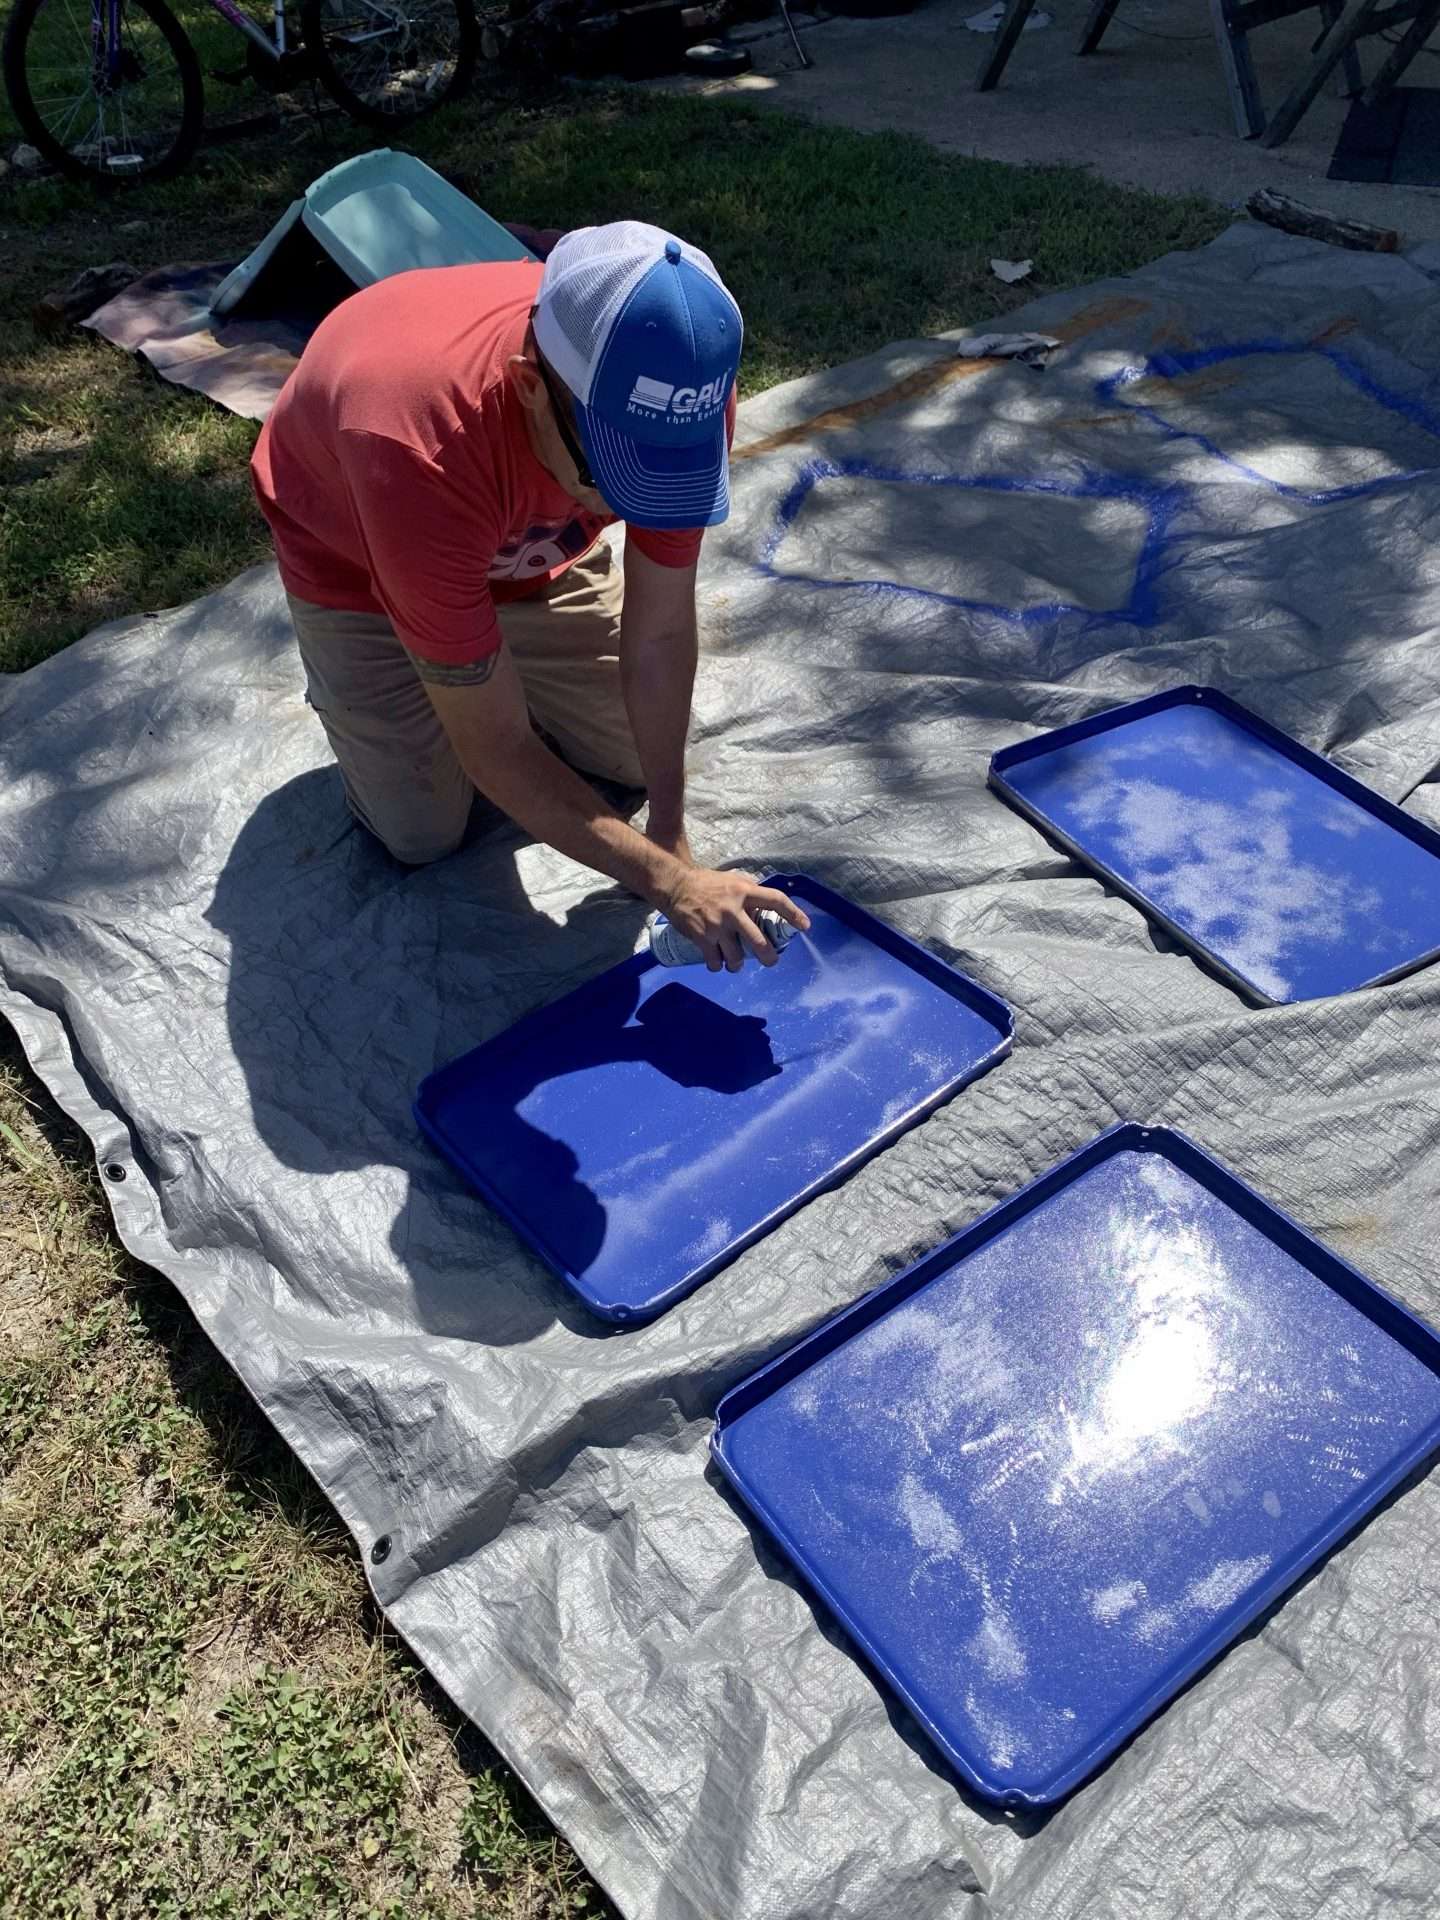
For this project, we used Rustoleum Metallic spray paint in ‘dark bronze’ for the legs. And for the trays, we used Rustoleum’s spray paint in ‘Macaw Blue’.
We did 2 coats on everything to make sure that we covered any rust that might try to creep through.
Once the paint is dry, you need to seal the deal. Since our bar cart is going to be outside and have plants on it. We know it’s going to be exposed to a lot of moisture. So, we opted for an extremely tough sealant – Shellac.
I’m usually not a fan of the extreme shininess of Shellac, especially on wood surfaces. But for this project, the extra durability was needed.
Rust-Oleum 7713830 Stops Rust Bright Coat Metallic Spray Paint, 11 Ounce (Pack of 1), Dark BronzeRust-Oleum 355057 Painter’s Touch 2X Ultra Cover Spray Paint, 12 oz, High Gloss Macaw Blue


Put it Back Together
After letting the paint dry overnight, we put the vintage bar cart back together again.
We used some screws my husband had laying around to replace the missing ones. Other than hunting down screws in the bottom of his messy toolbox, the bar cart was pretty easy to put back together.
We also added some rubber protectors for the bottoms of the legs.
Eventually, I would love to find some casters for it, so I can roll it around. But I couldn’t find any to fit these skinny legs at the hardware store and I was too impatient to wait for some to ship.
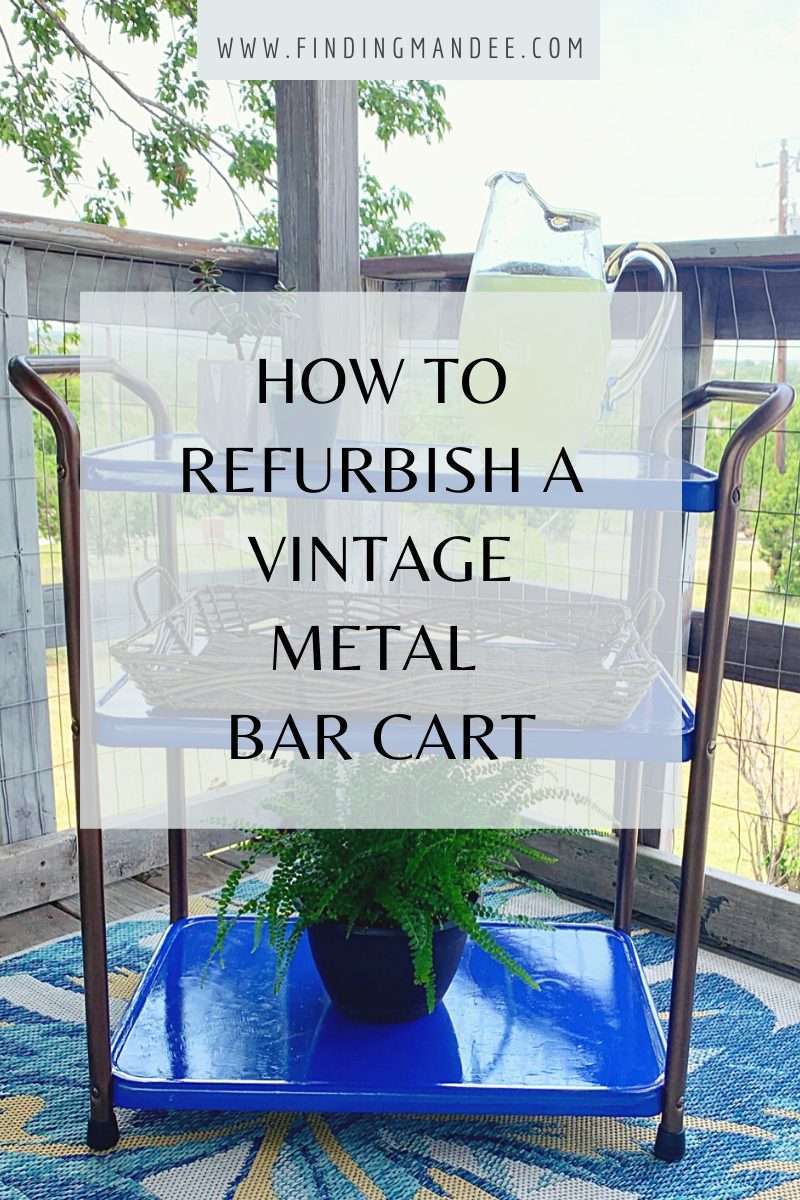
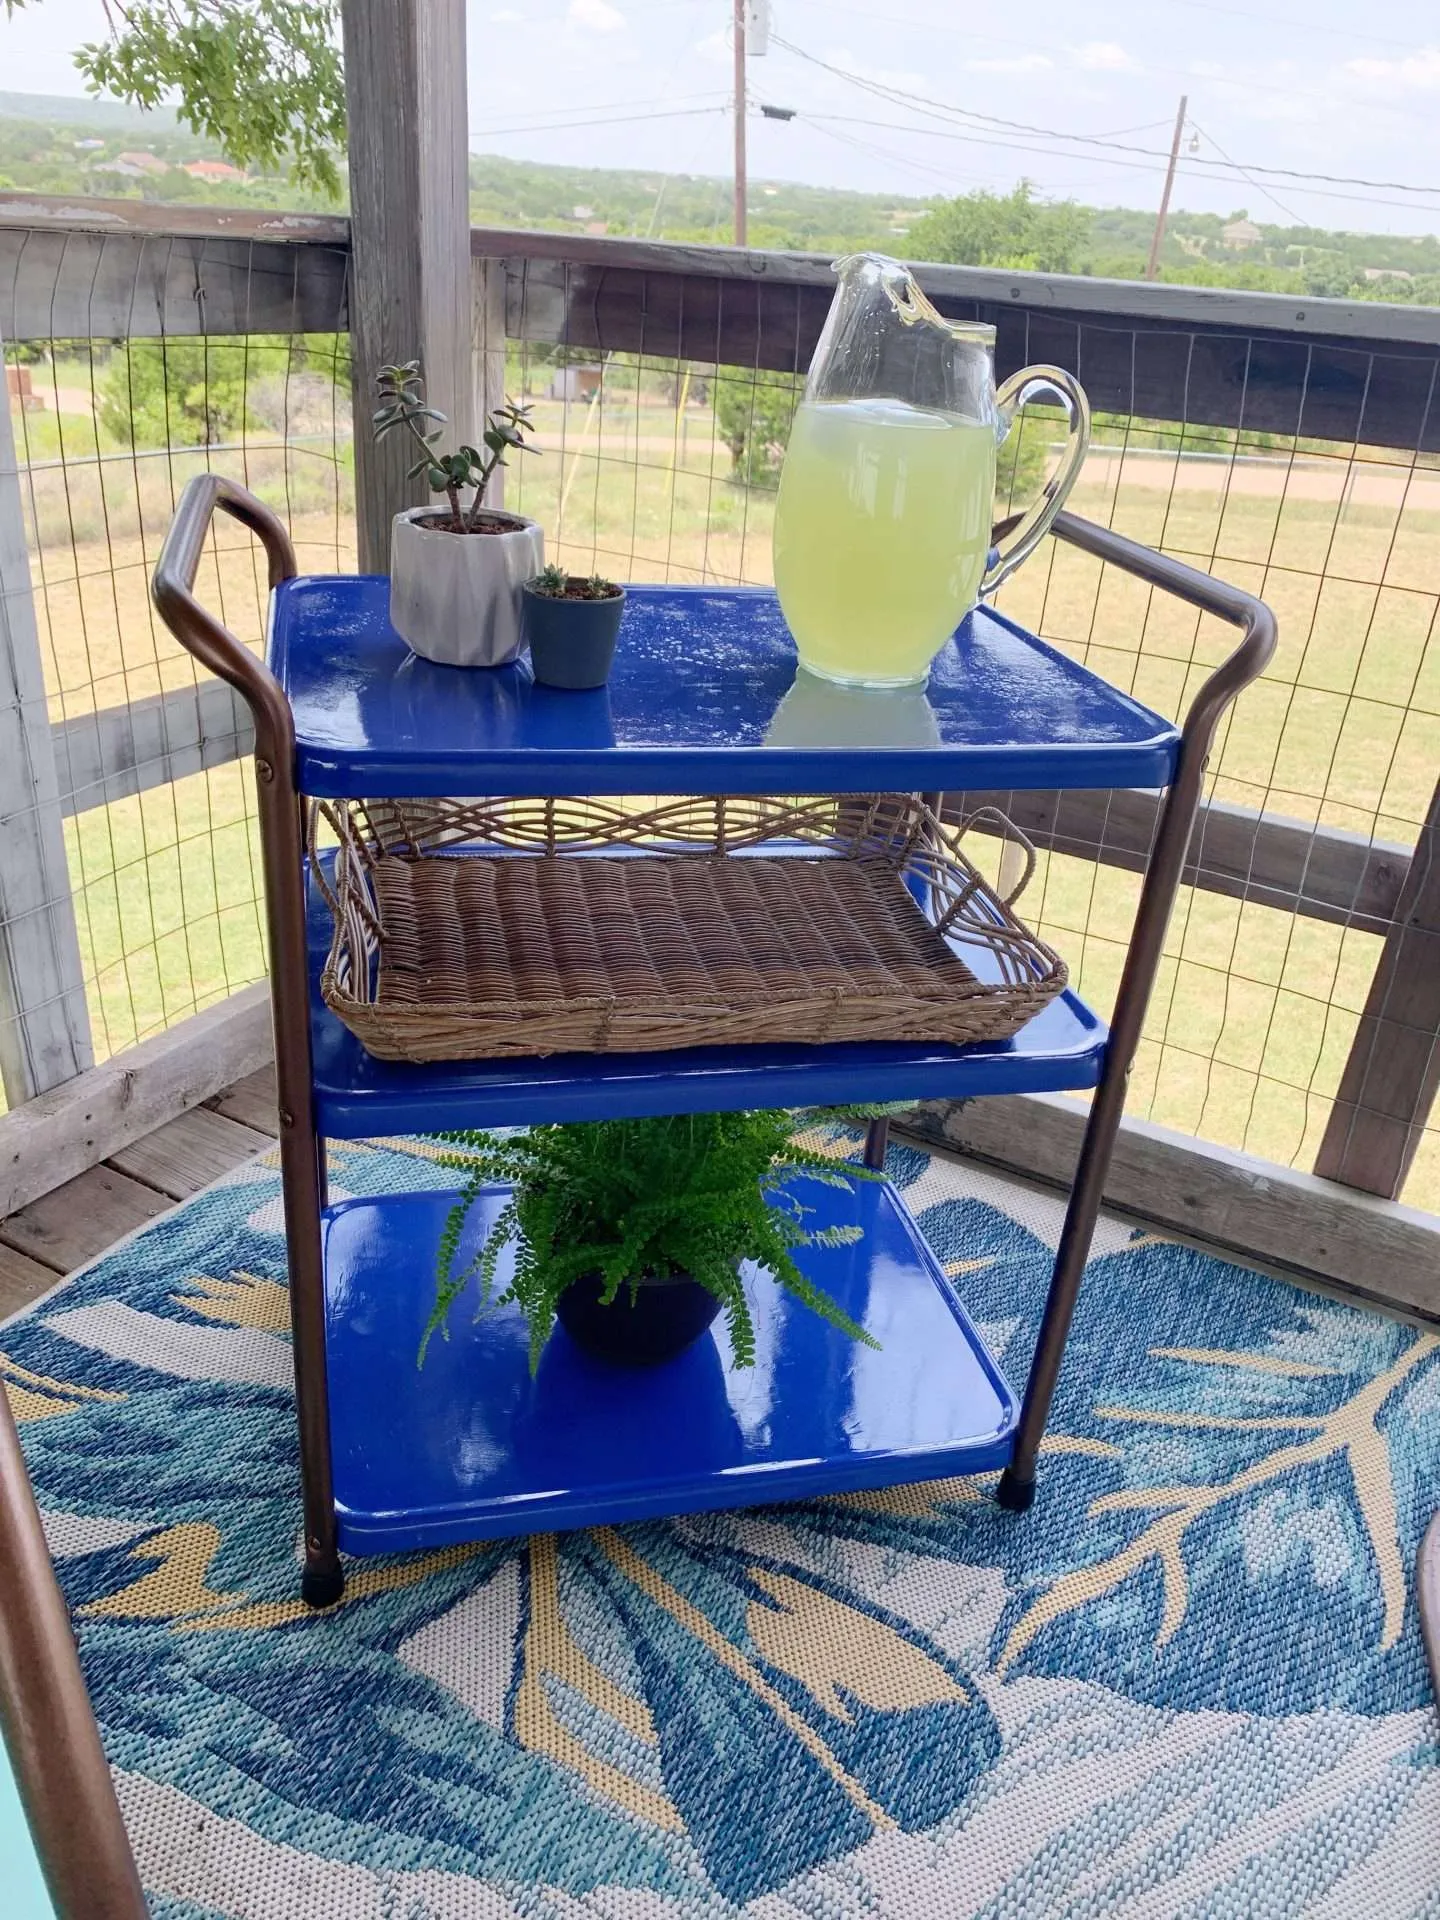
And it’s DONE!
Furnigear Chair Leg Tips Caps Non-Slip Rubber Leg Tips 3/4” Inner Diameter Chair Leg Floor Protectors Round Black, 16 PackLuomorgo 8 Pcs 1


I love how vibrant this blue is! It goes perfectly with our outdoor rug.
This was one of our quicker and easier projects and I LOVE how it turned out!
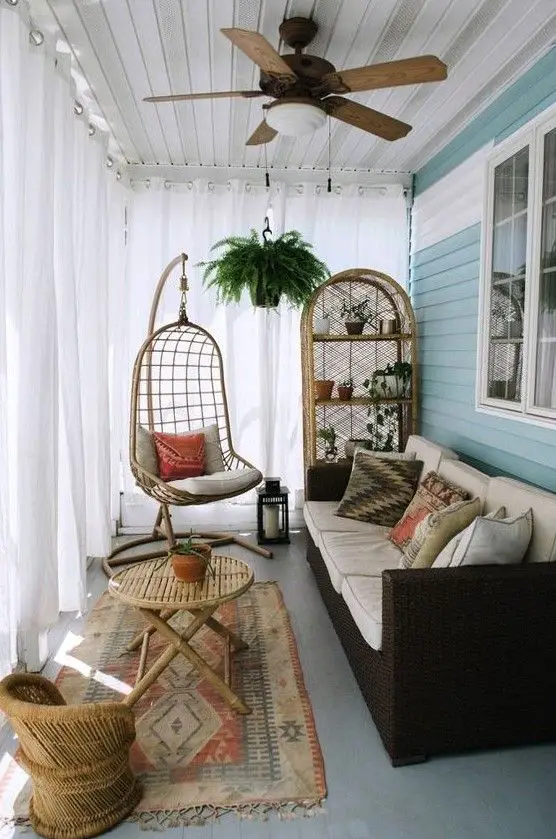
Together with the metal chairs, this vintage bar cart is the perfect addition to our back porch. We use it as a place to set our drinks and phones when we’re out there. And I also use it as a plant stand!
UPDATE: We updated the bar cart after we moved to Hawaii. The Macaw Blue didn’t look right without the brightly colored rug. So, we painted it navy with gold legs. And I think it’s beautiful!

Check out more metal furniture makeovers