[Disclaimer: Finding Mandee is reader-supported, if you purchase through links on my site I may earn an affiliate commission at no additional cost to you. As an Amazon Associate, I earn from qualifying purchases.]
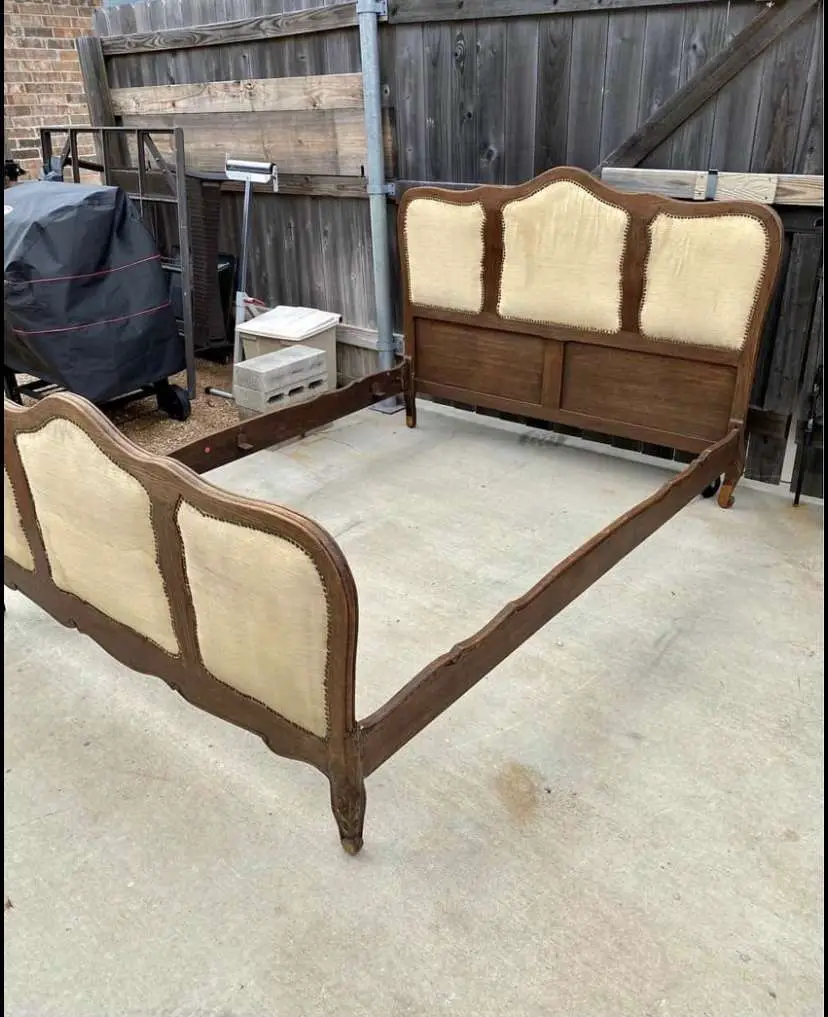
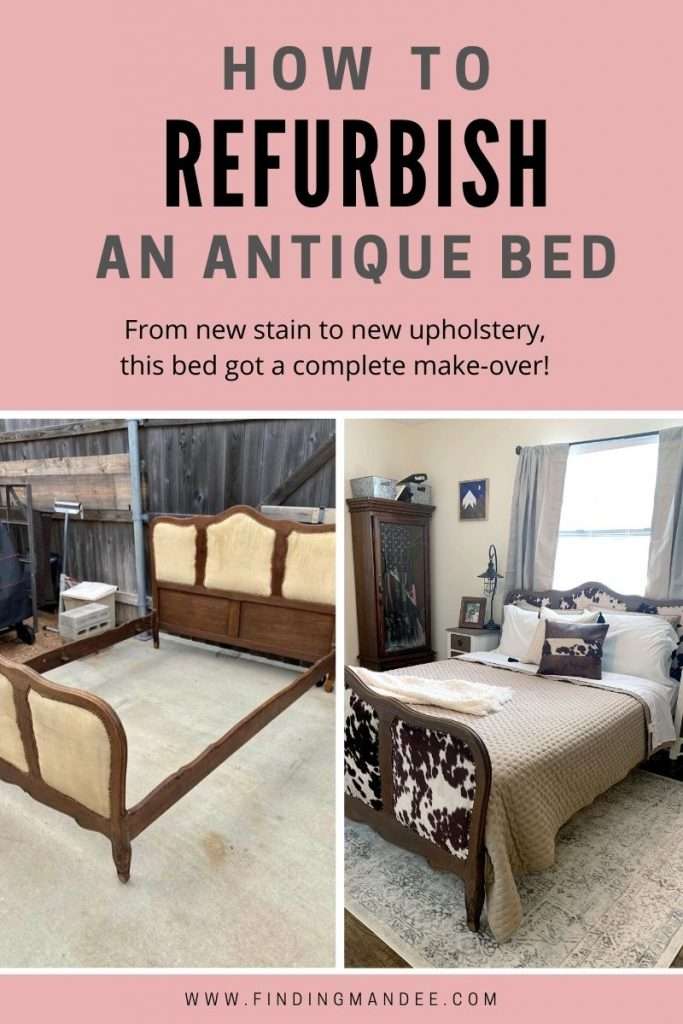
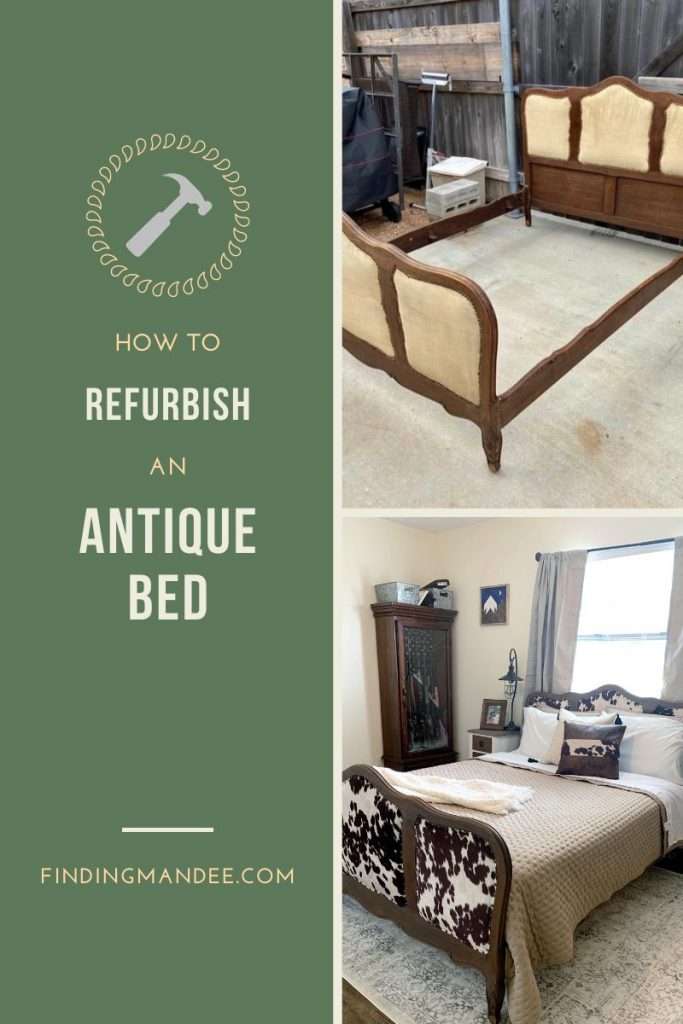
I knew when I found this outdated and disgusting antique bed on Facebook Marketplace (for $50!) that I HAD to have it.
The fact that I didn’t even have a house to put it in at the time was irrelevant. I convinced my husband to go with me to pick it up and we stored it at a friend’s house until our horrible PCS was finally over.
It was months before we were able to even start working on it, but it was worth the wait!
Here’s how to refurbish an antique bed!
Supplies
- flat head screwdriver
- orbital sander
- sanding nets
- wood stain
- upholstery fabric
- pen
- scissors
- upholstery tacks
- needle-nose pliers
- hammer
Suede Velvet Cow Print Udder Madness Upholstery Fabric 54Decotacks 100 Pcs/Box Upholstery Tacks Upholstery Nails ∅7/16


Step 1: Remove Old Tacks & Fabric
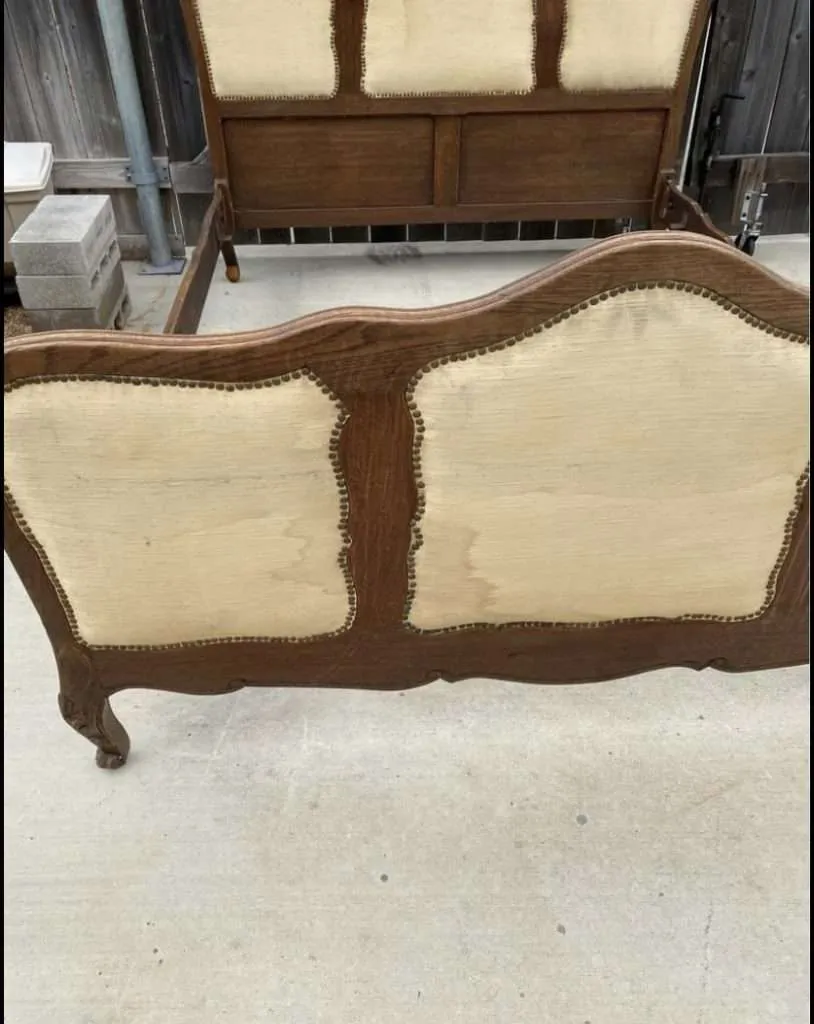
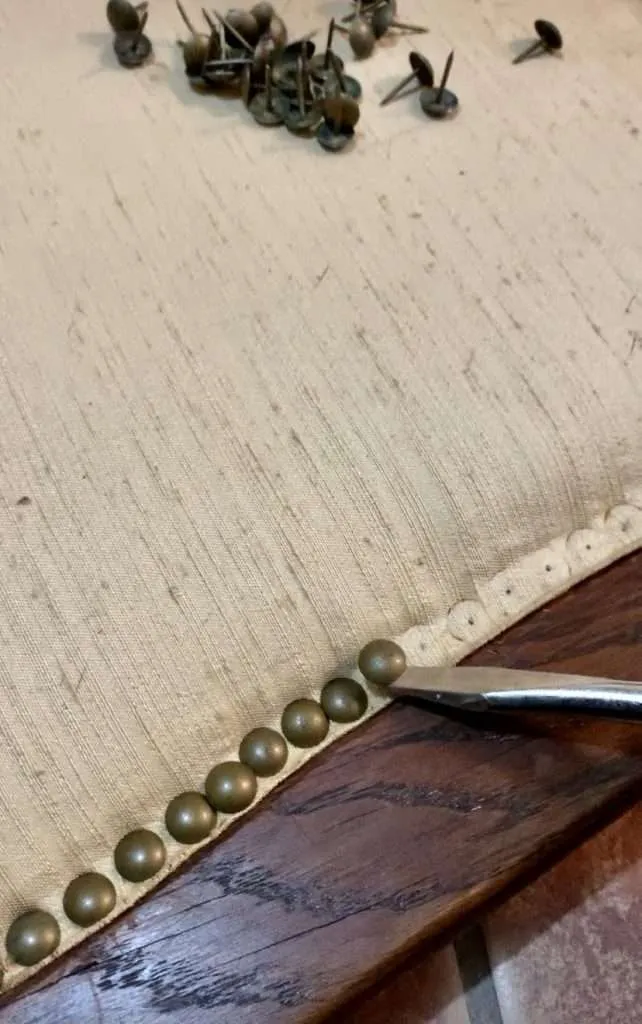
Our first step to refurbish an antique bed was to remove the hundreds of old upholstery tacks.
This was the part that I was dreading the most because there were SO MANY of them.
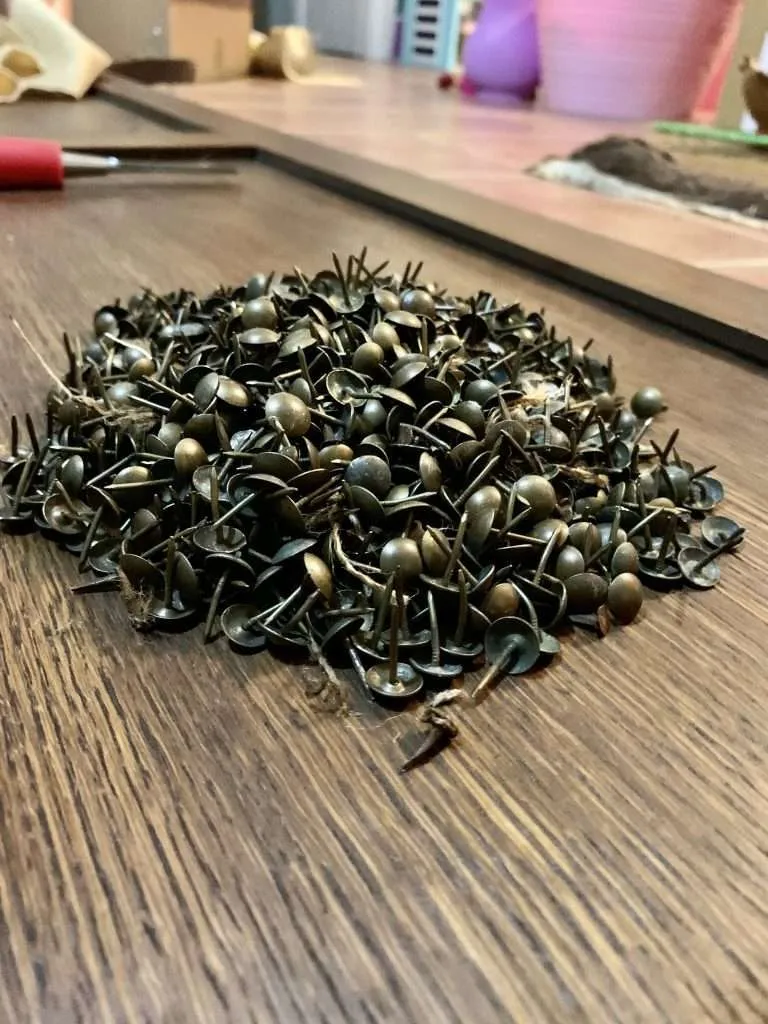
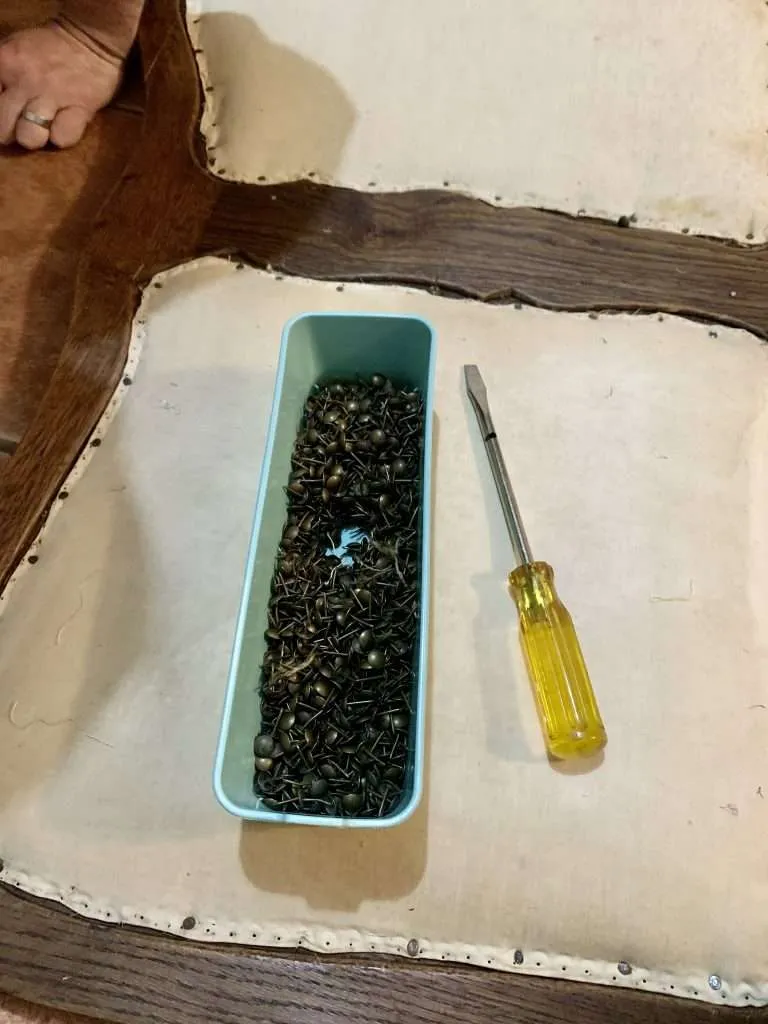
We used a flat head screwdriver to pry the tacks out. It didn’t take nearly as long as I feared though.
After pulling enough tacks out to get our fingers up under the fabric, we could pull the fabric up and it would remove multiple tacks at the same time.
Once the tacks were out, we removed the old, nasty fabric.
We decided to leave the padding underneath since it was still in good shape. But I did spray it down with disinfectant to make sure it was clean.
**Pro Tip:** Don’t throw the old fabric pieces away yet!
CRAFTSMAN Screwdriver Set, Slotted/Flat Head, 5Piece (CMHT65032)GEARLINTON Upholstery Staple Remover Tack Puller Nail Remover Tools Set W End Cutting Pliers, Staple Puller, Tack Lifter, Fastener Remover, for Furniture Floor Wall Car Photo Frame, 4 in 1 Kit


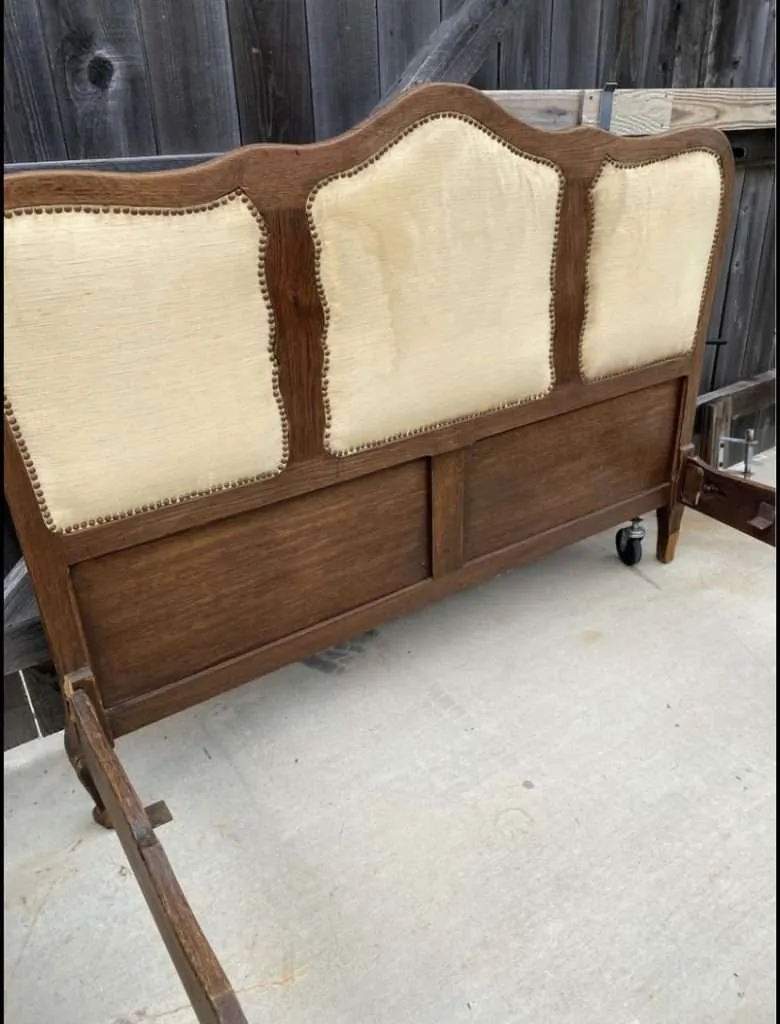
Step 2: Sand It Down
The second step to refurbish an antique bed is to sand it down.
Sanding is my least favorite part of any project, which is why my sweet husband did most of the sanding on this one.
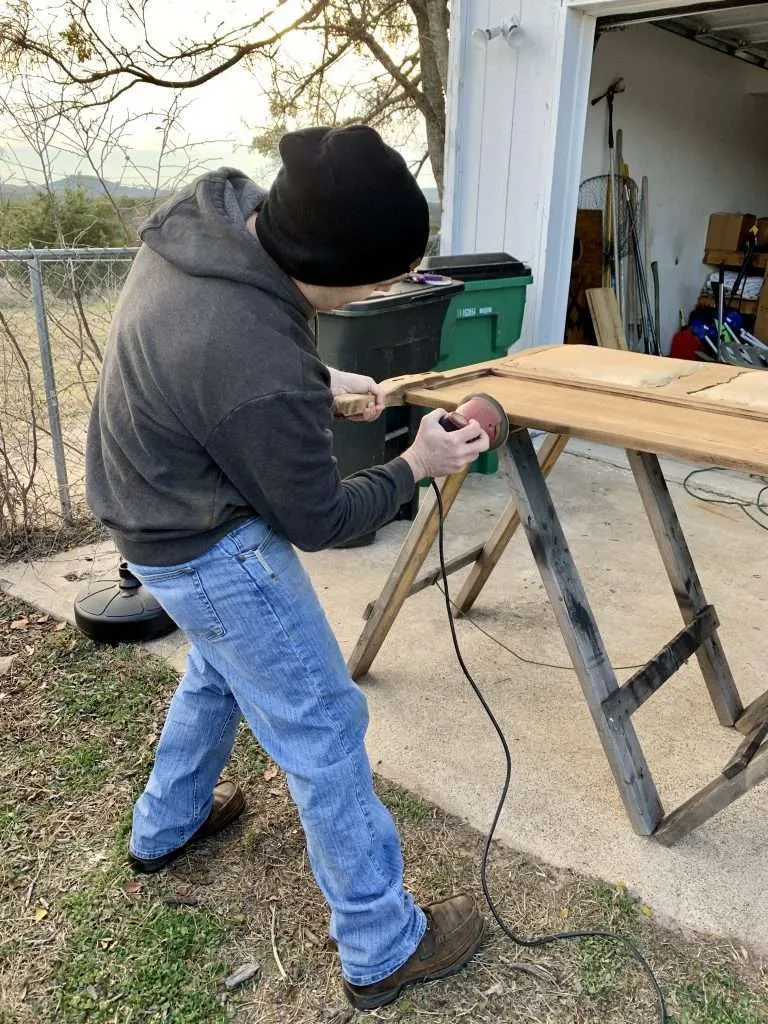
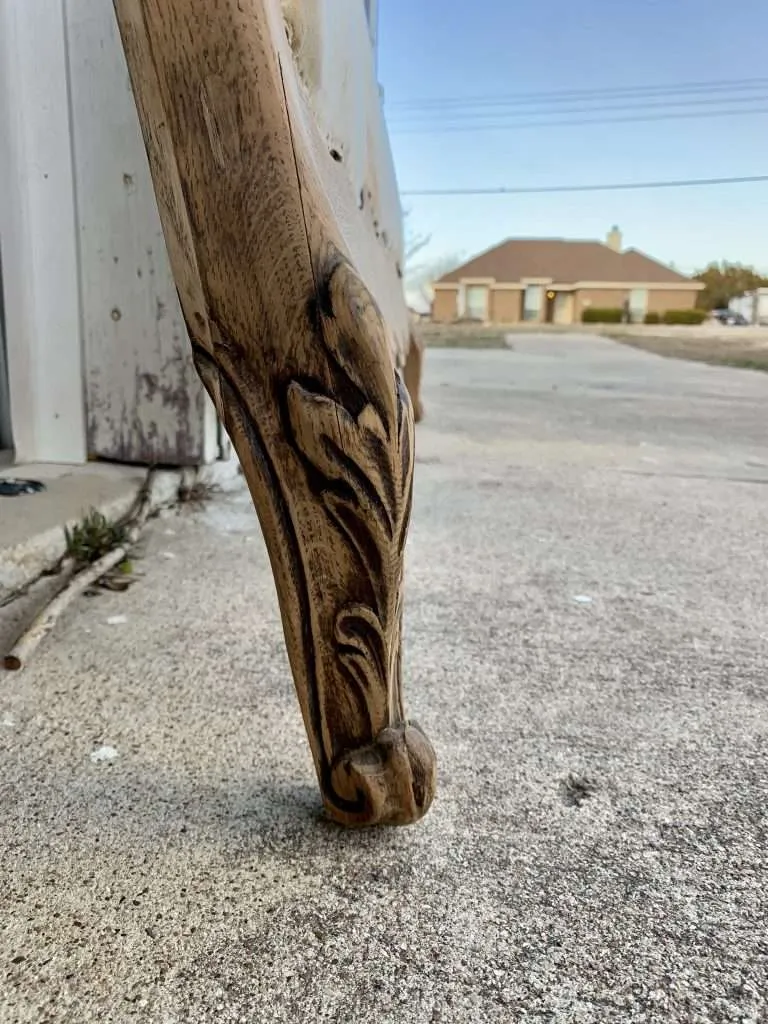
Sanding the bed really made the ornate feet on it stand out.
I was tempted to leave it as natural wood and put a coat of polycrylic sealer on it, but the light-colored wood wouldn’t look right with the cow hide fabric that we picked out.
DEWALT Random Orbit Sander, Variable Speed, 5-Inch (DWE6423)BAIWEN 20PCS 5 Inch Mesh Hook & Loop Sanding Discs 80 120 180 240 600 Assort Grit Dust Free Abrasive Net Sander Disc Anti-Blocking Long-Lasting Mesh Sanding Pads, Sandpaper for Wood Furniture Floor


Step 3: Time for Stain
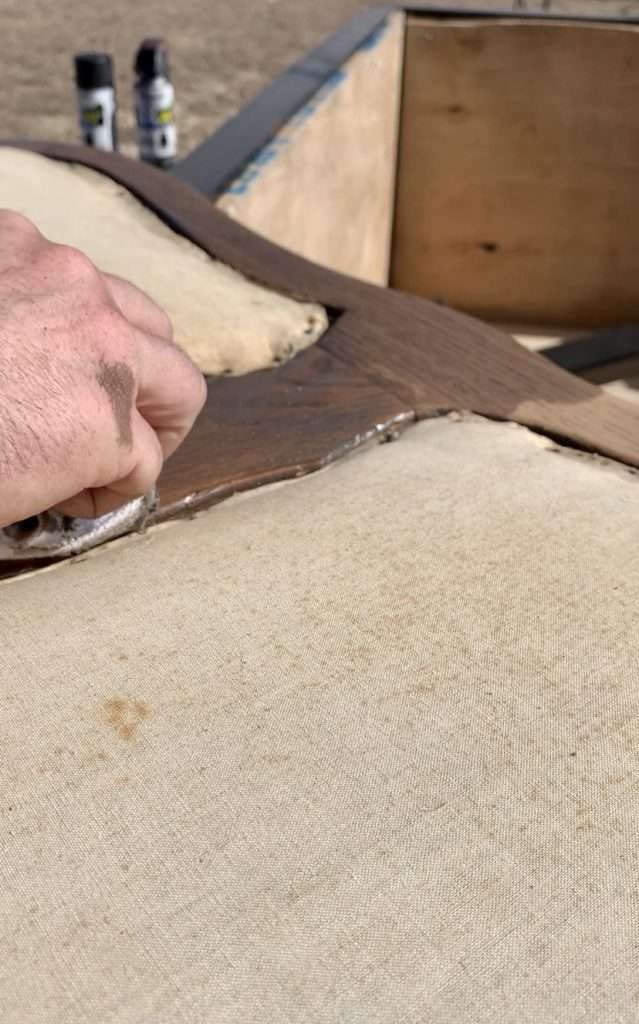
After we sanded and wiped down the bed frame, it was time to stain it!
We used a medium wood stain (Rust-Oleum Ultimate Wood Stain in Barrel Brown) from Wal-Mart and it came out beautifully!
Rust-Oleum Varathane Premium Fast Dry Interior Oil-Base Aged Barrel Wood Stain – 1 qt.PPG ProVantage Bag of Rags for Painting, Staining, Polishing, Cleaning and Dusting, White, 4 lb


Step 4: Cut Fabric to Size
The next step to refurbishing an antique bed is to prepare the new fabric. Make sure that you use an upholstery fabric. It’s typically thicker and more durable than regular fabric that you use for clothes, blankets, etc.
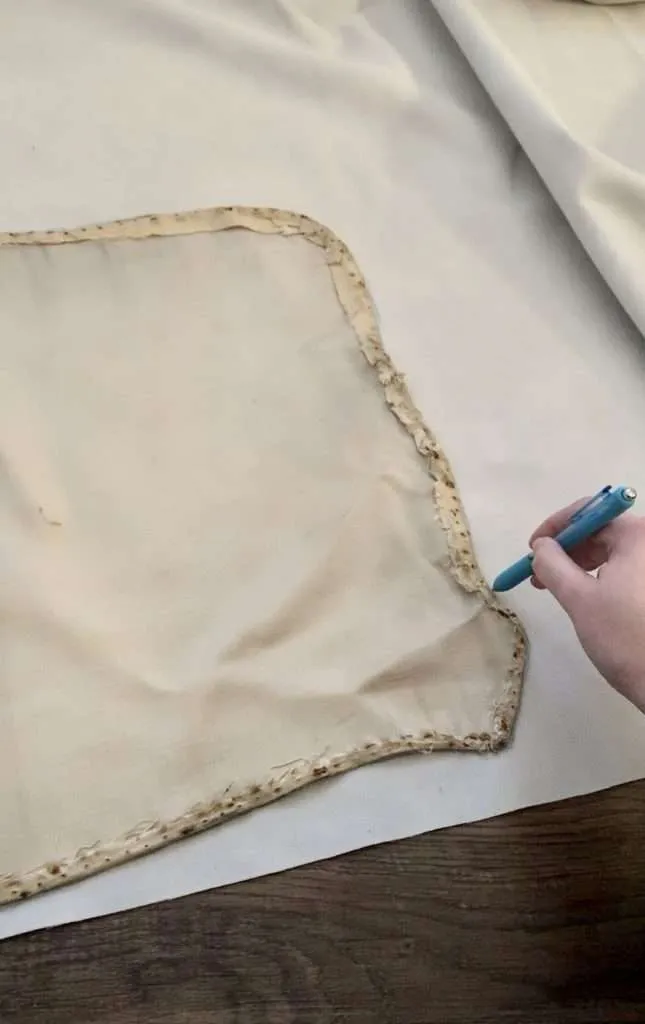
I traced the old pieces of fabric that we pulled off the bed onto the back of the new fabric.
**Pro Tip:** Make sure that you lay the old fabric face down onto the back of the new fabric.
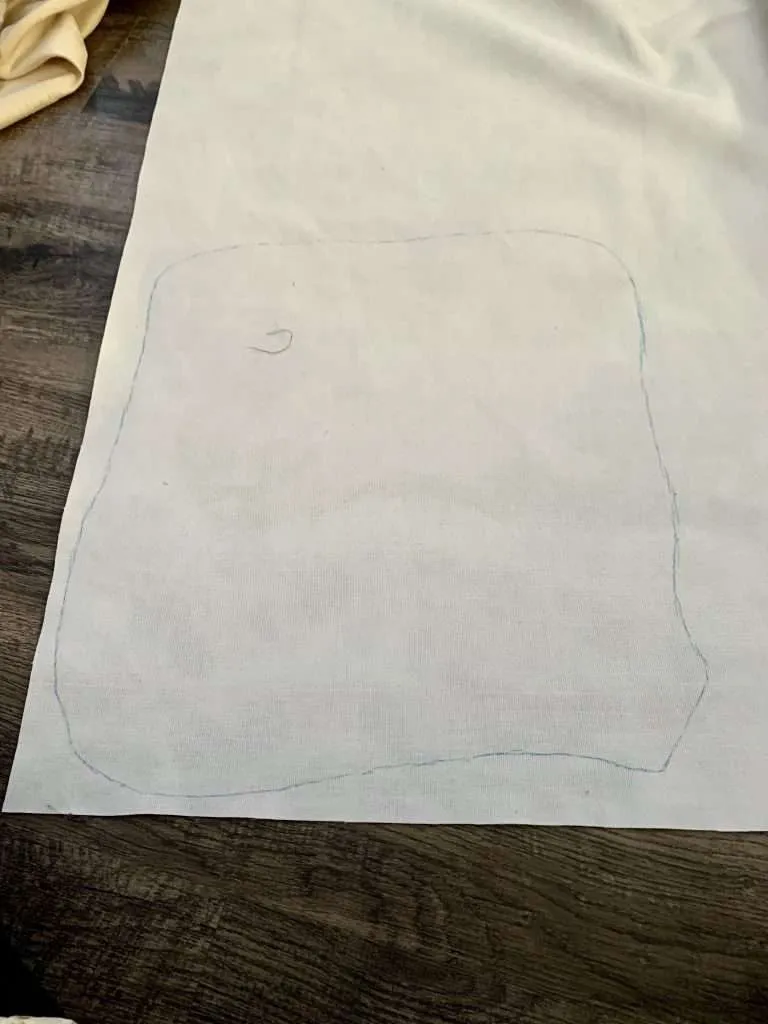
Once we traced the old fabric onto the new fabric, it was time to cut it out.
**Pro Tip:** When cutting the new fabric, DON’T cut right on your traced line. Add about a half-inch on each edge, to account for folding the fabric under when you tack it down.
Madam Sew Heat Erasable Fabric Marking Pens | Quilting, Sewing, Crafts and Dressmaking I 4 Assorted Colors with 4 RefillsSINGER ProSeries Sewing Scissors Bundle, 8.5


Step 5: Re-Upholster the Bed
The next step turned out to the be the most aggravating and time-consuming of all.
It was time to reupholster the bed.
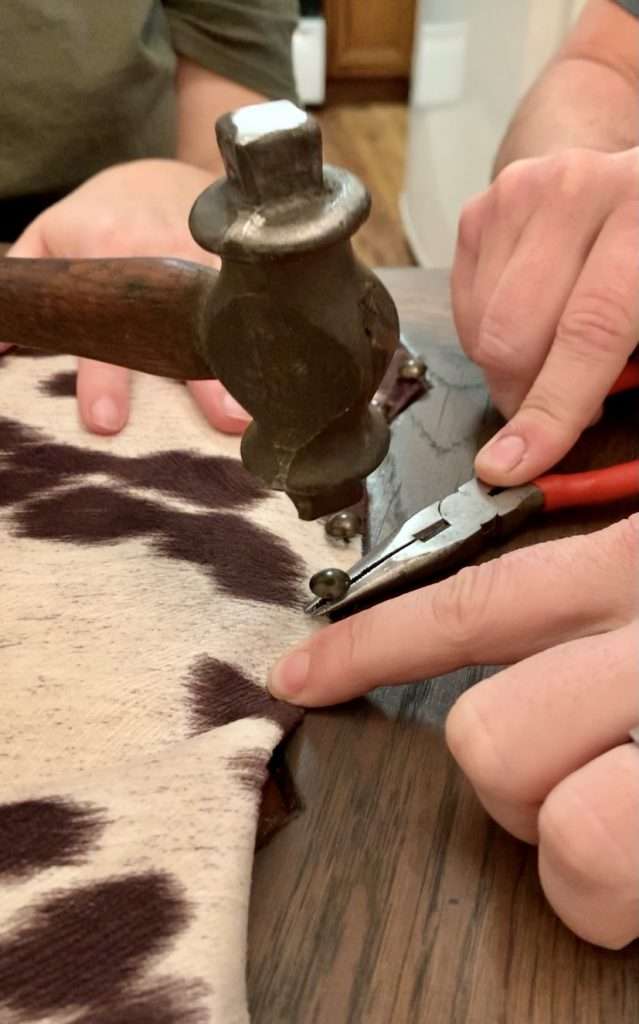
Starting in one corner of each upholstery section. I folded the fabric under to make a straight, neat line, placed a tack in the corner and drove it partially in.
Then I used the width of my fingers for spacing to place the next tack. (It wasn’t a very scientific or precise approach, but it actually worked out pretty good.)
**Pro Tip:** Instead of trying to hold the tack you are hammering with your fingers, use a pair of needle nose pliers instead.
After partially driving in a row of tacks I went back and hammered the tacks all the way in. We didn’t put them all the way in at first in case we had to pull them out and adjust the spacing.
The tacks tended to move around and bend when we were hammering them in. It best to use gentle taps with your hammer. Don’t try to drive them in with one or two hard blows, it’s only going to break off the head of your tack.
This step would have taken me MUCH longer, but thankfully, my husband helped me. One of us would fold the fabric and hold it down, while the other placed the tack and hammered it in. It made the whole process go much faster!
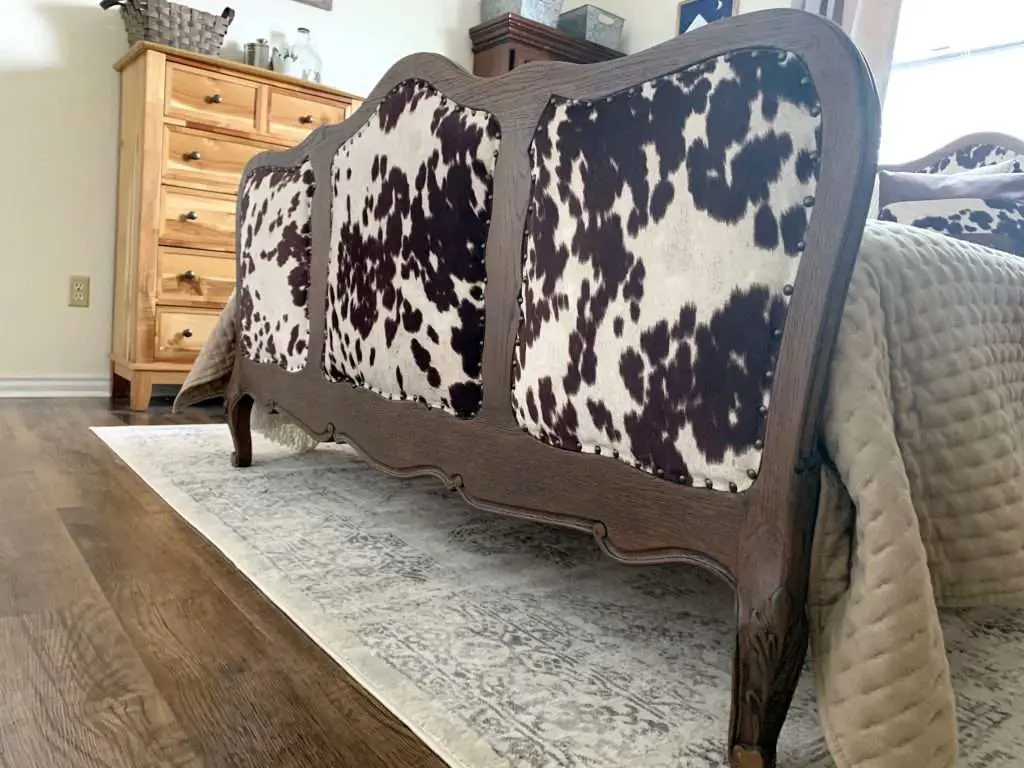
We were able to reupholster this whole bed with almost no wrinkles!
Suede Velvet Cow Print Udder Madness Upholstery Fabric 54Decotacks 100 Pcs/Box Upholstery Tacks Upholstery Nails ∅7/16
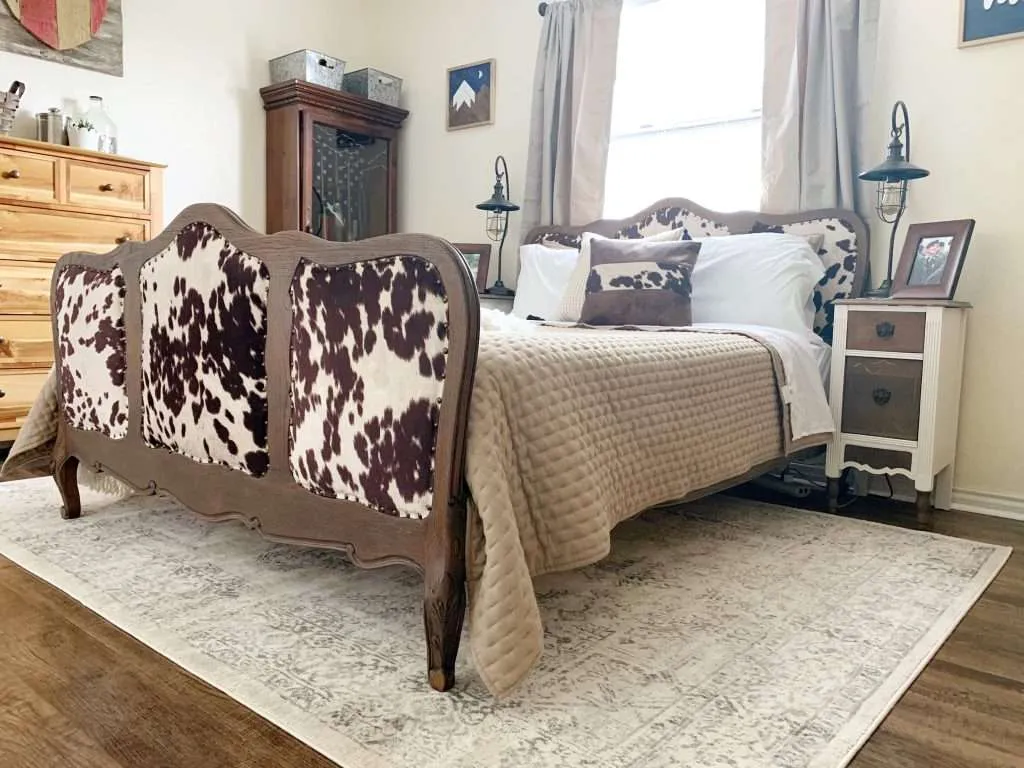
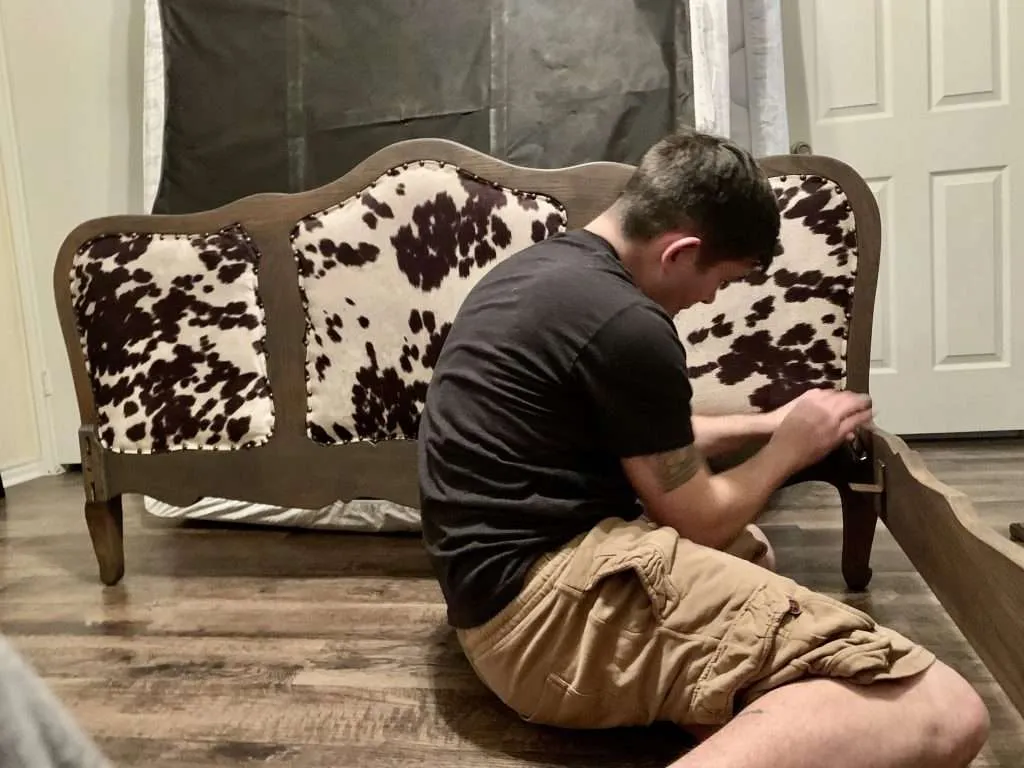
Step 6: Put It Together
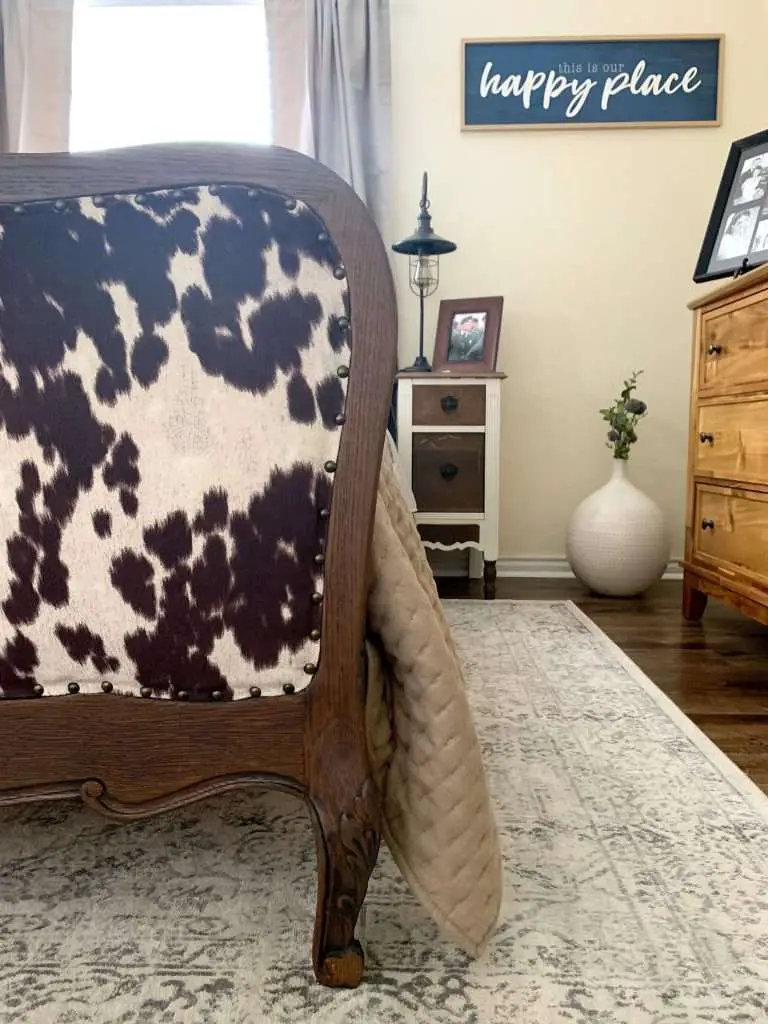
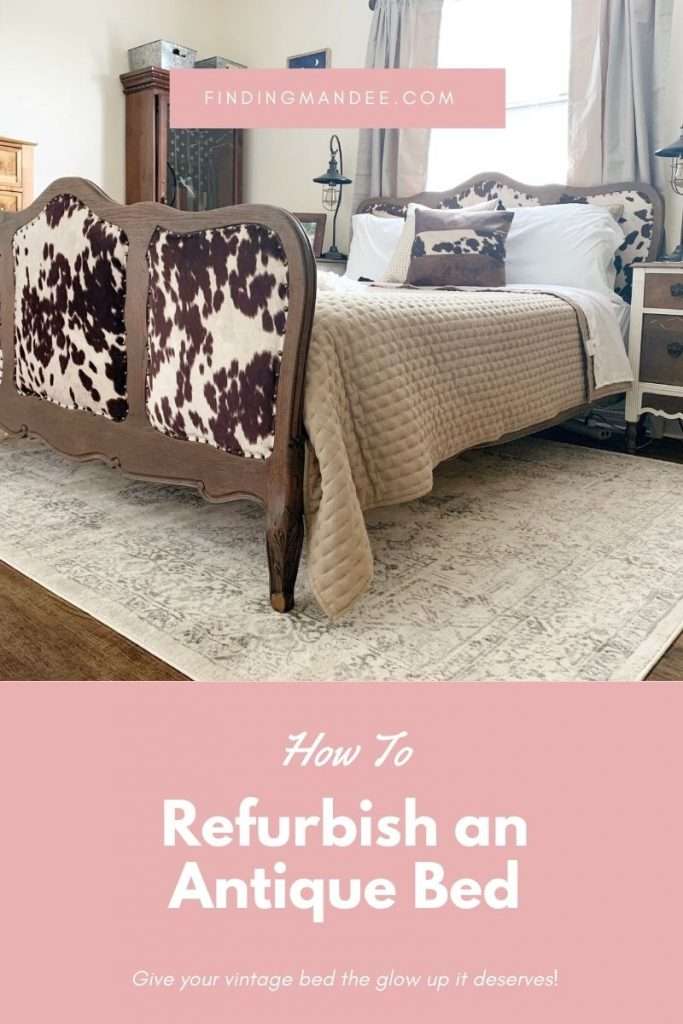
Since the upholstery was finished, it was time to put our ‘new’ bed together and enjoy!
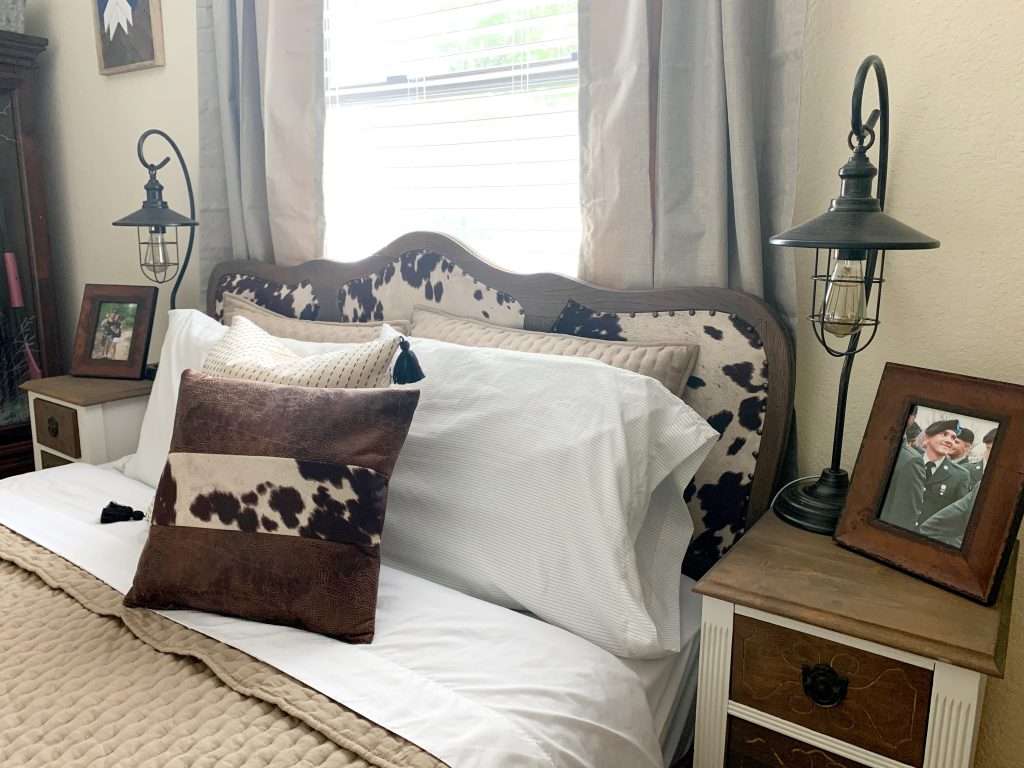
Of course, I had to get new bedding to go with my “new” bed. And I even made a new pillow with leftover fabric scraps.
I love the way it all came together!
When I bought this ‘janky thing’ we had no idea how to refurbish an antique bed, but we figured it out. And now it’s one of my favorite pieces of furniture in the whole house!
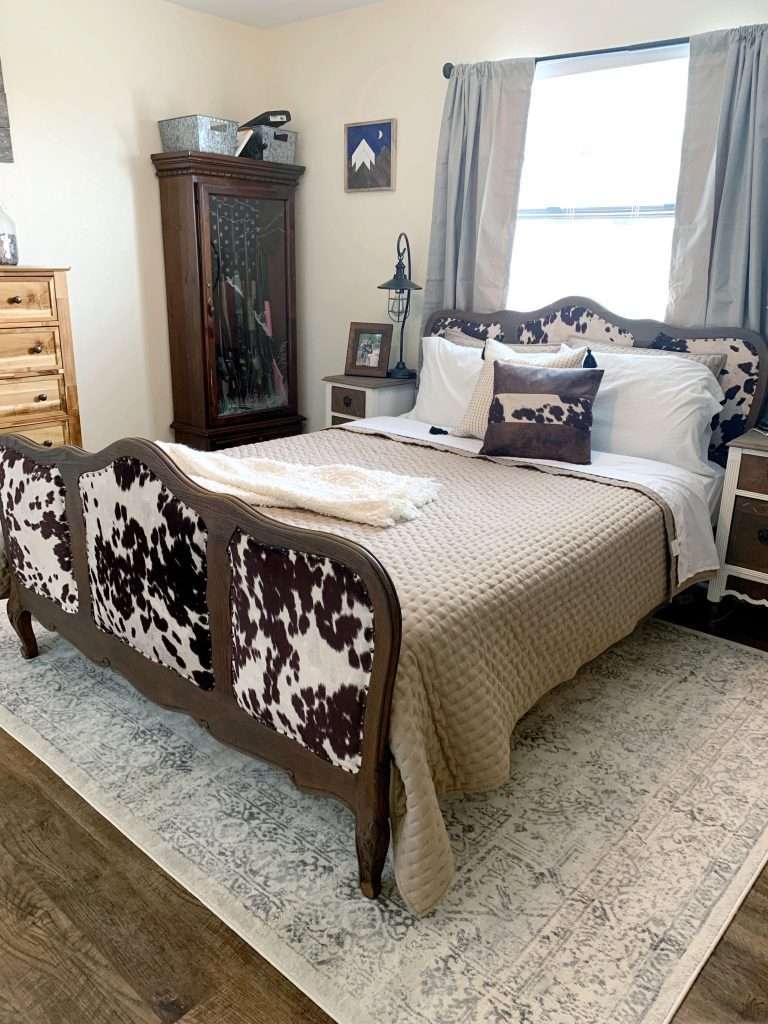
I can’t wait to do some more decorating in our room and maybe even put together a post showcasing our ‘new’ pretty bedroom. Since this is the first time I have EVER really decorated it. It usually just gets the leftovers that are discarded from other rooms in the house.
For more of our refurbishing projects check out:
- this dresser that we turned into a farmhouse Buffet
- this vintage trunk makeover
- the old medicine cabinet update
- a grungy dresser makeover
- or my favorite one yet – the antique hardware cabinet
very good post, i definitely love this web site, keep on it
Thank you!