Antique Hardware Cabinet Makeover: How We Brought It Back to Life
I came across pictures of vintage card catalogs and antique hardware cabinets in gorgeous farmhouse Pinterest inspiration pictures and fell in love! Not only do they have a funky vintage vibe and beautiful natural wood, but they are so functional. I knew I had to have one!
Buuuuttttt…..after seeing the STEEP prices for them on Etsy, I quickly decided to find one and refurbish it myself!
I told my mom that we were going to look at flea markets and estate sales for one when my dad casually mentioned that he had one and that I could have it…FOR FREE! I was ecstatic!
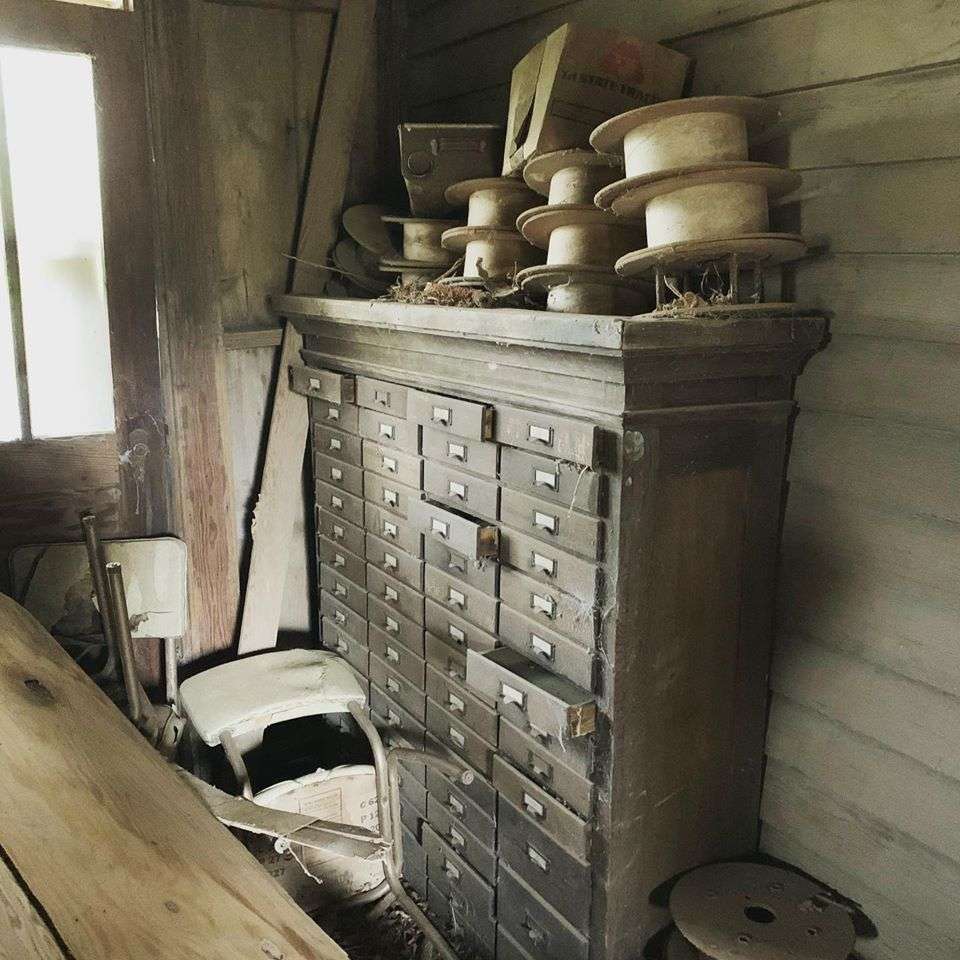
When we went to pick it up, we discovered that it wasn’t a card catalog at all, but an antique hardware cabinet. It was used to store nuts, bolts, screws, phone jacks, and other small pieces of hardware at a block factory in Columbus, Georgia.
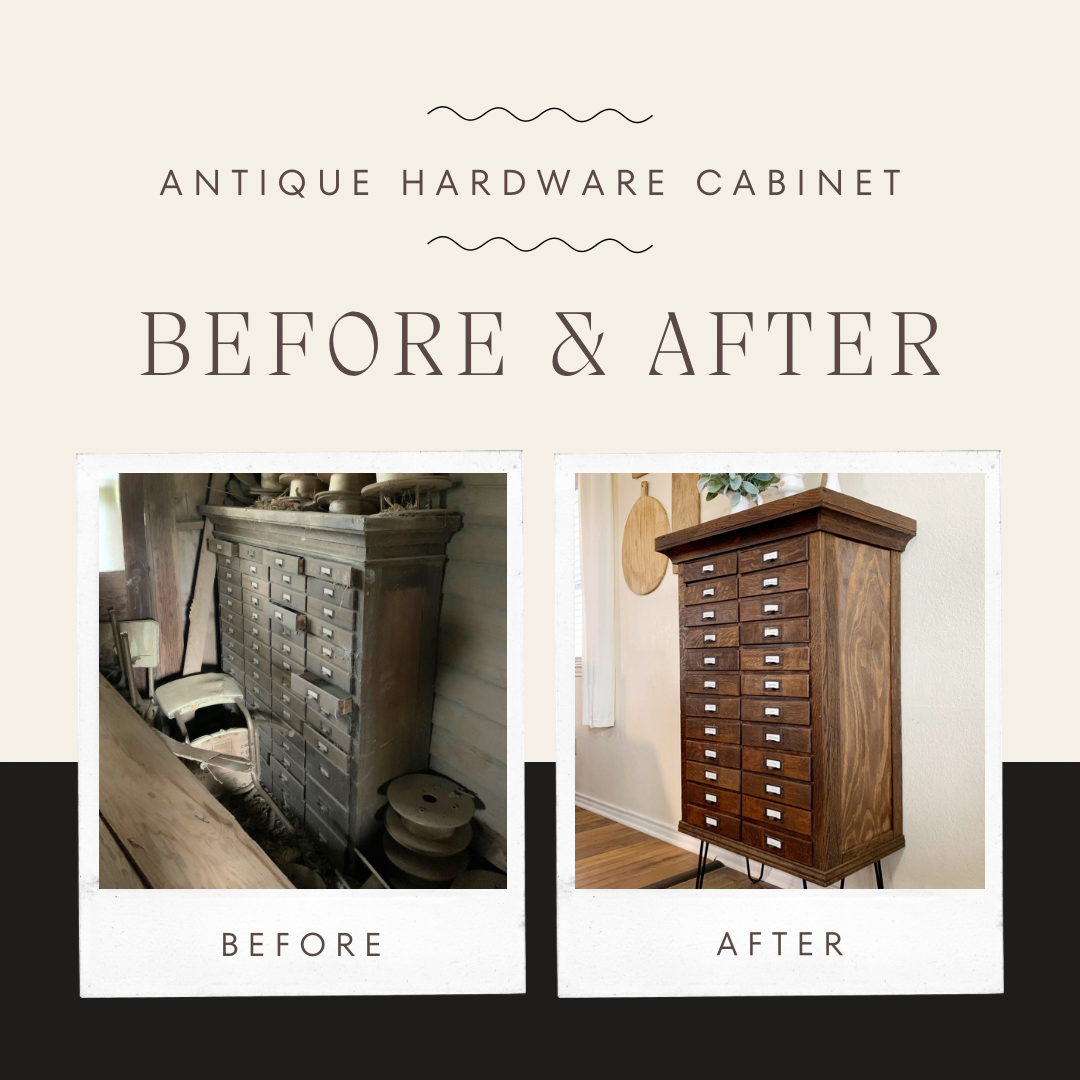
This cabinet was sitting in the corner of an old farmhouse-turned-barn that belonged to my great-grandparents. The same barn used for storing hay, corn, and junk since my dad was little.
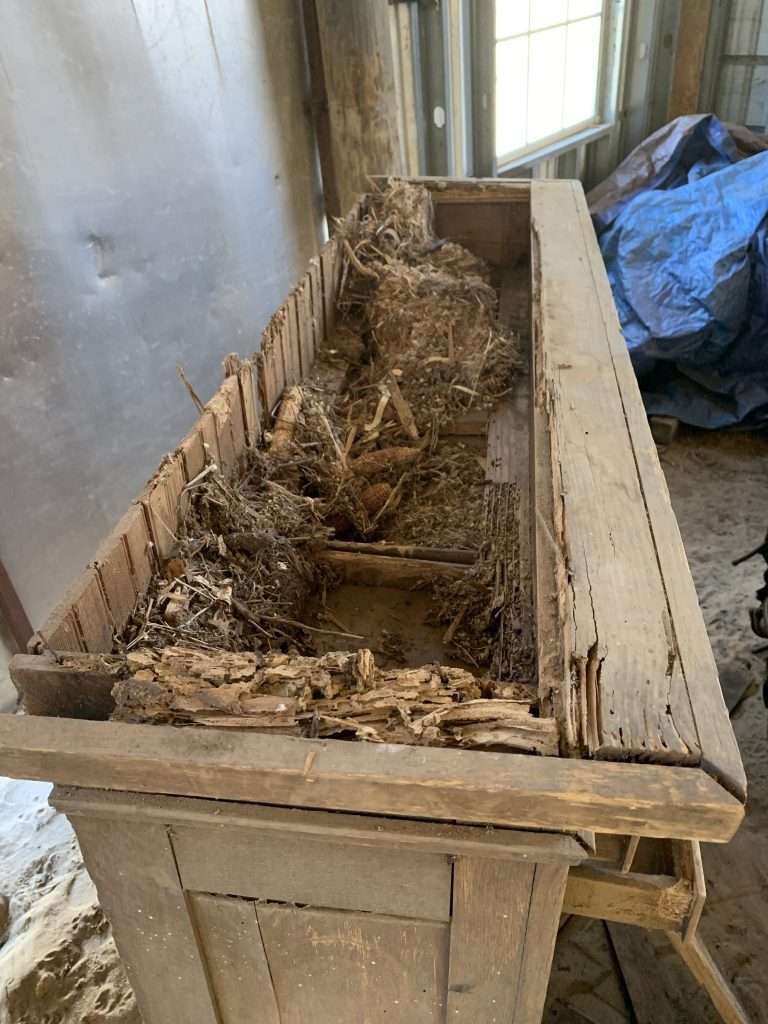
It was full of rat nests, bugs, termite damage and was in ROUGH shape. But I knew that it could be pretty again, if given the chance!
Here’s how we brought this antique hardware cabinet back to life!
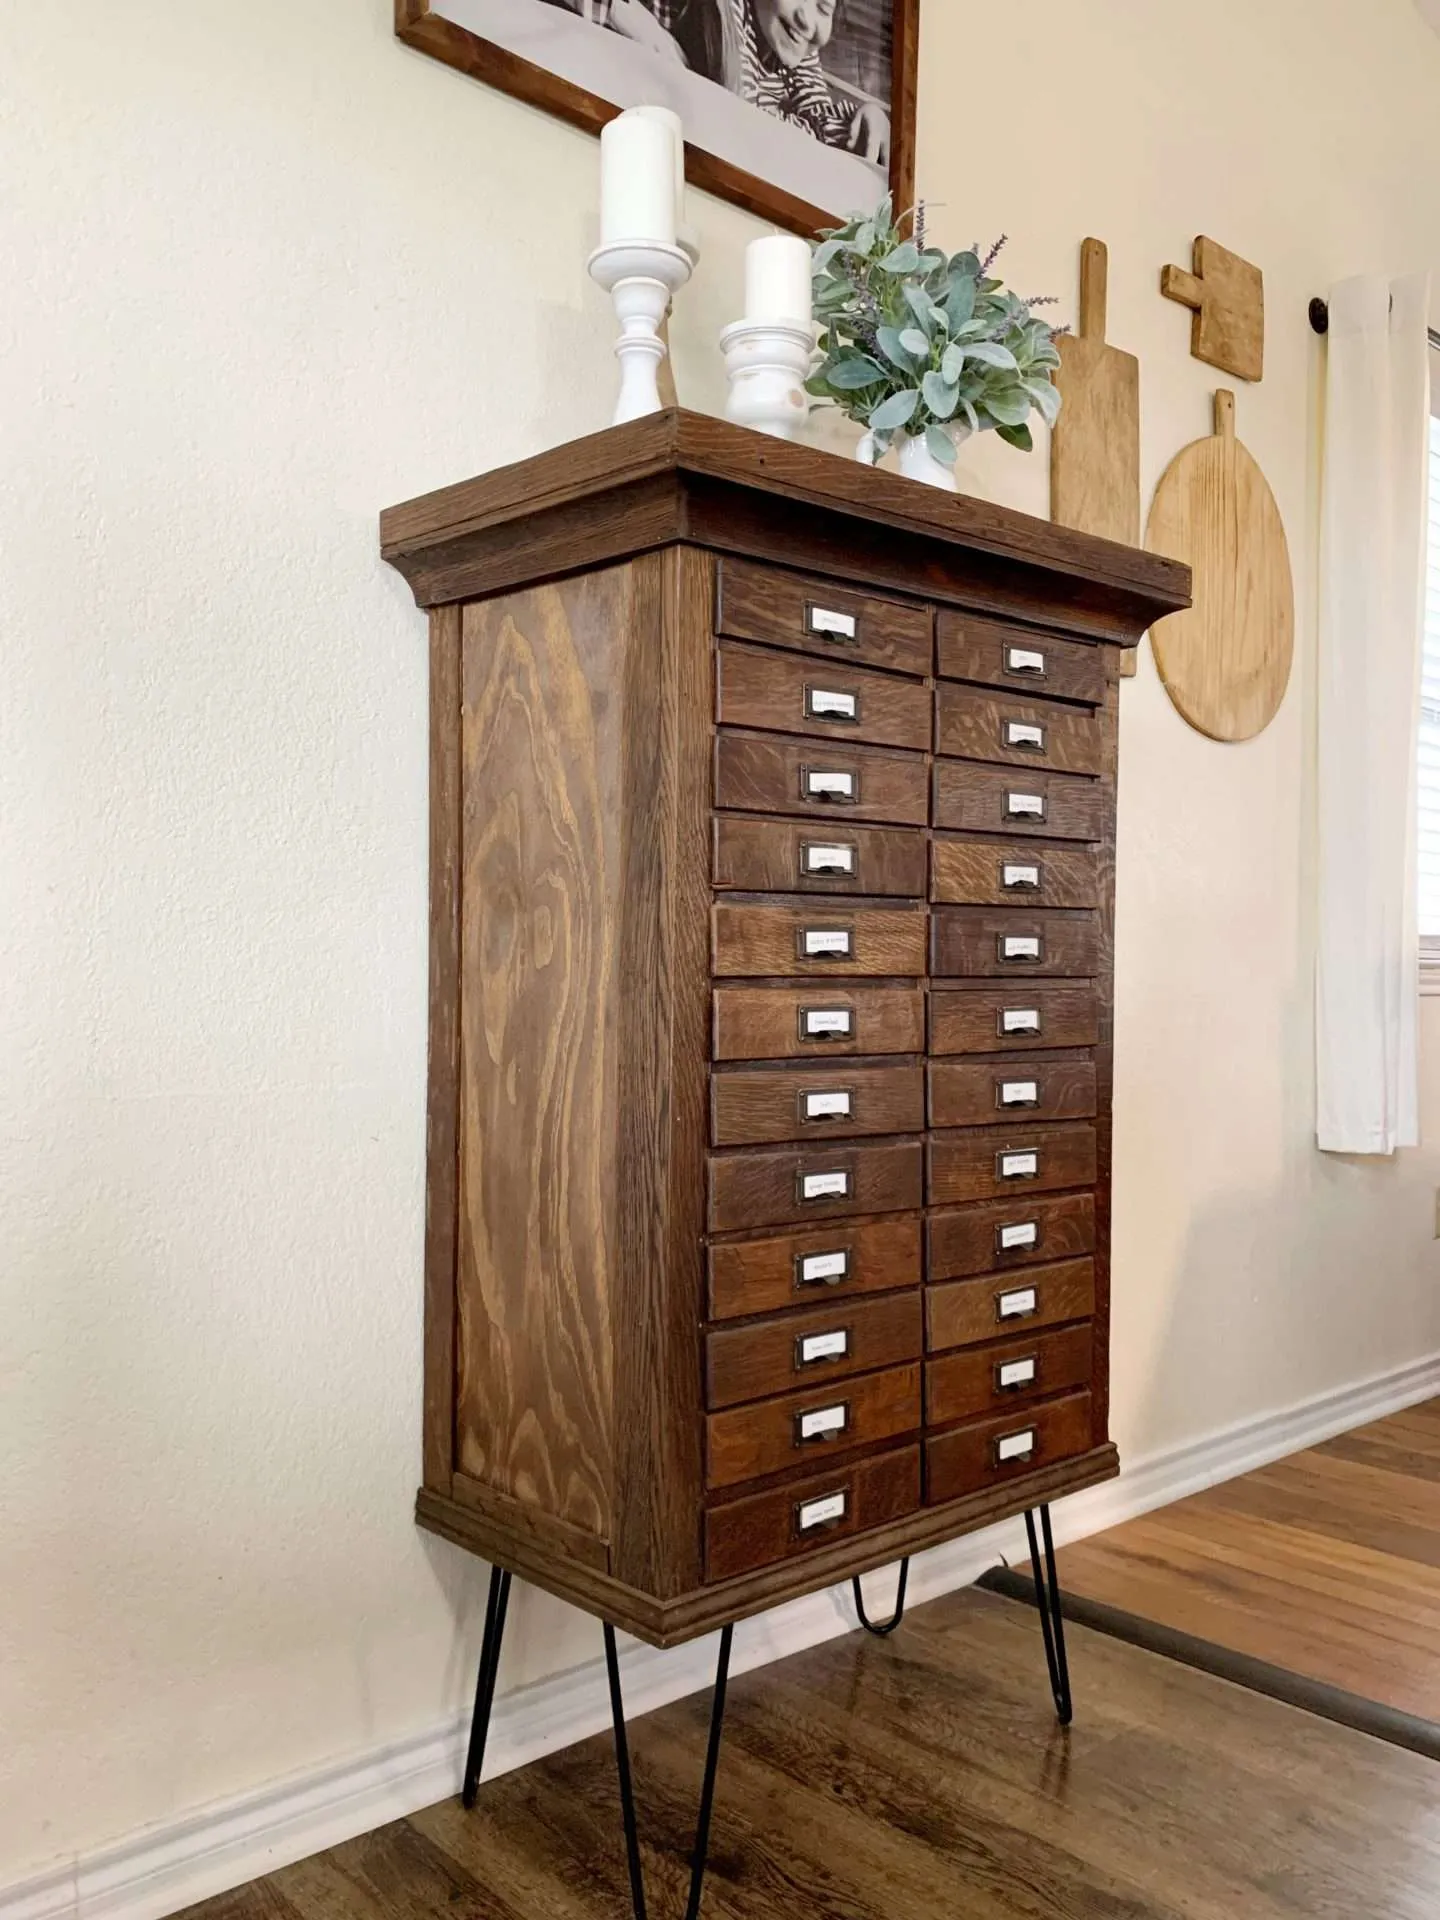
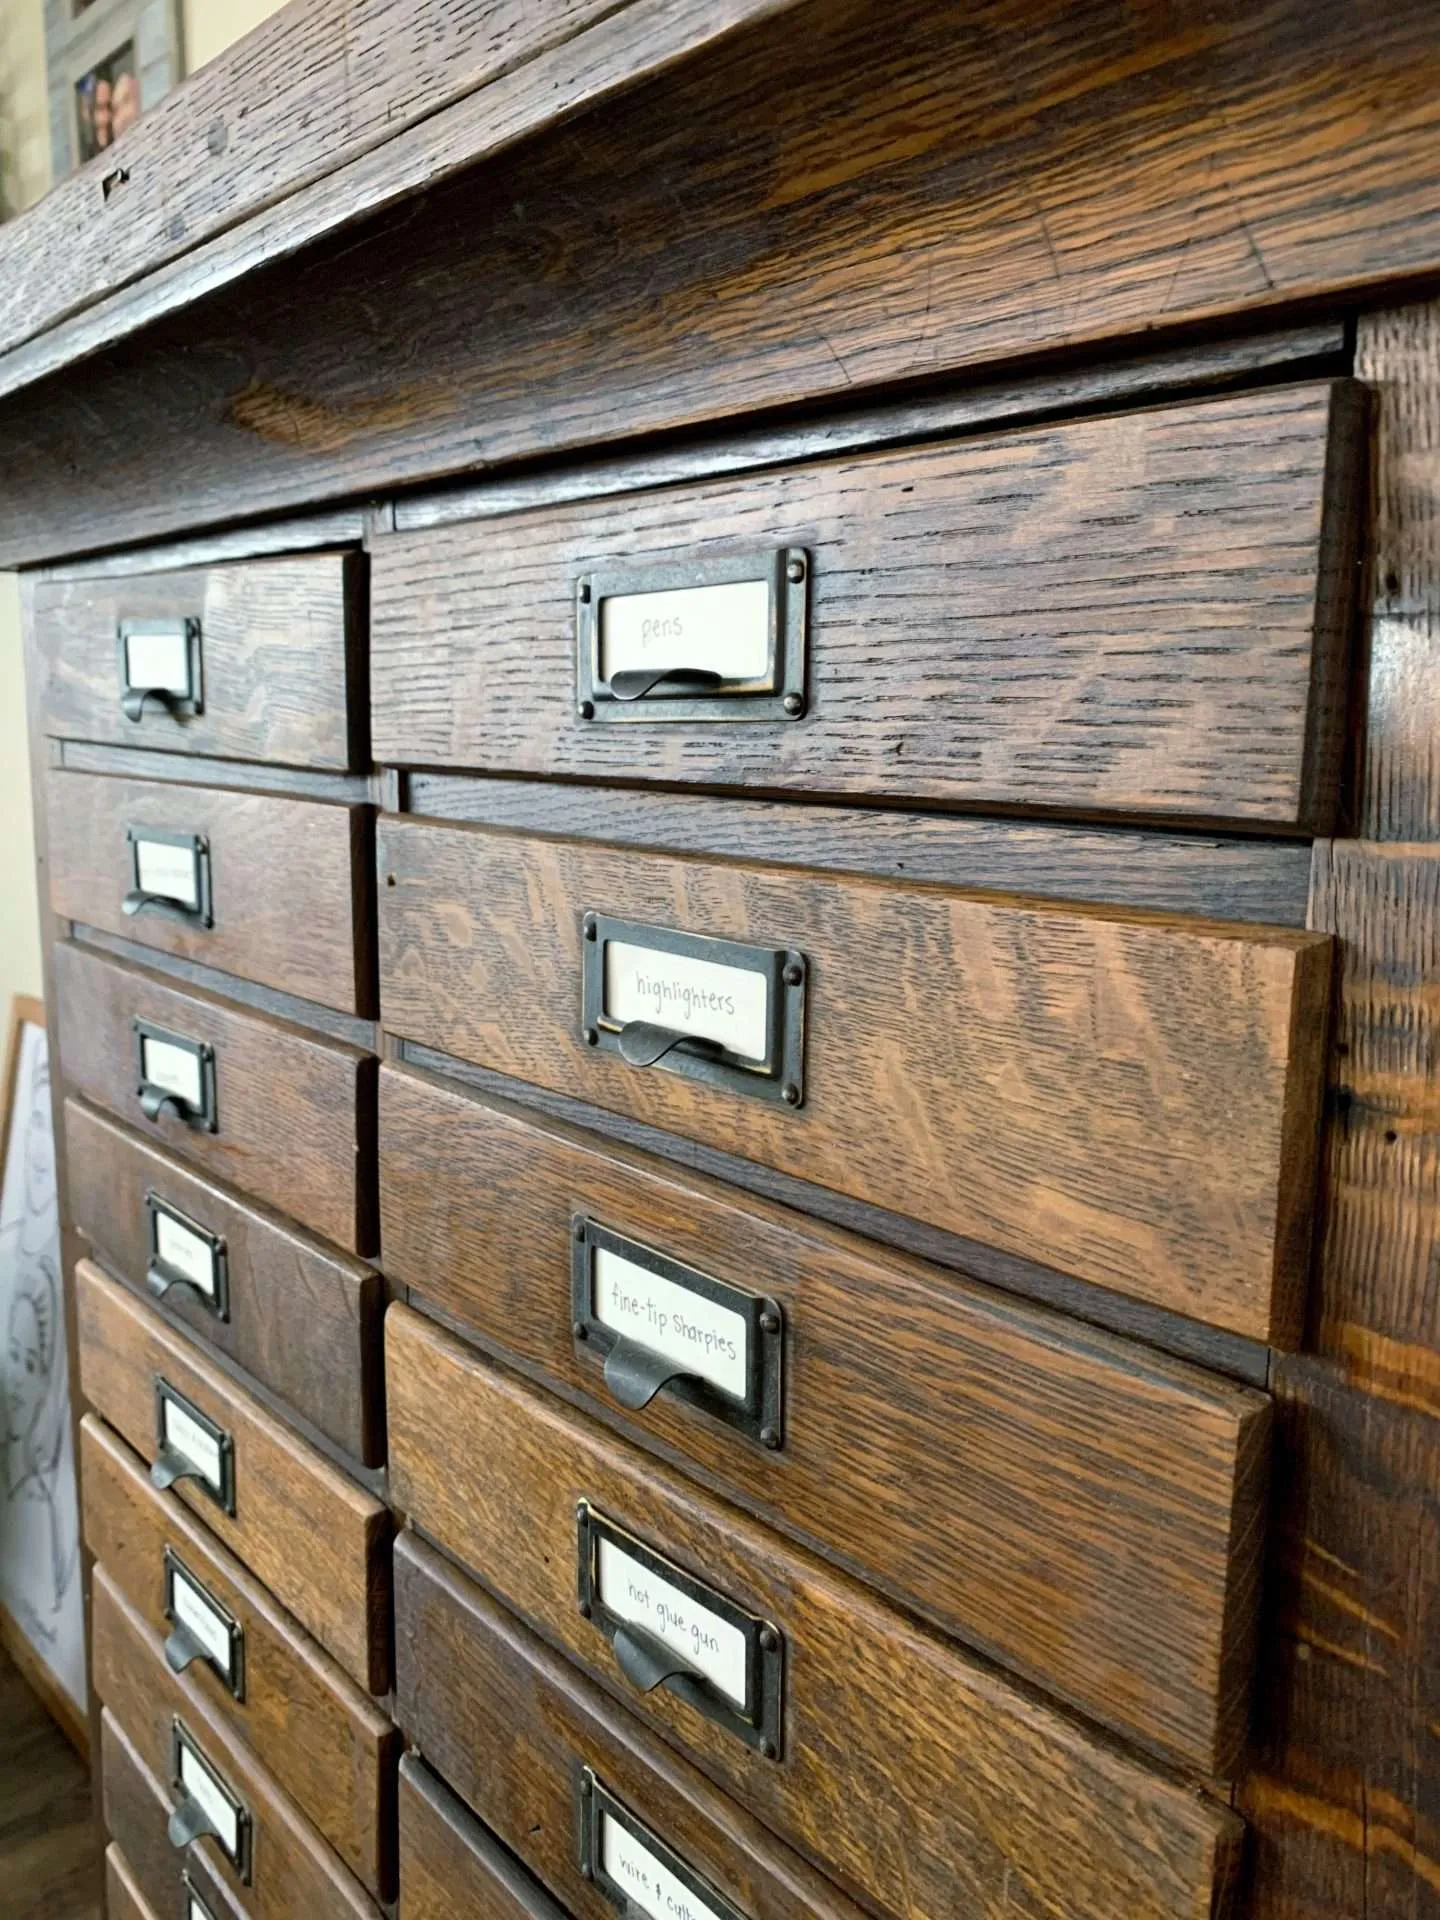
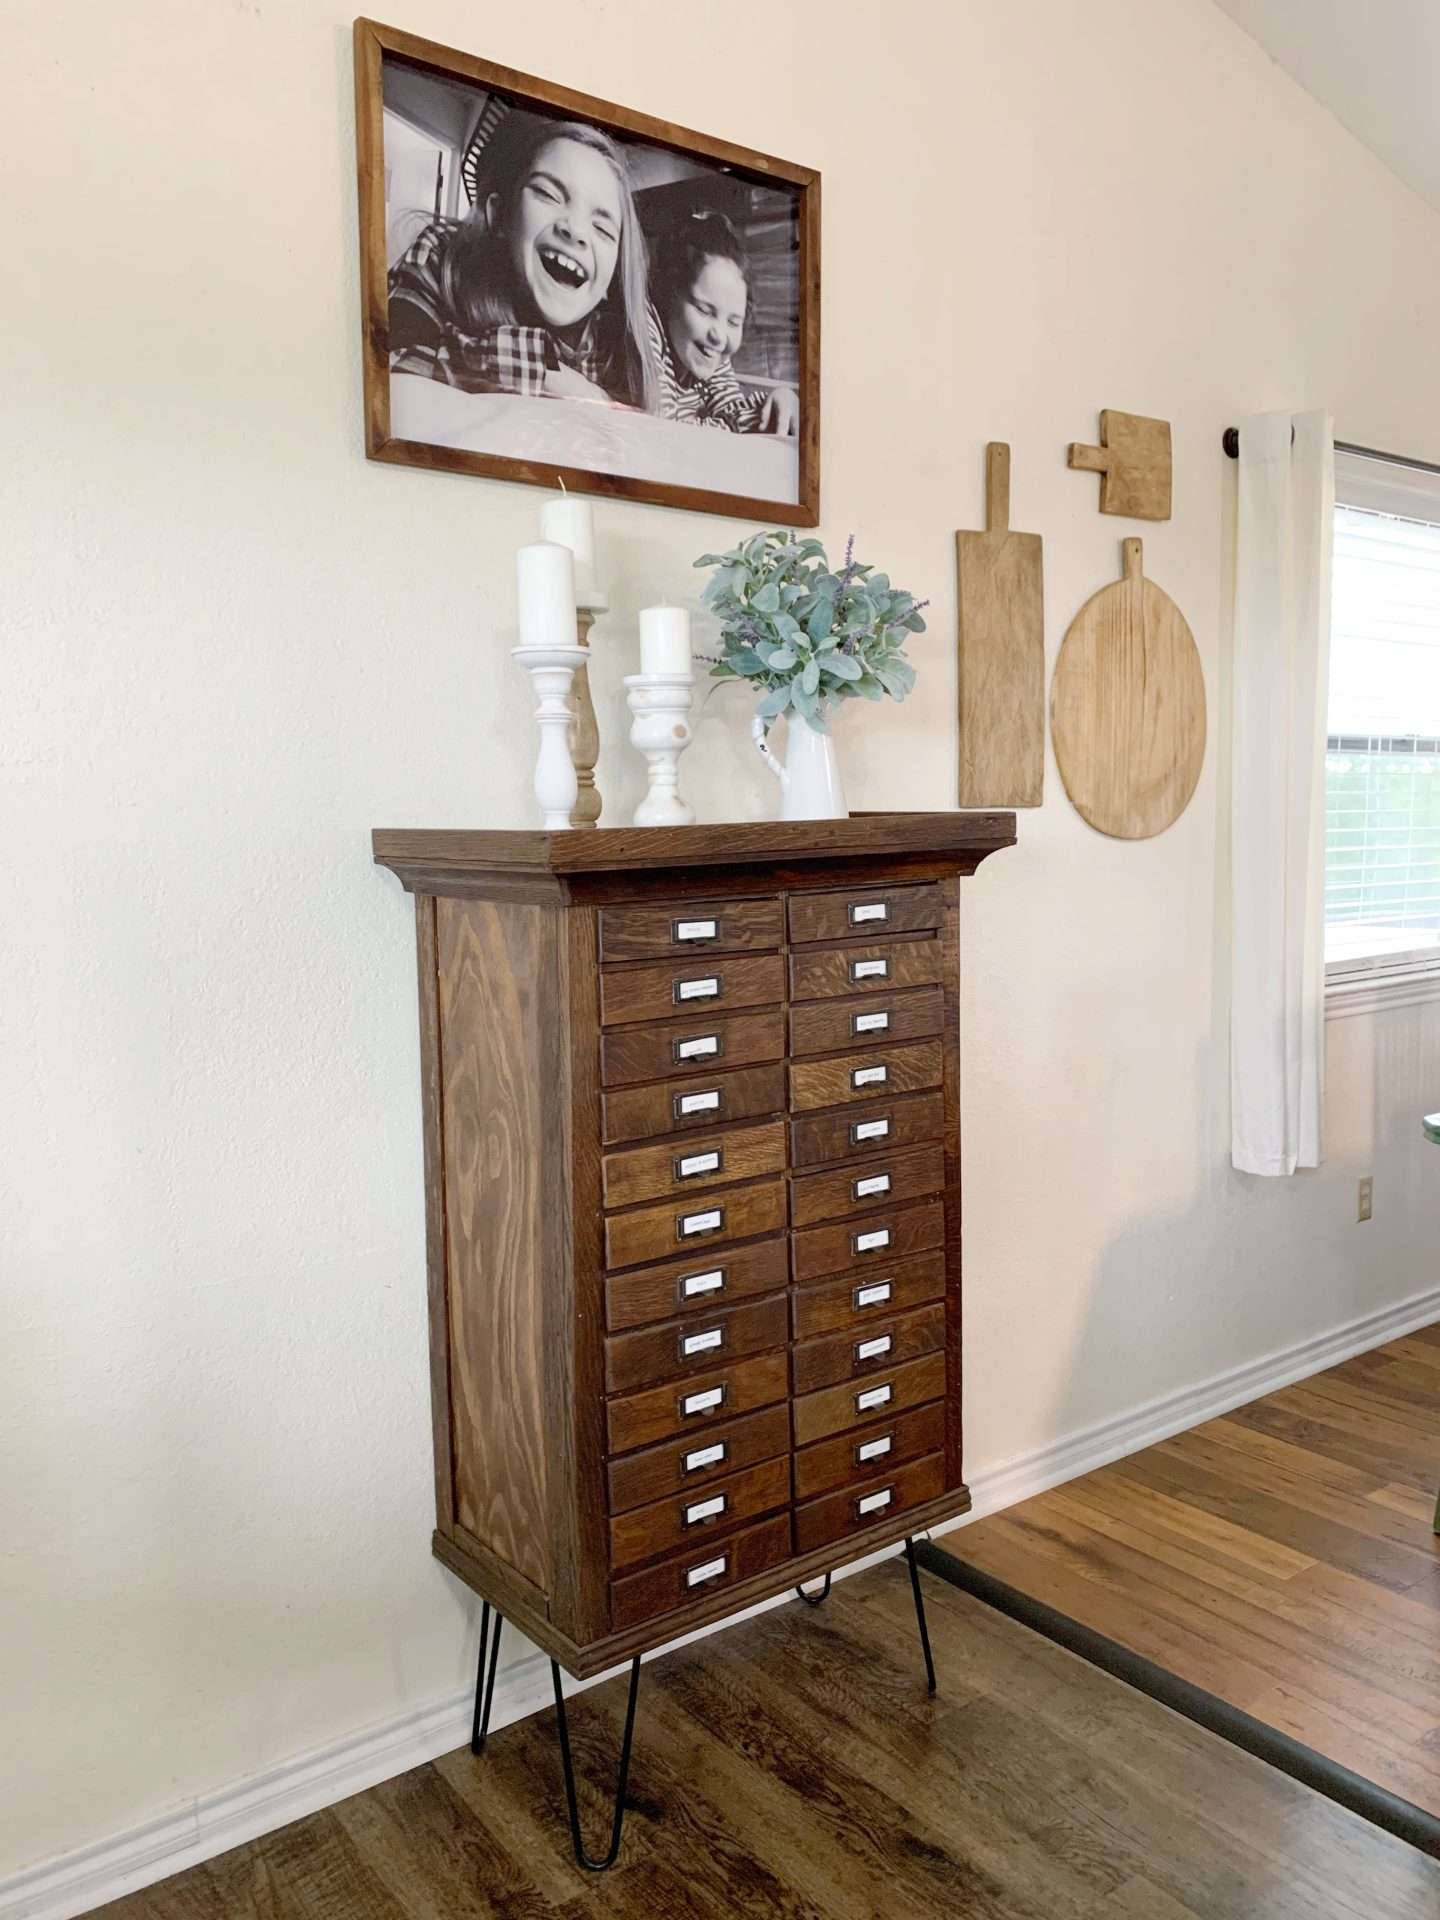
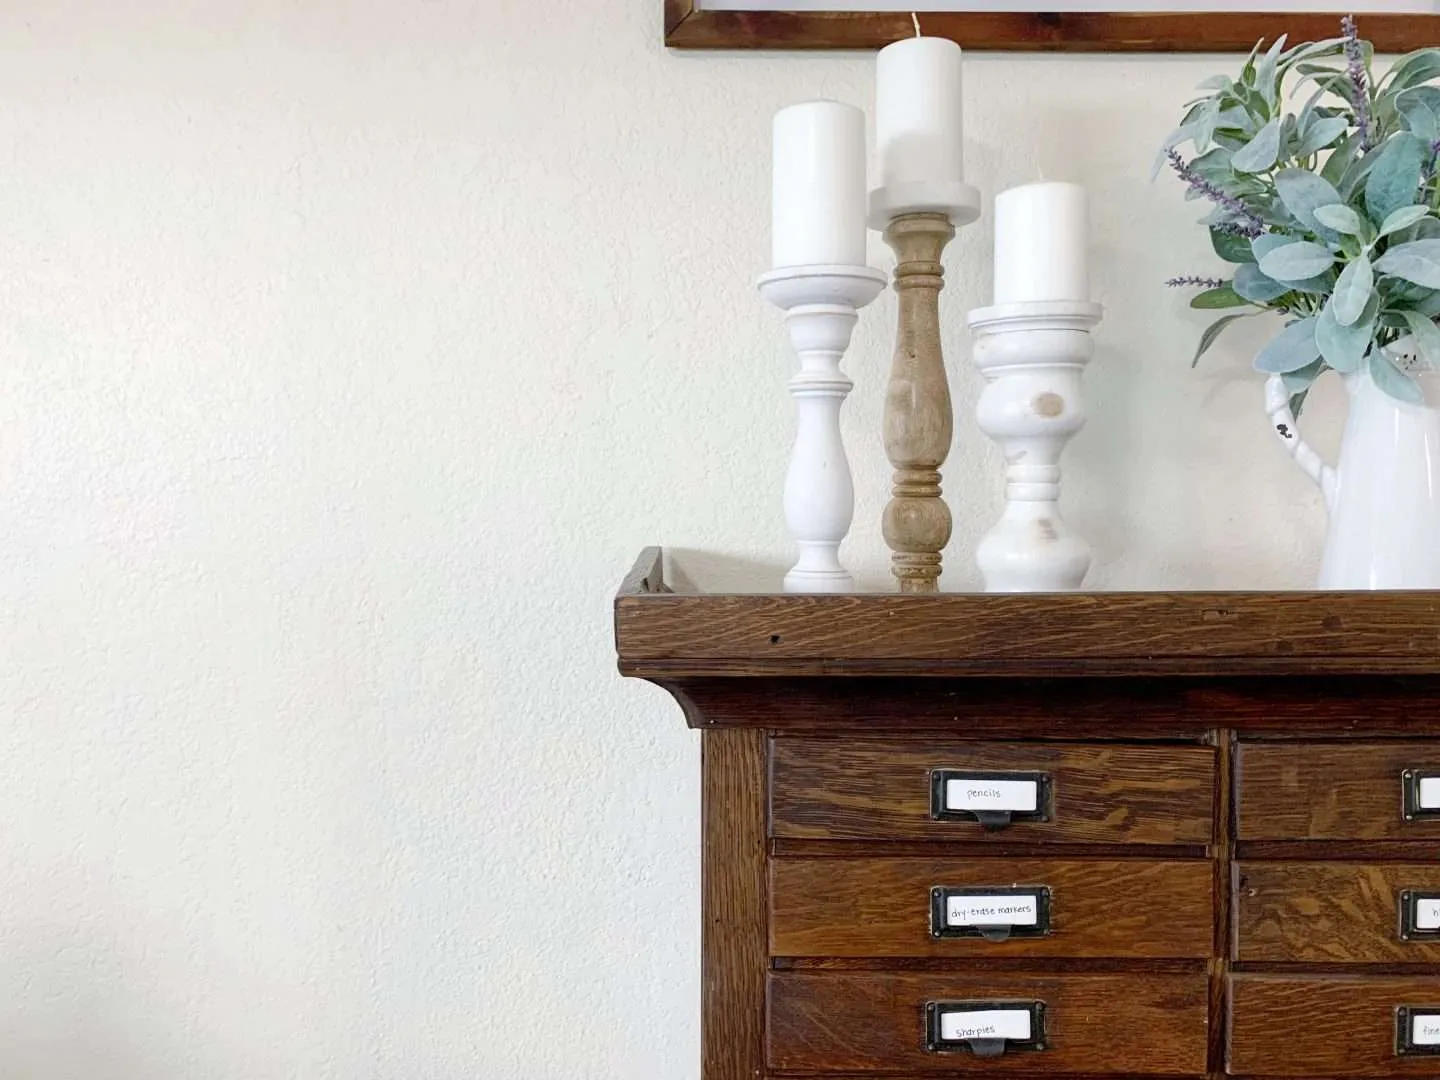
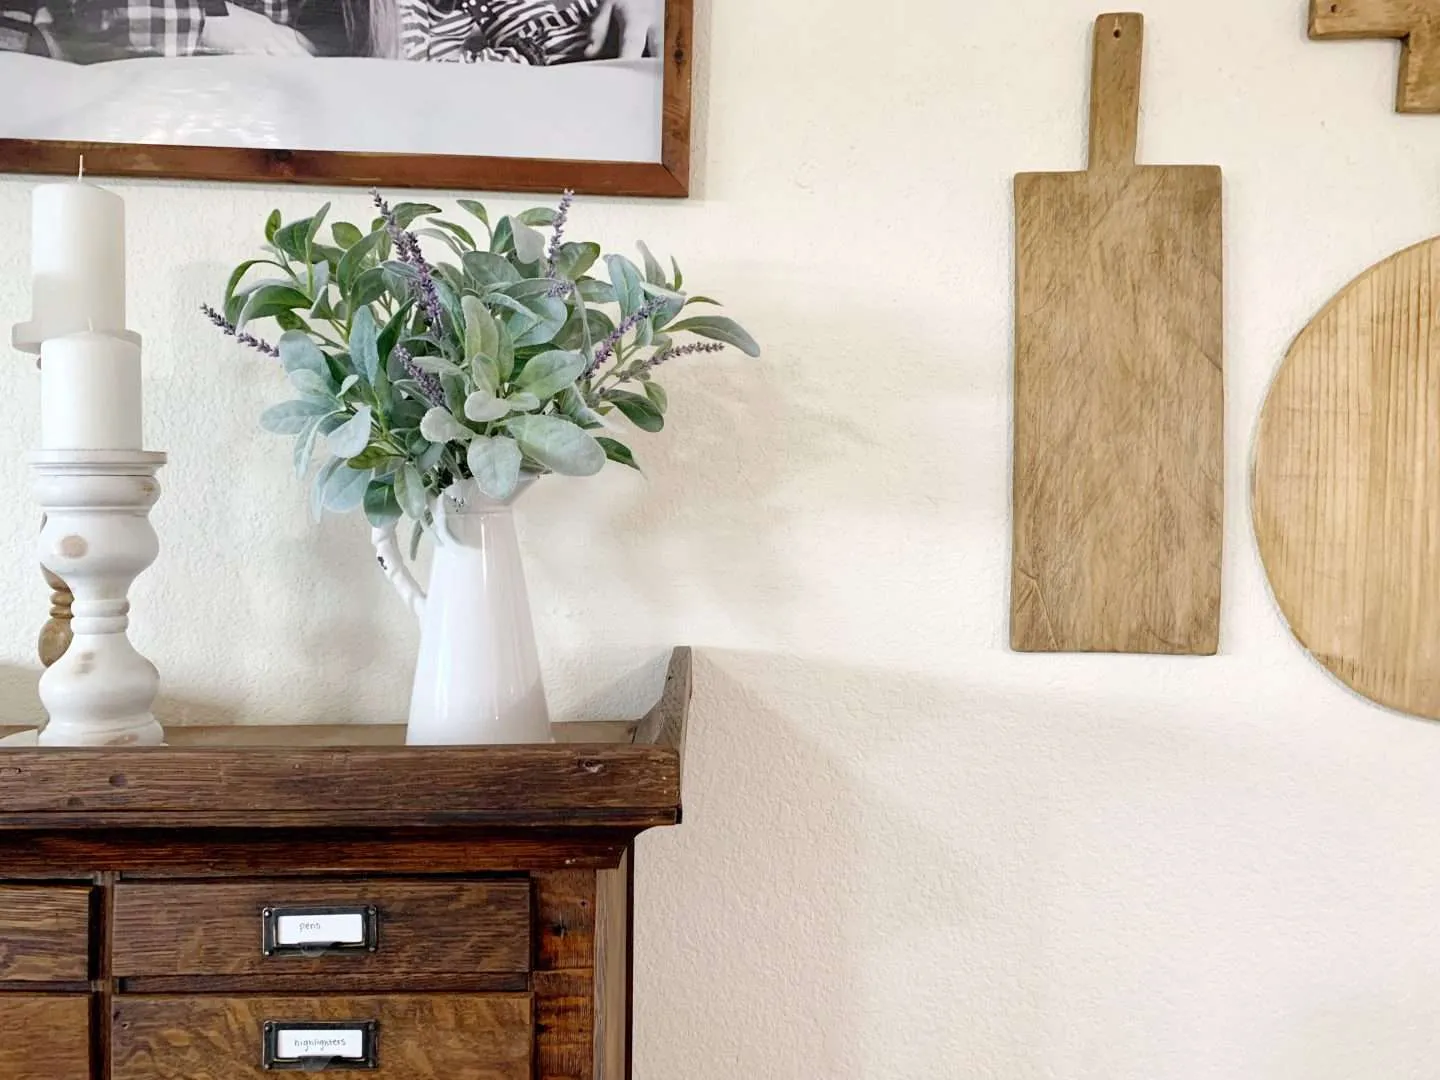
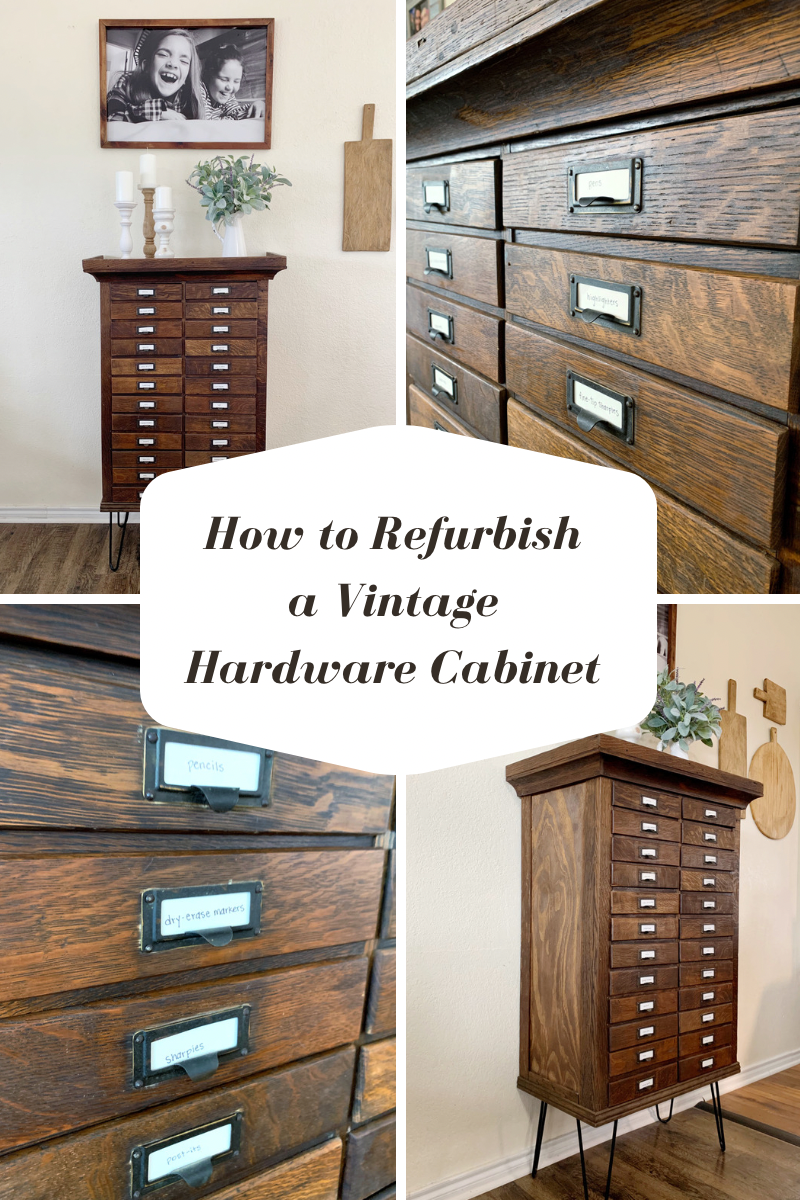
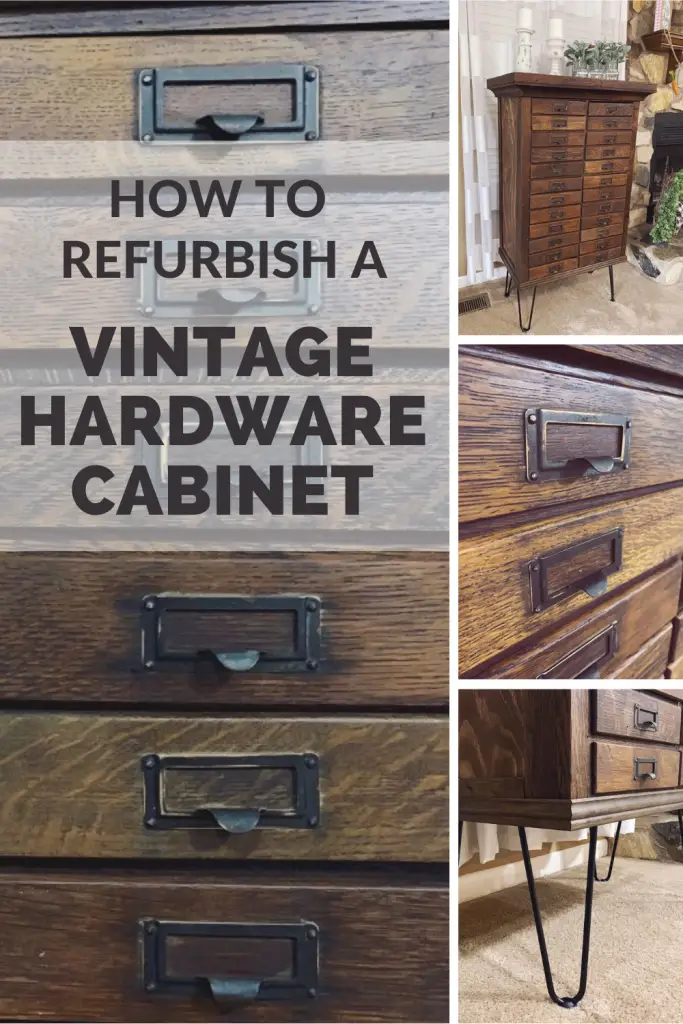
(The after pictures because I couldn’t wait to show you!)
Card Catalog Desk Drawer Organizer – Wooden Storage Box with 16 Drawers – Home Office Desk Organizer Curio Cabinet – Rustic Drawers Dressers for Countertop- Apothecary Cabinet Tea Coffee Pod StorageVintage Apothecary Cabinet with Drawers – 16 Drawer Mountable Library Card Catalog Cabinet w/ Hardware Included – Wooden Medicine Cabinet Apothecary Decor for Apothecary Supplies – 20


How to Refurbish an Antique Hardware Cabinet
Step 1: Get Rid of the Rot
After dragging the cabinet home, we discovered that it couldn’t even stand upright without support. The wood backing and the sides were so rotten that we could pull the wood apart with our hands.
We could only salvage half of the face piece, some of the trim, and about 30 of the 58 original drawer fronts.
Most of the damage was caused by termites. Thankfully, that meant that the hardwood pieces were mostly intact. On this cabinet, that meant the facepiece, drawer fronts, and internal drawer supports were all in decent shape.
**Fun Fact** Termites will eat softer wood, like pine, first, and leave hardwood, like oak, nearly untouched before moving on in search of more soft wood.
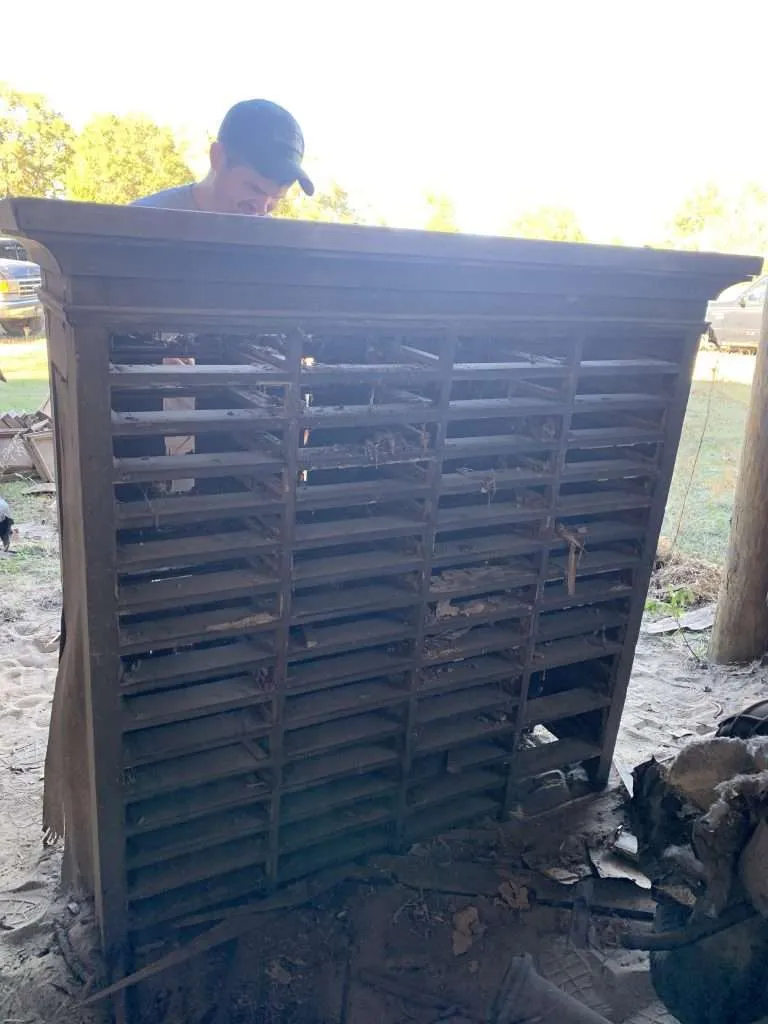
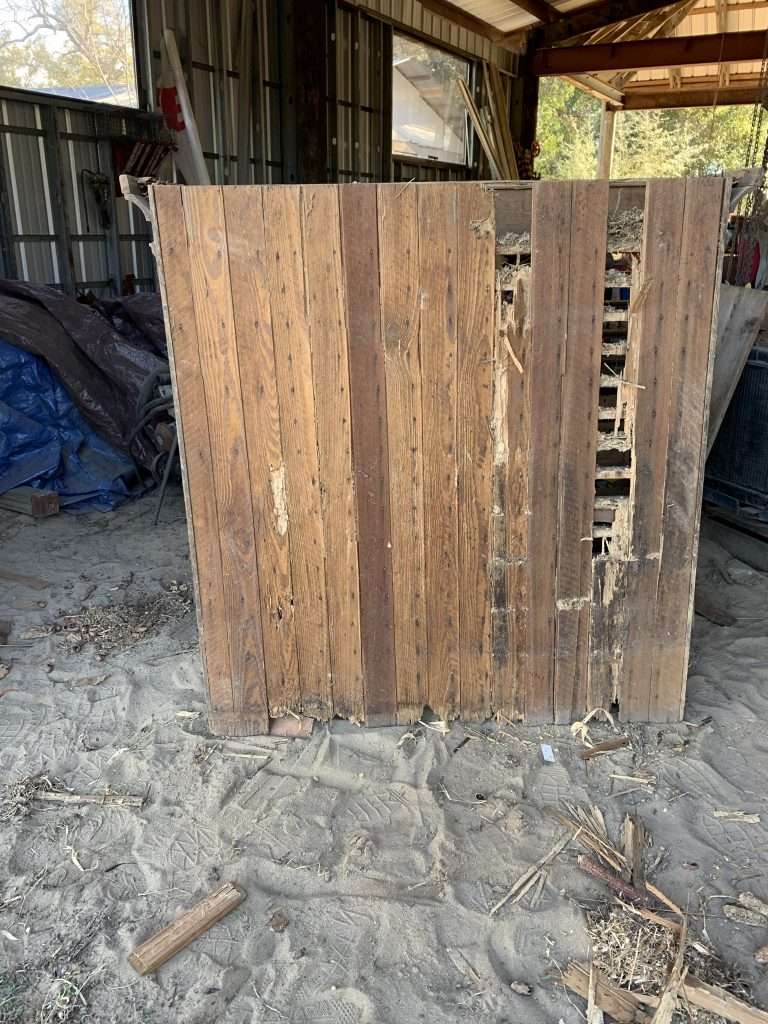
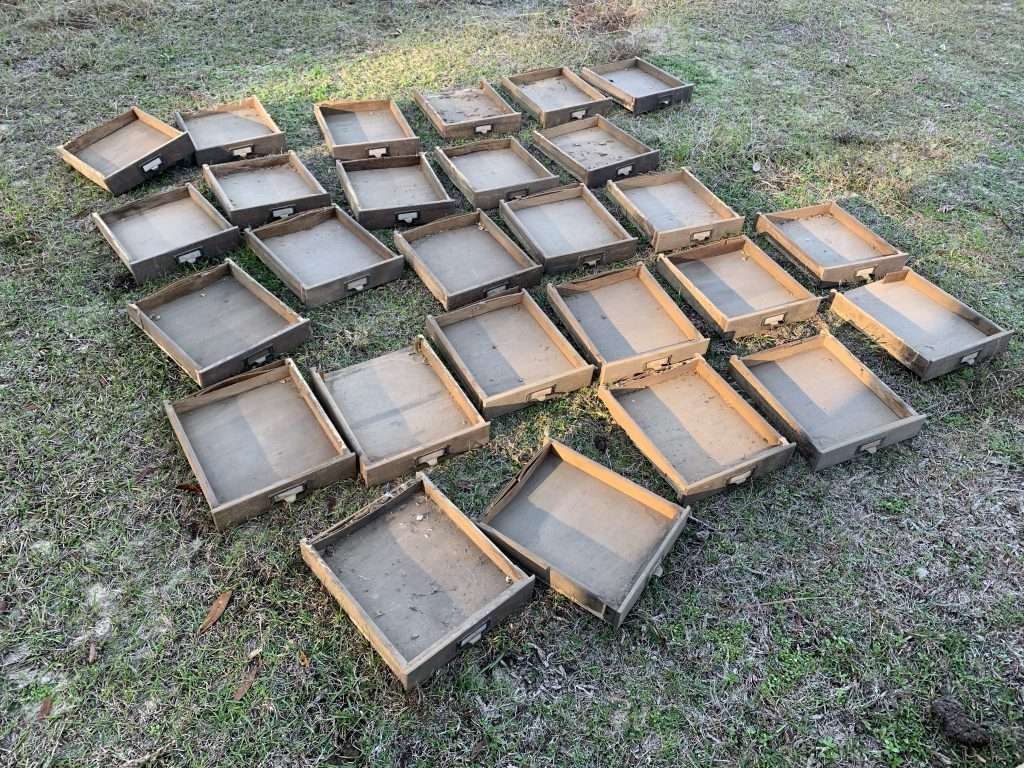
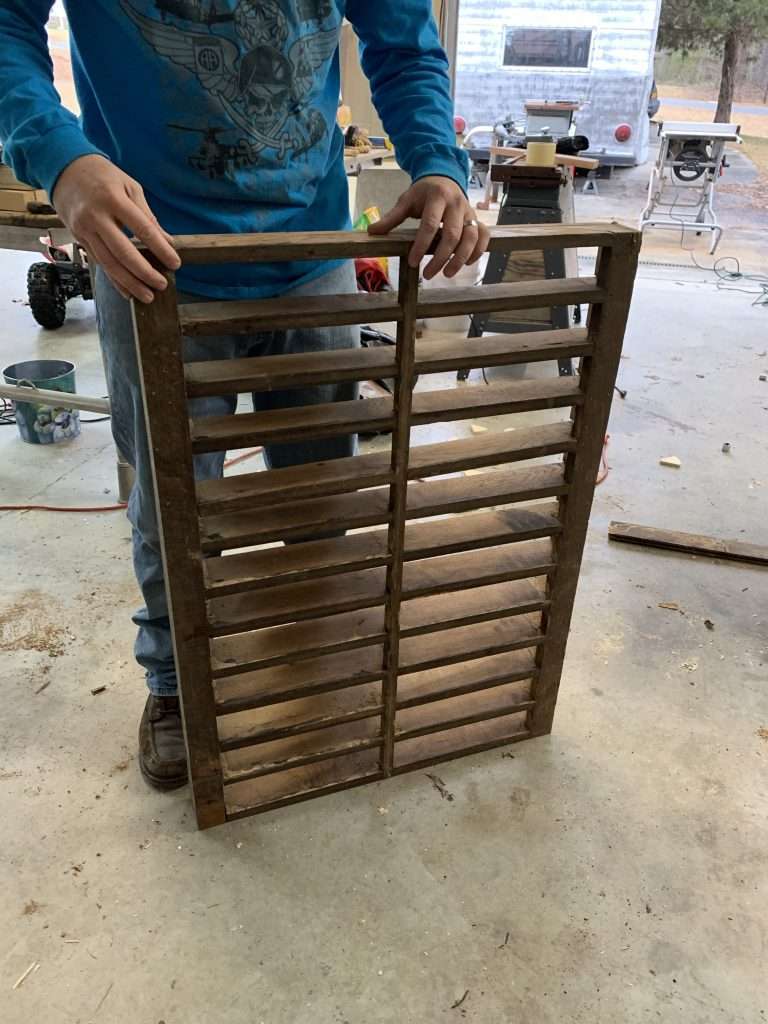
After deciding which section of the cabinet to keep, we carefully removed the trim. Then dismantled the cabinet completely.
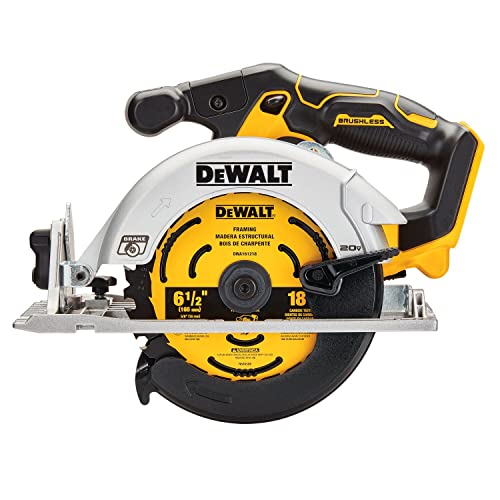
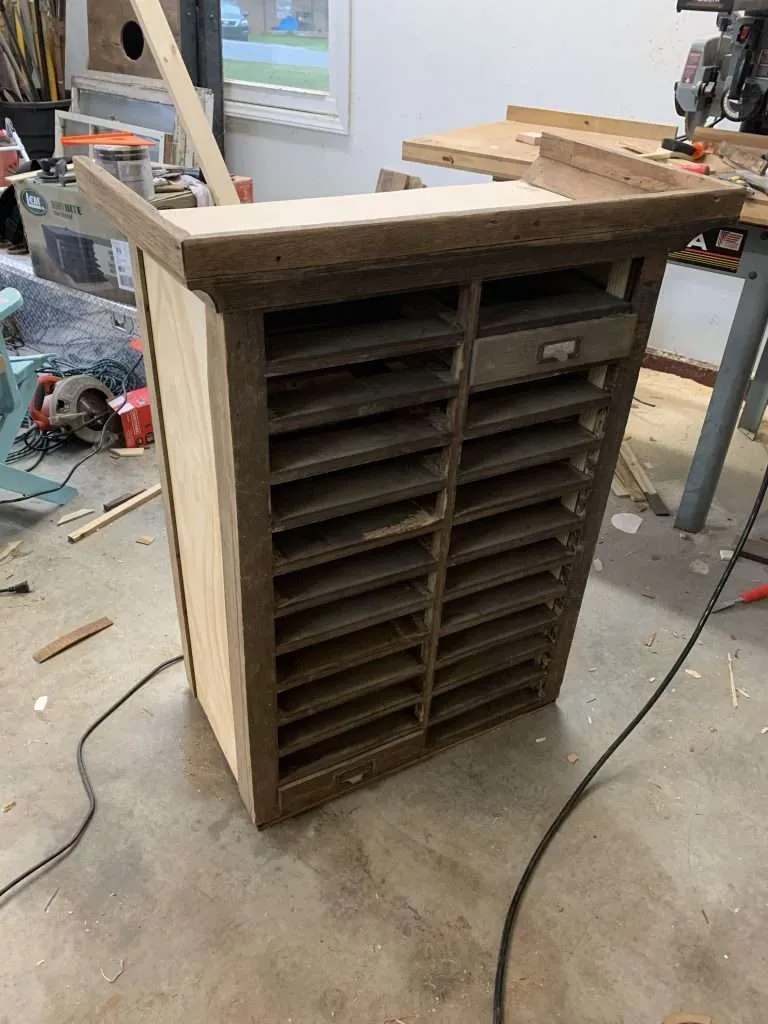
The bottom right side of the cabinet was damaged beyond repair. So, we cut the face piece in half with a circular saw, leaving us 2 columns of drawers.
We also had to cut off the top 3 rows of drawers, leaving 12 drawers in each column.
So, this antique hardware cabinet went from 4 columns of 15 drawers (60 total) to 2 columns of 12 drawers (24 total). Less than half the size of the original cabinet!
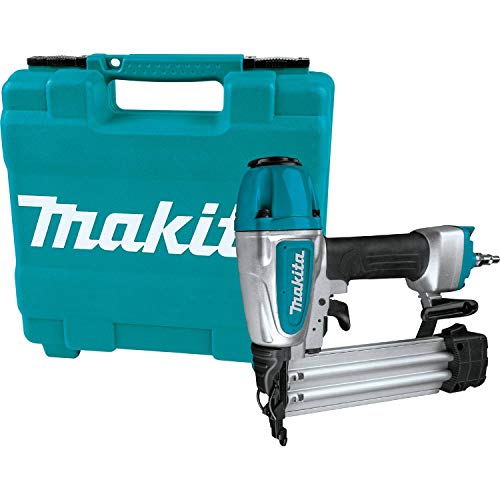
DEWALT 20V MAX* Circular Saw, 6-1/2-Inch, Cordless, Tool Only (DCS565B)Makita AF506 2
Step 2: Re-Install Drawer Supports
After cleaning up the pieces that we were keeping, our first order of business was to figure out our drawer support system. Thankfully, we saved enough of the original wooden drawer rails that we didn’t have to cut new ones.
We simply slid the original drawer supports back into place, using the existing tongue and groove joints.
(I wish I had taken pictures of this part, but it was so simple that I didn’t even think about it.)
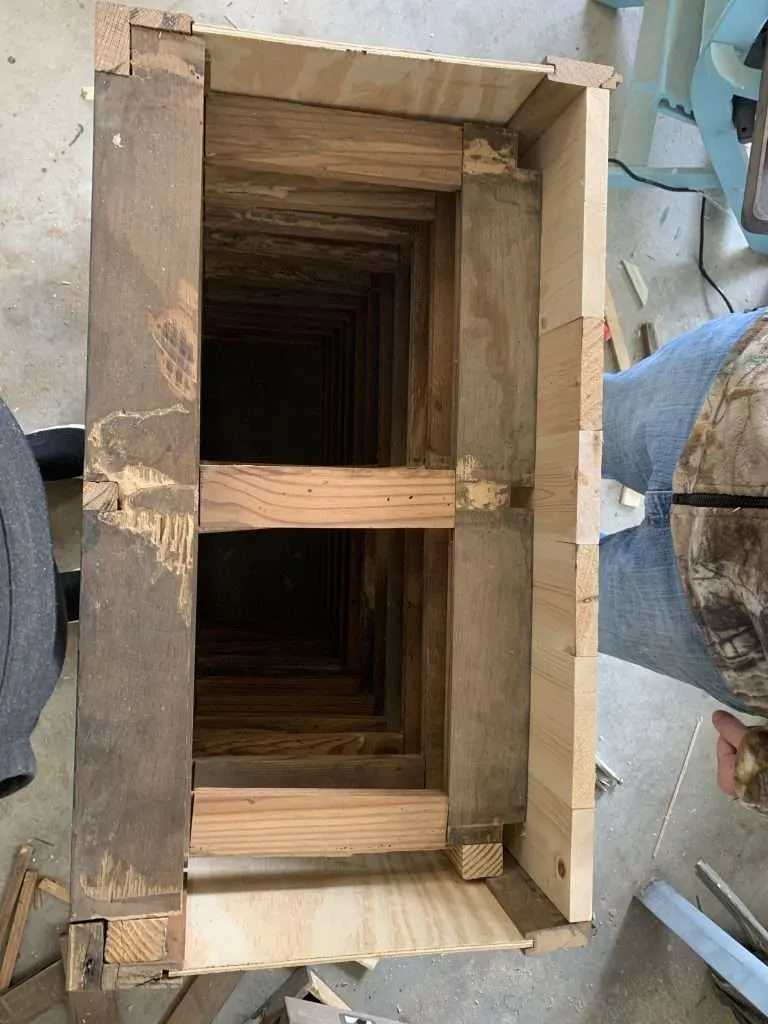
Step 3: Build a Frame for the Antique Hardware Cabinet
Hands down, building the frame was the most frustrating part of the whole project.
The original cabinet had tongue and groove wood joints on all four sides. We don’t have a router (or the money to buy one), so we couldn’t make identical replacement pieces ourselves.
So, we had to get creative.
A few months ago, my husband picked up a pile of scrap wood (for free) when a co-worker was doing some remodeling. Part of the wood that he brought home was old tongue and groove oak flooring.
It could not have been more perfect for this project! We sanded {most} of the paint from 2 of the best-looking floorboards and used those as the back corners of the cabinet.
Then we placed 1/4″ plywood between the front and back tongue and groove pieces to make the sidewalls of the cabinet. We added a few brad nails to hold it in place.
Pro Tip
Use a good quality piece of plywood for this. We did this project during the pandemic, when materials were extremely expensive. We bought cheaper pieces of pine plywood. It looks okay, but a nicer piece of birch or oak would lookso much better.
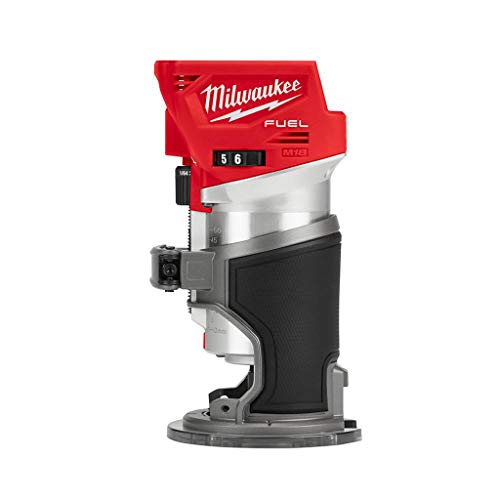
To finish out the frame, we planked the back of the cabinet using 1x4s, just like the original. We made sure to nail them into the back of the drawer supports for extra stability.
Milwaukee’s Cordless Compact Router,18.0 VoltageWEN RT6033 15-Amp Variable Speed Plunge Woodworking Router Kit with Carrying Case & Edge Guide

Step 4: Add Top and Bottom
You wouldn’t think that adding the top and bottom pieces to this antique hardware cabinet would be a big deal…..but you’d be wrong!
We measured the length and width of the cabinet and cut a piece of plywood for the top and bottom only to find that parts were hanging off. The cabinet was not square!
(It’s unavoidable when dealing with antique furniture.)
There were 2 options: take the cabinet apart and try to square it up or continue with these pieces of plywood and try to make it fit as best as possible.
We decided that trying to take it apart would risk damaging the original pieces even more, as we had already nailed everything in place. So, we trimmed the plywood to fit as best we could.
It’s not perfect. There’s a slight gap on the top (that we filled with wood filler) and a small gap at the bottom (that is covered by trim). So, it all worked out.
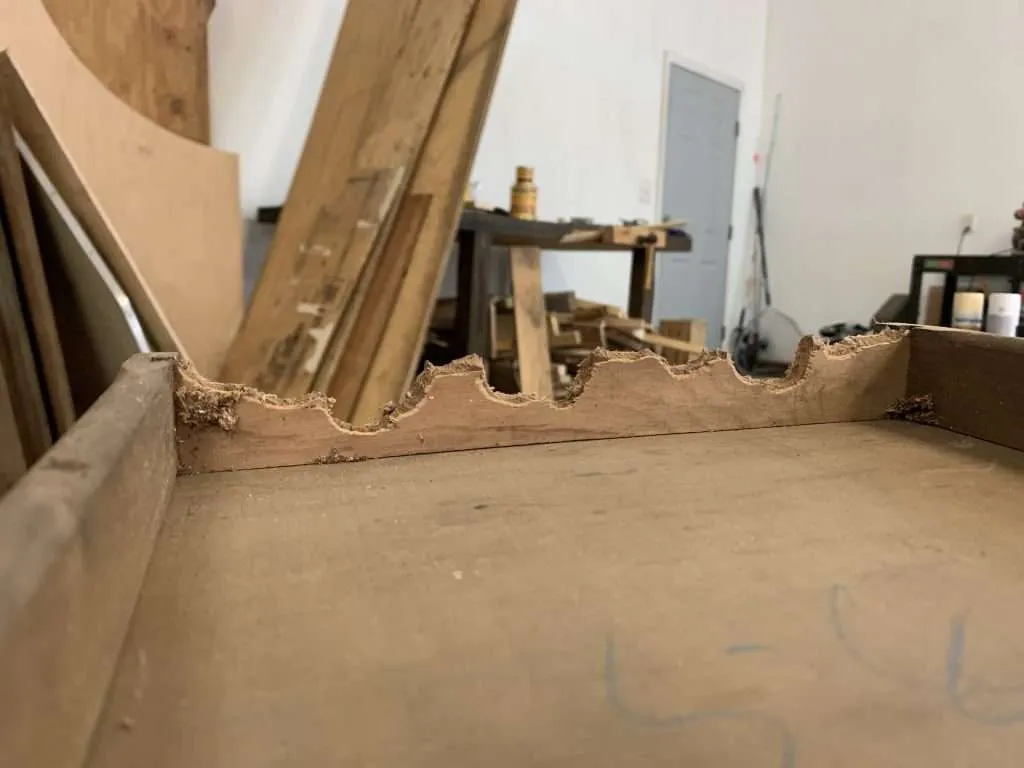
Anything was better than what we started with. As you can see in the picture below, the top of the cabinet had completely rotted away leaving the top drawers exposed.
Huge 64-Drawer Wooden Storage Box Traditional Apothecary Curio Cabinet in Vintage Wood – Card Catalog Library Desk Drawer w/Label Holders Handles – Multi Level Countertop Arts and Craft OrganizerGoooodGift Apothecary Cabinet with Drawers 20 Wooden Drawers Organizer Storage Library Card Catalog Cabinet Tea Organizer for Cabinet Chinese Apothecary Drawers Vintage Apothecary Supplies (Brown)


Step 5: Add Trim
This was one of the most stressful steps for us. (I feel like I’ve said something similar about every step, ha!)
I really, really, really wanted to keep the original trim. It was one of the things I loved the most about this antique hardware cabinet as soon as I saw it.
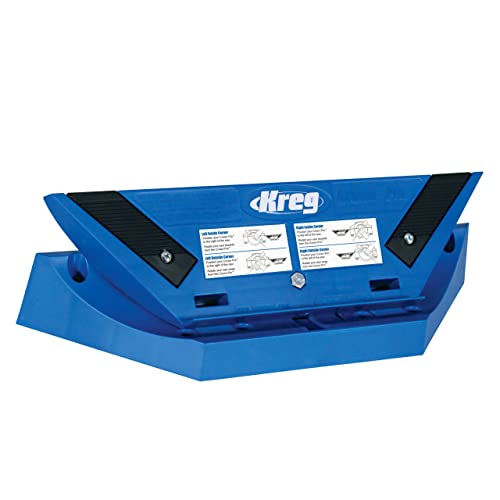
We salvaged just enough trim to cover the front and sides of the cabinet. So, there was no room for error when we made the cuts. This wouldn’t be a big deal to most woodworkers, except neither of us (me nor my husband) have ever cut trim before.
We Googled and YouTube-d some tutorials and gave it our best shot. And I’ll be damned if we didn’t get it right!
We had to piece together the back of one side, but only because we didn’t have a piece long enough. It’s barely noticeable and I’m just glad that we could keep the original trim!
Kreg KMA2800 Crown-Pro Crown Molding ToolDEWALT Miter Saw, Double-Bevel, Compound, 12-Inch, 15-Amp (DWS716)

Step 6: Fix Drawers
We were fortunate that all of the drawer faces were intact and more than 30 drawers were still in good shape.
In fact, the only part of the drawers that we had to replace was the back. Mice had eaten through most of the backs of the drawers but left the sides, fronts, and bottoms alone. Strange, but it made our lives much easier!
We simply cut 1/4″ plywood to replace the chewed-up backs and nailed them in place with brad nails. It was tedious work, but not difficult at all.
Step 7: Stain the Antique Hardware Cabinet
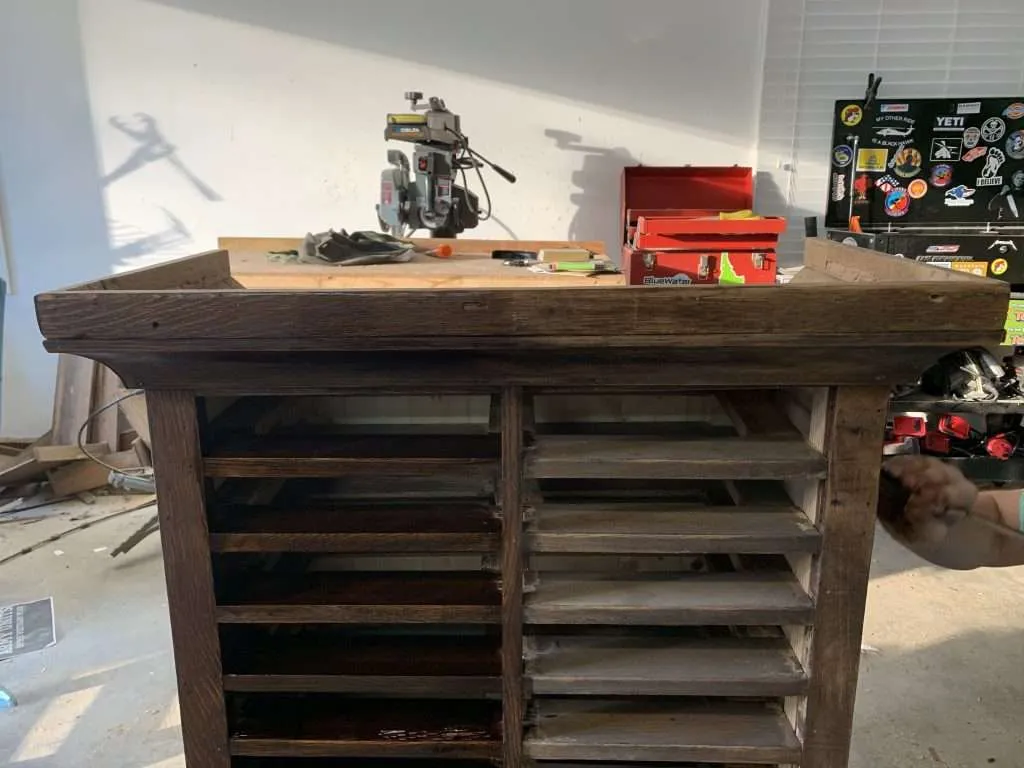
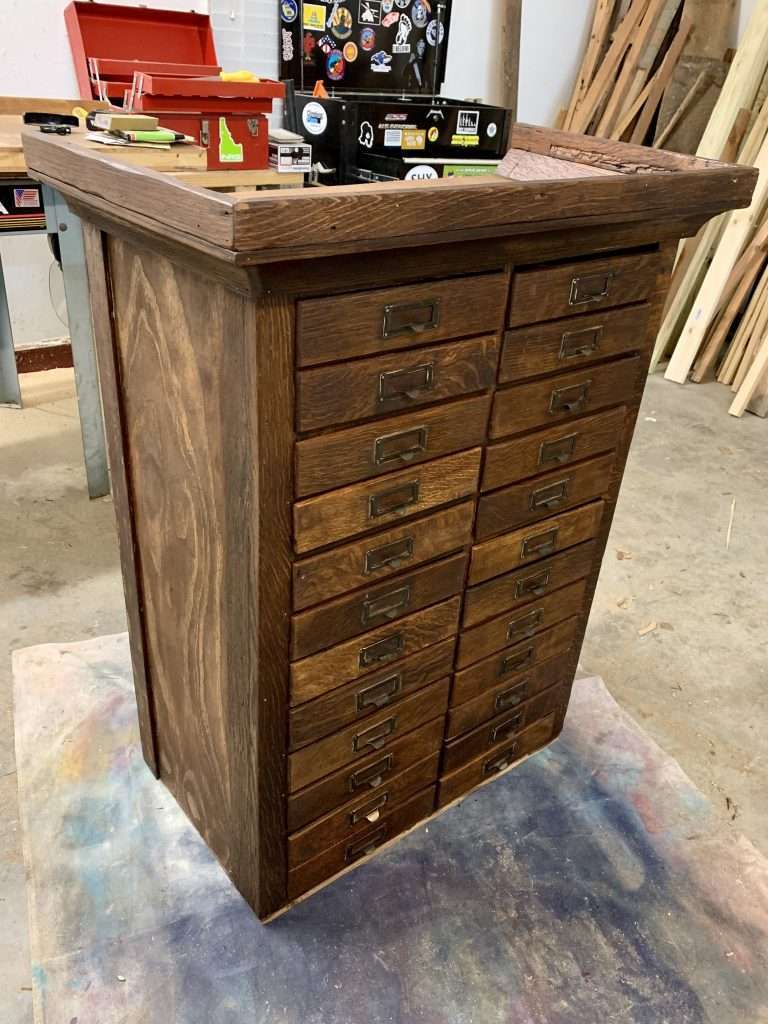
We could almost see the finish line when we were able to start staining our antique hardware cabinet! Unfortunately, it wasn’t as simple as just slapping on some stain.
There are 4 different types of wood on this one piece of furniture:
- the original oak on the face piece, trim, and drawer fronts
- the oak floor boards on the sides
- the pine plywood sides
- the ash trim around the bottom
Since there were different types of wood, we had to use different stain colors to get a cohesive look.
For the oak (the original wood and the floorboards), we used Minwax Wood Finish Stain in Early American.
For the bottom piece of trim (ash), we used Minwax Wood Finish Stain in Espresso because it was so much lighter than the oak.
And for the plywood sides, we mixed our own concoction of several different stains to try to match it up as best we could.
Minwax Wood Finish Early American Transparent 1 Gl Voc1 qt Minwax 70050 Espresso Wood Finish Oil-Based Wood Stain


Step 8: Add Drawer Liner
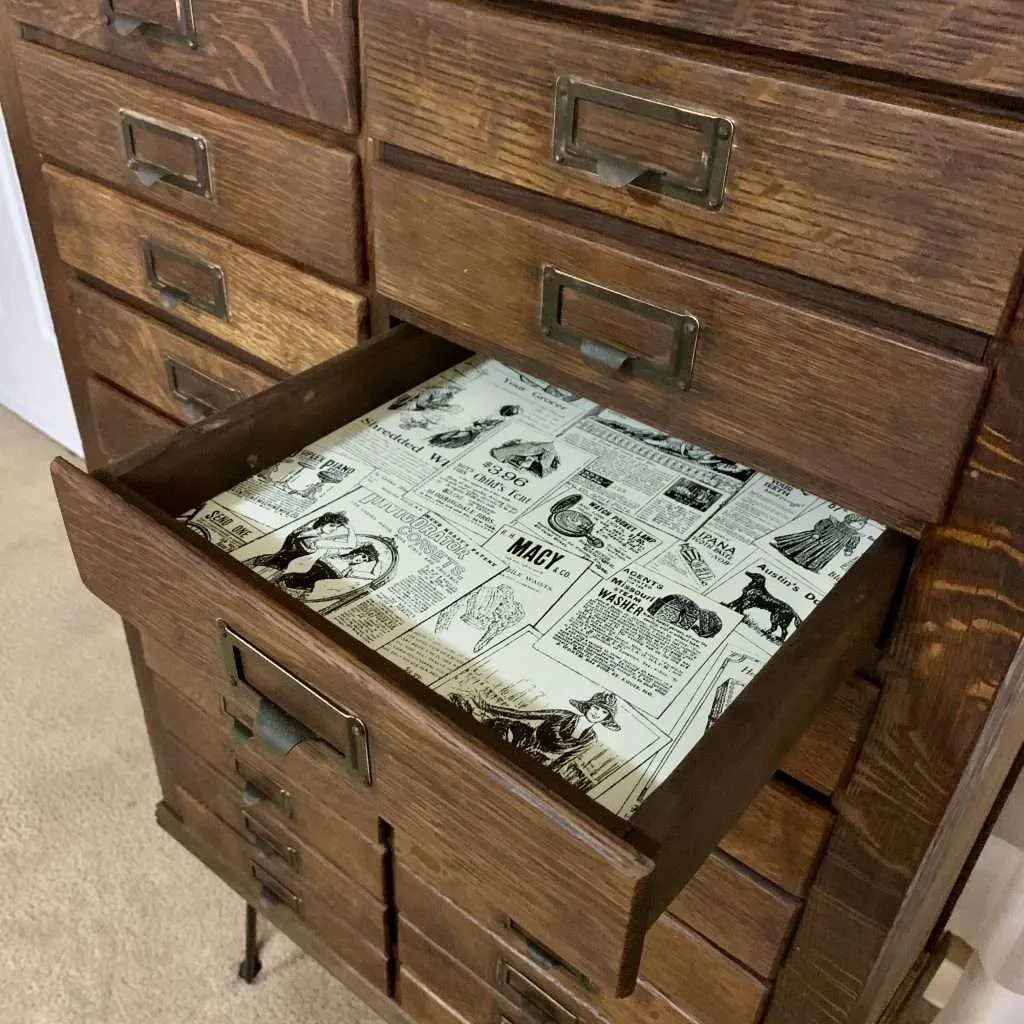
No matter what I did, I could not get the bottoms of the drawers clean. It always felt like there was a layer of dust covering it.
I ordered vintage newspaper peel ‘n stick wallpaper from Amazon and used it to line to drawer bottoms. And I couldn’t be happier with how it turned out!
NuWallpaper NUS3626 Charcoal Published Peel Stick Wallpaper, White & Off-WhiteBlack and White Vintage Newspaper Print Wallpaper


Step 9: Add Legs & Bottom Trim
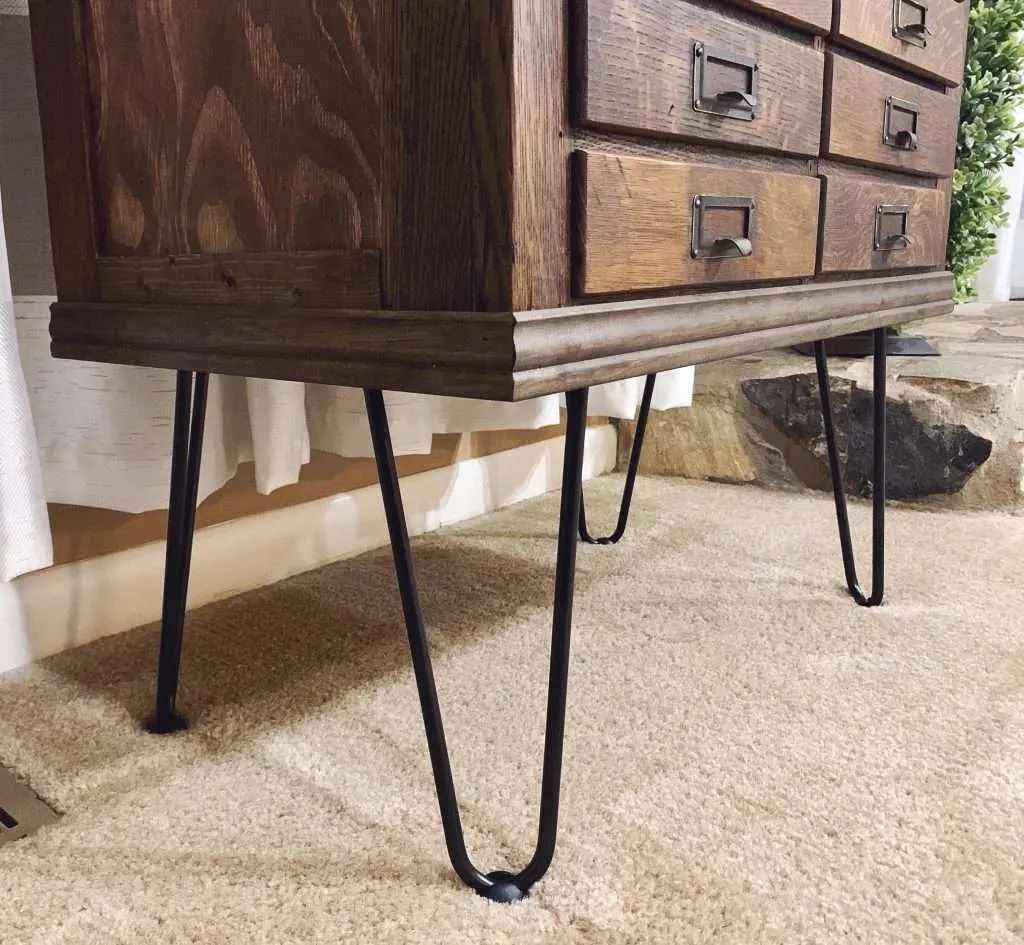
One of the most agonizing parts of the whole project was waiting for the legs to arrive. We ordered 12-inch hairpin legs from Amazon, but because of the pandemic, it took weeks for them to arrive.
As soon as the mailman dropped them off, we headed out to the garage to put them on. And they were perfect!
We also added a piece of trim (ash) around the base of the cabinet to hide the ugly plywood bottom. And we were done!
NuWallpaper NUS3626 Charcoal Published Peel Stick Wallpaper, White & Off-WhiteBlack and White Vintage Newspaper Print Wallpaper
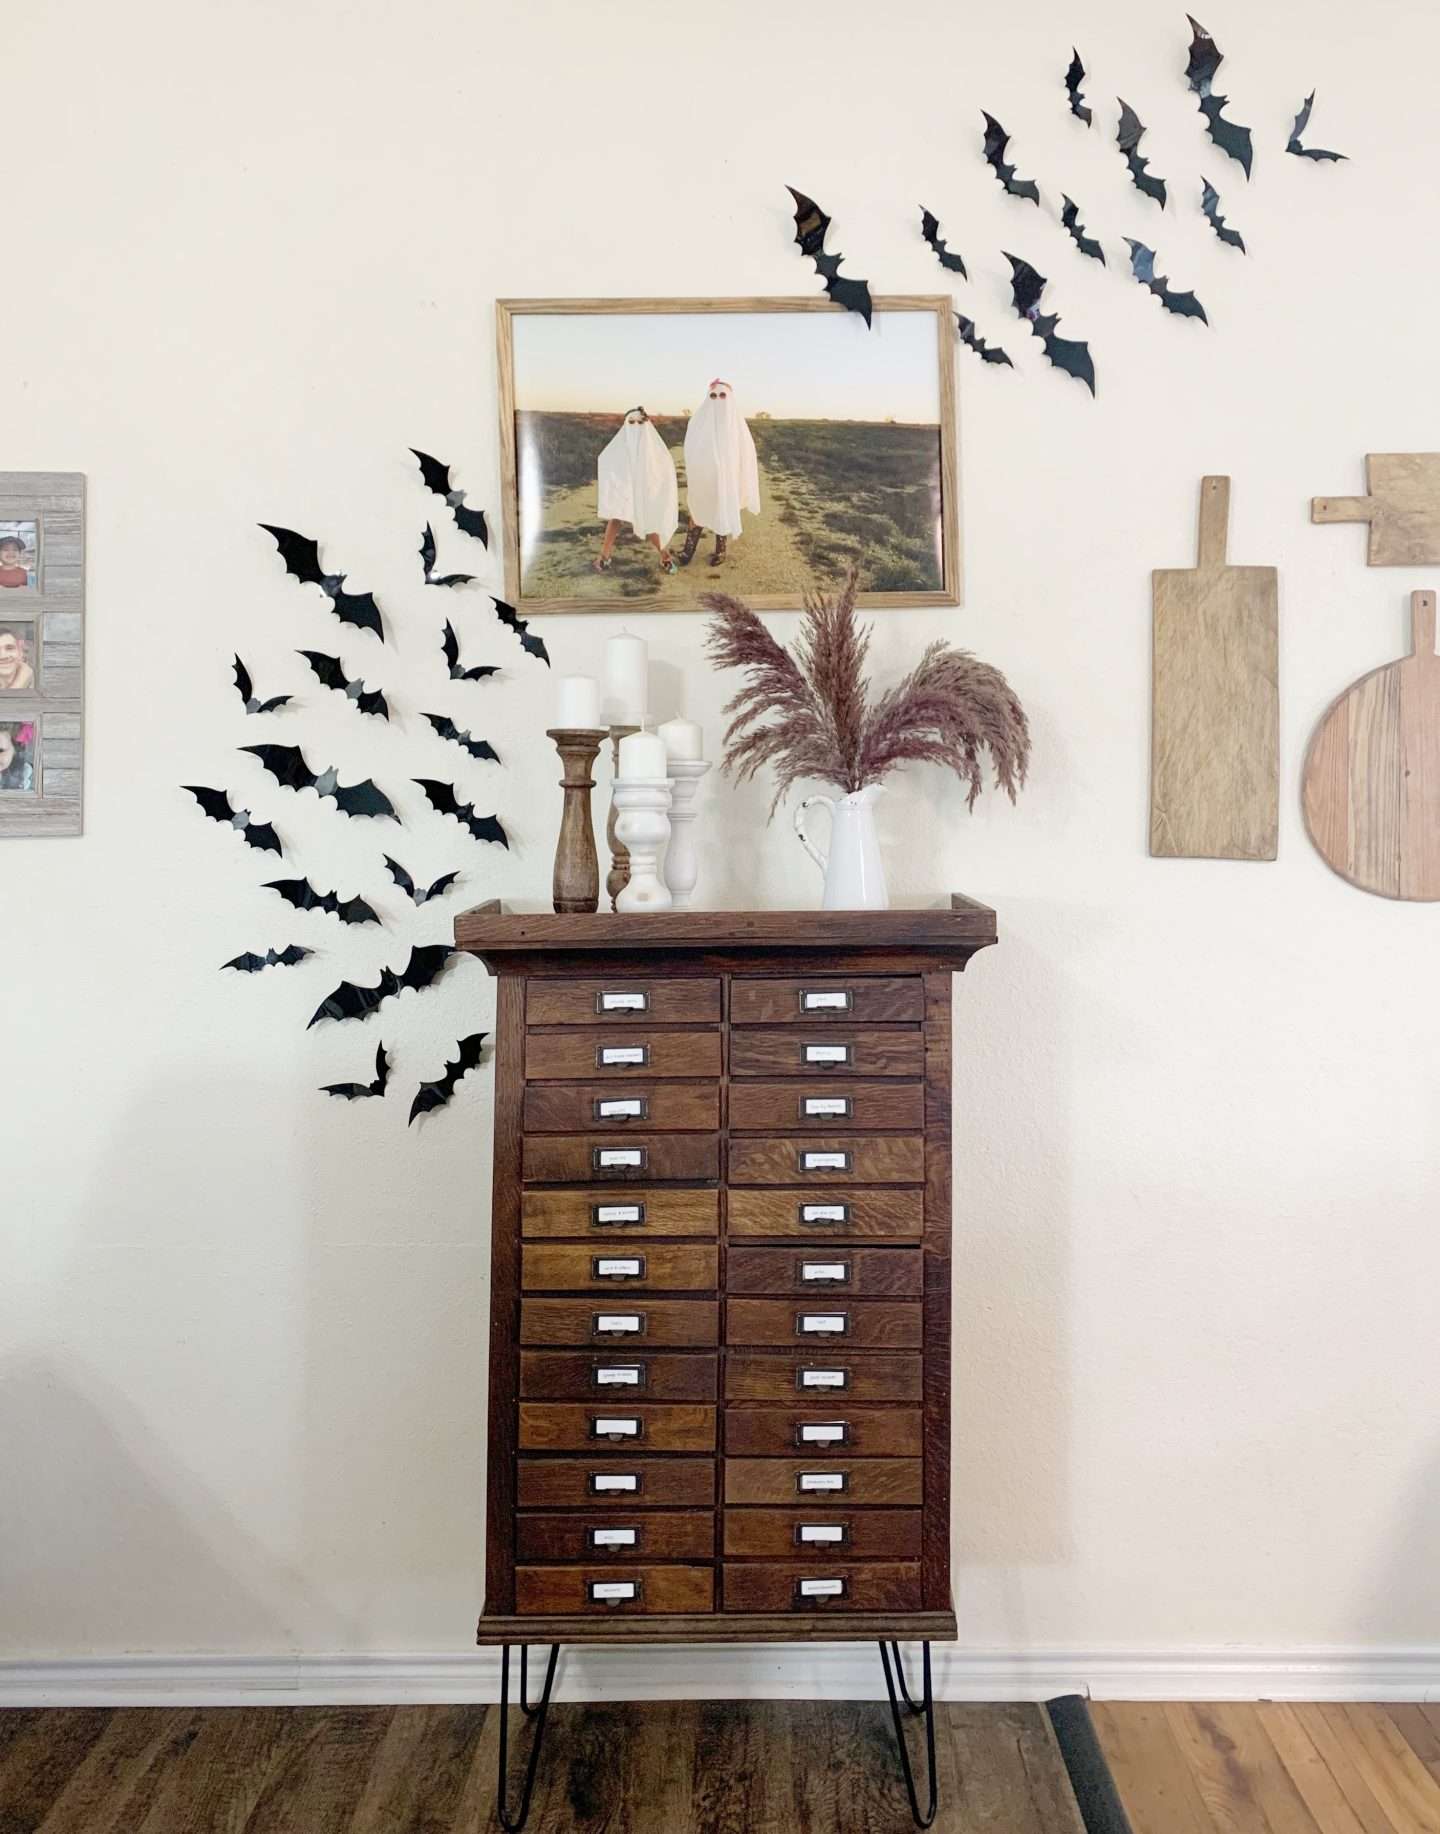
Our antique hardware cabinet is far from perfect. Some of the drawers have gaps and it’s not square, but I am still in love with how it turned out!
And it’s not only beautiful – it’s functional!
I have a ton of craft supplies, many of which are small enough to fit into these drawers. Now, all of my scissors, pens, pencils, markers, buttons, stamps, stickers, etc. are all contained in this one place!
It’s the perfect addition to our home and we could not be prouder that we were able to take on such a big project!