[Disclaimer: Finding Mandee is reader-supported, if you purchase through links on my site I may earn an affiliate commission at no additional cost to you. As an Amazon Associate, I earn from qualifying purchases.]
There is nothing I love more than a DIY project! More than half of the furniture and decor in my house is second-hand and refurbished by me and my husband. (You can see my favorite DIY projects here!)
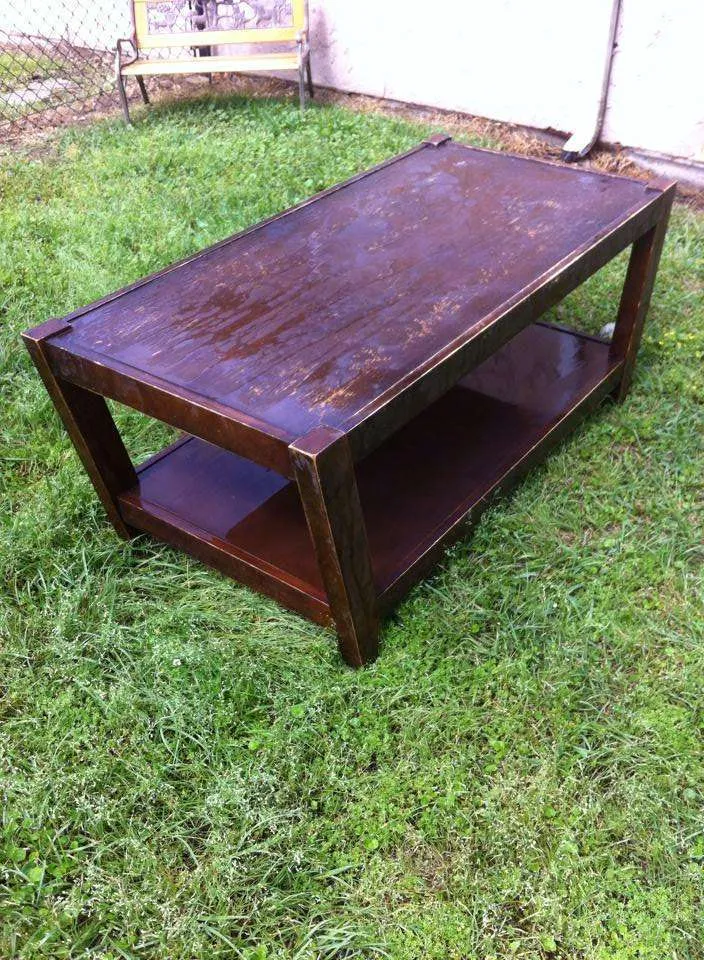
So, I couldn’t pass up this solid wood coffee table when I saw it in a thrift store for $20.
It was in great shape! It showed a few signs of normal wear and tear, but nothing really noticeable. So, for a few years, it sat in our living room in its normal wooden state.
However, over time, between toddlers and Army movers, it was looking pretty rough.
Our first idea was to paint it. We had recently refurbished an antique medicine cabinet and decided to paint the coffee table to match.
So, we sanded it down and started with a coat of primer before painting everything dark red, except for the top. We painted the top of the coffee table white with a navy chevron pattern.
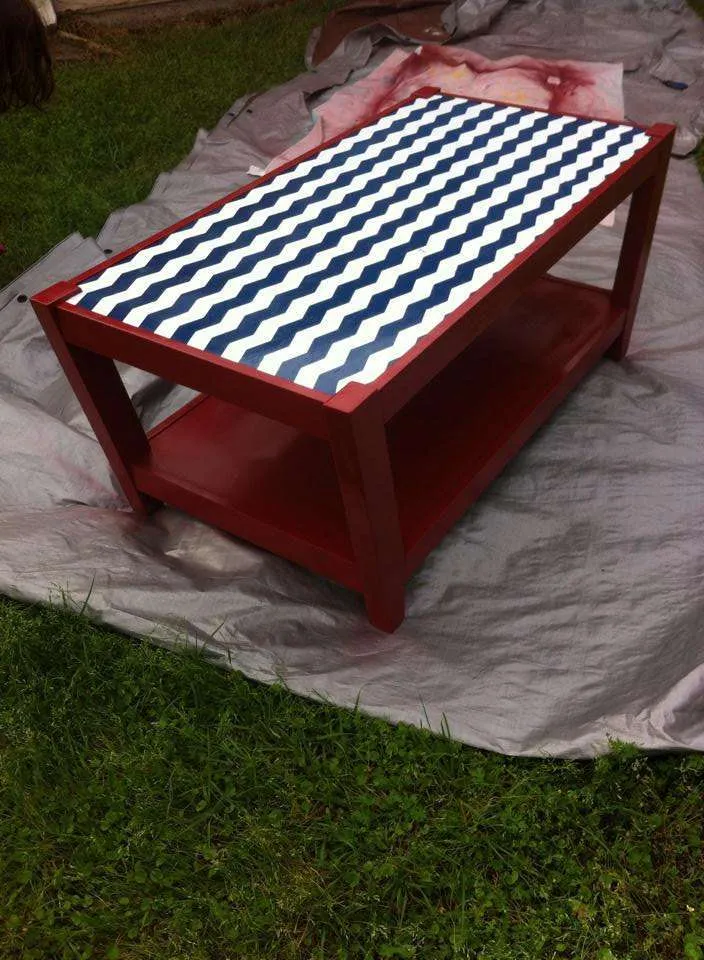
This turned out well, but after moving it inside, we decided that it looked a little too bright and whimsical for our taste.
Intrigued by pictures on Pinterest of floors covered with pennies, we thought that we could try it on this coffee table. It had a small lip that ran around the top and we would only be out $20 if it didn’t work out. Plus, we already had a big jug full of pennies, so why not?
Here’s how we did it:
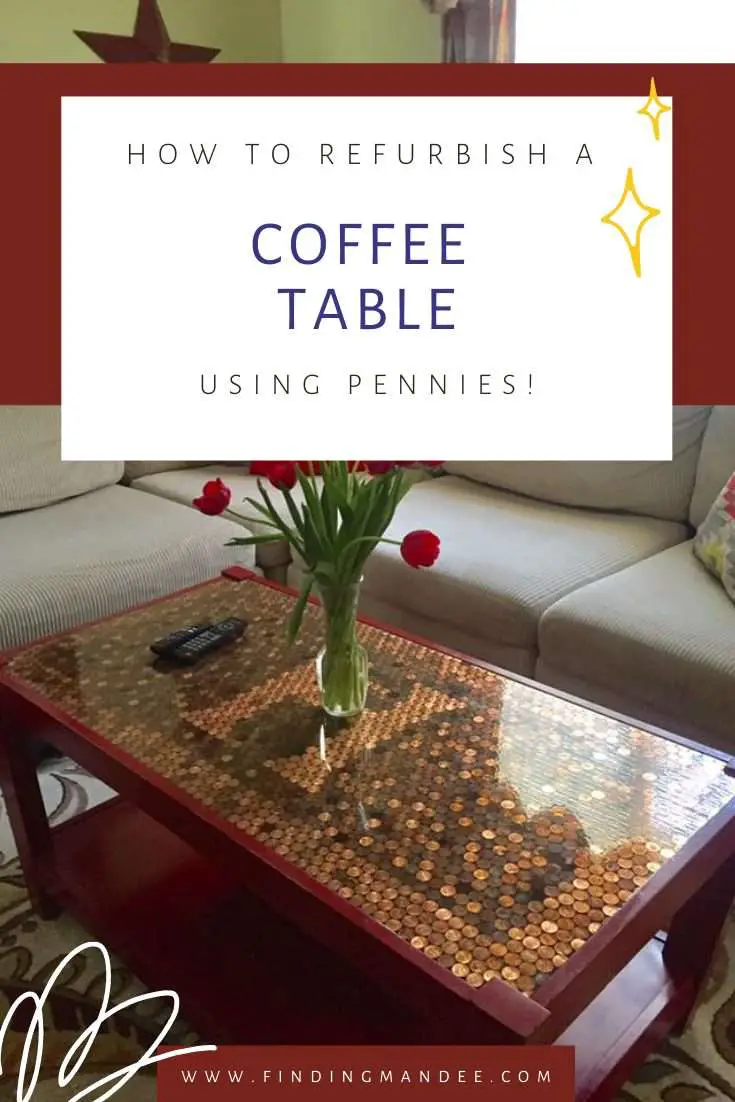
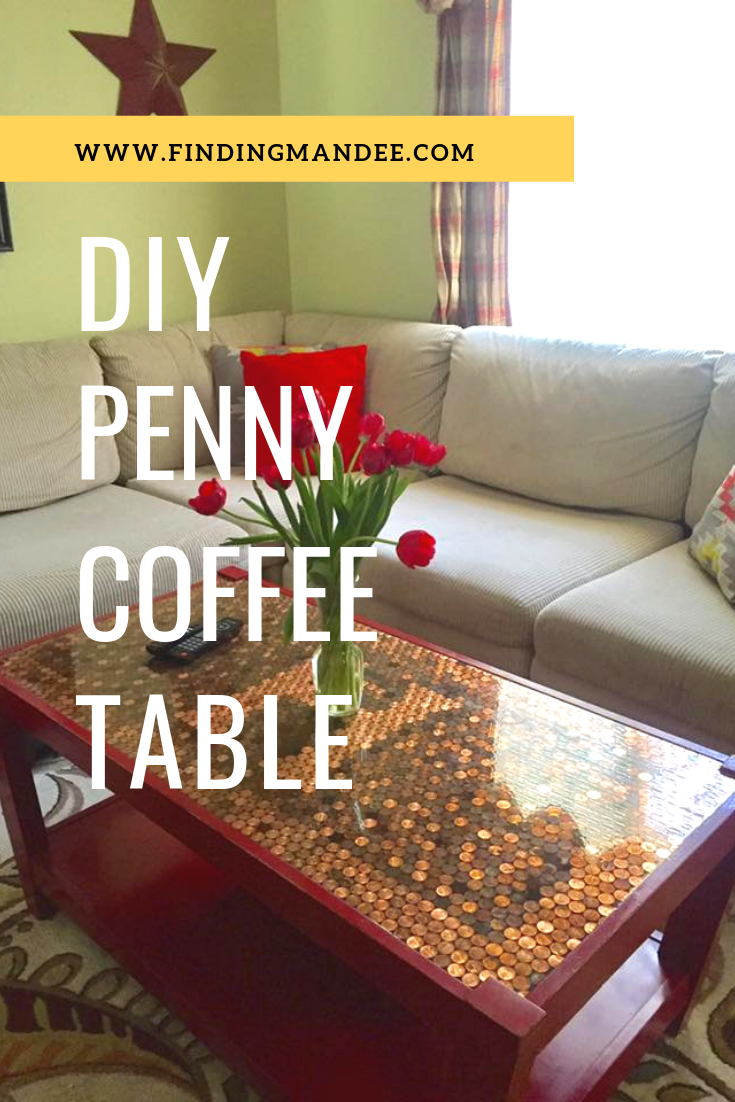
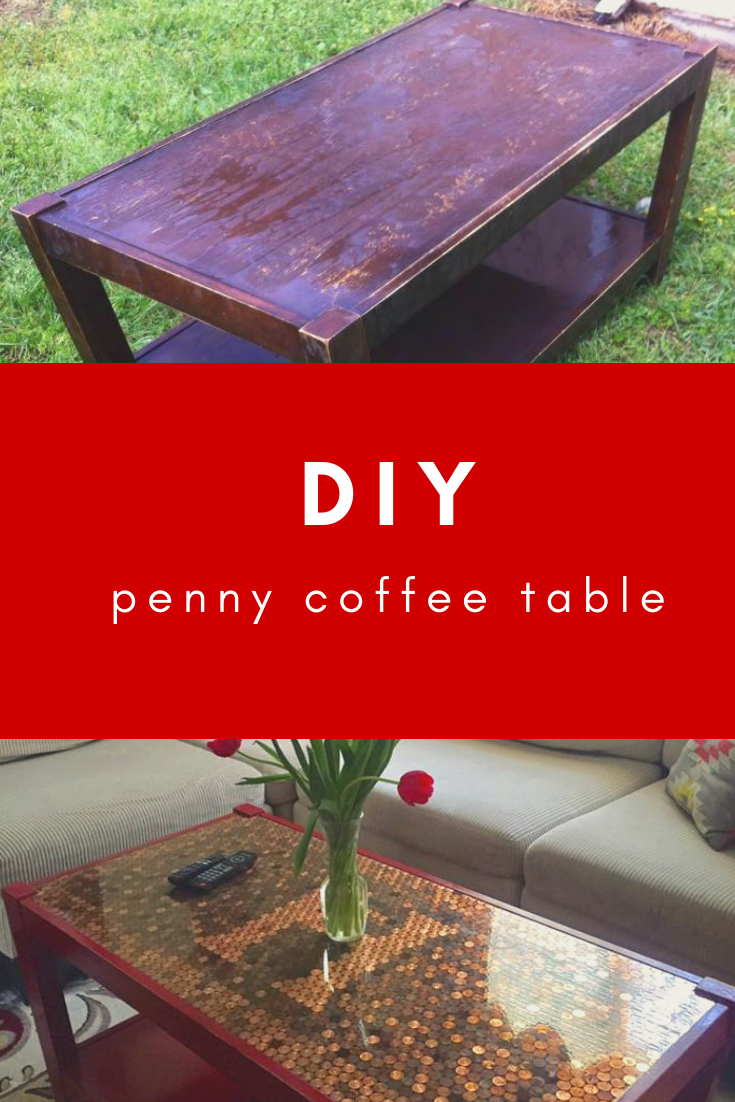
How to Make a Penny Coffee Table
Supplies
For this project, you will need:
- a coffee table
- orbital sander and sanding pads
- primer & paint
- paint brush/roller
- plenty of pennies
- tin snips
- super glue
- epoxy resin kit
Step 1: Sand & Paint
Our first step in making the penny coffee table was lightly sanding the top of the table to cover the chevron with a solid coat of navy paint.
We wanted the top to be dark so that any gaps between the pennies wouldn’t be as noticeable.
Since we only had to paint the top, it only took us a few minutes of work. Then we let it dry overnight.
Zinsser Bulls Eye 123 Plus Primer 1 QtBOSCH ROS10 120 Volt Random Orbit Sander , Blue , 5


Step 2: Sort the Pennies
Next, we sorted our pennies into 2 piles.
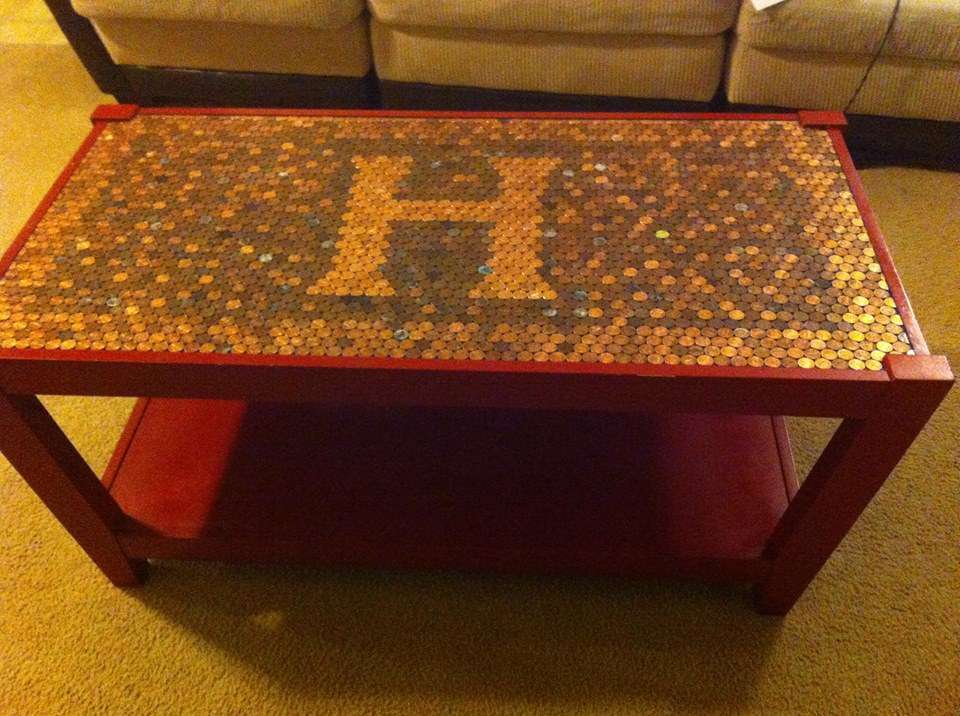
Since I wanted to make a monogram out of the pennies, we sorted them into light and dark.
Step 3: Make Your Design
The third step was the most time-consuming. We arranged all of the pennies on top of the table.
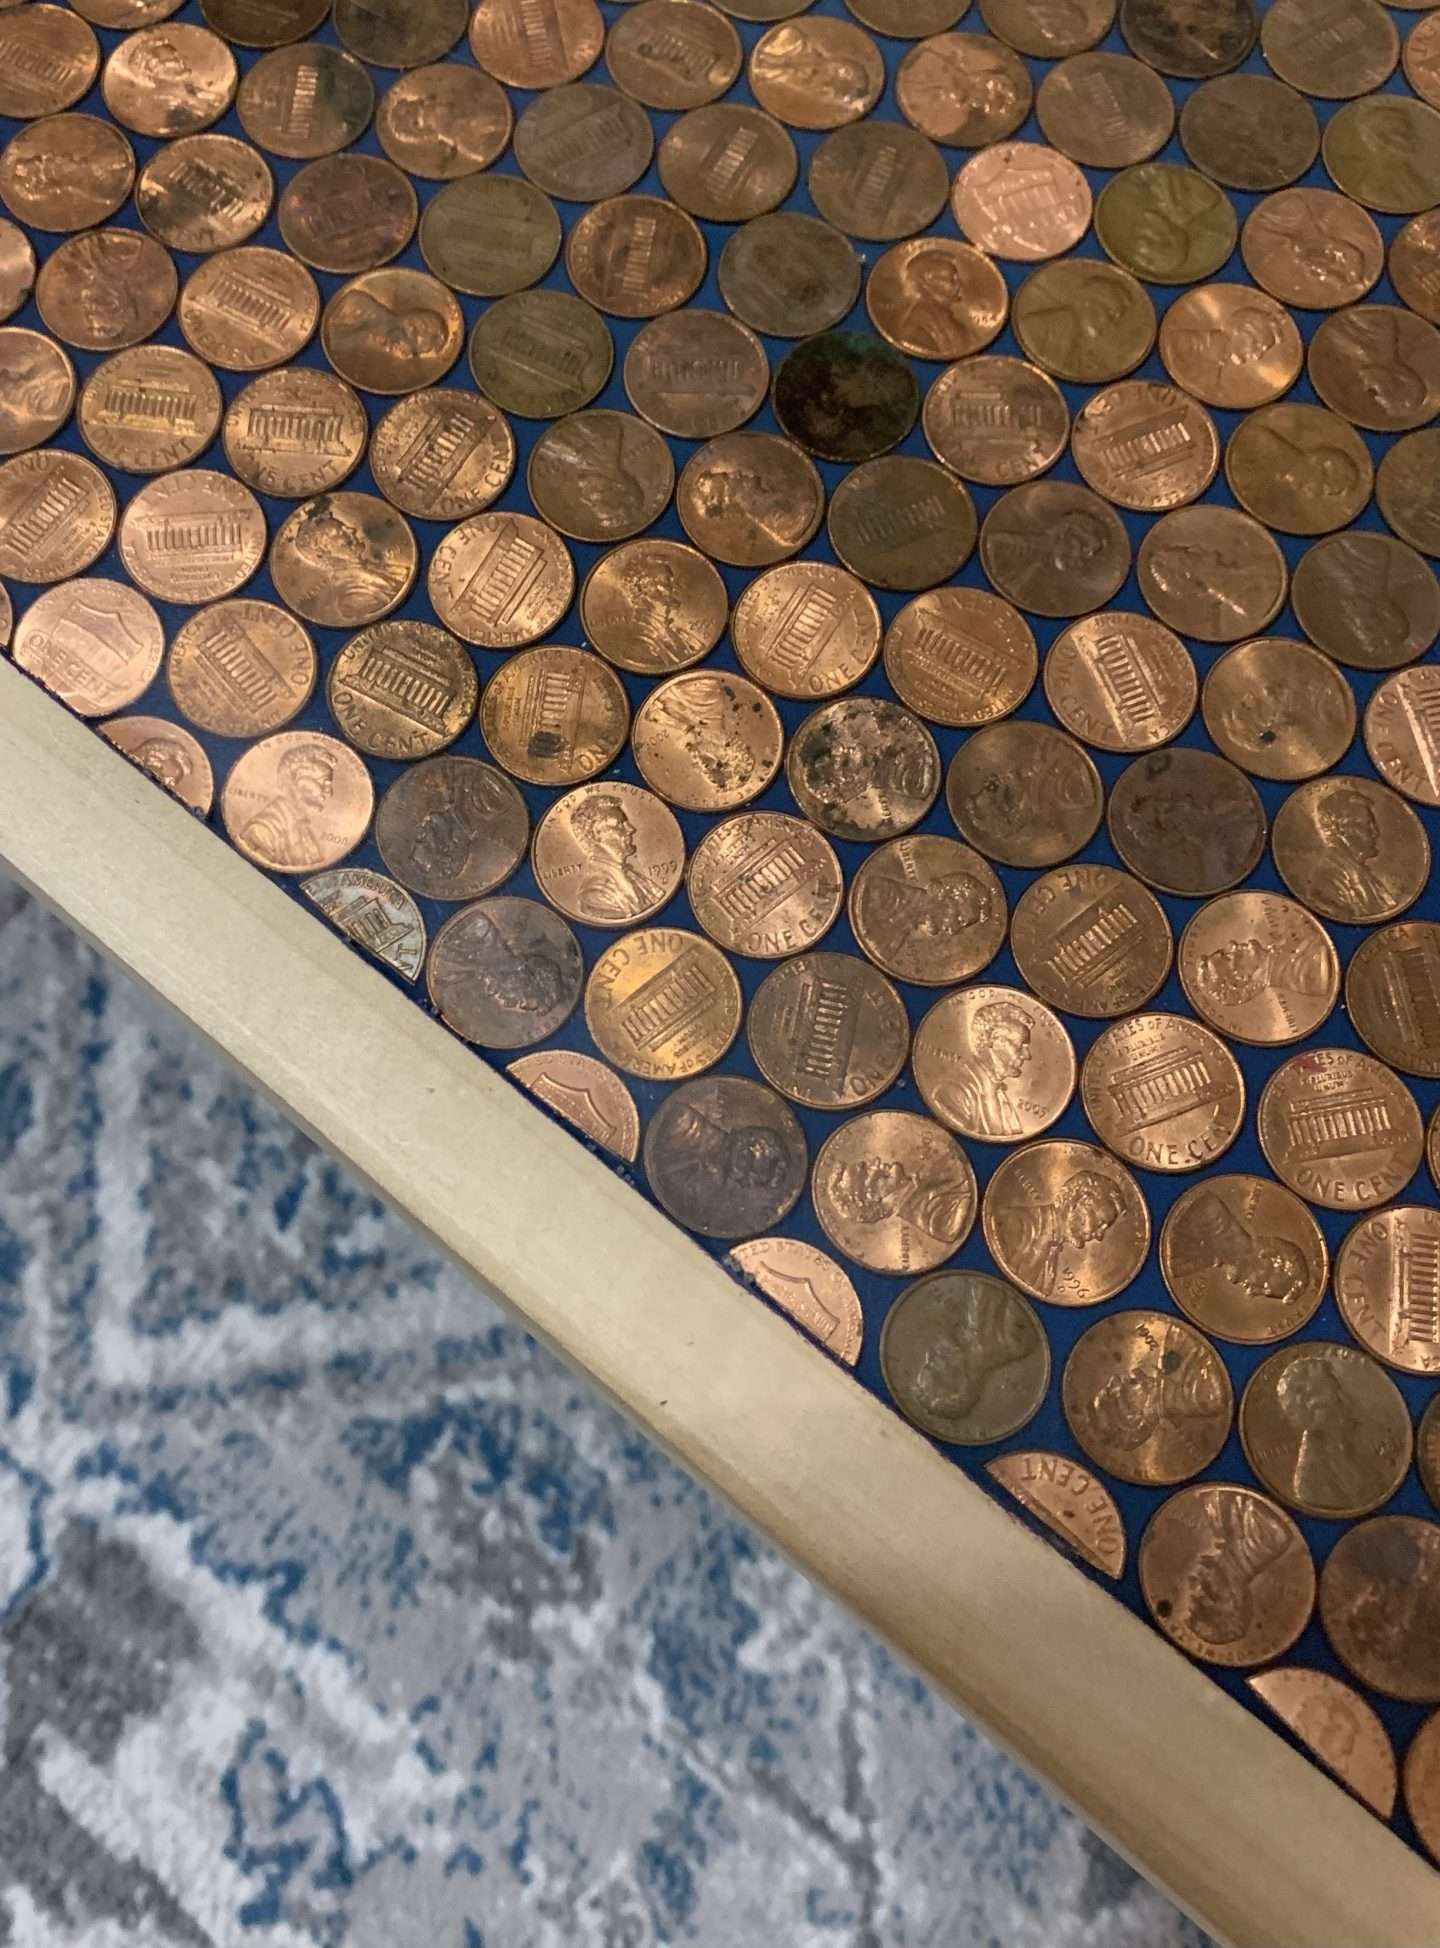
First, I used the light-colored pennies to make a big H in the middle and a border around the edge of the table. Then I used the dark-colored pennies to fill in the rest.
Step 4: Trim Pennies for the Edge
There were several gaps around the edge of the table where a whole penny wouldn’t fit. So, Heff used tin snips to cut pennies down to the right size fill in these holes.
STANLEY FATMAX Tin Snips , Straight Cut, Aviation Snip, 9-7/8-Inch (14-563)
Step 5: Glue The Pennies Down
After arranging the pennies exactly how we wanted them, we glued them in place with super glue.
One by one, we picked up each penny, put glue on it, and put it back in its place. It was a tedious and time-consuming process, but we watched TV and took turns gluing them down.
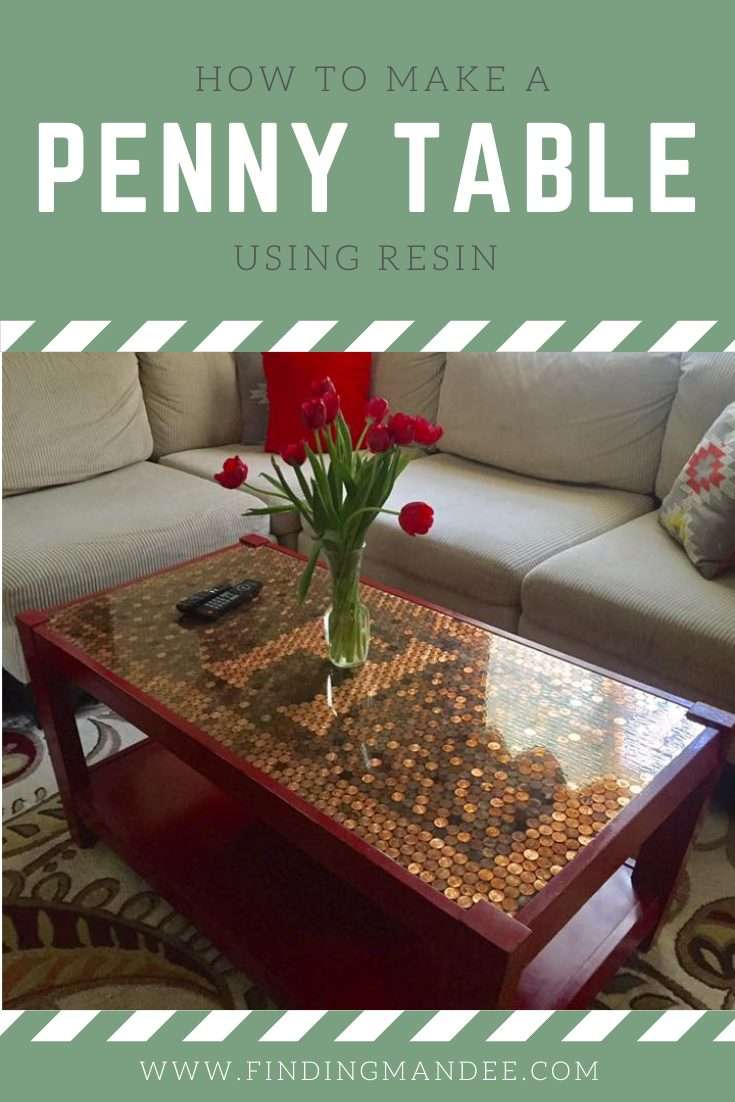
Step 6: Apply Epoxy Resin
The final step of creating a penny coffee table was applying the epoxy resin.
We used a 32 oz. Epoxy Resin Kit for Super Gloss Coating and Table Tops. After mixing it according to the directions, we poured it directly on top of the pennies and used a plastic spreader to push it over to each edge.
Epoxy Resin 32 oz Kit General Purpose

We locked the table in our spare room for the next 72 hours so it could harden without little fingers poking it.
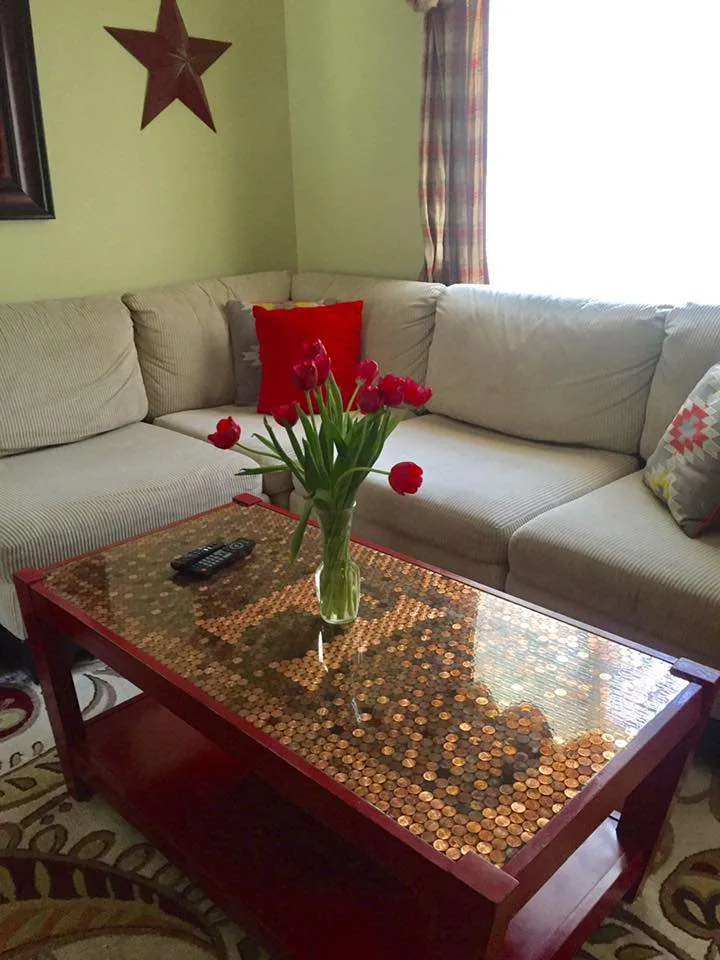
And we were done!
Our penny coffee table turned out beautifully!
It is one of our absolute favorite pieces of furniture. Guests always comment on it when they come over. And years later, the penny coffee table is still in great shape!